
ROBOLOP BERYLLIUM BMW 323ci


 Nov 27, 2011 | 11:18 AM
#124

Thread Starter
| Teamspeed Member
Joined: Jan 2008
Posts: 179


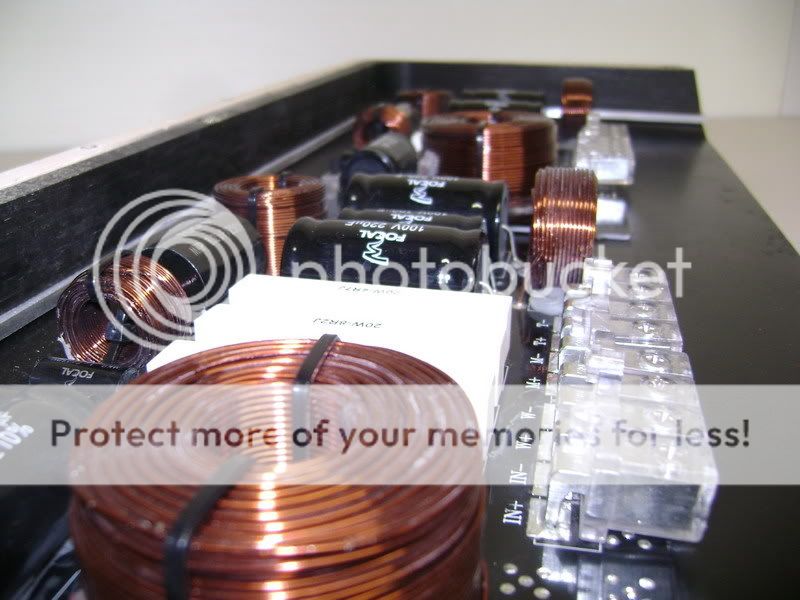
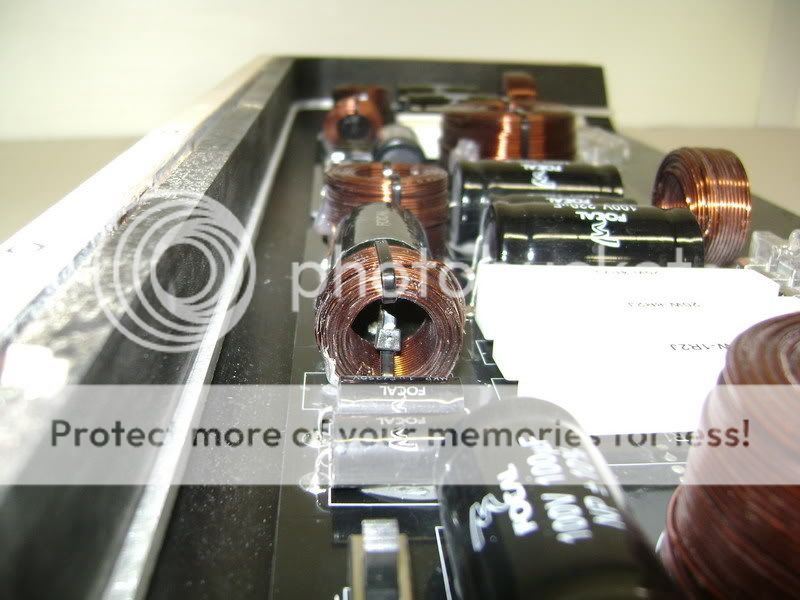
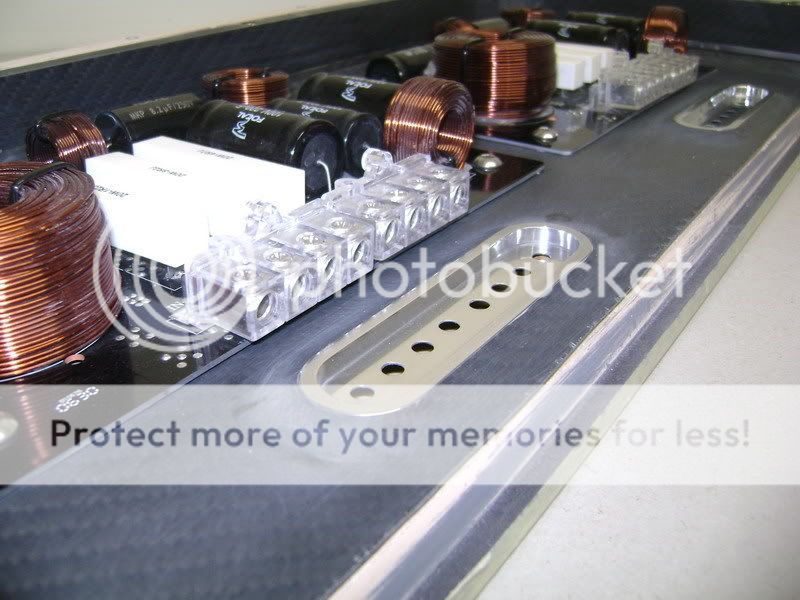
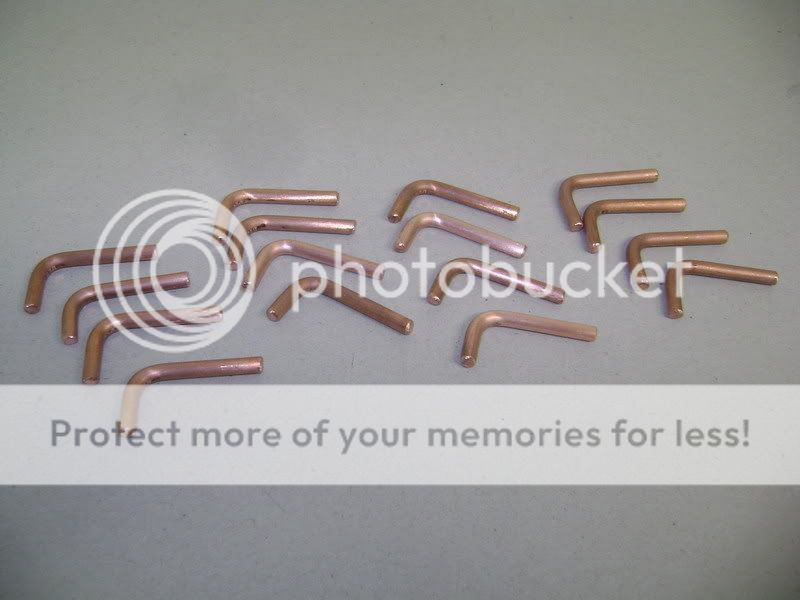
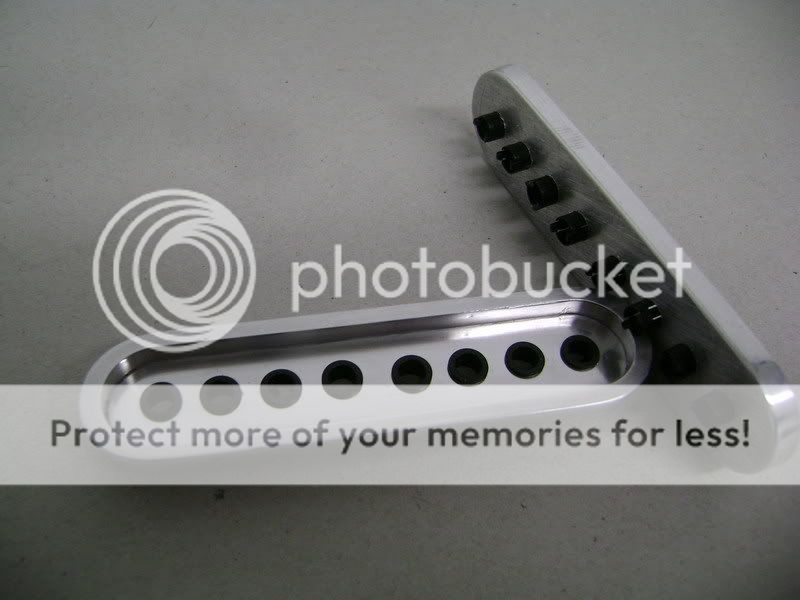
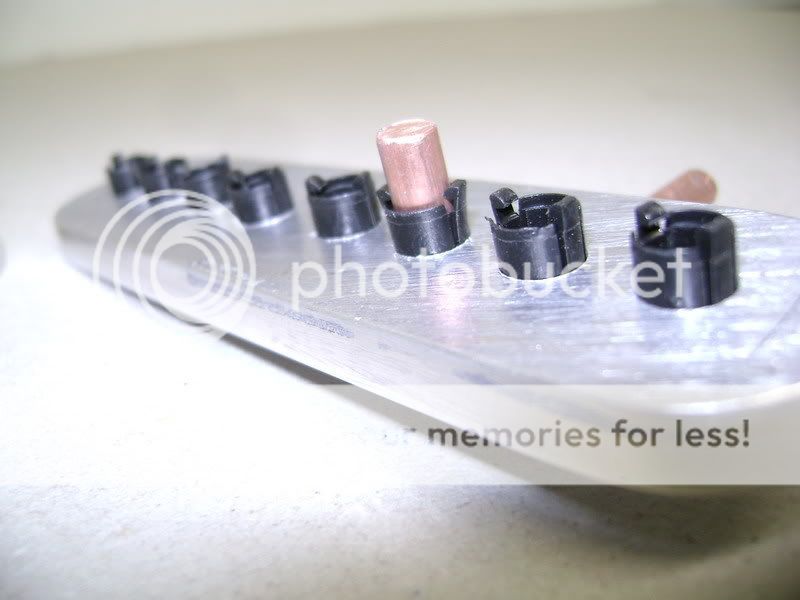
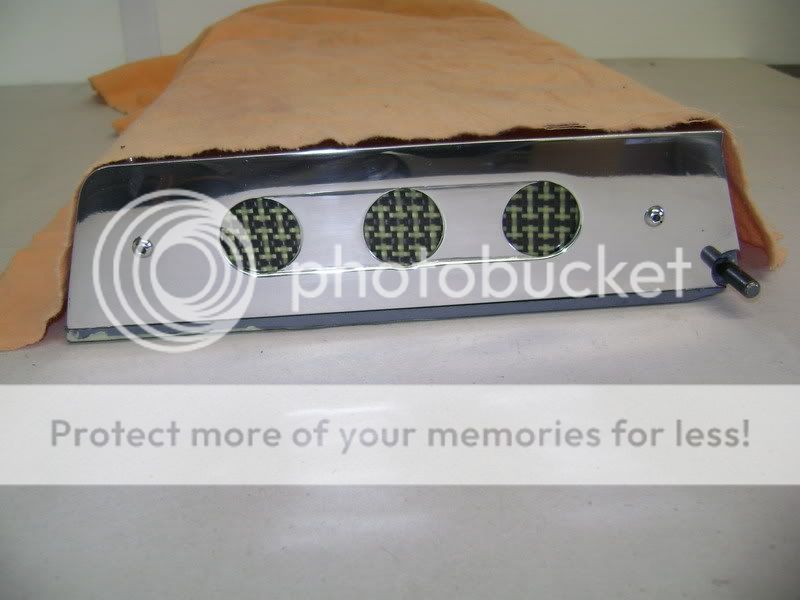
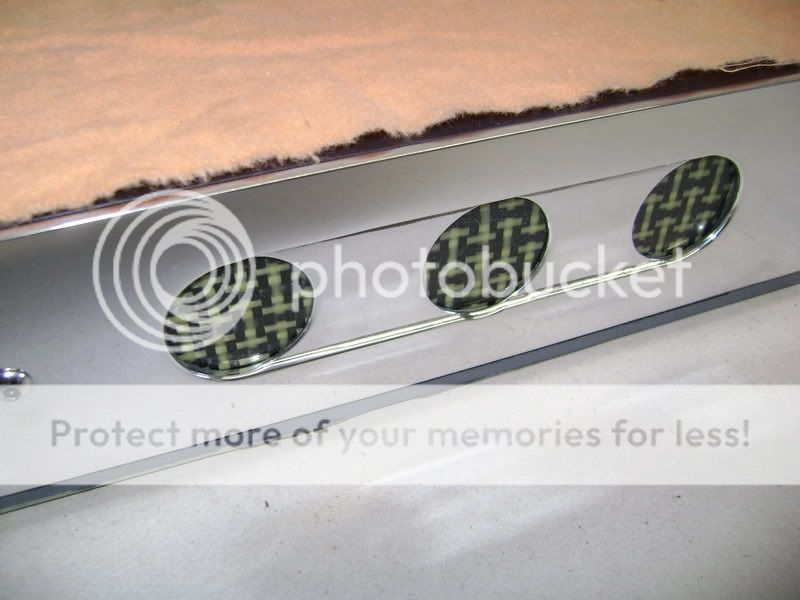
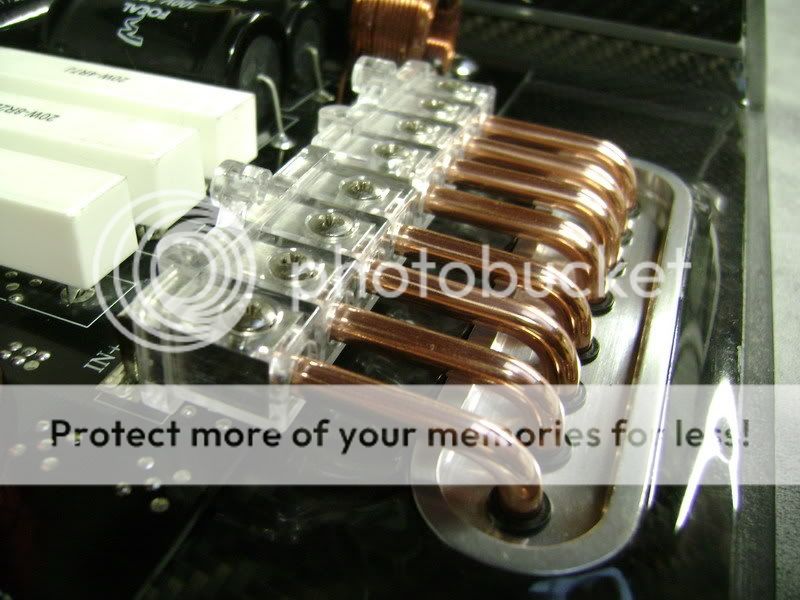
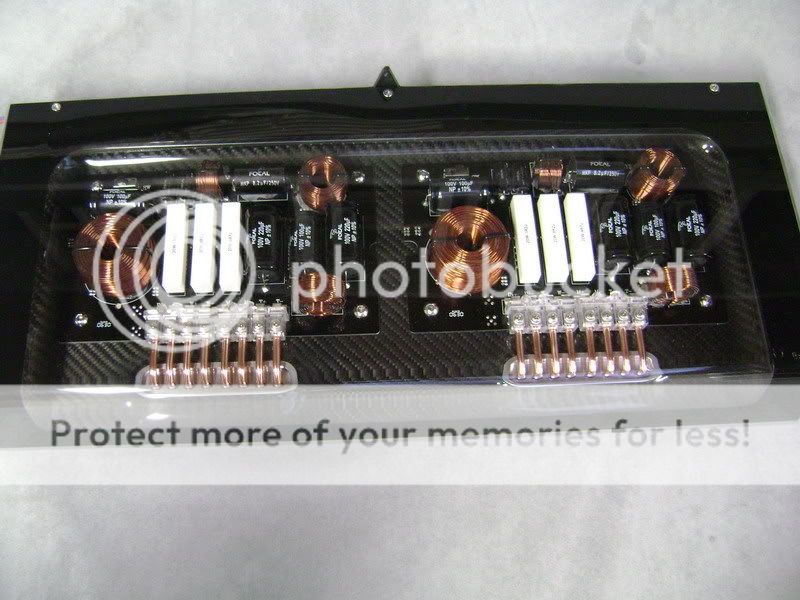
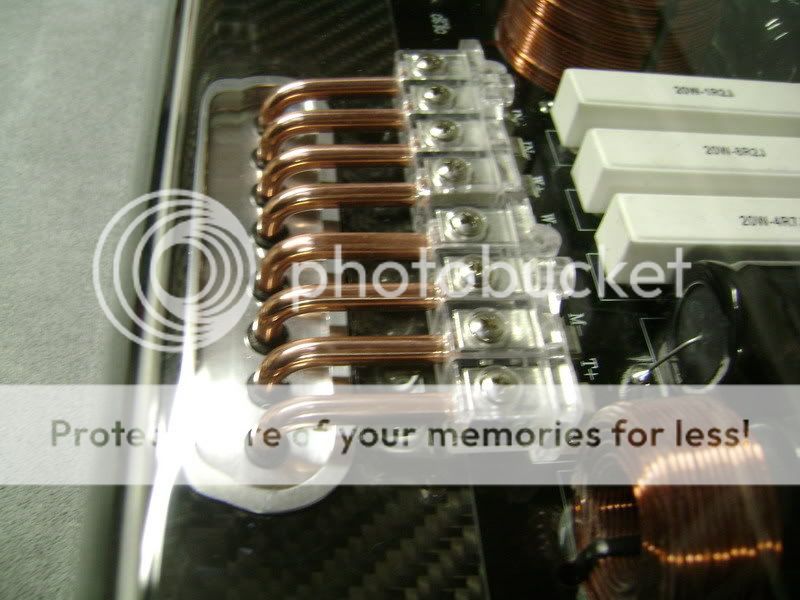
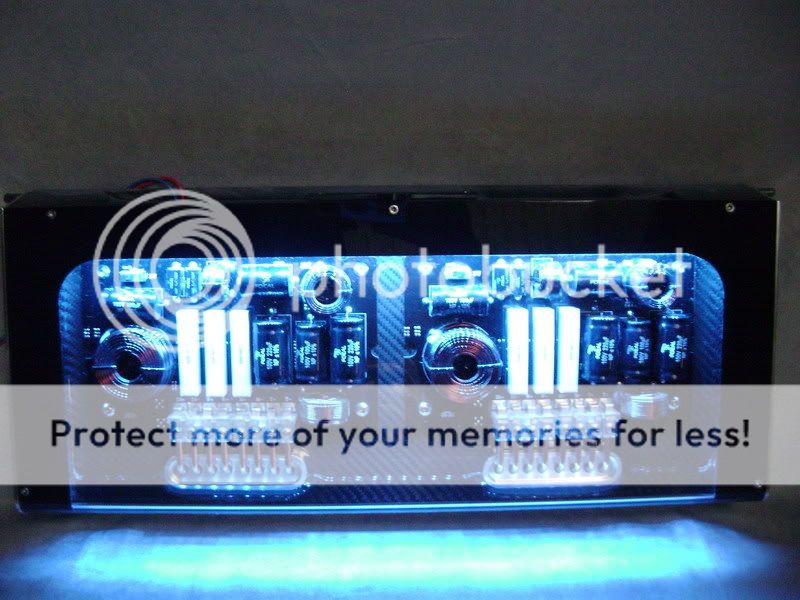
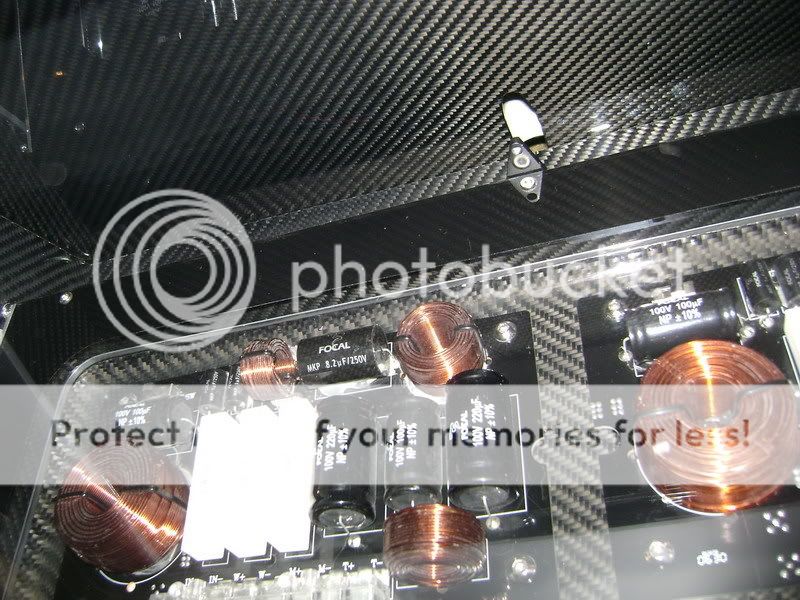
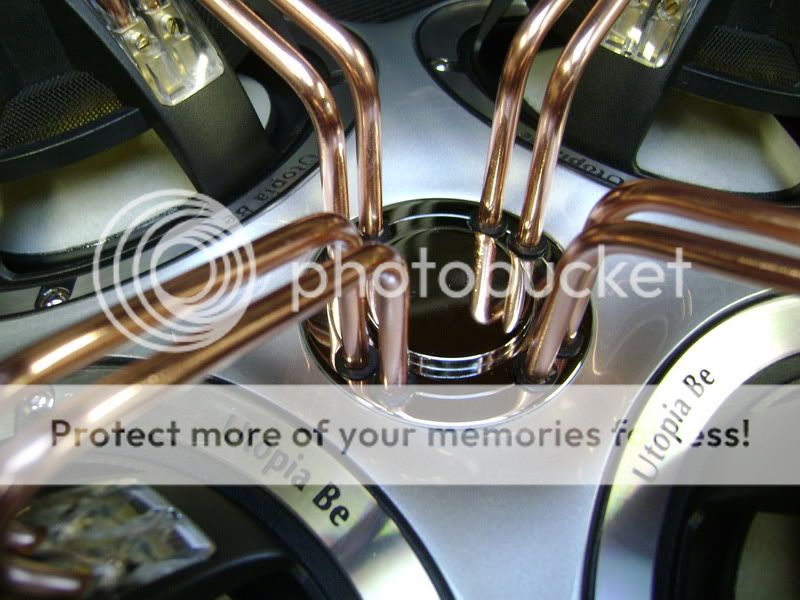
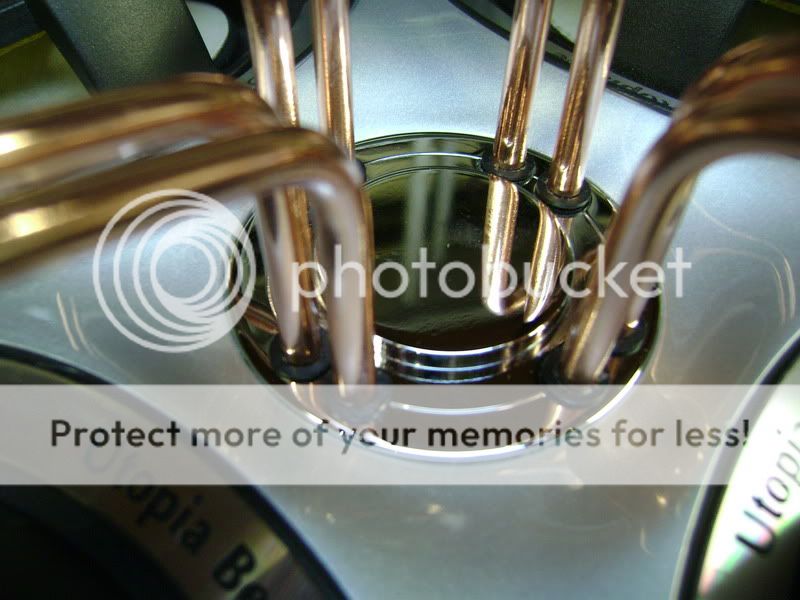
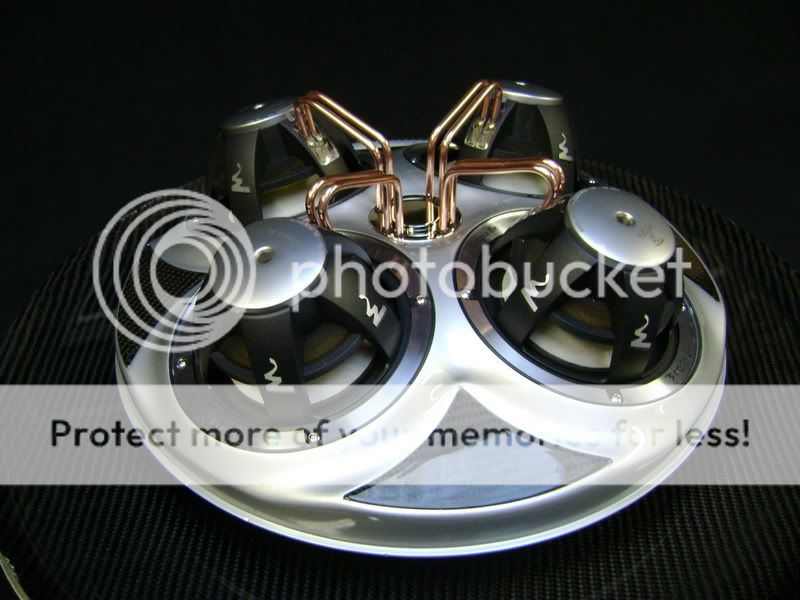
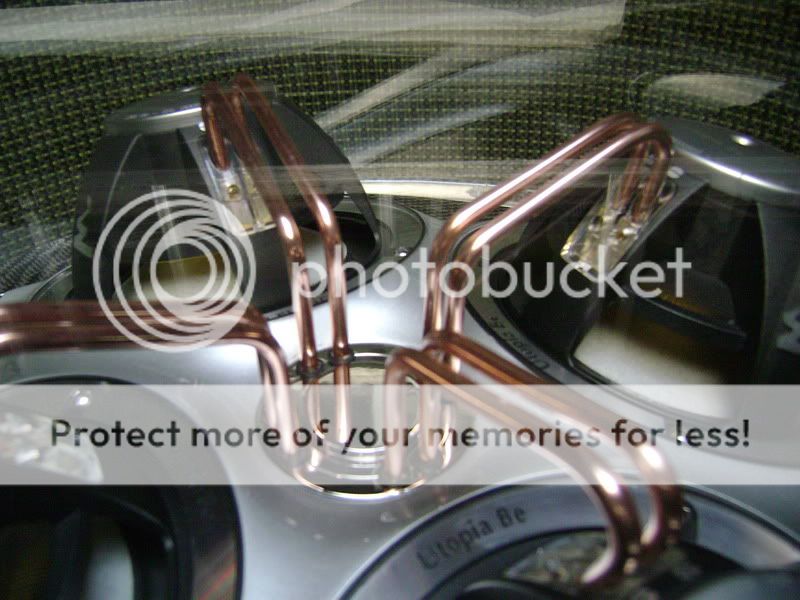
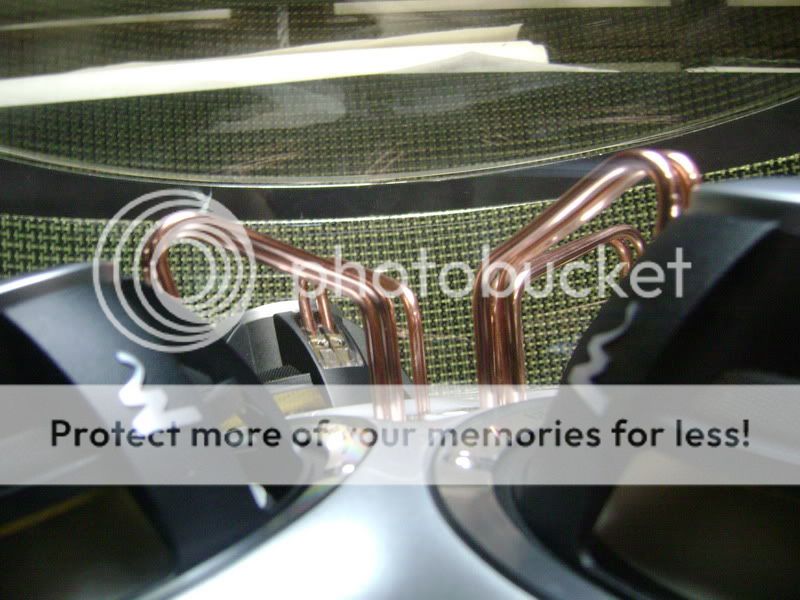
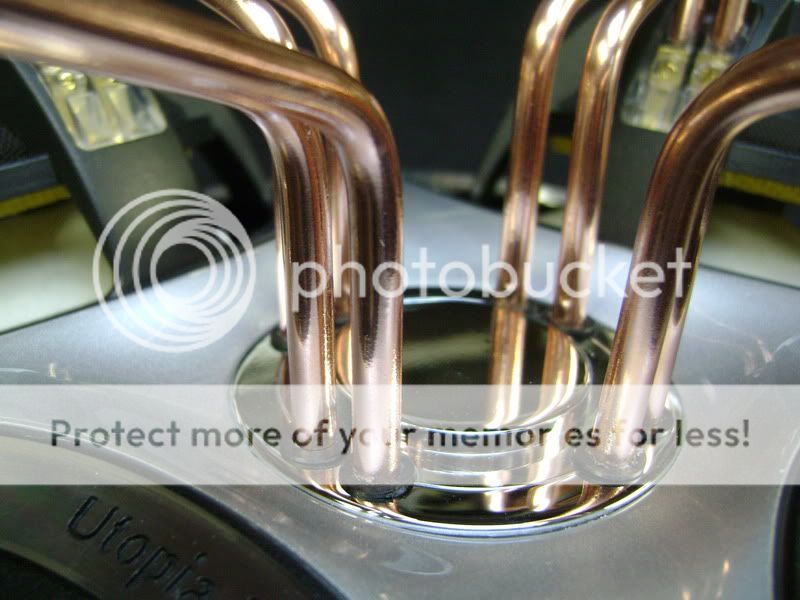
I've bent 16 massive kopper tubes to connect the focal crossovers.
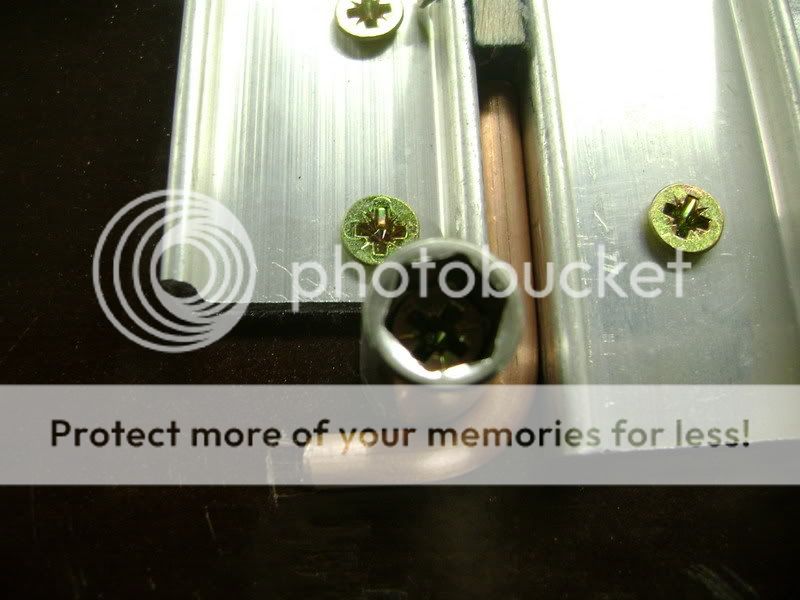
Then i made the screws shorter so that it all looks better.
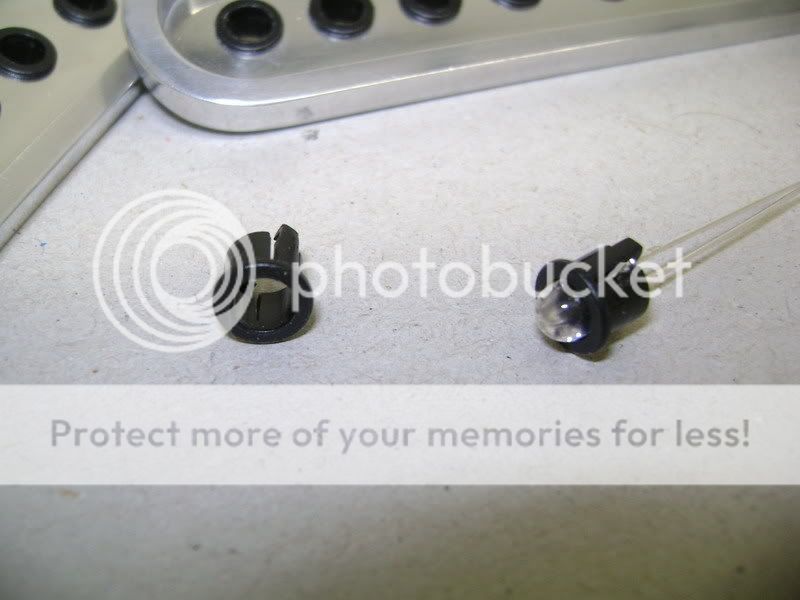
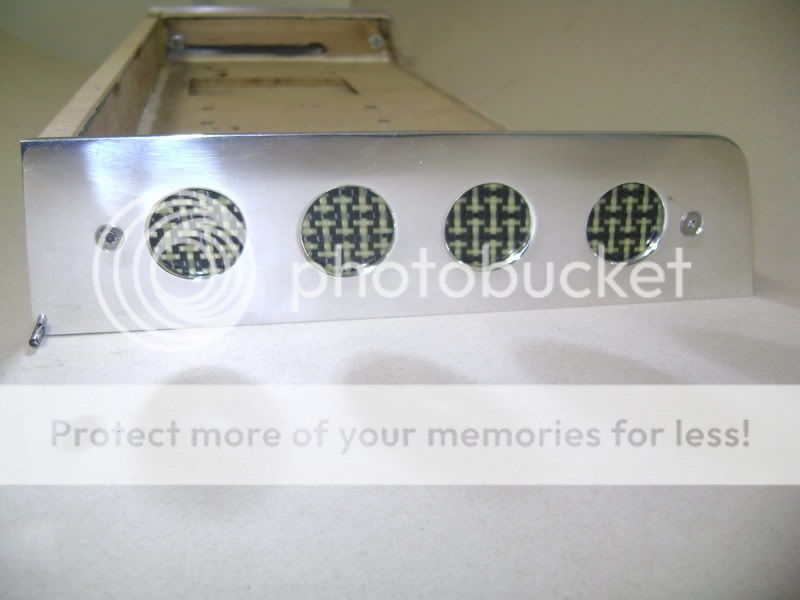
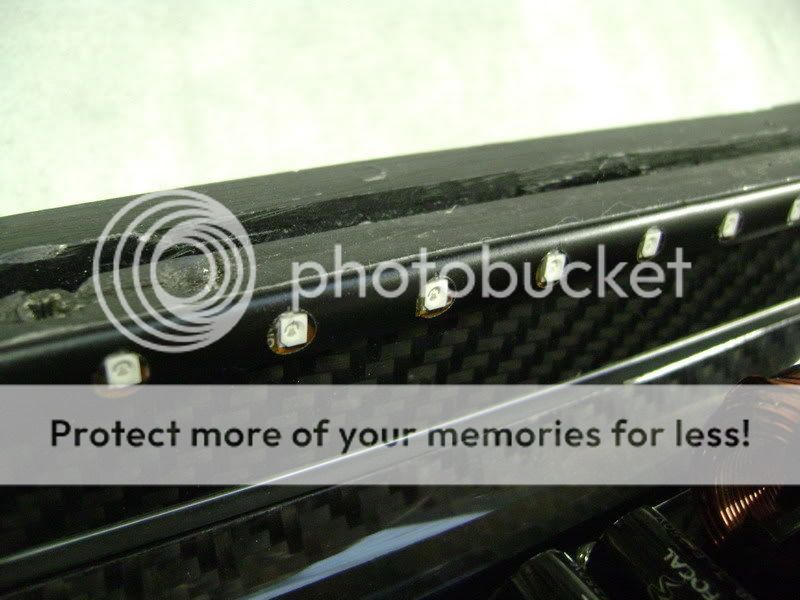
The holes in the aluminium are equiped with LED holders. Now i have a good isolation between the the kopper and the aluminium.

Then i made the screws shorter so that it all looks better.
The holes in the aluminium are equiped with LED holders. Now i have a good isolation between the the kopper and the aluminium.
Nov 27, 2011 | 11:20 AM
#125
Thread Starter
| Teamspeed Member
Joined: Jan 2008
Posts: 179
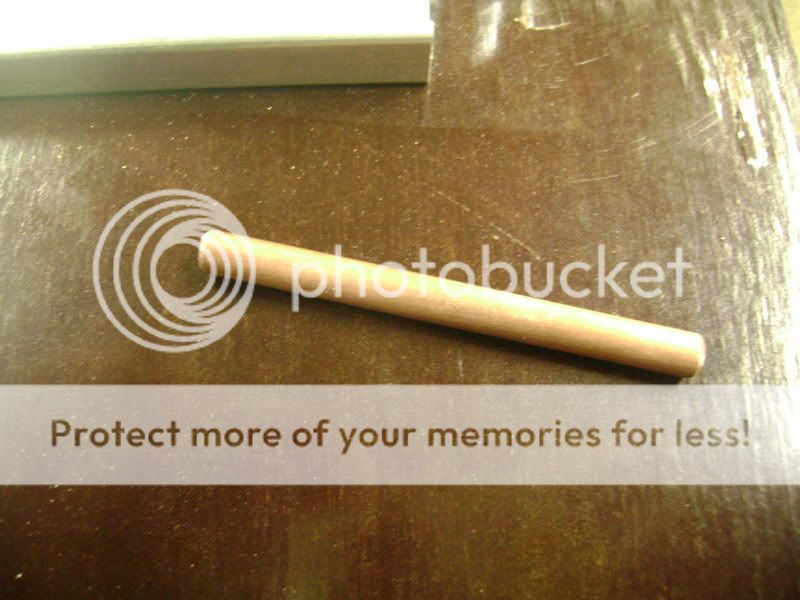
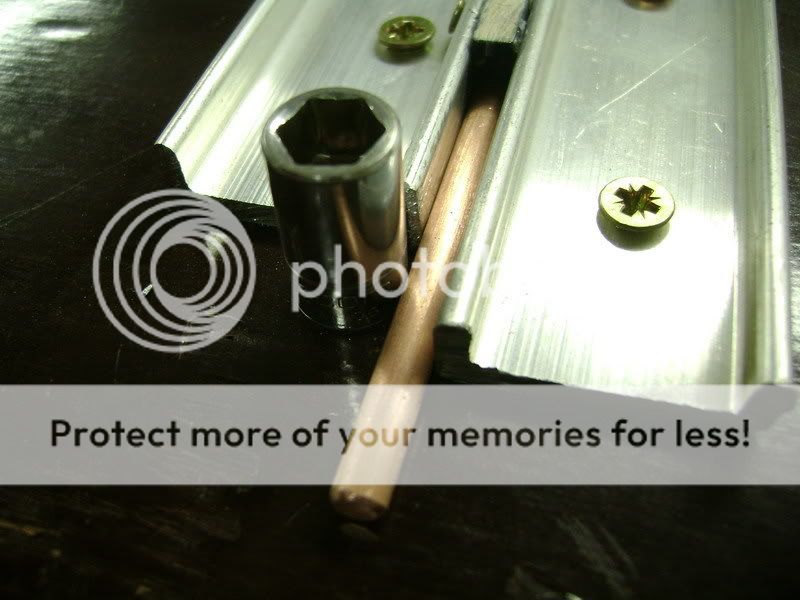
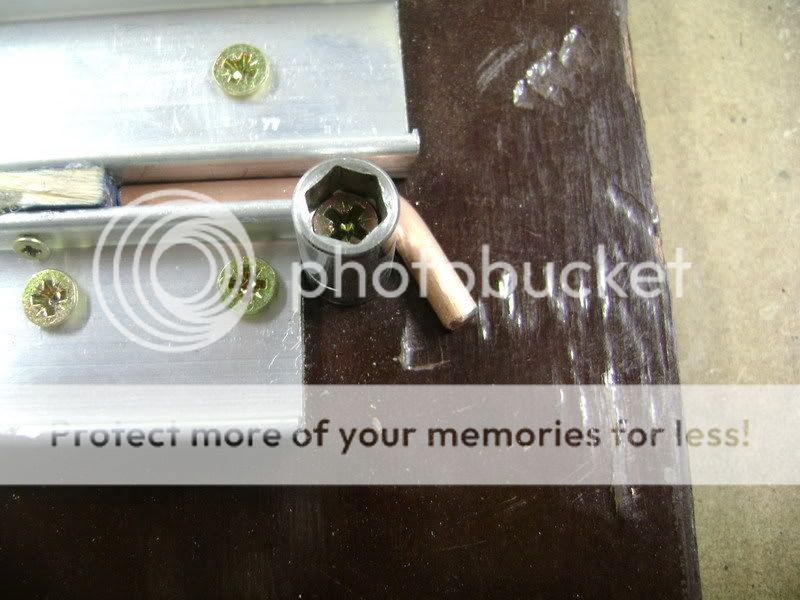
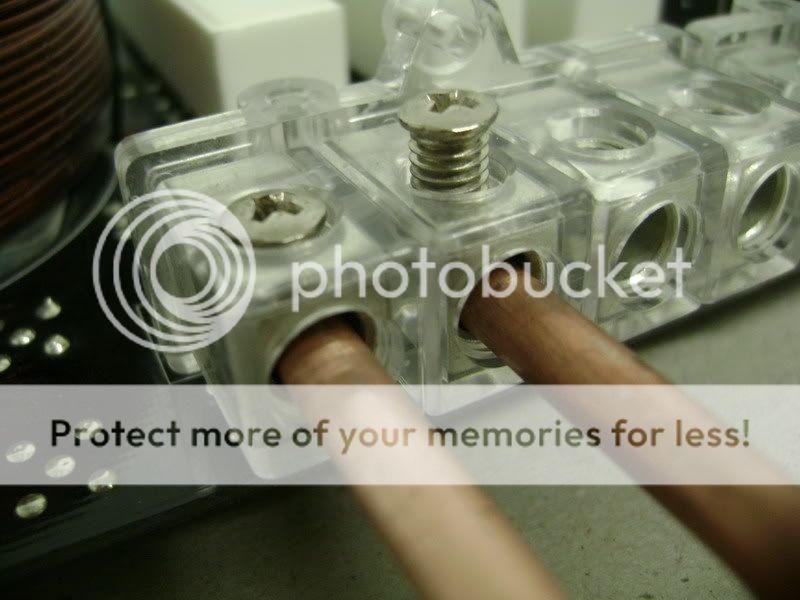
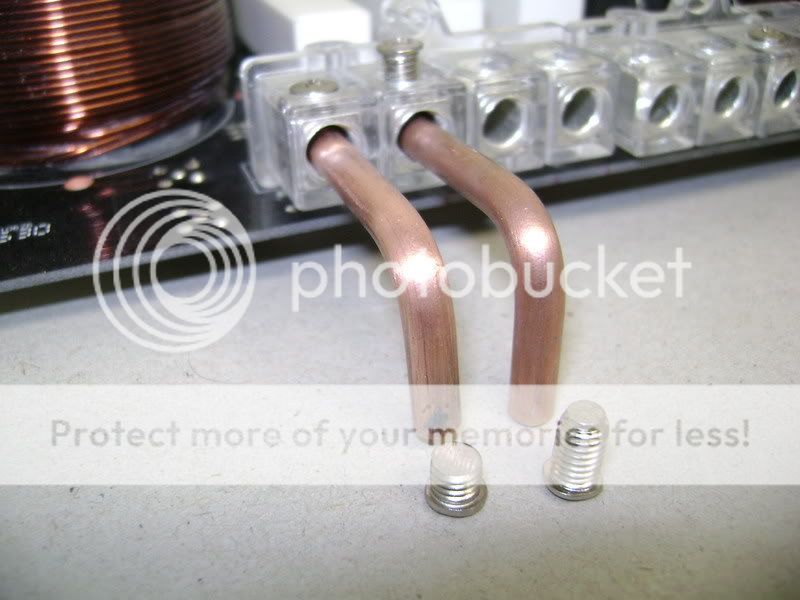
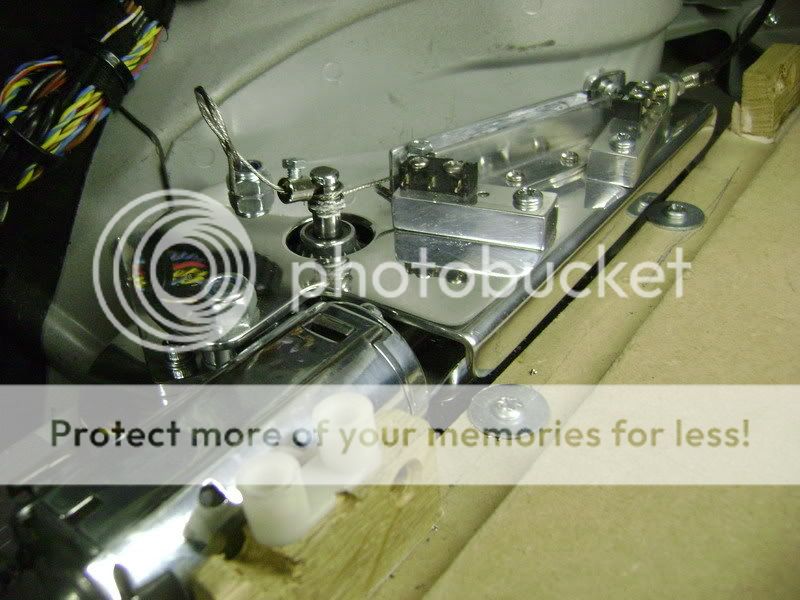
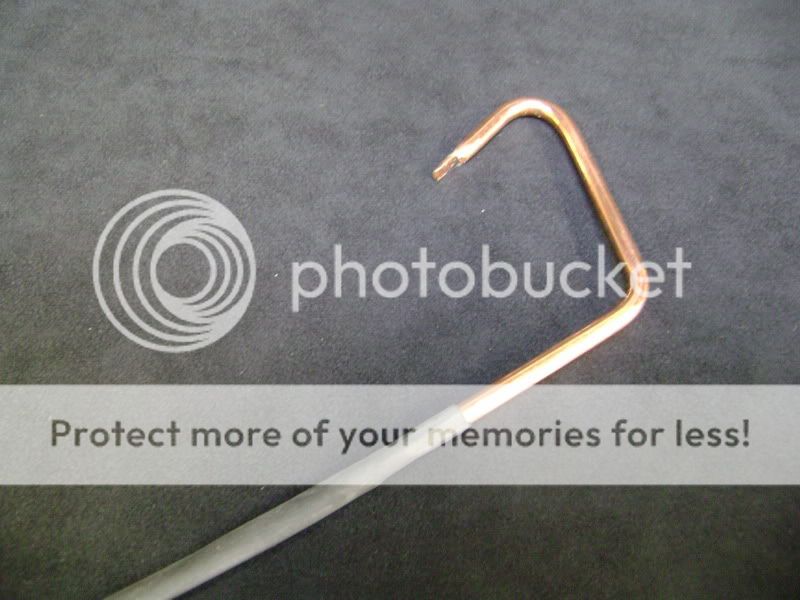
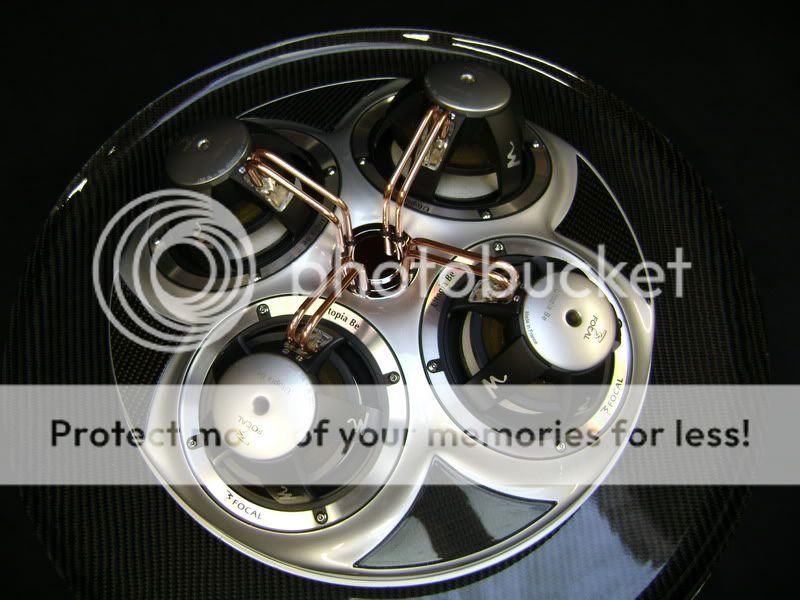
at the end of every kopper tube i'm going to fasten some speakercable.
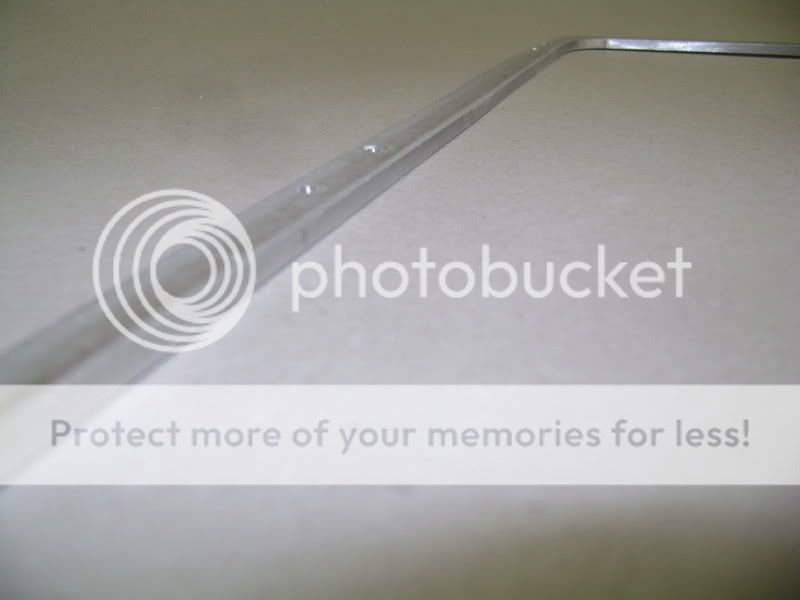
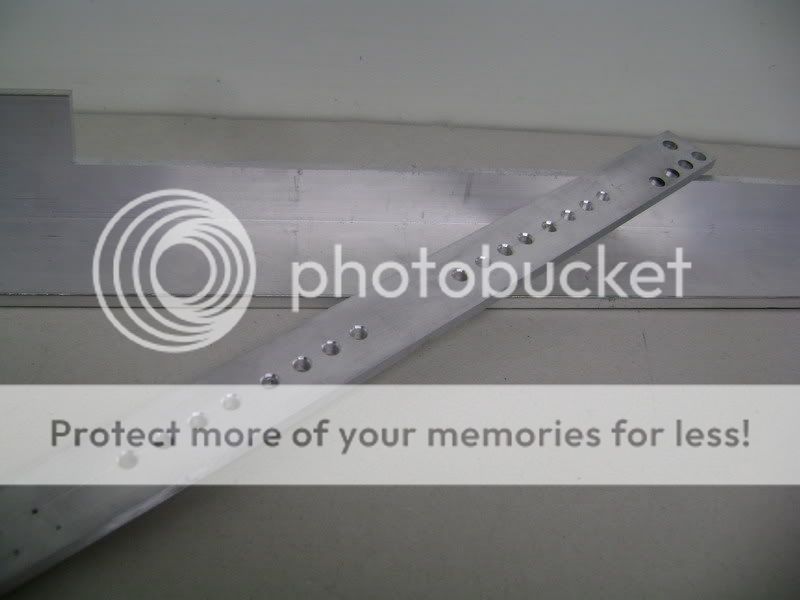
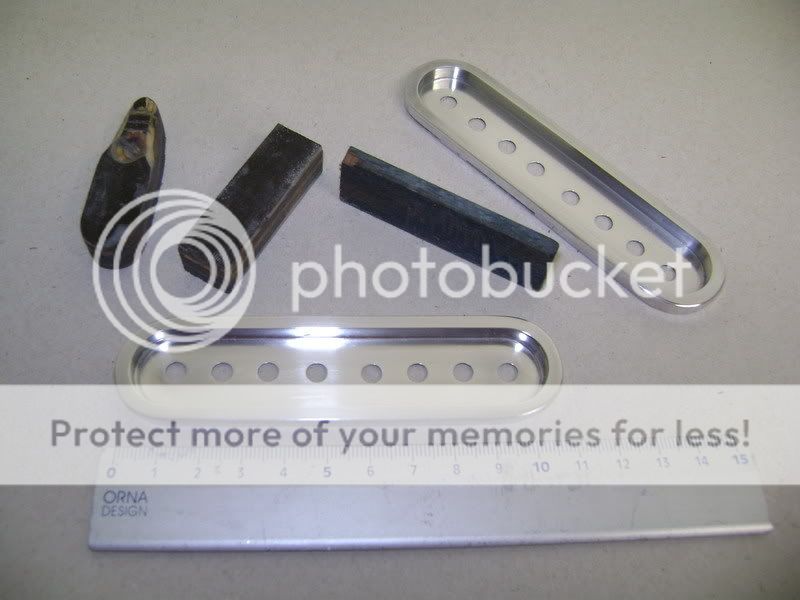
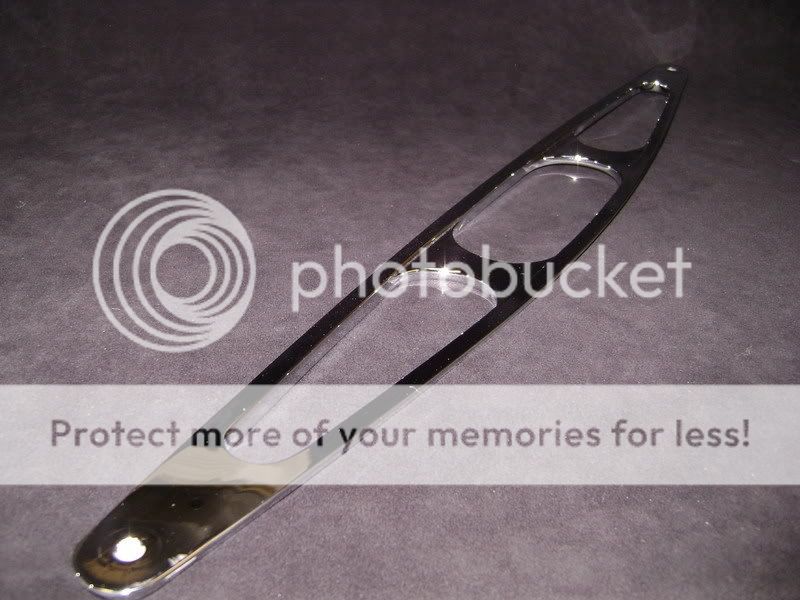
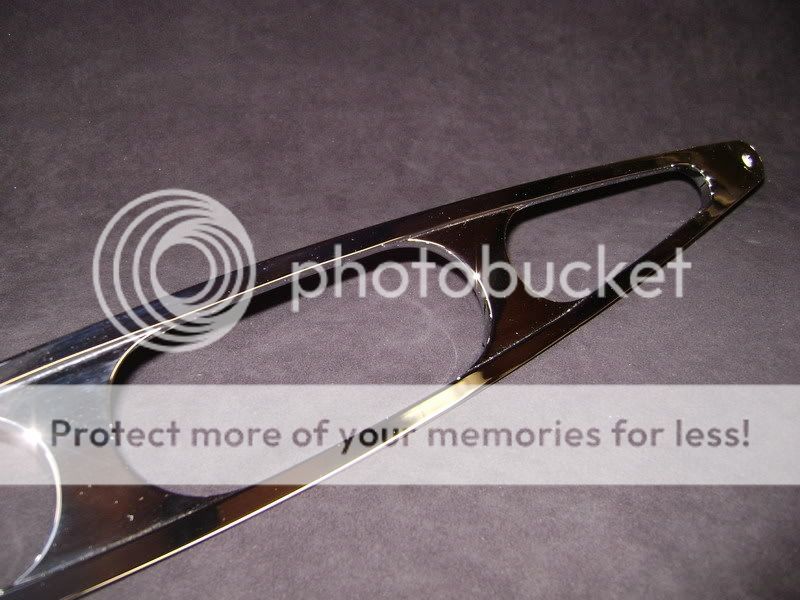
The aluminium part which will become the frontcover of the crossovertay has been chromed .

The aluminium parts which need to guide the kopper and the piece inbetween the carbon will also get chromed.
This will make it easier for me to keep everything clean in the future.
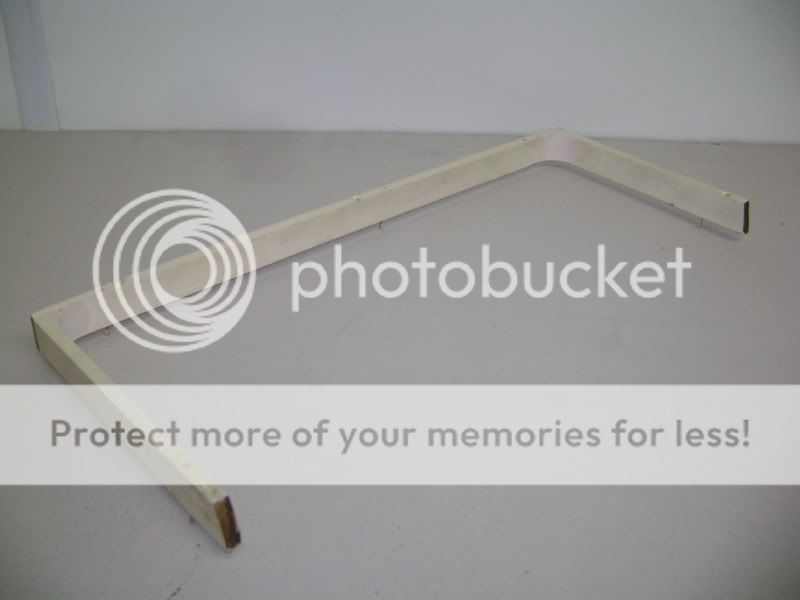
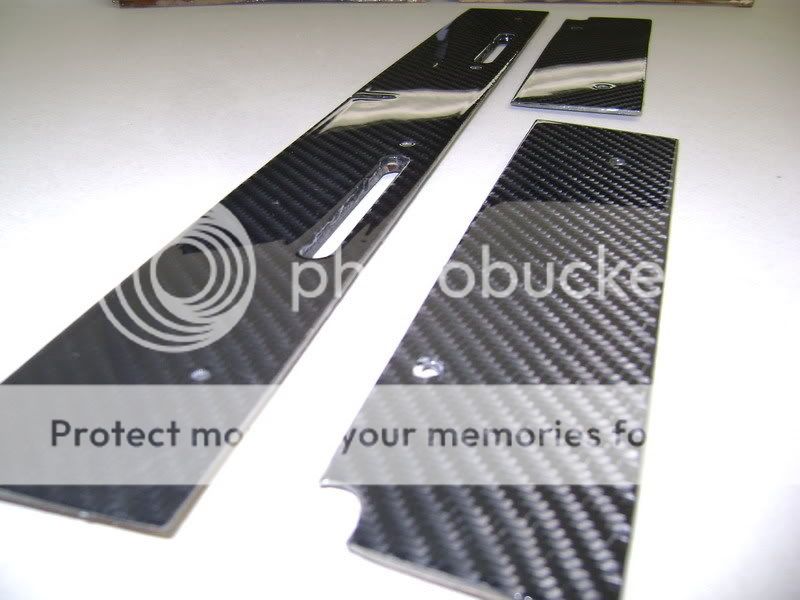
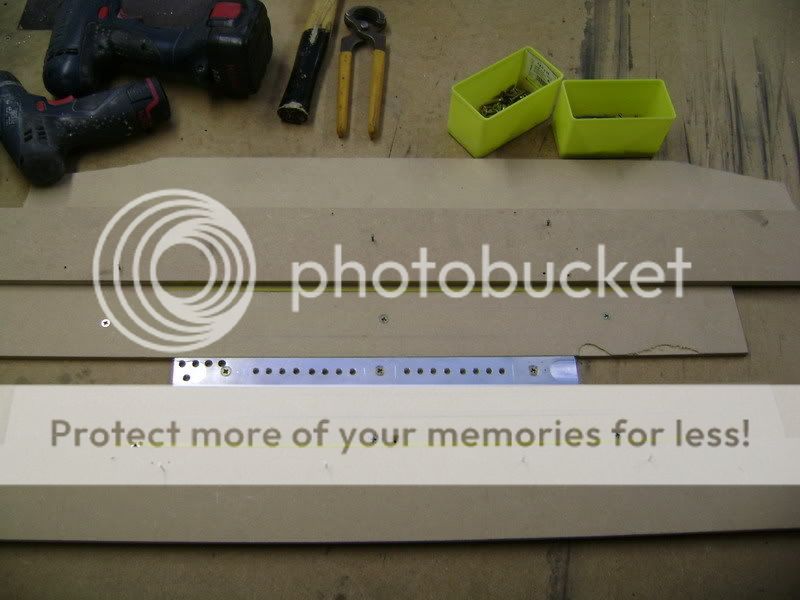
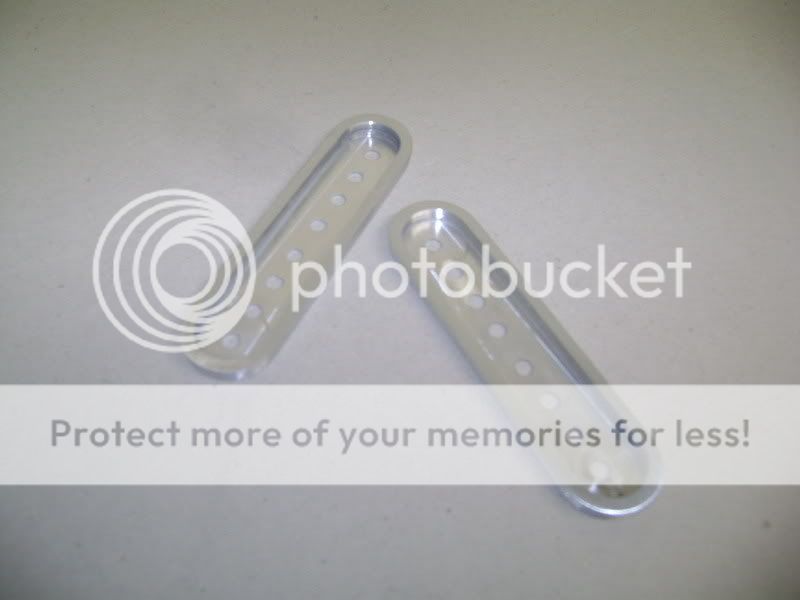
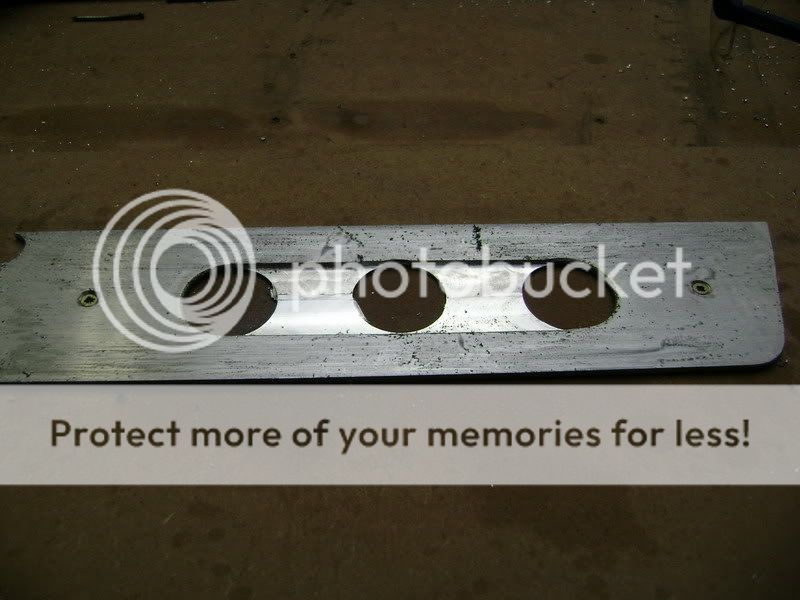
These alumium plates are made to be mounted on the side of the crossovertray.
The previous ones have been removed because they didn't completely fit the rest of the design.
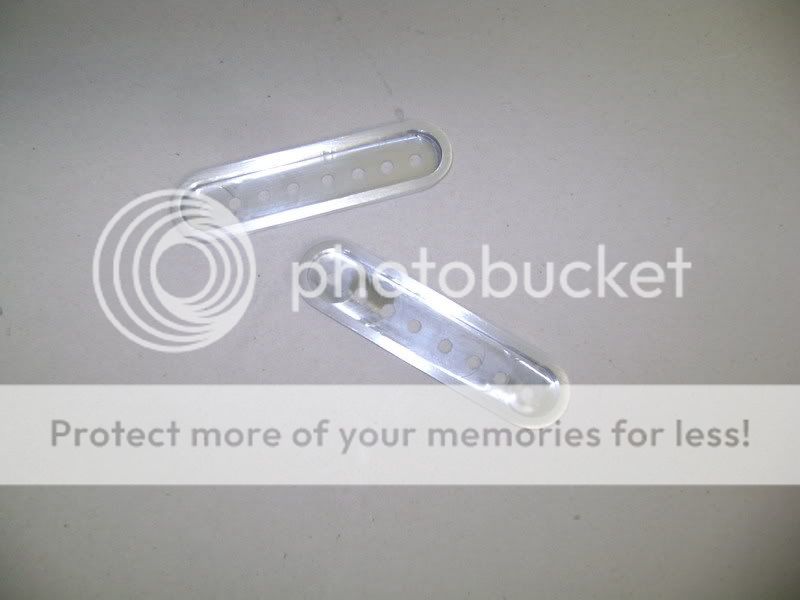
De aluminium parts on the side of the crossovertray have been replaced so the they have the same look.
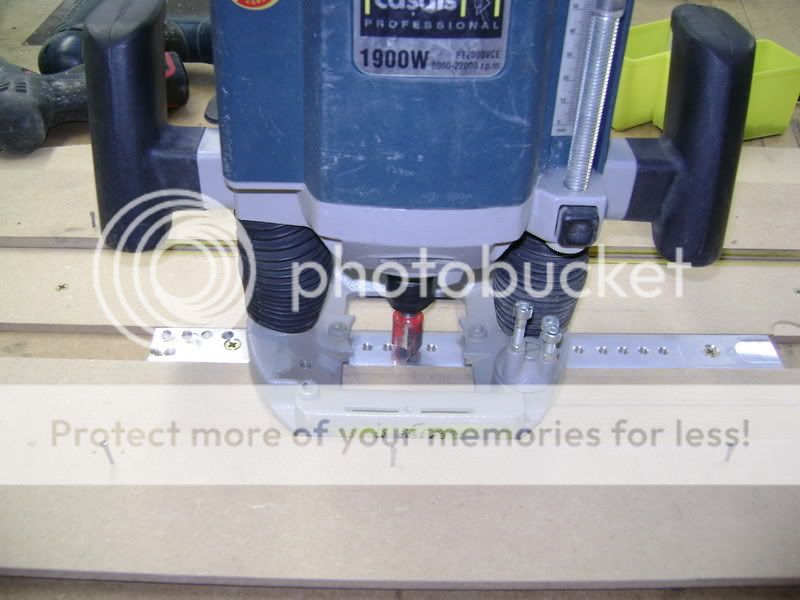
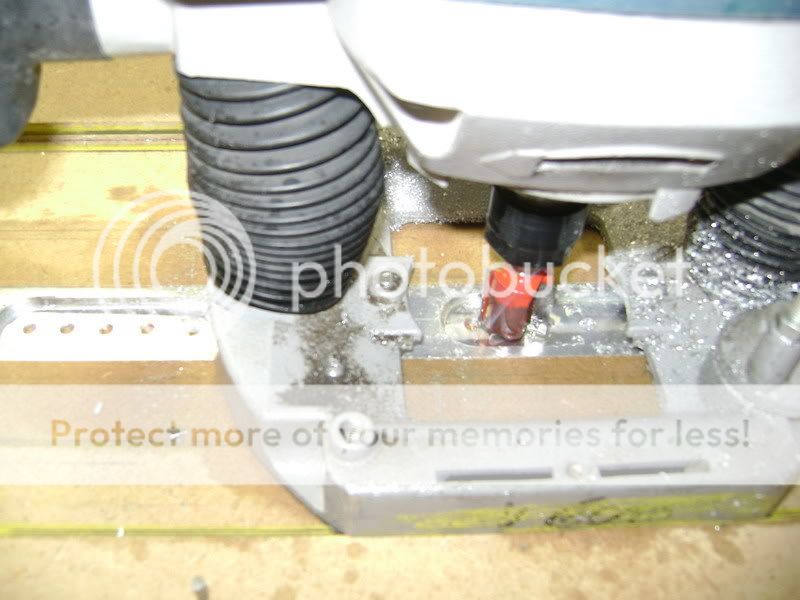
Attention to detail...
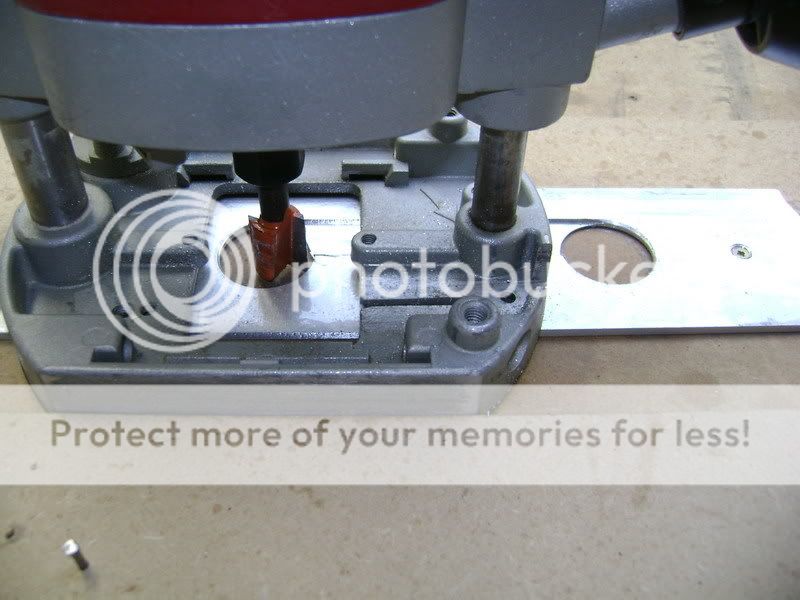
I've used the old router.
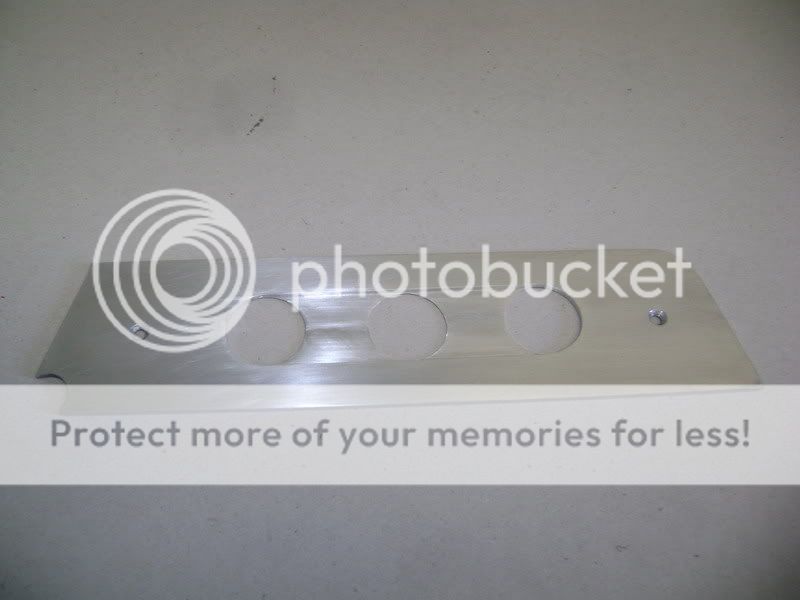
Afterwards it all got polished.
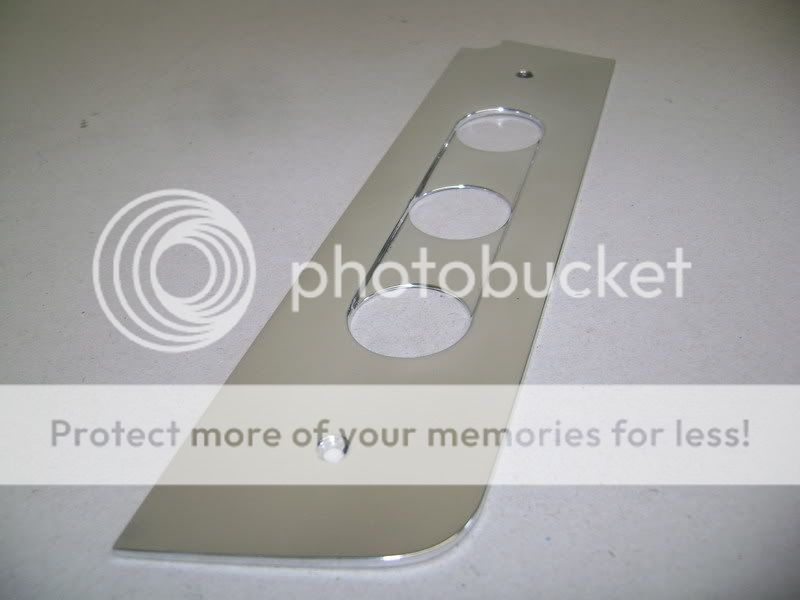
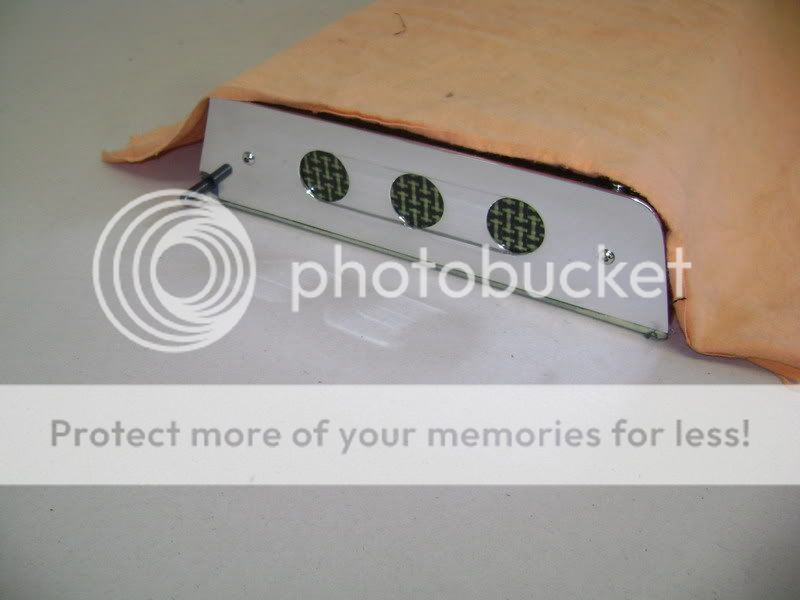

The aluminium part which will become the frontcover of the crossovertay has been chromed .
The aluminium parts which need to guide the kopper and the piece inbetween the carbon will also get chromed.
This will make it easier for me to keep everything clean in the future.
These alumium plates are made to be mounted on the side of the crossovertray.
The previous ones have been removed because they didn't completely fit the rest of the design.
De aluminium parts on the side of the crossovertray have been replaced so the they have the same look.
Attention to detail...
I've used the old router.
Afterwards it all got polished.
Nov 27, 2011 | 11:21 AM
#126
Thread Starter
| Teamspeed Member
Joined: Jan 2008
Posts: 179
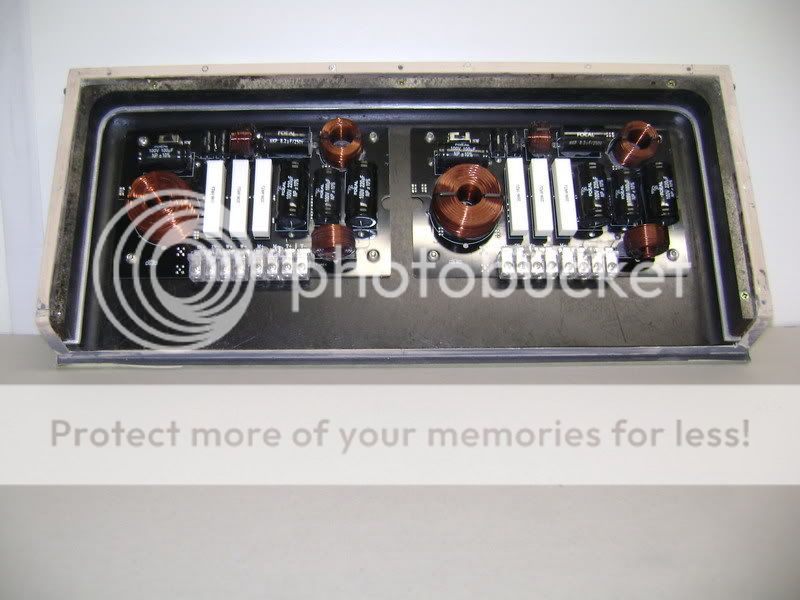
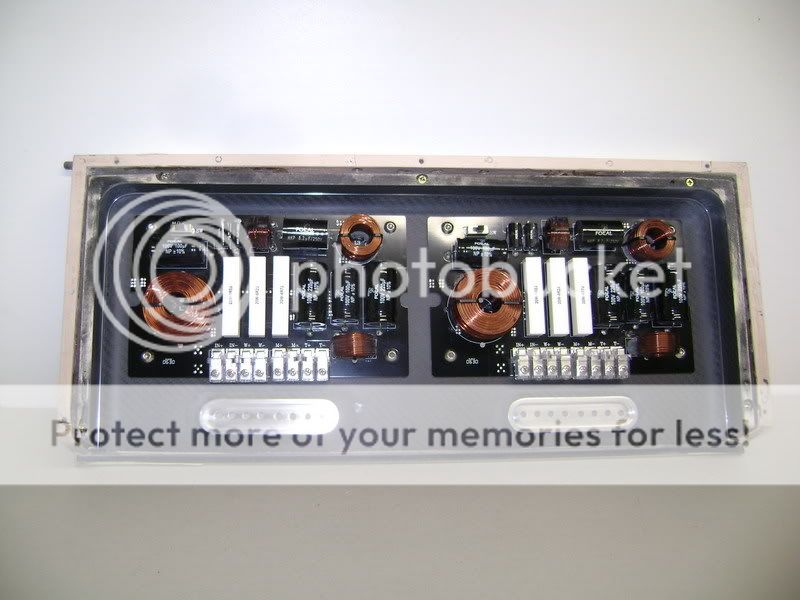
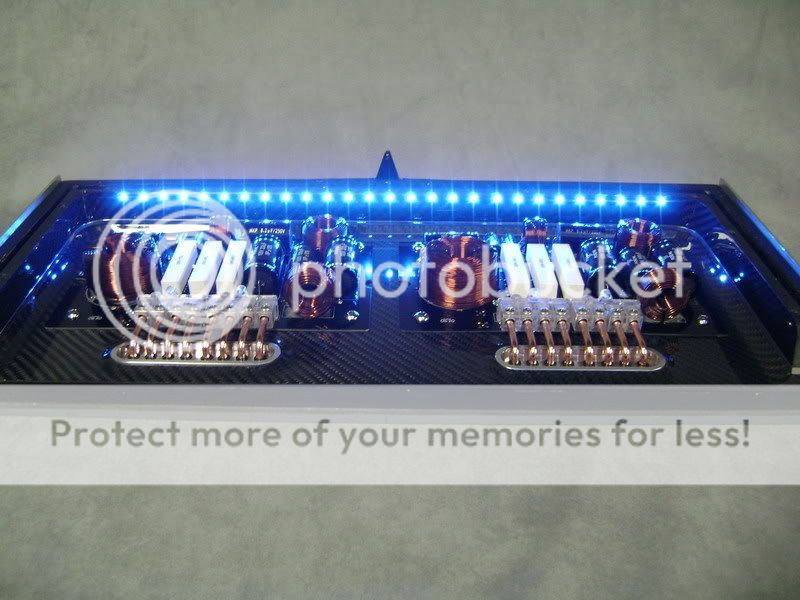
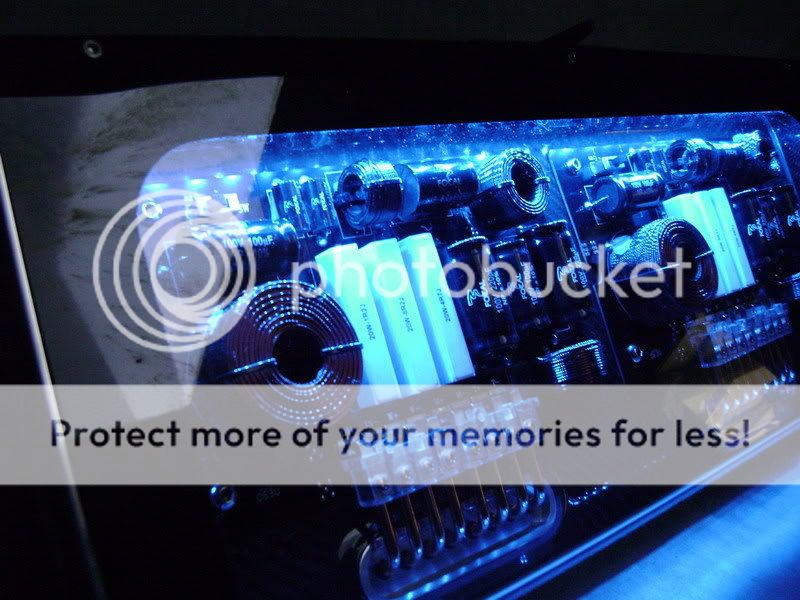
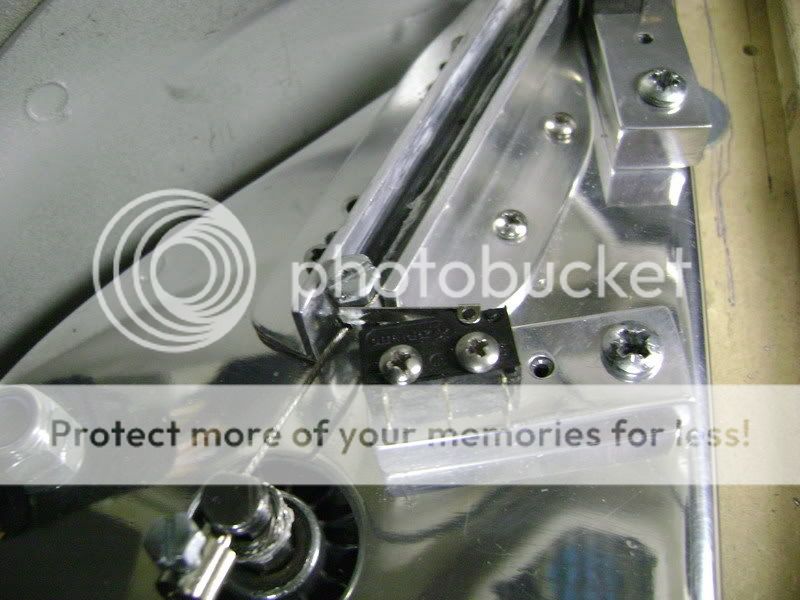
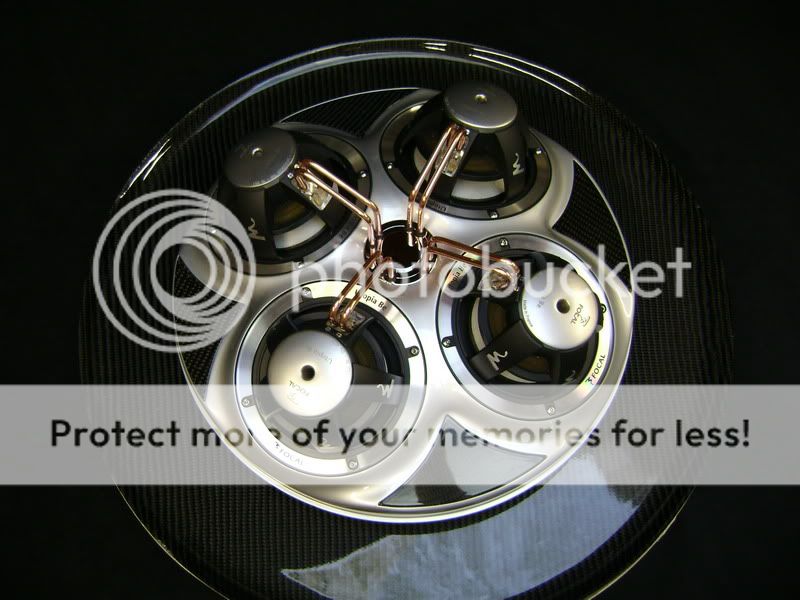
This is the complete set up, you can see that everything worked out pretty good.
It's not easy perfectly line up the 16 tubes, and the fact that the connectionpoints on the cross-over aren't even in a straight angle doens't make it easier.

The kopper connectors have been sanded and clearcoated
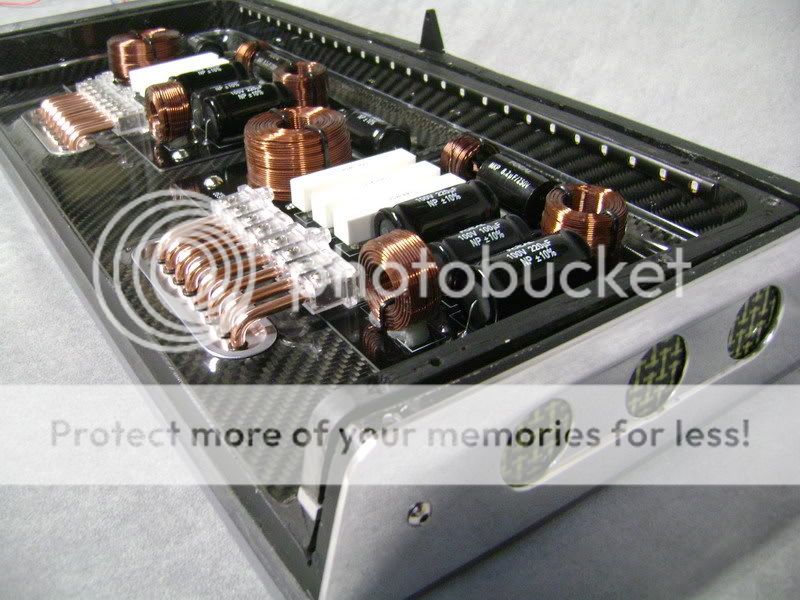

It's not easy perfectly line up the 16 tubes, and the fact that the connectionpoints on the cross-over aren't even in a straight angle doens't make it easier.
The kopper connectors have been sanded and clearcoated

 Nov 27, 2011 | 11:23 AM
#128
Thread Starter
| Teamspeed Member
Joined: Jan 2008
Posts: 179
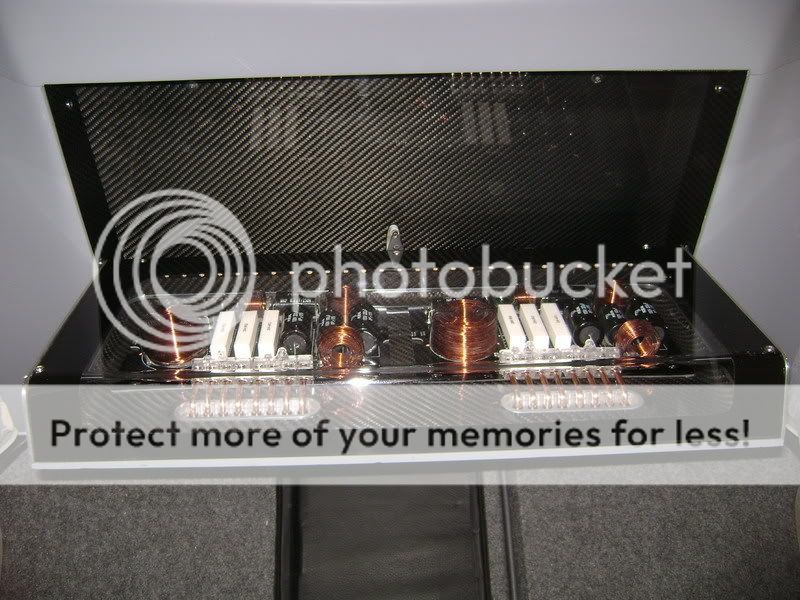
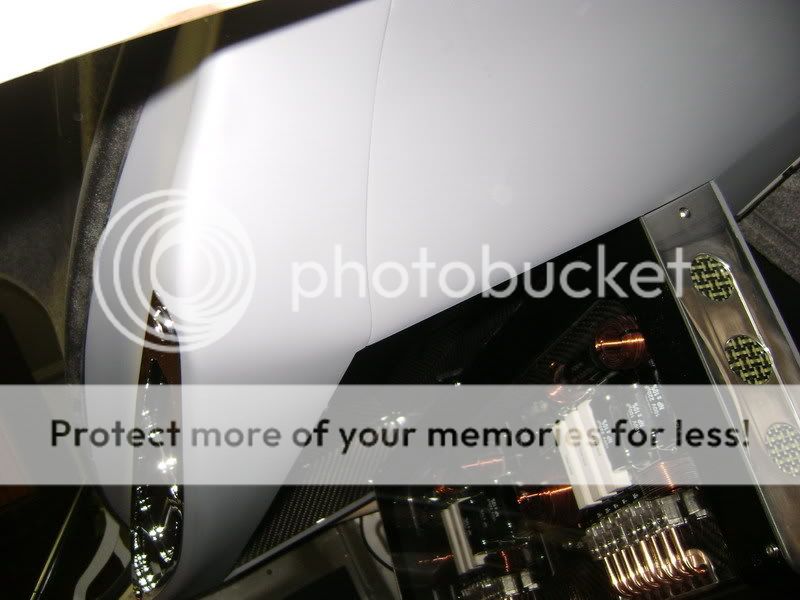
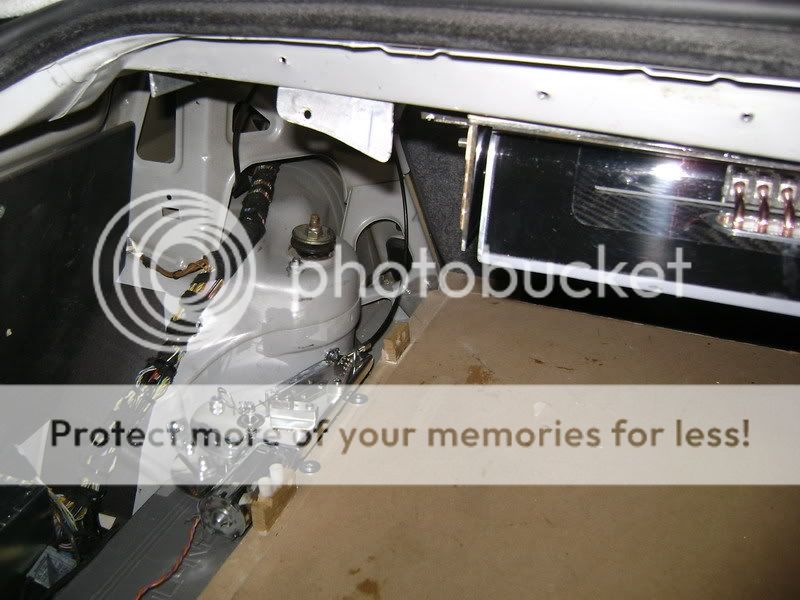
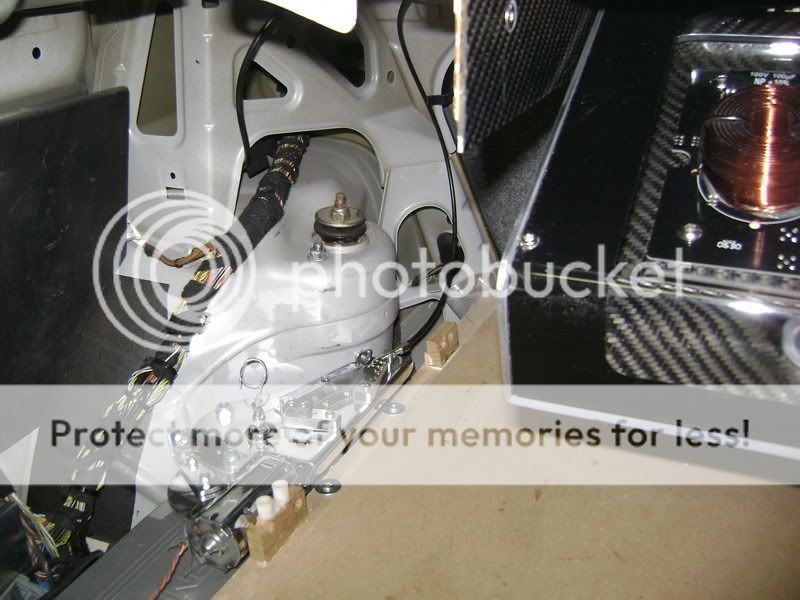
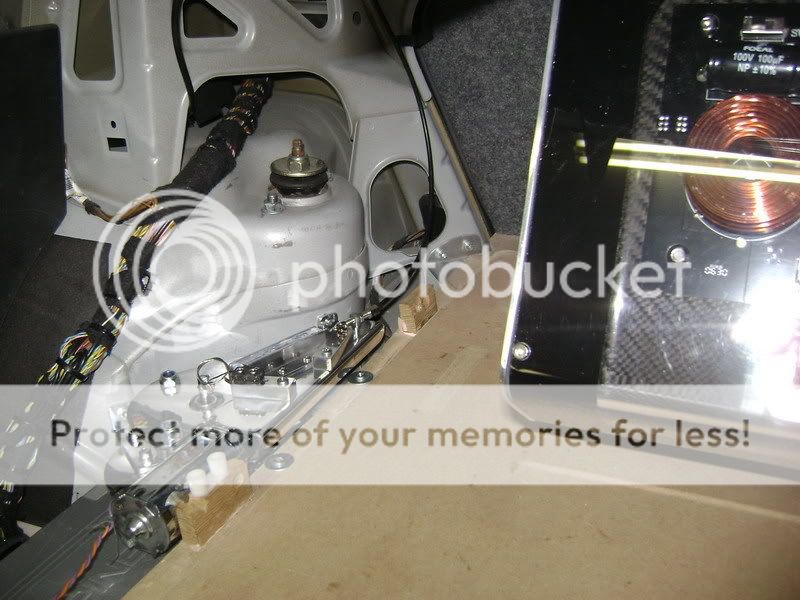
he you can see everything mounted in the car
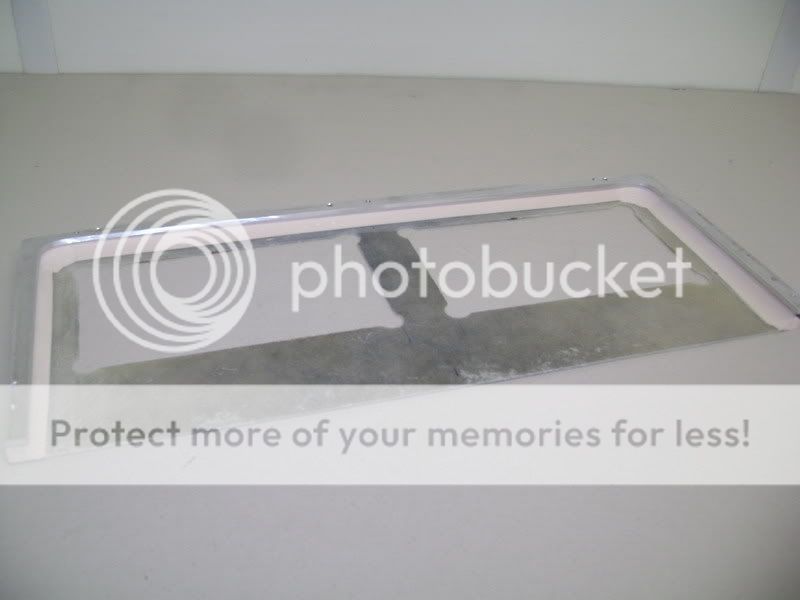
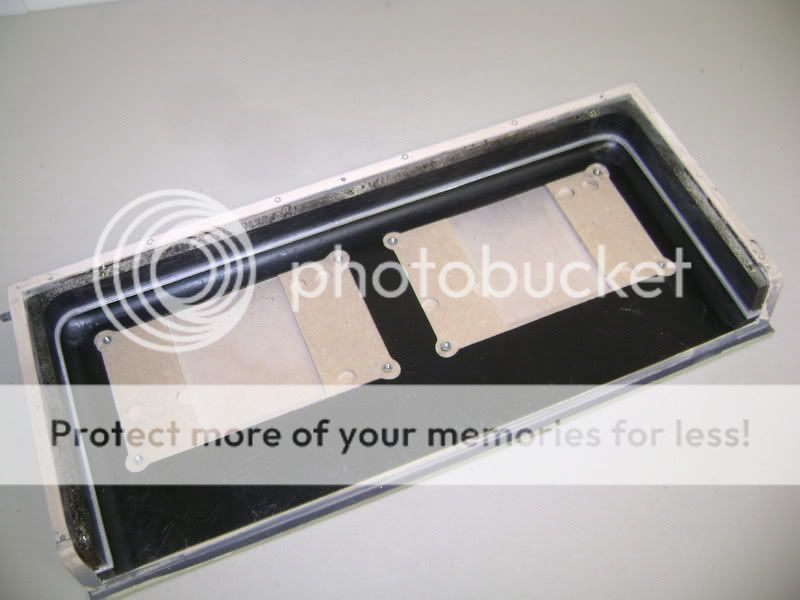
this is the frontpiece of the crossovertray.
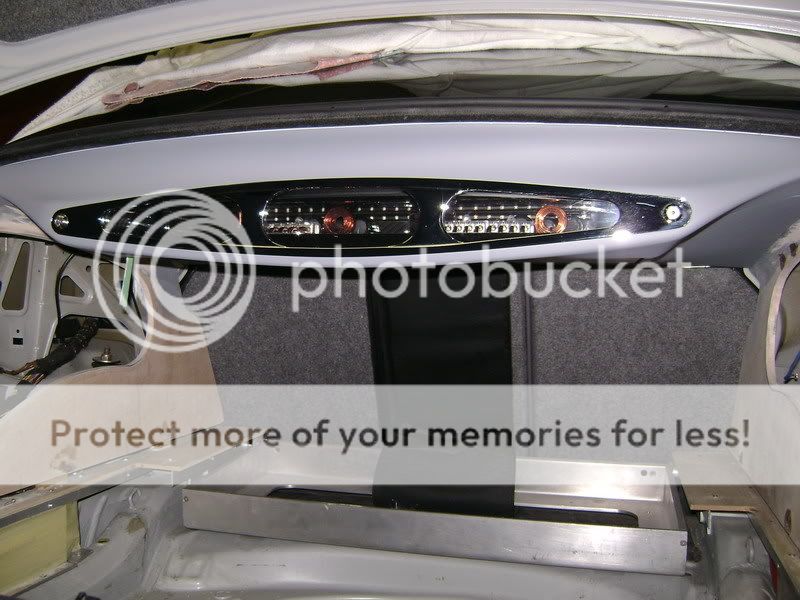
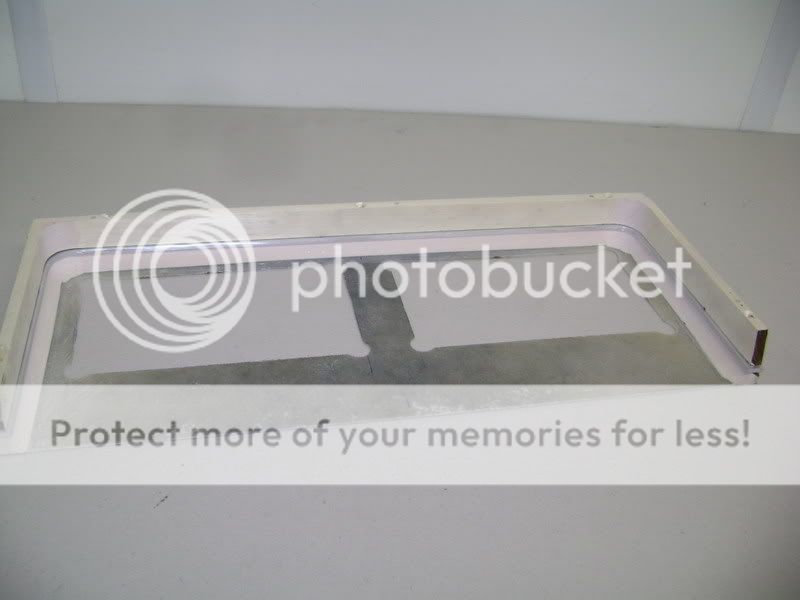
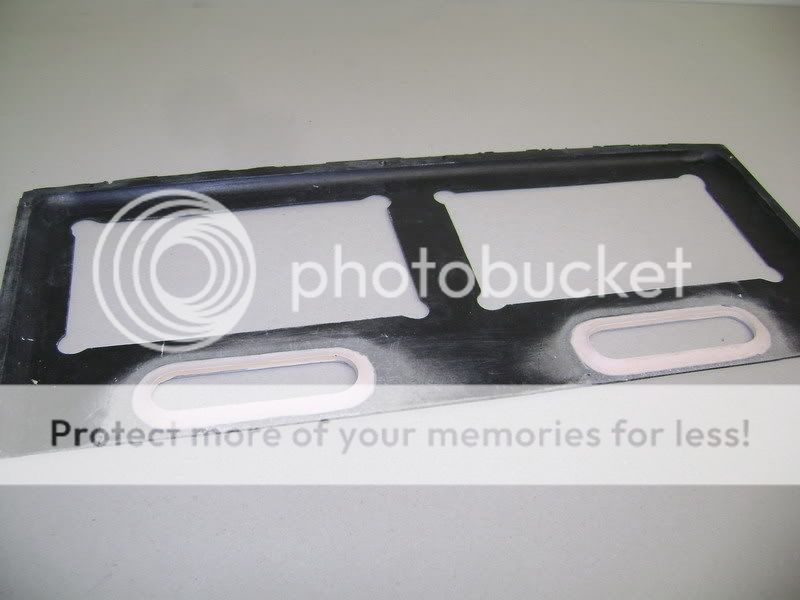
picture of everything opened. but i won't let ik open this much.
First i'll mount everything so that i can see what i'm going to do with it
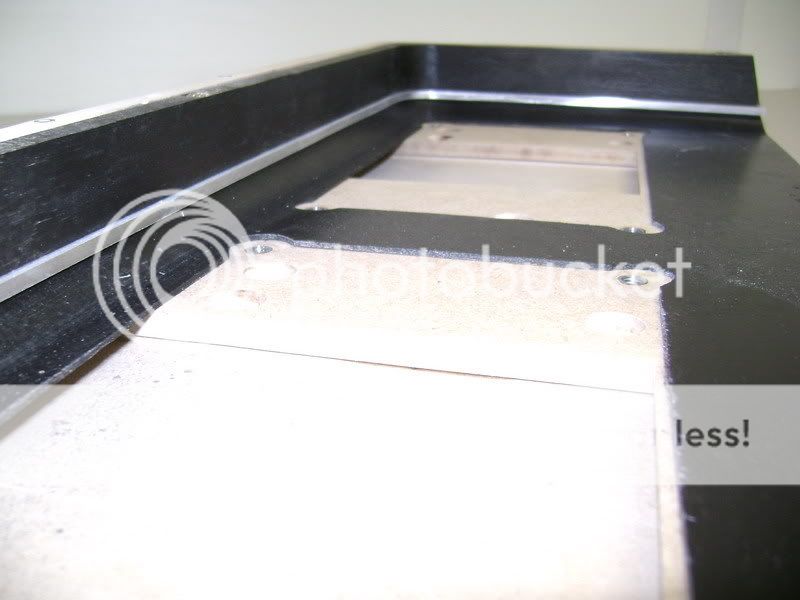
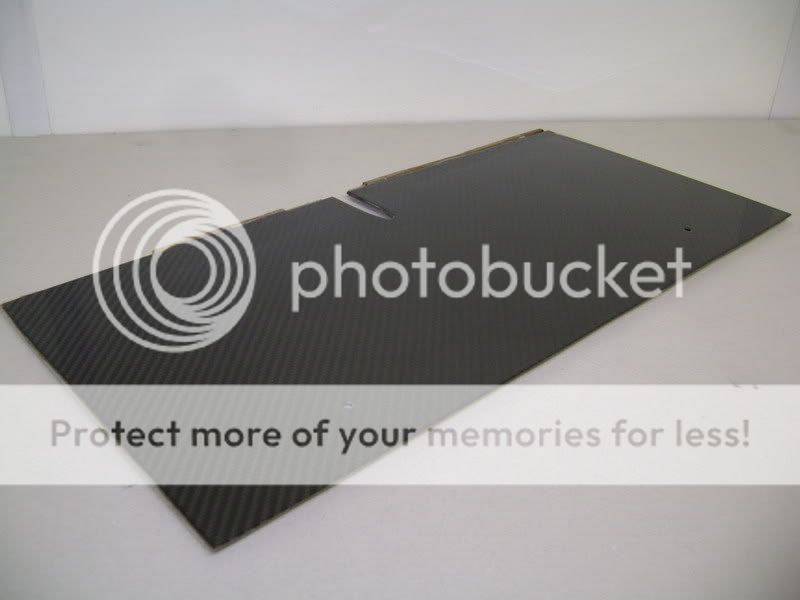
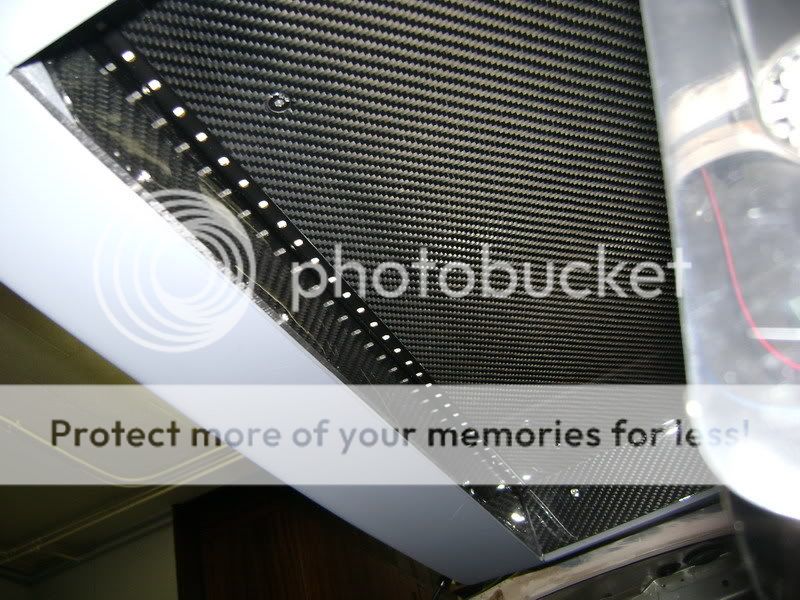
the carbonworks...
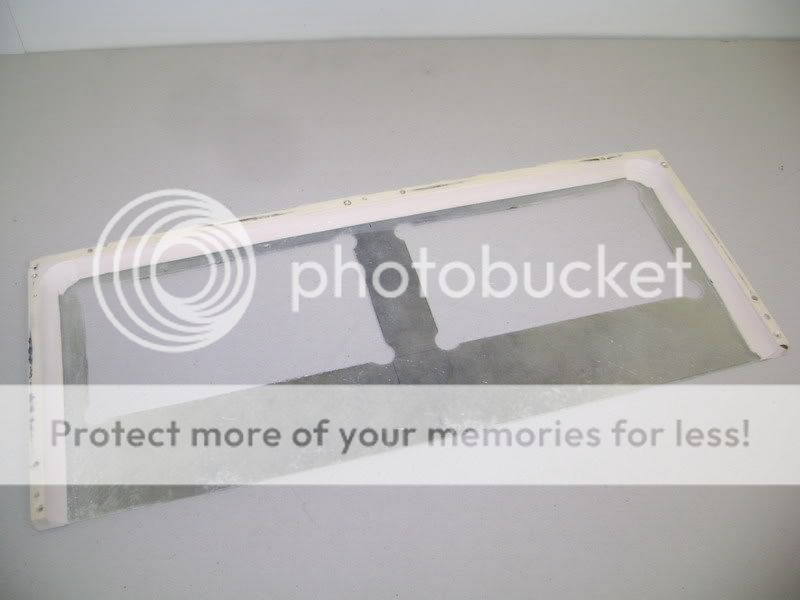
This is the kevlar piece which will be mounted behind the aluminium on the side of the tray


this is the frontpiece of the crossovertray.
picture of everything opened. but i won't let ik open this much.
First i'll mount everything so that i can see what i'm going to do with it
the carbonworks...
This is the kevlar piece which will be mounted behind the aluminium on the side of the tray
 Nov 29, 2011 | 02:36 PM
#130
Thread Starter
| Teamspeed Member
Joined: Jan 2008
Posts: 179
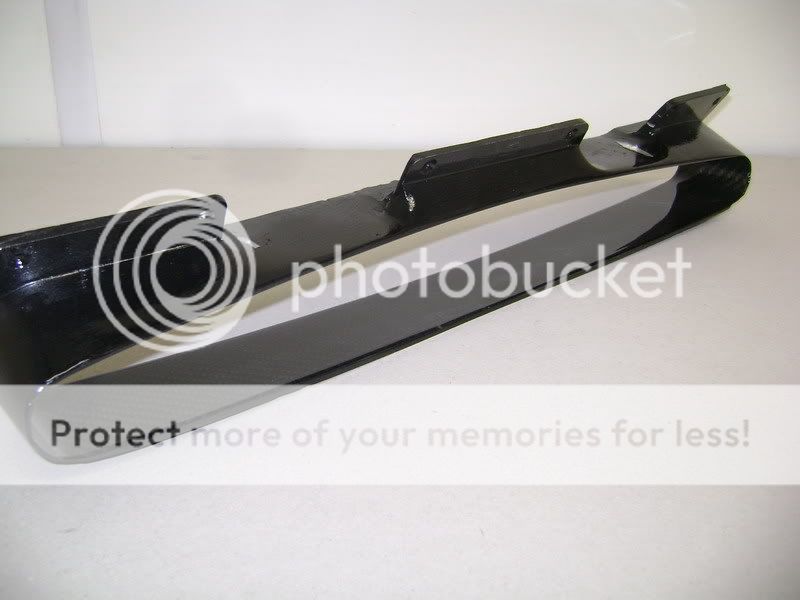
As you may know, I was working on the front bumper.
Meanwhile the bumper has been painted and I’m really satisfied with the paintjob. I also took the opportunity to paint the sub-box.
So I had something to do while the paint on the bumper was drying.
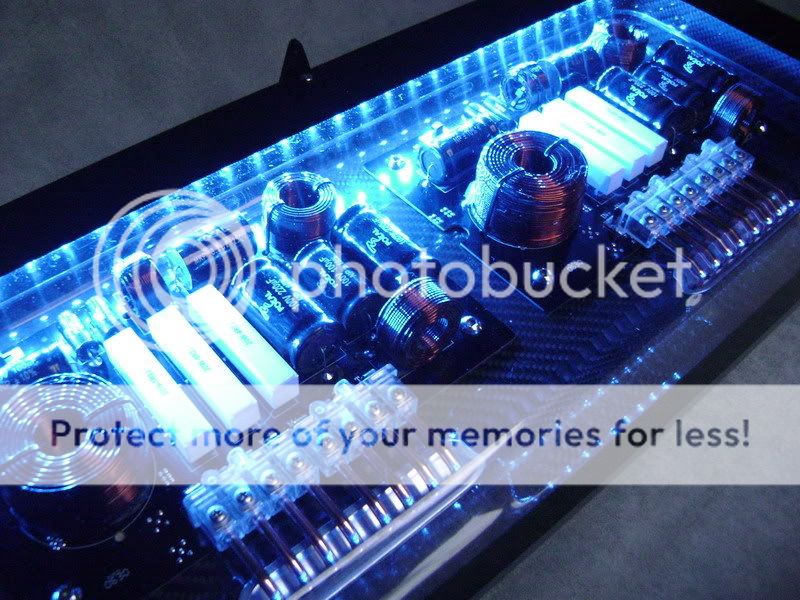
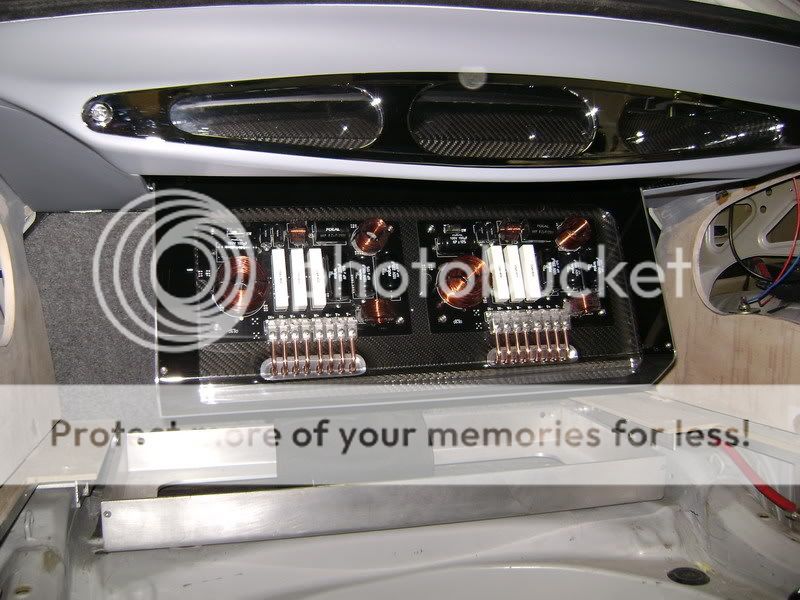
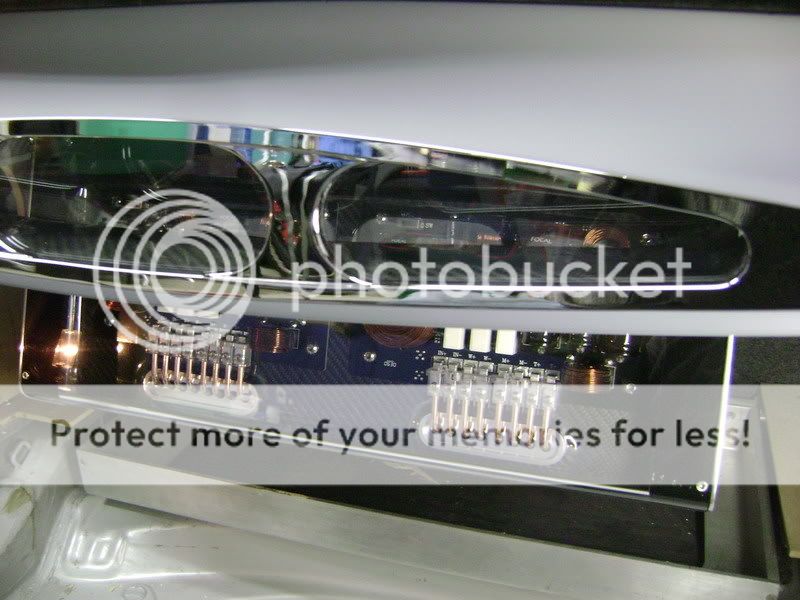
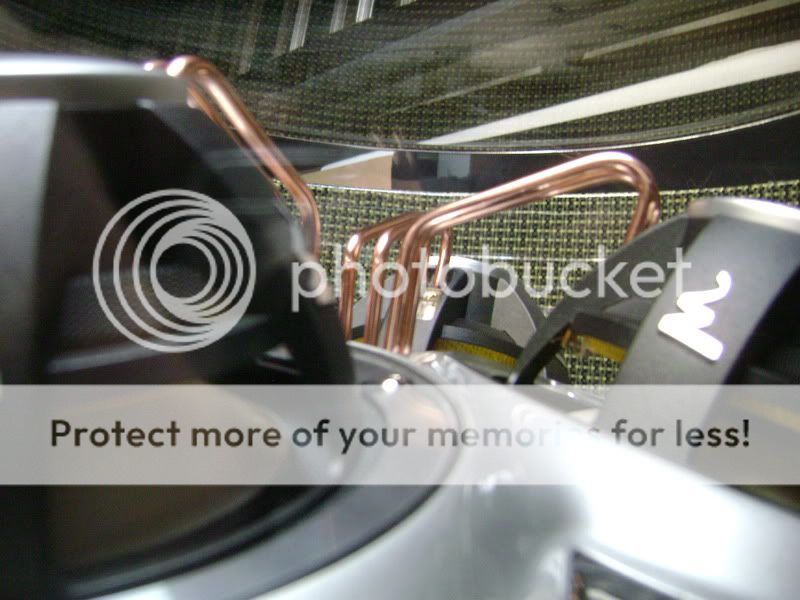
First of all, I made all the copper shine, and put a layer of varnish over it.
Soldered the cables and put some shrinking tubes over them.
The alu plate where the copper gets through got chromed. So keeping it clean, won’t be an issue any more
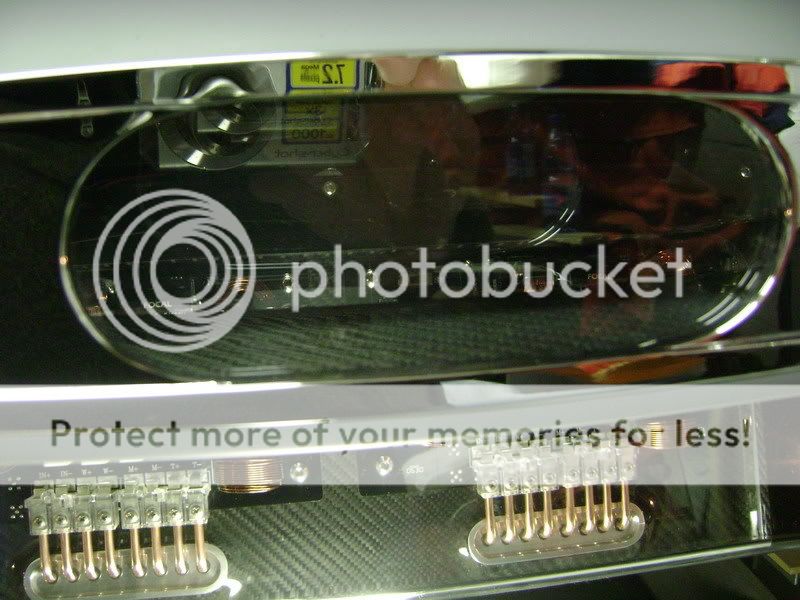
This is the result of lots of thinking.
Here the carbonkevlar and the plexy cupola is on.
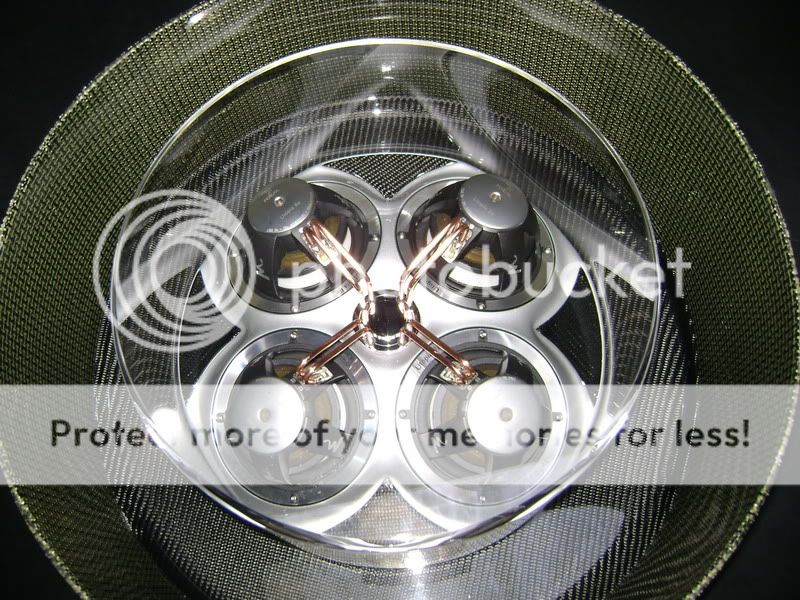
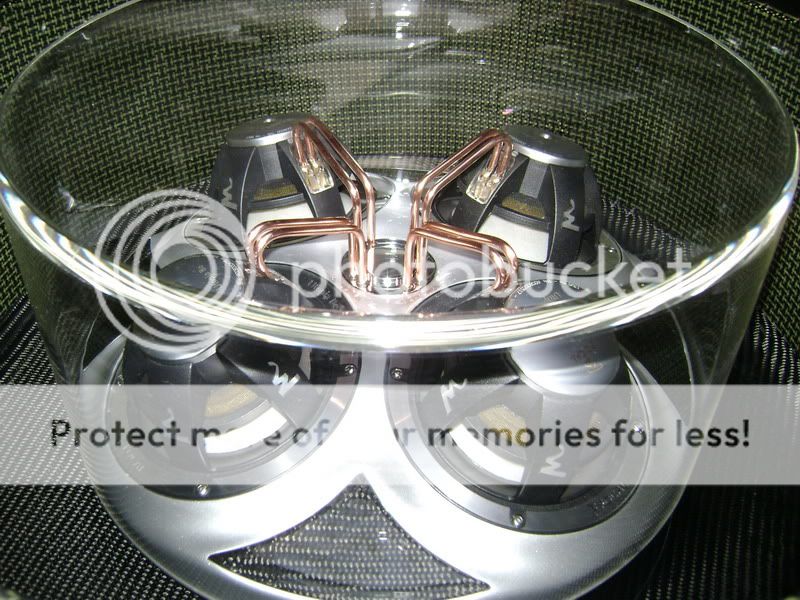
Almost like fishes in a goblet
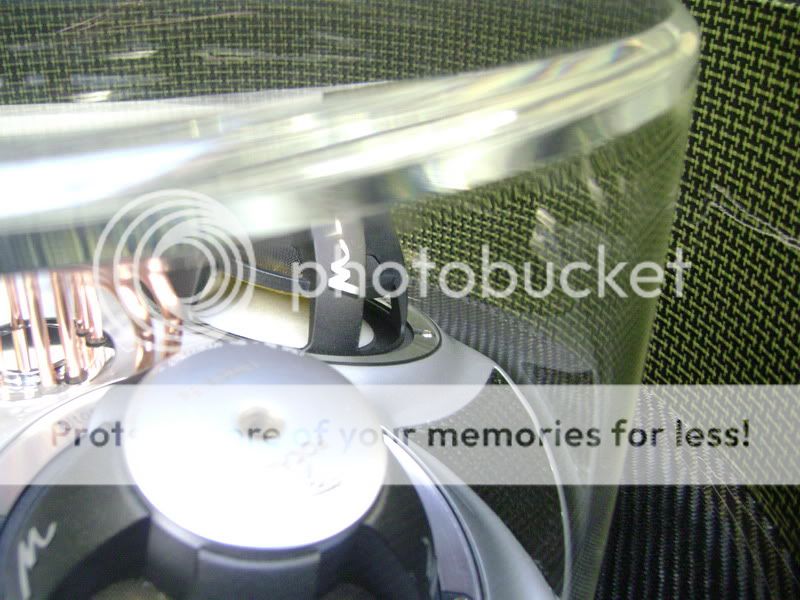
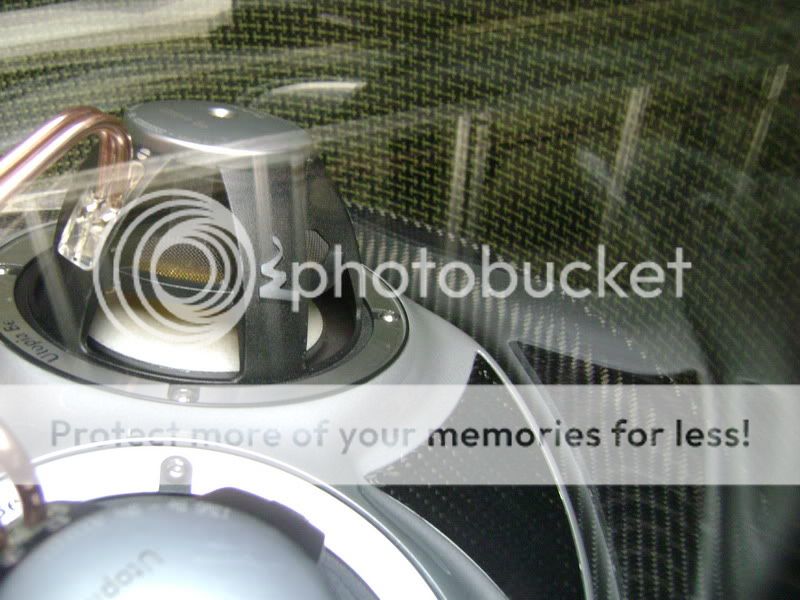
I’m really satisfied with this in particular. Trying to get the copper right where it had to be, was a really big challenge.
Still a lot better then some ordinary cables, don’t you think?
Meanwhile the bumper has been painted and I’m really satisfied with the paintjob. I also took the opportunity to paint the sub-box.
So I had something to do while the paint on the bumper was drying.
First of all, I made all the copper shine, and put a layer of varnish over it.
Soldered the cables and put some shrinking tubes over them.
The alu plate where the copper gets through got chromed. So keeping it clean, won’t be an issue any more
This is the result of lots of thinking.
Here the carbonkevlar and the plexy cupola is on.
Almost like fishes in a goblet
I’m really satisfied with this in particular. Trying to get the copper right where it had to be, was a really big challenge.
Still a lot better then some ordinary cables, don’t you think?