
adding resistors to LEDs when necessary
 Apr 24, 2009 | 04:23 PM
#1
Thread Starter
| Teamspeed Junior Member
Joined: Apr 2009
Posts: 63


adding resistors to LEDs when necessary
difficulty 1-5: 2
cost: $1.99 (approximate, not including tools)
tools needed:
soldering iron
soldering wire
10-16 gauge wire, a few inches ~8
electrical tape
wire cutters
wire splicers
Phillips head screwdriver
Small flathead screwdriver
10w 100ohm resistor ($1.99 from radioshack)
**another member used a 10w 47ohm successfully

So if you purchased a LED kit that has no built in resistor, or the resistor is not working this is an easy fix. You can buy the resistor at your local radioshack or even online:
100 ohm 10W 5% Wirewound Resistor (2-Pack) - RadioShack.com
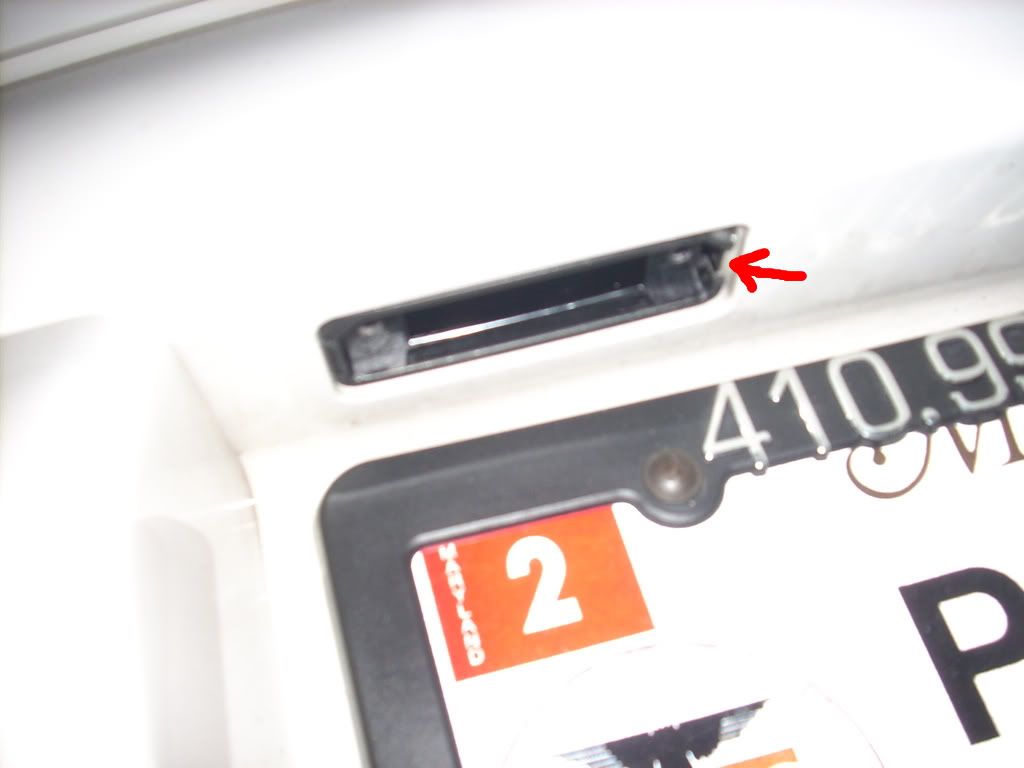
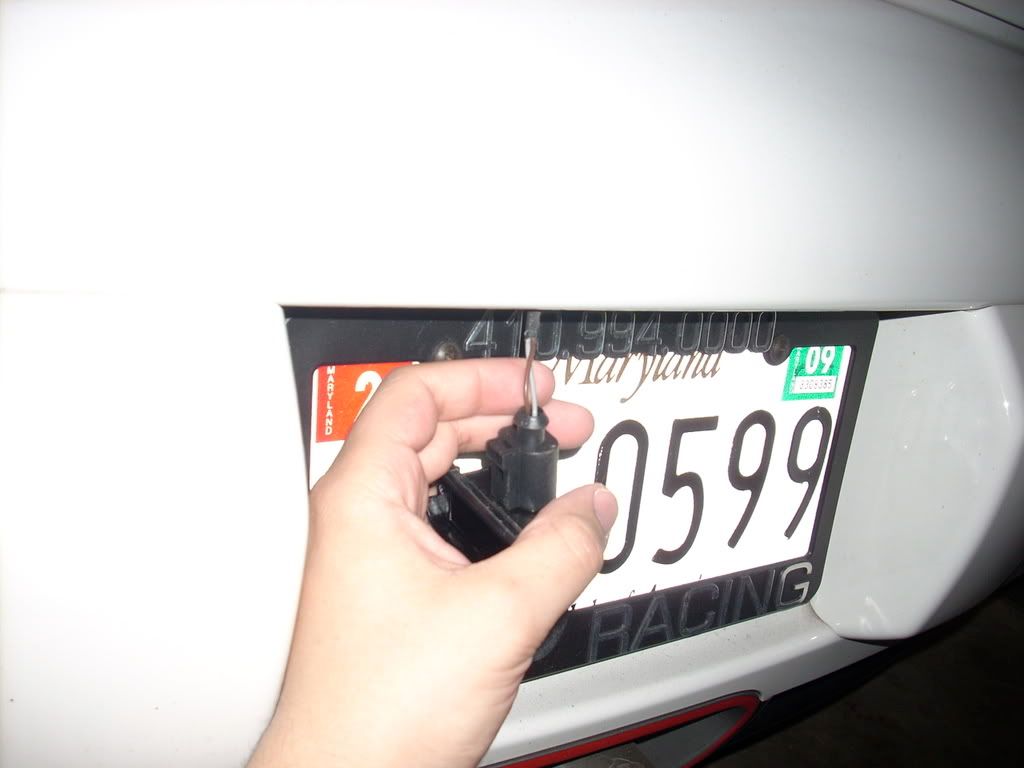
First remove the license plate housing screws...

take out the housing part which holds the bulb, this should pop off easily...


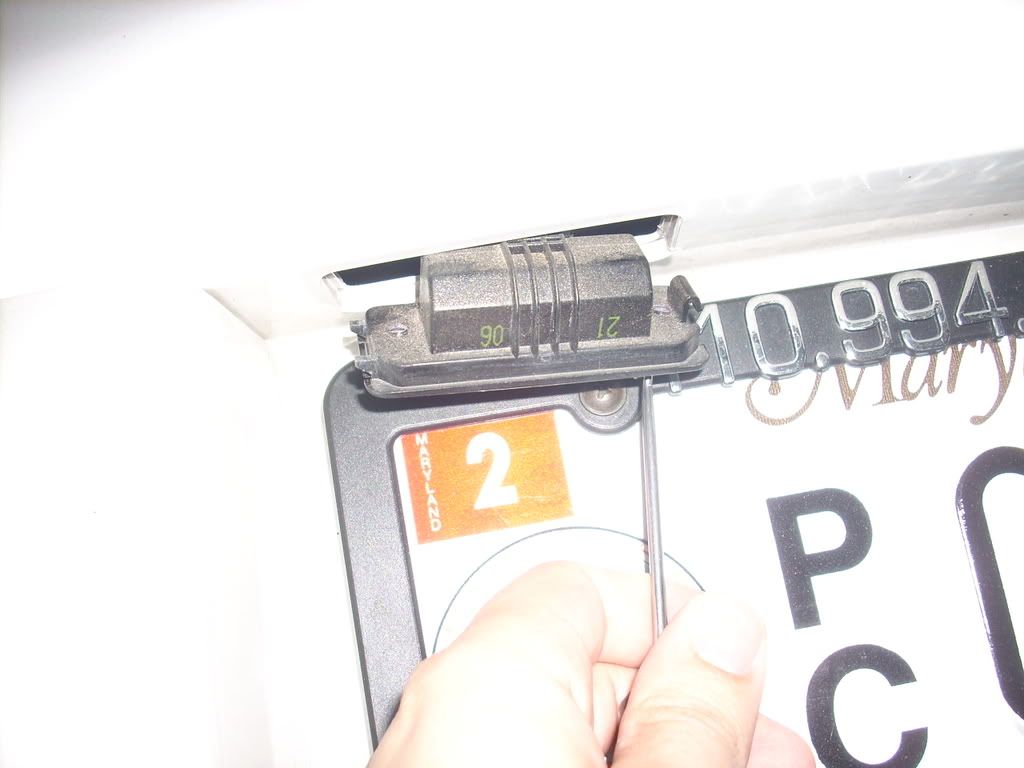
now using a small flat head screwdriver, carefully push the tab to the left while pulling it down with the flathead screwdriver...
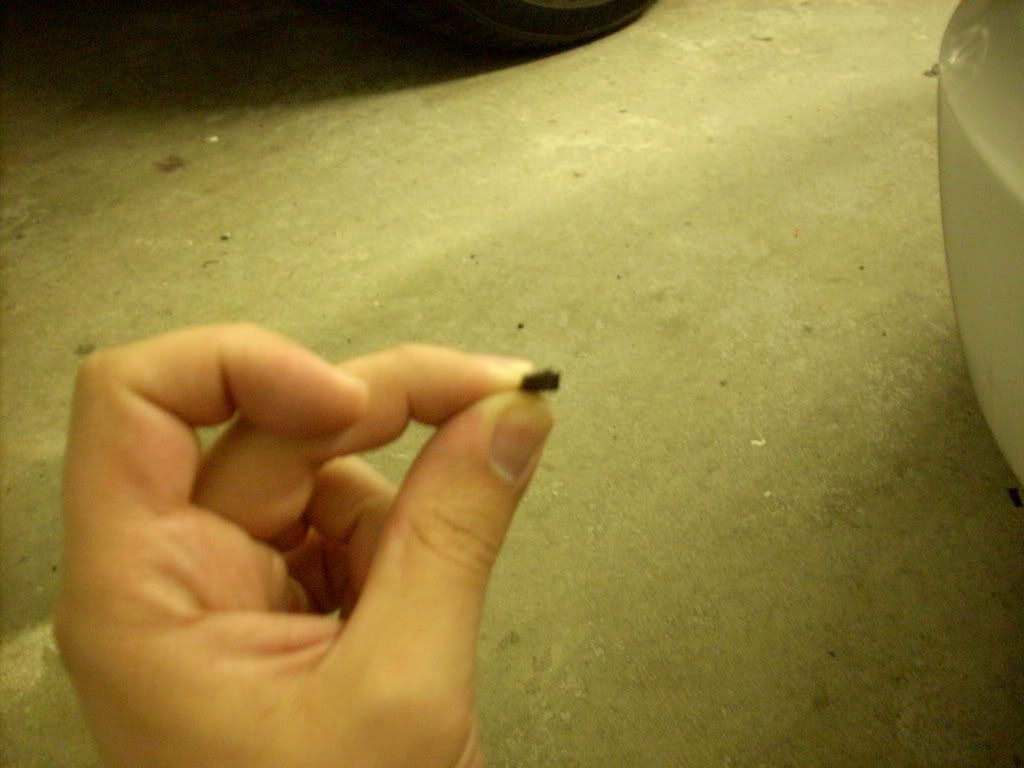
be careful, I broke the tab this is a very hard plastic and is not very flexible...
now that you have pulled it out you have exposed the wires...
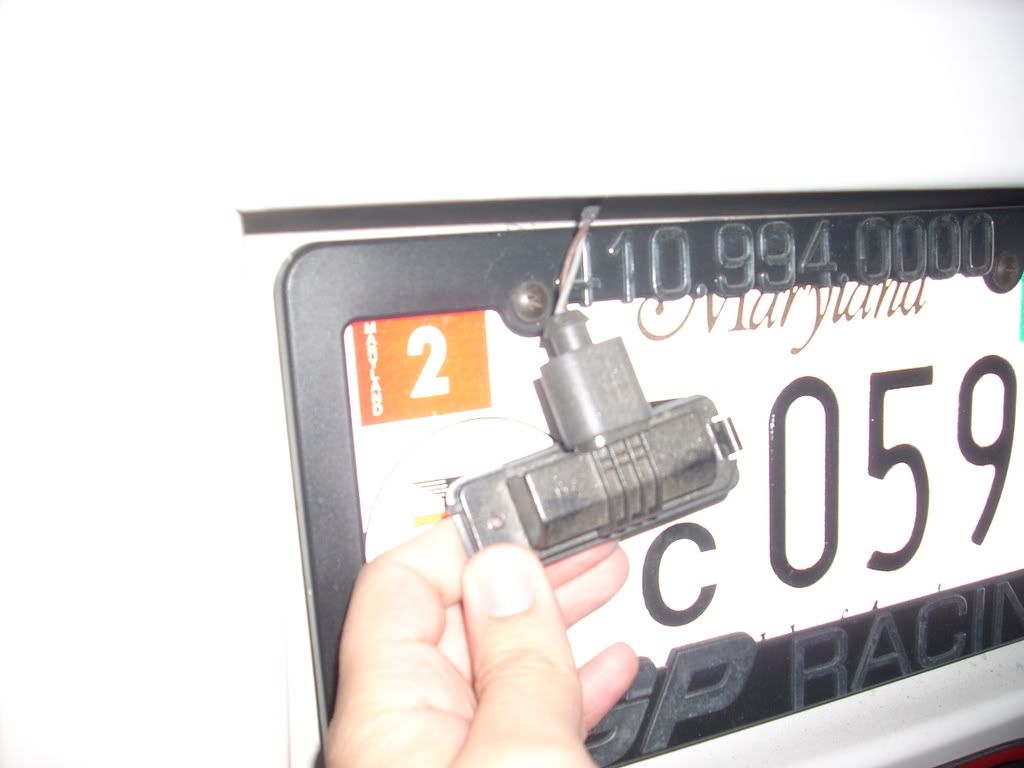
here is where you need to splice the wires protective rubber cover to expose the copper wire.
solder the wire to each end of the resistor, about 4 inches on each side.
Then solder to each wire on the oem housing clip. One to positive and one to the ground wire. Use the electrical tape to tape up any exposed wires.
You can hide the resistor up in the bumper, it will not get hot enough to do any kind of damage.
put everything back together and your done.
I do not have pictures of that process because my LEDs resistors worked fine. Eventually if I have time I will add pics of the process.
cost: $1.99 (approximate, not including tools)
tools needed:
soldering iron
soldering wire
10-16 gauge wire, a few inches ~8
electrical tape
wire cutters
wire splicers
Phillips head screwdriver
Small flathead screwdriver
10w 100ohm resistor ($1.99 from radioshack)
**another member used a 10w 47ohm successfully
So if you purchased a LED kit that has no built in resistor, or the resistor is not working this is an easy fix. You can buy the resistor at your local radioshack or even online:
100 ohm 10W 5% Wirewound Resistor (2-Pack) - RadioShack.com
First remove the license plate housing screws...
take out the housing part which holds the bulb, this should pop off easily...
now using a small flat head screwdriver, carefully push the tab to the left while pulling it down with the flathead screwdriver...
be careful, I broke the tab
this is a very hard plastic and is not very flexible...now that you have pulled it out you have exposed the wires...
here is where you need to splice the wires protective rubber cover to expose the copper wire.
solder the wire to each end of the resistor, about 4 inches on each side.
Then solder to each wire on the oem housing clip. One to positive and one to the ground wire. Use the electrical tape to tape up any exposed wires.
You can hide the resistor up in the bumper, it will not get hot enough to do any kind of damage.
put everything back together and your done.
I do not have pictures of that process because my LEDs resistors worked fine. Eventually if I have time I will add pics of the process.
Apr 24, 2009 | 04:32 PM
#2
Full of Win.
Joined: Nov 2008
Posts: 6,295
From: Gobbles Air Force Base
So which resistor values work? You state 100 ohm, 10 watt. You also state another member used 47 ohm, 10 watt.
But you posted a picture of a 10 ohm, 2 watt resistor -- i.e., not even close to what you are calling for.
But you posted a picture of a 10 ohm, 2 watt resistor -- i.e., not even close to what you are calling for.
Apr 24, 2009 | 04:38 PM
#3
Thread Starter
| Teamspeed Junior Member
Joined: Apr 2009
Posts: 63
just the pic on radio shacks site, they are different values but look the same

Thread
Thread Starter
Forum
Replies
Last Post
Vrax911S
Automotive Parts & Accessories
15
Jul 29, 2011 09:52 PM
DJ
///M
7
May 23, 2008 05:20 AM
Bookmarks


Currently Active Users Viewing This Thread: 1 (0 members and 1 guests)

