
ROBOLOP BERYLLIUM BMW 323ci
 Nov 2, 2011 | 04:13 AM
#41

Thread Starter
| Teamspeed Member
Joined: Jan 2008
Posts: 179


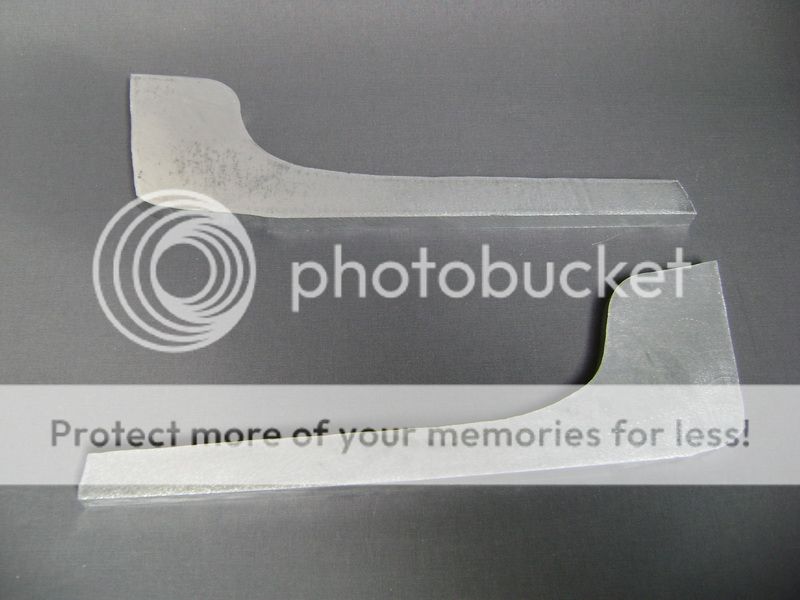
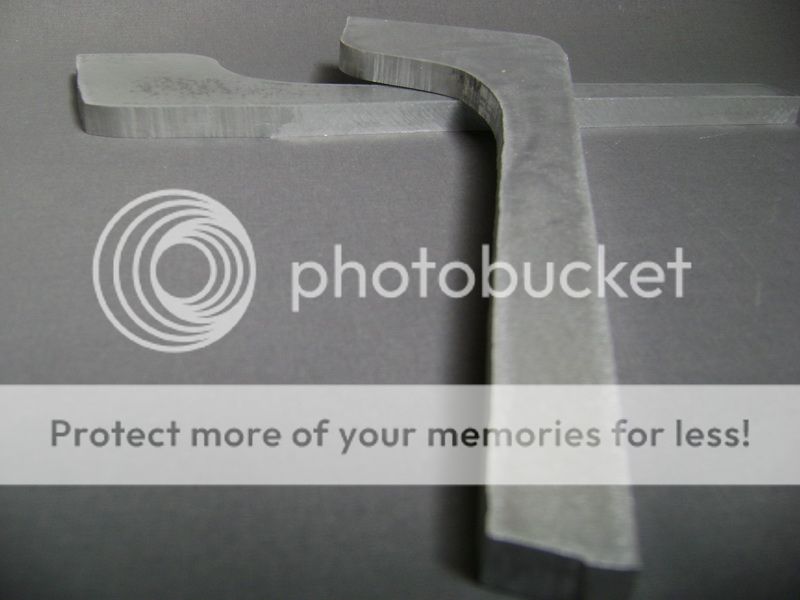
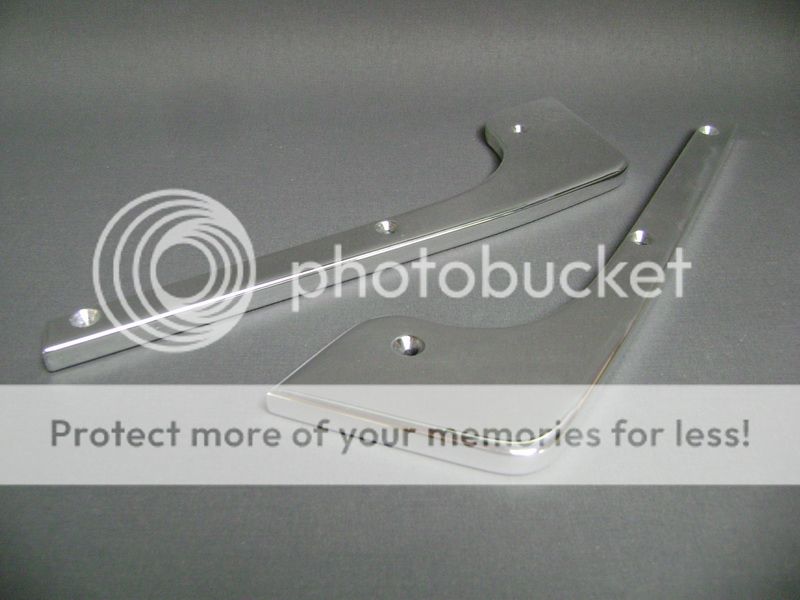
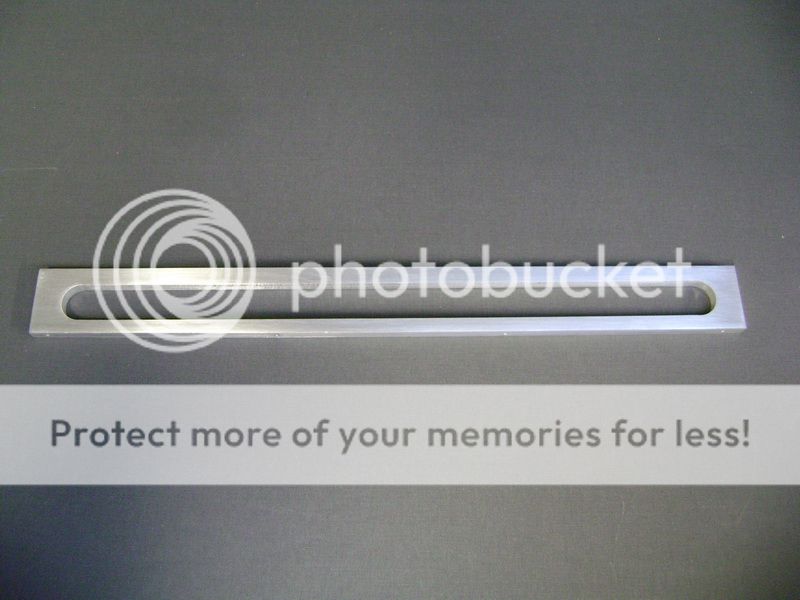
These are the 2 hockey-sticks I sawed out of 12mm thick aluminium.
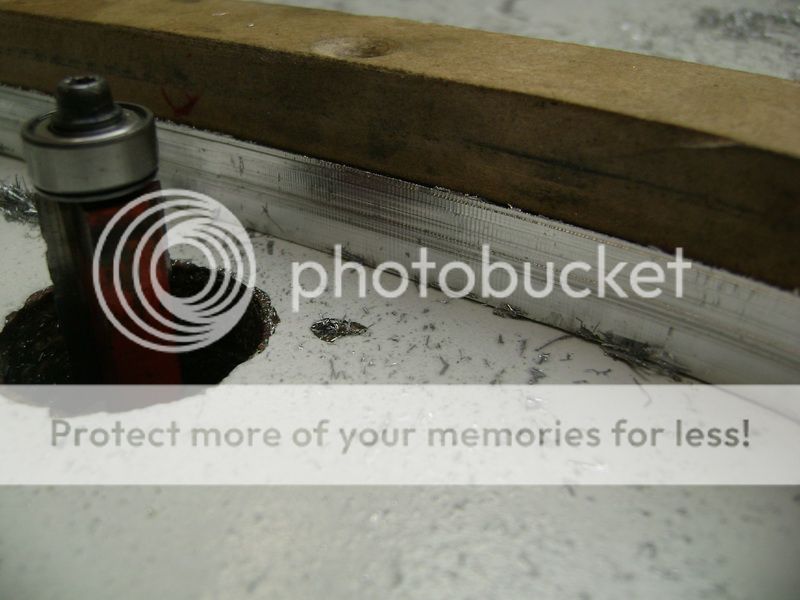
Afterwards I taped them on to the MDF model, and milled them out with the copy-mill.
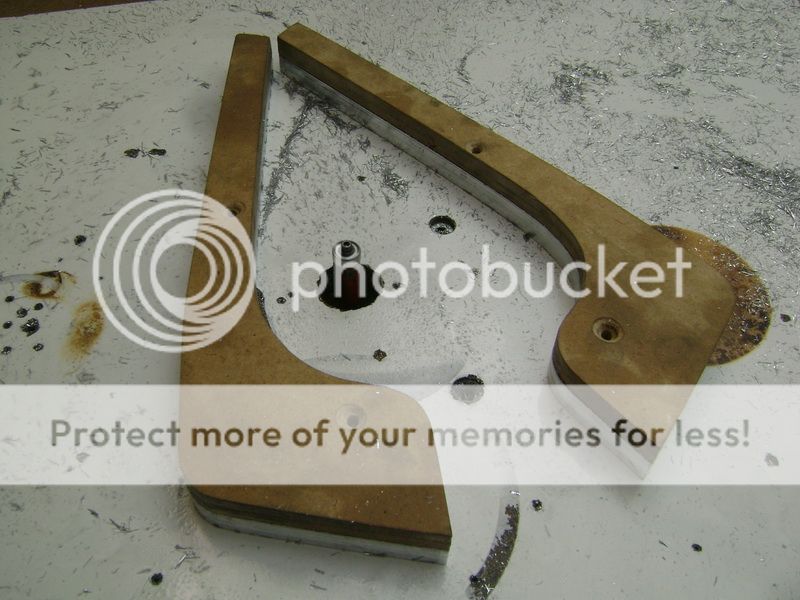
You can see the lines in the aluminium, which indicates that the mill has had it's best time.
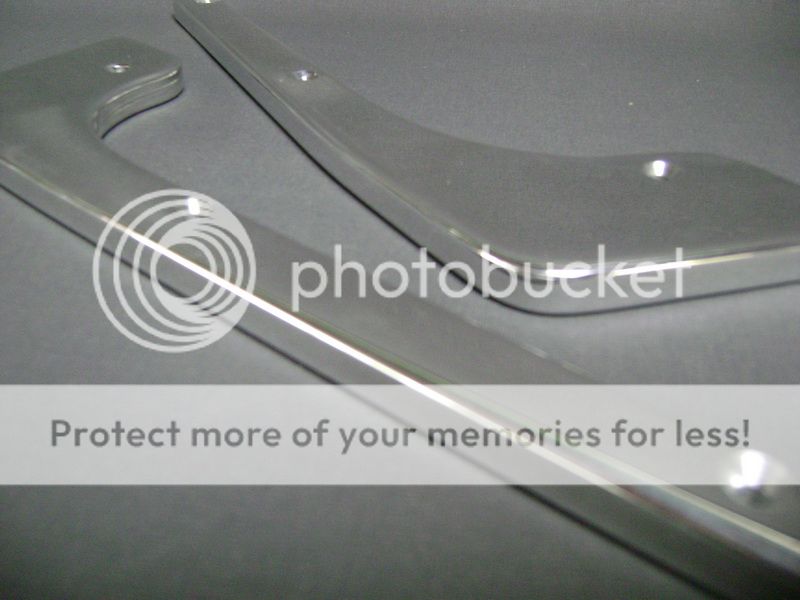
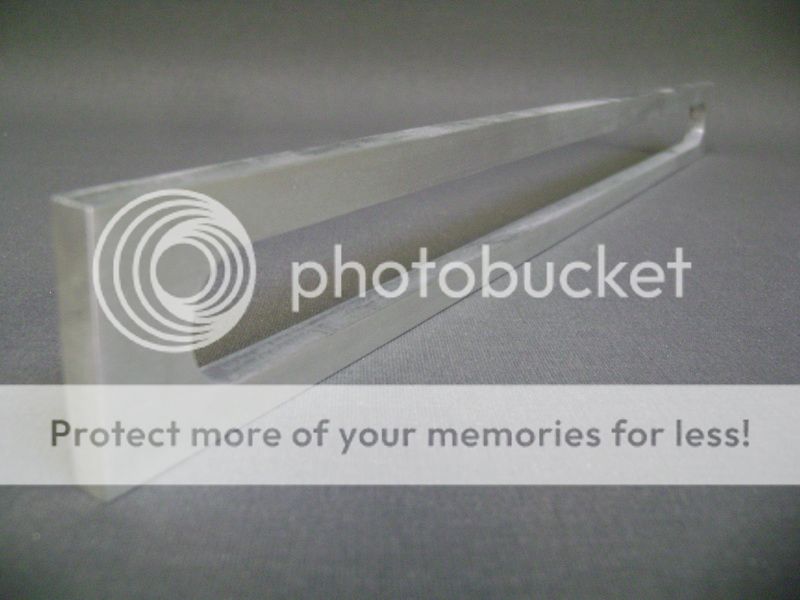
Mounted-in another mill, to round up the piece.
Once this was done, I polished it all with some sanding paper.
Afterwards I taped them on to the MDF model, and milled them out with the copy-mill.
You can see the lines in the aluminium, which indicates that the mill has had it's best time.
Mounted-in another mill, to round up the piece.
Once this was done, I polished it all with some sanding paper.
Nov 2, 2011 | 04:14 AM
#42
Thread Starter
| Teamspeed Member
Joined: Jan 2008
Posts: 179
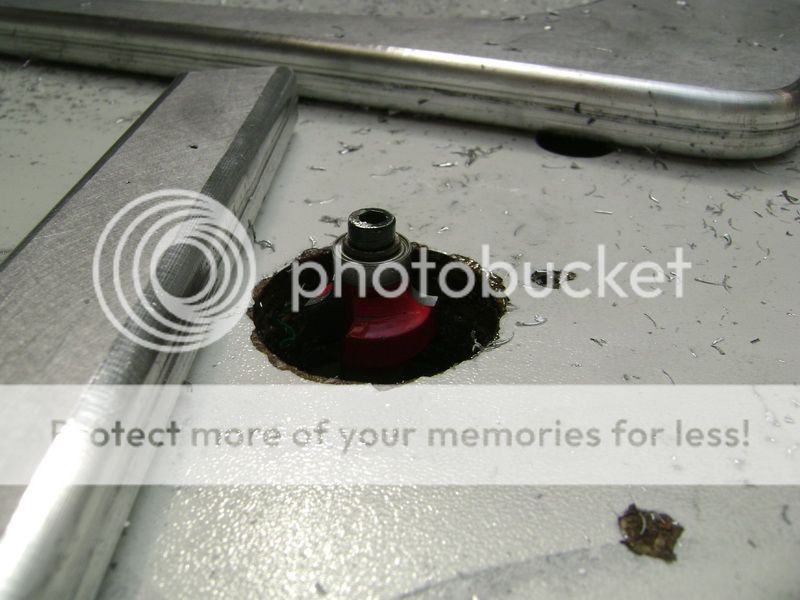
Then I started milling the other piece.
Stretched it all nicely, and let the mill do her job


Here you see I left some of the aluminum there.
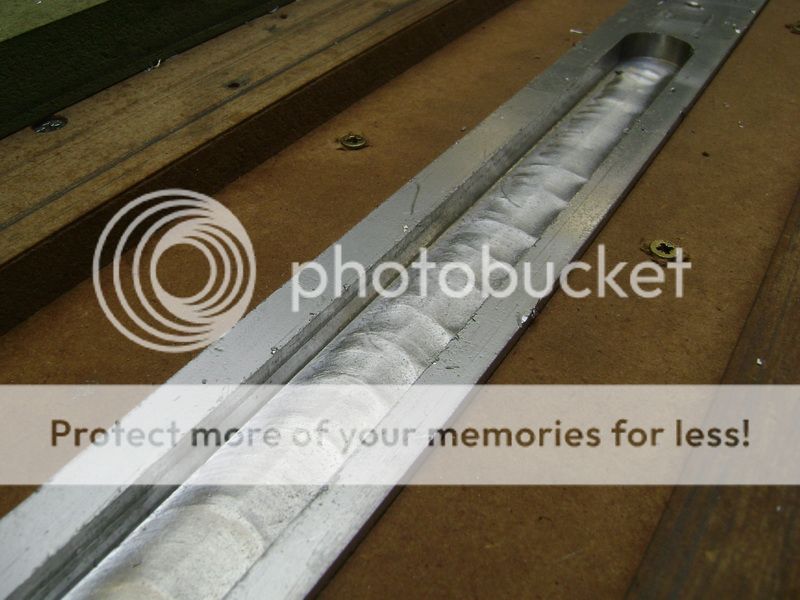
I did this on purpose, so that when the piece cools down, it won't bend. Once this was cooled of, I milled the rest away, and tucked the rest away with the wood graver.
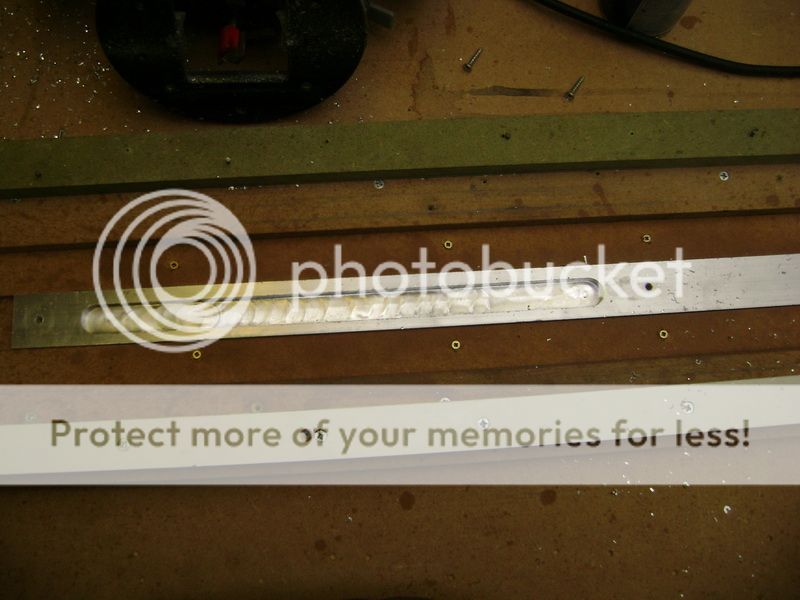
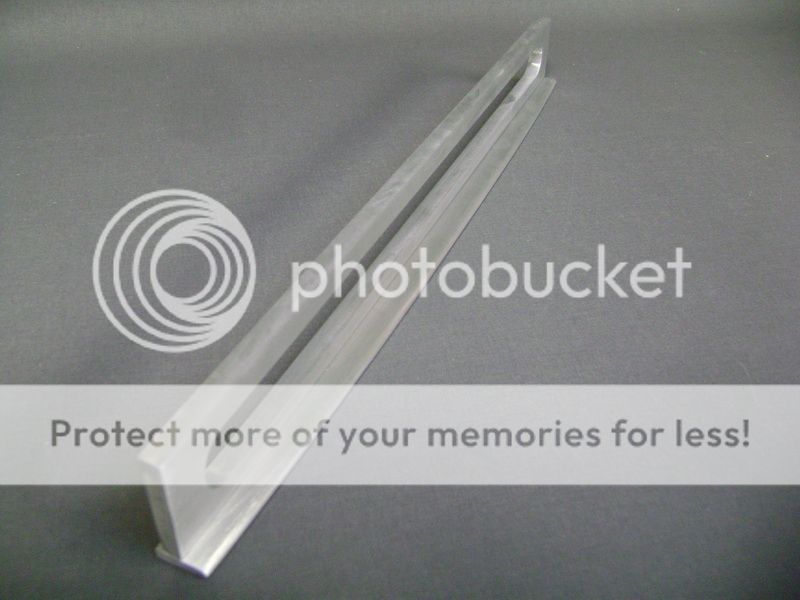
Then I sawed out an aluminium slat from 4mm, and gave it the same rounding of the bumper.

This slat will get underneath the frame.
Stretched it all nicely, and let the mill do her job
Here you see I left some of the aluminum there.
I did this on purpose, so that when the piece cools down, it won't bend. Once this was cooled of, I milled the rest away, and tucked the rest away with the wood graver.
Then I sawed out an aluminium slat from 4mm, and gave it the same rounding of the bumper.
This slat will get underneath the frame.
Nov 2, 2011 | 04:14 AM
#43
Thread Starter
| Teamspeed Member
Joined: Jan 2008
Posts: 179
I took the bimmer to the technical control today. I was really curious about their reaction on the exhausts, you never know.
The CO-test, which I feared the most, was OK. After checking the lights, they checked the bottom of the car.
They were checking out the exhausts, with 3 people. 2 were looking at it from underneath the car, and one was looking at it from the back.
I kept myself quiet and cool, and moved myself to the background.
When I had to take the car outside again, I asked my questions. They told me that I got around the law perfectly since I mounted everything onto the original exhaust. So everything was OK, and my car got a green card! So I did a victory dance�
Now what’s left to do is to put back the dust covers on the wheels, and glue my front windows, and we are good for another year.
The piece that comes between the mufflers is aldready covered in carbon fibre, with the needed amount of epoxylayers.
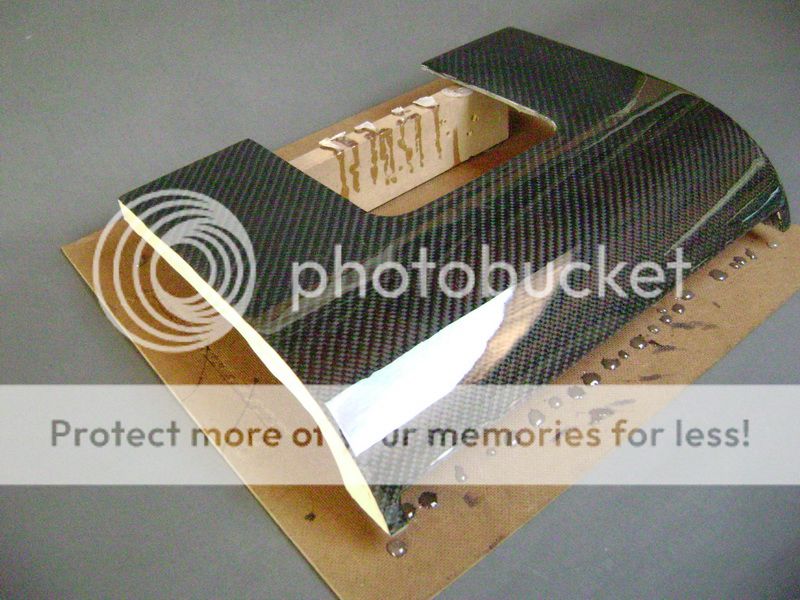
Now this should be abraded firmly, and then it’s ready to get some layers of clear coat;
The hockey-sticks, and the fine strip, are gone to get chromed. These parts will come back Friday !
The end is near�
The CO-test, which I feared the most, was OK. After checking the lights, they checked the bottom of the car.
They were checking out the exhausts, with 3 people. 2 were looking at it from underneath the car, and one was looking at it from the back.
I kept myself quiet and cool, and moved myself to the background.
When I had to take the car outside again, I asked my questions. They told me that I got around the law perfectly since I mounted everything onto the original exhaust. So everything was OK, and my car got a green card! So I did a victory dance�
Now what’s left to do is to put back the dust covers on the wheels, and glue my front windows, and we are good for another year.
The piece that comes between the mufflers is aldready covered in carbon fibre, with the needed amount of epoxylayers.
Now this should be abraded firmly, and then it’s ready to get some layers of clear coat;
The hockey-sticks, and the fine strip, are gone to get chromed. These parts will come back Friday !
The end is near�
Nov 2, 2011 | 04:15 AM
#44
Thread Starter
| Teamspeed Member
Joined: Jan 2008
Posts: 179
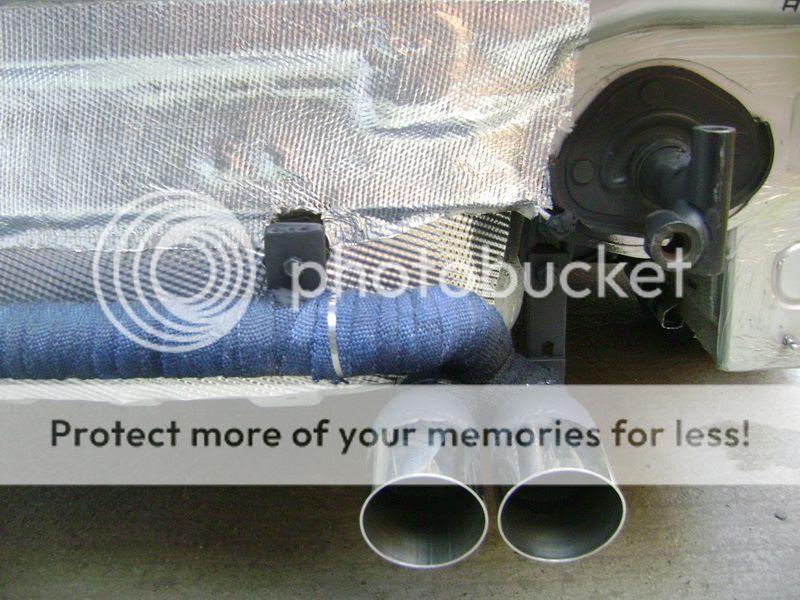
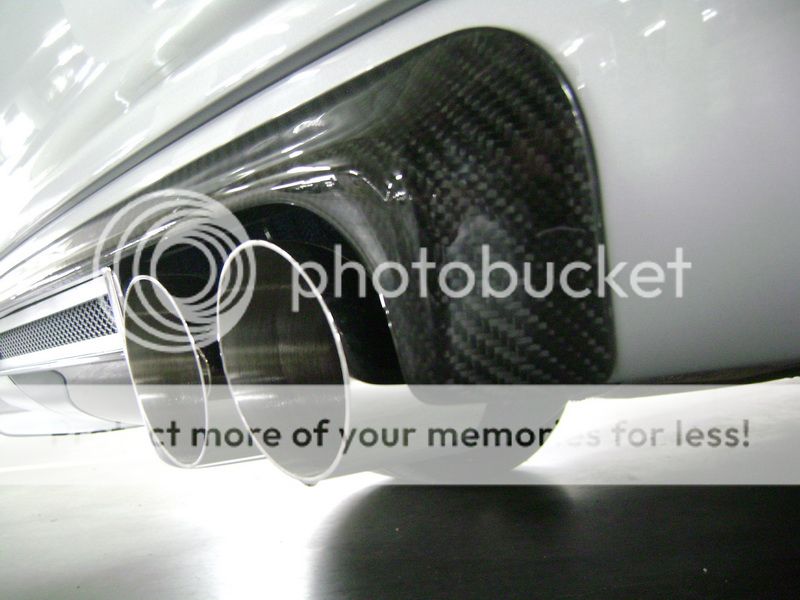
Here a peek behind the scenes about how the quad’s are mounted on the car. You see I took my time to isolate it all against the high temperatures of the exhausts.
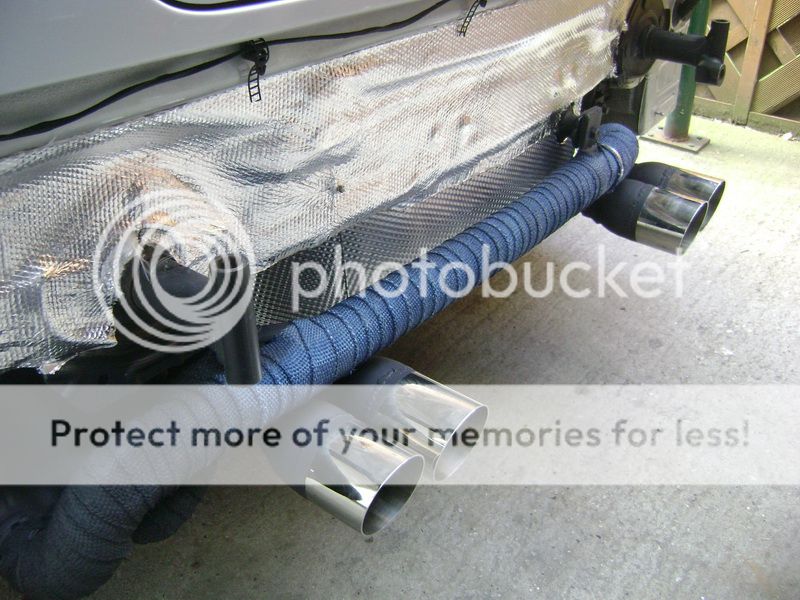
You see the tubes are mounted on the original exhaust. On the upperside, and underneath I fastened a little M6 screw.
That’s it, and it’s locked tight.
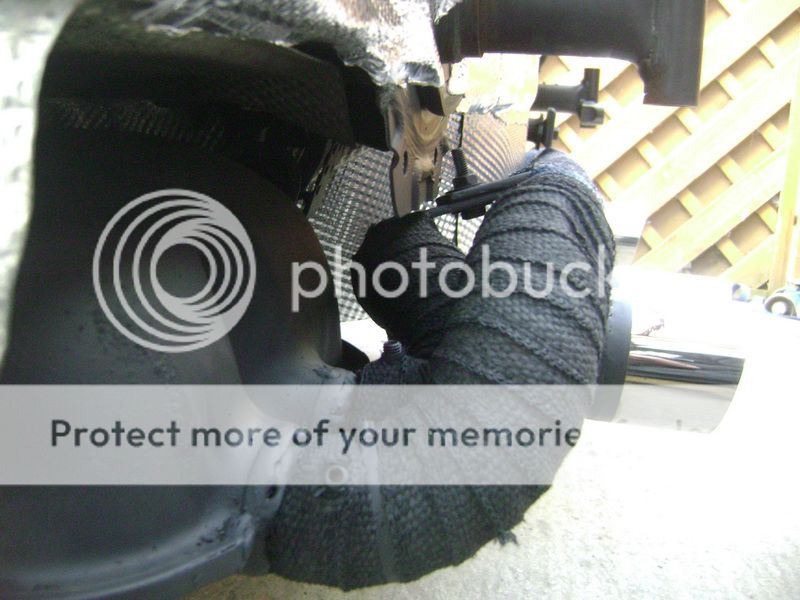
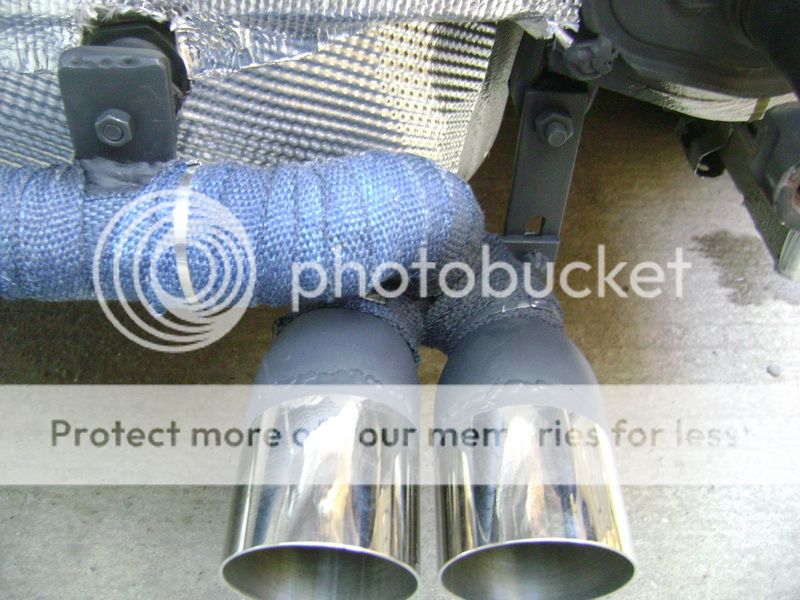
You can see that I sprayed the blue heat-wrap black on the exhausts.
So the left-side looks a bit more clean when you’re looking from underneath it.
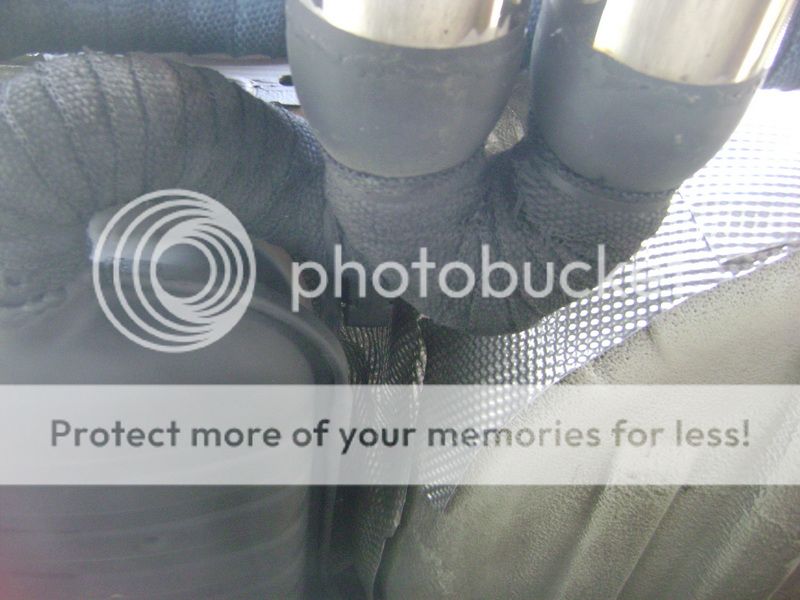
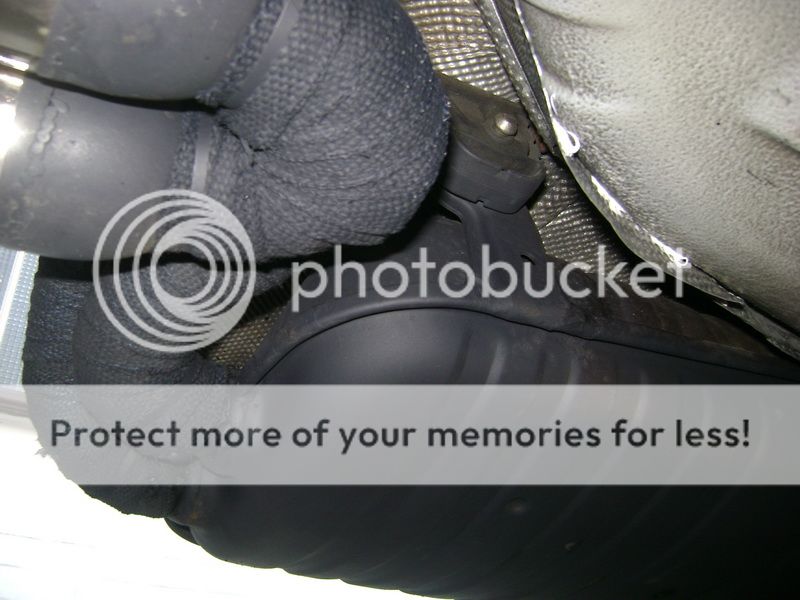
The tube on the foreground is the one that goes to the right.
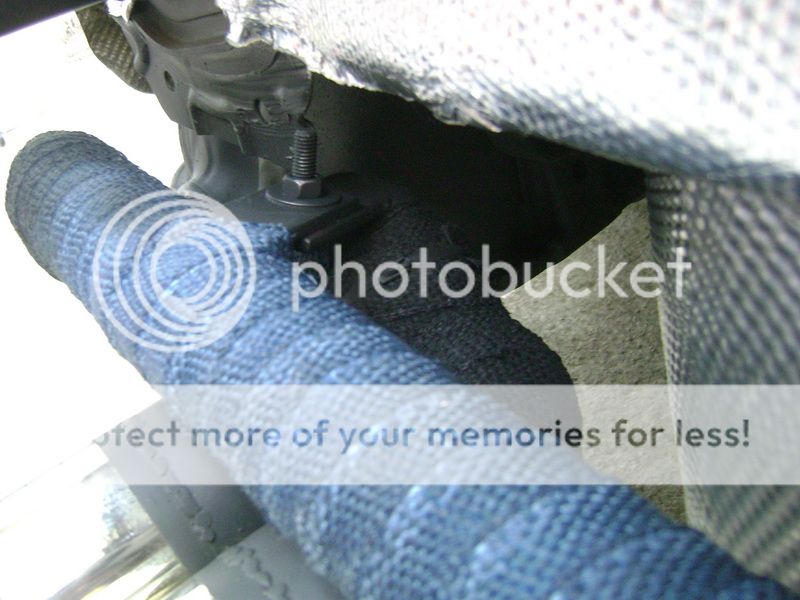
On the rightside, you can see I fixed a rubber where the exhaust hangs.
I made a sloth in there, so I can arrange the height when necessary.
The is the inside of the bumper. I cleaned and degreased this properly.
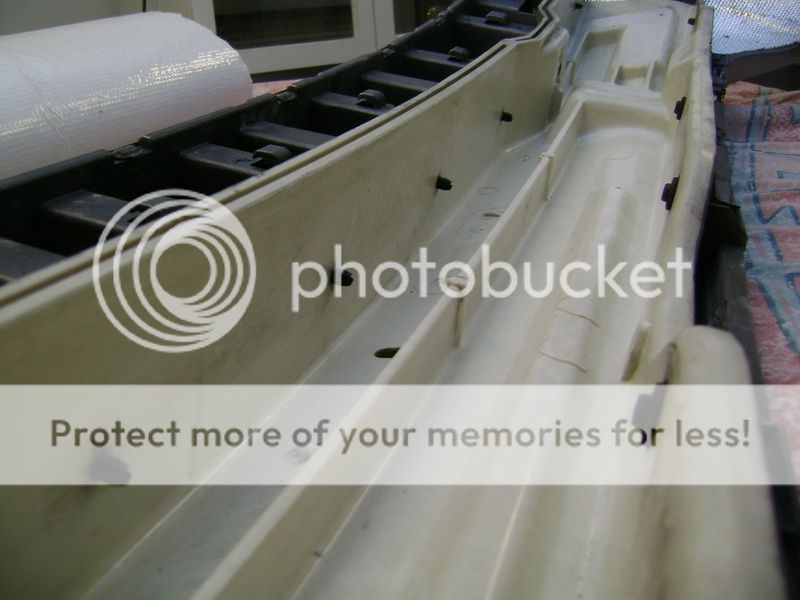
Then I glued in some heat-resisting cloth.
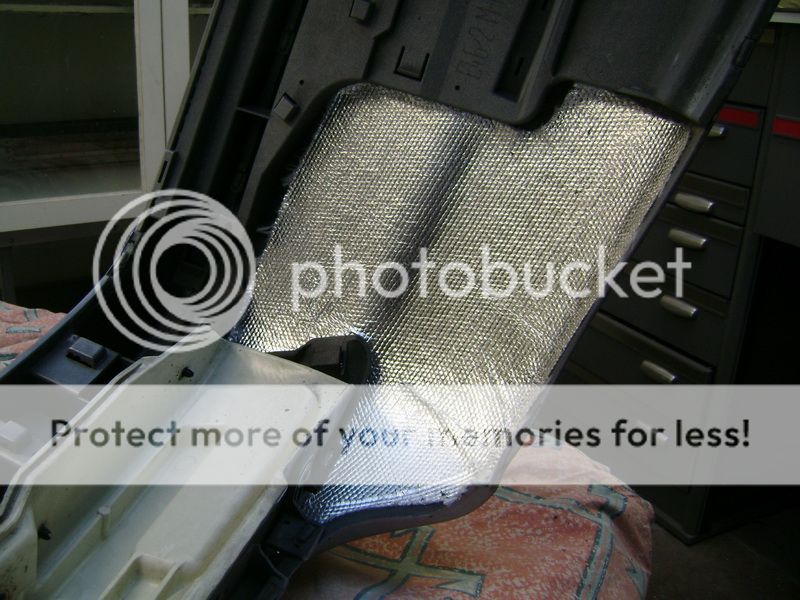
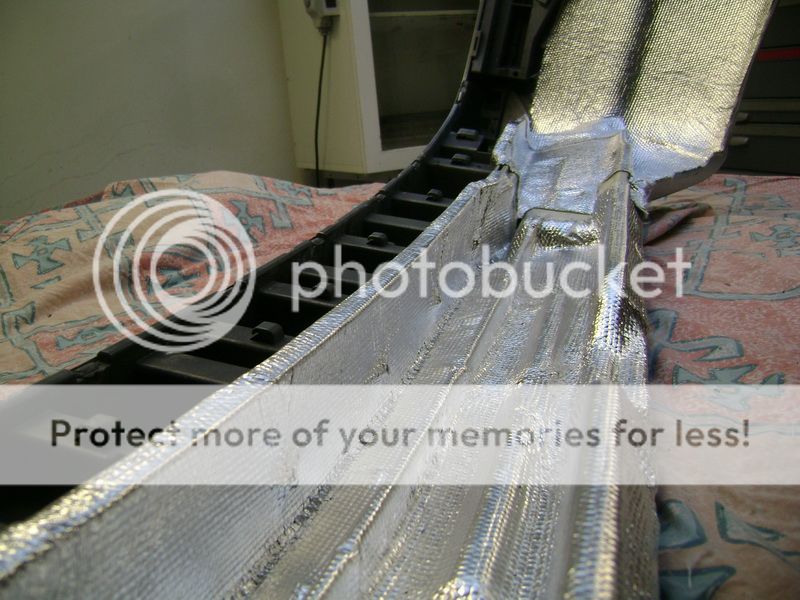
I tested this cloth First. I heated it till a temperature of 660 degrees (celcius) during 10 minutes, and you almost didn’t see it.
You see the tubes are mounted on the original exhaust. On the upperside, and underneath I fastened a little M6 screw.
That’s it, and it’s locked tight.
You can see that I sprayed the blue heat-wrap black on the exhausts.
So the left-side looks a bit more clean when you’re looking from underneath it.
The tube on the foreground is the one that goes to the right.
On the rightside, you can see I fixed a rubber where the exhaust hangs.
I made a sloth in there, so I can arrange the height when necessary.
The is the inside of the bumper. I cleaned and degreased this properly.
Then I glued in some heat-resisting cloth.
I tested this cloth First. I heated it till a temperature of 660 degrees (celcius) during 10 minutes, and you almost didn’t see it.
Nov 2, 2011 | 04:16 AM
#45
Thread Starter
| Teamspeed Member
Joined: Jan 2008
Posts: 179
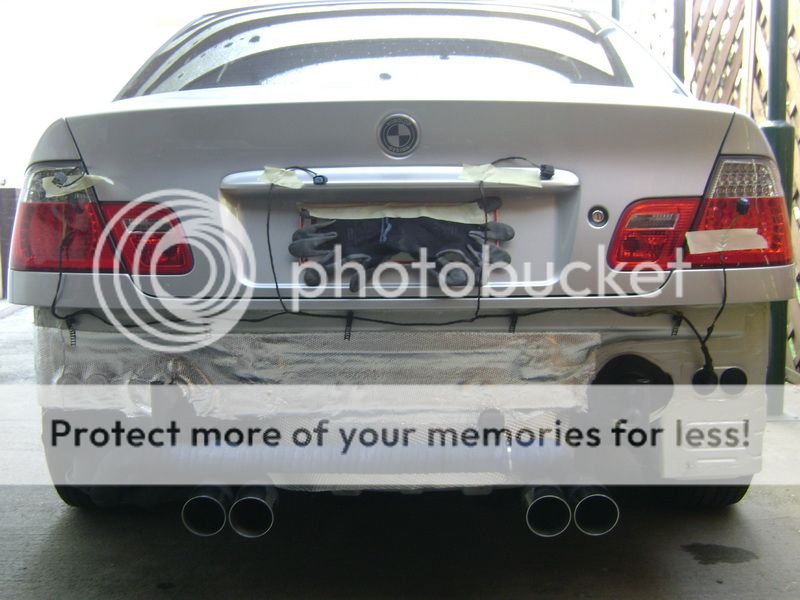
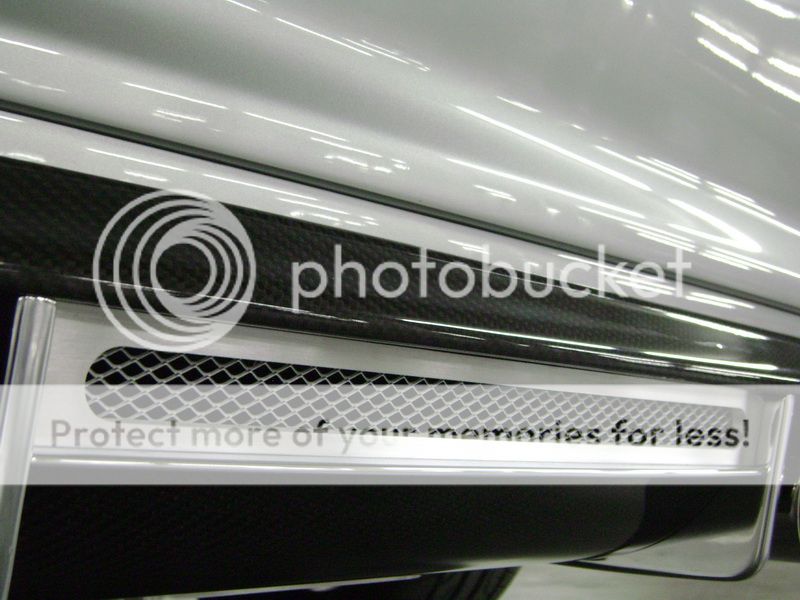
Everything about the rear bumper and the exhausts is finished.
Here a little previeuw about how it looks now.
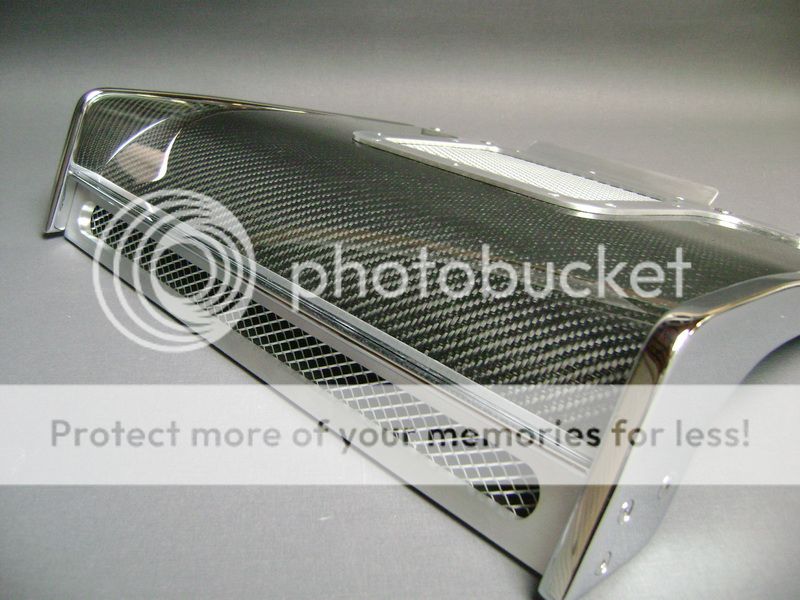
These are the aluminum parts which are chromed
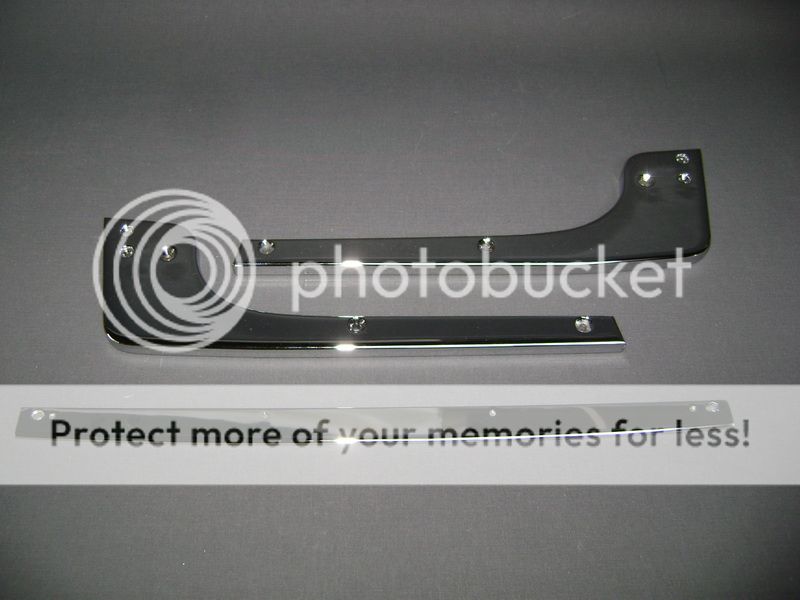
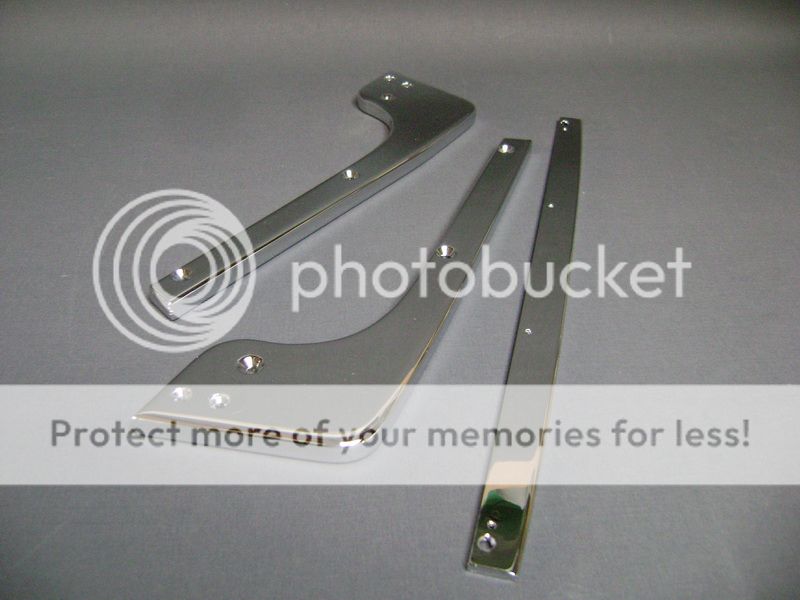
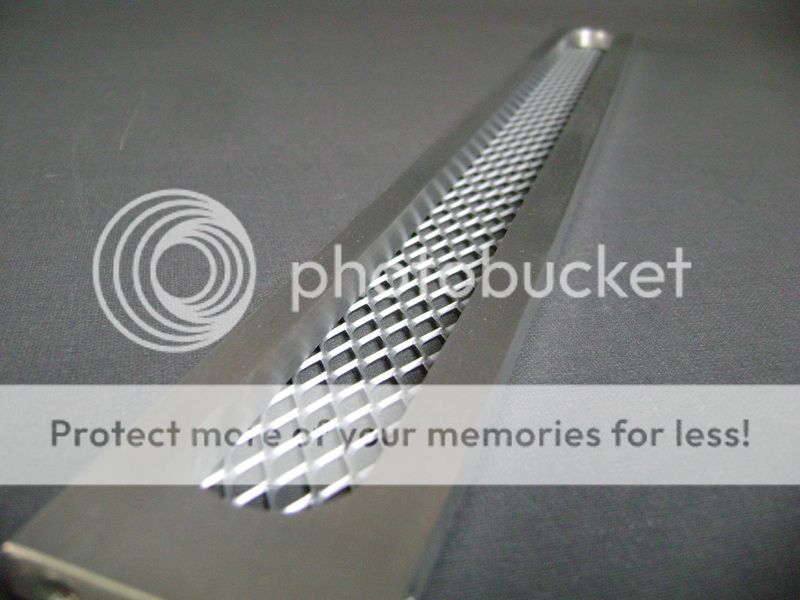
This is the little frame which comes between the chrome. I abraded it down and polished it afterwards, so you get a nice contrast of the aluminum parts and I looks the same way as the front bumper.
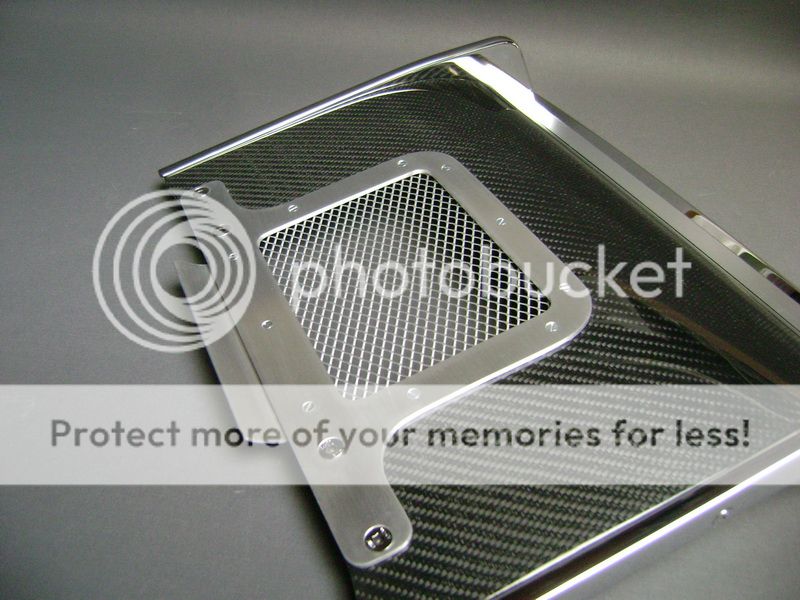
The gauze is some left over I found from the frontbumper.
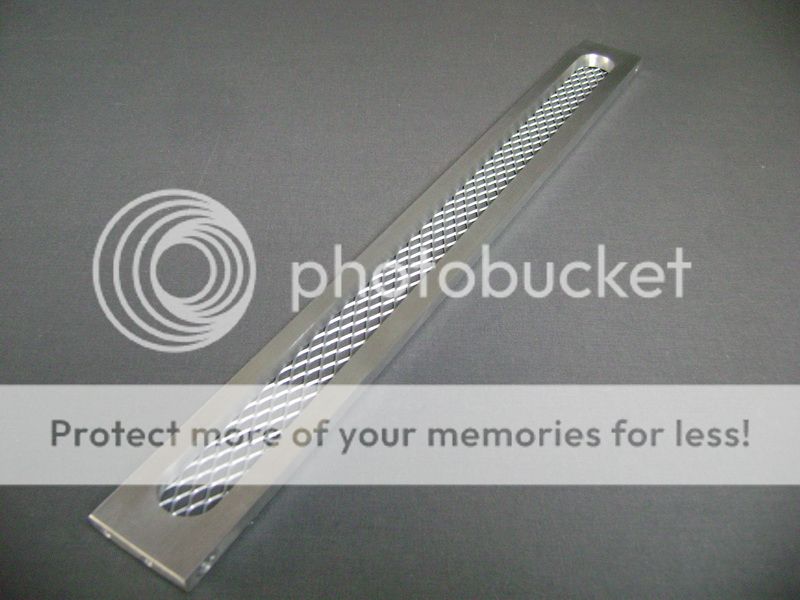
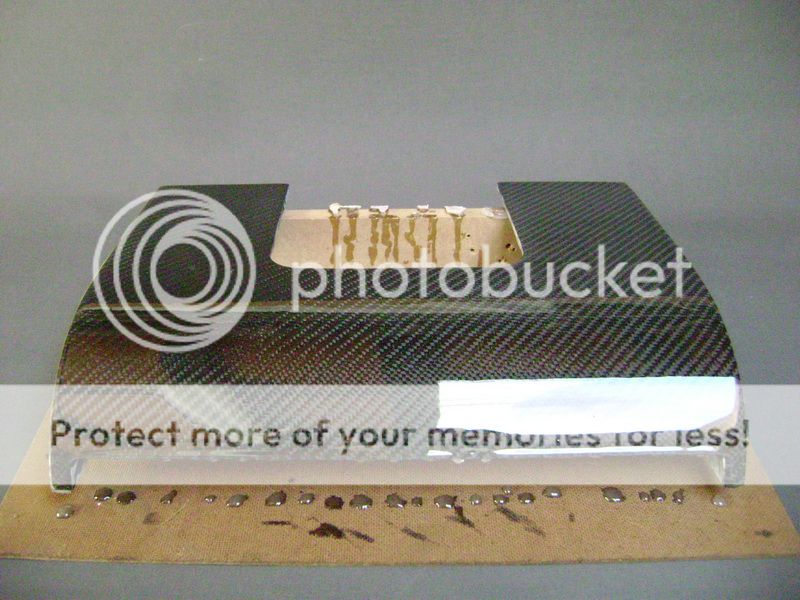
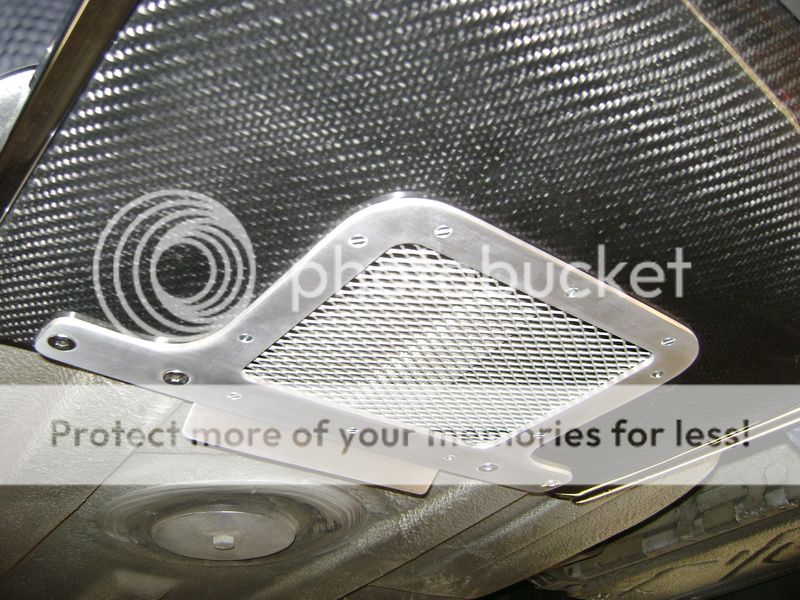
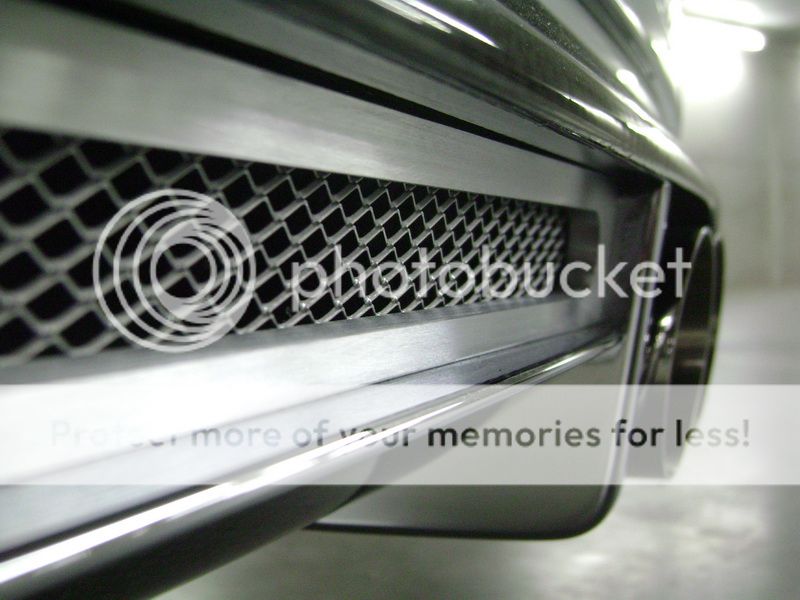
This is something weird I made. This object will come into the diffuser.
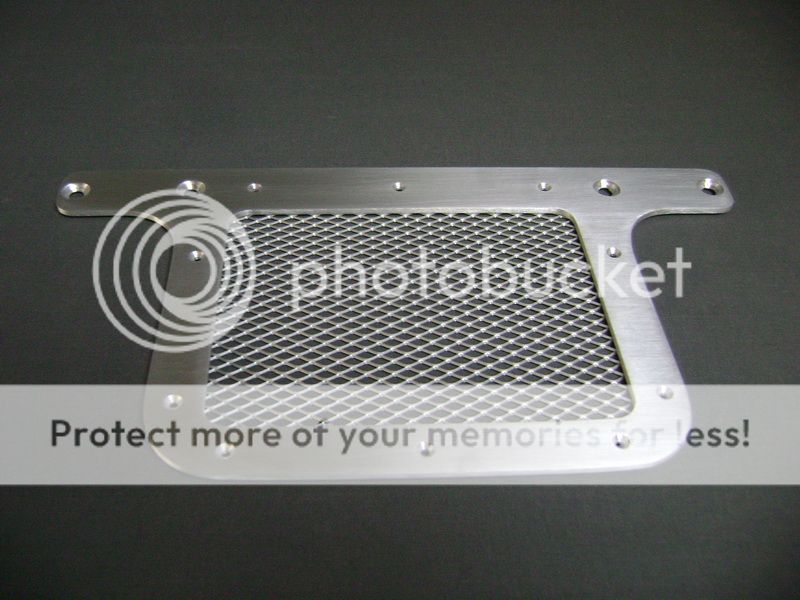
Here you can see the puzzle getting together.

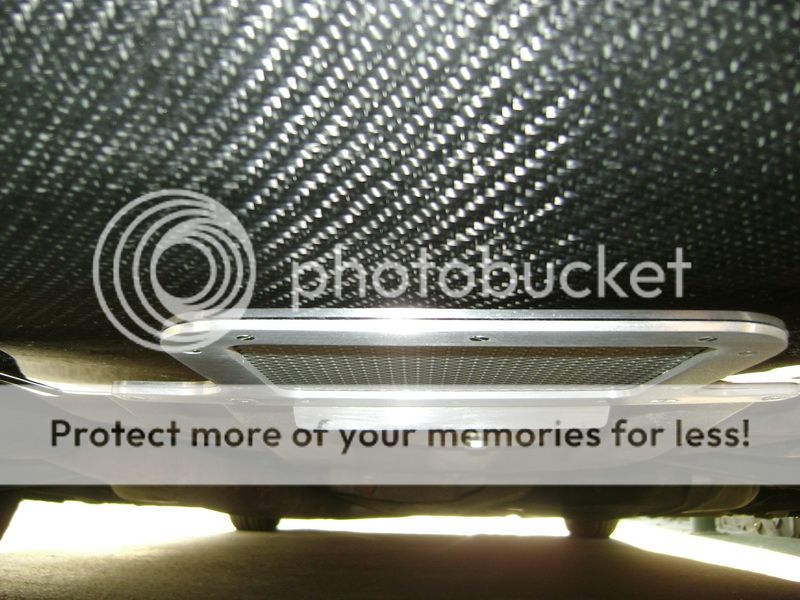
Bottomside.
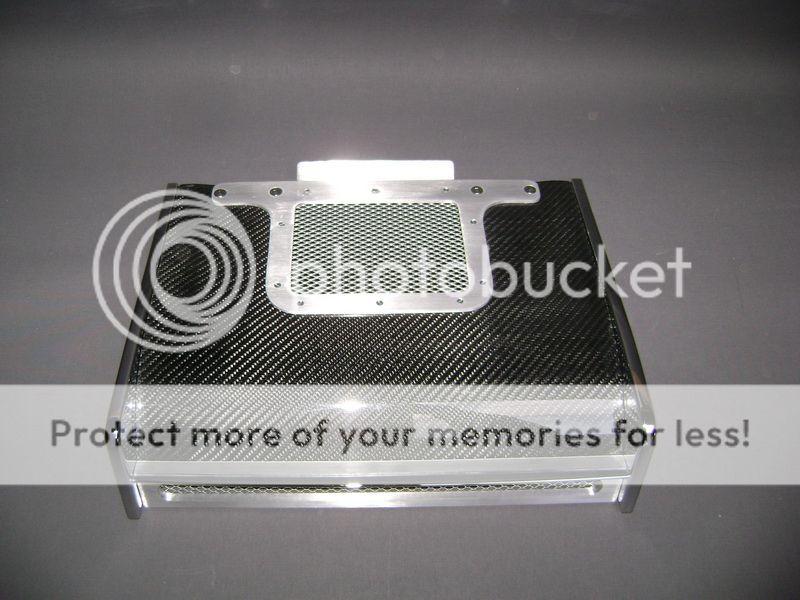
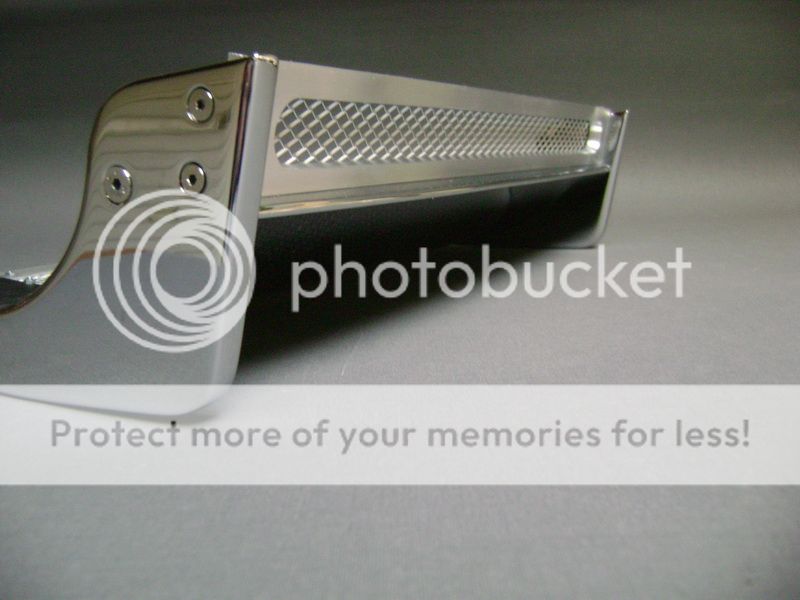
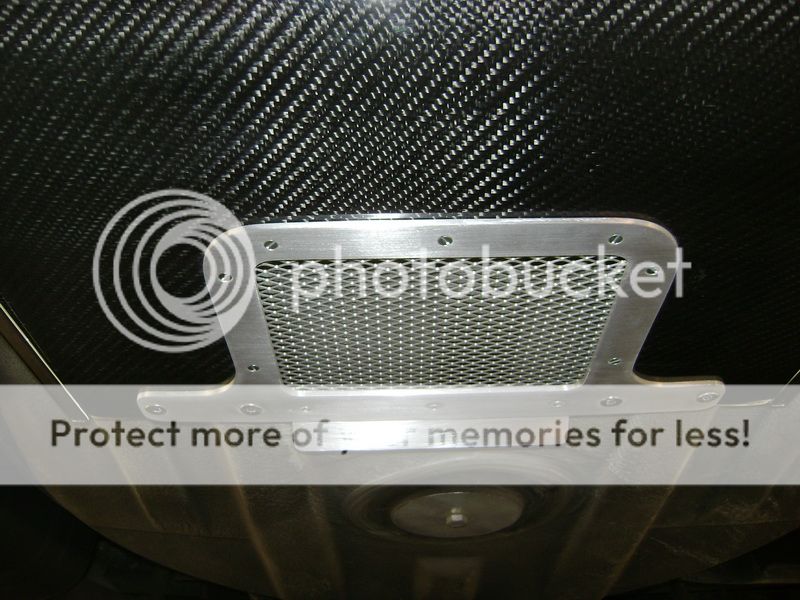
Here it’s all mounted on the car.
The meaning of this is that cool air gets in, and slips away again in the back.
So I try to create an air-cooling stream for the tube that runs behind the
bumper.
Here a little previeuw about how it looks now.
These are the aluminum parts which are chromed
This is the little frame which comes between the chrome. I abraded it down and polished it afterwards, so you get a nice contrast of the aluminum parts and I looks the same way as the front bumper.
The gauze is some left over I found from the frontbumper.
This is something weird I made. This object will come into the diffuser.
Here you can see the puzzle getting together.
Bottomside.
Here it’s all mounted on the car.
The meaning of this is that cool air gets in, and slips away again in the back.
So I try to create an air-cooling stream for the tube that runs behind the
bumper.
Nov 2, 2011 | 04:18 AM
#46
Thread Starter
| Teamspeed Member
Joined: Jan 2008
Posts: 179
I found some time to clean the car firmly. The last time I cleaned the car, was before the winter, so I had to put some more time into it now.
From now on, I will clean the car every Saturday. That’s a promise.
And I snapped some new pictures of the new bumper and quad exhausts.
Here the Robolop design.
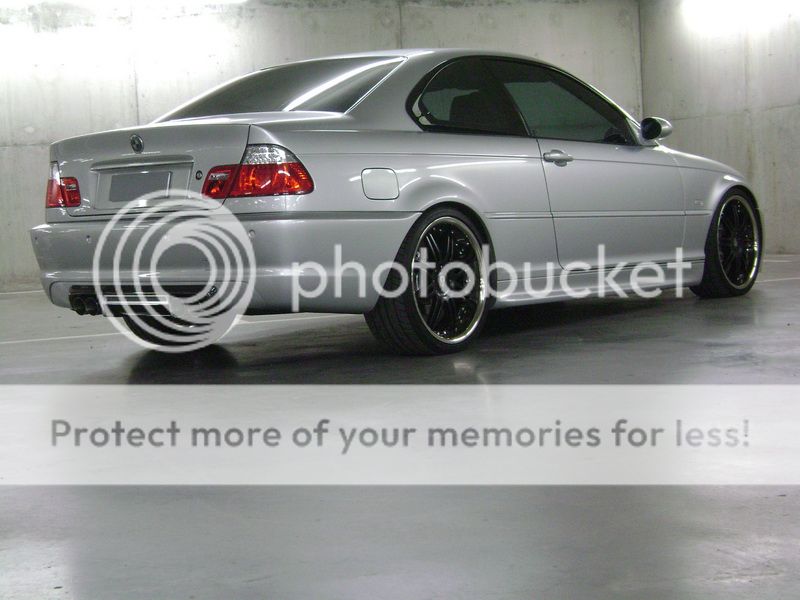
You can also see here that the line in the bumper, is disappeared. Also the Lines around the sensors are gone.

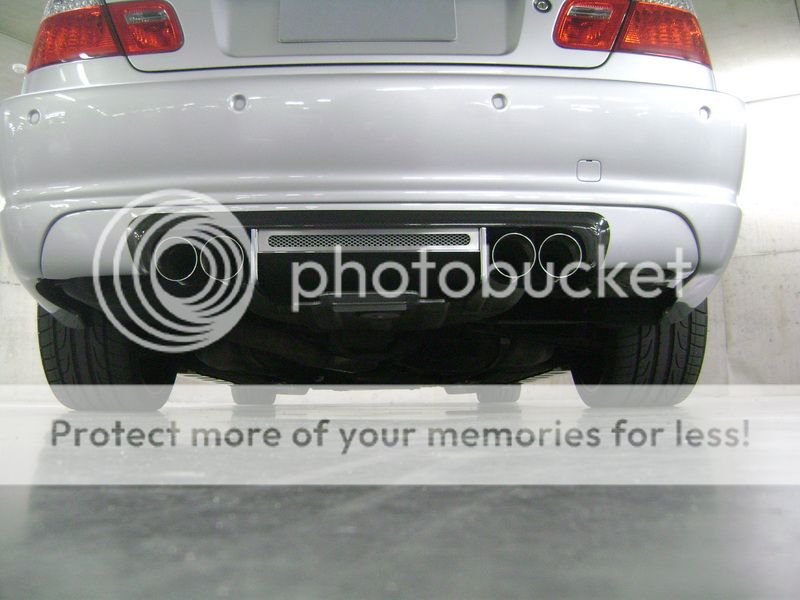

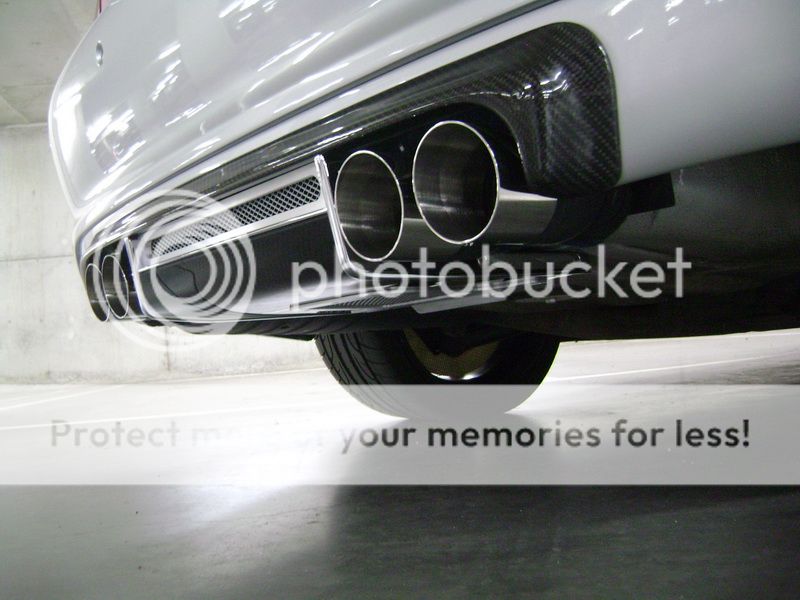
The piece between the exhausts had to become t be an eye-catcher. And with that I mean. This had to be a part wich people would say: “what is that, who makes that, where can I buy that, ...” Sorry dudes, but this is a one off�
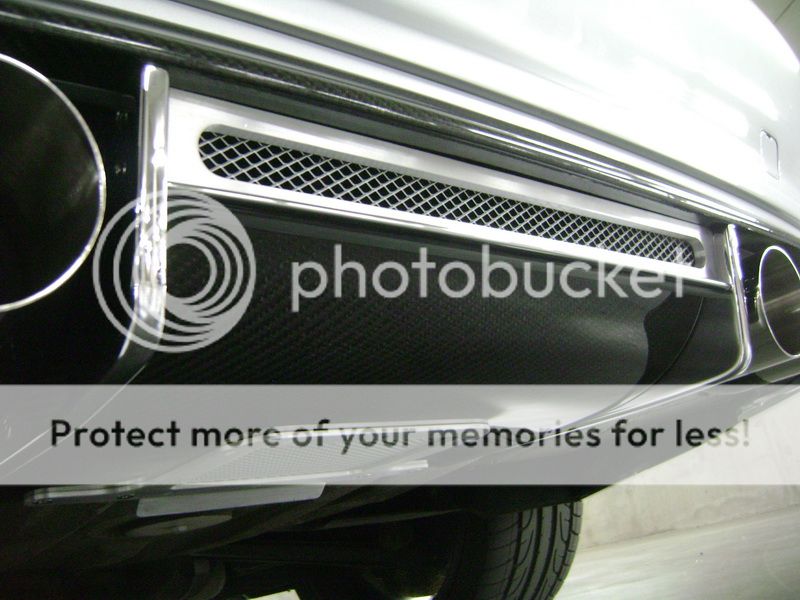


You can also see the inside of the mufflers that I brushed/polished.
Here ends another chapter of the works needed to be done on the bimmer.
Personnaly I’m very pleased about it, and then I mean, it all worked out nice and looks tight.
No exhaust pipes who hang too low, and stick out more then 5cm. Just smooth.
But hell, did I put in some hours of hard labour to make this on a descent way, and to do this on the original exhaust, wasn’t a piece of cake.
Maybe that was the biggest challenge �.
The many hours that went into this, again, all already forgotton.
About the exterior, I’m pleased, so she will remain like this for now.
I still have some ideas, but need to think some more on those, maybe for next winter..but if I do so, it will be very challenging again.
But then again, if it’s simple��everyone has it!
From now on, I will clean the car every Saturday. That’s a promise.
And I snapped some new pictures of the new bumper and quad exhausts.
Here the Robolop design.
You can also see here that the line in the bumper, is disappeared. Also the Lines around the sensors are gone.
The piece between the exhausts had to become t be an eye-catcher. And with that I mean. This had to be a part wich people would say: “what is that, who makes that, where can I buy that, ...” Sorry dudes, but this is a one off�
You can also see the inside of the mufflers that I brushed/polished.
Here ends another chapter of the works needed to be done on the bimmer.
Personnaly I’m very pleased about it, and then I mean, it all worked out nice and looks tight.
No exhaust pipes who hang too low, and stick out more then 5cm. Just smooth.
But hell, did I put in some hours of hard labour to make this on a descent way, and to do this on the original exhaust, wasn’t a piece of cake.
Maybe that was the biggest challenge �.
The many hours that went into this, again, all already forgotton.
About the exterior, I’m pleased, so she will remain like this for now.
I still have some ideas, but need to think some more on those, maybe for next winter..but if I do so, it will be very challenging again.
But then again, if it’s simple��everyone has it!
