
The Z3(MC 321)hp Project
 Mar 3, 2013 | 10:16 PM
#21
Thread Starter
| Teamspeed Pro
Joined: Mar 2009
Posts: 2,882


I would recommend OEM struts cuz one of my friends had installed upgraded struts like the ones you ordered and although it made the boot opening, it made it really hard to push down. OEM pressure is more than enough IMO.
As for the manual, I would advise getting BMW's own TIS workshop manual. It covers pretty much everything.
I tried those too and they have helped the health of the vanos but if I were to do it again, I would buy a freshly rebuild kit from Mr.Vanos. It is a nice piece of mind and really livens up some of the tired horses in the engine
Any idea where I can get the TIS manual?
I might get the Vanos kit as a backup plan

 . Looking forward to when everything is set and done .
Mar 4, 2013 | 12:02 PM
. Looking forward to when everything is set and done .
Mar 4, 2013 | 12:02 PM
#24
Thread Starter
| Teamspeed Pro
Joined: Mar 2009
Posts: 2,882
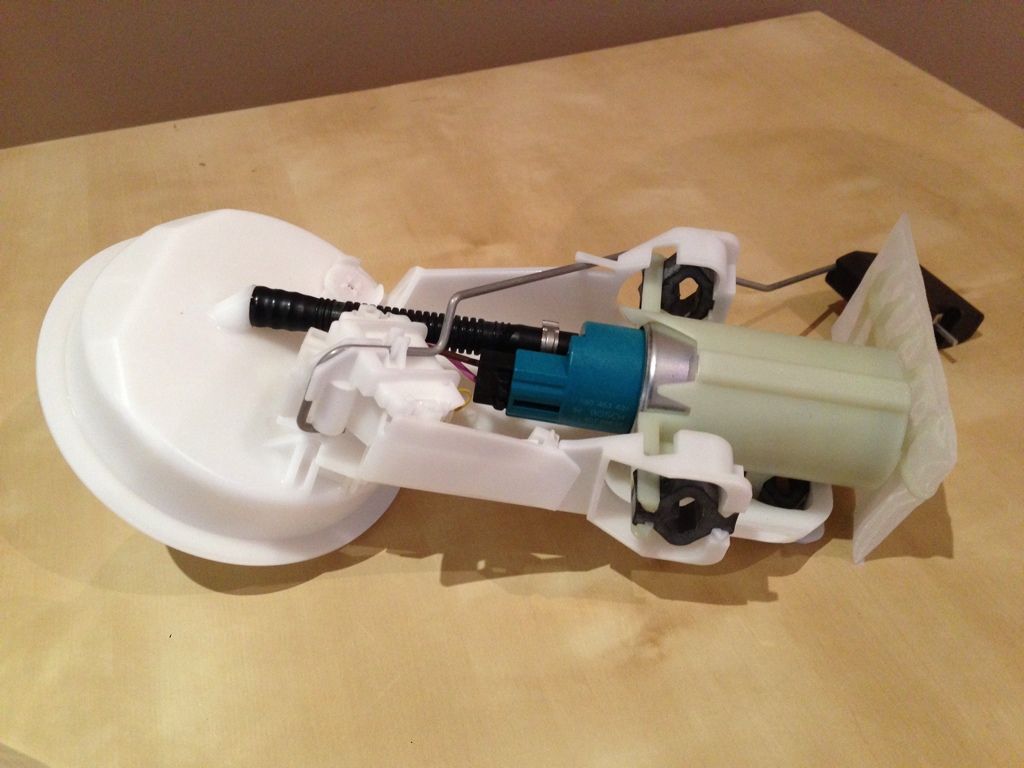
Received the first bunch of tidbits including the steel braided brake lines, steel braided clutch line, clutch slave cylinder, fuel filter and fuel pump gasket. The fuel pump was out of stock but now its been shipped, ETA 4 days.

Mar 8, 2013 | 08:38 AM
#27
Teamspeed Pro
Joined: Aug 2007
Posts: 2,009
From: BAHRAIN
Awesome and you mean valve cover gasket not head gasket.
 Mar 15, 2013 | 12:01 PM
#28
Thread Starter
| Teamspeed Pro
Joined: Mar 2009
Posts: 2,882
Decided to do a small DIY replacement today. I received my new throttle cable a few days ago and I decided to install it myself. Read through some threads and I knew it would be straight forward so I decided to go for it. You will need good lighting and the right tools since its a very tight area.
The cable

How everything looked before I started.

Once I got the plastic pieces removed

The main issue with this exercise is releasing the cable from the bulkhead. Once its off, the rest is easy. This is the hard piece to release


I adjusted the new cable to the same tension as the previous one and passed it through. Thats it! I put everything back and wiped everything clean.

The rubber bushing which fits into the accelerator was completely melted so I'll need to replace it, otherwise everything is smooth as silk. My 5 year old depressed the accelerator fully so I could make sure the cable was adjusted correctly.
The cable
How everything looked before I started.
Once I got the plastic pieces removed
The main issue with this exercise is releasing the cable from the bulkhead. Once its off, the rest is easy. This is the hard piece to release
I adjusted the new cable to the same tension as the previous one and passed it through. Thats it! I put everything back and wiped everything clean.
The rubber bushing which fits into the accelerator was completely melted so I'll need to replace it, otherwise everything is smooth as silk. My 5 year old depressed the accelerator fully so I could make sure the cable was adjusted correctly.
Last edited by MC321; Mar 15, 2013 at 12:03 PM.

