Disaster ??? I sanded down the clear coat on an Alpina B7 !
 Feb 2, 2011 | 09:47 PM
#1
Thread Starter
| Teamspeed Junior Member
Joined: Oct 2009
Posts: 58
From: Greater Los Angeles


Disaster ??? I sanded down the clear coat on an Alpina B7 !
No, not a disaster at all. What I did was completely deliberate and intentional.
My MISSION, (if I choose to accept it), was to transform an already very nice vehicle into to an extremely nice vehicle solely by detailing it.
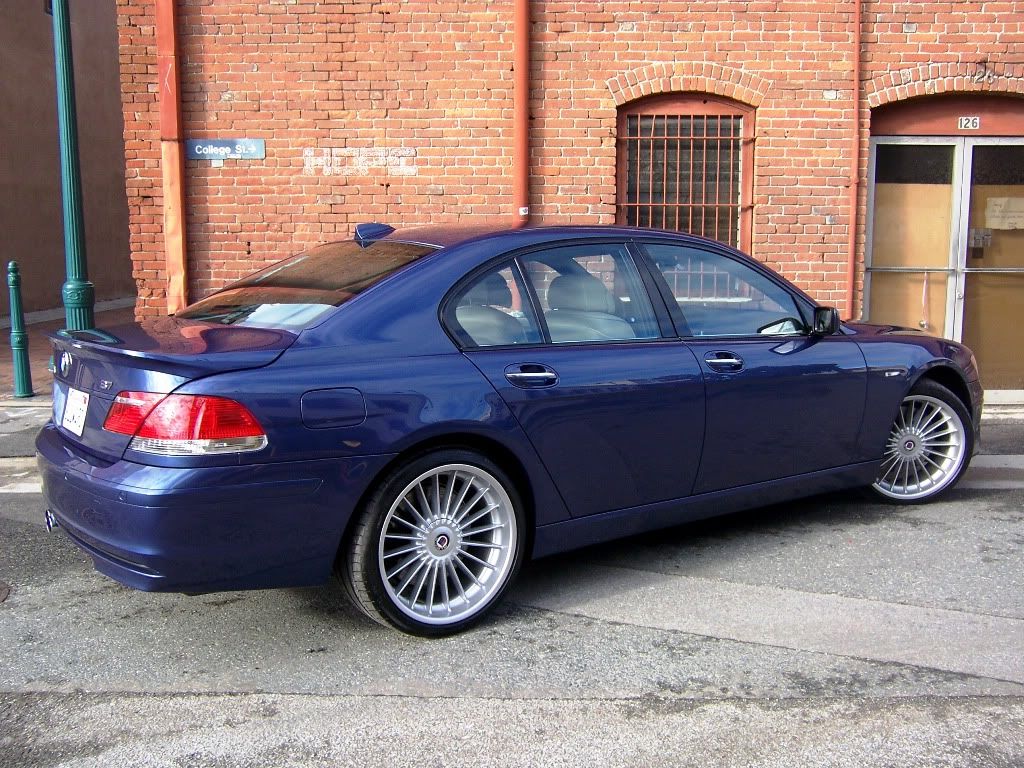
The vehicle in question is a BMW Alpina B7 with a hair over 12K miles on the odometer. It was pretty well cared for and looked pretty good -BUT, we all know.....pretty good isn't good enough!
Upon closer inspection I found that it had minor micro-marring and an unsightly "orange peel" texture to the paint.


My MISSION, (if I choose to accept it), was to transform an already very nice vehicle into to an extremely nice vehicle solely by detailing it.
The vehicle in question is a BMW Alpina B7 with a hair over 12K miles on the odometer. It was pretty well cared for and looked pretty good -BUT, we all know.....pretty good isn't good enough!
Upon closer inspection I found that it had minor micro-marring and an unsightly "orange peel" texture to the paint.
Feb 2, 2011 | 09:56 PM
#2
Thread Starter
| Teamspeed Junior Member
Joined: Oct 2009
Posts: 58
From: Greater Los Angeles
To take this vehicle to the extreme in shine, a leveling of the finish by color sanding (also known as wet sanding) was in order. I would use fine sand paper by hand and with various machines to flatten the paint. Once flat(level)a rotary polisher will be used to bring the paint up to a brilliant shine.
I started the process with an initial cut with 1500 grit sanding disc.

Not all areas were machine sanded. Areas that were prone to damage by the machine sander were sanded by hand.
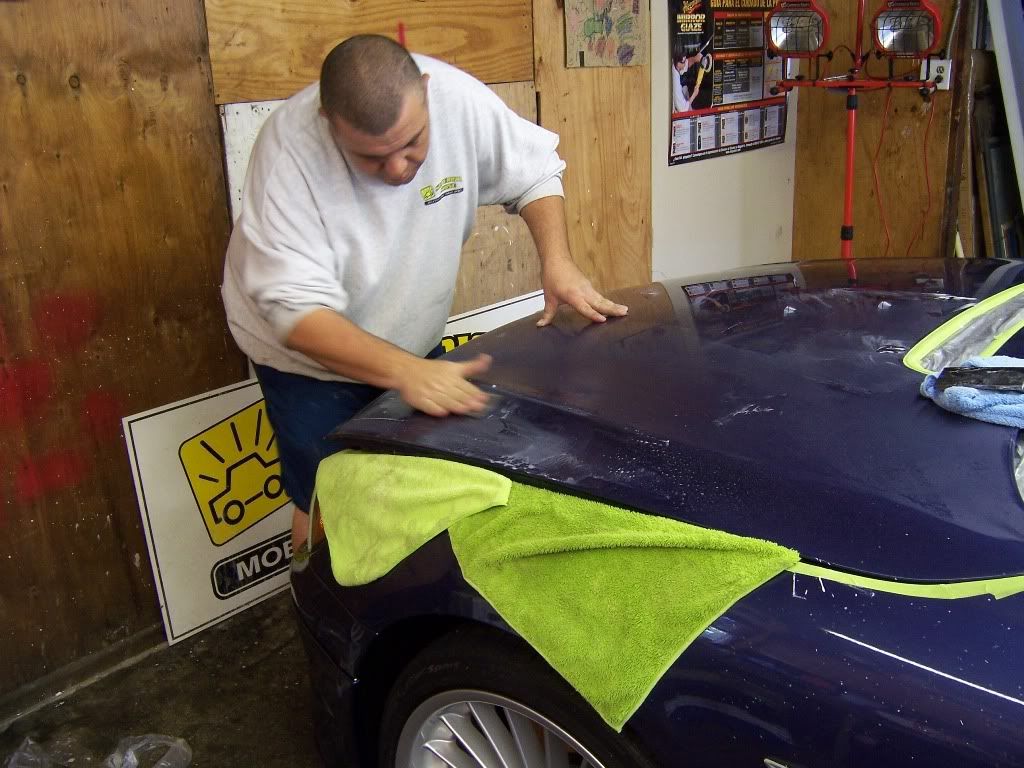
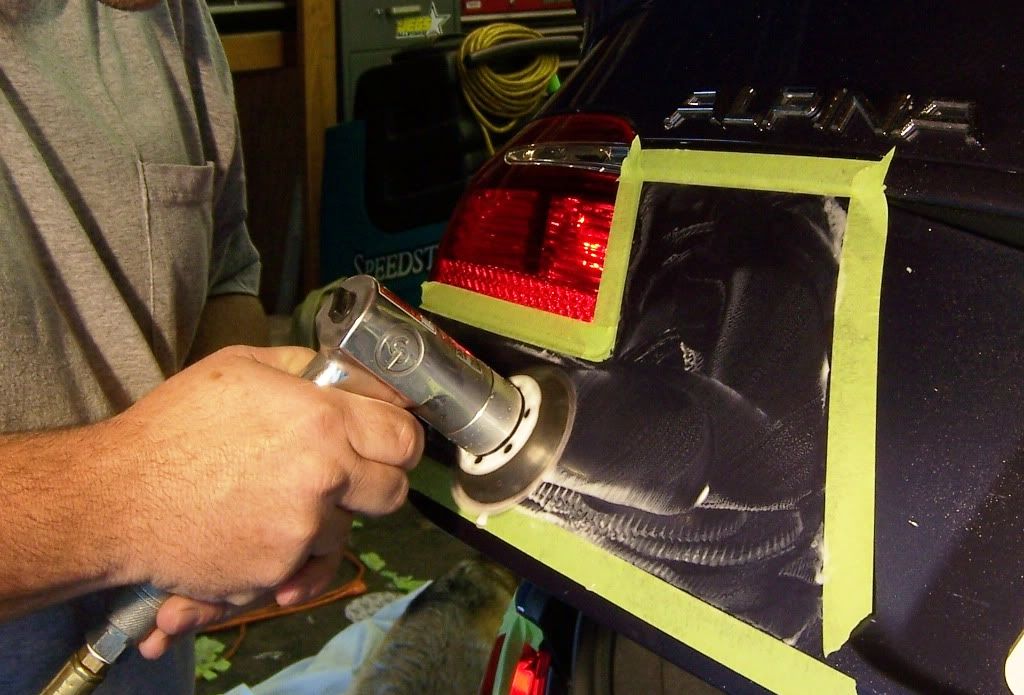
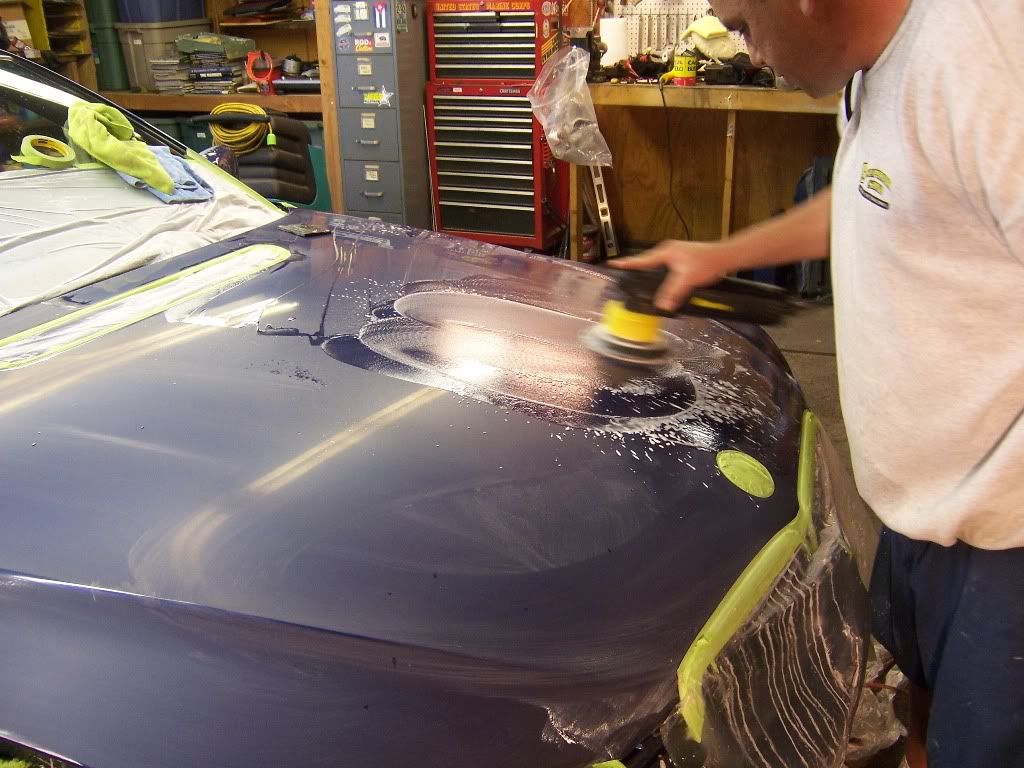
An air powered mini dual action sander/polisher tool and 3 inch sanding discs made it very easy to thoroughly sand small or hard to access areas. Here I am using the air DA with 1500 grit 3 inch sanding disc.
I started the process with an initial cut with 1500 grit sanding disc.
Not all areas were machine sanded. Areas that were prone to damage by the machine sander were sanded by hand.
An air powered mini dual action sander/polisher tool and 3 inch sanding discs made it very easy to thoroughly sand small or hard to access areas. Here I am using the air DA with 1500 grit 3 inch sanding disc.
Feb 2, 2011 | 10:03 PM
#3
Thread Starter
| Teamspeed Junior Member
Joined: Oct 2009
Posts: 58
From: Greater Los Angeles
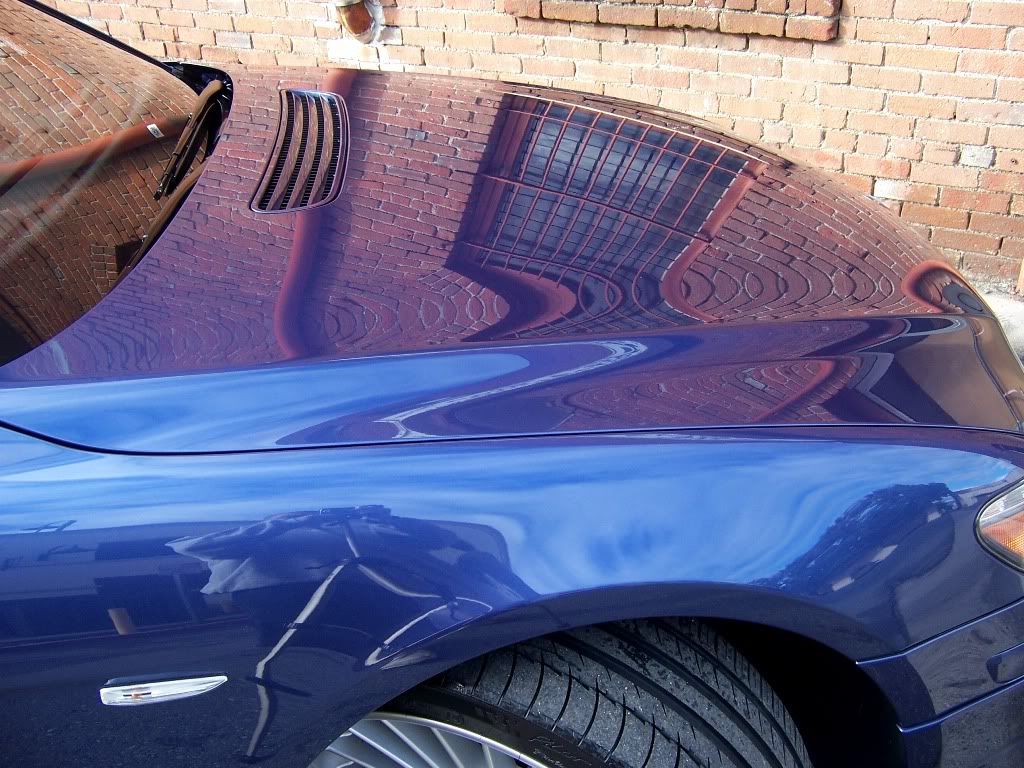
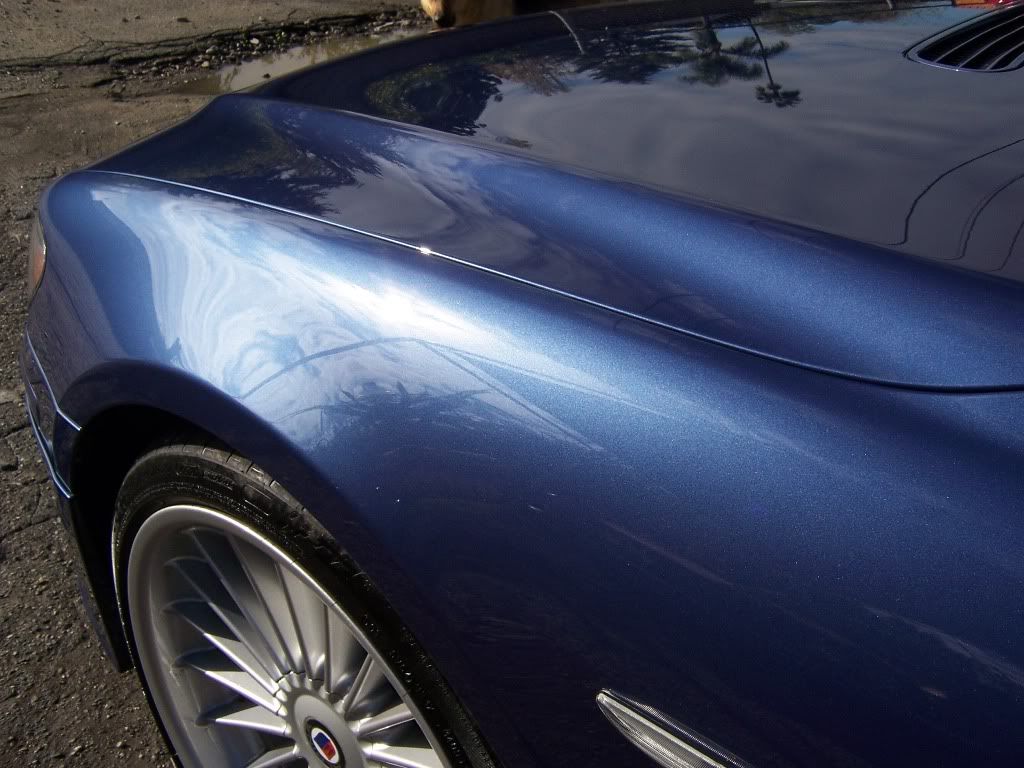
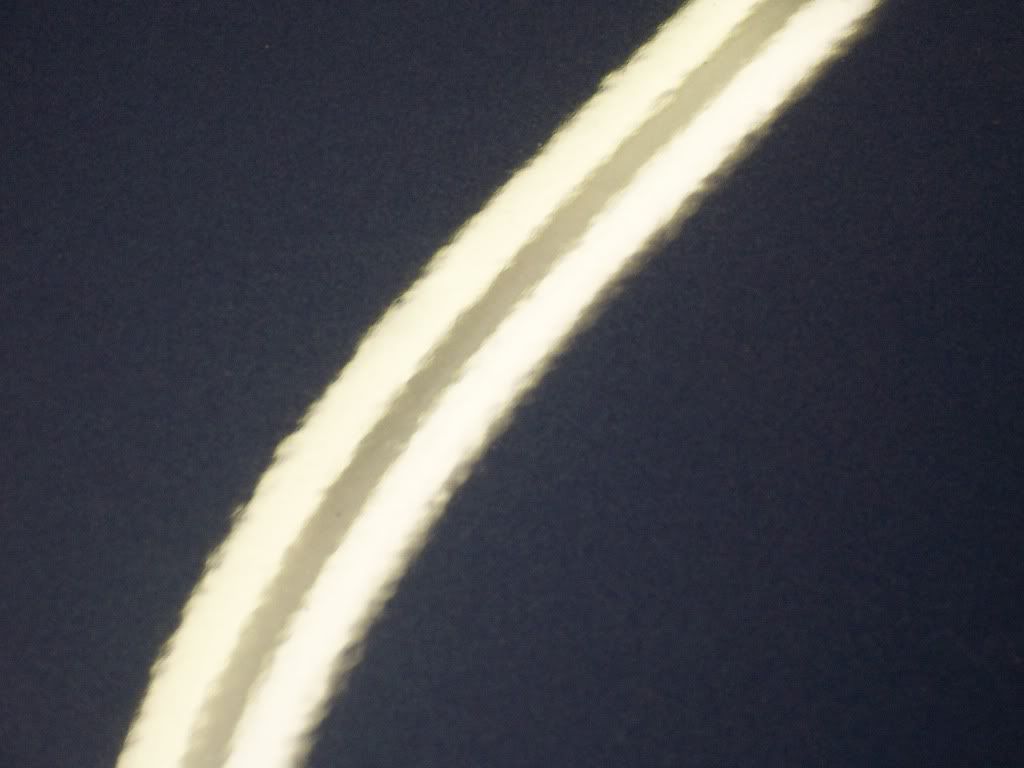
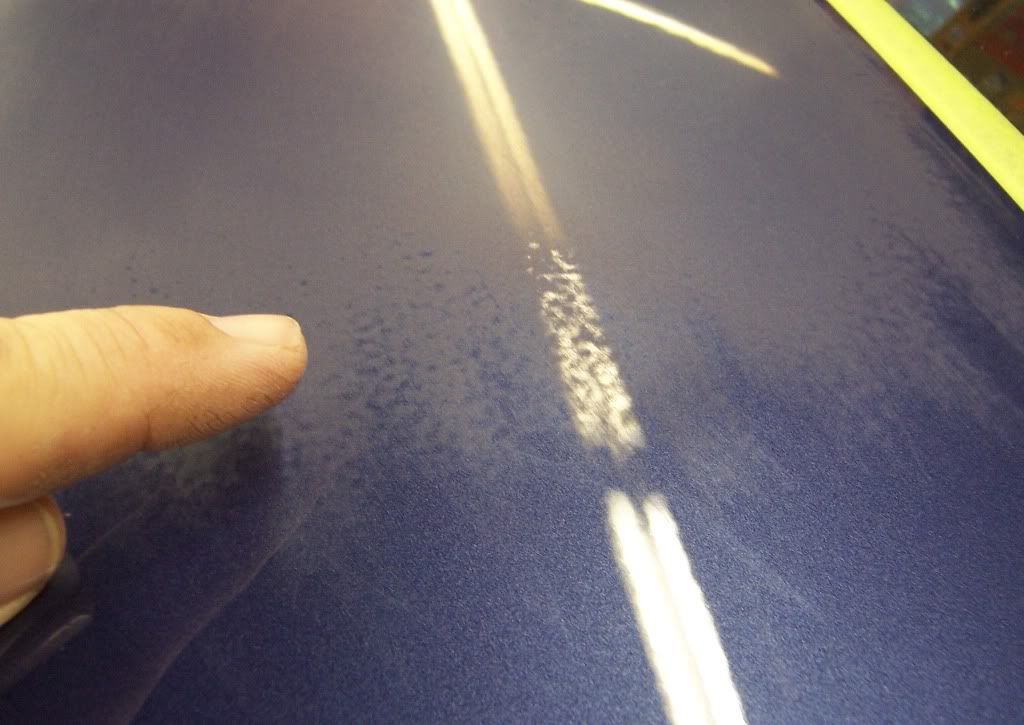
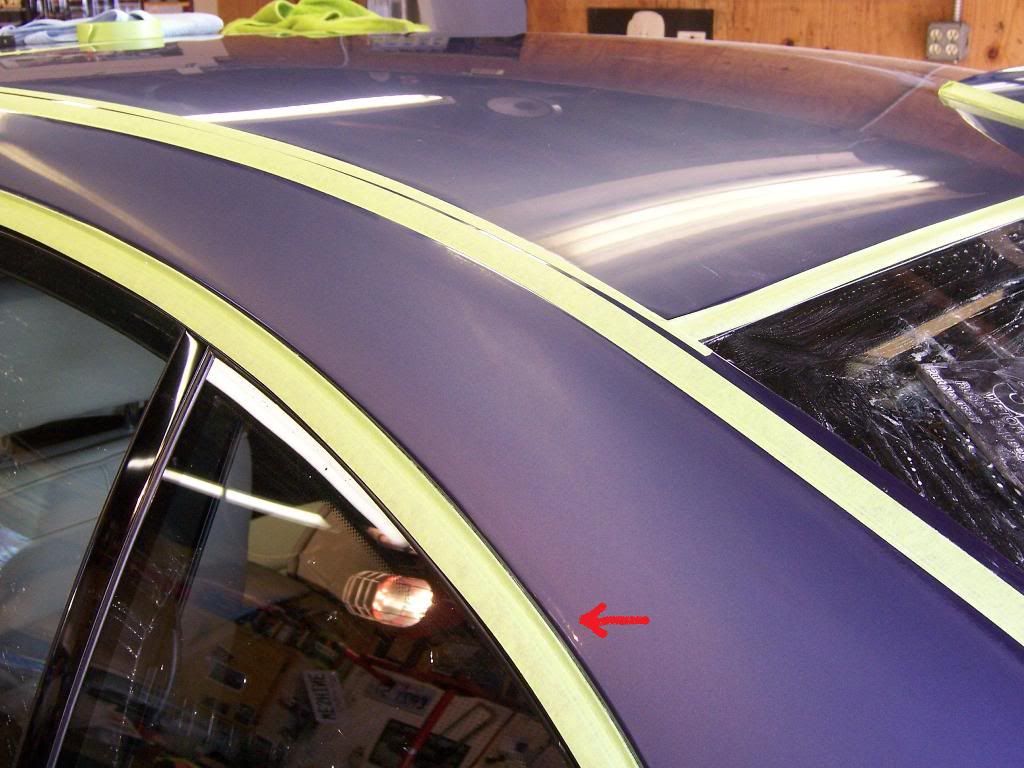
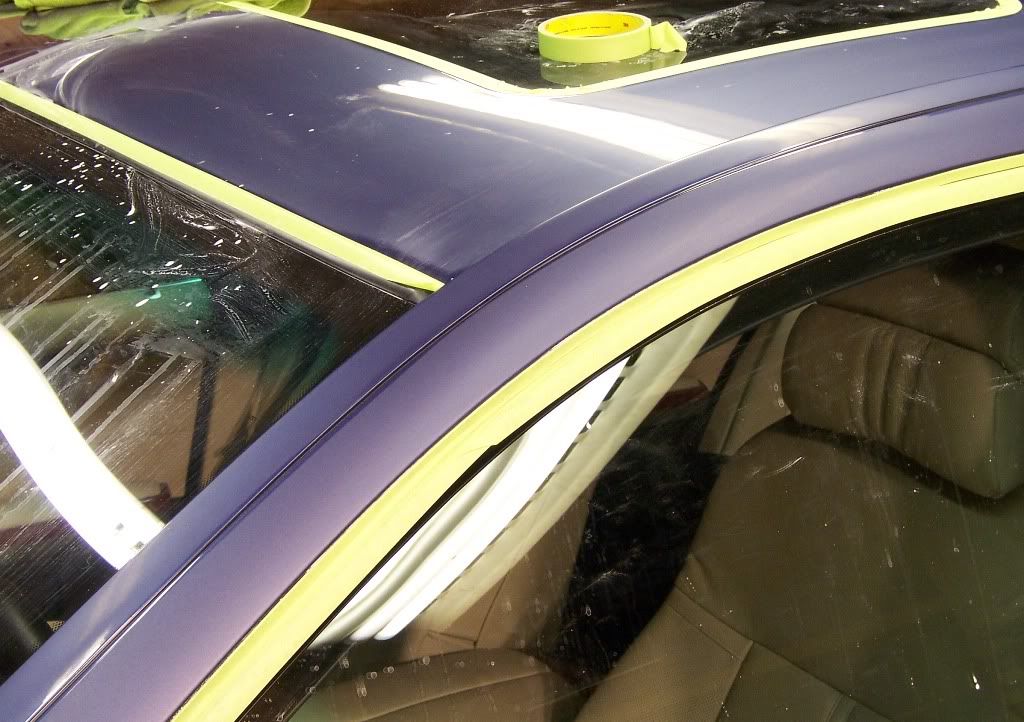
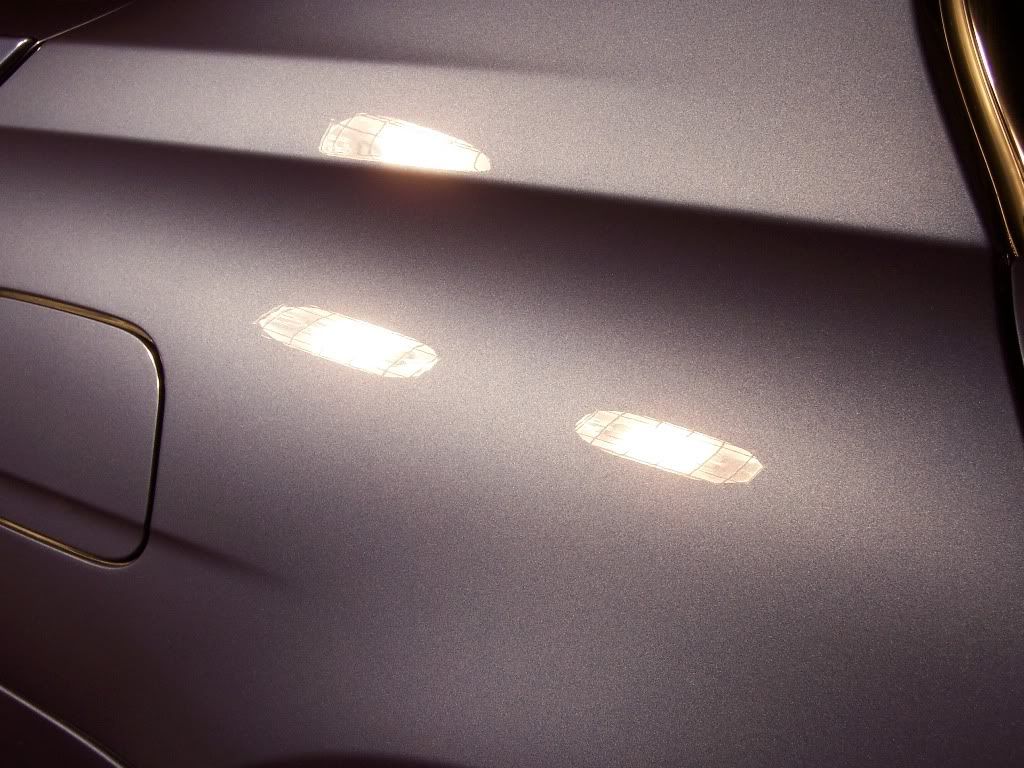
These next few photos will help to demonstrate what I am attempting to accomplish by sanding. The flatter the surface the more light it will reflect evenly. As you see in the photos the finish isn't very level.
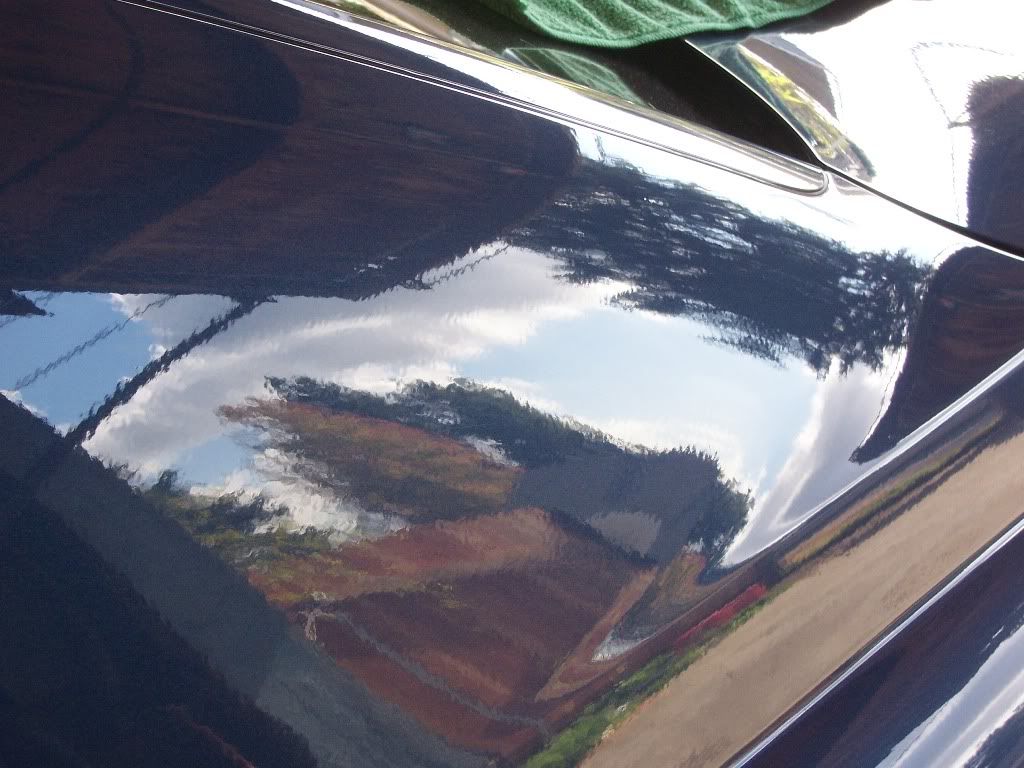
Here is a panel that has had a light sanding. You can clearly see the "peaks" dulled by sanding and the "valleys" still glossy.
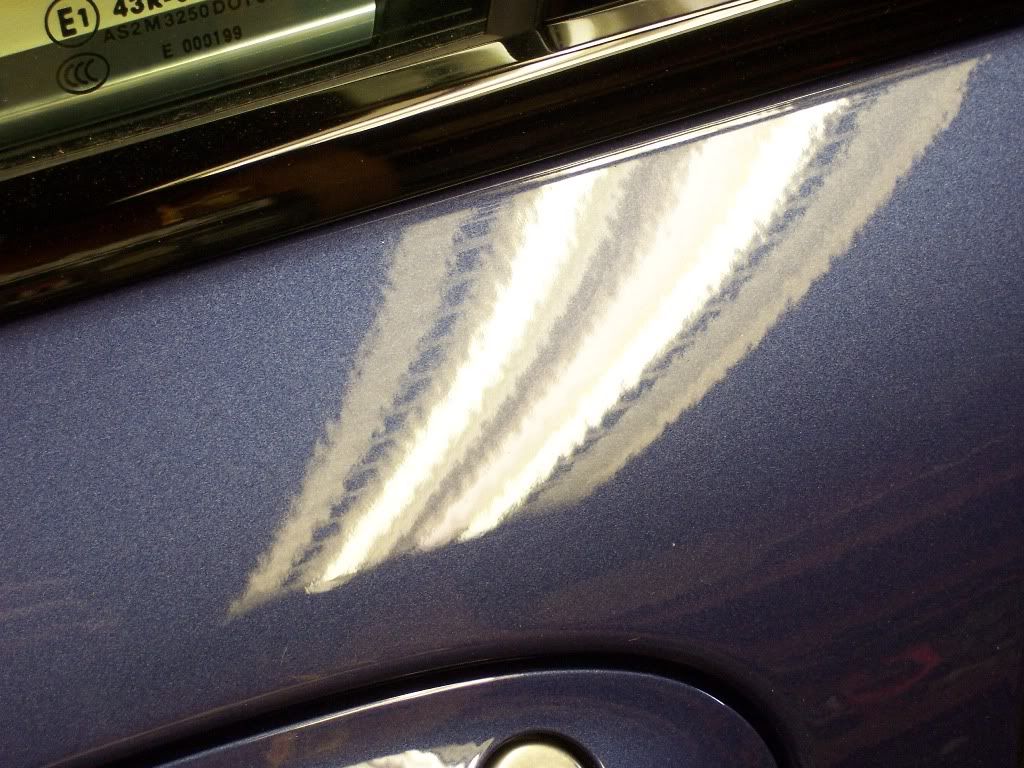
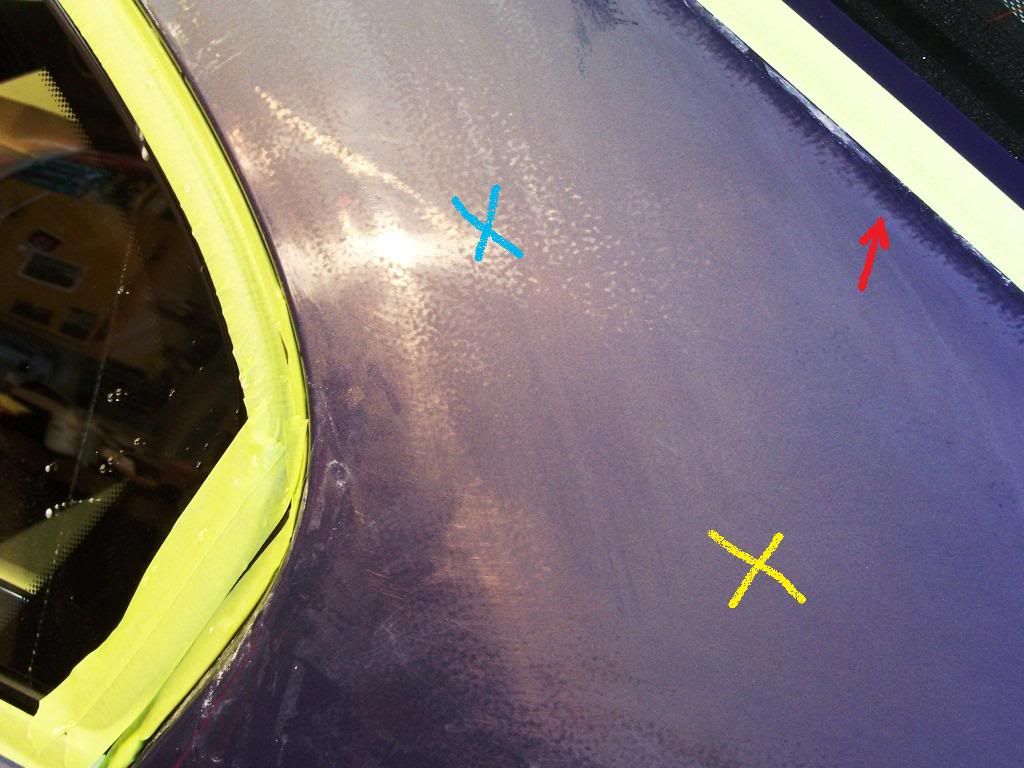
Here is a comparison of the untouched factory finish as it transitions to a thoroughly sanded panel.
The yellow X in this photo marks an area that has been properly sanded. The blue X marks an area that still requires more sanding. The red arrow points to the edge of the panel that will require more sanding as well. I will sand the edges by hand.
Here is a panel that has had a light sanding. You can clearly see the "peaks" dulled by sanding and the "valleys" still glossy.
Here is a comparison of the untouched factory finish as it transitions to a thoroughly sanded panel.
The yellow X in this photo marks an area that has been properly sanded. The blue X marks an area that still requires more sanding. The red arrow points to the edge of the panel that will require more sanding as well. I will sand the edges by hand.
Feb 2, 2011 | 10:08 PM
#4
Thread Starter
| Teamspeed Junior Member
Joined: Oct 2009
Posts: 58
From: Greater Los Angeles
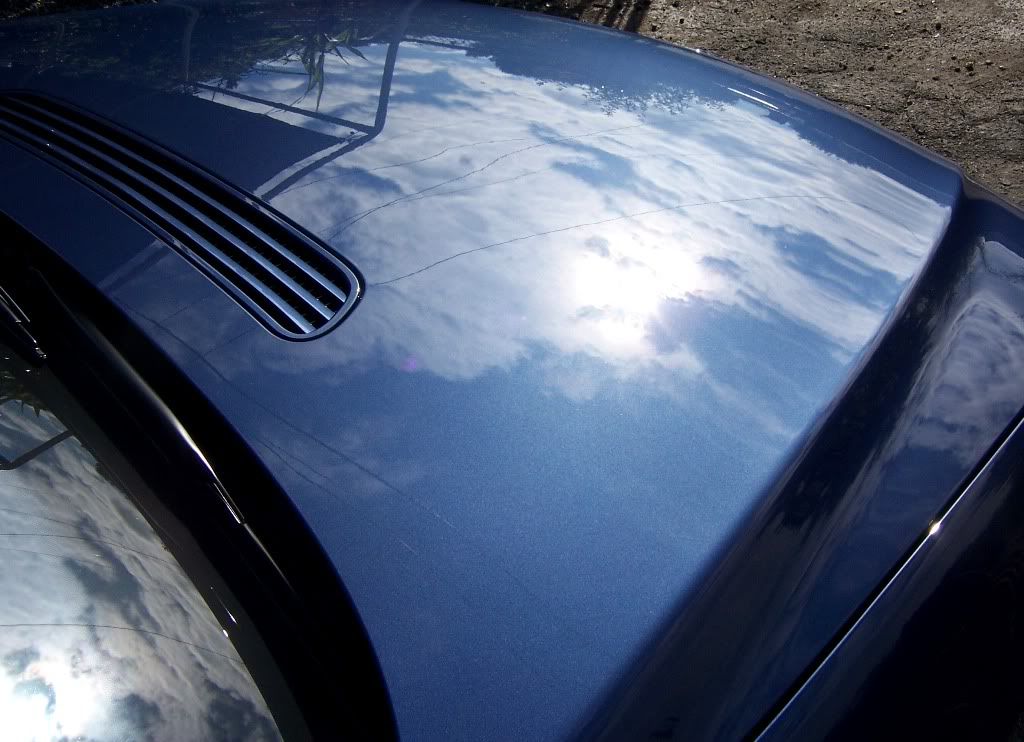
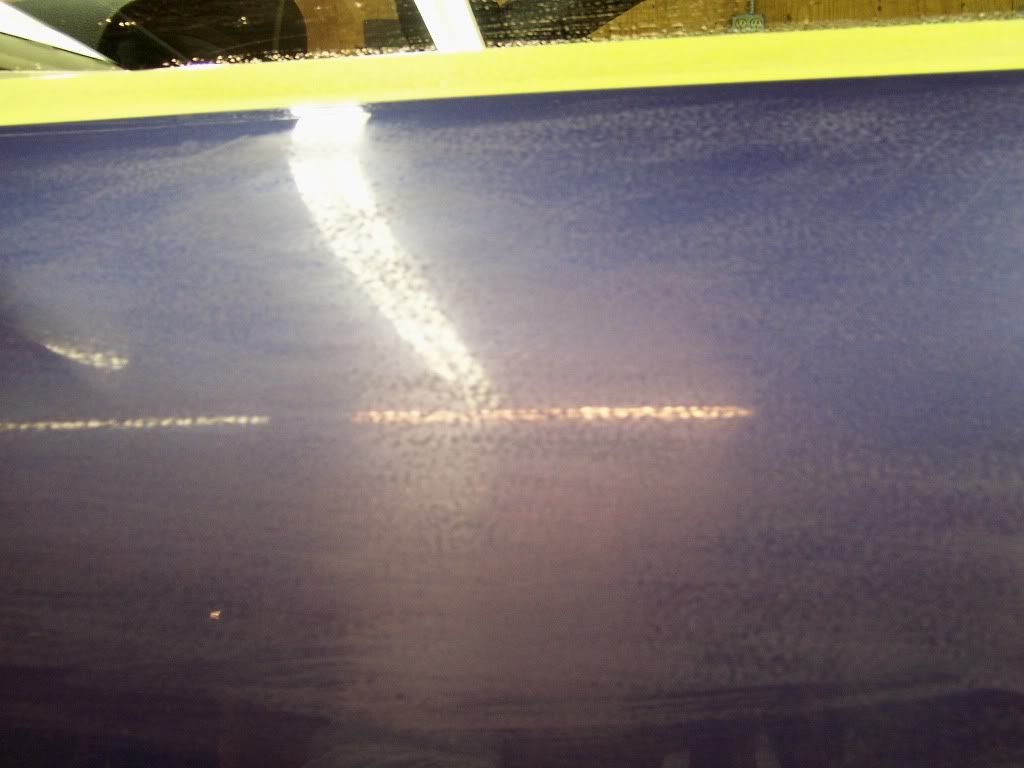
After I completed sanding with 1500 grit I sanded over all the areas with 3000 grit sanding discs to further refine the finish.
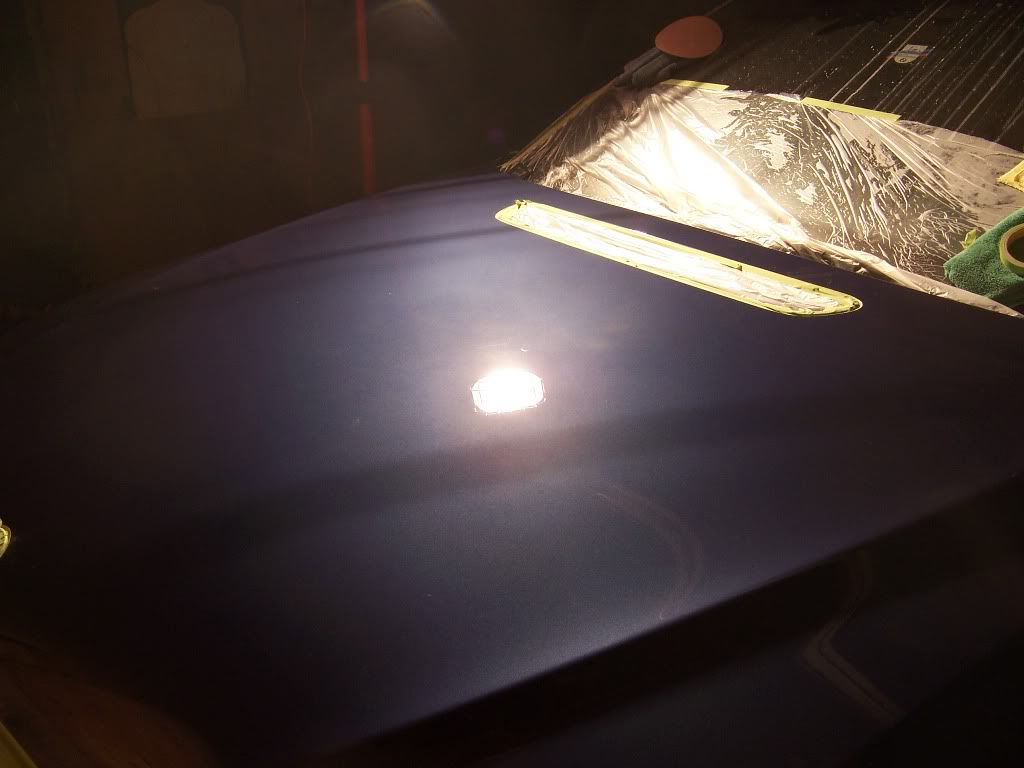
Here you can see that a slight shine is starting to come back only by sanding with the 3000 grit disc.
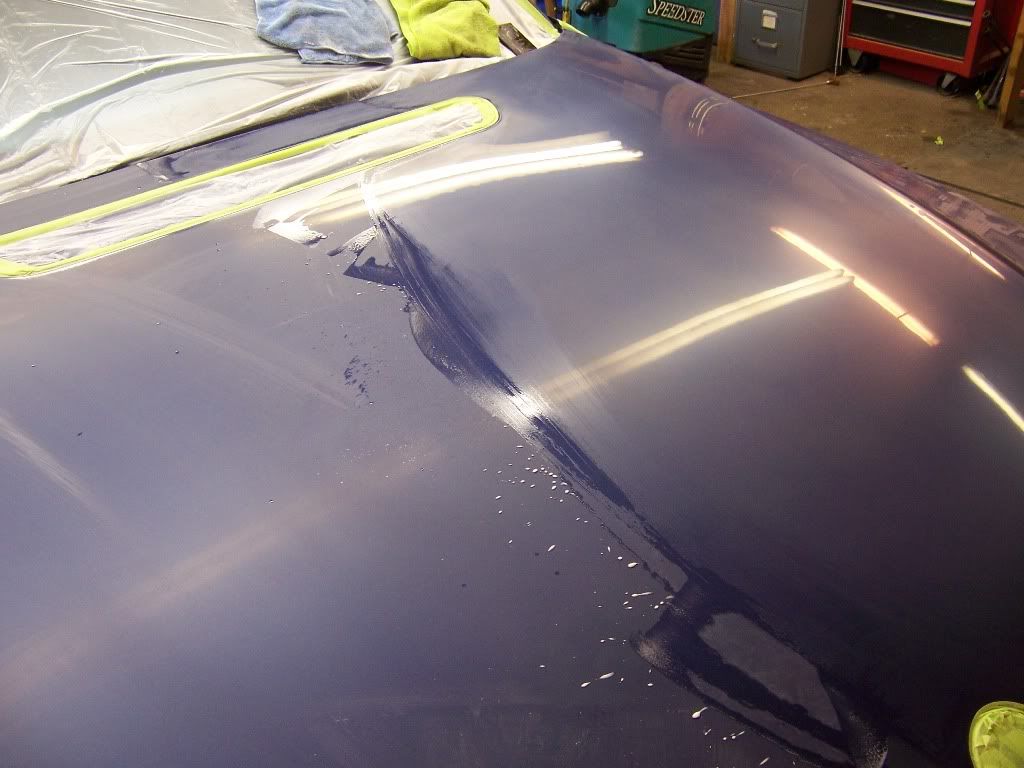
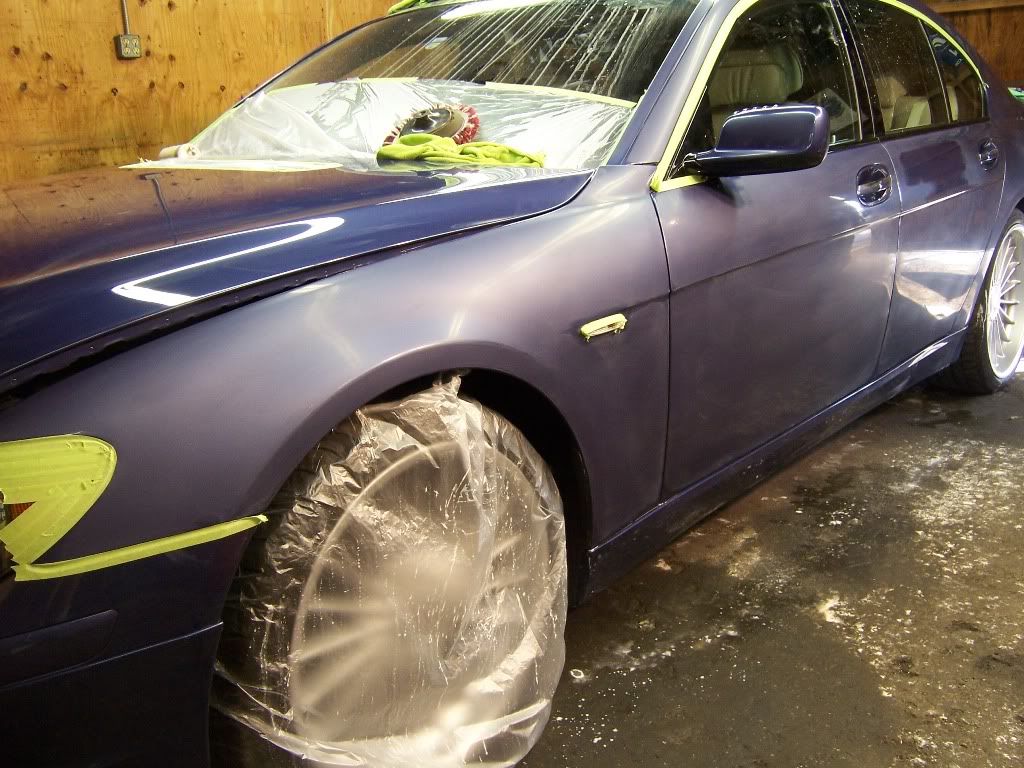
Here is what a properly color (wet) sanded finish should look like when completed. In this photo the area indicated by the red arrow will still need a bit more sanding.
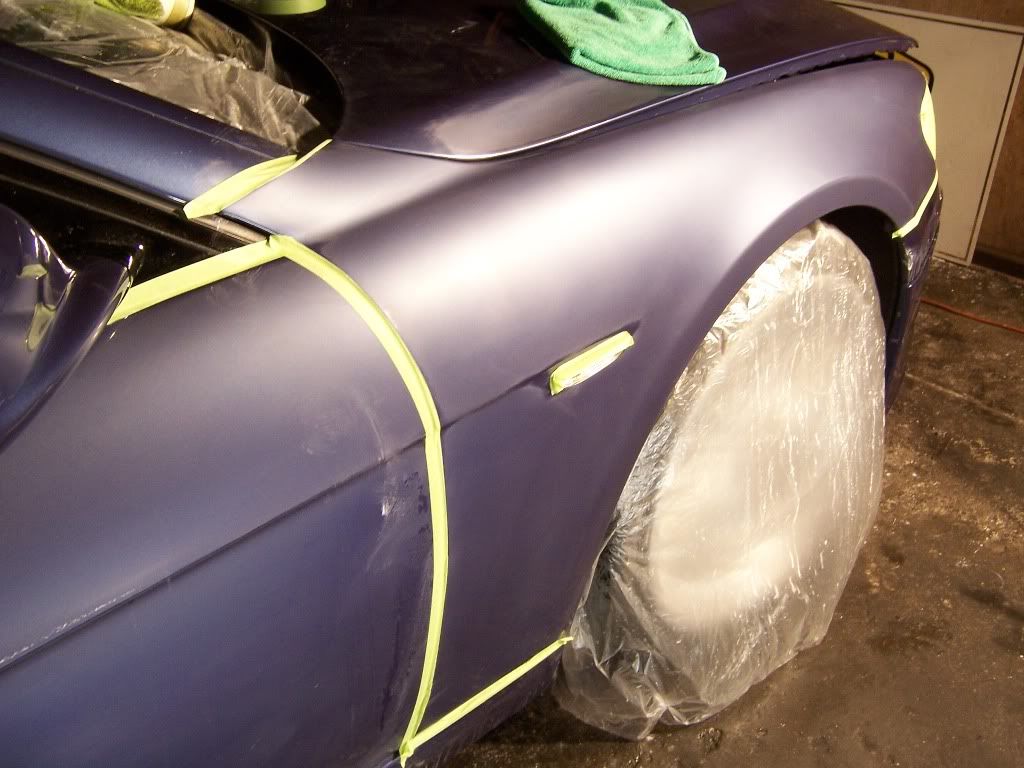
In this photo notice all the white on the ground. That is sand off clear coat.
Here you can see that a slight shine is starting to come back only by sanding with the 3000 grit disc.
Here is what a properly color (wet) sanded finish should look like when completed. In this photo the area indicated by the red arrow will still need a bit more sanding.
In this photo notice all the white on the ground. That is sand off clear coat.
Feb 2, 2011 | 10:13 PM
#5
Thread Starter
| Teamspeed Junior Member
Joined: Oct 2009
Posts: 58
From: Greater Los Angeles
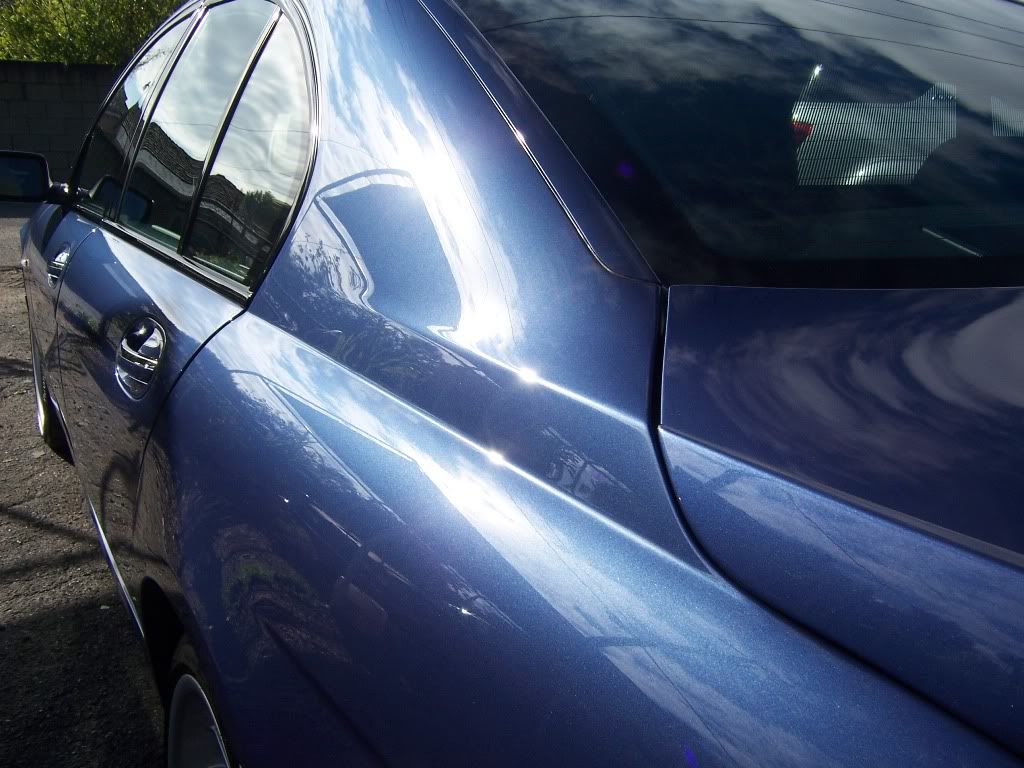
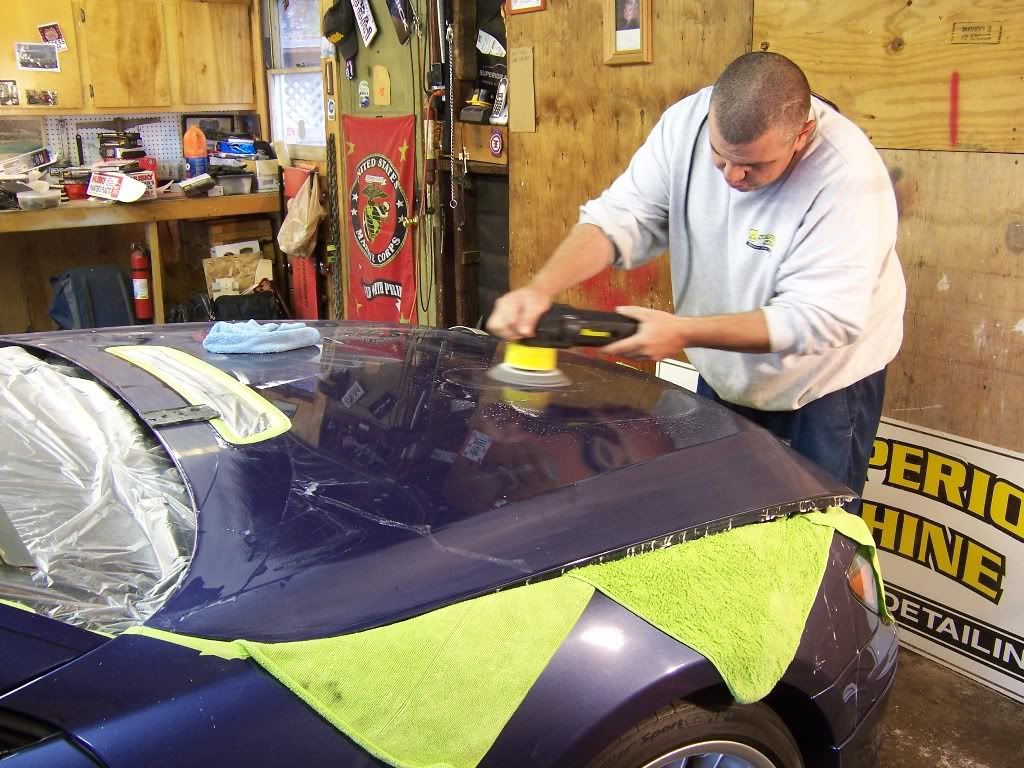
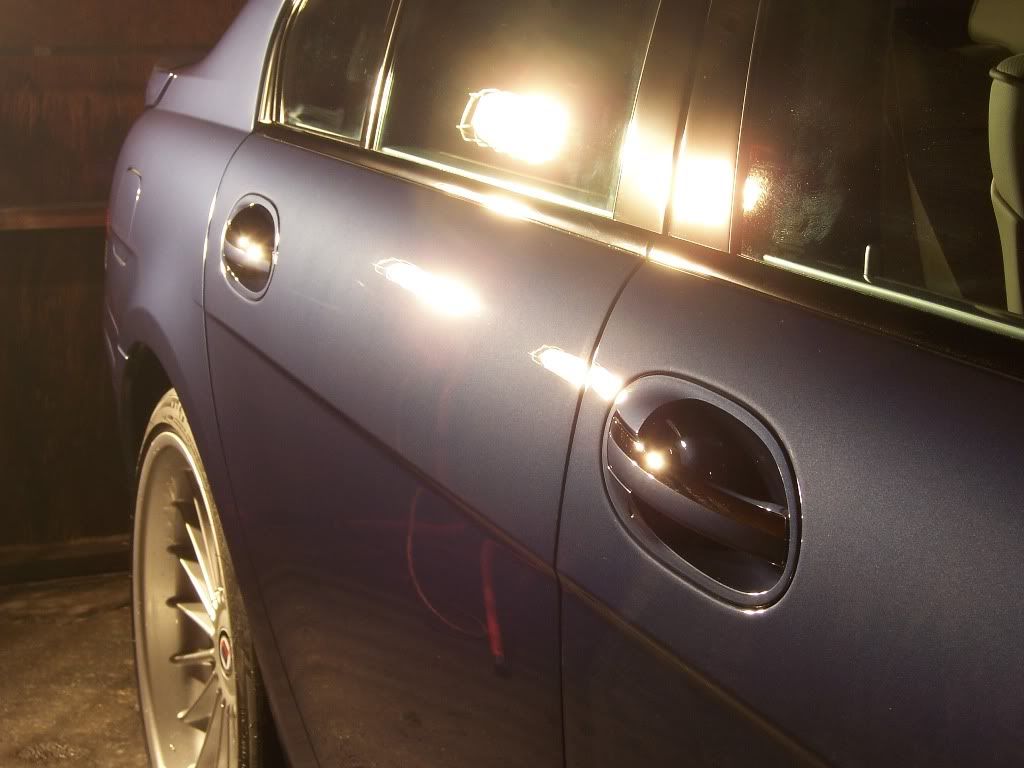
Now the fun begins!! I used my rotary polisher with a wool pad and rubbing compound for the first go around.
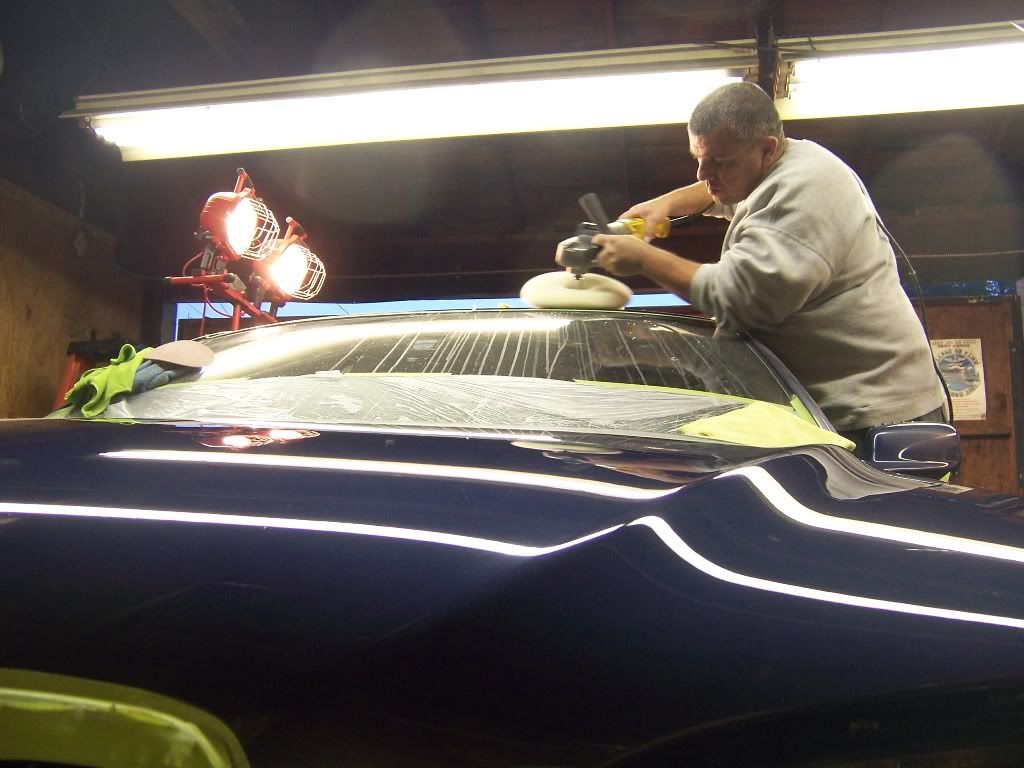
To really see every imperfection in the clear coat I prefer to "dark room" polish. This is were only one concentrated light source is used to illuminate the area being polished. Too much light and the light will wash out what you can see. Too little light and it will be too dark to see imperfections. A fine balance of light and dark will give you the perfect condition to see and thus buff out the finish until it is absolutely perfect as seen by your eye.
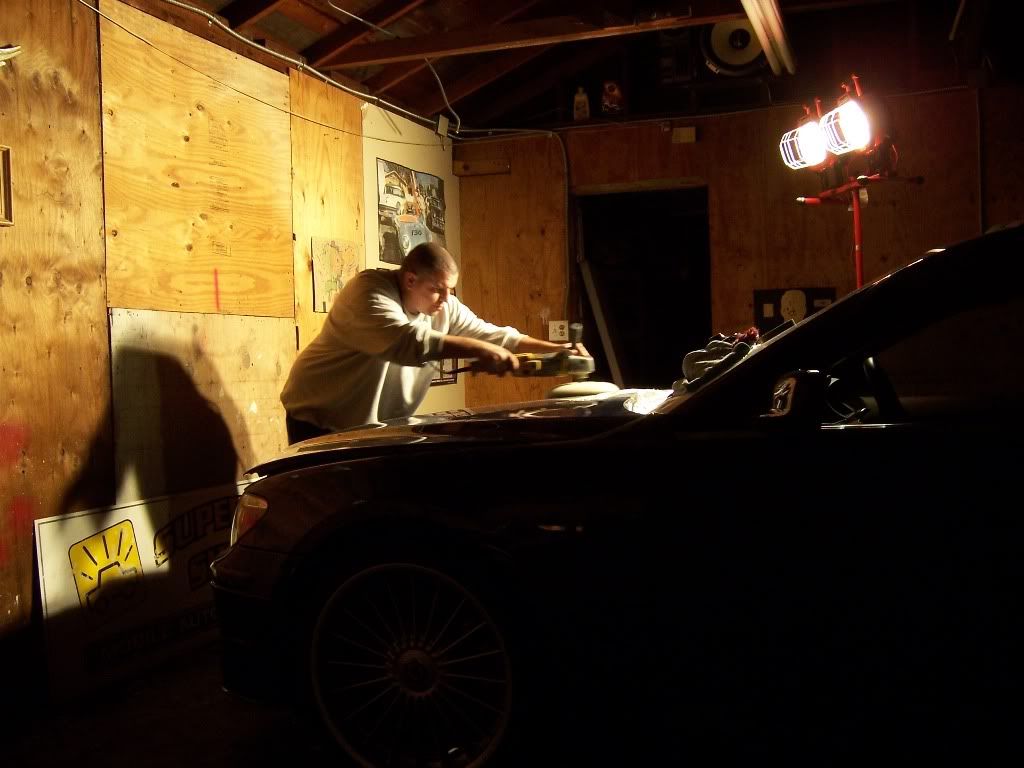
To really see every imperfection in the clear coat I prefer to "dark room" polish. This is were only one concentrated light source is used to illuminate the area being polished. Too much light and the light will wash out what you can see. Too little light and it will be too dark to see imperfections. A fine balance of light and dark will give you the perfect condition to see and thus buff out the finish until it is absolutely perfect as seen by your eye.
Feb 2, 2011 | 10:17 PM
#6
Thread Starter
| Teamspeed Junior Member
Joined: Oct 2009
Posts: 58
From: Greater Los Angeles
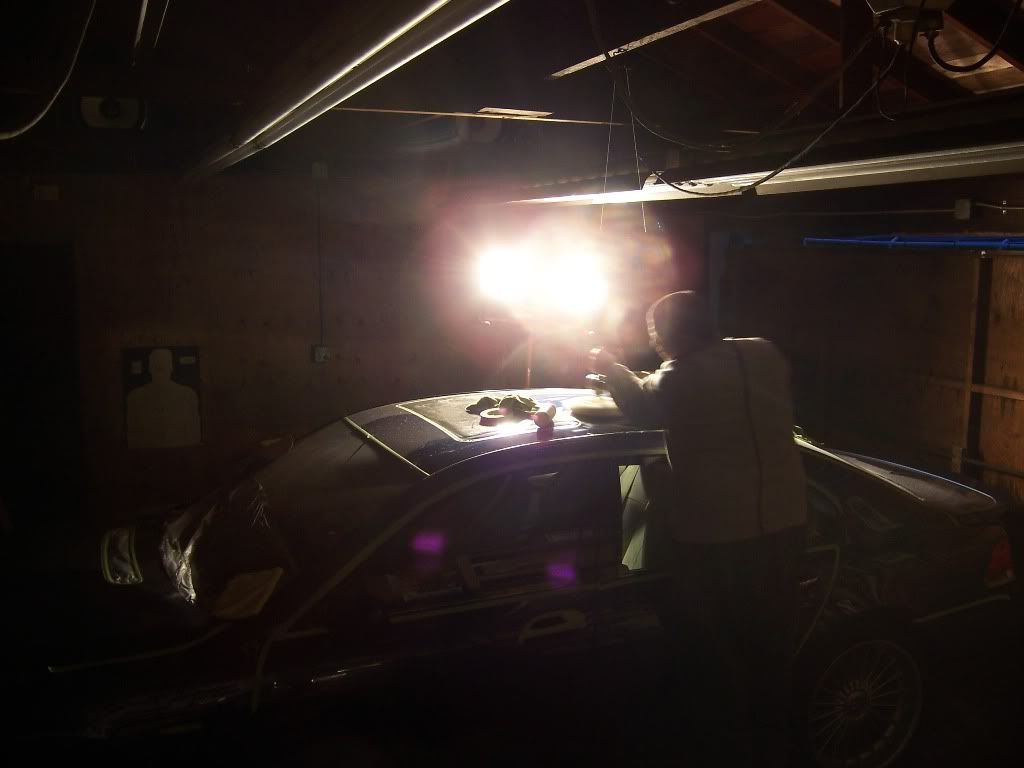
After hours and hours of polishing steps to remove sanding scratches and to bring out the shine, I had what looked pretty darn nice.
There is something magical about being in a mostly dark room and with a perfect brilliant deep wet shine as the focal point.
There is something magical about being in a mostly dark room and with a perfect brilliant deep wet shine as the focal point.