Photography 101
#81
 01-17-2012, 12:27 AM


One I took over the weekend. Very mediocre shot but tried to salvage it. Straightened it up a bit, played with the curves and some filters and what not.


Last edited by ShutterSpeed; 01-17-2012 at 12:28 AM.
#82
01-17-2012, 02:14 AM
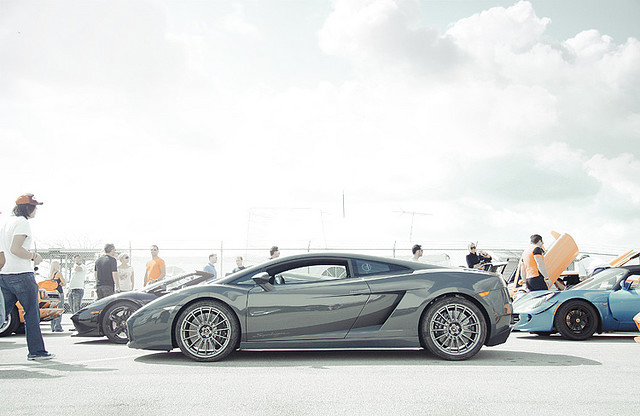
Nick I think Evo is correct on how this photo was shot... but I think the editing was basically HDR processing from one frame
Played around with your pic and the Lightbox App that I have on my iPhone and got these from the set effects
Original

HDR

Antique

Cannot remember

Played around with your pic and the Lightbox App that I have on my iPhone and got these from the set effects
Original
HDR
Antique
Cannot remember
#83
01-17-2012, 02:30 AM
A few others via HDR processing using one image…
I am over doing the effect so the difference can be easily seen

At 30% of the HDR effect

At 30% of the HDR effect


I think I should have toned it down
I am over doing the effect so the difference can be easily seen
At 30% of the HDR effect
At 30% of the HDR effect
I think I should have toned it down
Last edited by GrayTT; 01-17-2012 at 03:13 AM.
#84
01-17-2012, 02:57 AM
Wow only just found this thread, love it, photography is a big part of my life. Especially automotive photography! As I know there's a lot of Porsche fans on here I thought I'd show you my best panning shot of a Porsche:
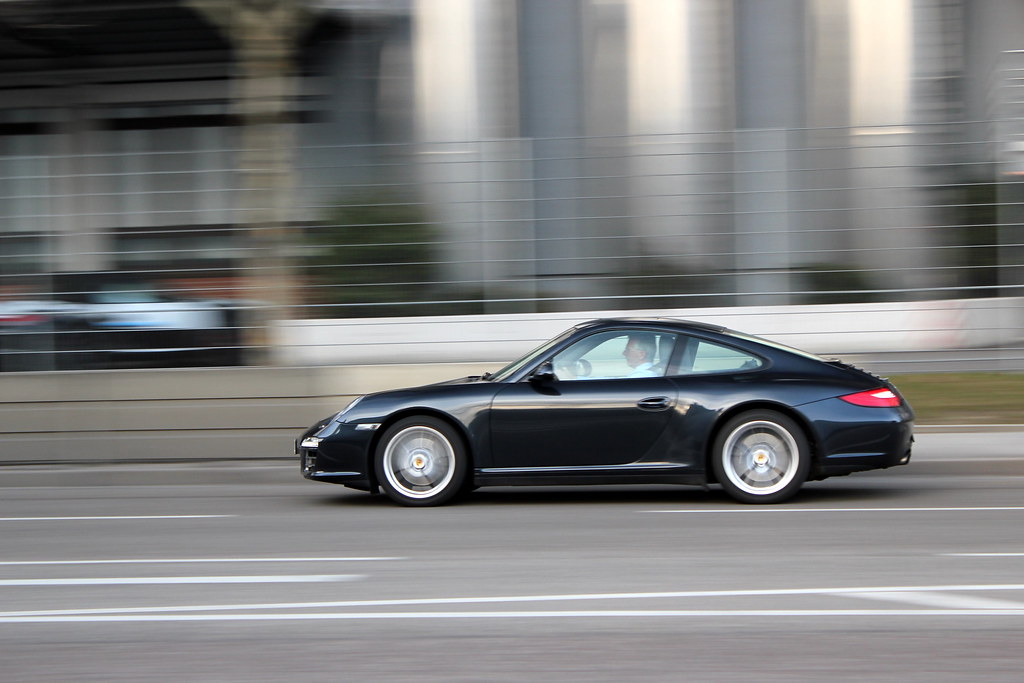
I took this picture last year in Stuttgart right near the museum.
Key details: 1/40 f/6.3 ISO:200
I took this picture last year in Stuttgart right near the museum.
Key details: 1/40 f/6.3 ISO:200
#85
01-17-2012, 10:54 AM
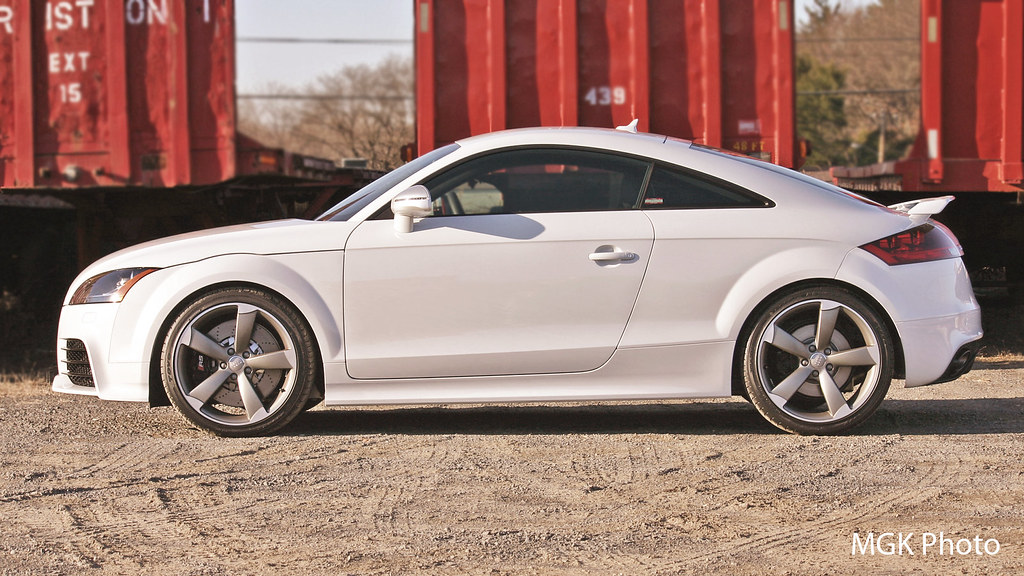
I produce this effect pretty much the same way Pure Evo excellently described it -- by adding a a couple of adjustment layers. In this example, I added an adjustment layer for curves (adjust the R,G,B separately) as well as another layer to adjust hue/saturation (I desaturated it a bit as well as adjusted the lightness).
One other process I like to do, is to add layers for adjusting the lighting effects on the photo. Here, I used a couple of soft light layers to either darken or lighten certain parts of the photo that I wanted to stand out. For example, I darkened the headlight housing, the lower front grille section, and the windows of the car. I also darkened the entire background, to help the car 'pop' a little more. Then, I used another layer to brighten certain spots, like the rear bumper of the car.
Out of camera shot:
Processed, adjusting curves & saturation (without lighting layers):
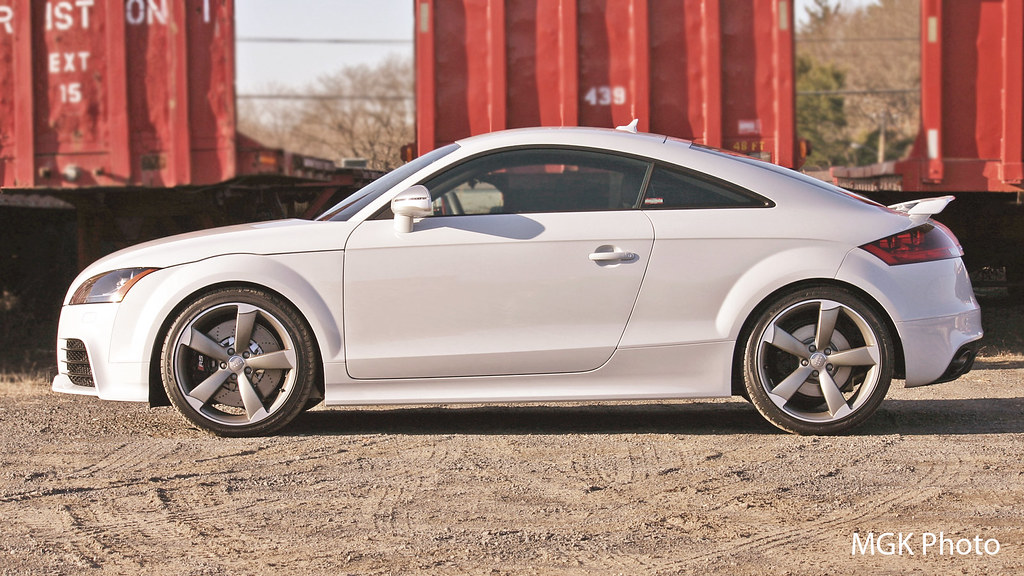
Processed with lighting layers added:
One other process I like to do, is to add layers for adjusting the lighting effects on the photo. Here, I used a couple of soft light layers to either darken or lighten certain parts of the photo that I wanted to stand out. For example, I darkened the headlight housing, the lower front grille section, and the windows of the car. I also darkened the entire background, to help the car 'pop' a little more. Then, I used another layer to brighten certain spots, like the rear bumper of the car.
Out of camera shot:
Processed, adjusting curves & saturation (without lighting layers):
Processed with lighting layers added:
#86
01-17-2012, 12:35 PM
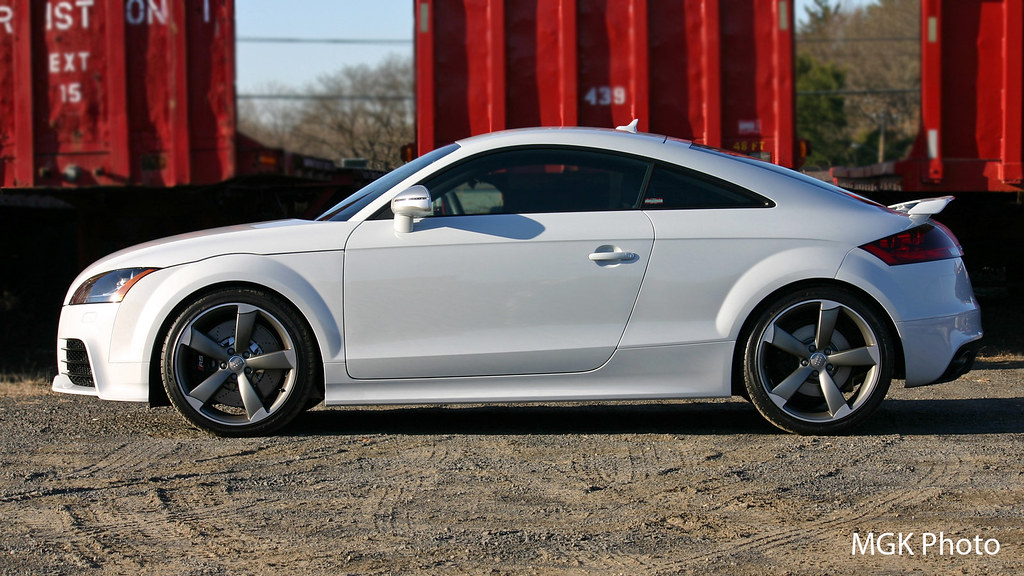
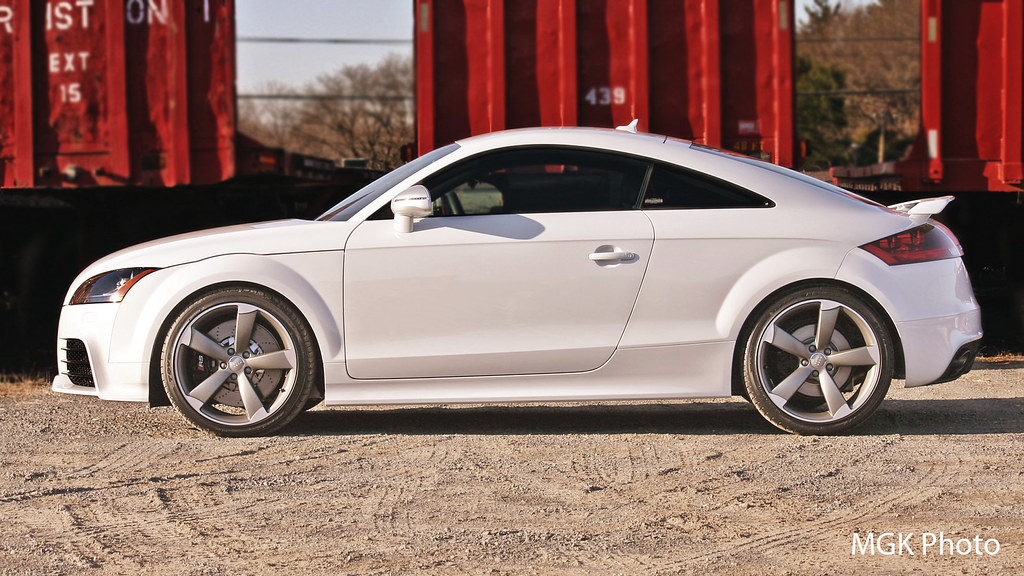
^Nice side profile shot. I would be careful about dark/lightening certain bits of the car. The windows, headlight, and shadow under the trailers are very very black compared to the greyed down areas in the wheel/tire area. Then you have the high contrast red in the background against the rest of the photo being toned down. It just doesn't look consistent with the rest of the photo now. Not sure if that made sense or not?
#87
01-17-2012, 03:06 PM
^Nice side profile shot. I would be careful about dark/lightening certain bits of the car. The windows, headlight, and shadow under the trailers are very very black compared to the greyed down areas in the wheel/tire area. Then you have the high contrast red in the background against the rest of the photo being toned down. It just doesn't look consistent with the rest of the photo now. Not sure if that made sense or not?


#90
01-17-2012, 05:50 PM
^Nice side profile shot. I would be careful about dark/lightening certain bits of the car. The windows, headlight, and shadow under the trailers are very very black compared to the greyed down areas in the wheel/tire area. Then you have the high contrast red in the background against the rest of the photo being toned down. It just doesn't look consistent with the rest of the photo now. Not sure if that made sense or not?
Here's the final image I was trying to show -- with subtle lighting effects.