
2012 Jaguar XK Paint Correction & Dealer Fix
 Mar 24, 2012 | 03:06 PM
#1

Thread Starter
| Teamspeed Senior Member
Joined: May 2008
Posts: 526
From: New Jersey


2012 Jaguar XK Paint Correction & Dealer Fix
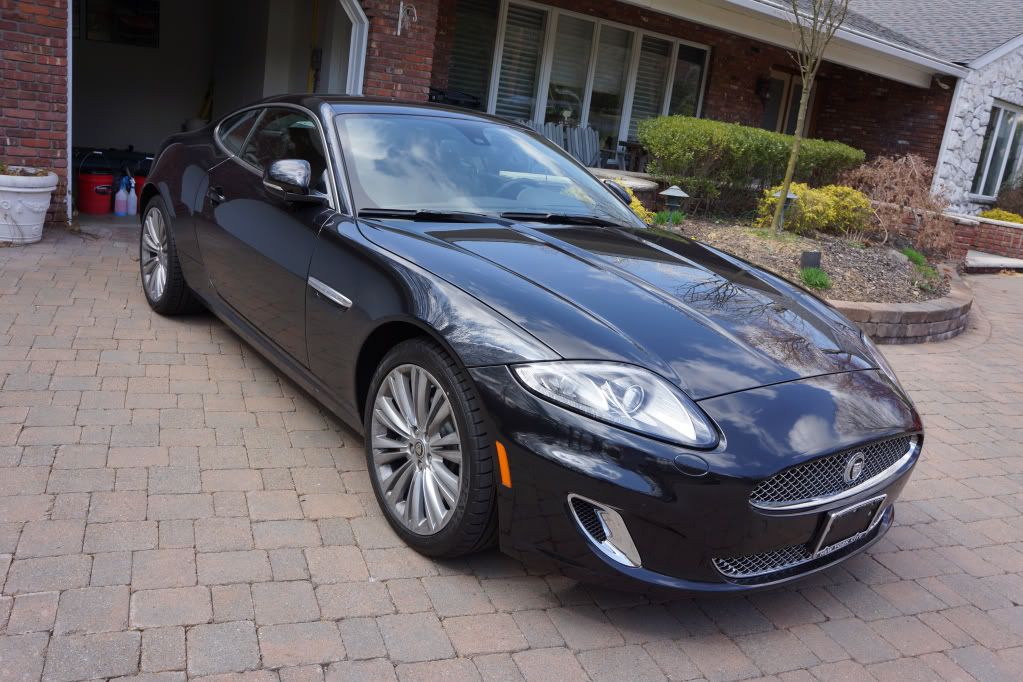
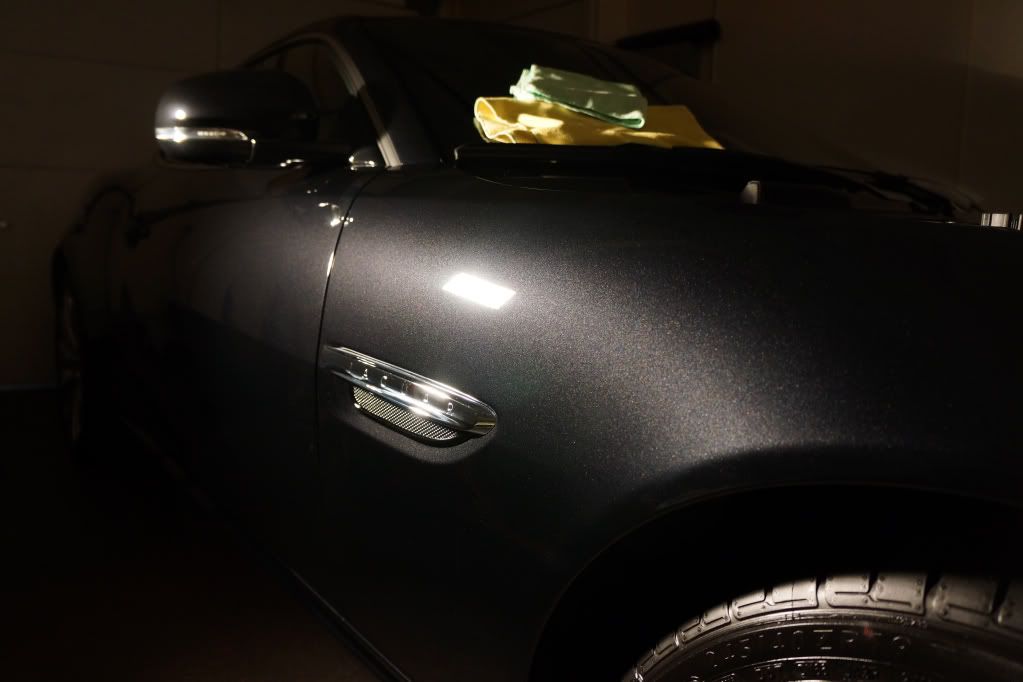
Brand new XK brought in for new car preparation and detail. Owner was very unhappy with the quality/lack there of proper detailing done to the Jag.
Main points:
- Botched dealer preparation
- Failure to remove tape lines from transport
- Swirls, deep RIDS and holograms left in the finish
- Sanding marks left uncorrected
- Light overspray removal
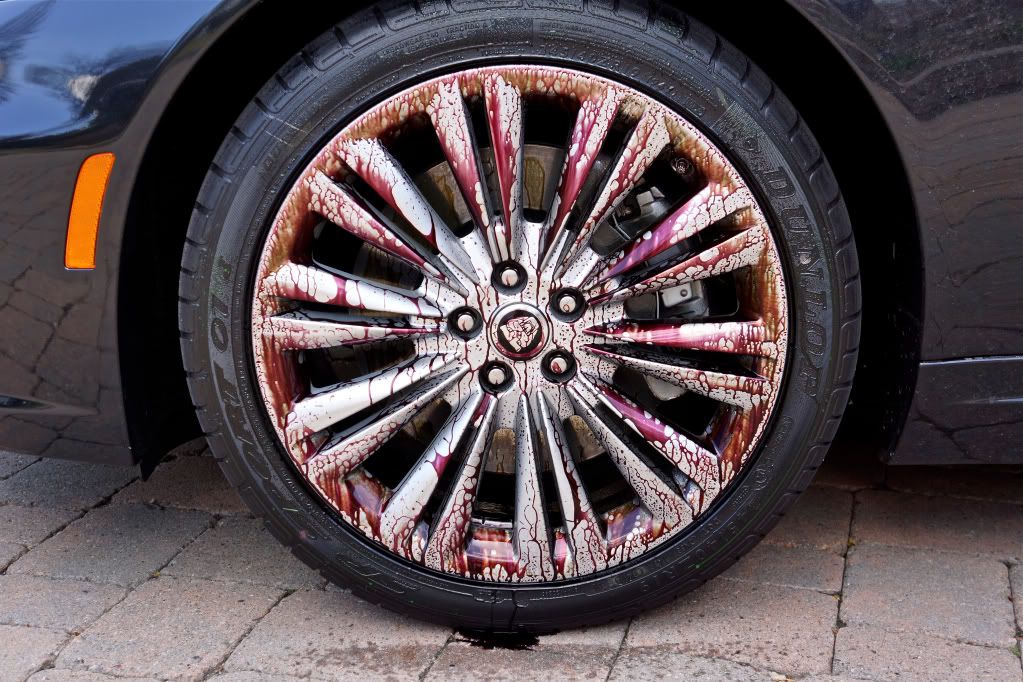
Wash process done with 2 bucket method using CG citrus and Opt. Powerclean. Wheels treated with Sonax FE and then Wolf's Chemical Clean and Coat. Tires and wheel wells degreased with strong APC mix and various brushes.

Sonax FE sprayed on the wheel dry and left to sit for 10 minutes or until blood red and then pressure washed off
After
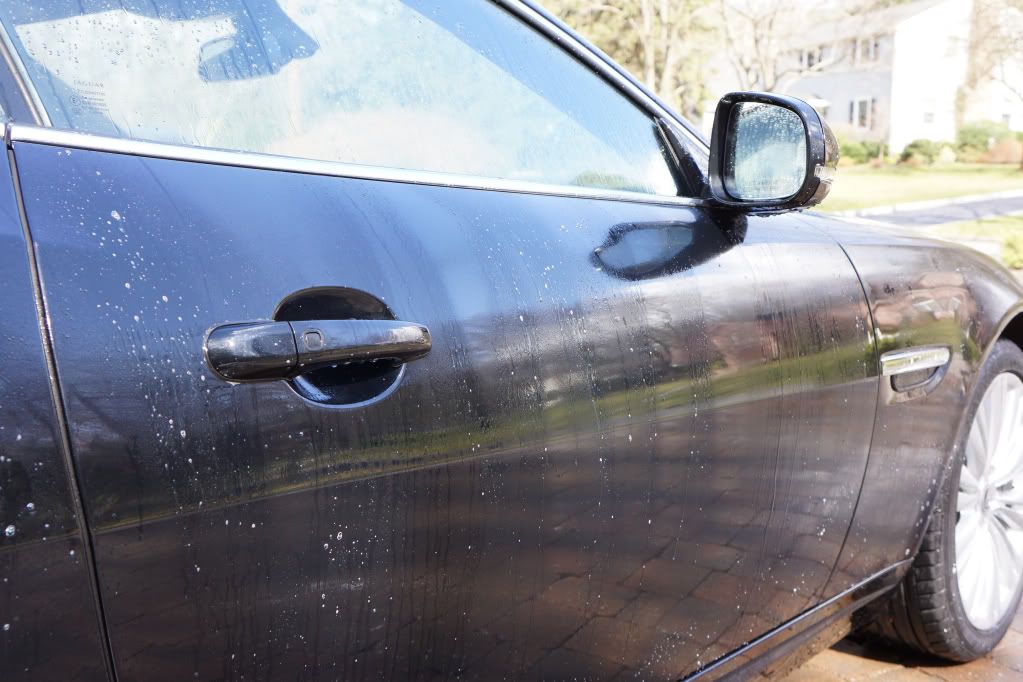
Couple before shots prior to the wash, typical road grime, some light water spotting etc
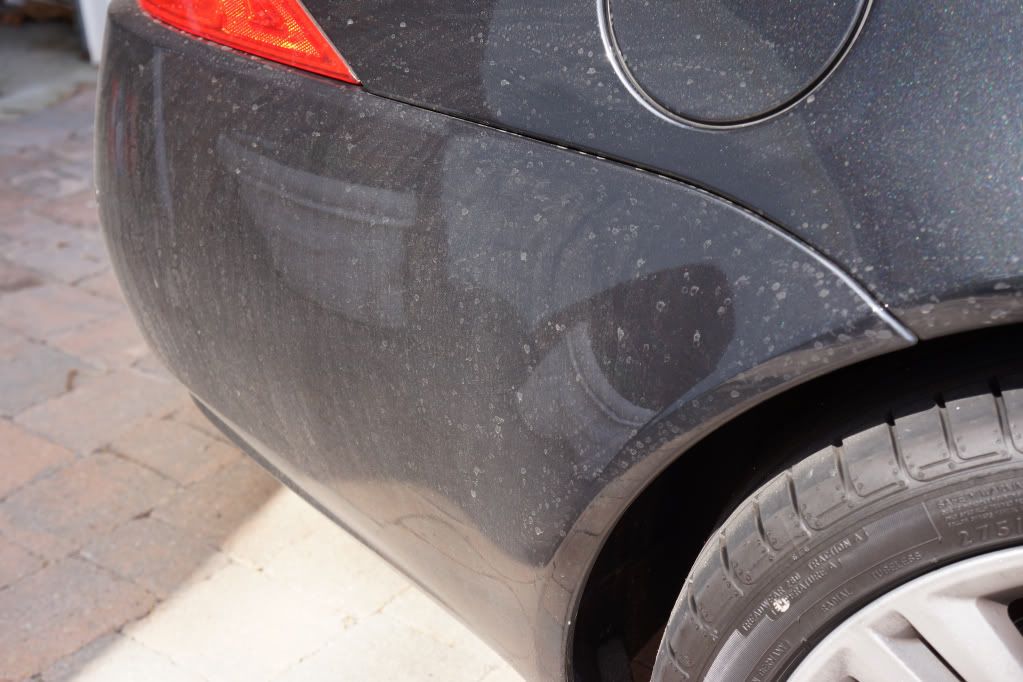
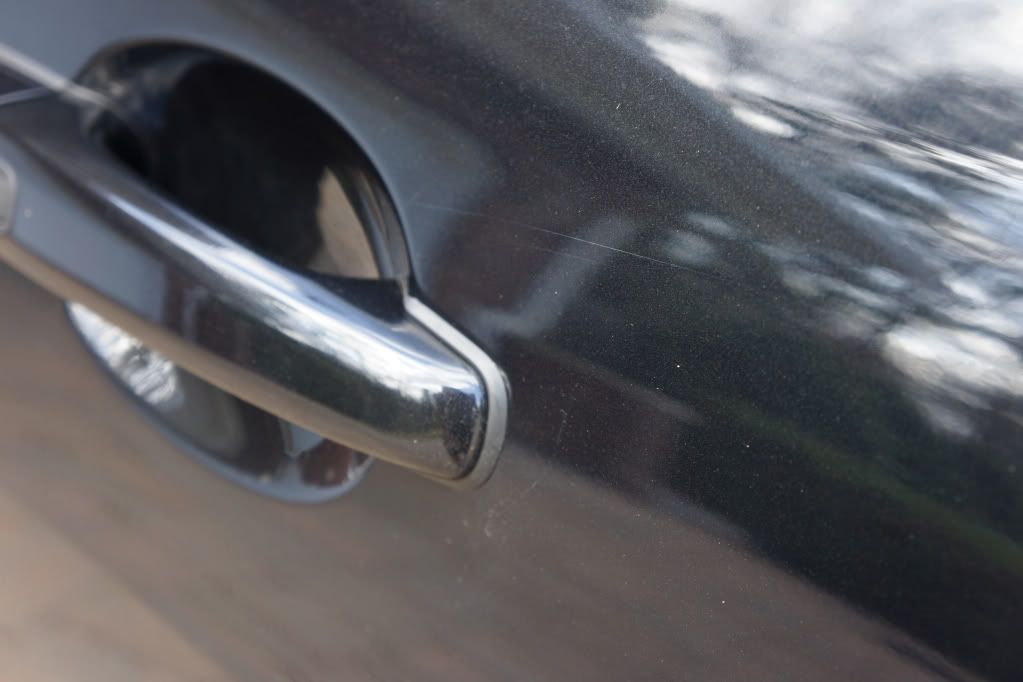
Deep scratch by the passenger door handle, easily visible even with a dirty car, usually thats not a good thing :shakehead:
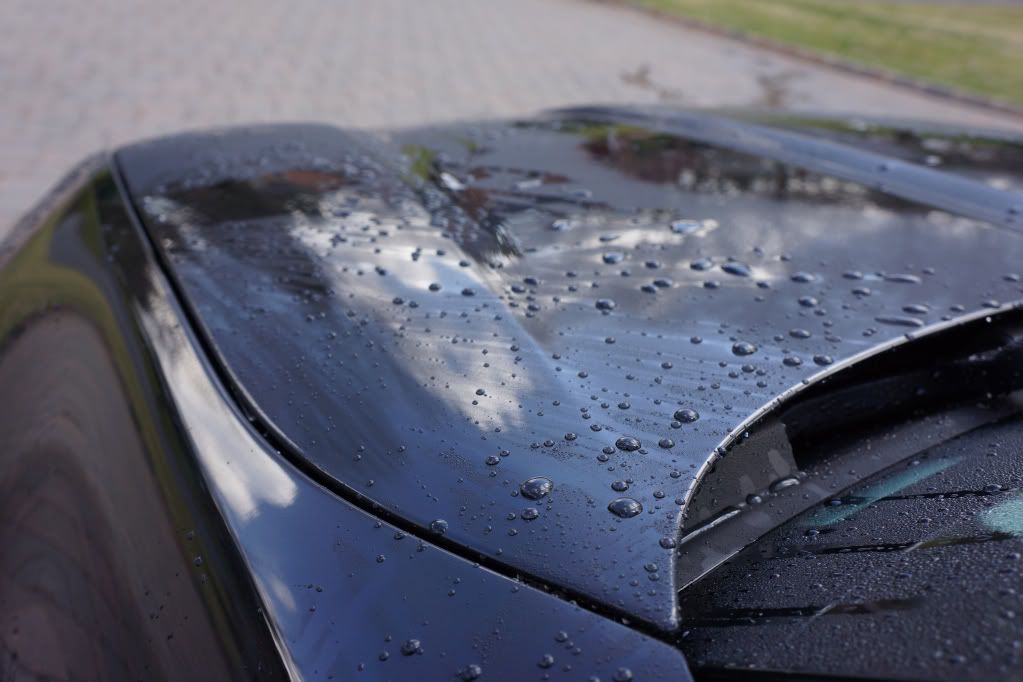
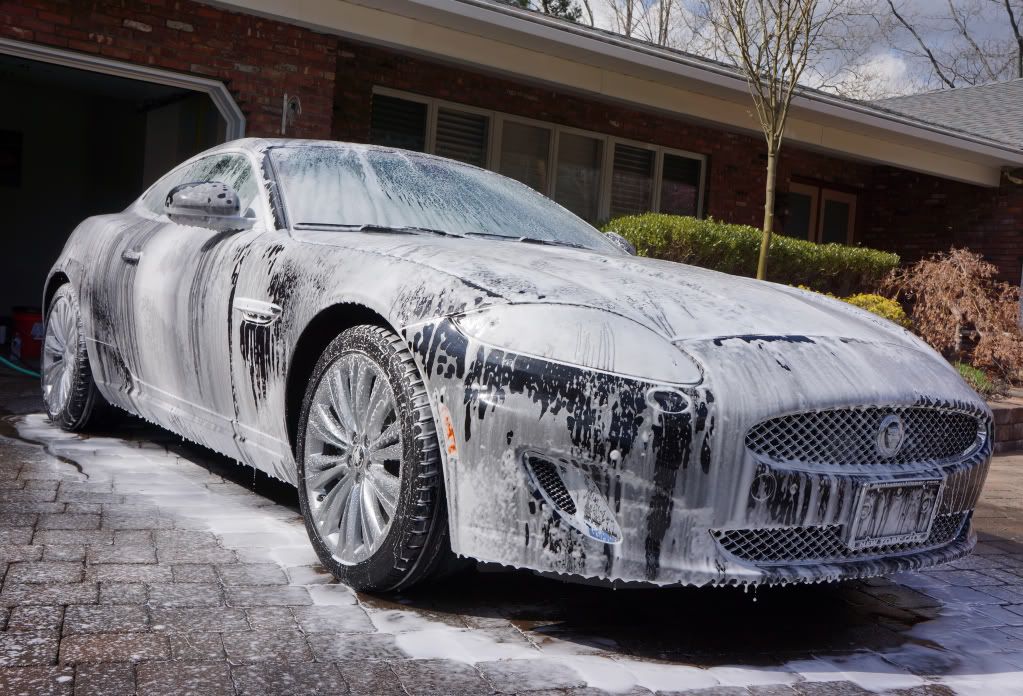
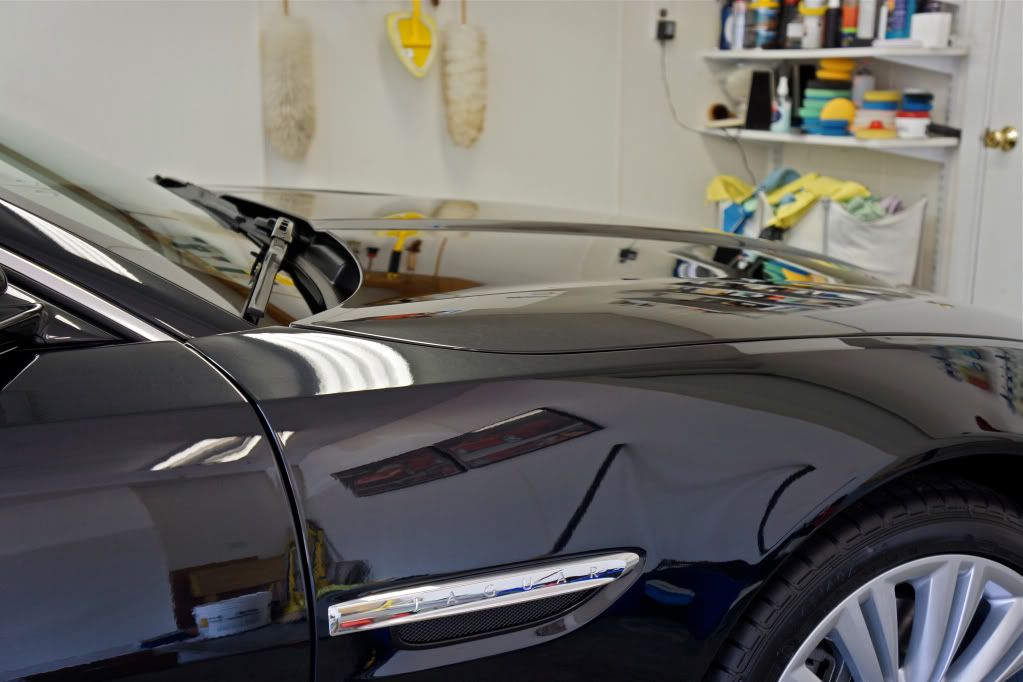
Body rinsed at high pressure before foaming, paint was beading very strong obviously dealership applied glaze or wax. Pre-foamed and left to sit for 5 minutes, rinsed off at high pressure and then continued with a 2BM wash. After the wash Wolf's deionizer gel was sprayed and left to sit for a few minutes before wiping in with a damp microfiber towel. This step isnt always needed but given the finish had a rough feel during the wash I felt it was needed. Definitely some overspray on the hood, bumper and front fenders.
Deionizer gel doing its job...
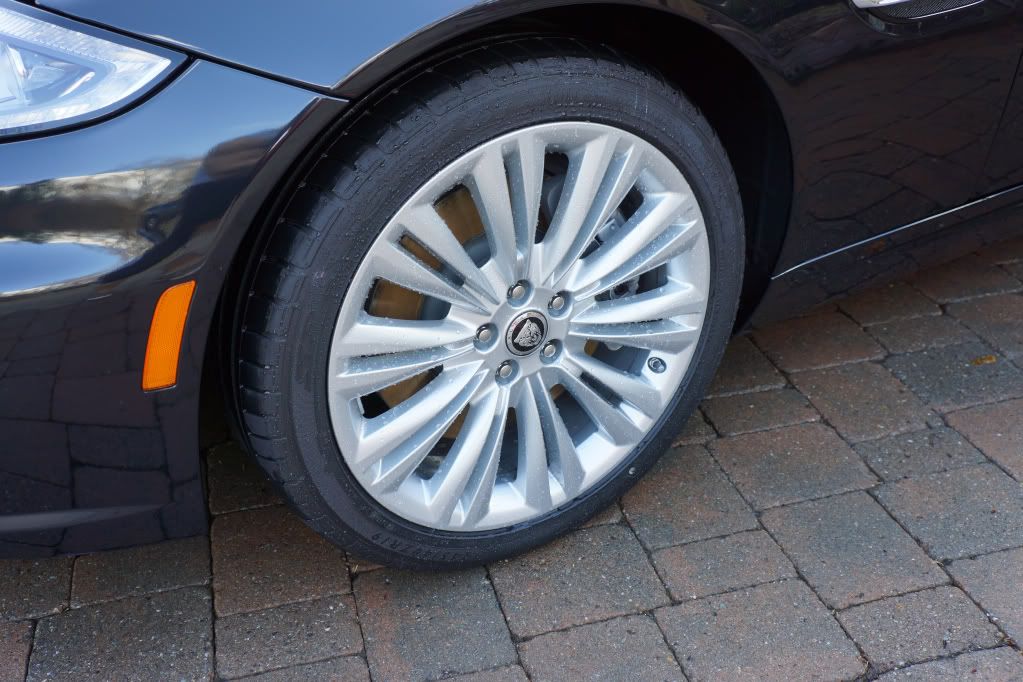
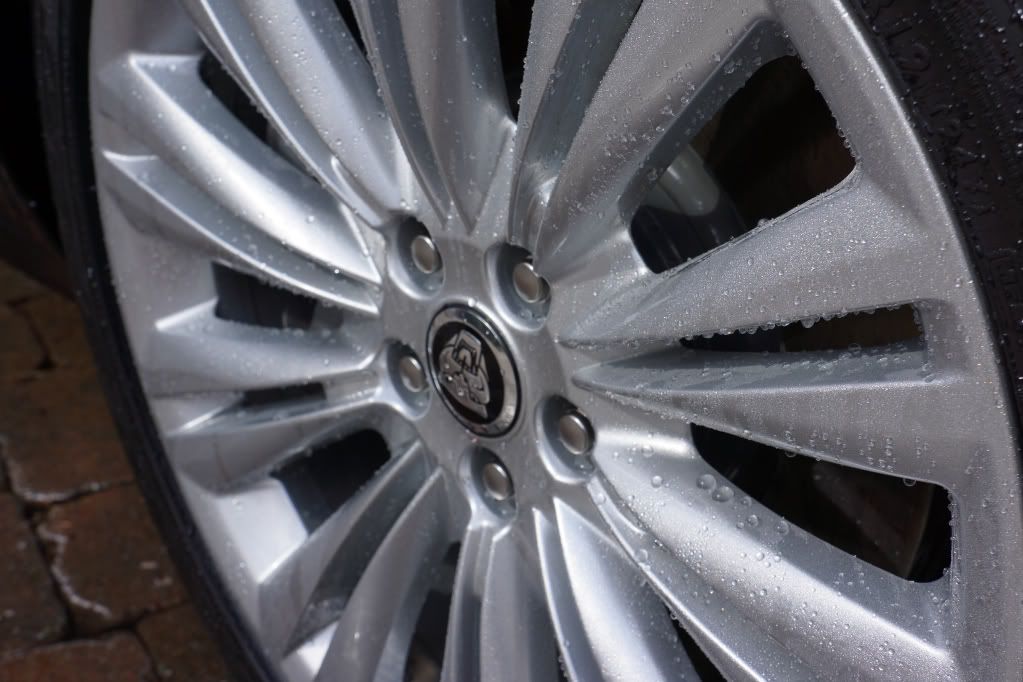
Wheels were treated with Wolf's Clean and Coat just for the protection factor. Been using this product on my own wheels for a month and so far I like it. Quick shot of the beading on the wheels, will keep you posted on durablity
Finish was clayed with a mild aggressive bar to remove contaminants and some overspray. Post claying several strong IPA wipedowns were done to prep the finish for polishing and ensure no prior wax or glaze was left before starting correction work. Correction work carried out using D300, M105 as needed and Menzerna Super finish. Microfiber cutting discs and detailersdomain foam pads were used throughout
On with the paint correction....
Few sweeping marks on the front fender
After
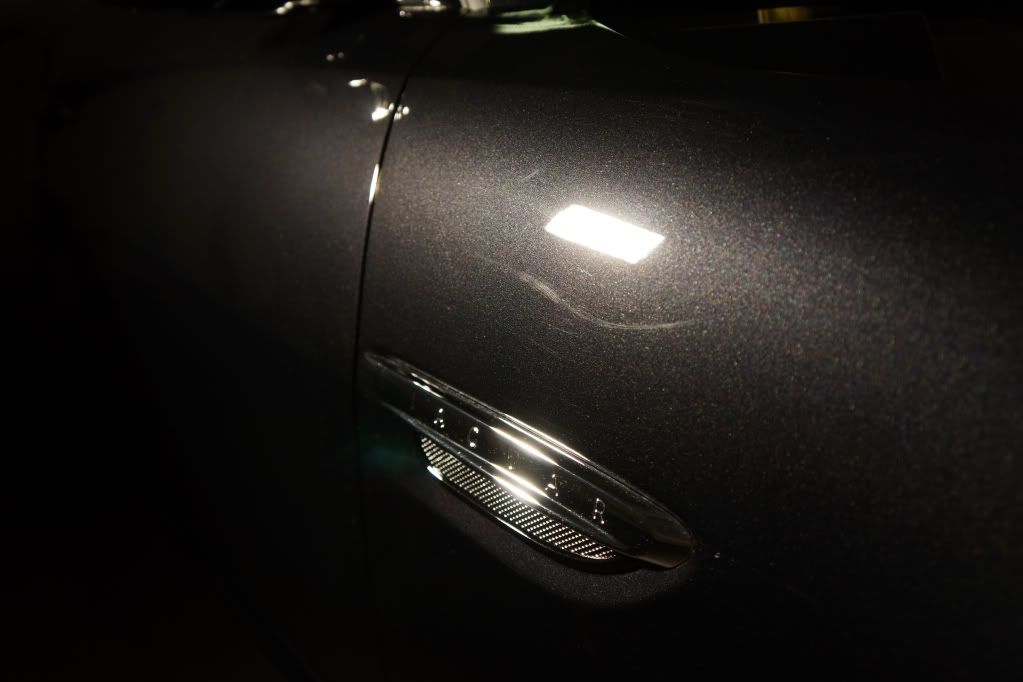
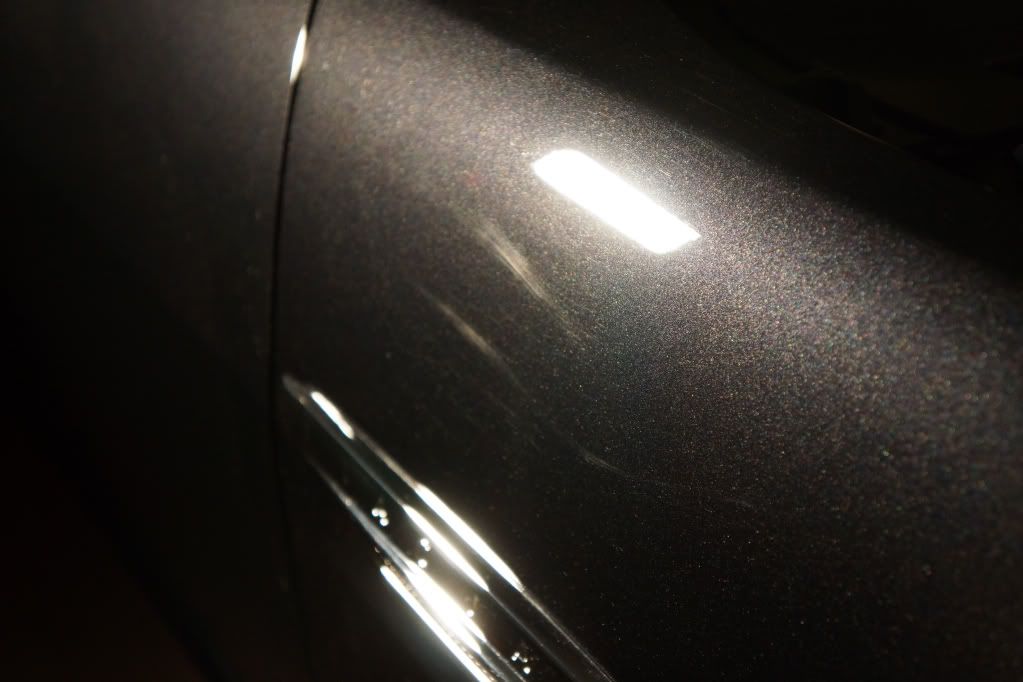
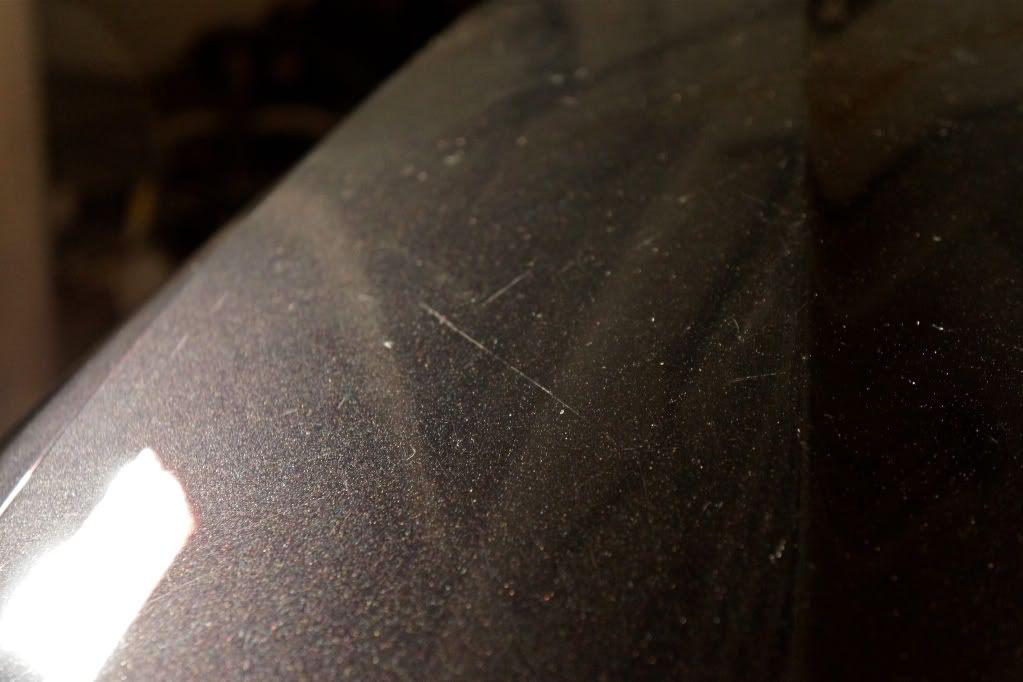
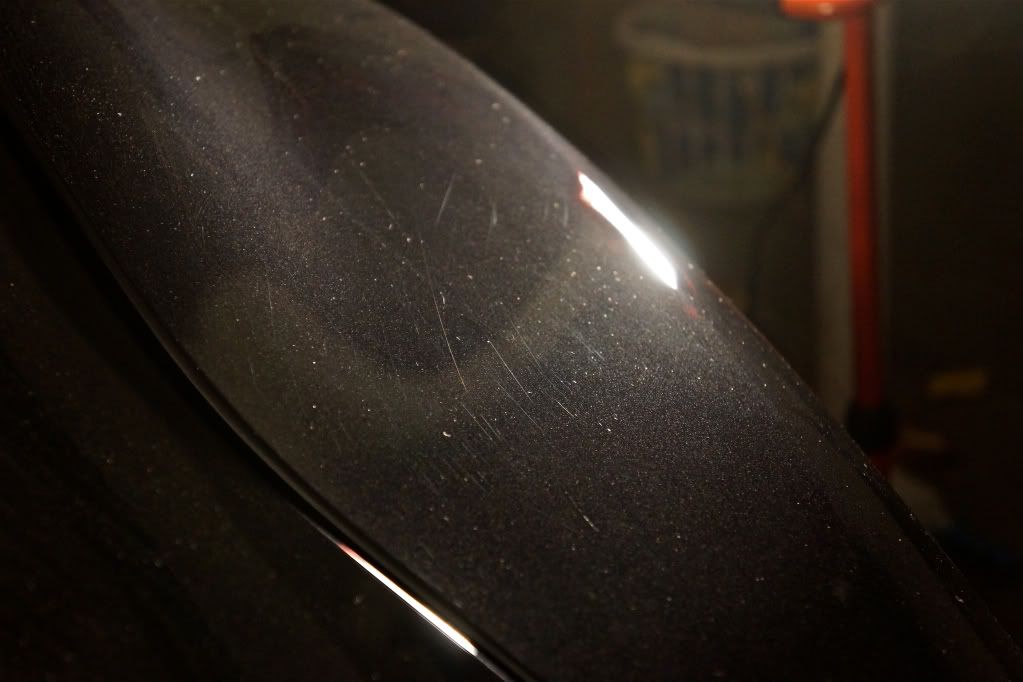
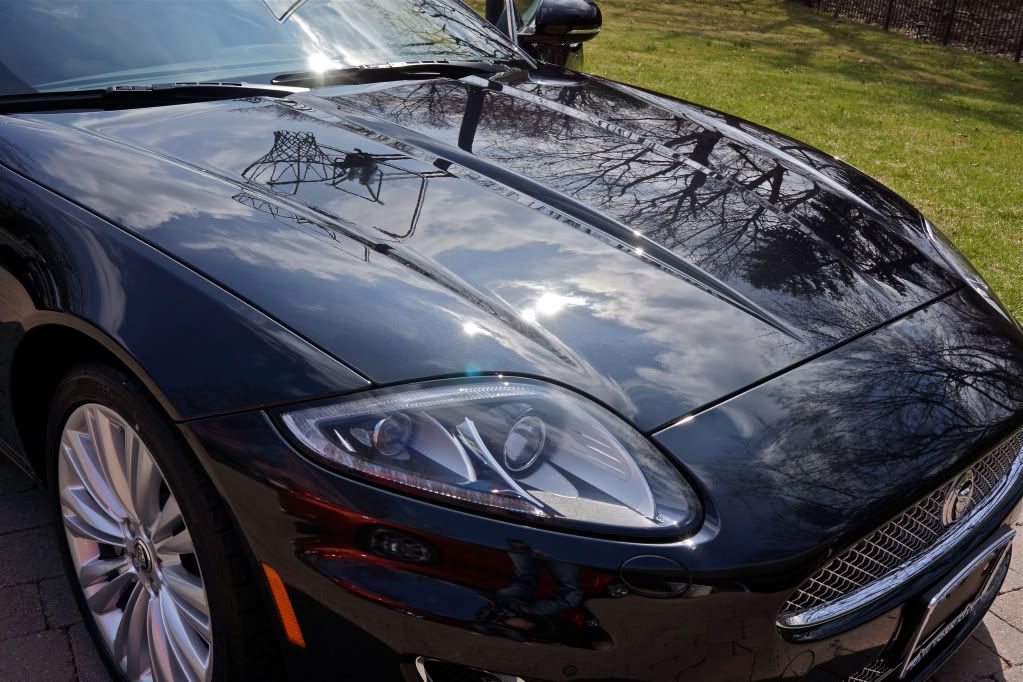
Hood damage under the halogen light (which by the way seemed to do a better job on this heavy metallic than my Fenix LED which is usually my go to light source)
Some holograms spotted and a cluster of deep RIDS which needed some wetsanding to remove

Closeup of one deep gouge, M105 wouldnt touch it...
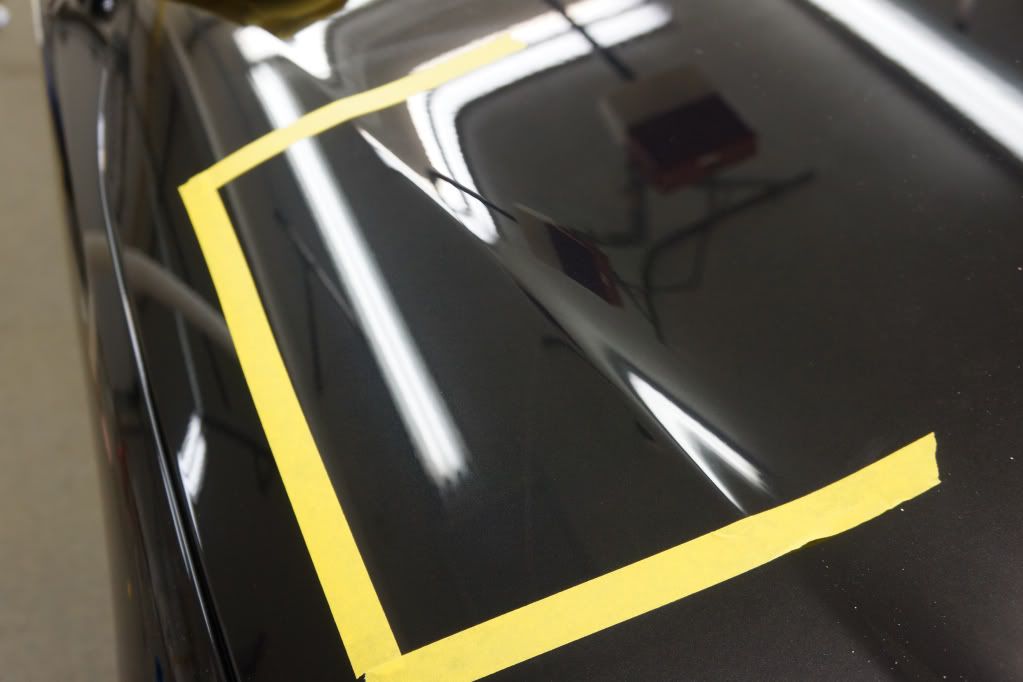
Area taped off for sanding...
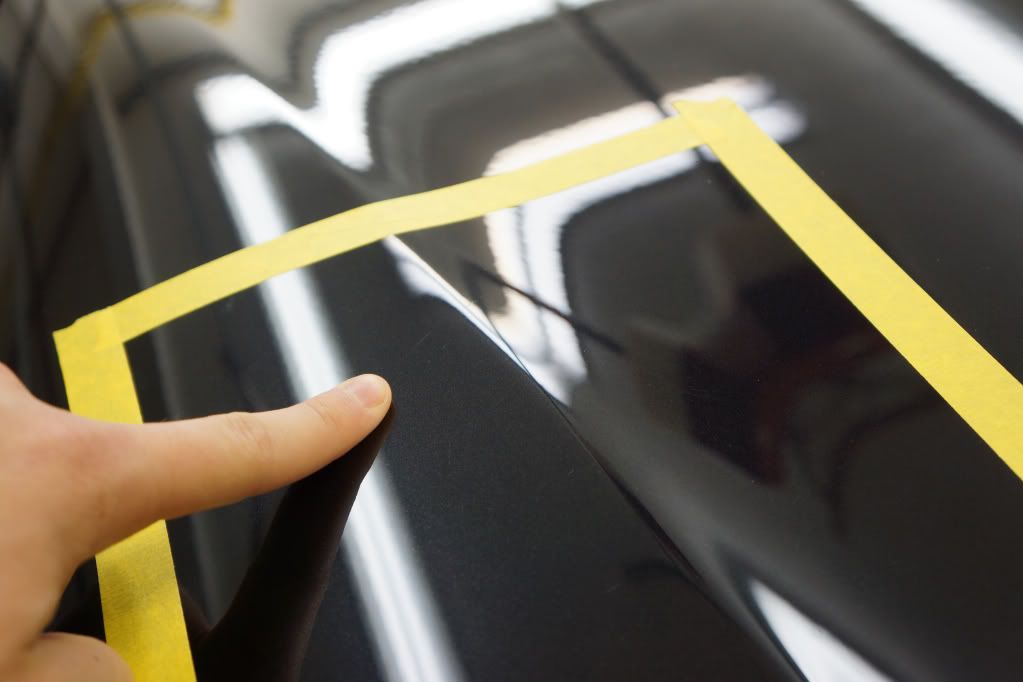
Sanded by hand using 2000 followed by 3000 grit wet
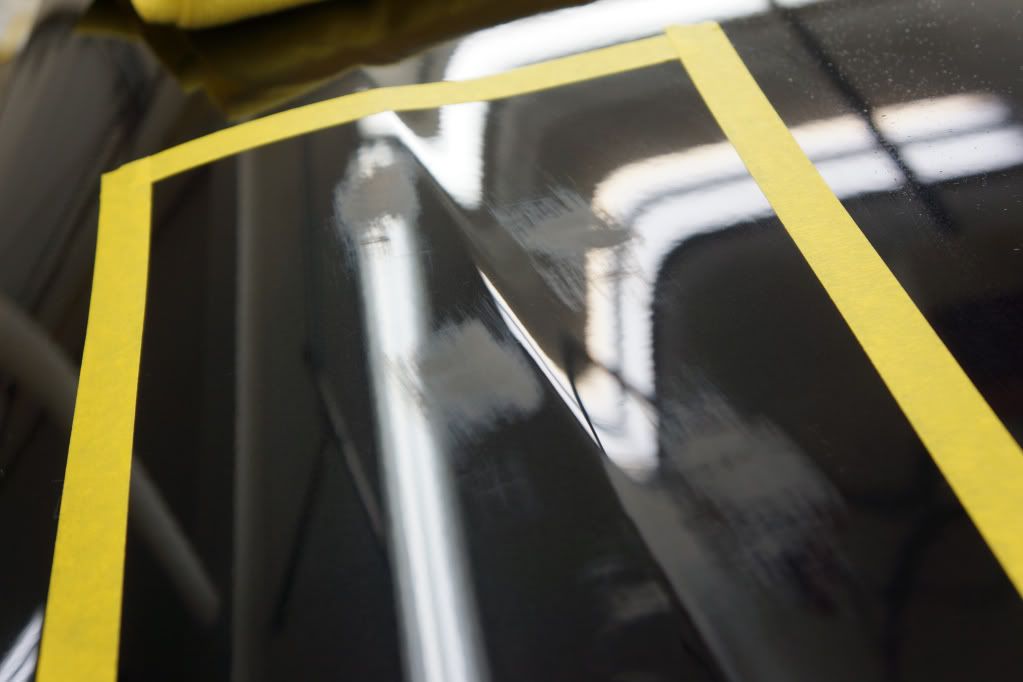
After compounding
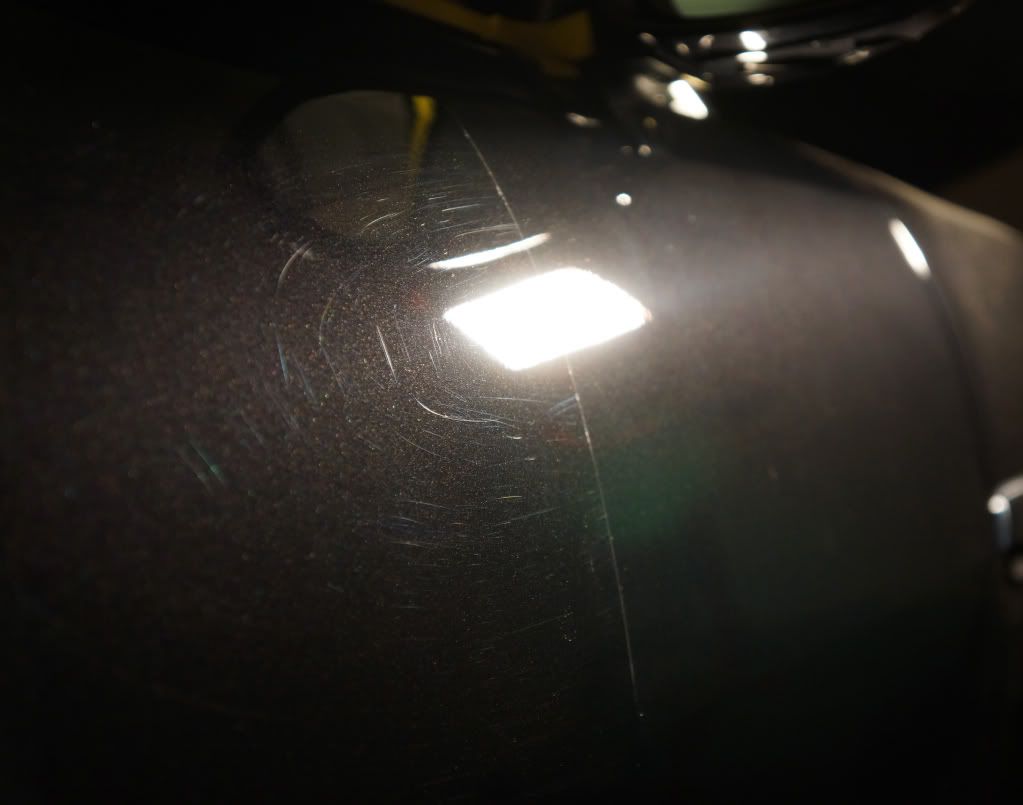
Moving onto the rest of the body, not heavy swirling just straight line RIDS and small scratches
Passenger door took a good bit of damage from the dealer, 50/50 of the correction
Drivers side...
Before
After
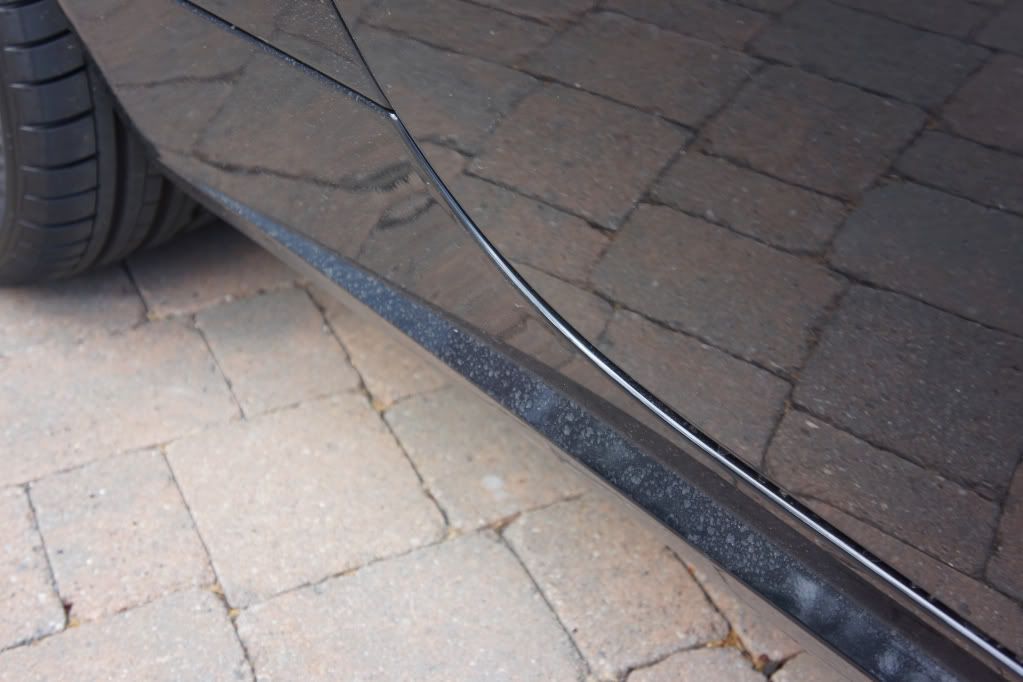
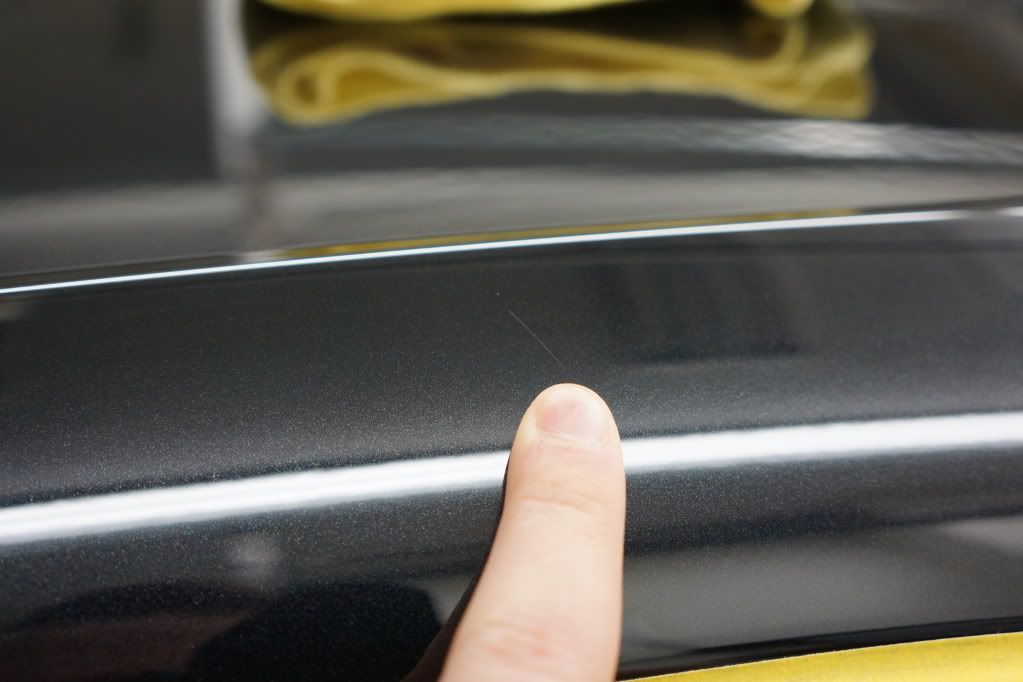
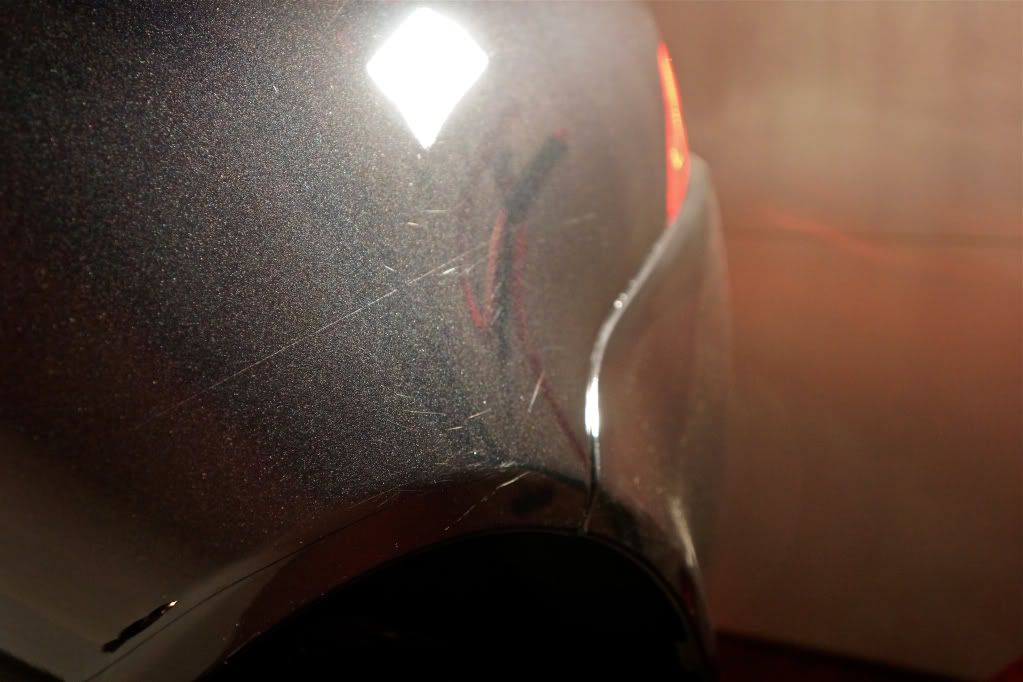
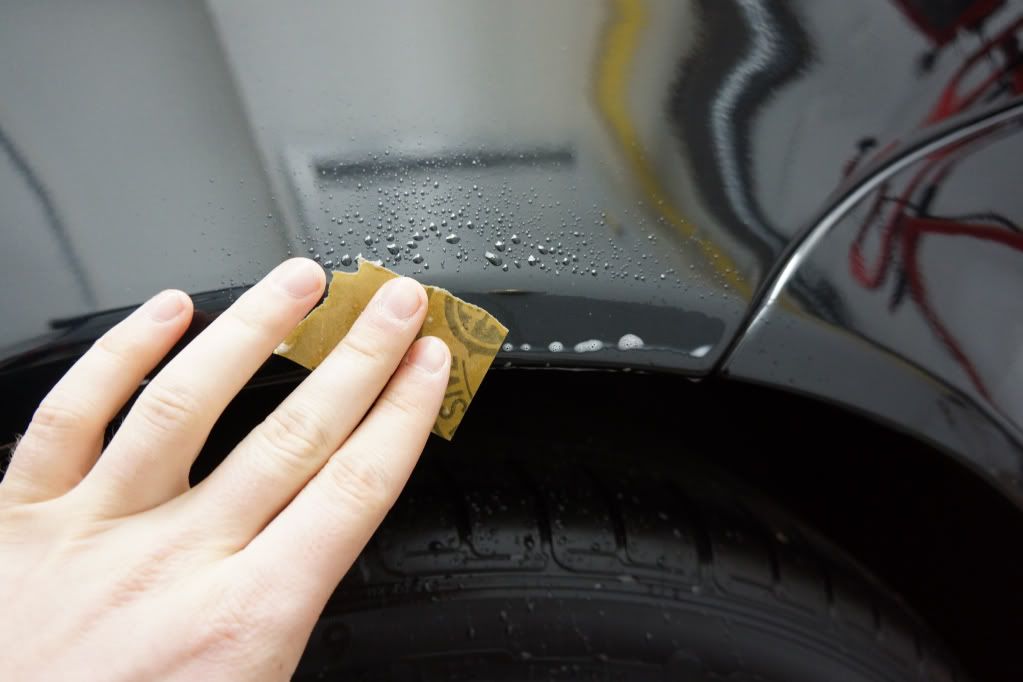
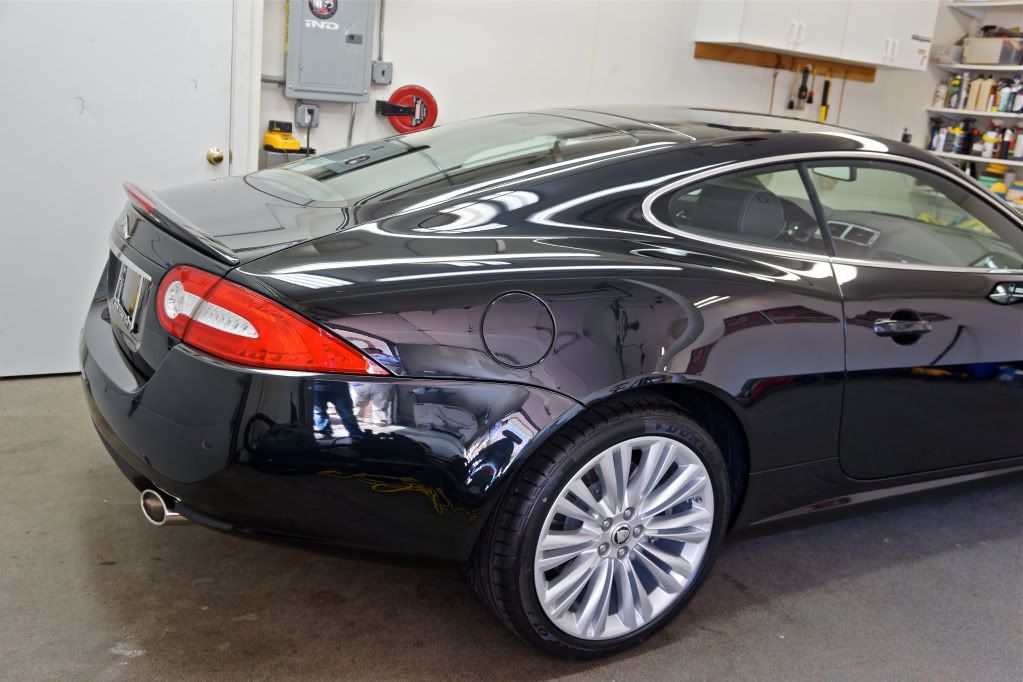
Rear quarter had a very deep gouge running about 8-9inches long as well as a cluster of other defects which needed wetsanding to remove safely. No need to grind away paint trying to compound these out, they were just too deep
Not sure what happened here but it needed to go!
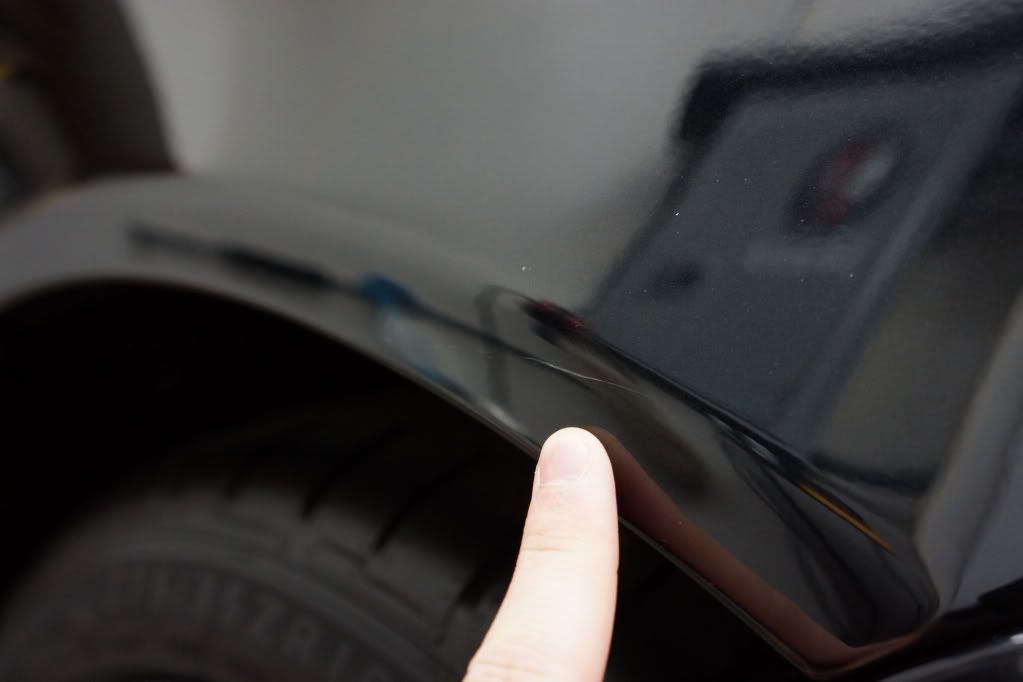
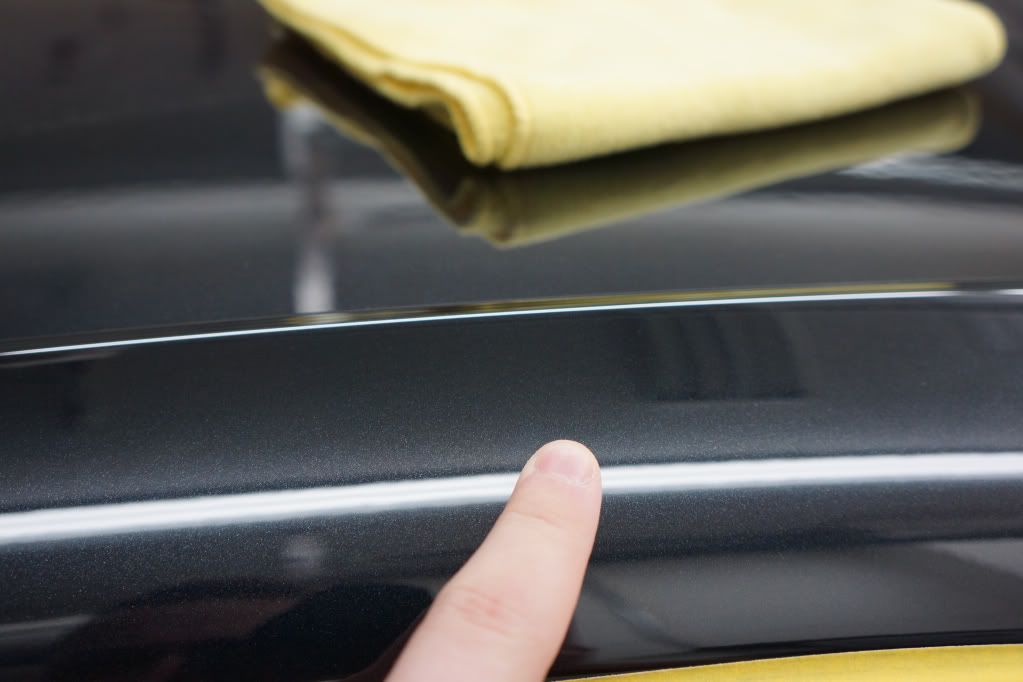
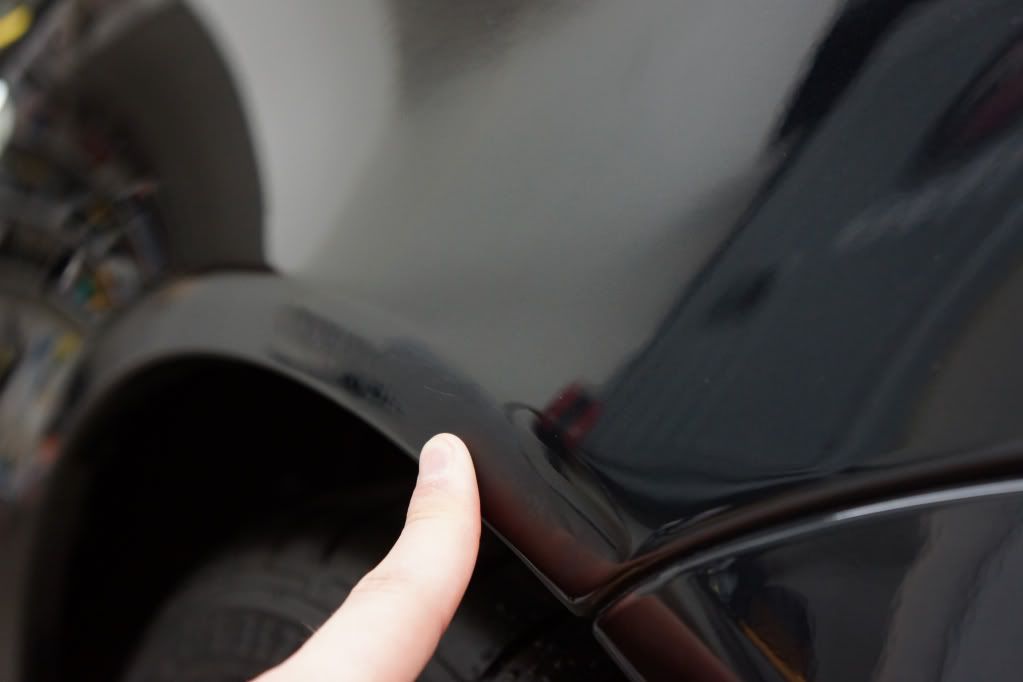
No room for a sanding block or pad due to the closeness of that edge, even pressure with my fingers worked fine
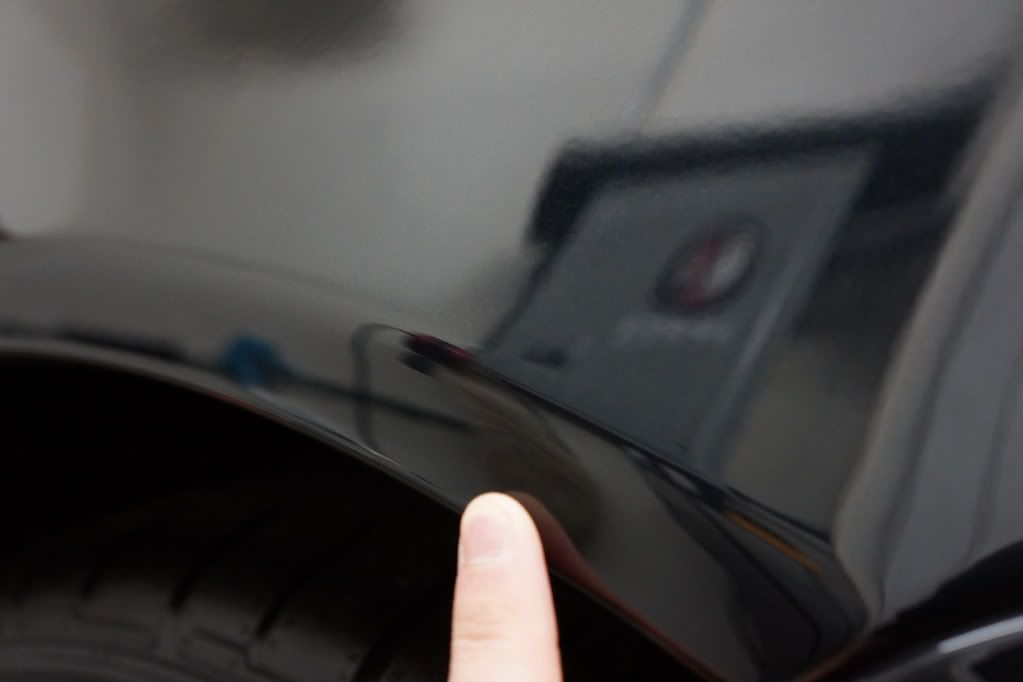
After sanding...
And after remove sanding marks with M105
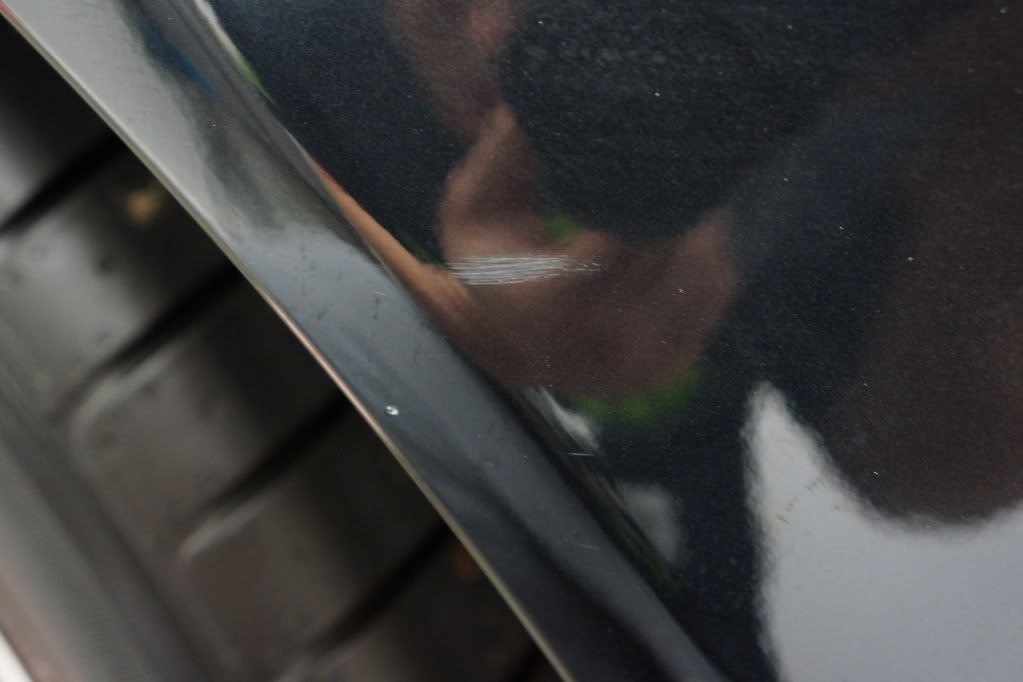
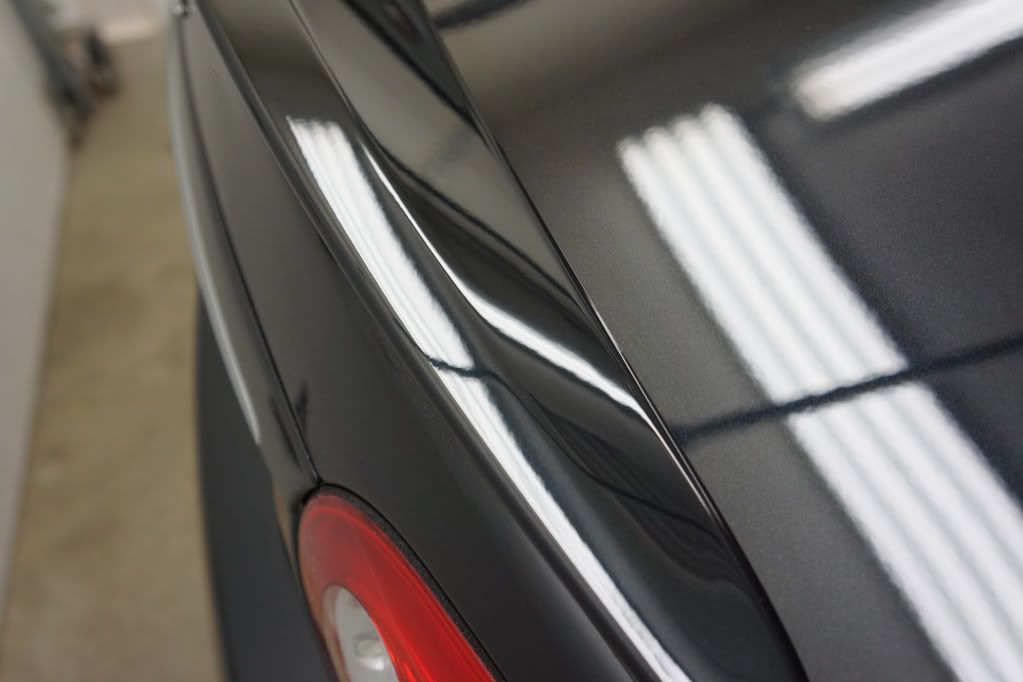
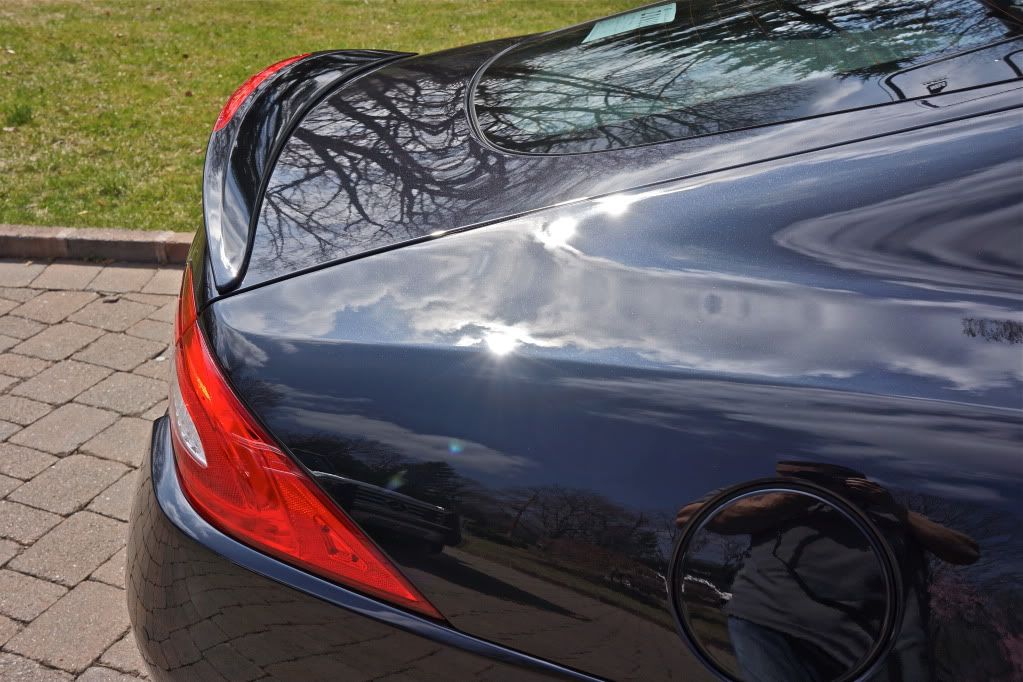
This was very surprising, on the spoiler either the factory or dealer tried to remove a dust nib in the paint and wetsanded it but completely forgot that when you wetsand you need to POLISH out the marks afterwards
This was visible even without extra lighting....
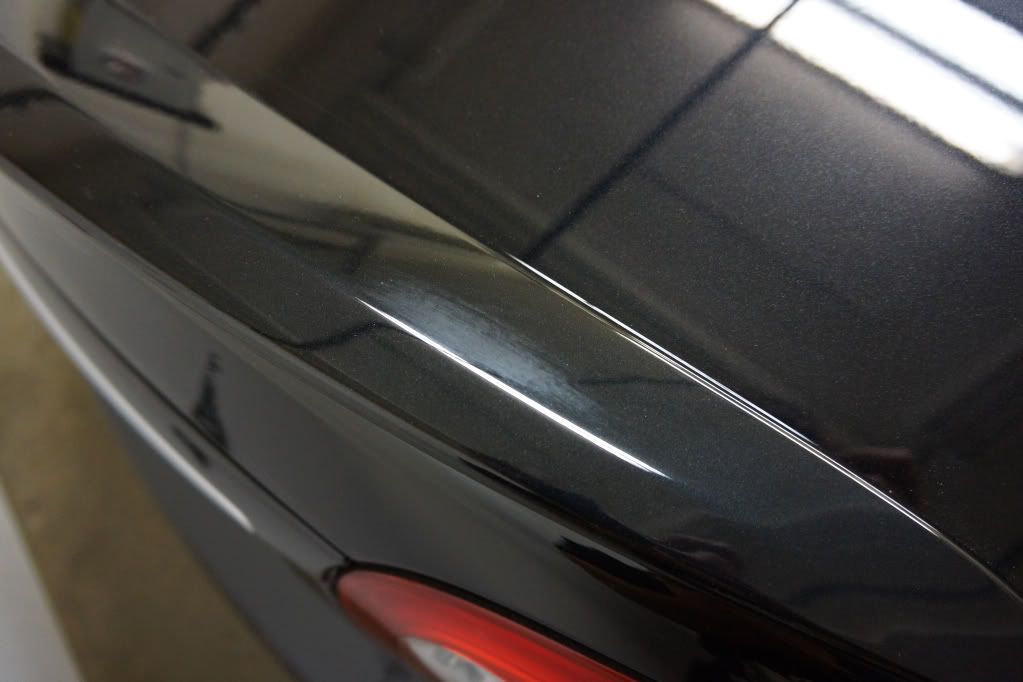
After correcting...
Main points:
- Botched dealer preparation
- Failure to remove tape lines from transport
- Swirls, deep RIDS and holograms left in the finish
- Sanding marks left uncorrected
- Light overspray removal
Wash process done with 2 bucket method using CG citrus and Opt. Powerclean. Wheels treated with Sonax FE and then Wolf's Chemical Clean and Coat. Tires and wheel wells degreased with strong APC mix and various brushes.
Sonax FE sprayed on the wheel dry and left to sit for 10 minutes or until blood red and then pressure washed off
After
Couple before shots prior to the wash, typical road grime, some light water spotting etc
Deep scratch by the passenger door handle, easily visible even with a dirty car, usually thats not a good thing :shakehead:
Body rinsed at high pressure before foaming, paint was beading very strong obviously dealership applied glaze or wax. Pre-foamed and left to sit for 5 minutes, rinsed off at high pressure and then continued with a 2BM wash. After the wash Wolf's deionizer gel was sprayed and left to sit for a few minutes before wiping in with a damp microfiber towel. This step isnt always needed but given the finish had a rough feel during the wash I felt it was needed. Definitely some overspray on the hood, bumper and front fenders.
Deionizer gel doing its job...
Wheels were treated with Wolf's Clean and Coat just for the protection factor. Been using this product on my own wheels for a month and so far I like it. Quick shot of the beading on the wheels, will keep you posted on durablity
Finish was clayed with a mild aggressive bar to remove contaminants and some overspray. Post claying several strong IPA wipedowns were done to prep the finish for polishing and ensure no prior wax or glaze was left before starting correction work. Correction work carried out using D300, M105 as needed and Menzerna Super finish. Microfiber cutting discs and detailersdomain foam pads were used throughout
On with the paint correction....
Few sweeping marks on the front fender
After
Hood damage under the halogen light (which by the way seemed to do a better job on this heavy metallic than my Fenix LED which is usually my go to light source)
Some holograms spotted and a cluster of deep RIDS which needed some wetsanding to remove
Closeup of one deep gouge, M105 wouldnt touch it...
Area taped off for sanding...
Sanded by hand using 2000 followed by 3000 grit wet
After compounding
Moving onto the rest of the body, not heavy swirling just straight line RIDS and small scratches
Passenger door took a good bit of damage from the dealer, 50/50 of the correction
Drivers side...
Before
After
Rear quarter had a very deep gouge running about 8-9inches long as well as a cluster of other defects which needed wetsanding to remove safely. No need to grind away paint trying to compound these out, they were just too deep
Not sure what happened here but it needed to go!
No room for a sanding block or pad due to the closeness of that edge, even pressure with my fingers worked fine
After sanding...
And after remove sanding marks with M105
This was very surprising, on the spoiler either the factory or dealer tried to remove a dust nib in the paint and wetsanded it but completely forgot that when you wetsand you need to POLISH out the marks afterwards
This was visible even without extra lighting....
After correcting...
Mar 24, 2012 | 03:07 PM
#2
Thread Starter
| Teamspeed Senior Member
Joined: May 2008
Posts: 526
From: New Jersey
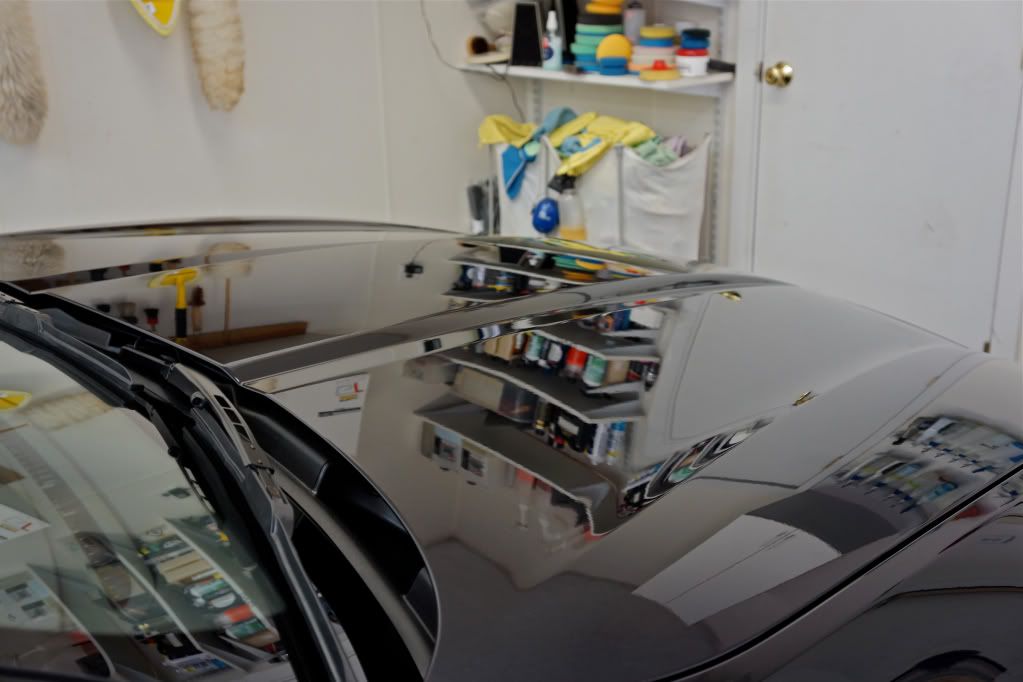
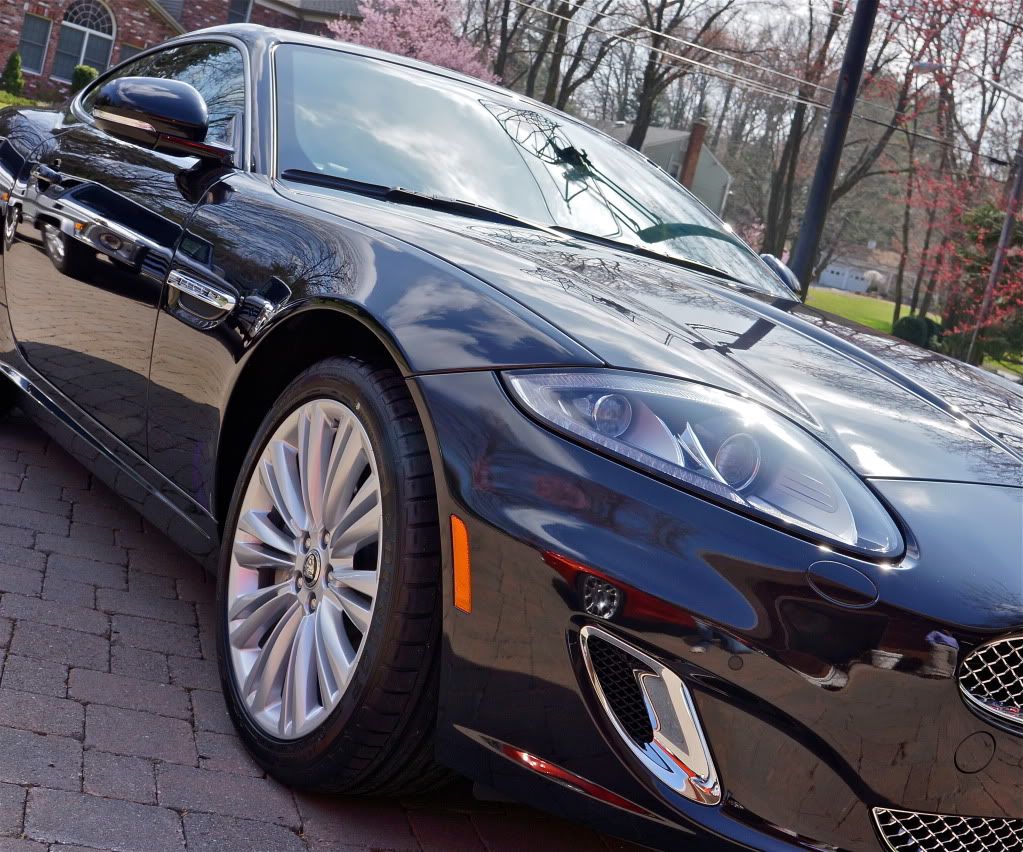
After all correction was finished the rest of the car was tidied up. Wheels, glass, trim and engine were all treated. Protection for this car was Wolf's Body Wrap.
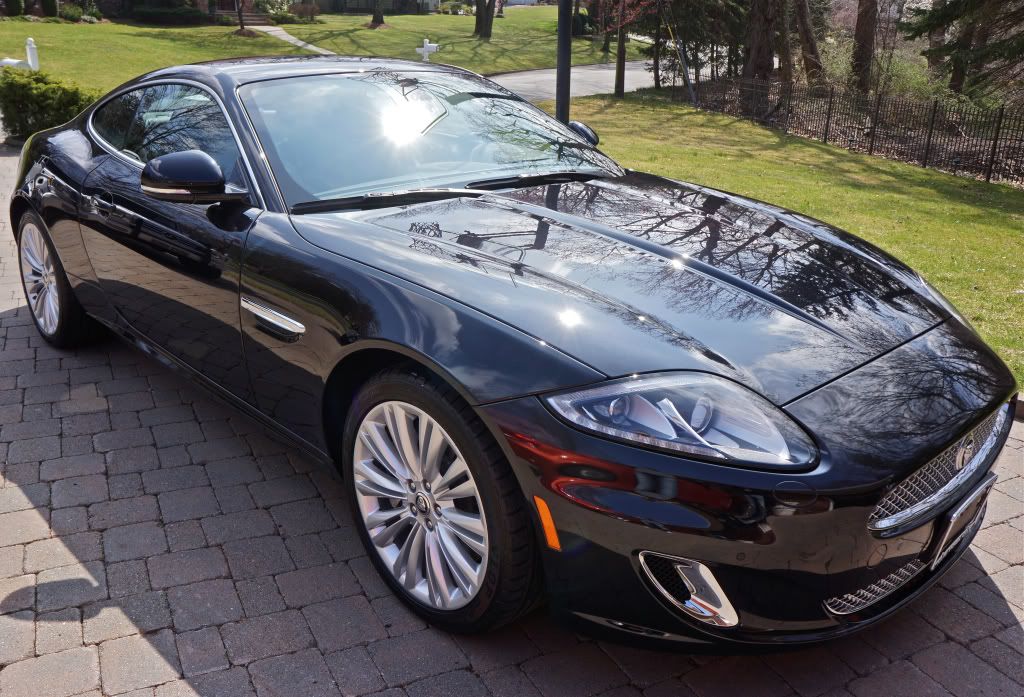
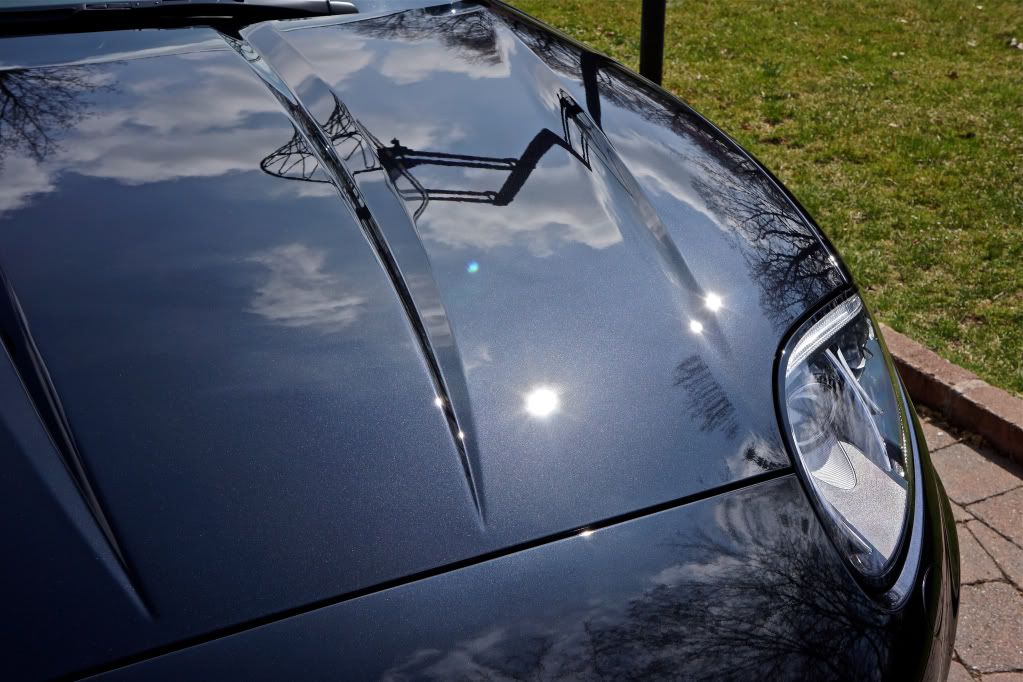
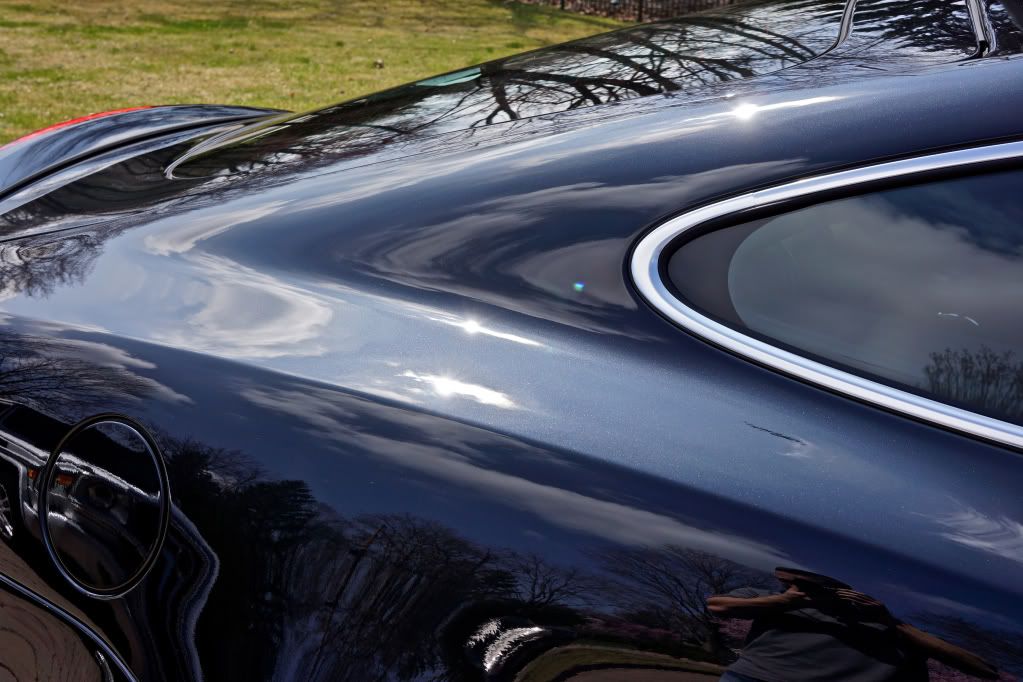
The final photos...

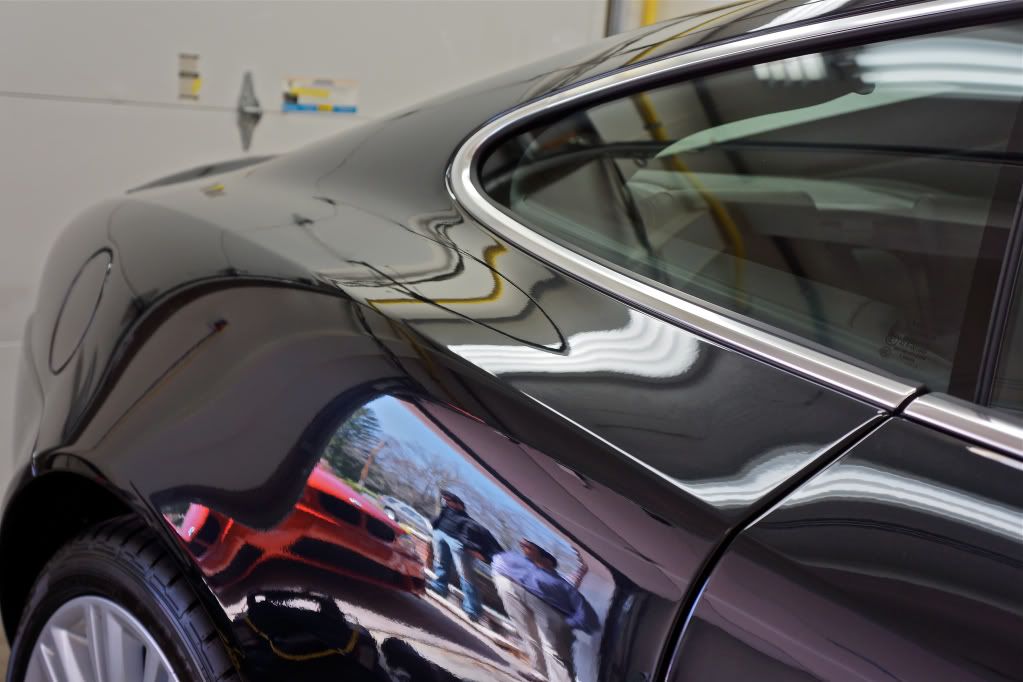
Sun shots before pickup...
As always thank you for reading, been very behind with writeups will do my best to post more this week :usa:
All the best,
Dave
Street Dreams Detail
The final photos...
Sun shots before pickup...
As always thank you for reading, been very behind with writeups will do my best to post more this week :usa:
All the best,
Dave
Street Dreams Detail


Thread
Thread Starter
Forum
Replies
Last Post
Richie Carbone
Aston Martin | Jaguar | Lotus
0
Nov 14, 2010 08:26 PM
PresidentialDetails
Detailing & Paint Protection
6
Oct 21, 2010 03:18 PM
Bookmarks


Currently Active Users Viewing This Thread: 1 (0 members and 1 guests)