
Black Ferrari F430 3 day Paint Correction & Detail
 Dec 9, 2010 | 07:55 PM
#1

Thread Starter
| Teamspeed Senior Member
Joined: May 2008
Posts: 526
From: New Jersey


Black Ferrari F430 3 day Paint Correction & Detail
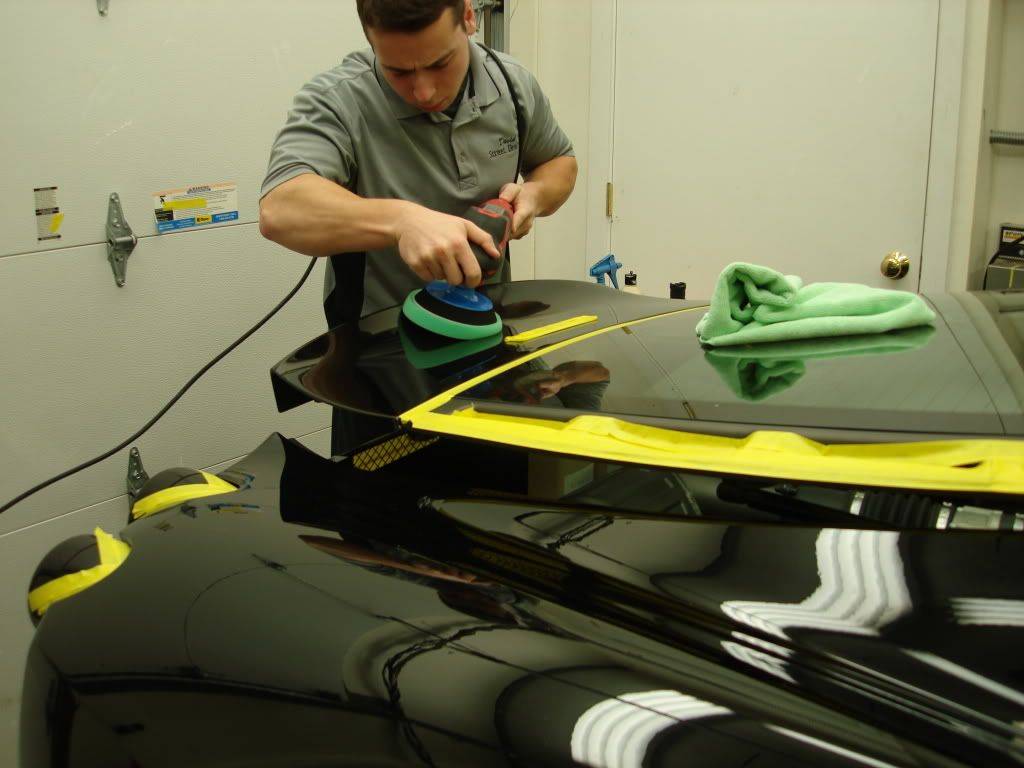
2008 Ferrari 430 in for a 3 day full correction, interior and engine detail.

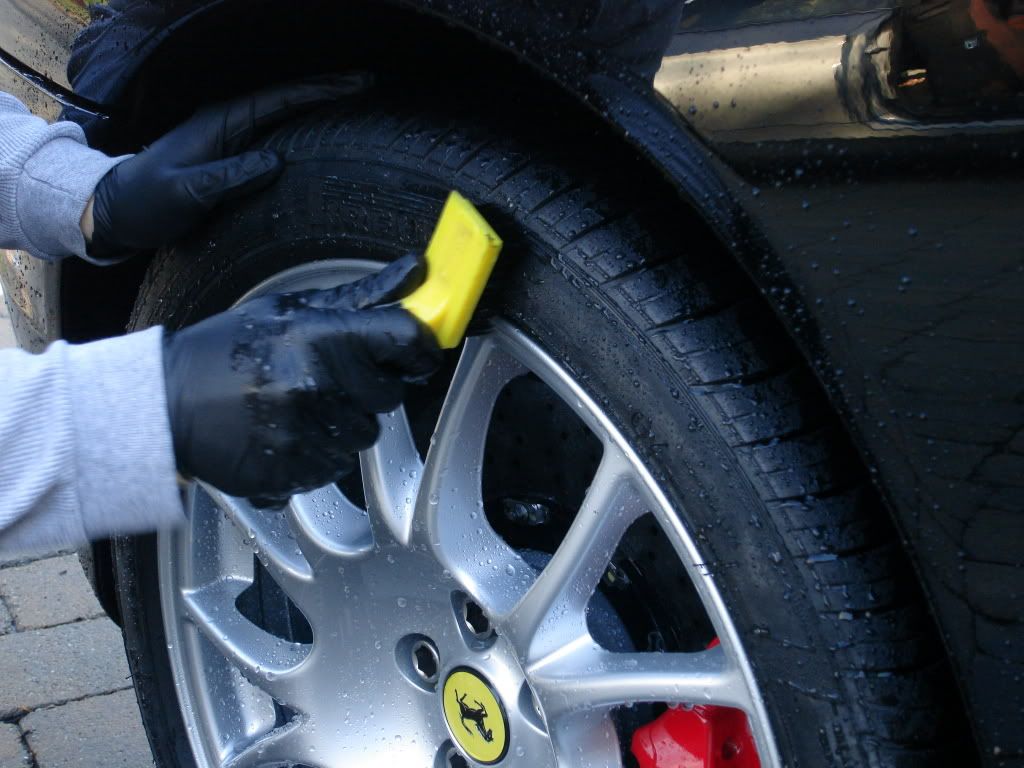
Began with the wheels and tires. Wheels were cleaned using regular soap and water with various brushes due to the carbon ceramic brakes.

Wash process:
Foam w/ CG maxi suds
Soak w/ Optimum Power Clean 5:1
Hand wash using Lusso Oro
Brought inside with the heat on full blast (sub 40degree temps outside now)
Claying using ONR as lube
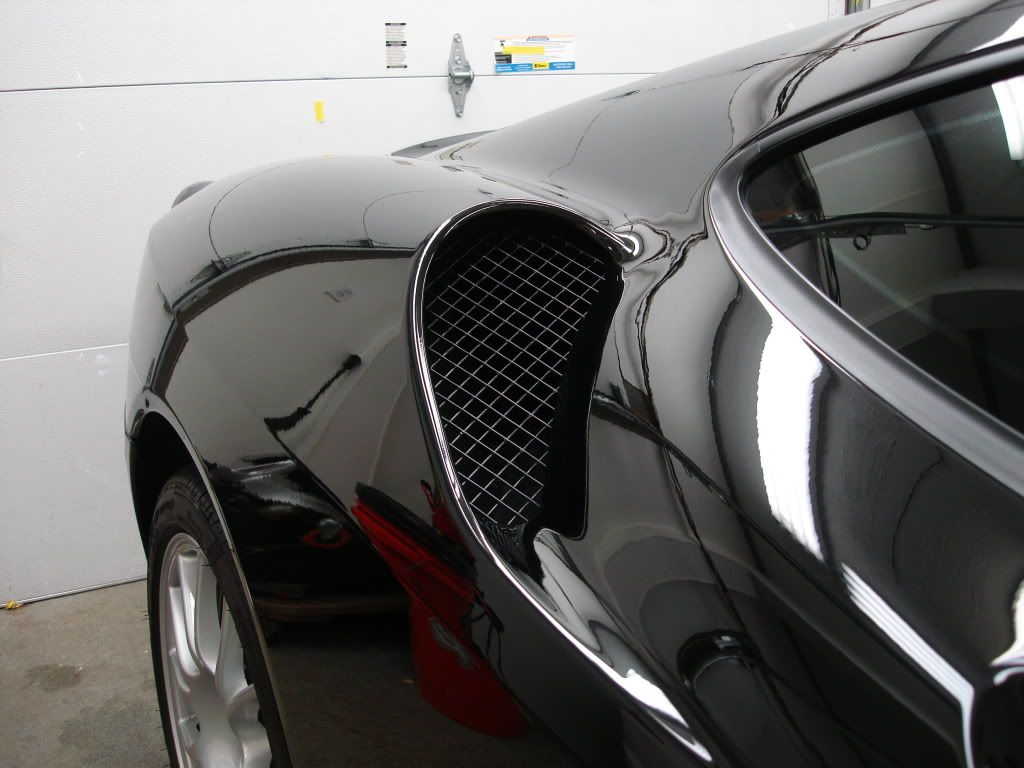
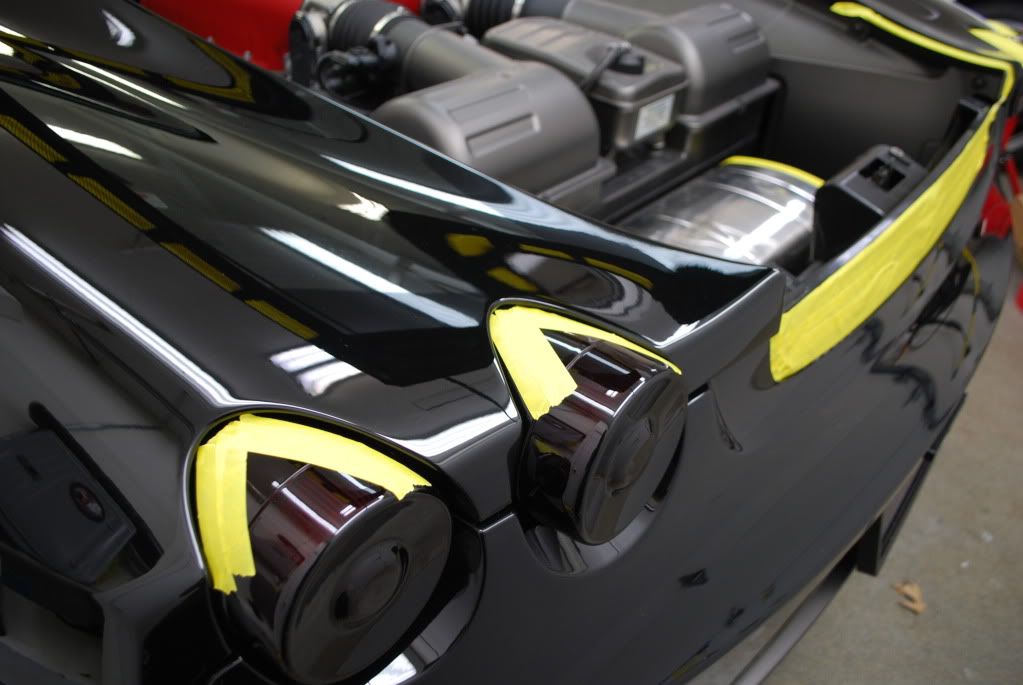
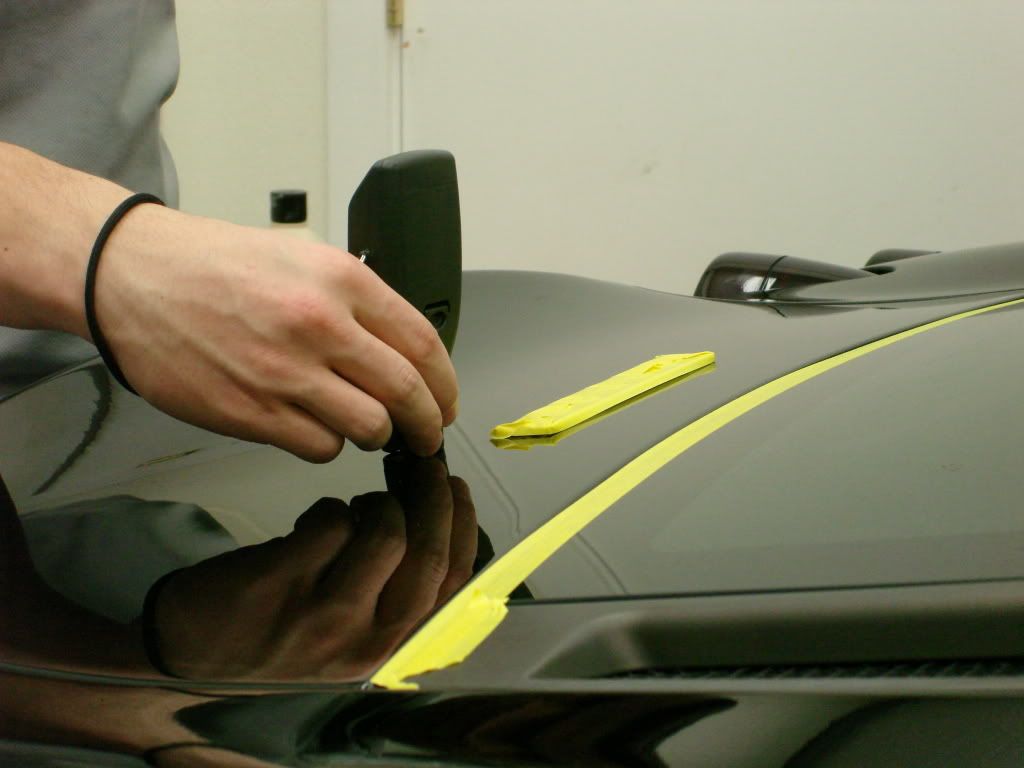
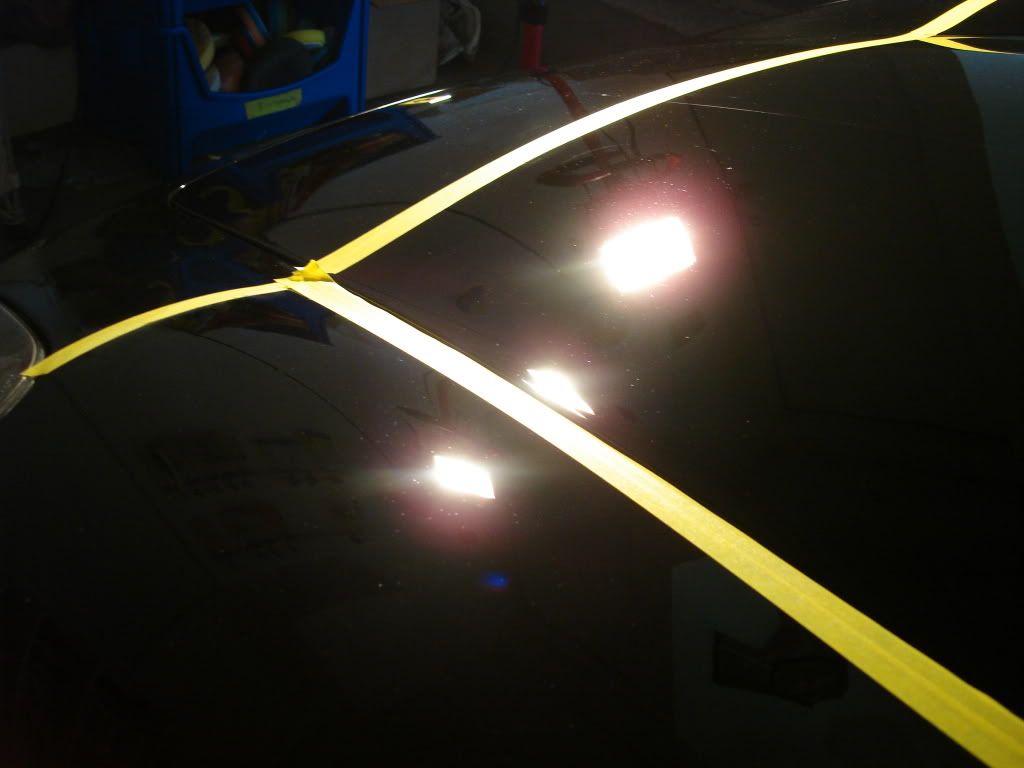
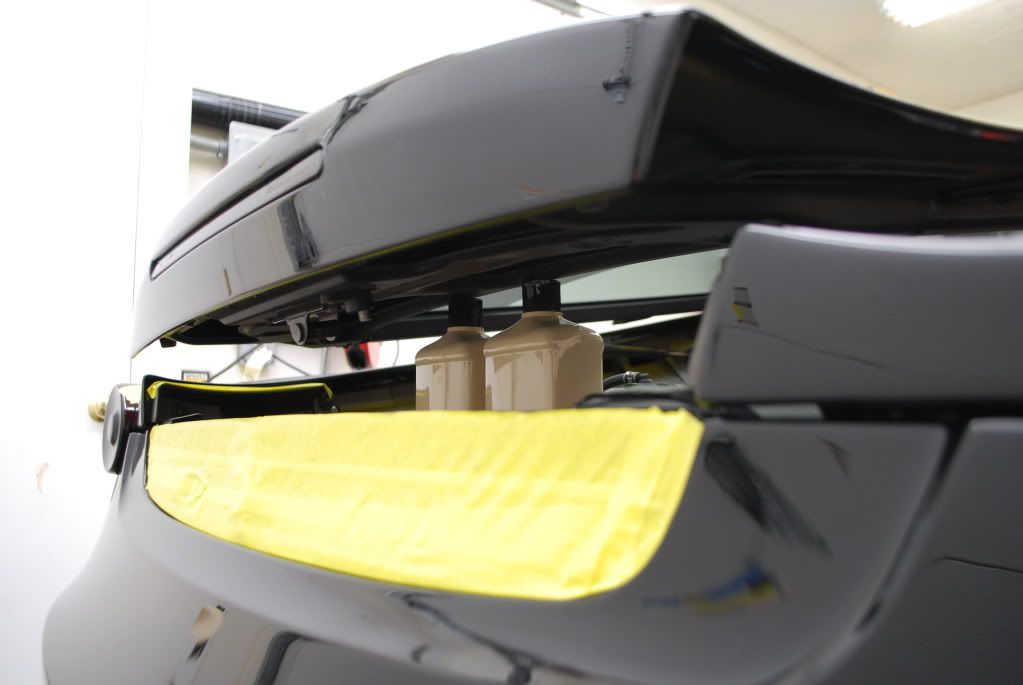
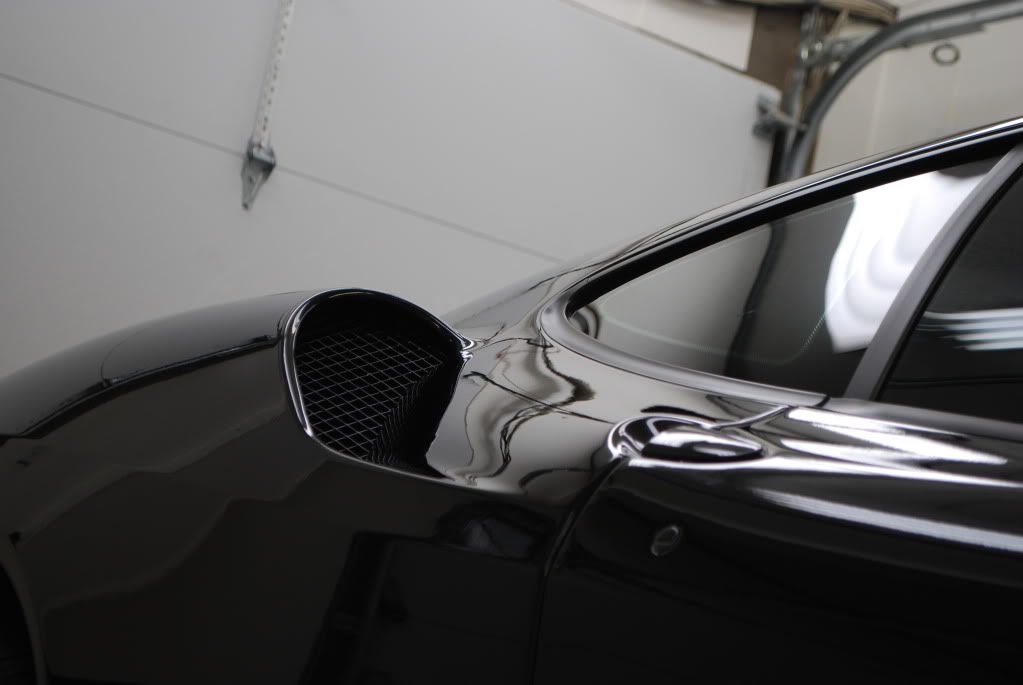
After claying 2 IPA wipedowns were done before taping. I spent a lot of time masking this car to prevent a messy cleanup after correction. Most importantly the clear film edges on the front bumper, nose and by the side air intakes (upper and lower) were masked carefully.

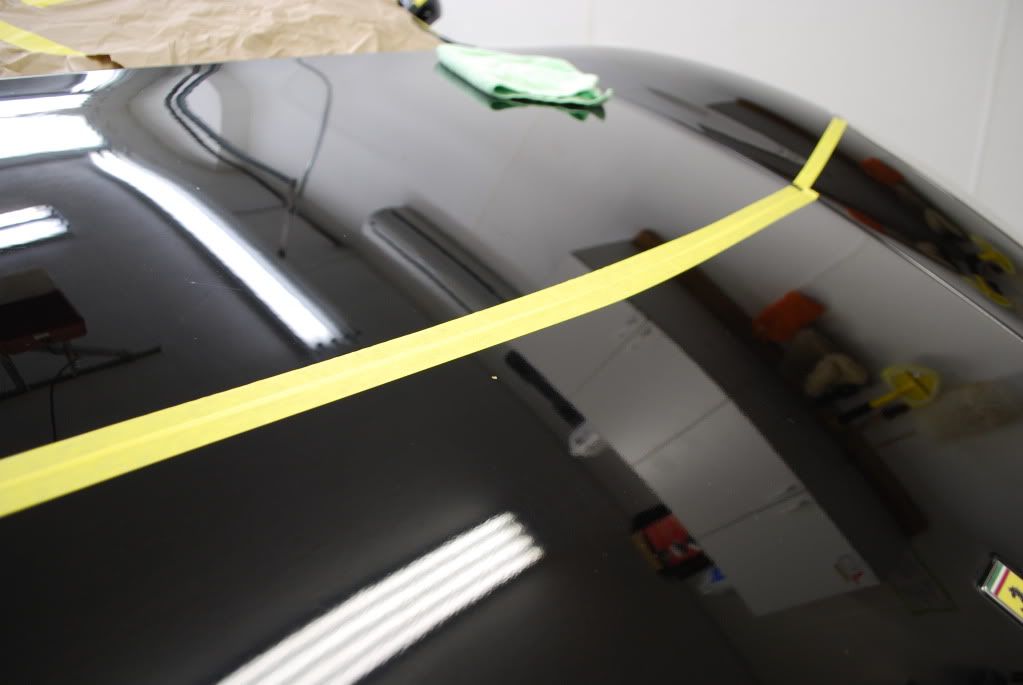
Hood clear bra line taped thick enough so that I can run over it with a buffer and still not be onto the clear film as I was using a rotary for correction on the un-filmed upper half of the nose
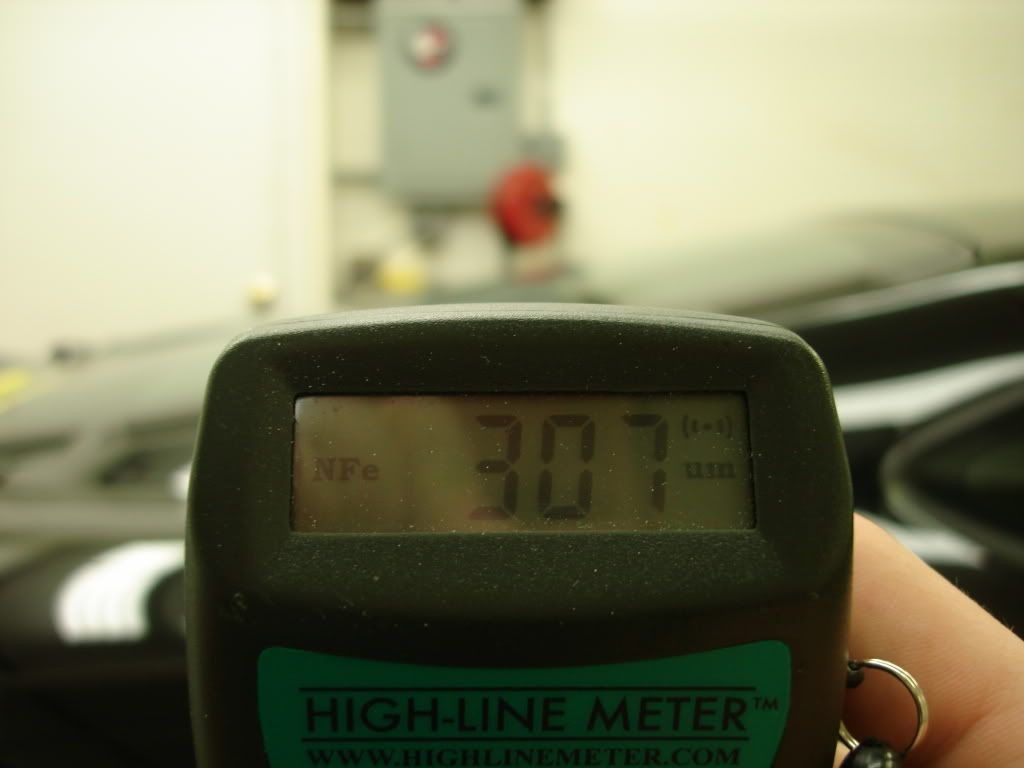
Next I took measurements with the PTG. The rear bumper and engine cover area were repainted a few months ago, I took careful readings and surprisingly they were very close to the factory levels, at most a 40micron difference in thickness. The color match job done was hands down the best I have seen
Factory reading...


Re-sprayed panel
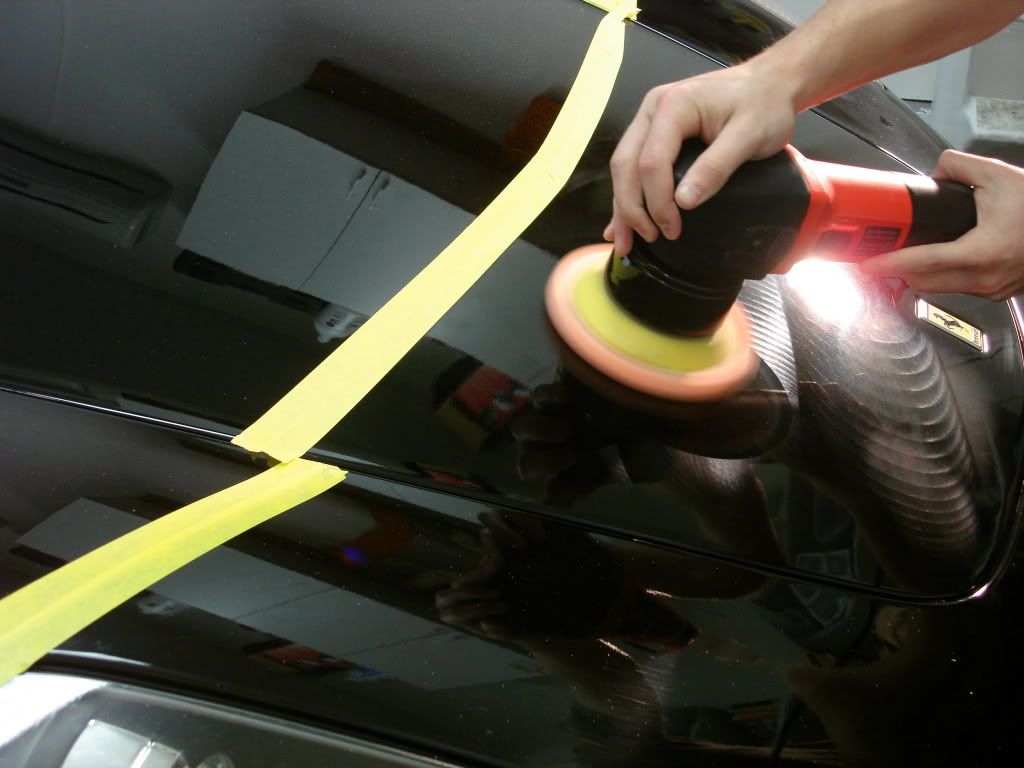
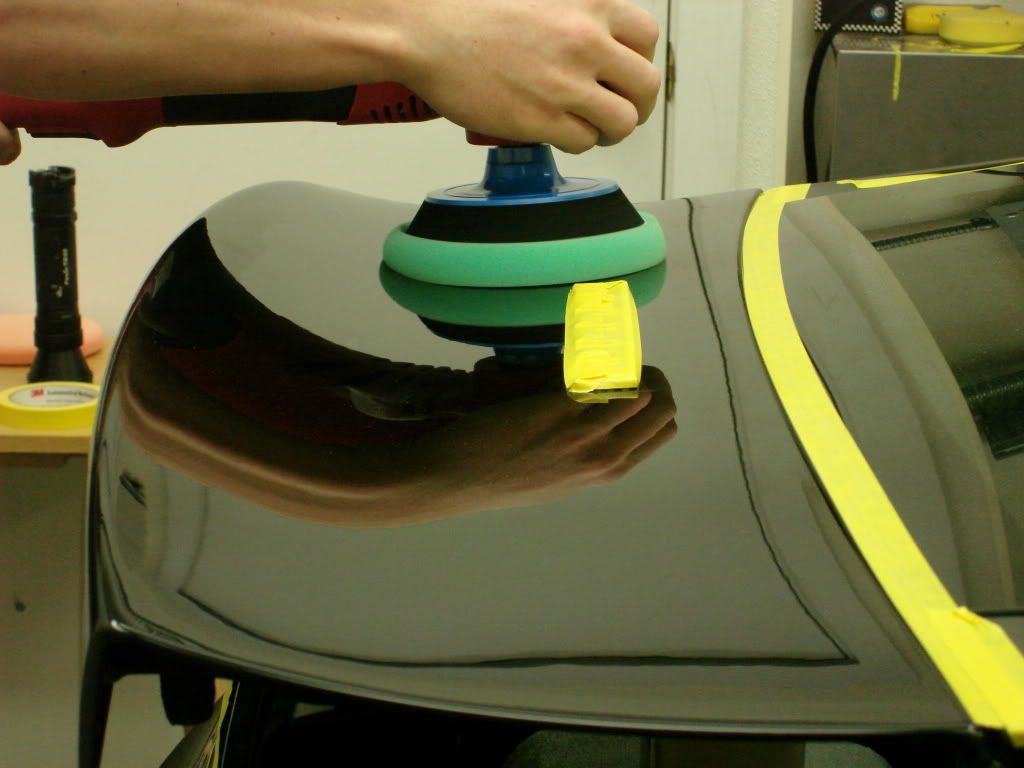
Onto paint correction. I played around with the new Flex PE 14-2 which is quite a cool machine.
Products used... Meguiars M105, Sonax Perfect Finish (both for light cutting and finishing w/ varied pads)
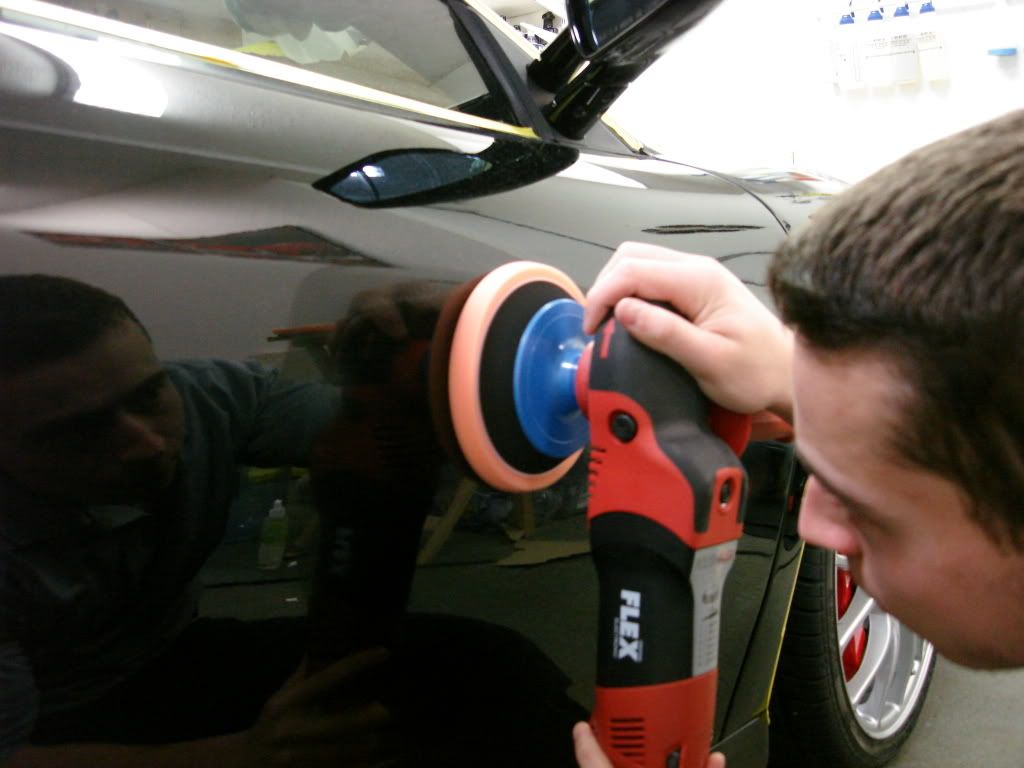
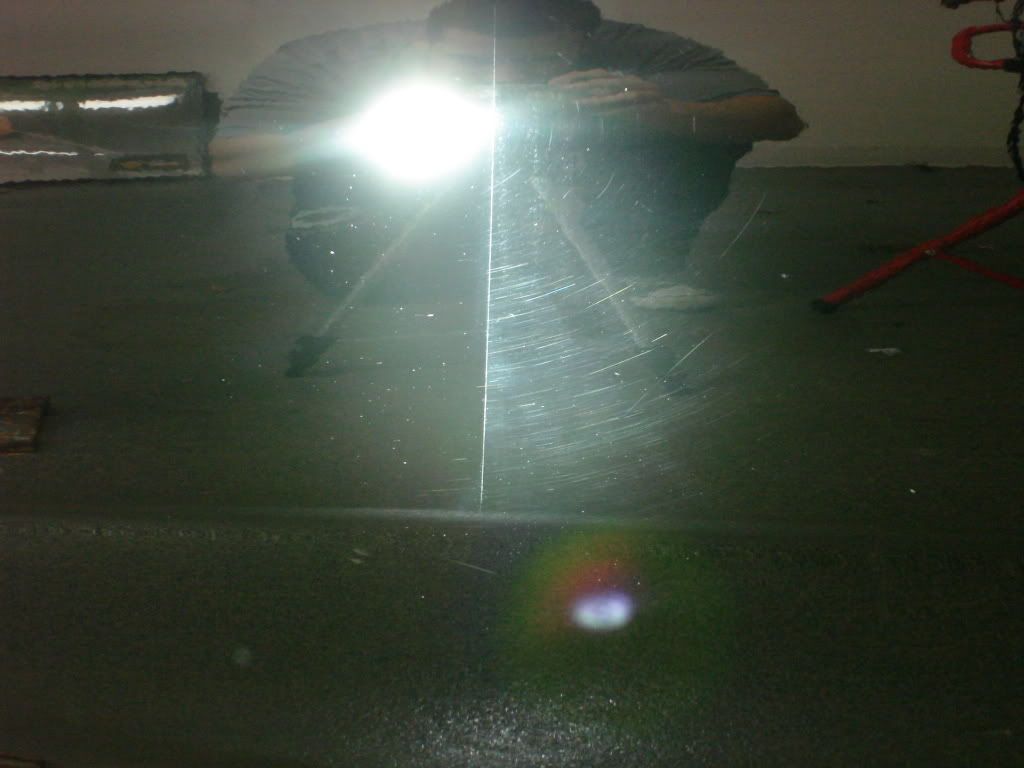

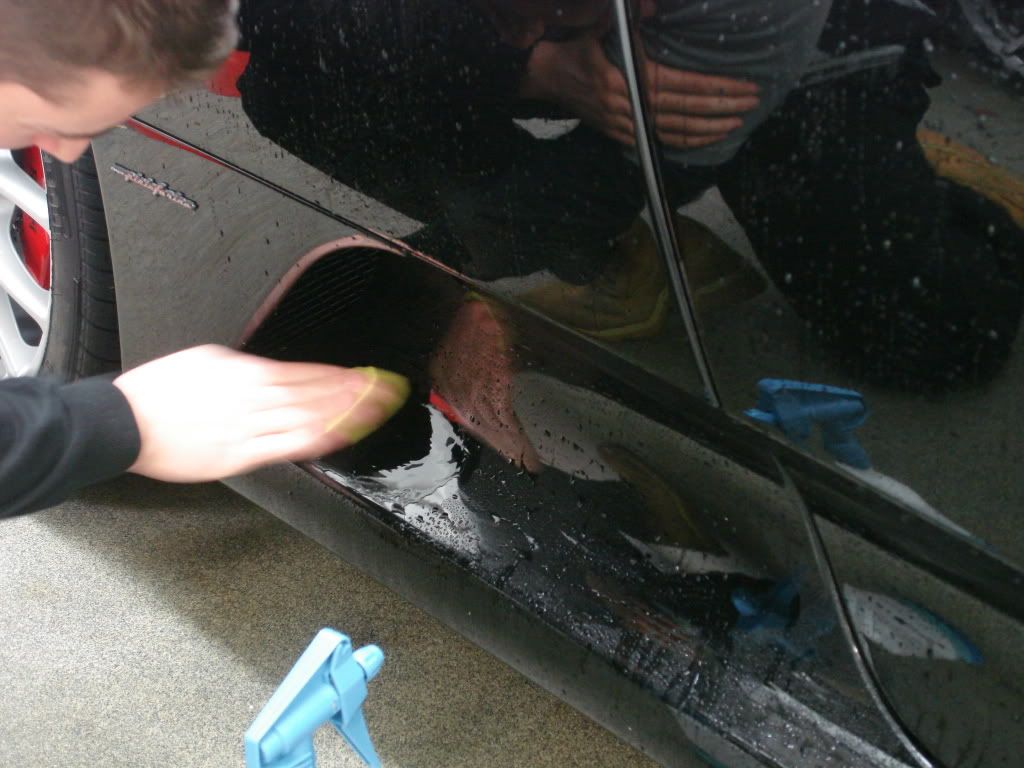
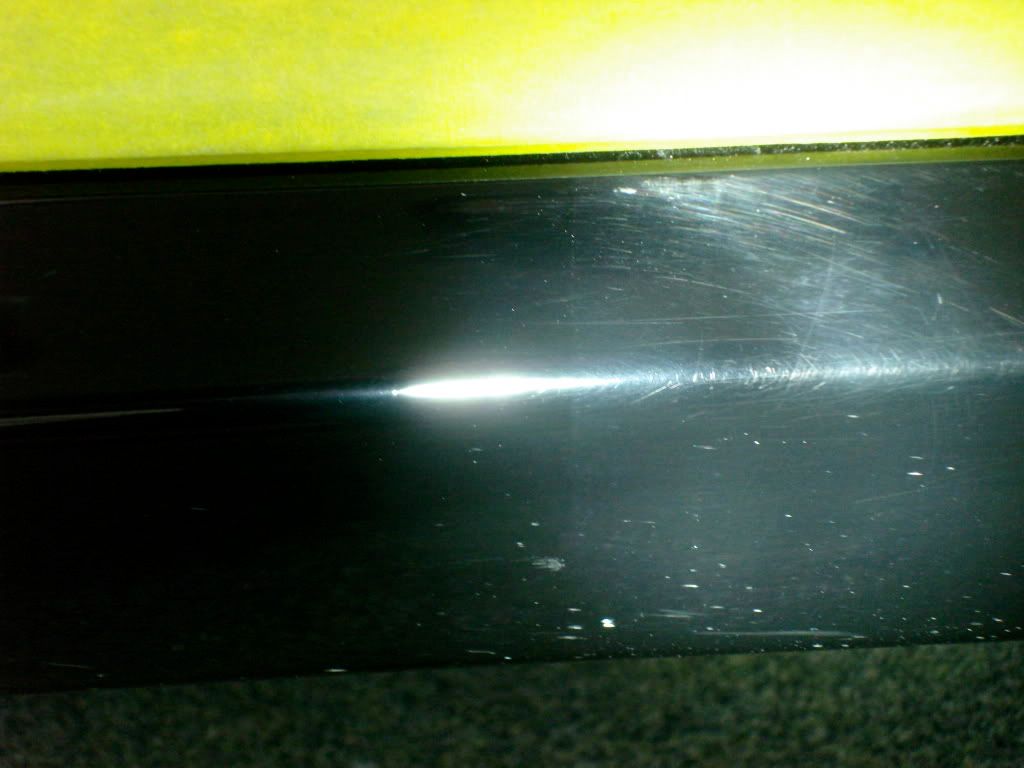
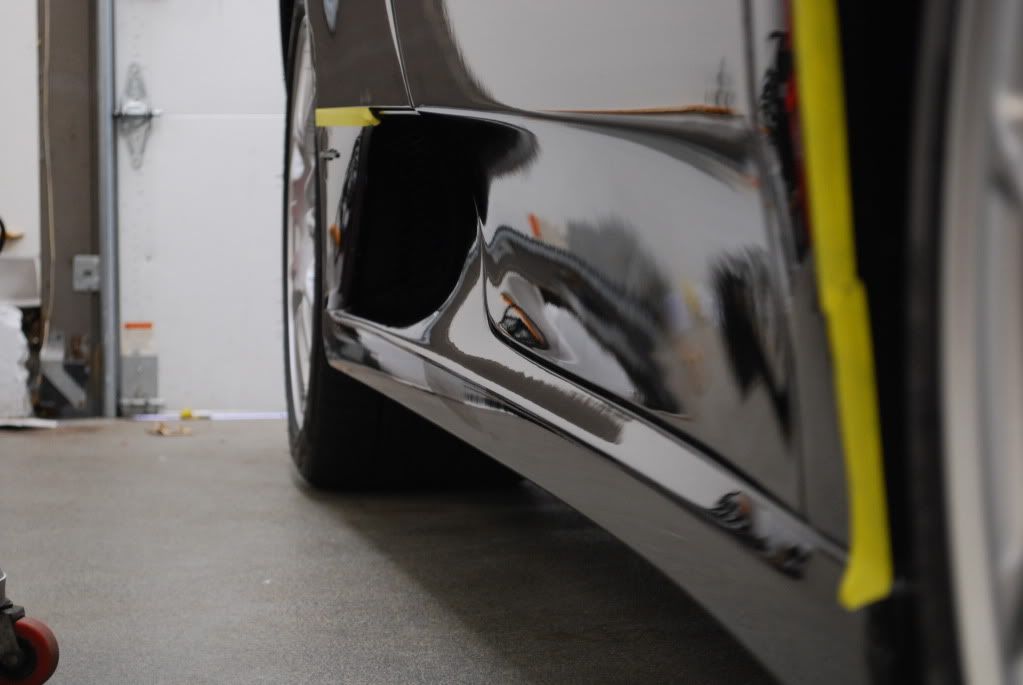
Switched to the Griots DA machine in the side skirts to make for easier polishing, these areas get hit the worst with RIDS and scuffs...

50/50, not every defect was able to be removed but the haze did come out into a nice gloss to match the rest of the car after polihsing
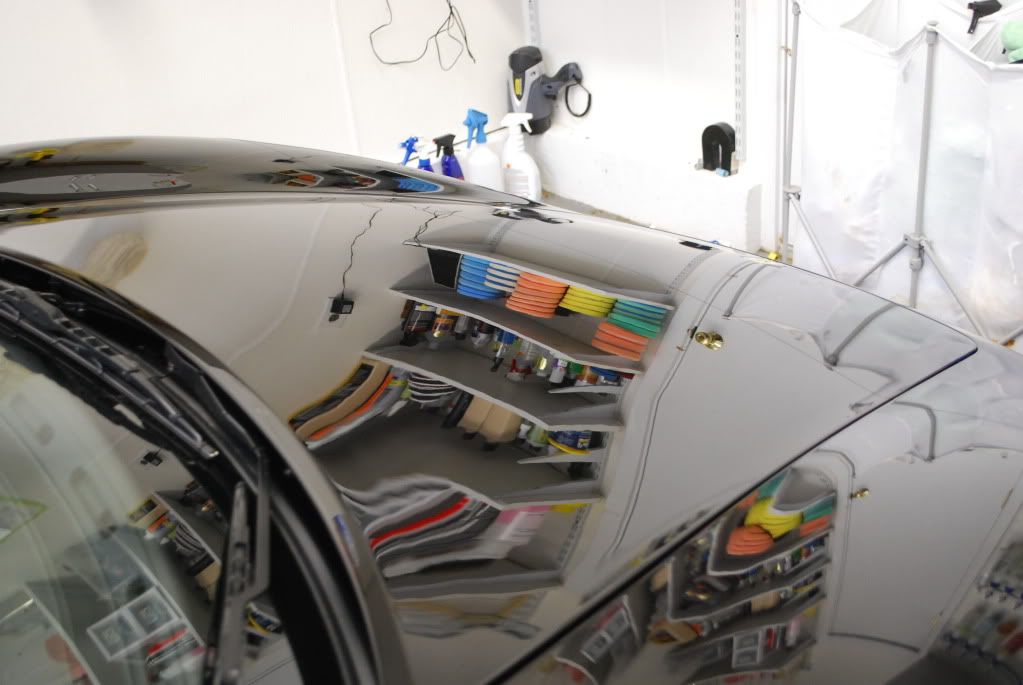
After finishing
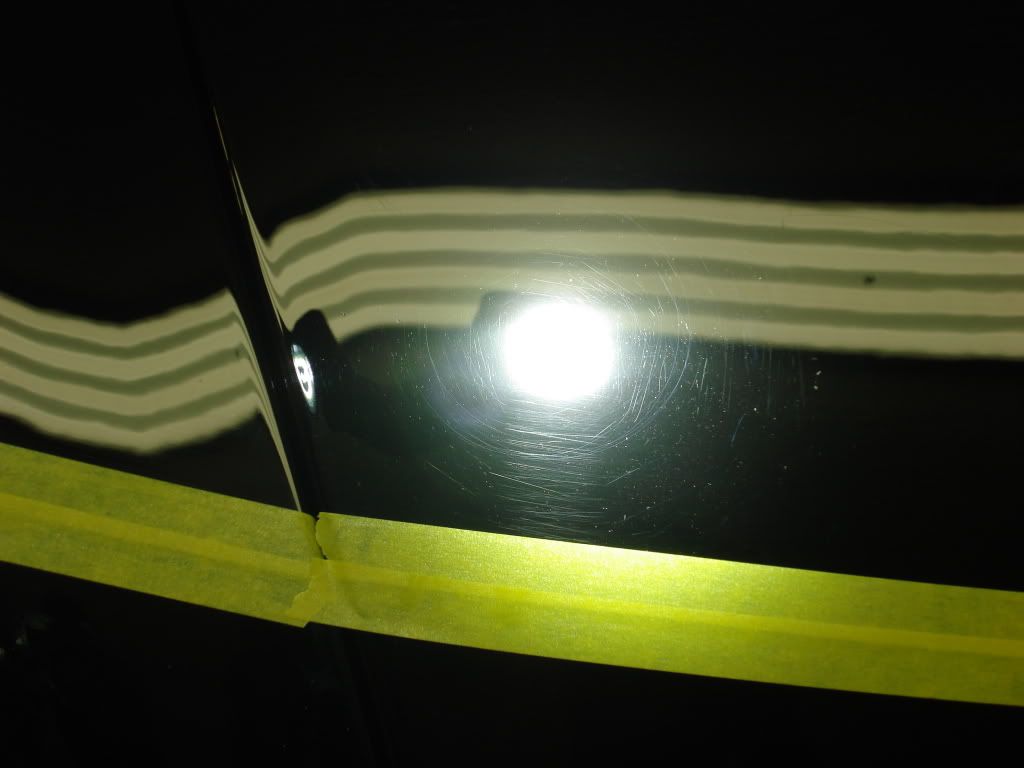
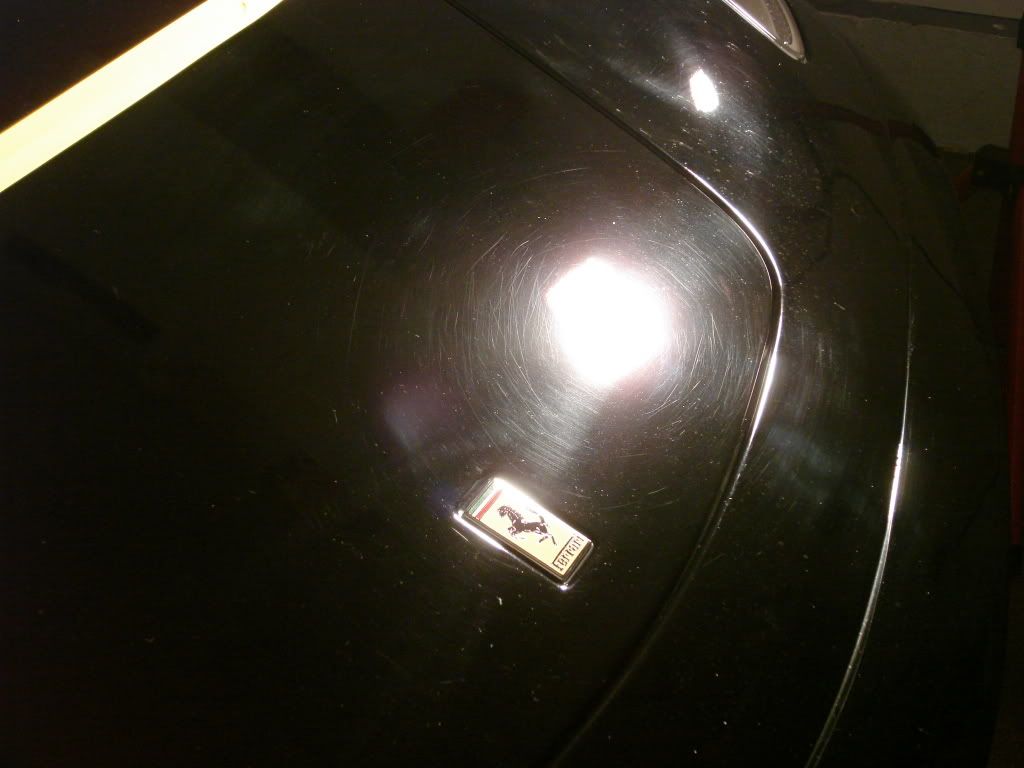
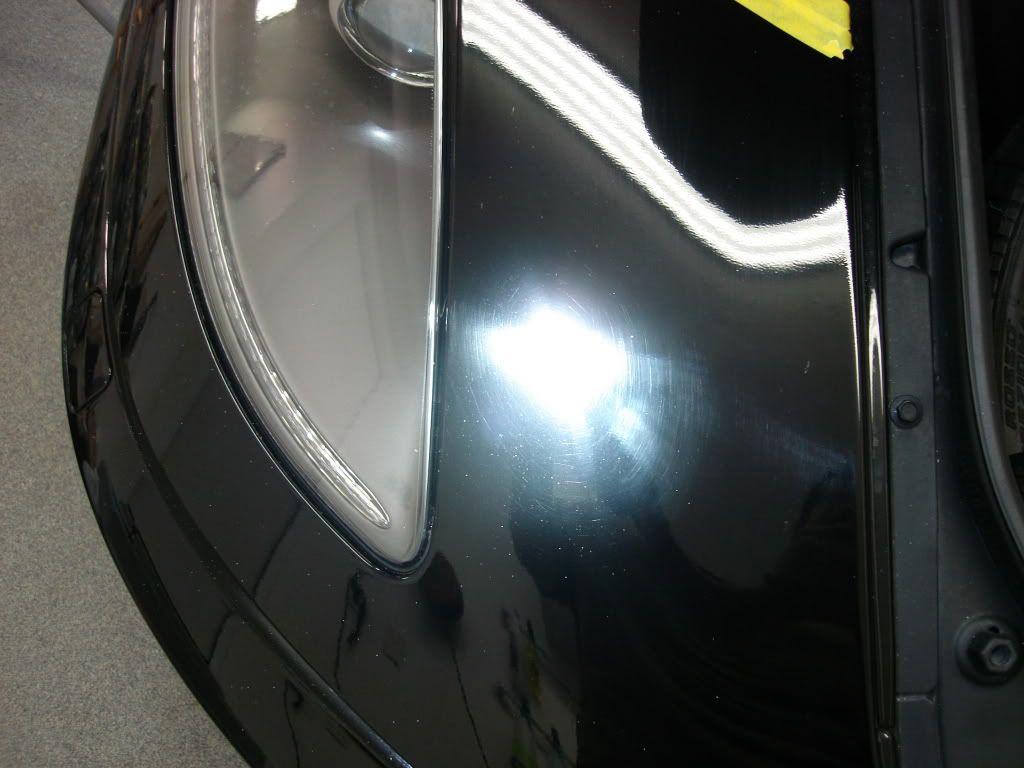
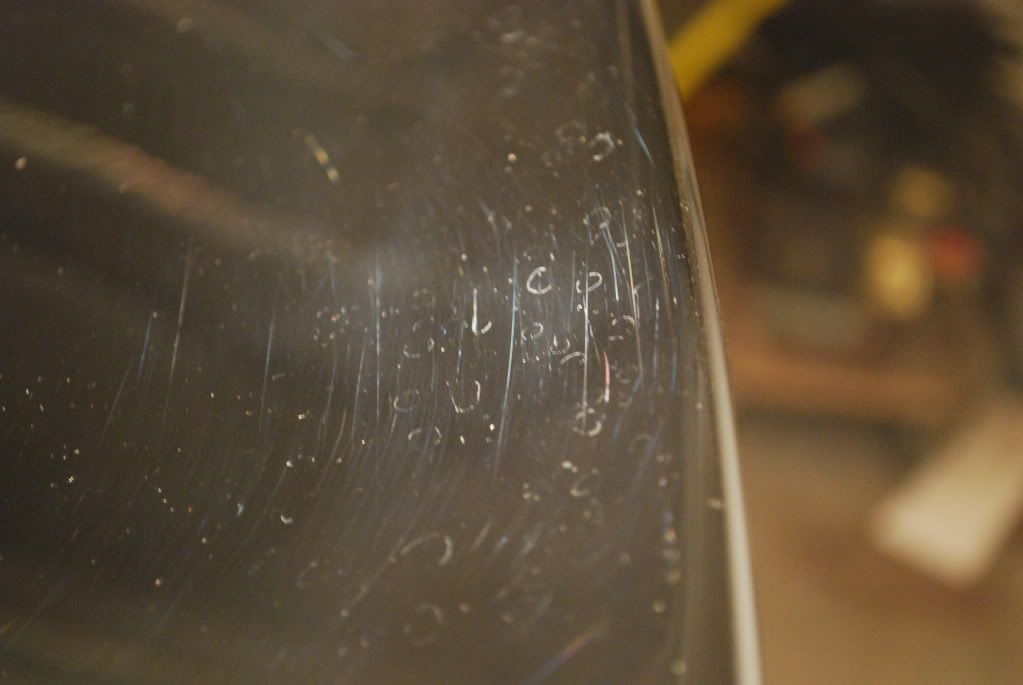
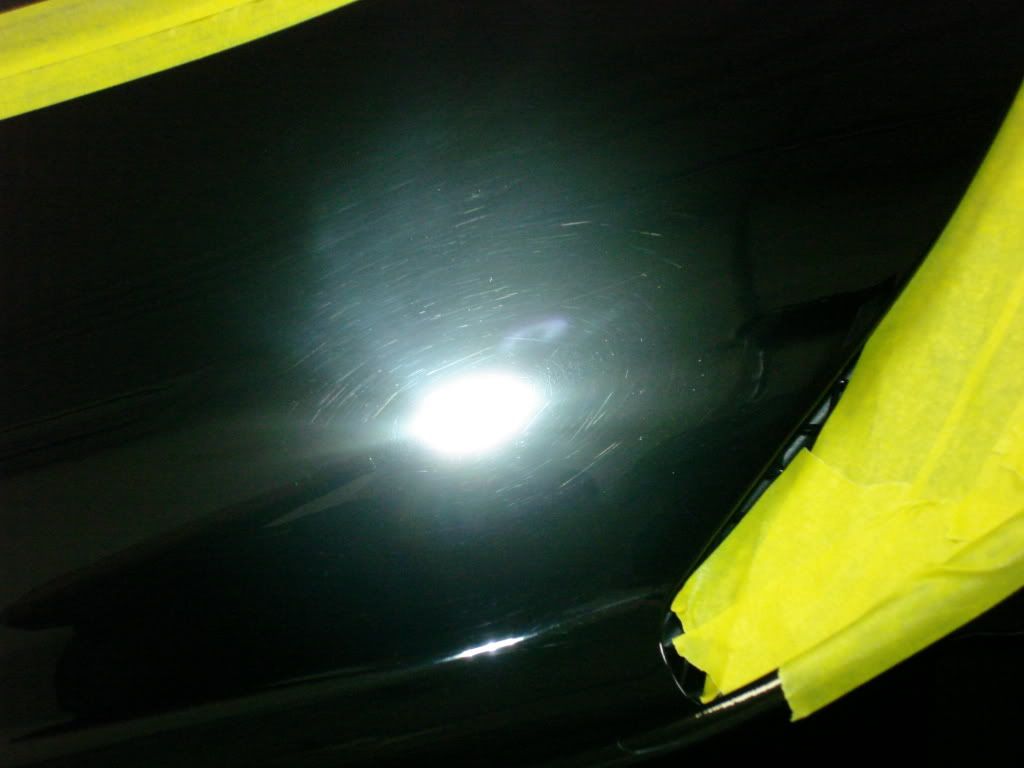
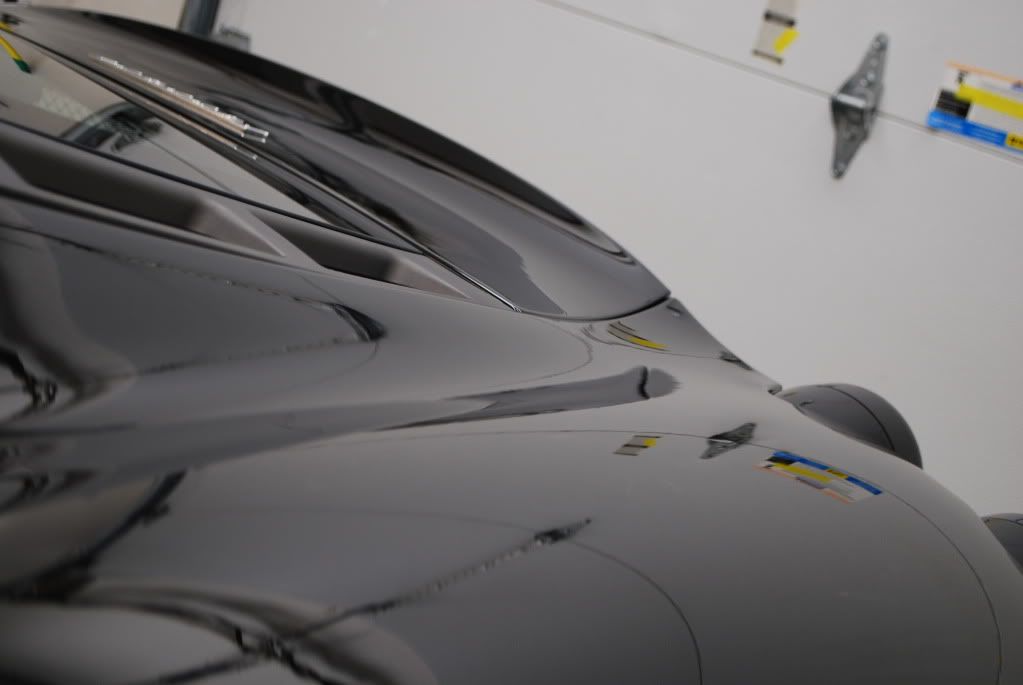
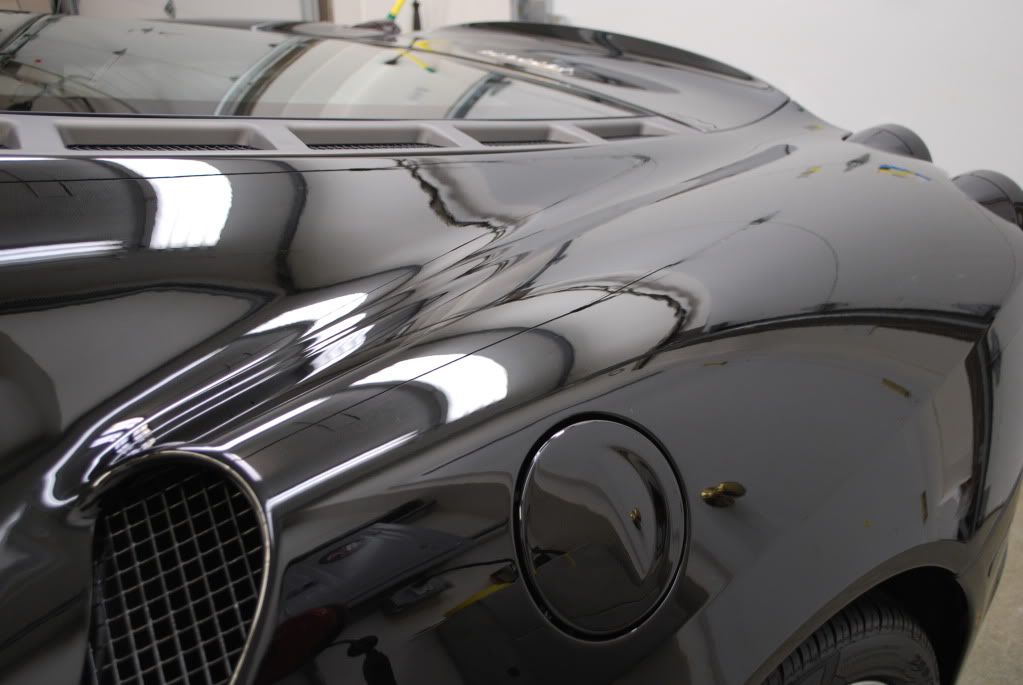
Front nose needed a good bit of work...
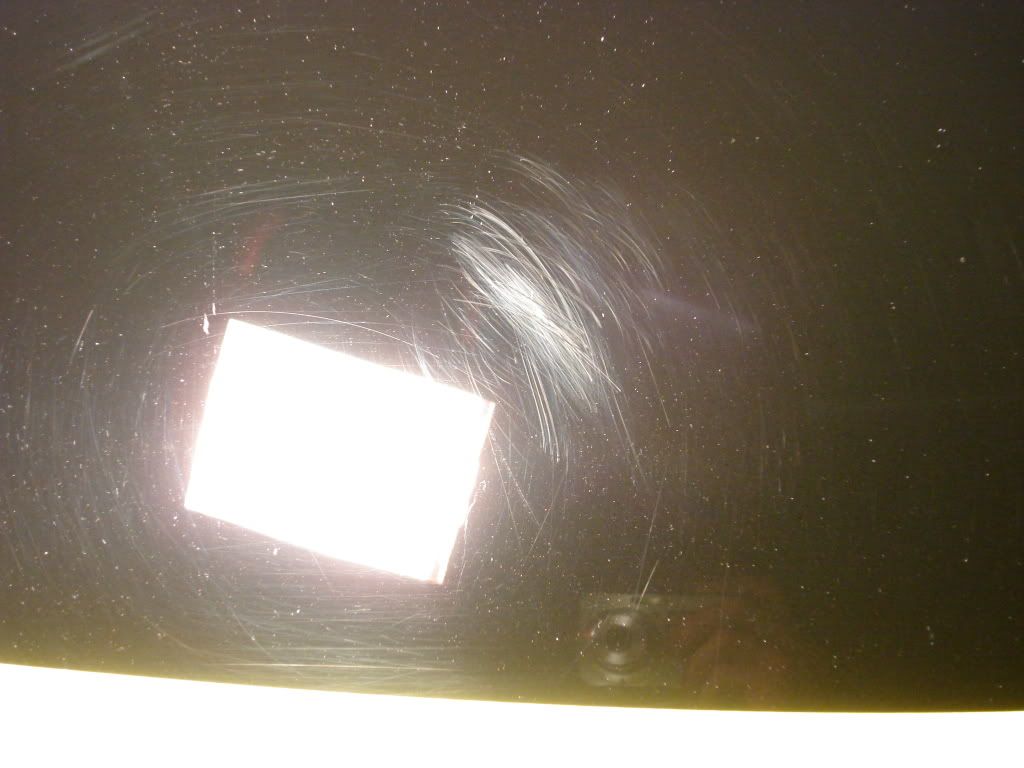
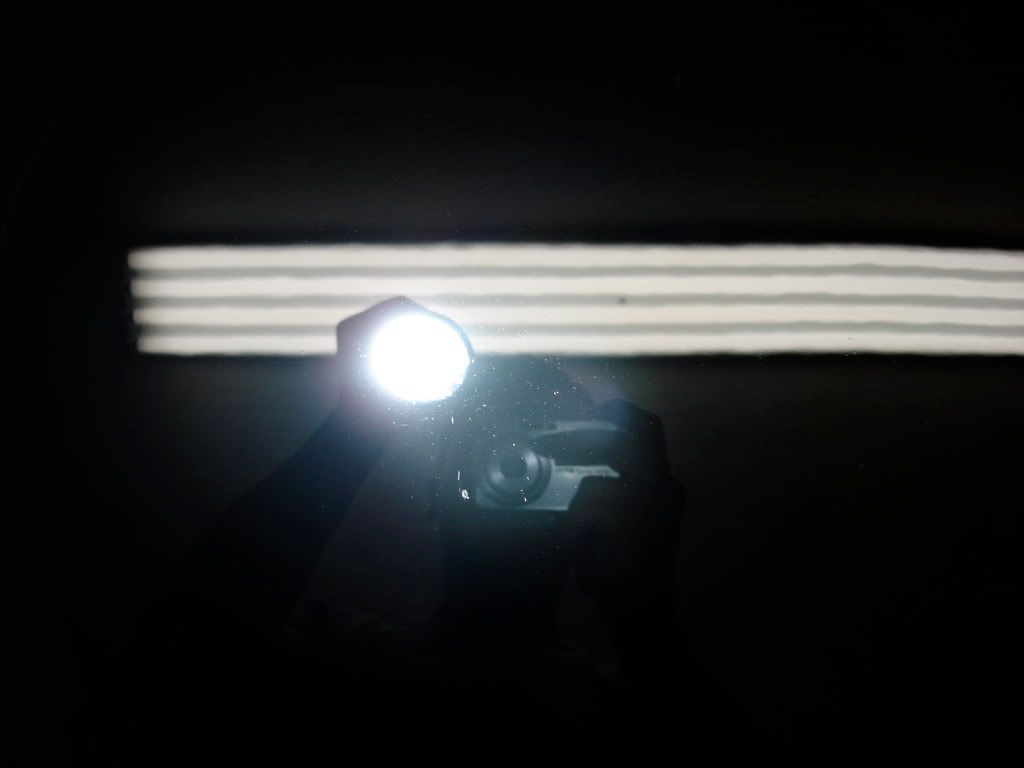
Before
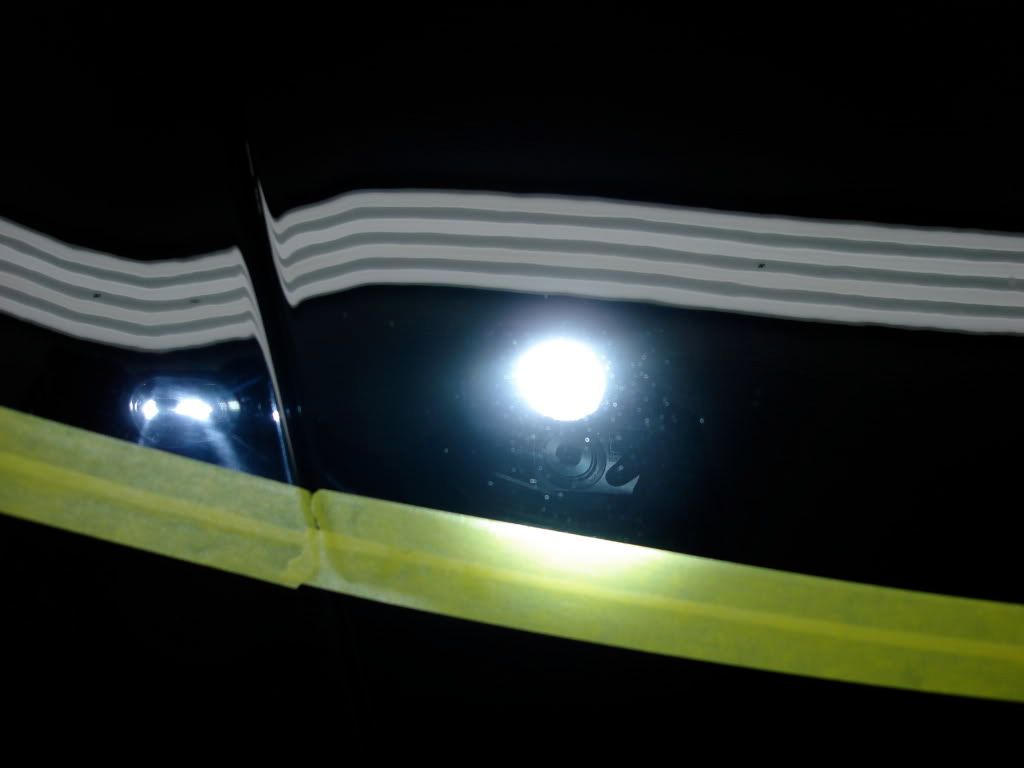
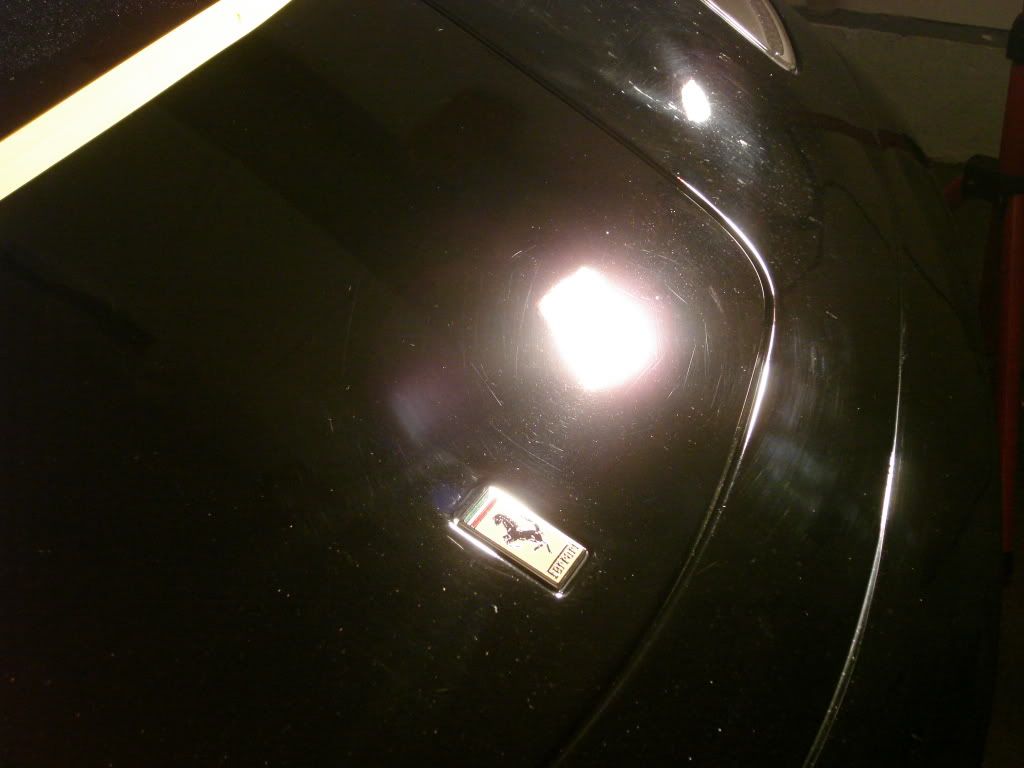
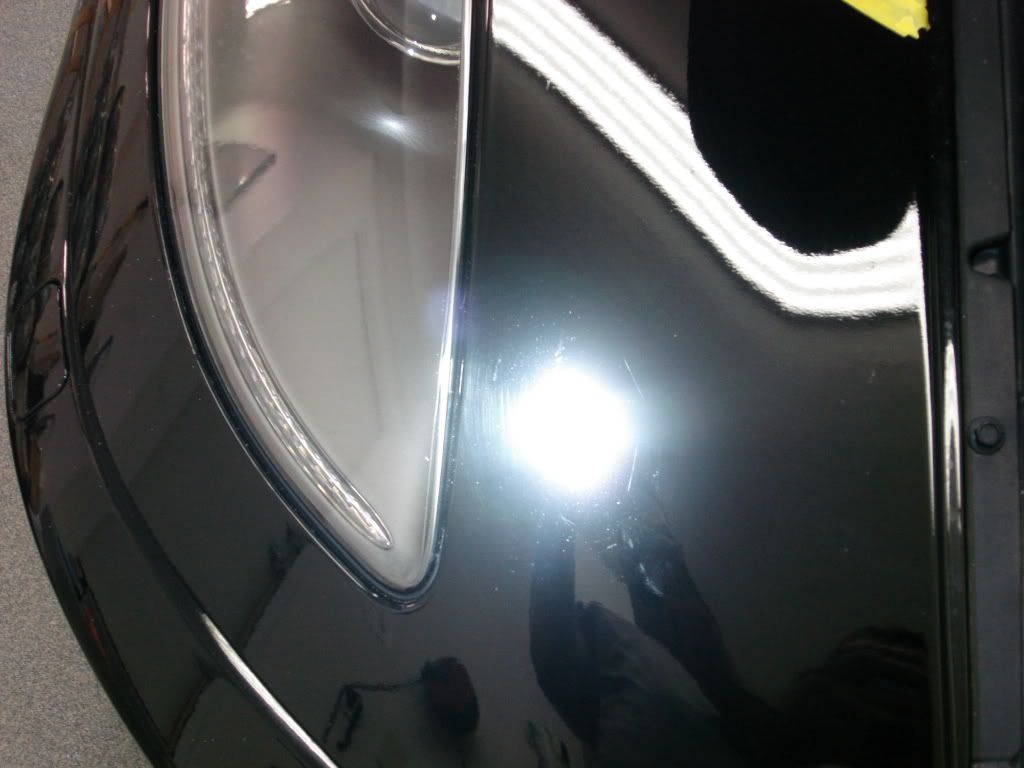
After
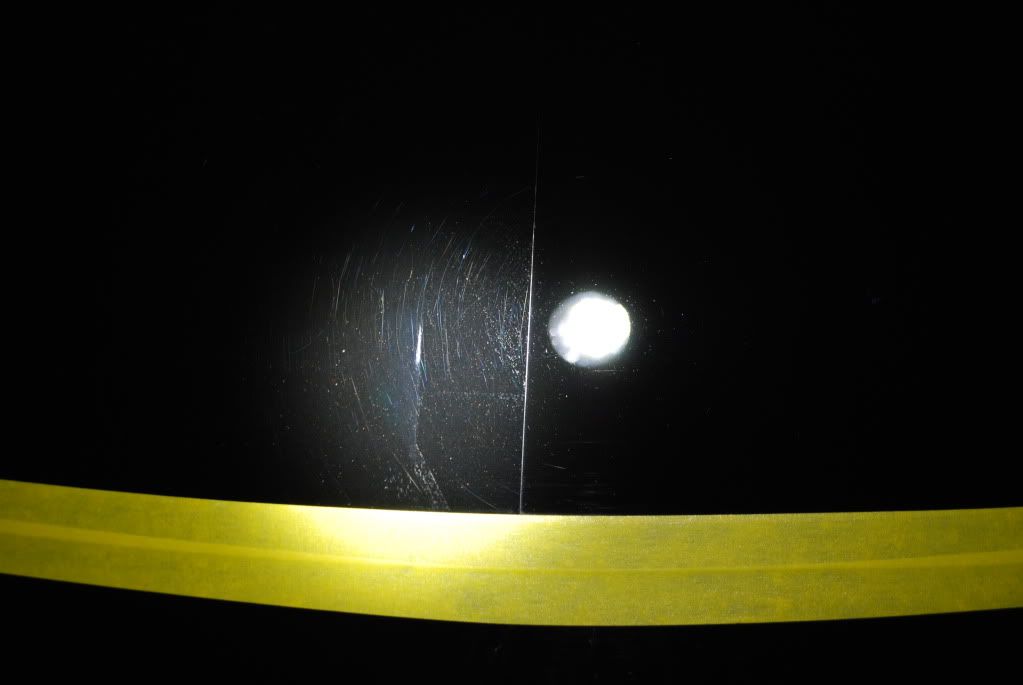

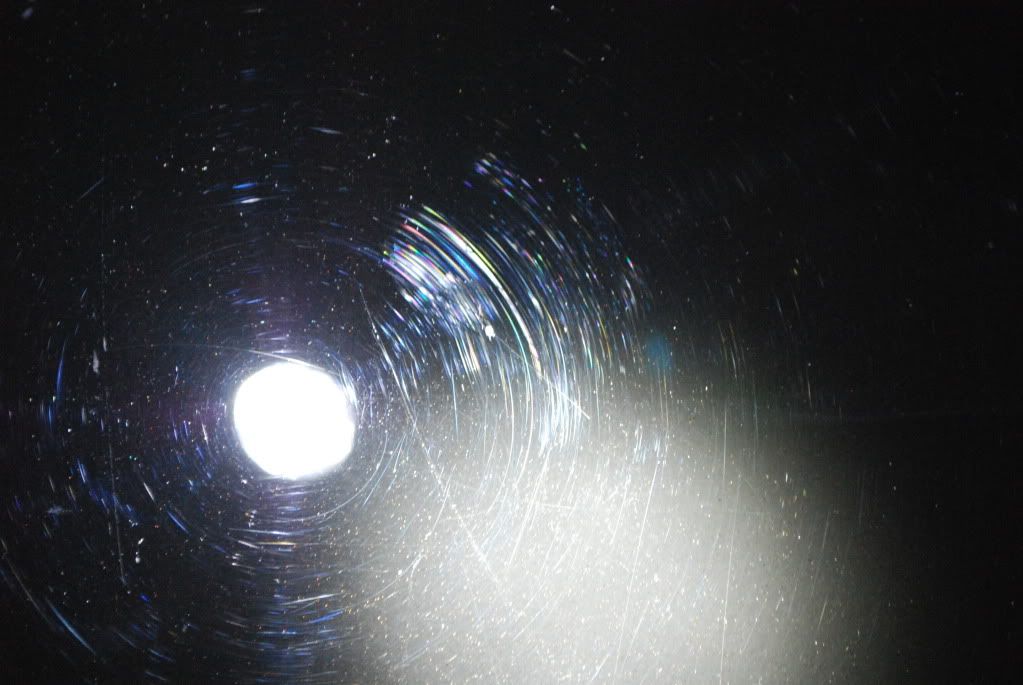
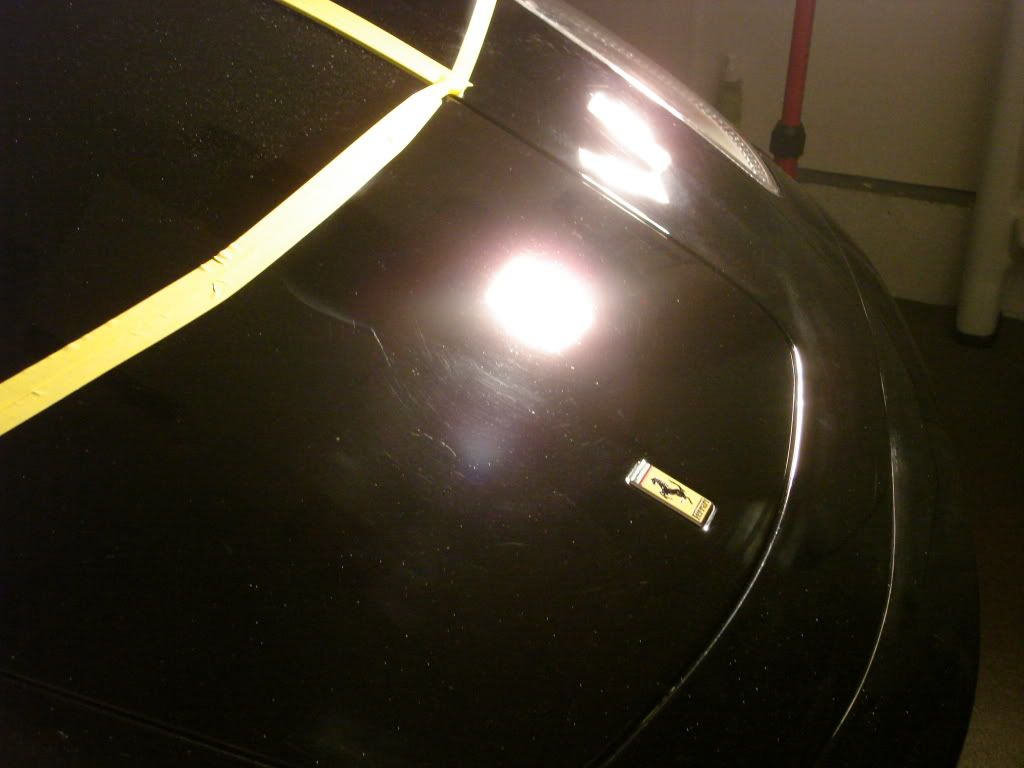
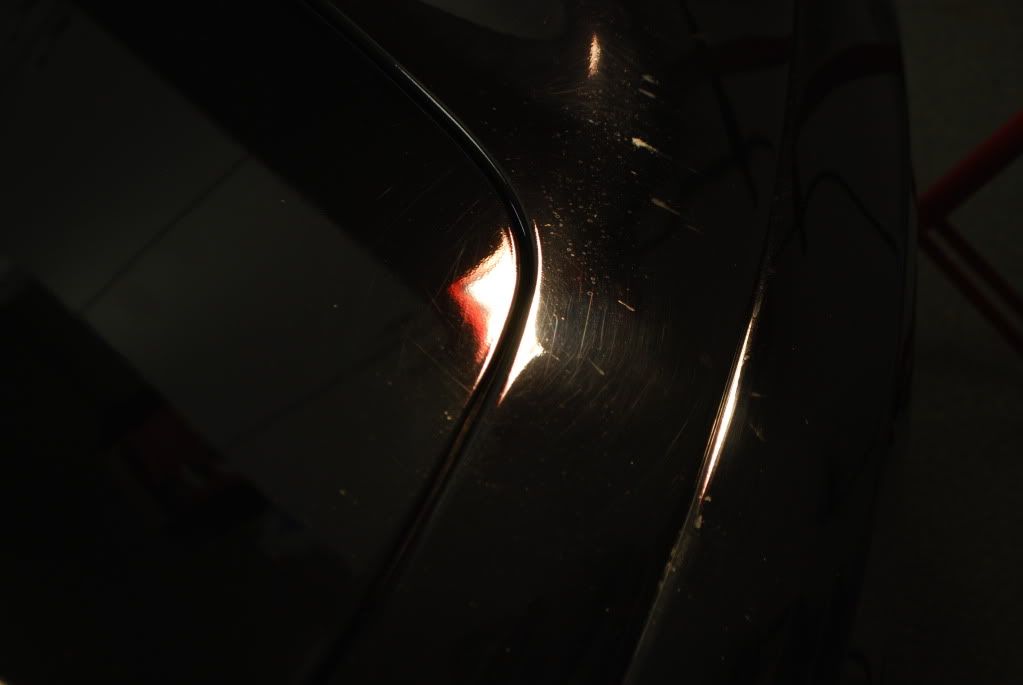
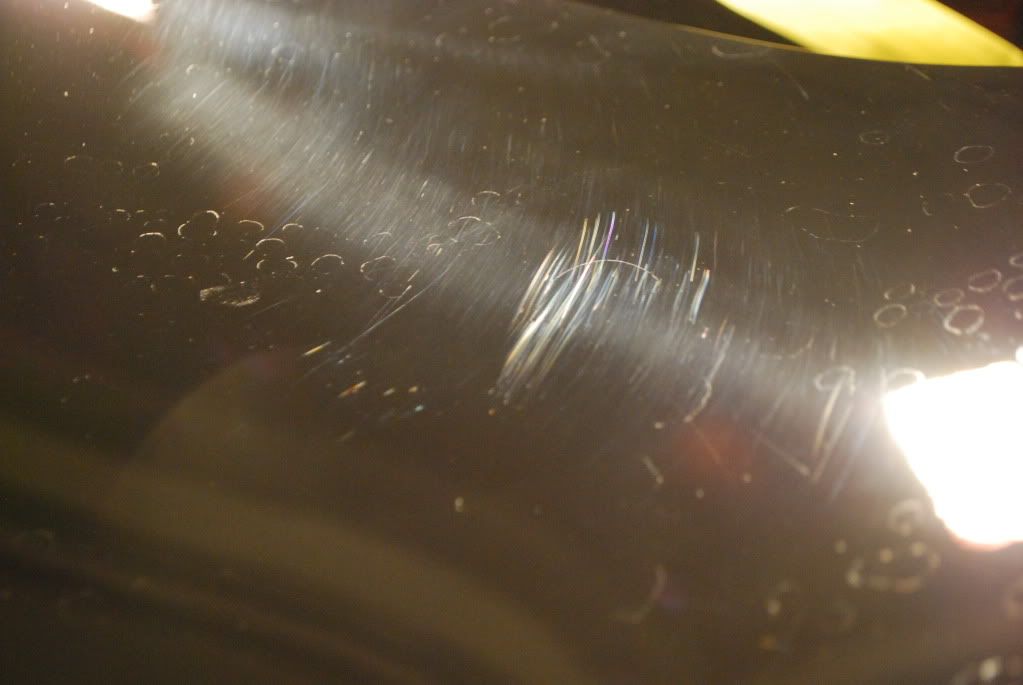
Clear film correction. This was about the worst condition clear film I have dealt with. Far too many RIDS and scracthes to yield very high levels of correction, as usual I swicthed to a DA for the correction process on the film.
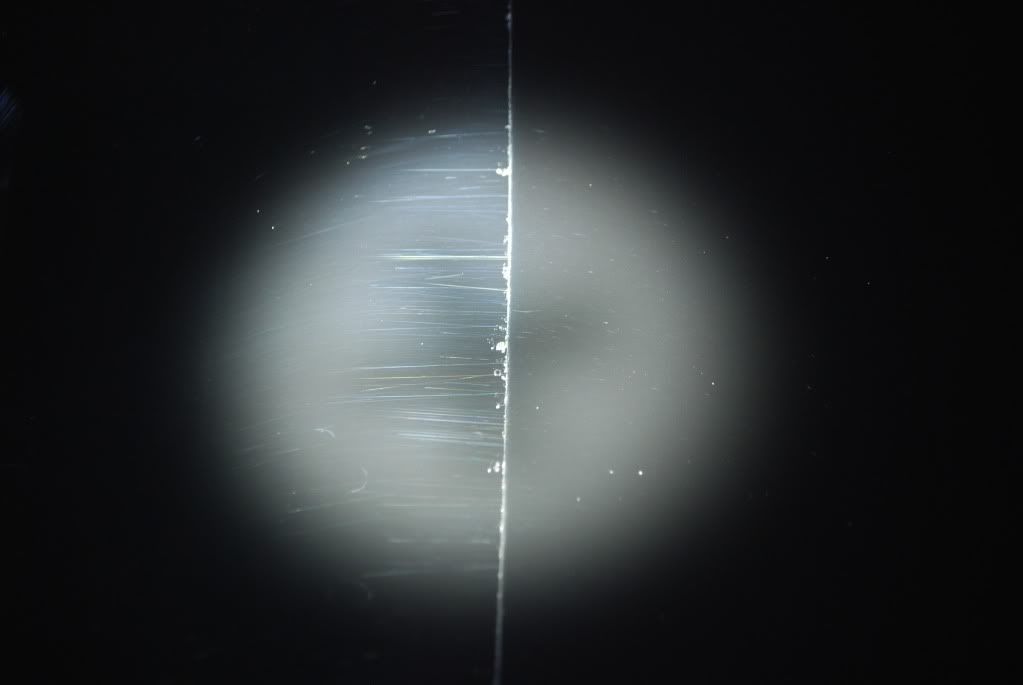
After first pass
After several more passes using Powerfinish with a tangerine cutting pad
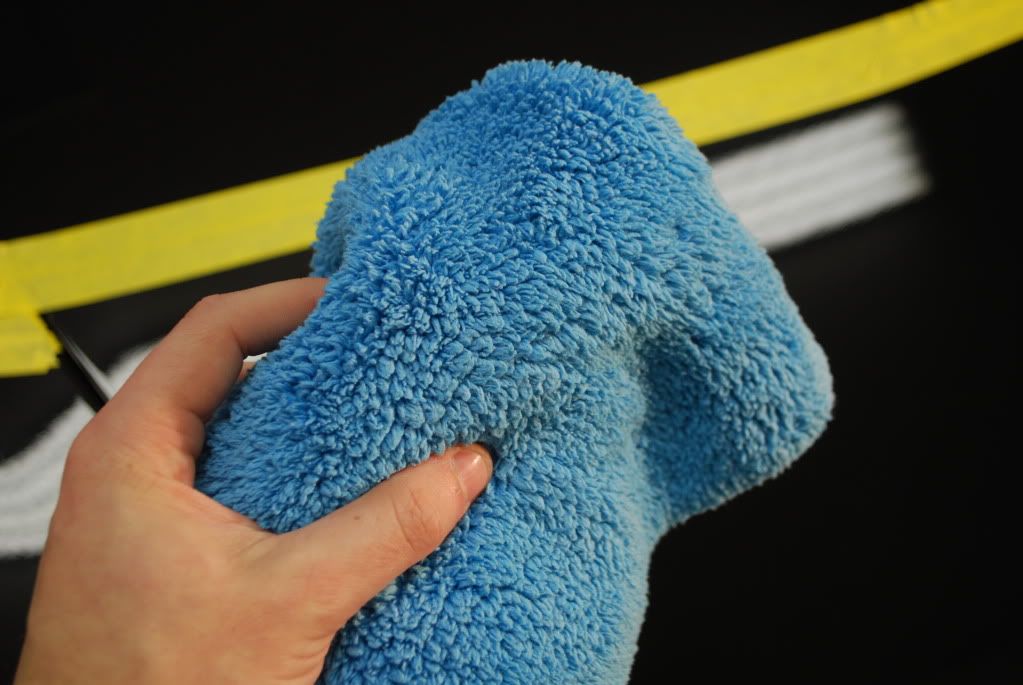
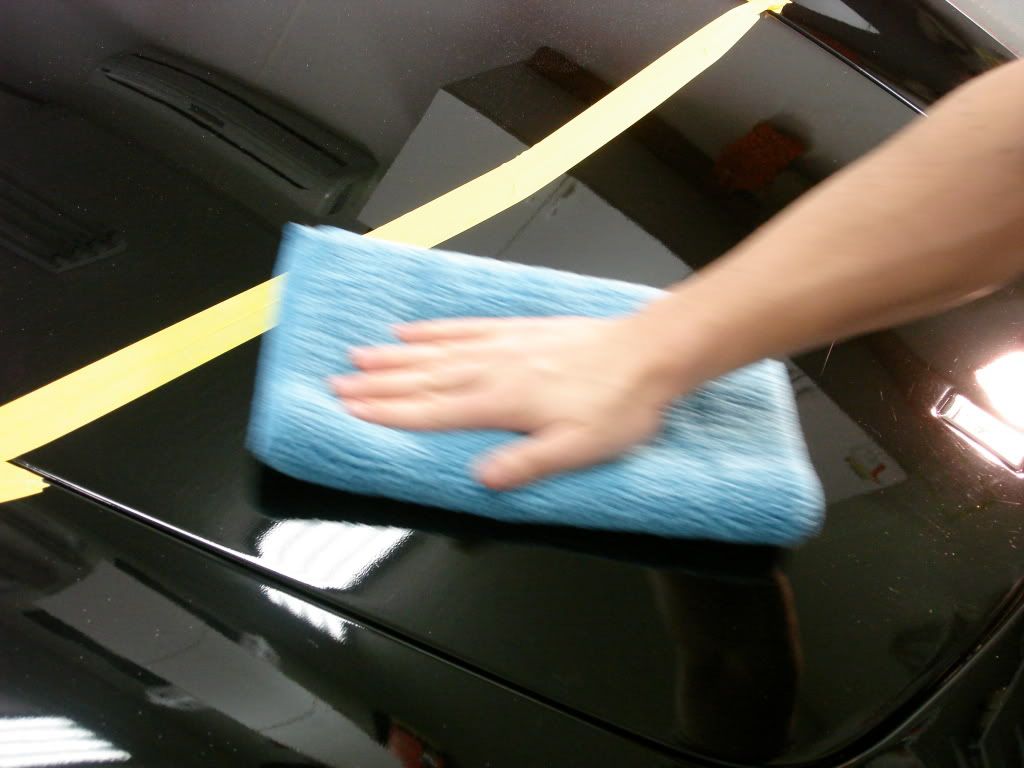
I was having a lot of trouble wiping the film without marring it, I tried several types of microfiber all of which left some light marring behind... mind you I waited until the plastic cooled fully before wiping it.
Began with the wheels and tires. Wheels were cleaned using regular soap and water with various brushes due to the carbon ceramic brakes.
Wash process:
Foam w/ CG maxi suds
Soak w/ Optimum Power Clean 5:1
Hand wash using Lusso Oro
Brought inside with the heat on full blast (sub 40degree temps outside now)
Claying using ONR as lube
After claying 2 IPA wipedowns were done before taping. I spent a lot of time masking this car to prevent a messy cleanup after correction. Most importantly the clear film edges on the front bumper, nose and by the side air intakes (upper and lower) were masked carefully.
Hood clear bra line taped thick enough so that I can run over it with a buffer and still not be onto the clear film as I was using a rotary for correction on the un-filmed upper half of the nose
Next I took measurements with the PTG. The rear bumper and engine cover area were repainted a few months ago, I took careful readings and surprisingly they were very close to the factory levels, at most a 40micron difference in thickness. The color match job done was hands down the best I have seen
Factory reading...
Re-sprayed panel
Onto paint correction. I played around with the new Flex PE 14-2 which is quite a cool machine.
Products used... Meguiars M105, Sonax Perfect Finish (both for light cutting and finishing w/ varied pads)
Switched to the Griots DA machine in the side skirts to make for easier polishing, these areas get hit the worst with RIDS and scuffs...
50/50, not every defect was able to be removed but the haze did come out into a nice gloss to match the rest of the car after polihsing
After finishing
Front nose needed a good bit of work...
Before
After
Clear film correction. This was about the worst condition clear film I have dealt with. Far too many RIDS and scracthes to yield very high levels of correction, as usual I swicthed to a DA for the correction process on the film.
After first pass
After several more passes using Powerfinish with a tangerine cutting pad
I was having a lot of trouble wiping the film without marring it, I tried several types of microfiber all of which left some light marring behind... mind you I waited until the plastic cooled fully before wiping it.
Dec 9, 2010 | 07:55 PM
#2
Thread Starter
| Teamspeed Senior Member
Joined: May 2008
Posts: 526
From: New Jersey
I ended up using the eurow shag towels which seemed to glide best on the film not cause it to marr :thumb:
Top portion of film polished... bottom part untouched
I had better luck with this part of the nose clear film, finally was able to get a high level of correction because the defects were not as severe...
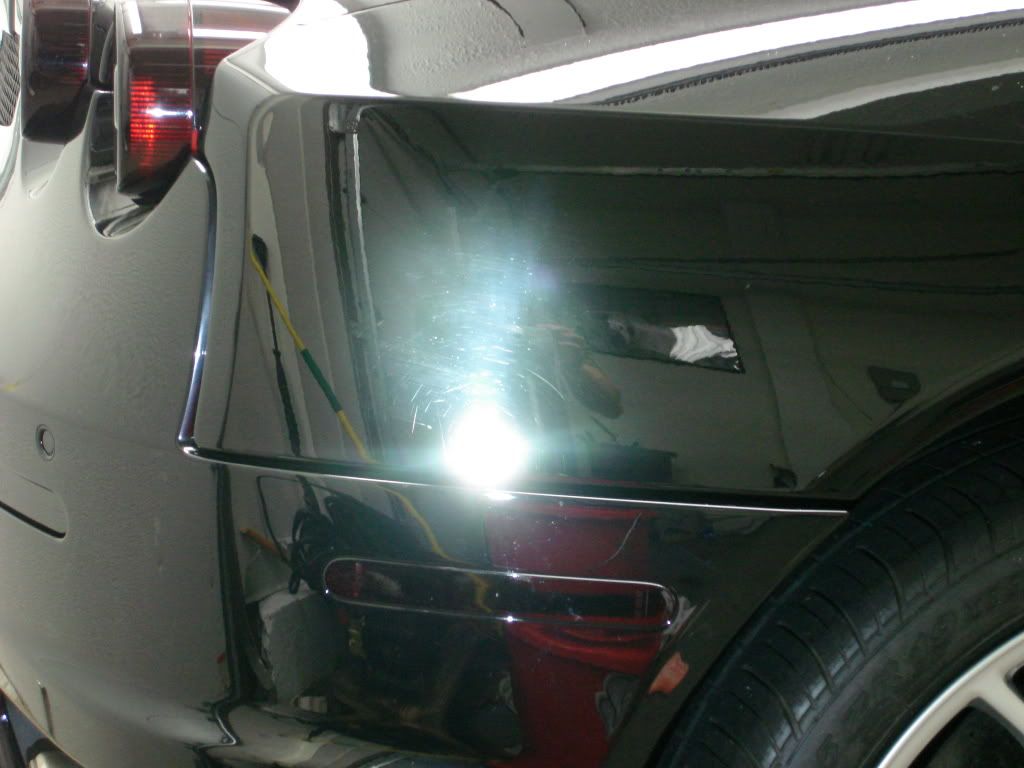
Polishing the rear decklid was a little tricky as the decklid sits adjacent to the rear quarter panel and I hate polishing over edges and onto another panel by mistake...
Soltuion:
Decklid defects (re-sprayed area)
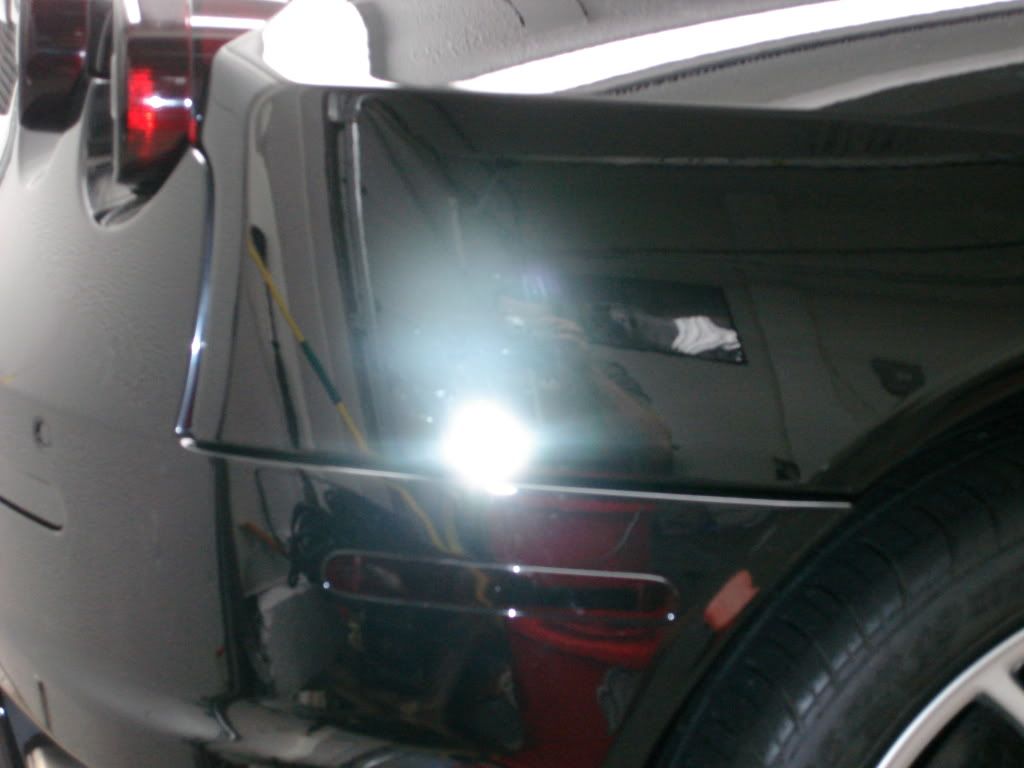
50/50 after compounding
polishing with sonax perfect finish

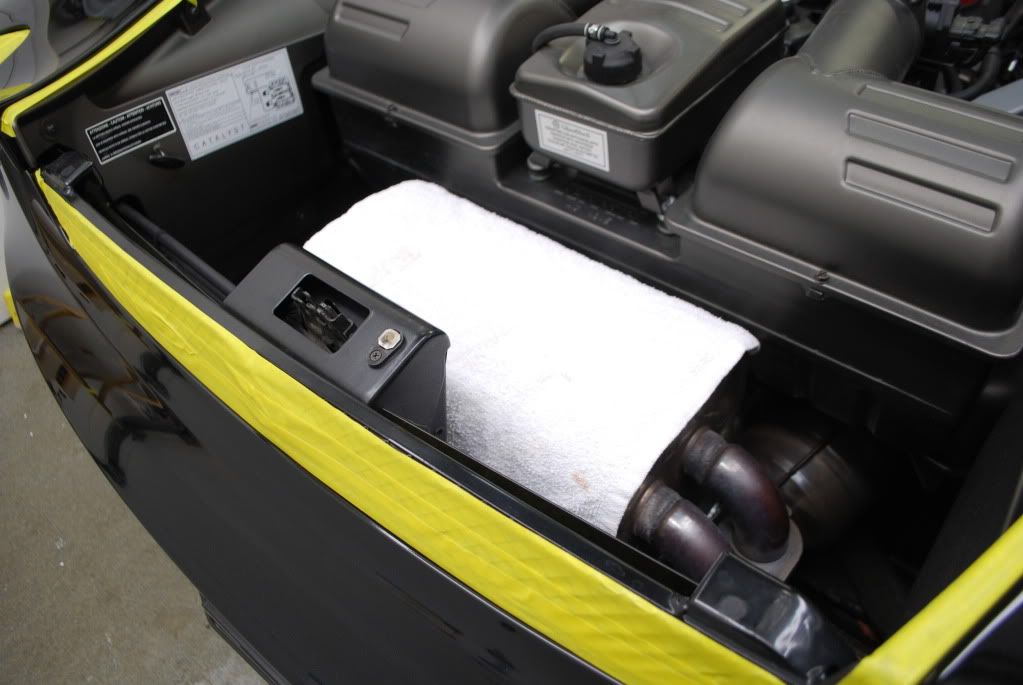
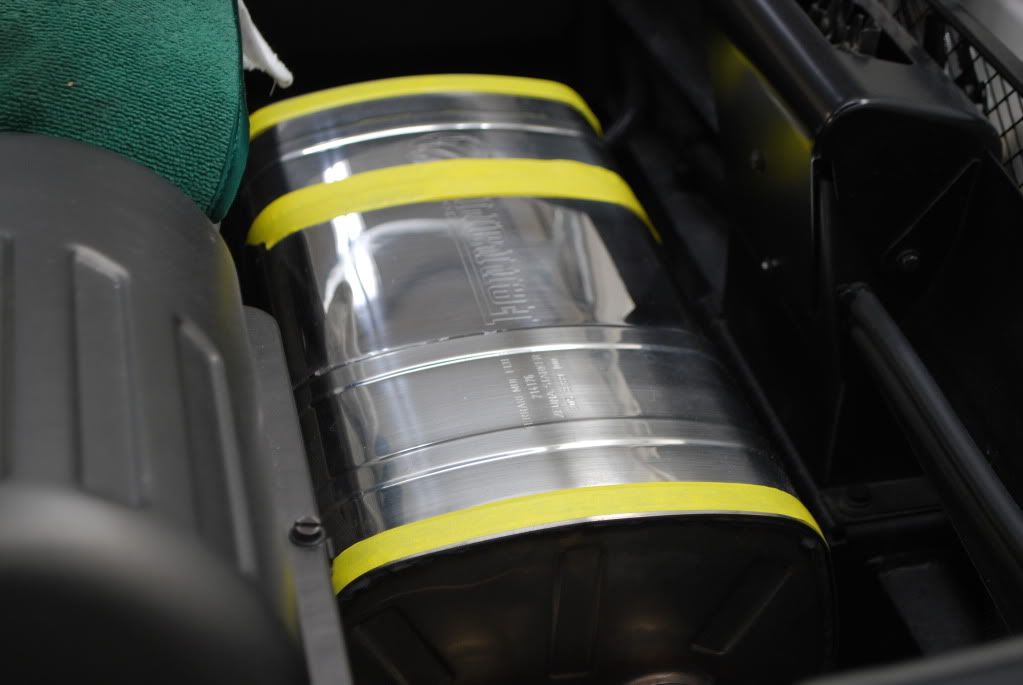
Engine took a bit of time to get right. Started with the exhaust, several polishing steps by hand a machine (on the can) to bring back the color
50/50
50/50
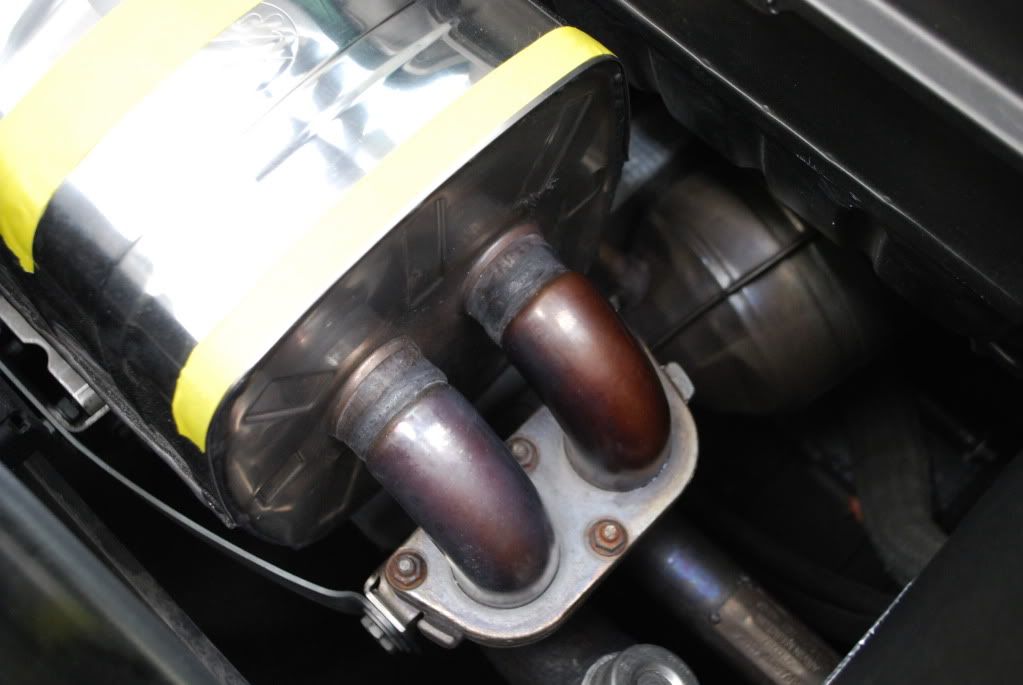
After
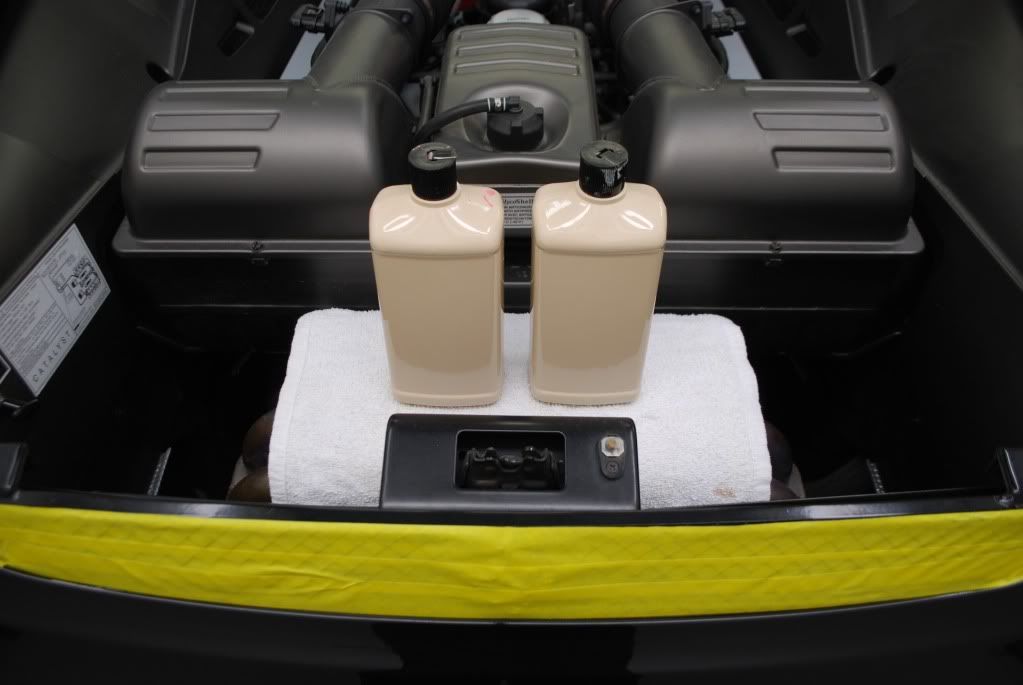
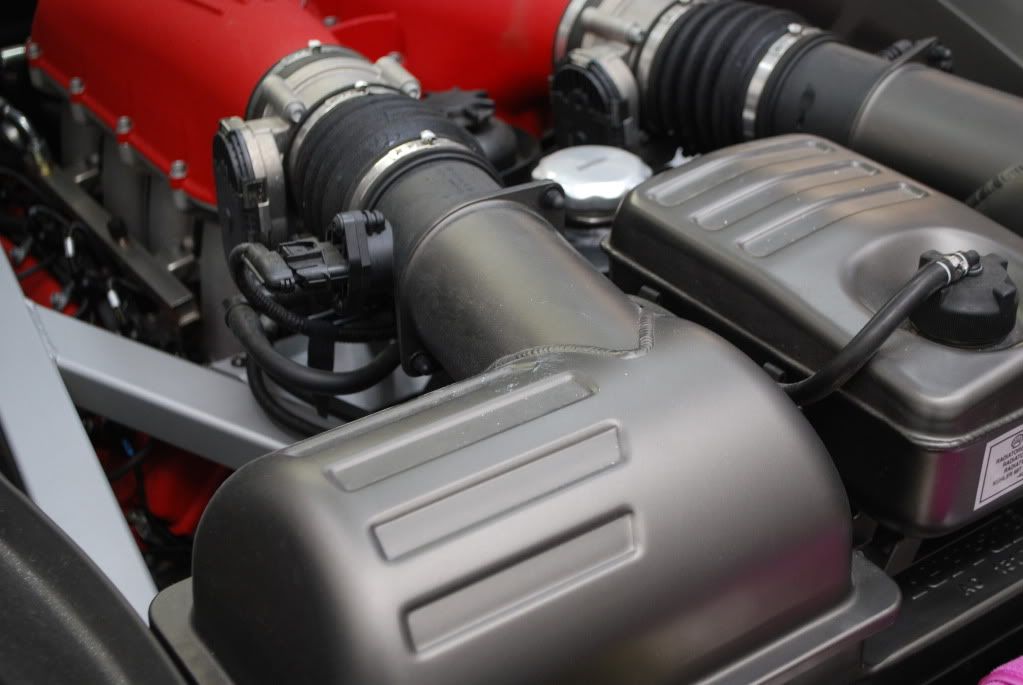
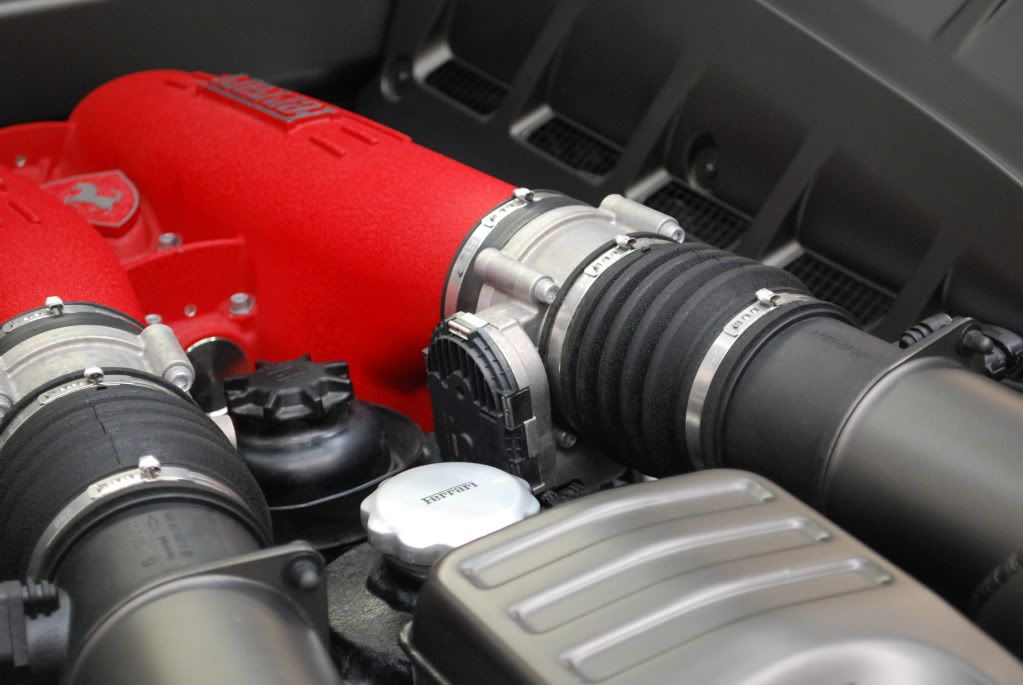
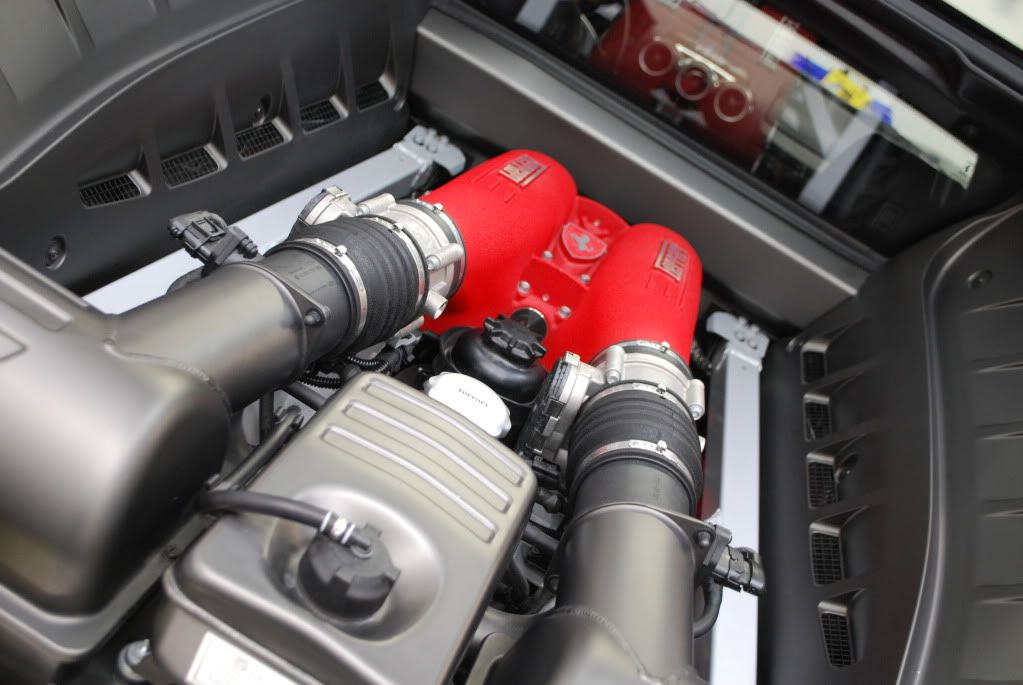
50/50 of the intake manifold...
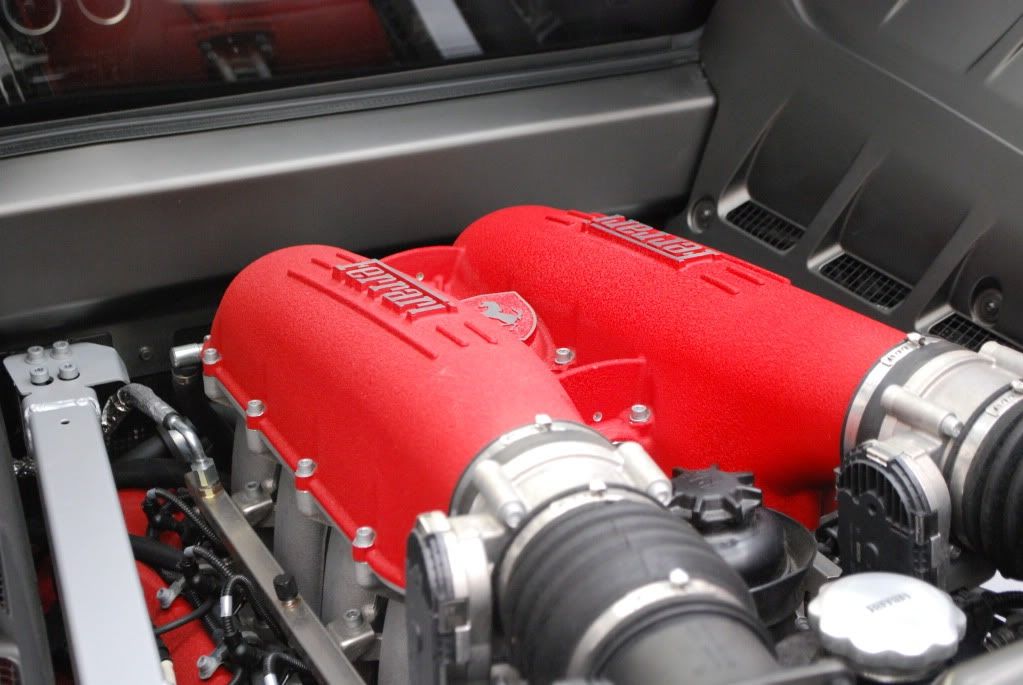
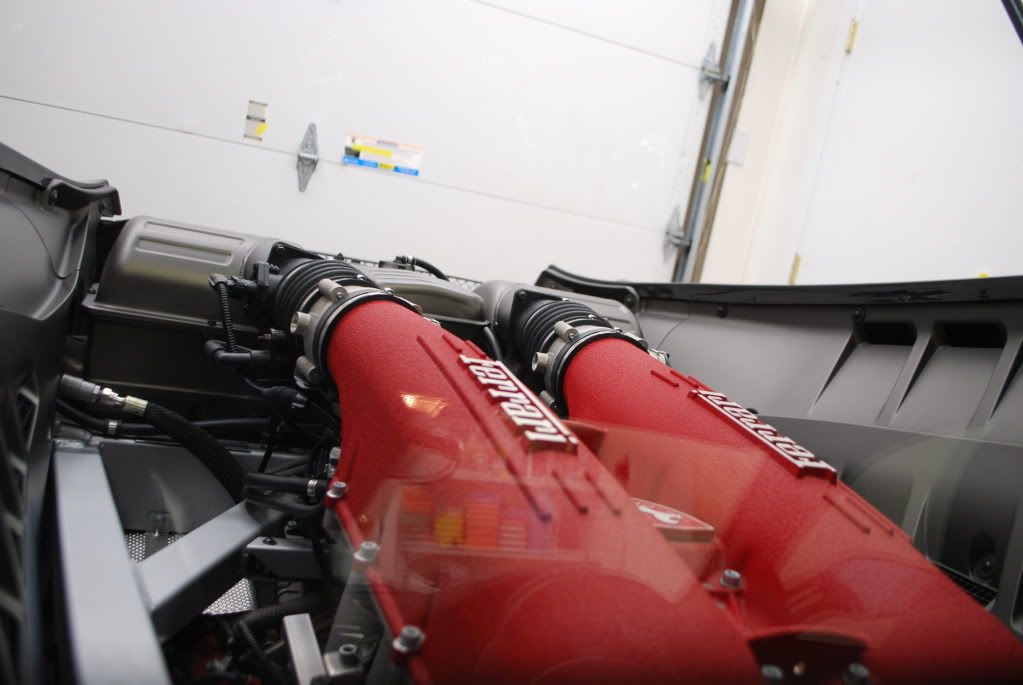
Again 50/50 difference in color with the left side untouched

Finished
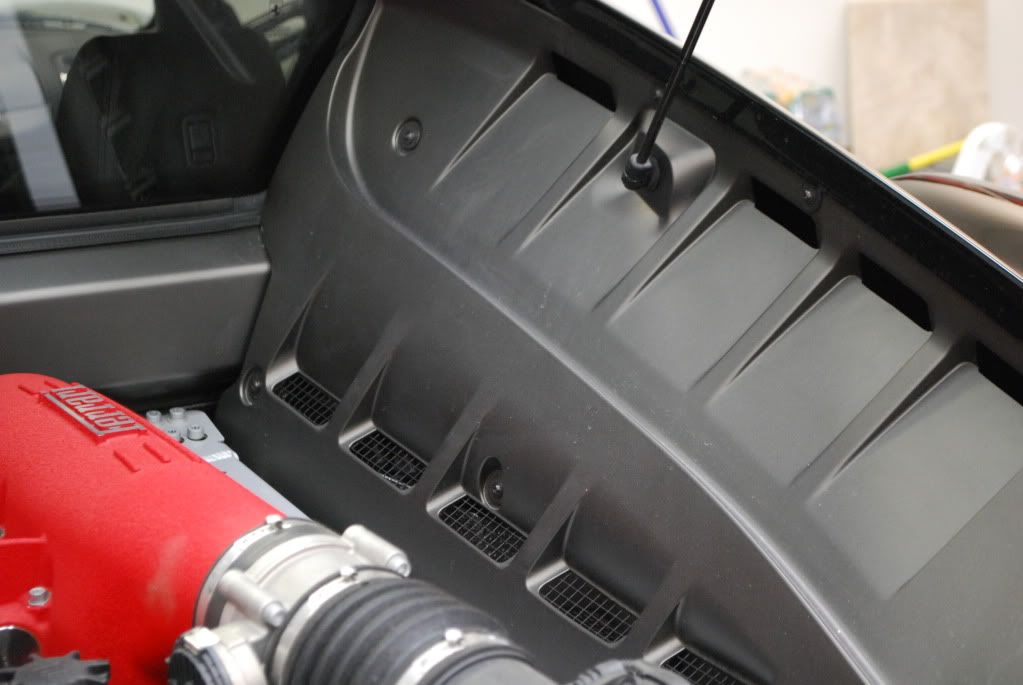
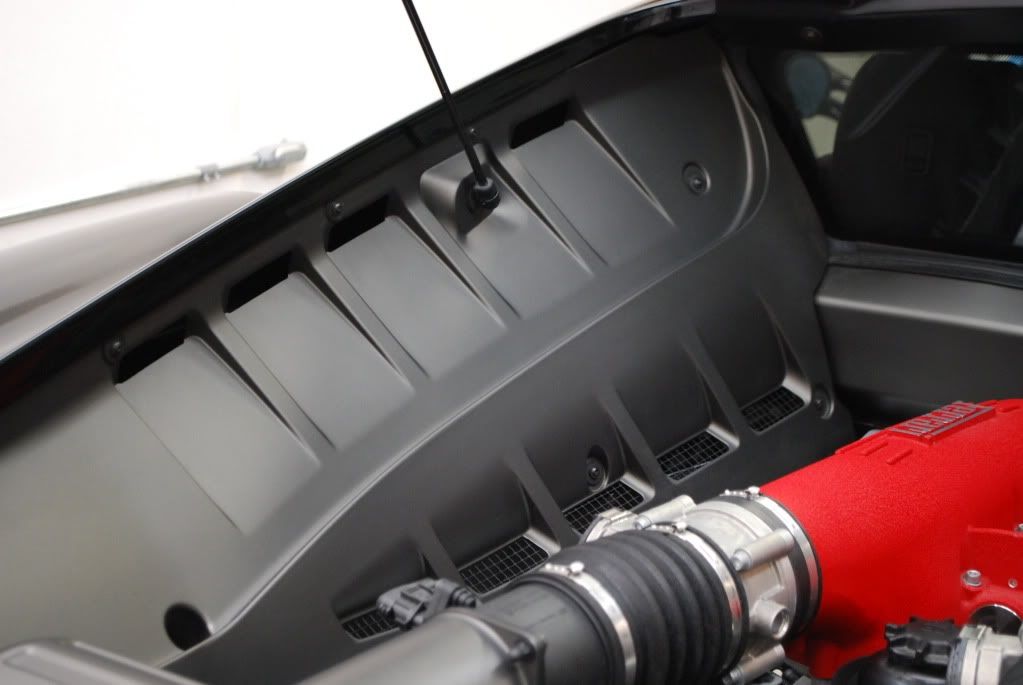
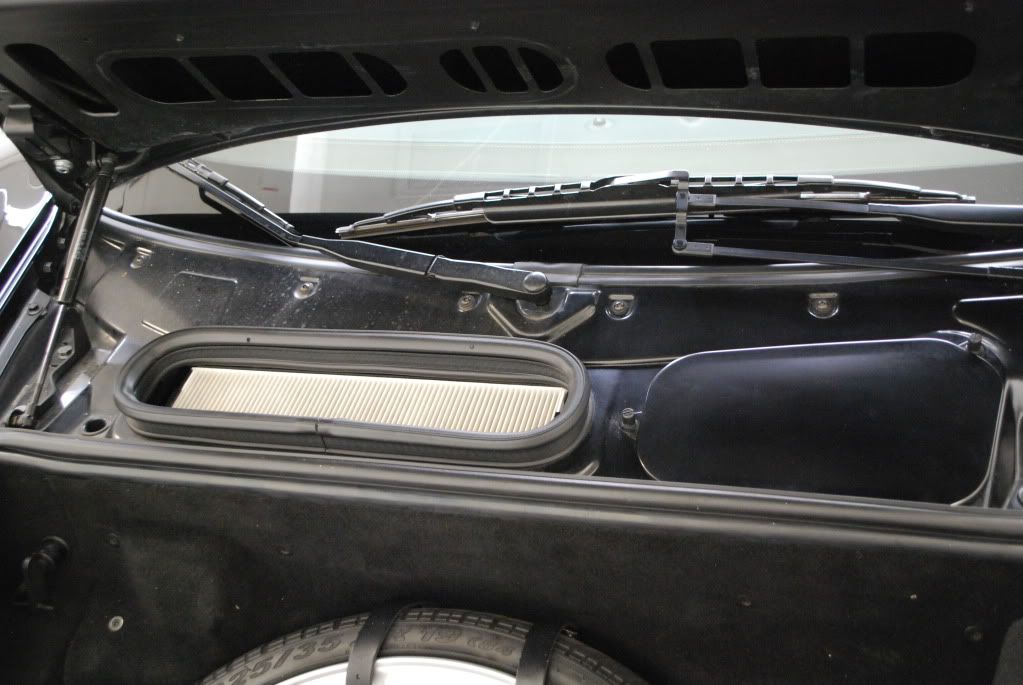
Cleaned up the trunk area, 50/50 of the cowl. Polished up plastic with Z-AIO to remove water spots
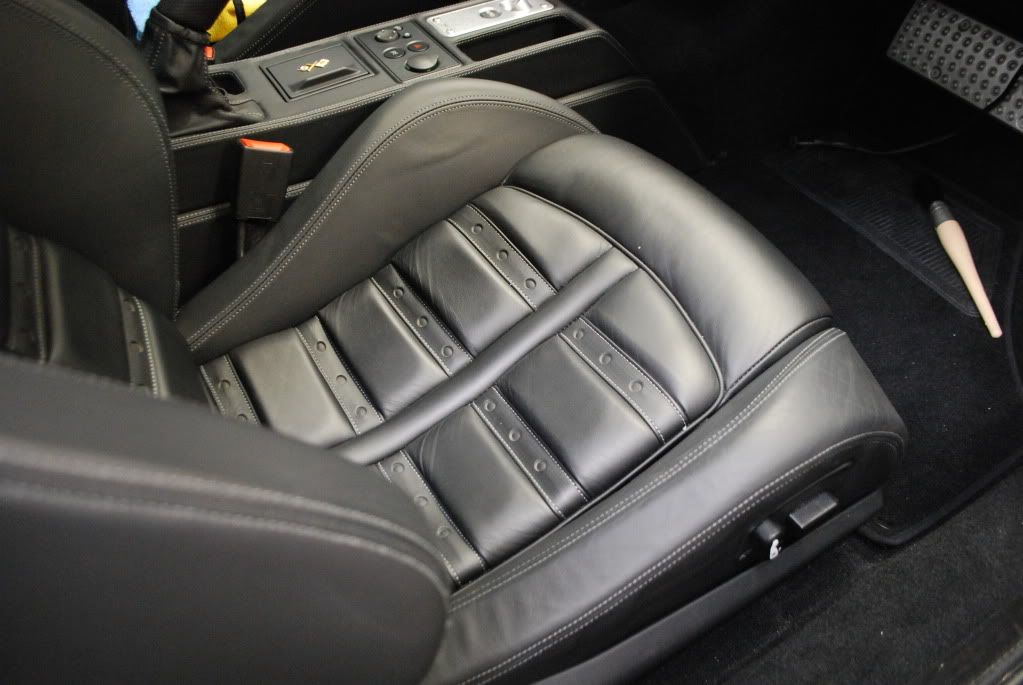
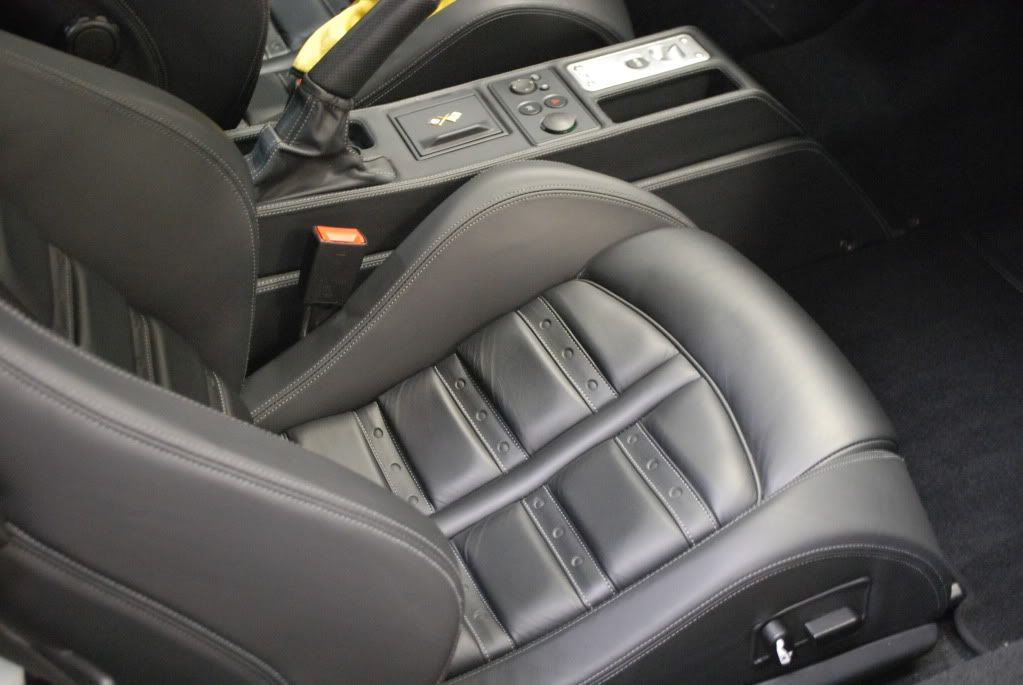
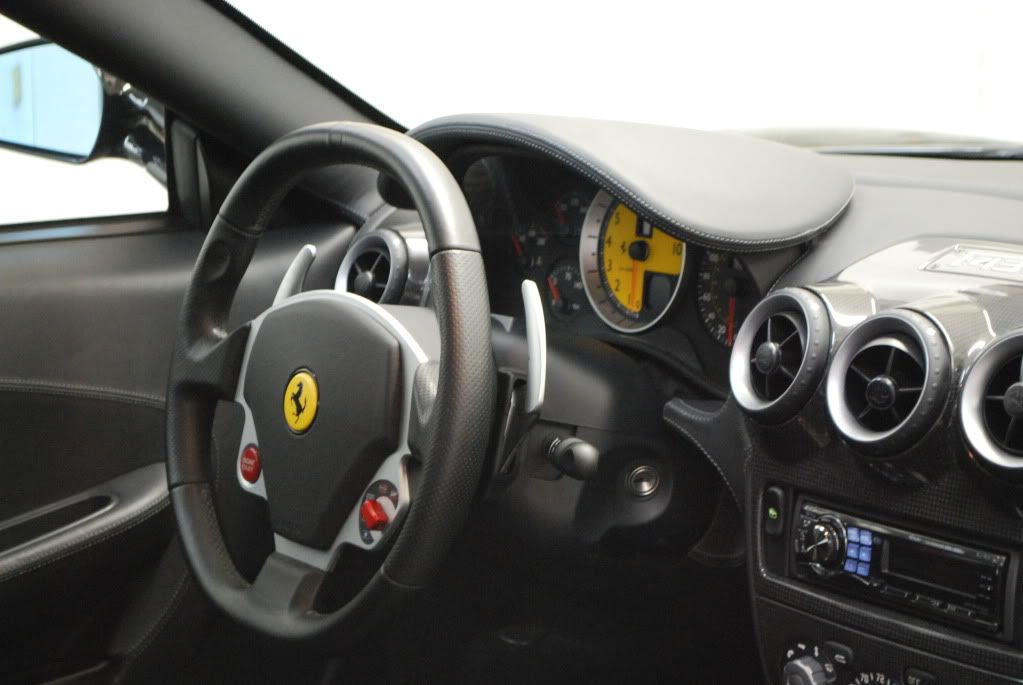
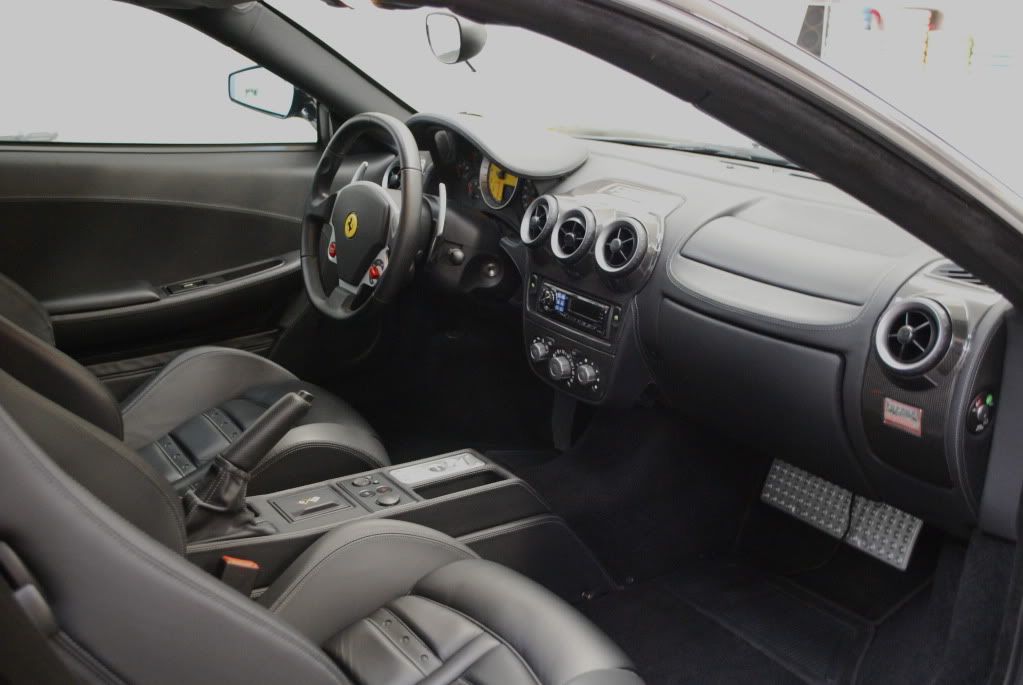
Interior was generally clean. The main focus was cleaning the leather to remove an old dressing's sheen and restore a more natural matte finish.
Top portion of film polished... bottom part untouched
I had better luck with this part of the nose clear film, finally was able to get a high level of correction because the defects were not as severe...
Polishing the rear decklid was a little tricky as the decklid sits adjacent to the rear quarter panel and I hate polishing over edges and onto another panel by mistake...
Soltuion:
Decklid defects (re-sprayed area)
50/50 after compounding
polishing with sonax perfect finish
Engine took a bit of time to get right. Started with the exhaust, several polishing steps by hand a machine (on the can) to bring back the color
50/50
50/50
After
50/50 of the intake manifold...
Again 50/50 difference in color with the left side untouched
Finished
Cleaned up the trunk area, 50/50 of the cowl. Polished up plastic with Z-AIO to remove water spots
Interior was generally clean. The main focus was cleaning the leather to remove an old dressing's sheen and restore a more natural matte finish.
Dec 9, 2010 | 07:56 PM
#3
Thread Starter
| Teamspeed Senior Member
Joined: May 2008
Posts: 526
From: New Jersey
Before
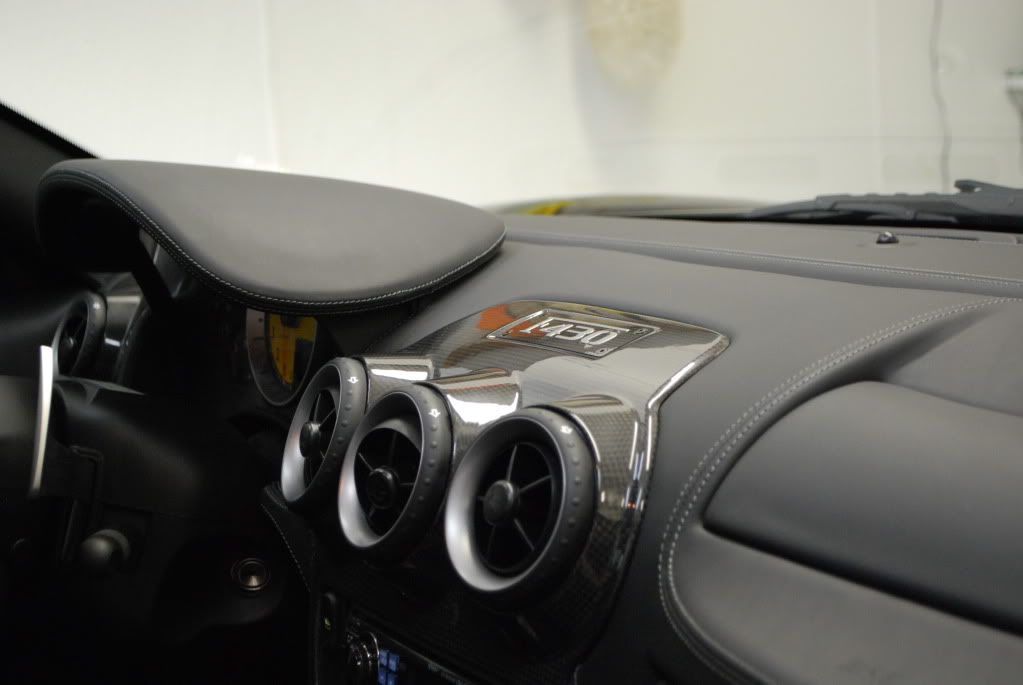
Put 2 coats of Opti seal on the CF trim
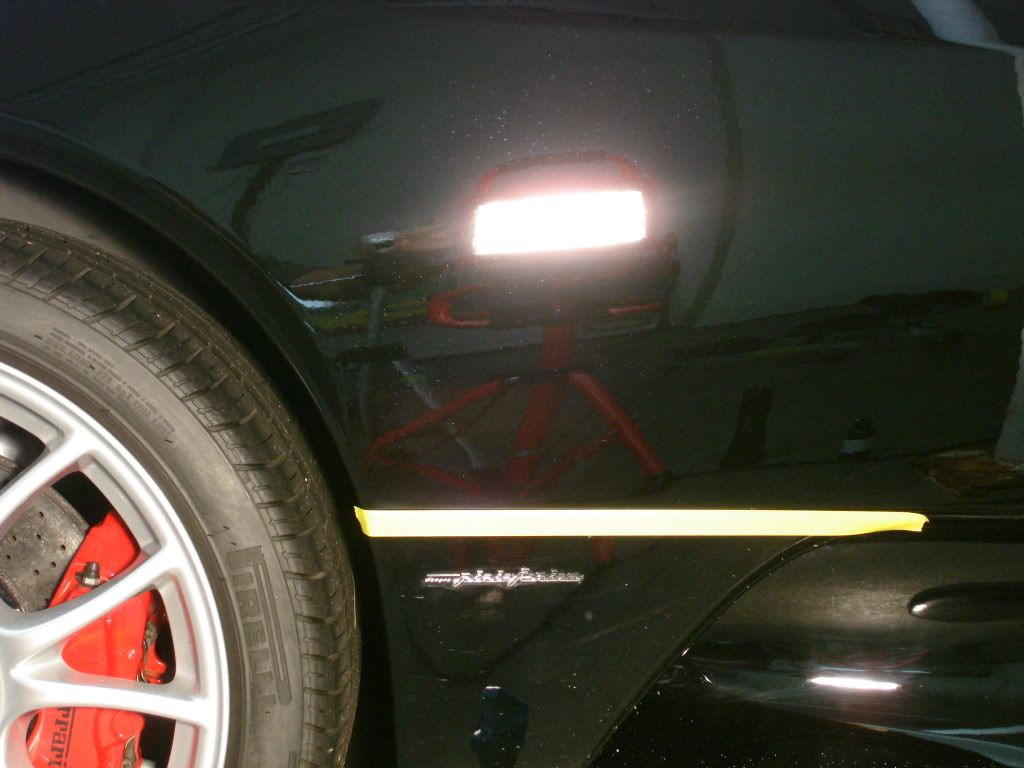
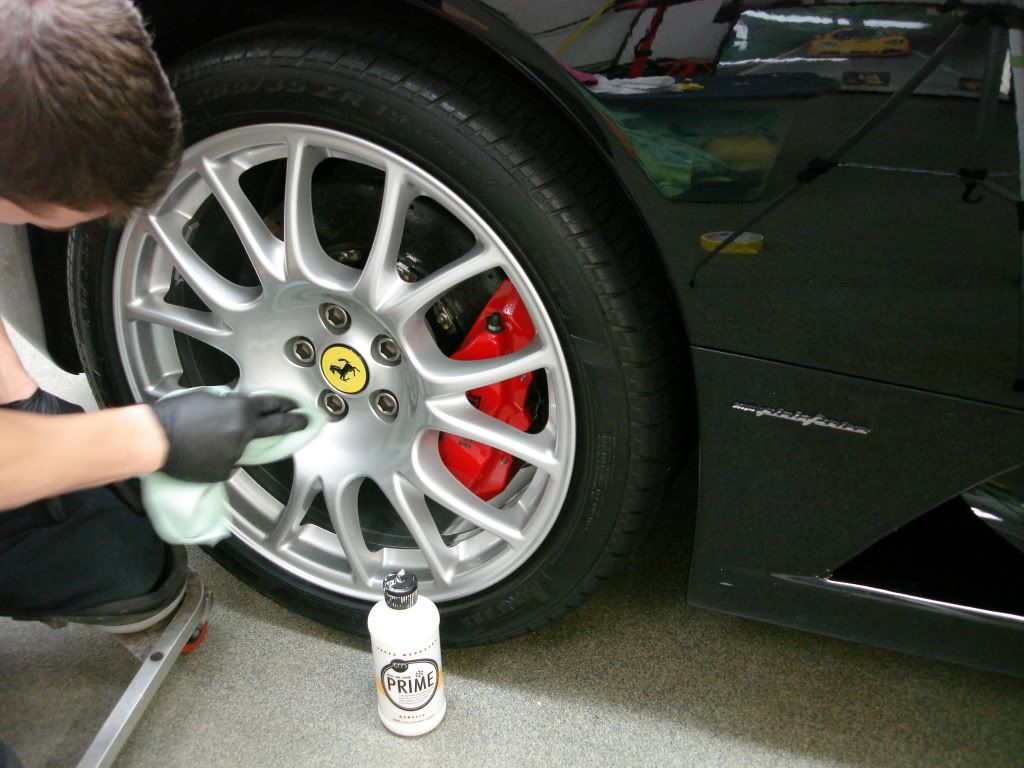
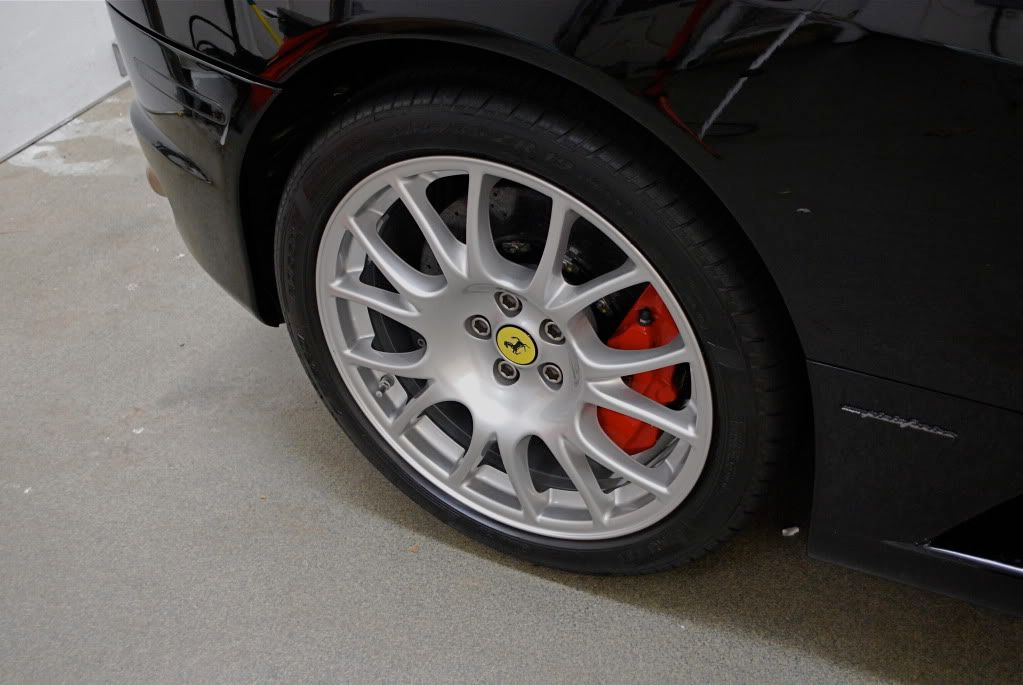
Polished the wheels using Werkstat prime followed by 2 layers of Rejex for protection.
Finshed
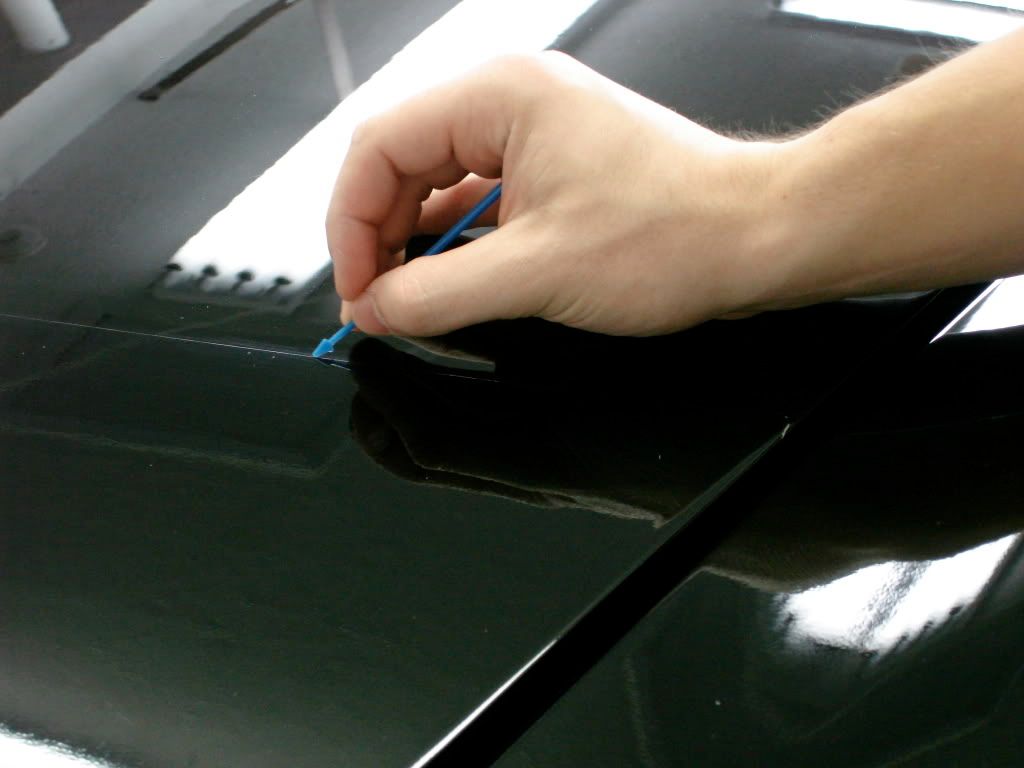
Then came the finishing details. Clear bra line had some old wax buildup which needed to be removed before LSP. I used a rather unusual toothpick/mini hotdog holder which I bought for instances just like this... worked great.
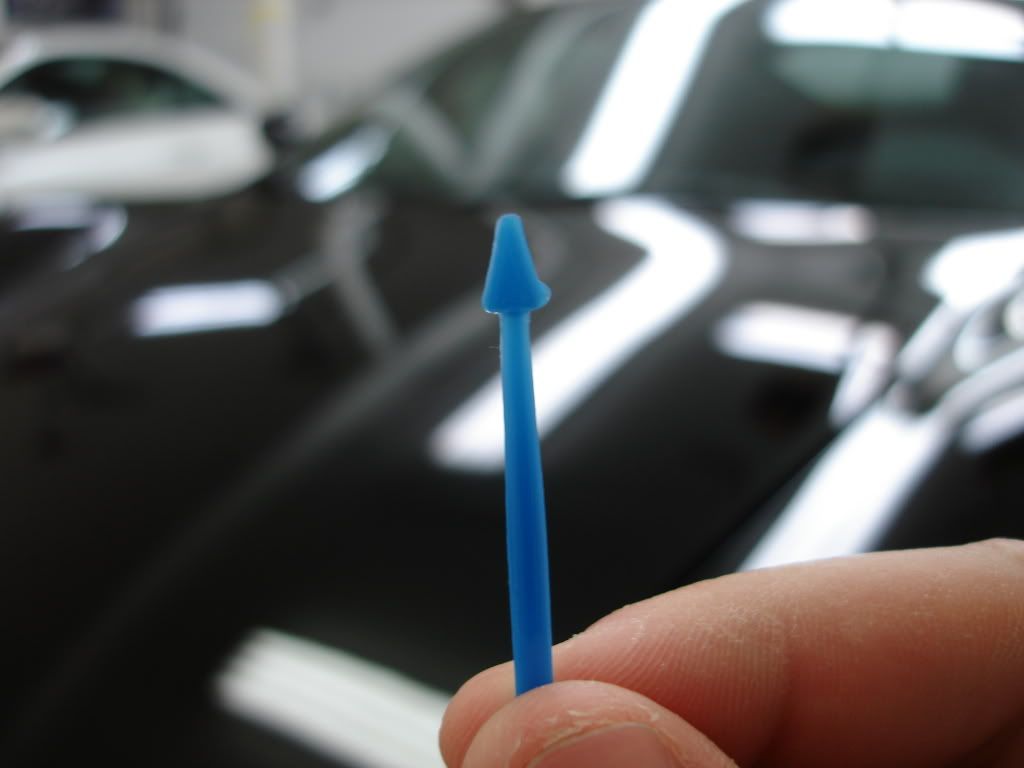
Removed chalked up wax very nicely
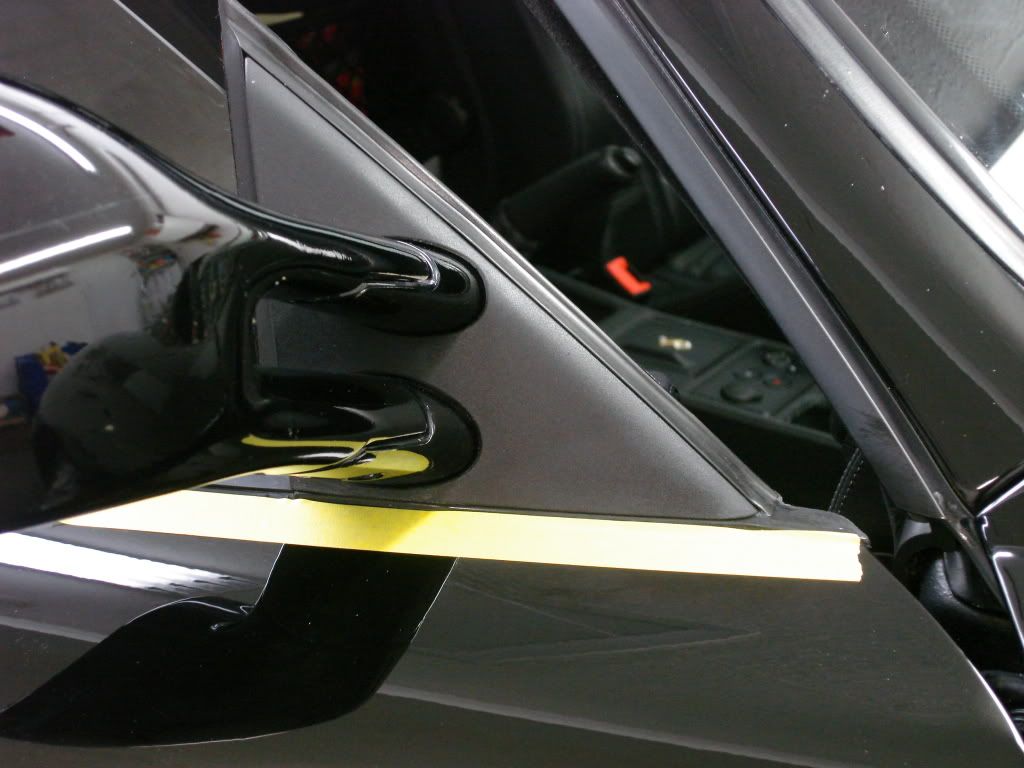
Old wax on mirror trim as well, before
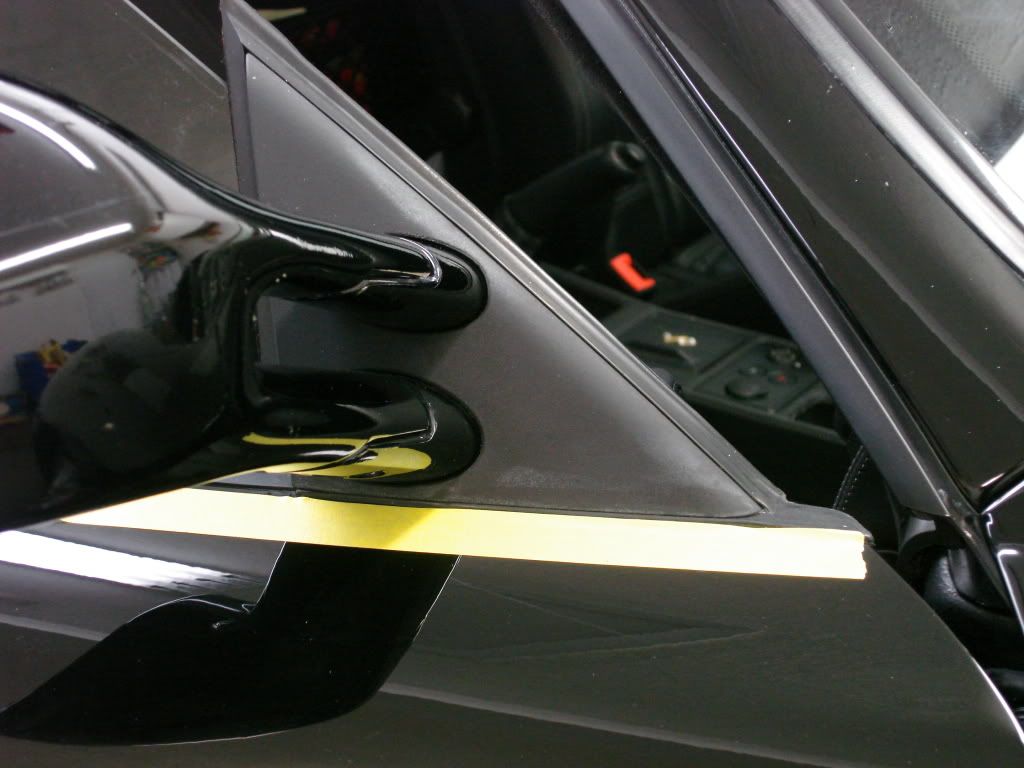
After
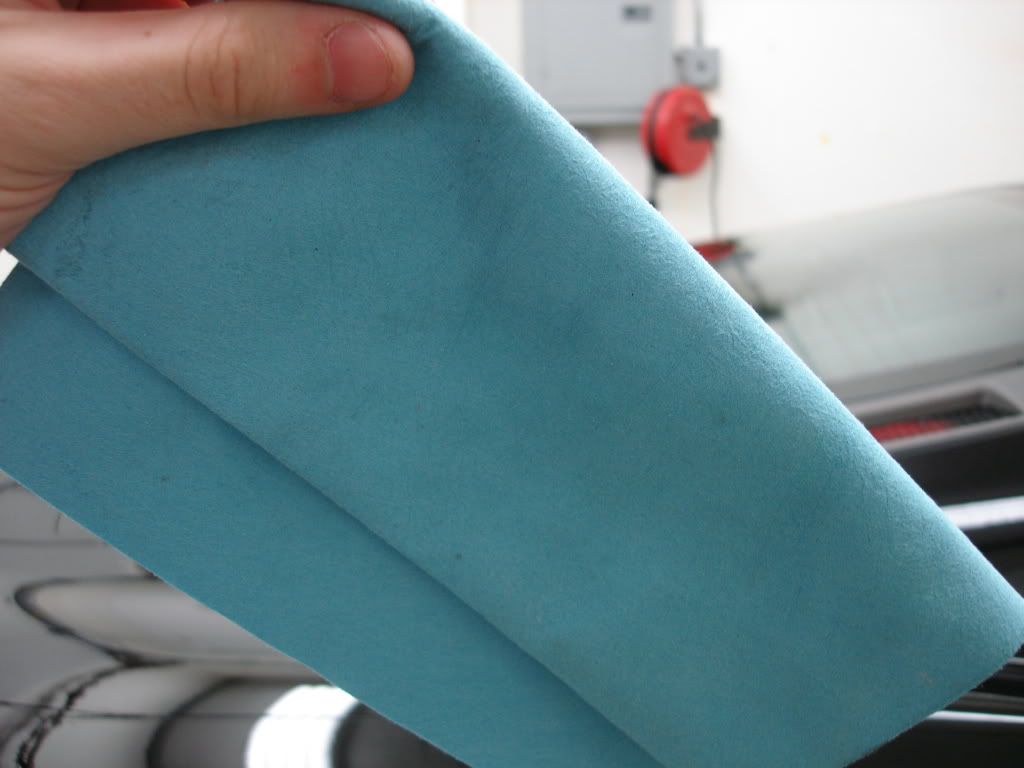
Glass cleaned using some new towels I just got in which are designed for use in hospitals to clean windows. They are made to not leave streaks or residue behind because bacteria can apparently grow in the residual product left on glass (for cars not such a huge deal as we have been using glass towels forever but in a hospital i can see how this would be a concern)
Either way they work great!
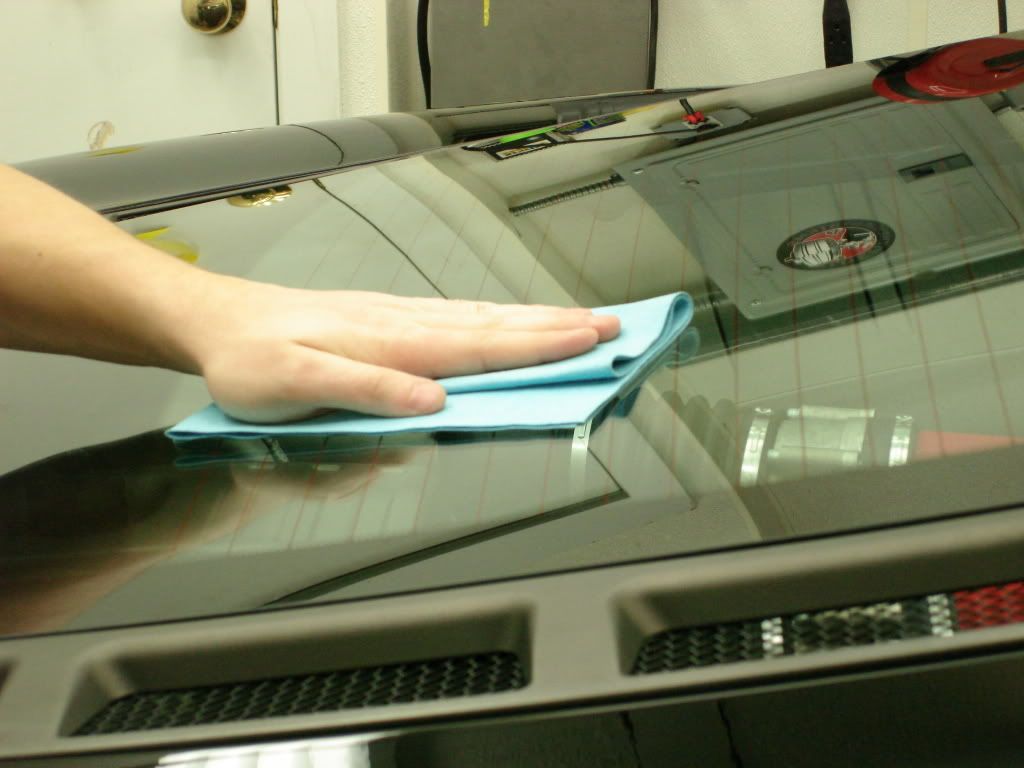
Up close
LSP: Menzerna Powerlock x3
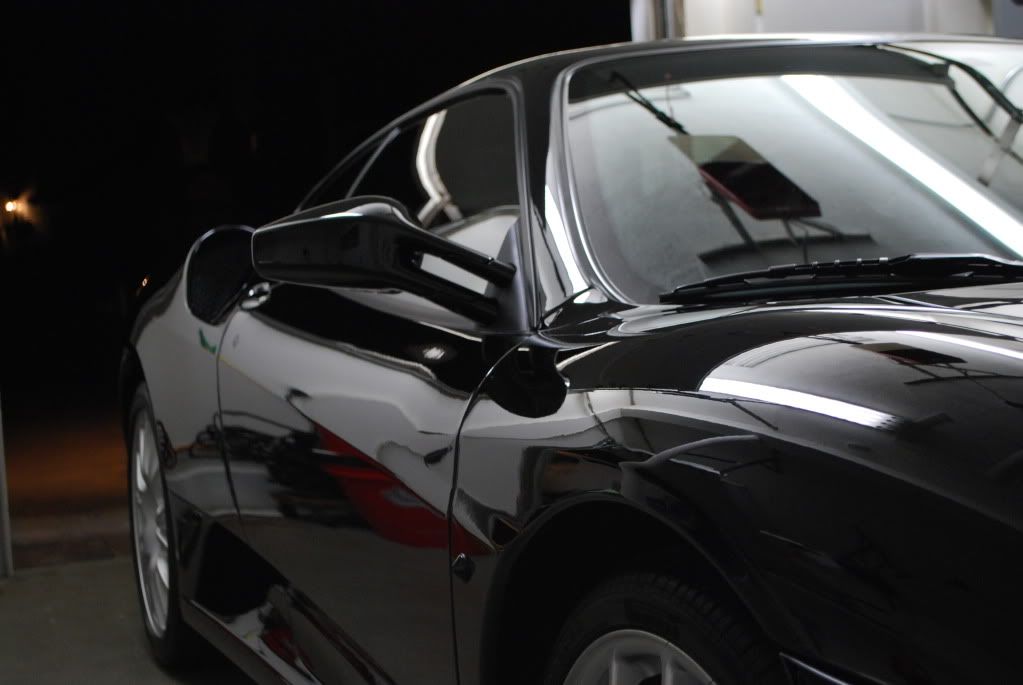
Finished shots
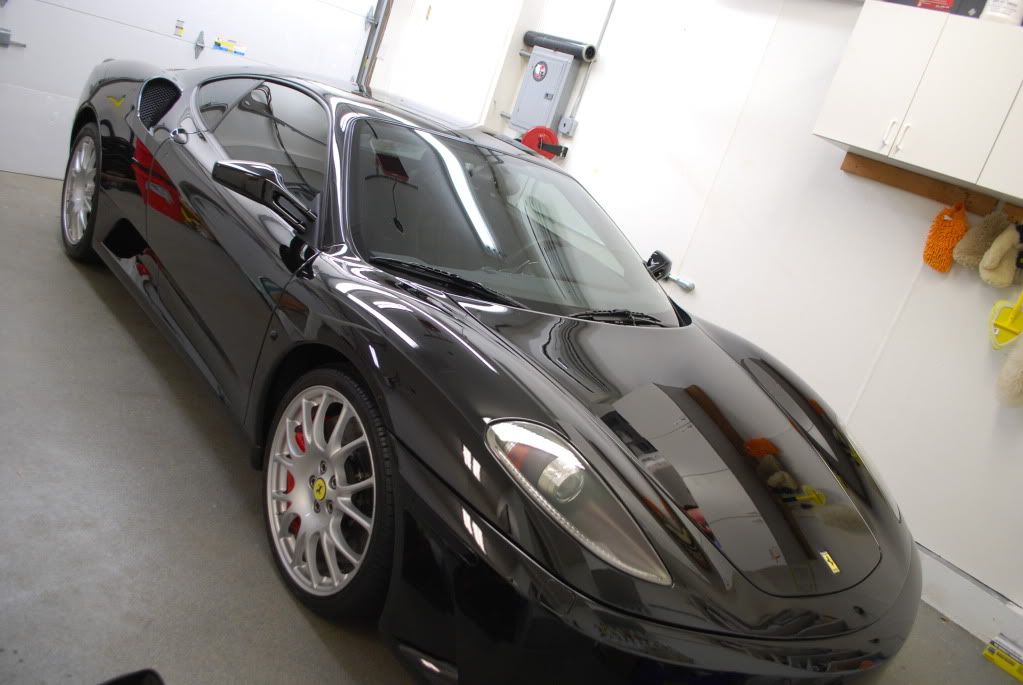
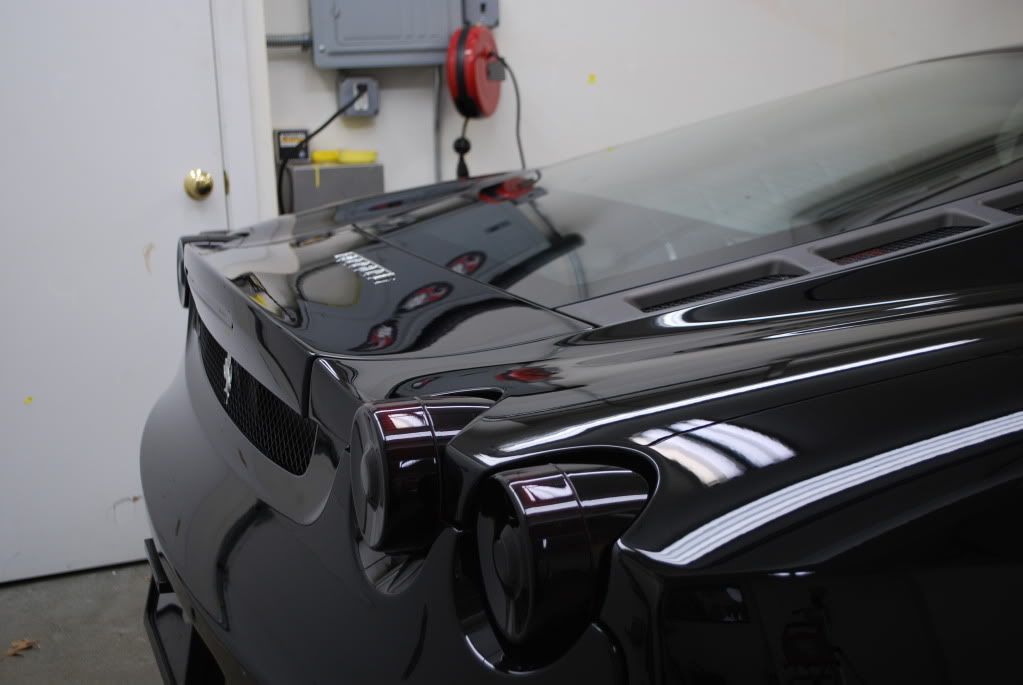
No outside shots this time, finished around 9pm.... I could have finished at 5 and it would have still been pitch black outside, ah winter detailing :doh:
Final walkaround video...
YouTube - Street Dreams Detail - Ferrari F430 Finished Video
Put 2 coats of Opti seal on the CF trim
Polished the wheels using Werkstat prime followed by 2 layers of Rejex for protection.
Finshed
Then came the finishing details. Clear bra line had some old wax buildup which needed to be removed before LSP. I used a rather unusual toothpick/mini hotdog holder which I bought for instances just like this... worked great.
Removed chalked up wax very nicely
Old wax on mirror trim as well, before
After
Glass cleaned using some new towels I just got in which are designed for use in hospitals to clean windows. They are made to not leave streaks or residue behind because bacteria can apparently grow in the residual product left on glass (for cars not such a huge deal as we have been using glass towels forever but in a hospital i can see how this would be a concern)
Either way they work great!
Up close
LSP: Menzerna Powerlock x3
Finished shots
No outside shots this time, finished around 9pm.... I could have finished at 5 and it would have still been pitch black outside, ah winter detailing :doh:
Final walkaround video...
YouTube - Street Dreams Detail - Ferrari F430 Finished Video


Thread
Thread Starter
Forum
Replies
Last Post
Smoke
Detailing & Paint Protection
12
Jul 26, 2012 02:32 PM
Auto Concierge
Detailing & Paint Protection
13
Nov 14, 2011 02:23 AM
Smoke
Detailing & Paint Protection
12
Sep 9, 2011 12:46 AM
BlakeNW
Detailing & Paint Protection
2
Jun 3, 2011 03:13 PM
MoeMistry
Detailing & Paint Protection
20
Apr 17, 2008 11:22 AM
Bookmarks


Currently Active Users Viewing This Thread: 1 (0 members and 1 guests)