
Detailed: 2008 VW R32 New daily driver!!
 Nov 9, 2010 | 06:04 PM
#1
Thread Starter
| Teamspeed Junior Member
Joined: Aug 2010
Posts: 37
From: Boulder, CO


Detailed: 2008 VW R32 New daily driver!!
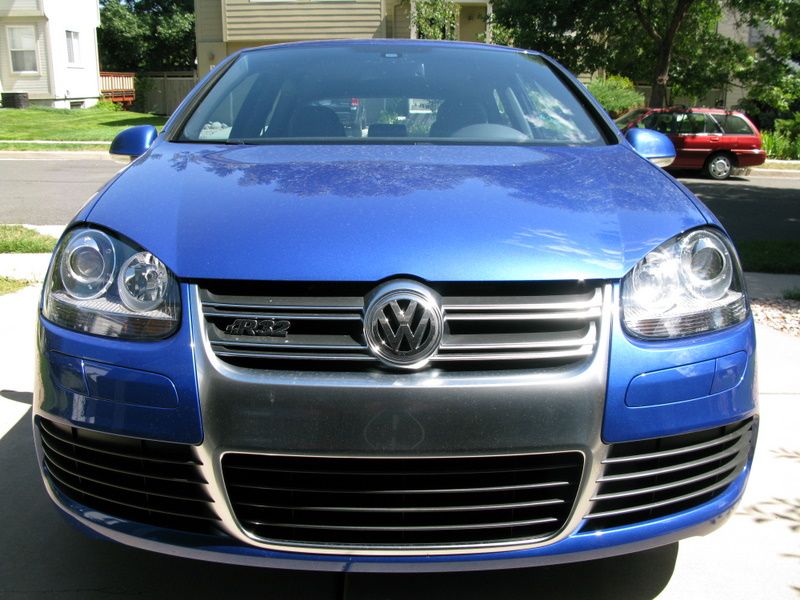
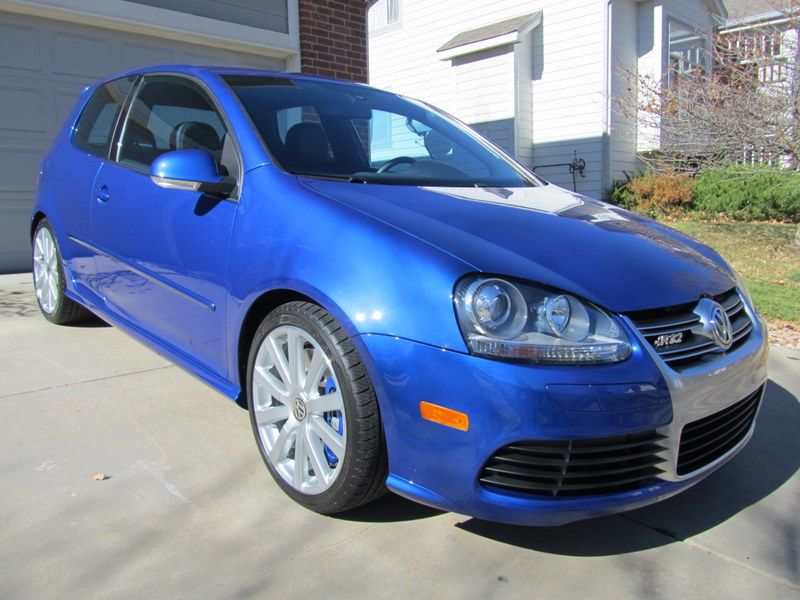
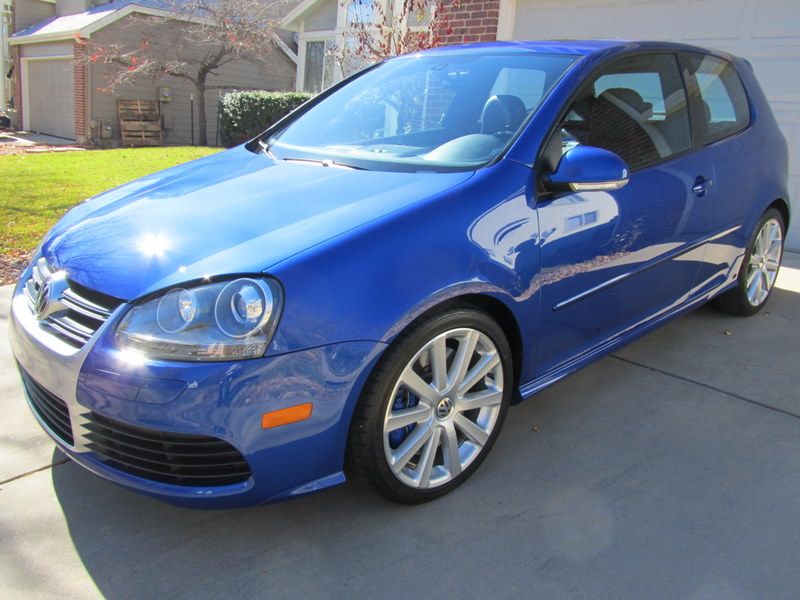
I finally had the chance to give my new daily driver a proper detail since I bought her in August. The car has only 5,000 miles on it and came from a good home, although it was far from perfect. The car had the typical swirls and light scratches here and there. I wanted to get it ready for all the winter trips to Breckenridge for the ski season. The R32 also had zero rock chips so I wanted to get a clear bra put on after the detail was complete. Hope you enjoy!
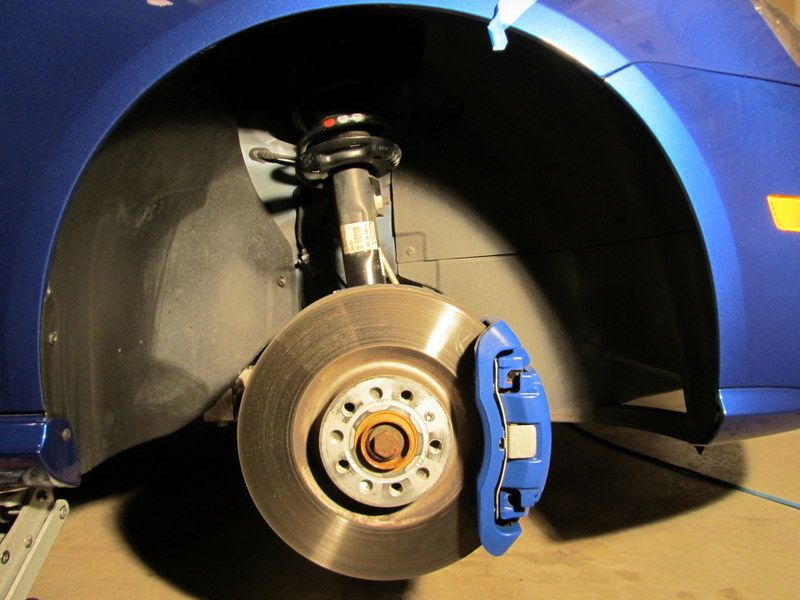
Some before pics.
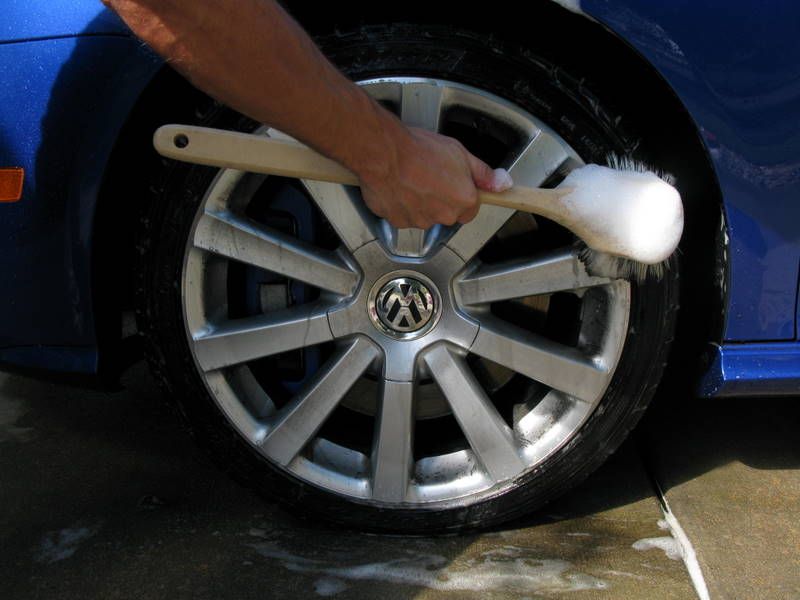
I started as always with the wheels. First step to degrease the wheel wells and tires with Adam's All Purpose Cleaner and fender brush.

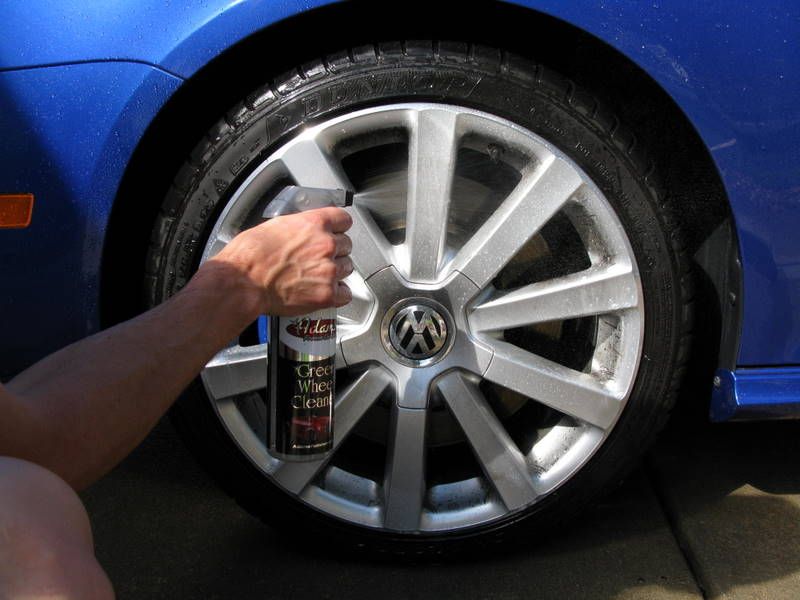
Adam's Green Wheel Cleaner going to work.
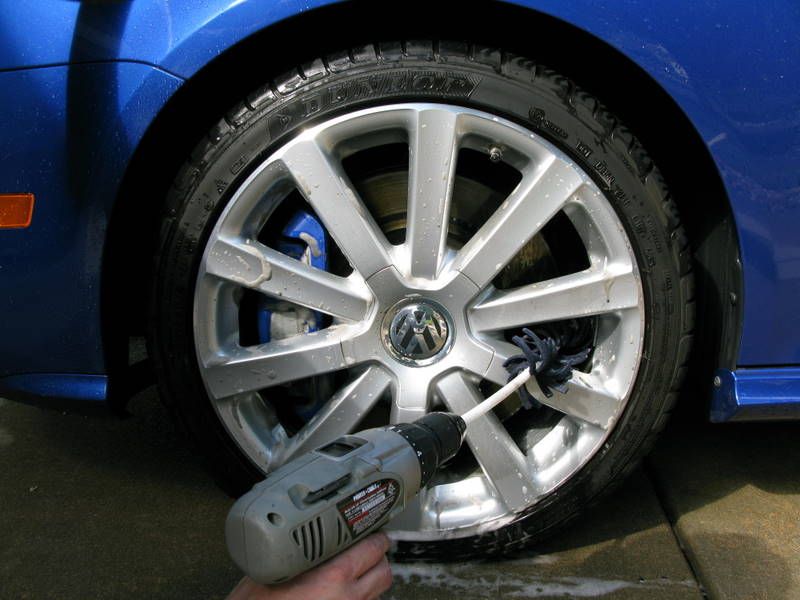
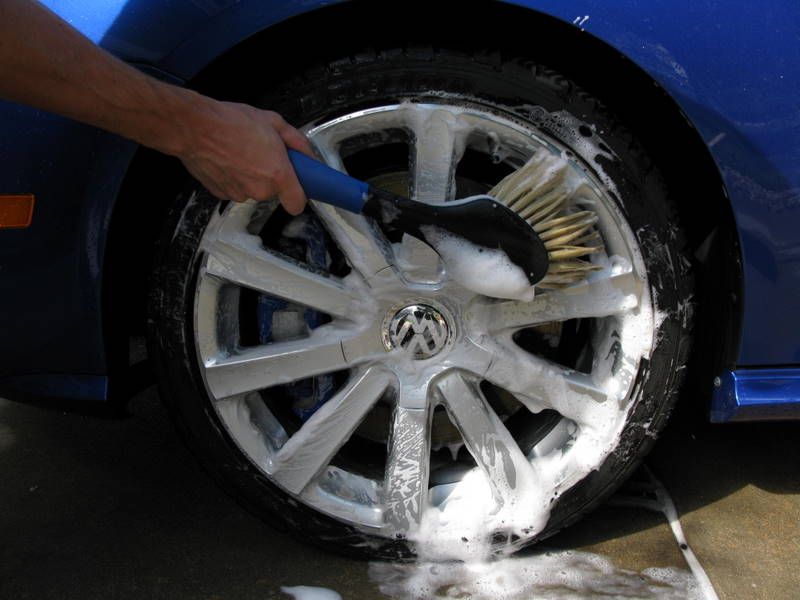
Adam's Power Stick, Trim and Lug Brush, and Wheel Brush.
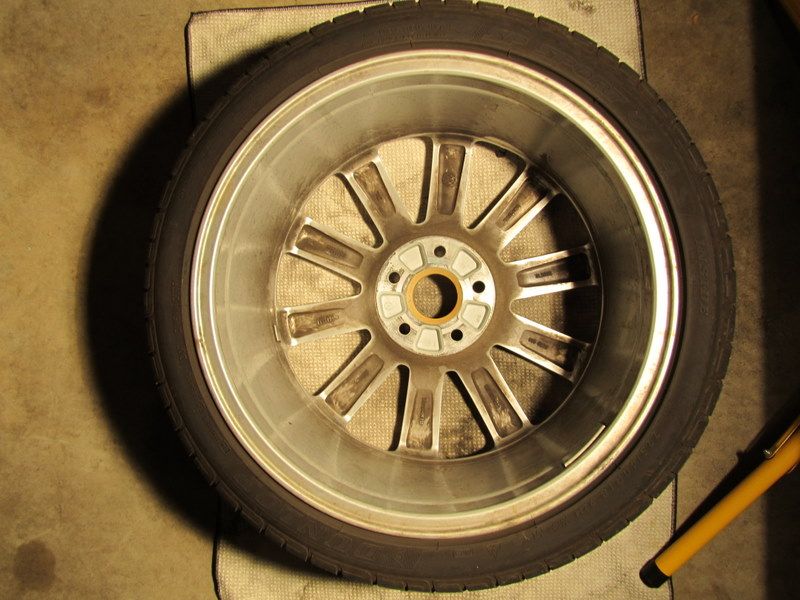
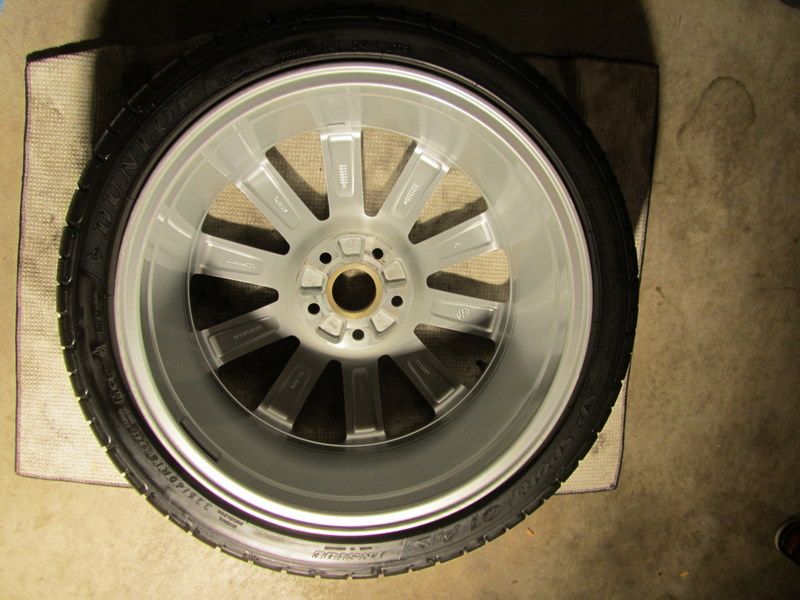
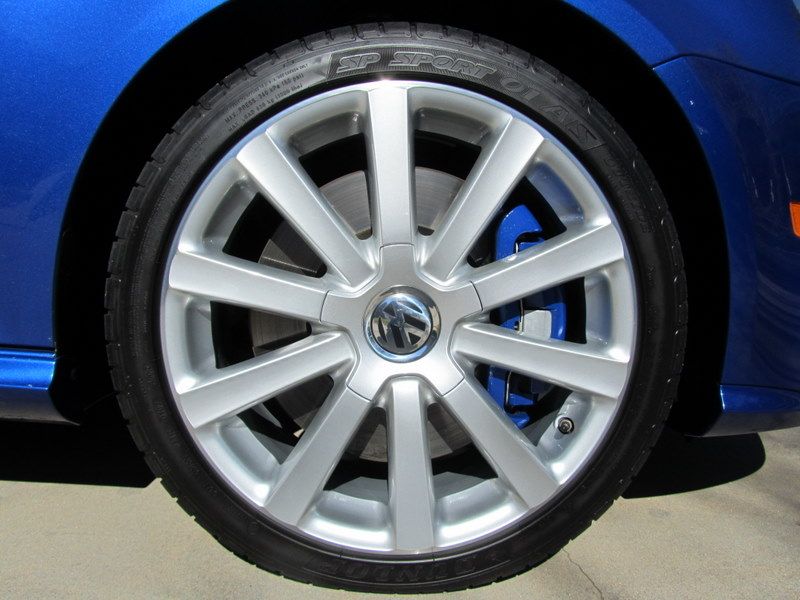
The results. They look great, but I wanted to take it a step further. I removed all the wheels to give them a proper cleaning and protection.

After removal.
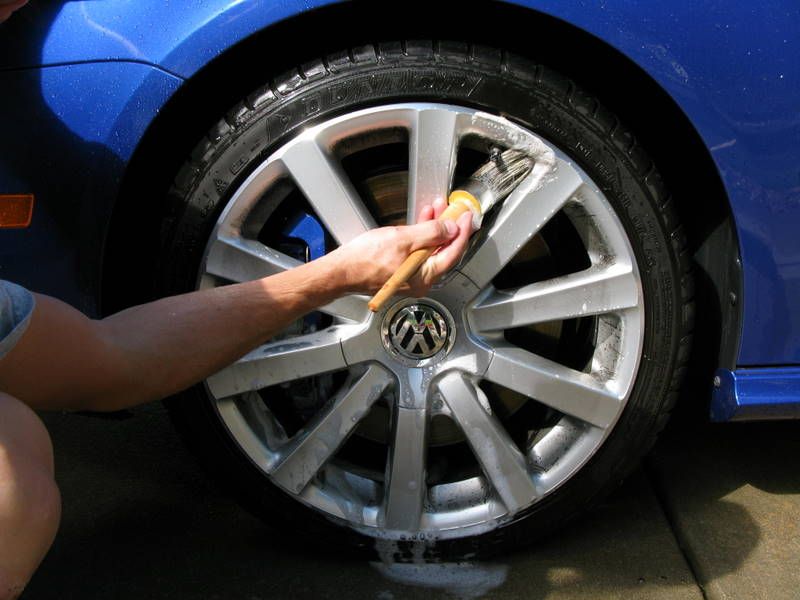
Inner spokes cleaned with Adam's APC and Trim and Lug Brush.

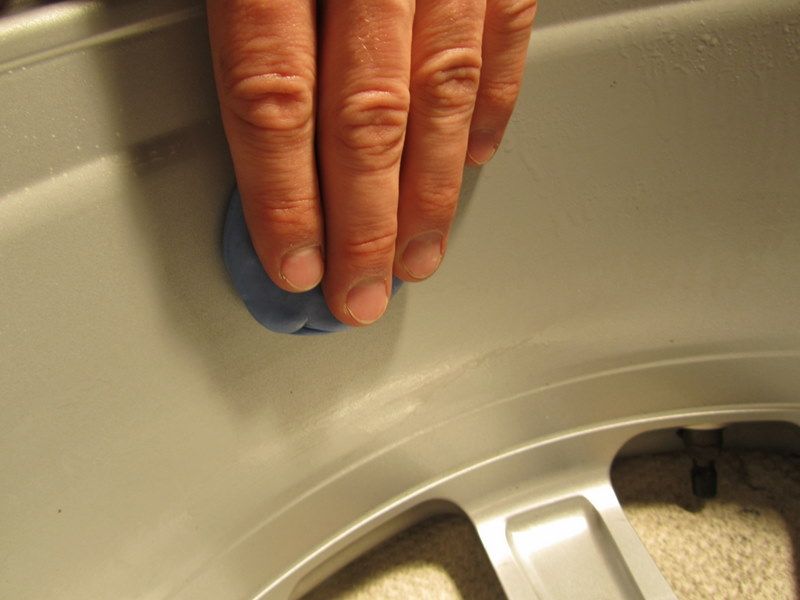
Entire wheel was clayed.
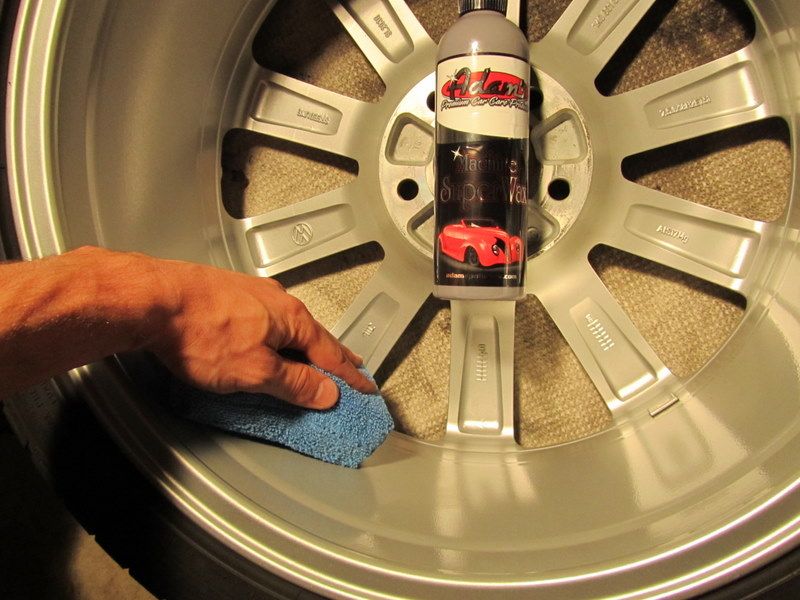
Sealed with Adam's Machine Super Wax.
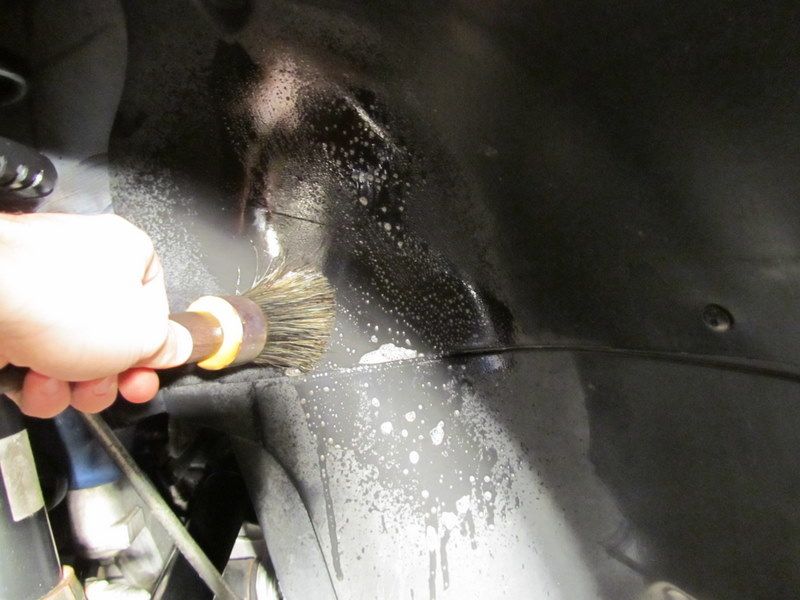
Wheel wells were next.
APC and Trim and Lug Brush again.
Some before pics.
I started as always with the wheels. First step to degrease the wheel wells and tires with Adam's All Purpose Cleaner and fender brush.
Adam's Green Wheel Cleaner going to work.
Adam's Power Stick, Trim and Lug Brush, and Wheel Brush.
The results. They look great, but I wanted to take it a step further. I removed all the wheels to give them a proper cleaning and protection.
After removal.
Inner spokes cleaned with Adam's APC and Trim and Lug Brush.
Entire wheel was clayed.
Sealed with Adam's Machine Super Wax.
Wheel wells were next.
APC and Trim and Lug Brush again.
Nov 9, 2010 | 06:05 PM
#2
Thread Starter
| Teamspeed Junior Member
Joined: Aug 2010
Posts: 37
From: Boulder, CO
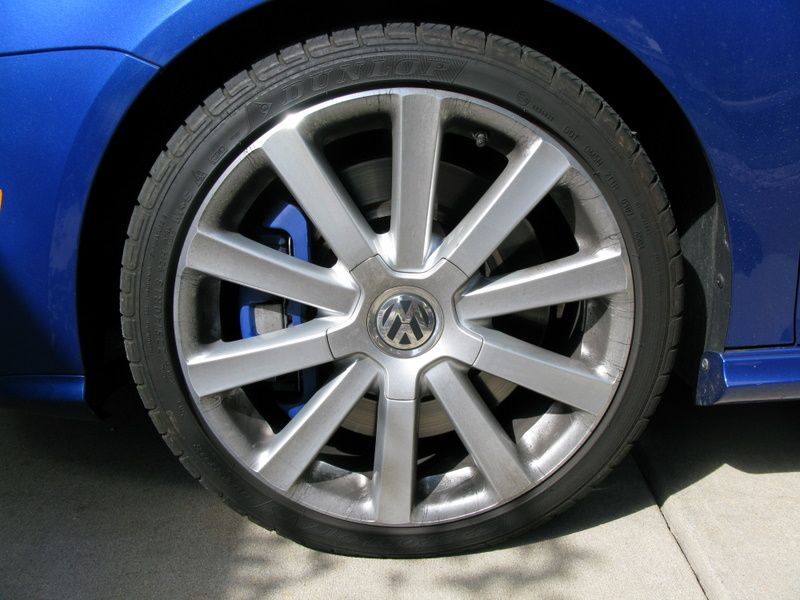
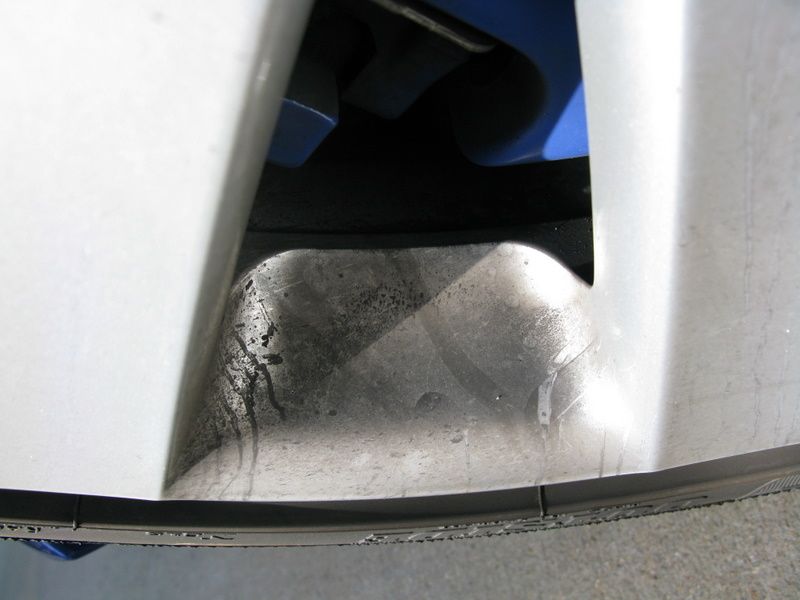
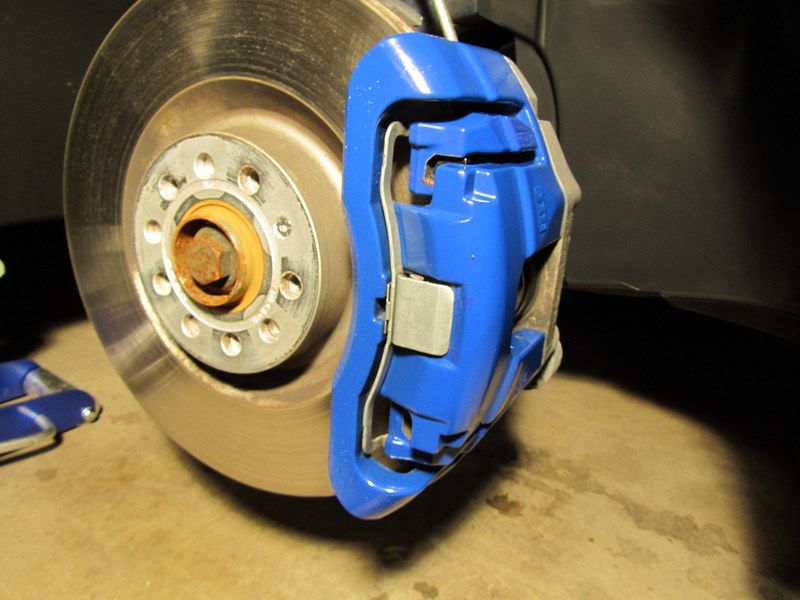
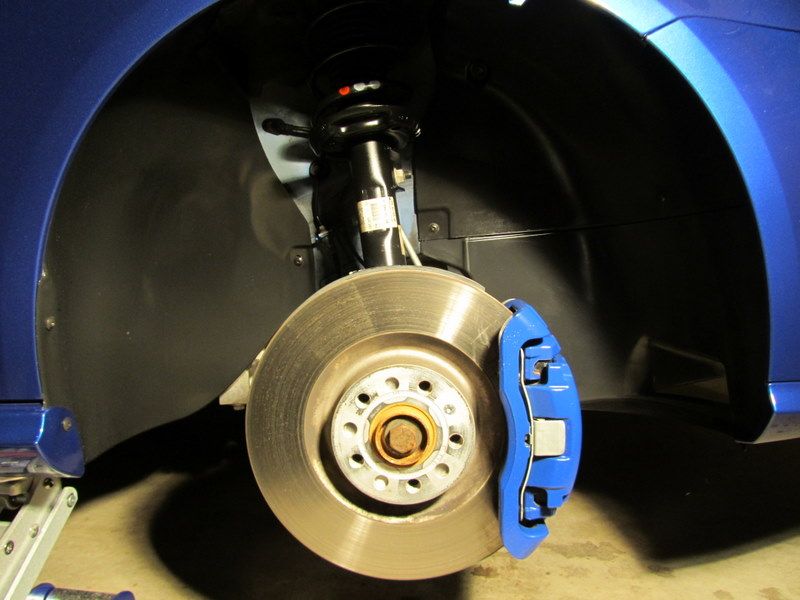
Factory blue 4 piston 13.6 inch brakes.
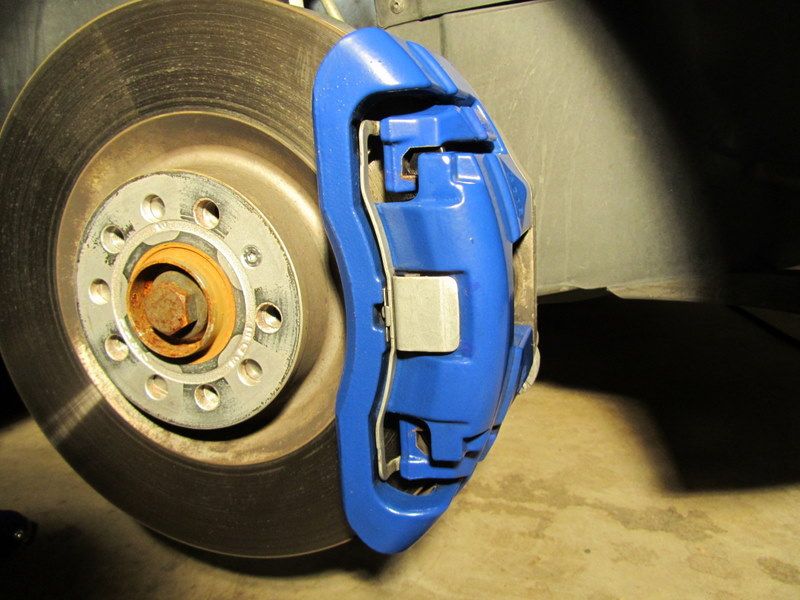
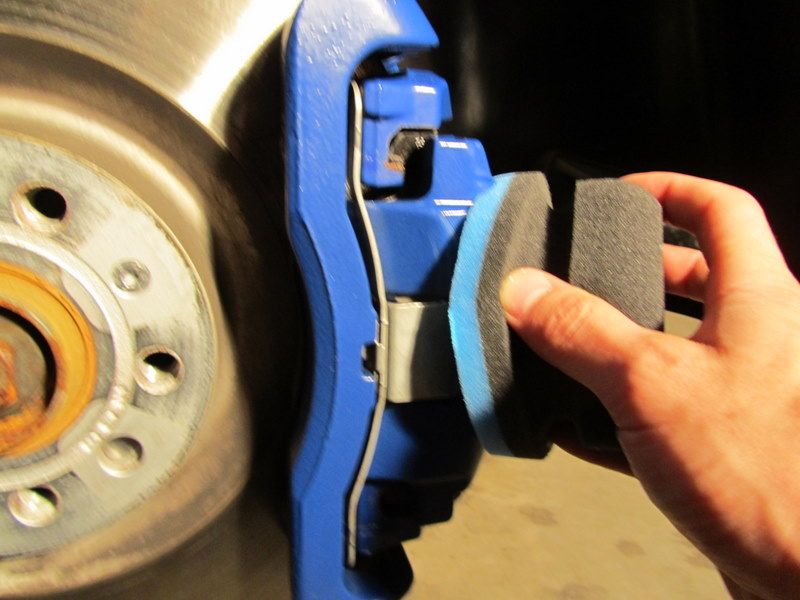
Adam's Revive Polish was used before they were treated to a coat of Machine Super Wax.
Results.
Wheel wells were protected with Adam's Super VRT and Undercarriage Spray for the hard to reach areas.
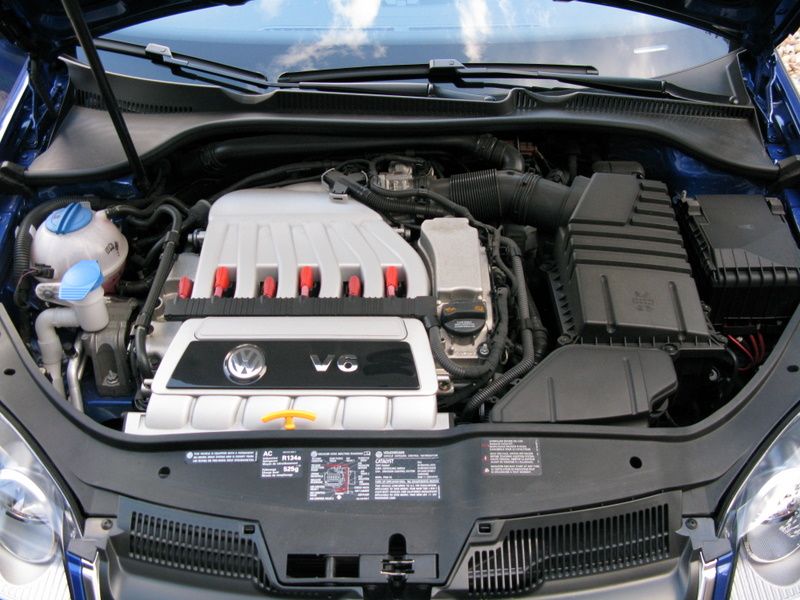
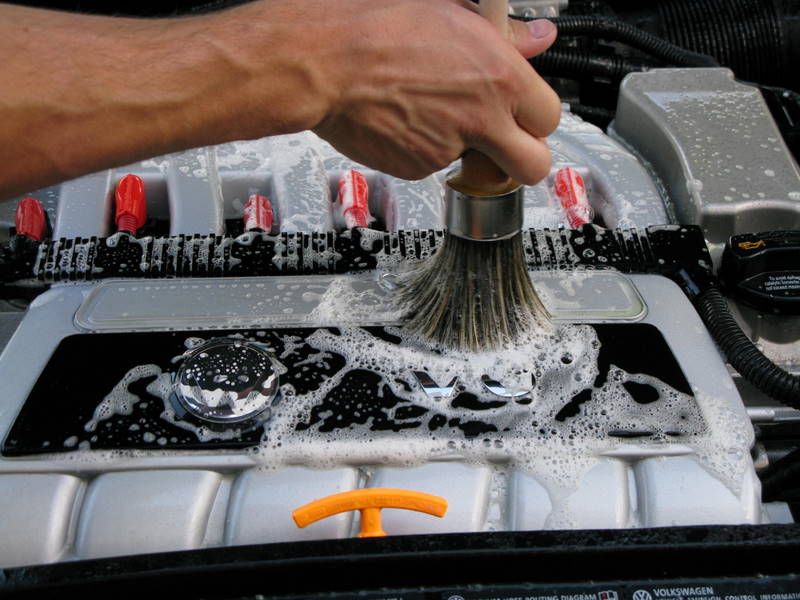
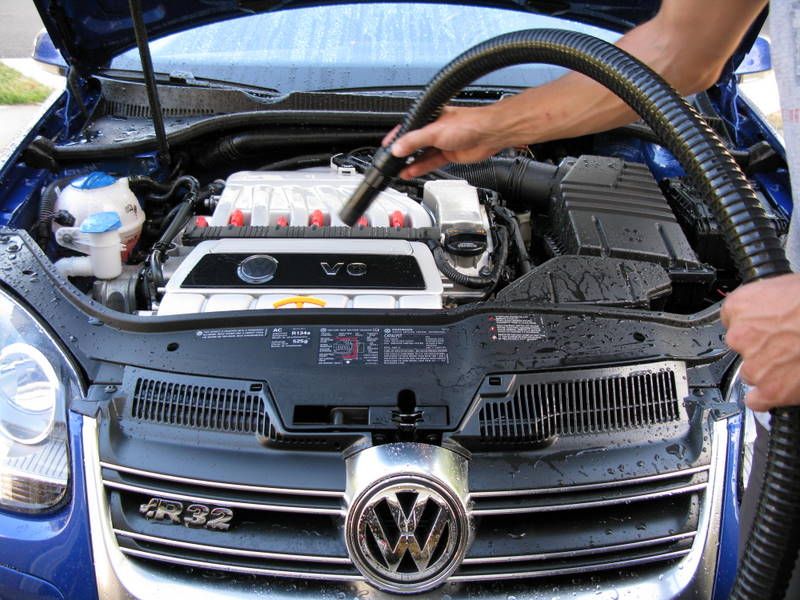
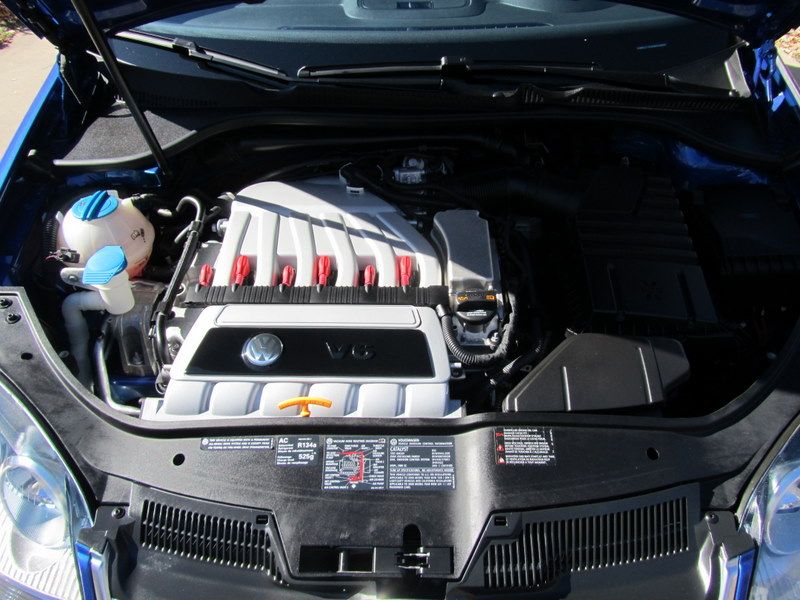
Engine was next on the list. APC, Trim and Lug Brush, and Wheel Brush make short work of the engine bay.
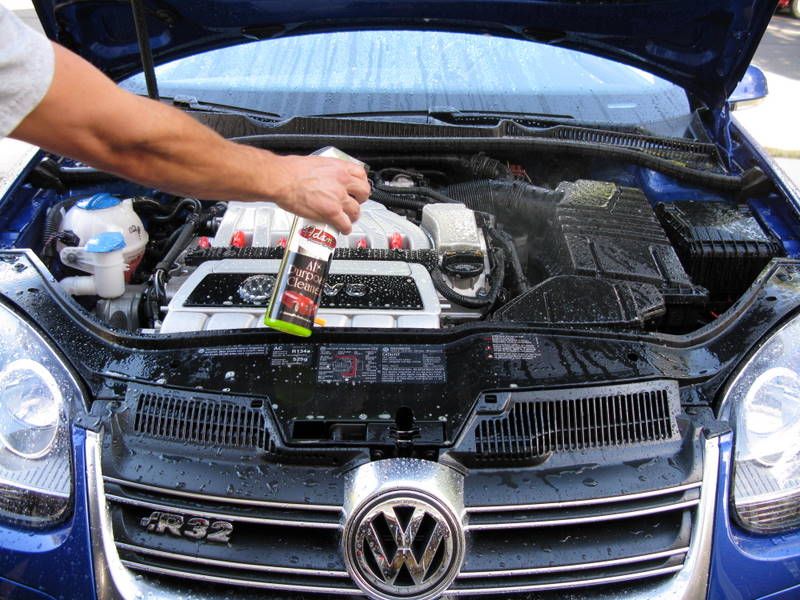
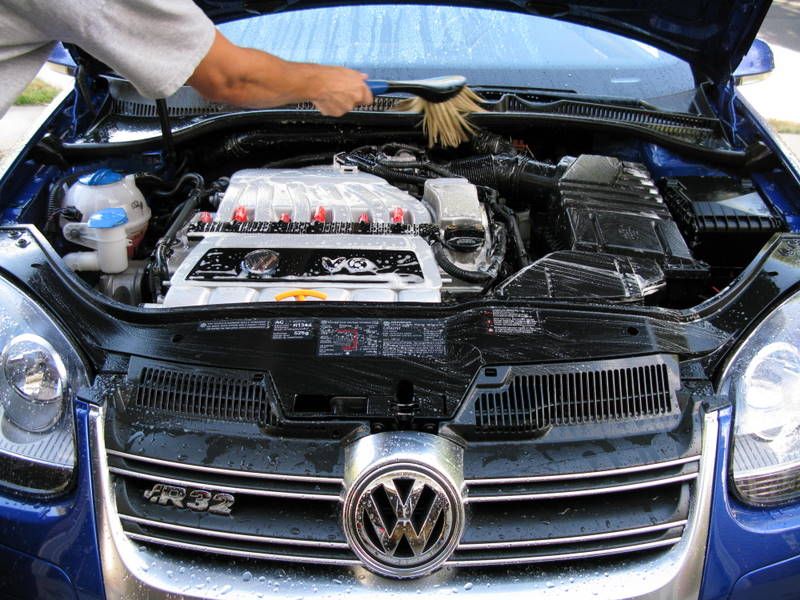
Jumbo Vac N' Blo was used to dry the engine.
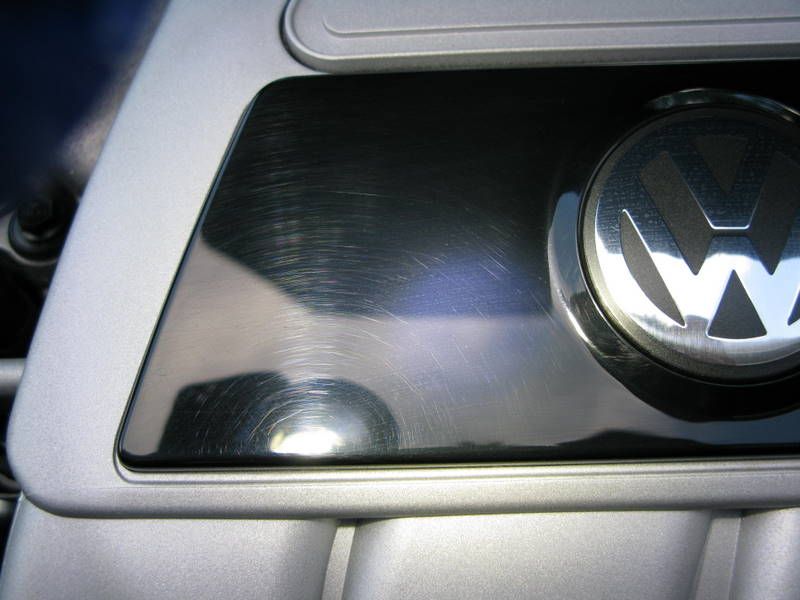
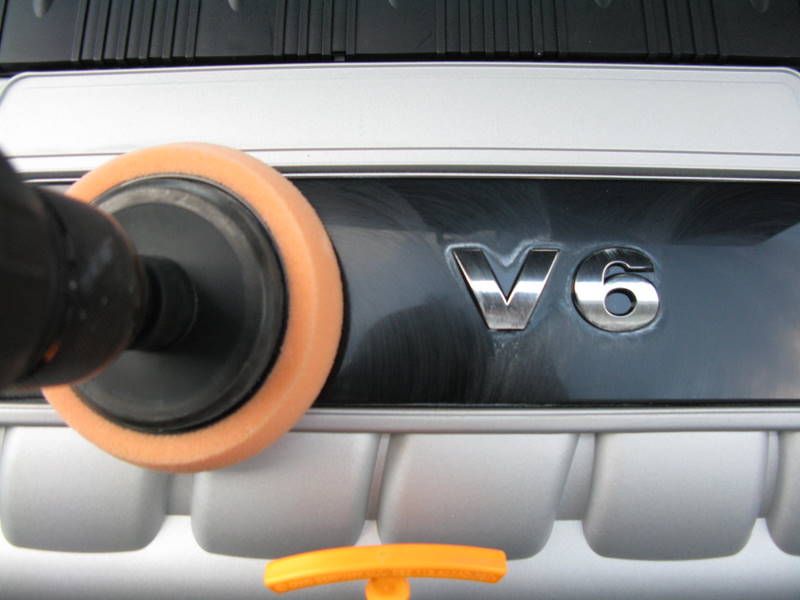
Some swirl marks were revealed on the engine cover. They were easily removed with Adam's Four Inch Pad Kit and a Cordless drill.

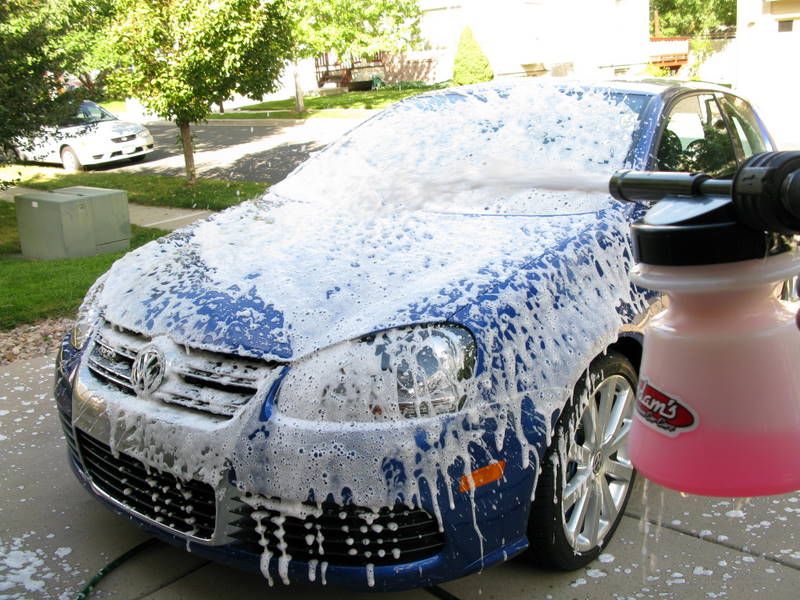
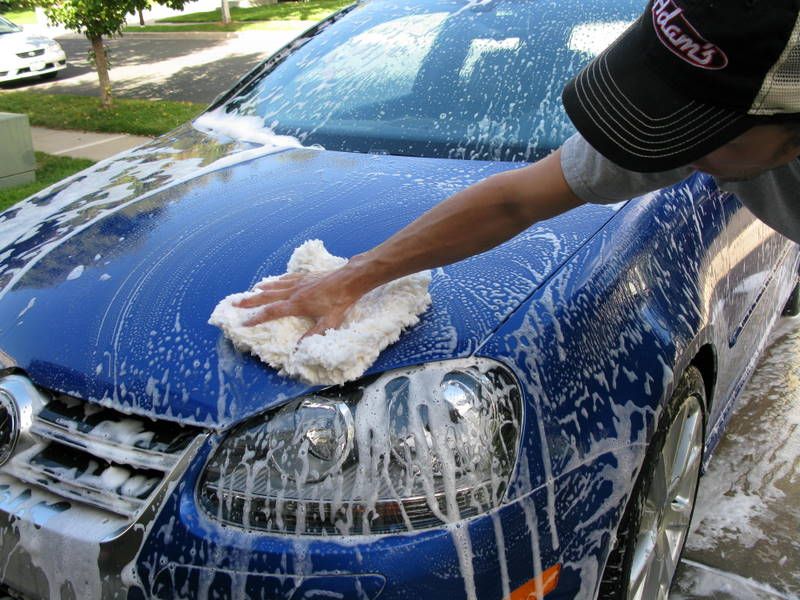
After the exterior was tripped of old its old wax, it was sprayed down with the foam gun and Adam's Car Shampoo.
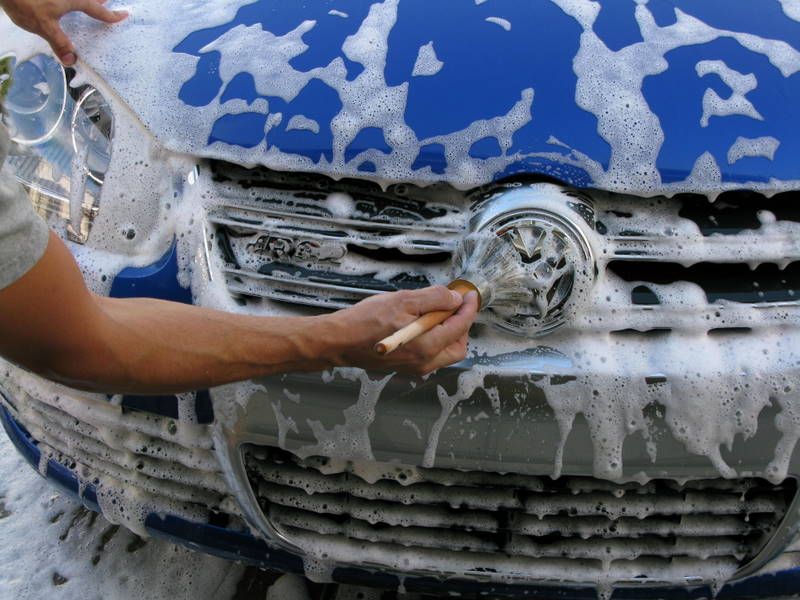
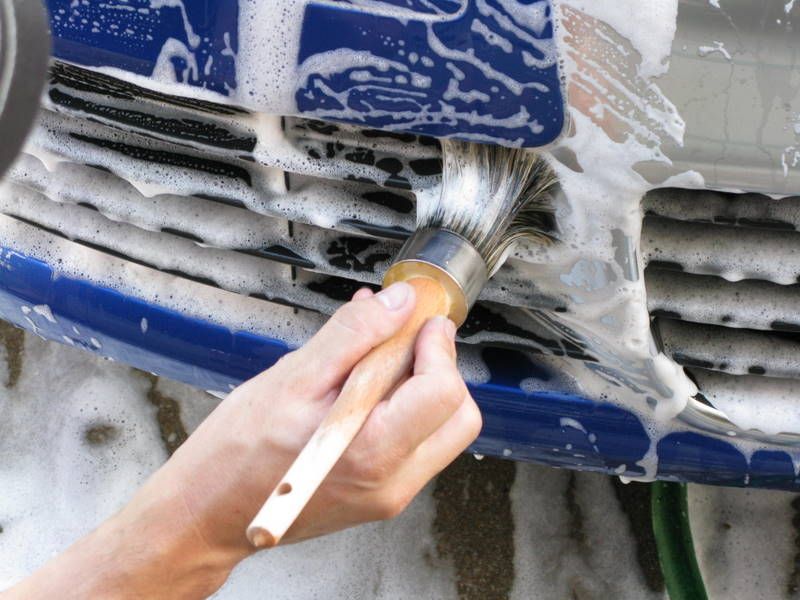
Trim and Lug Brush was used for all the cracks and crevices.
Adam's Wash Pad used everywhere else.
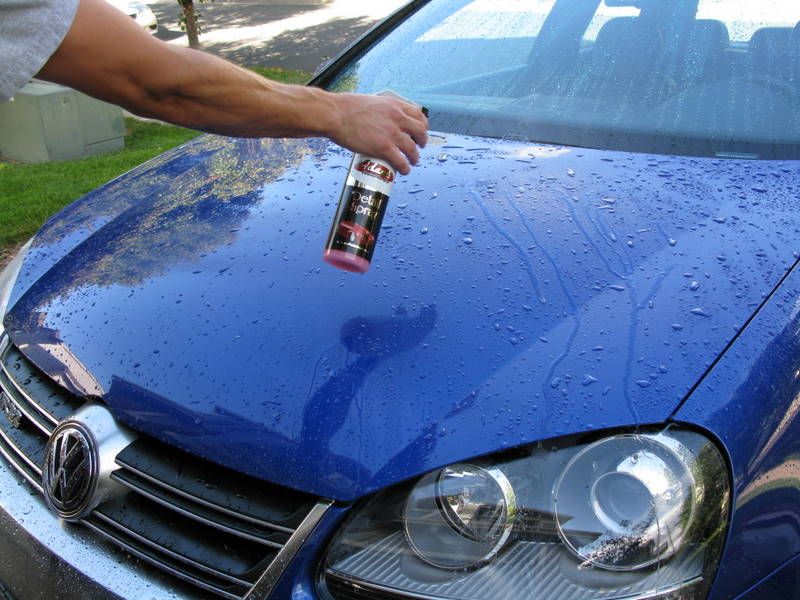
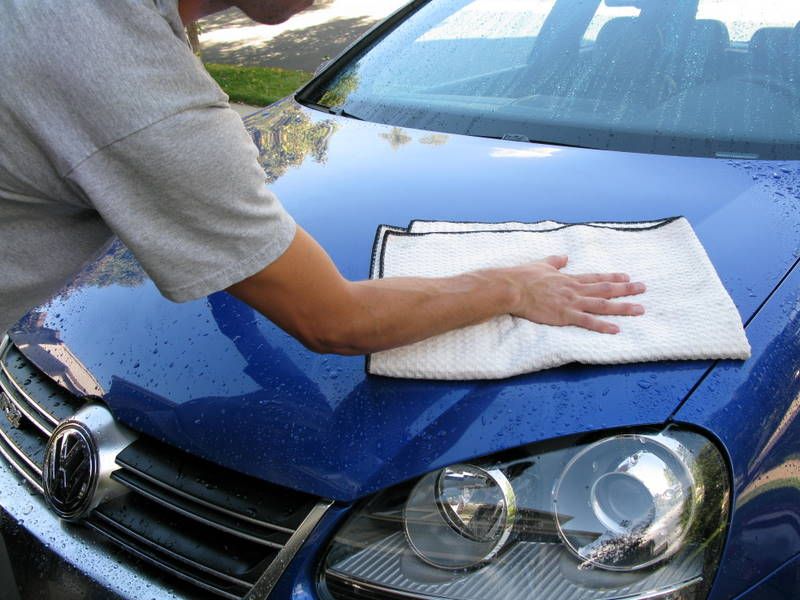
Adam's Detail Spray was used to neutralize the water to prevent water spots before being dried with a Great White Drying Towel.
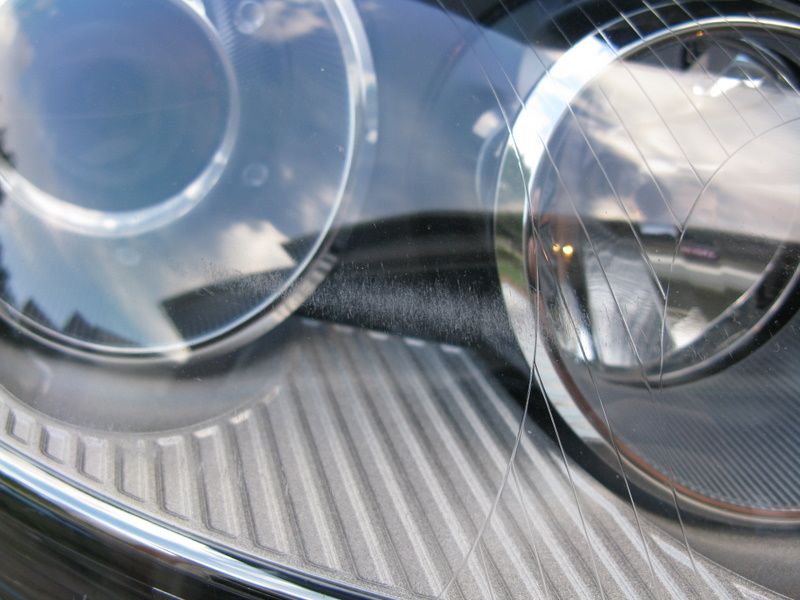
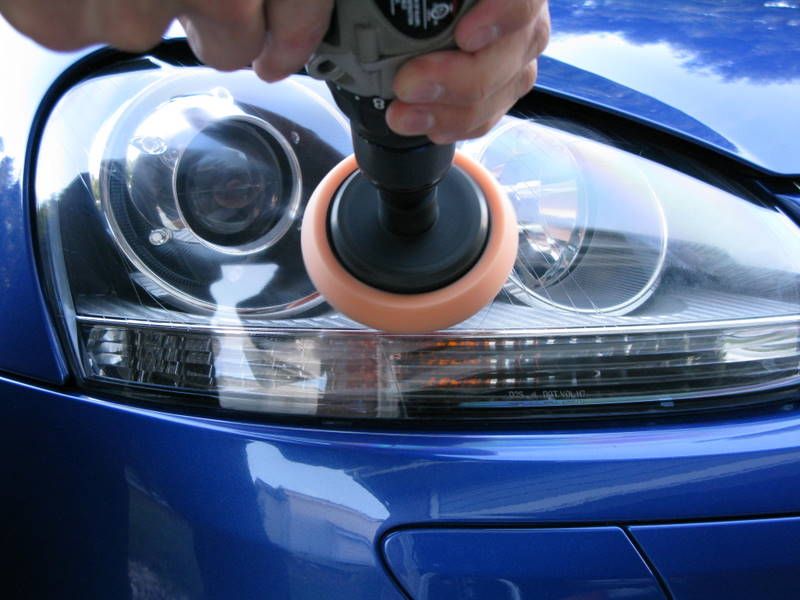
There was a pretty nice rub mark/scratch on the passenger headlight that had to be removed with 2500 grit sand paper.
Adam's Revive Polish was used before they were treated to a coat of Machine Super Wax.
Results.
Wheel wells were protected with Adam's Super VRT and Undercarriage Spray for the hard to reach areas.
Engine was next on the list. APC, Trim and Lug Brush, and Wheel Brush make short work of the engine bay.
Jumbo Vac N' Blo was used to dry the engine.
Some swirl marks were revealed on the engine cover. They were easily removed with Adam's Four Inch Pad Kit and a Cordless drill.
After the exterior was tripped of old its old wax, it was sprayed down with the foam gun and Adam's Car Shampoo.
Trim and Lug Brush was used for all the cracks and crevices.
Adam's Wash Pad used everywhere else.
Adam's Detail Spray was used to neutralize the water to prevent water spots before being dried with a Great White Drying Towel.
There was a pretty nice rub mark/scratch on the passenger headlight that had to be removed with 2500 grit sand paper.
Nov 9, 2010 | 06:06 PM
#3
Thread Starter
| Teamspeed Junior Member
Joined: Aug 2010
Posts: 37
From: Boulder, CO
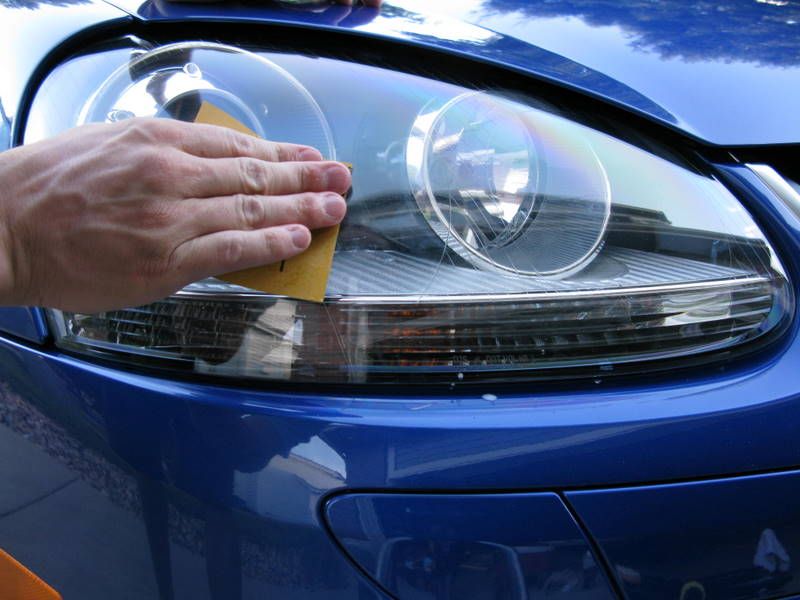
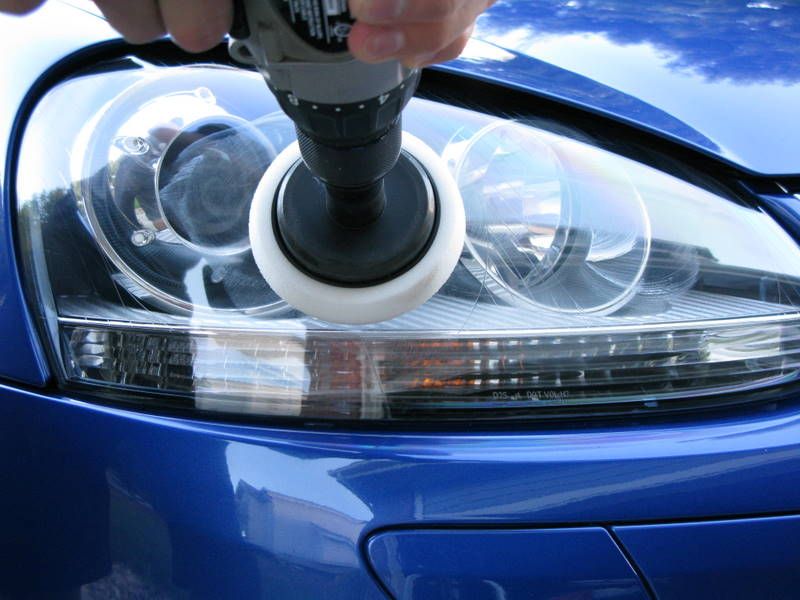
Wet sanding with Adam's Car Shampoo used for the lubricant.
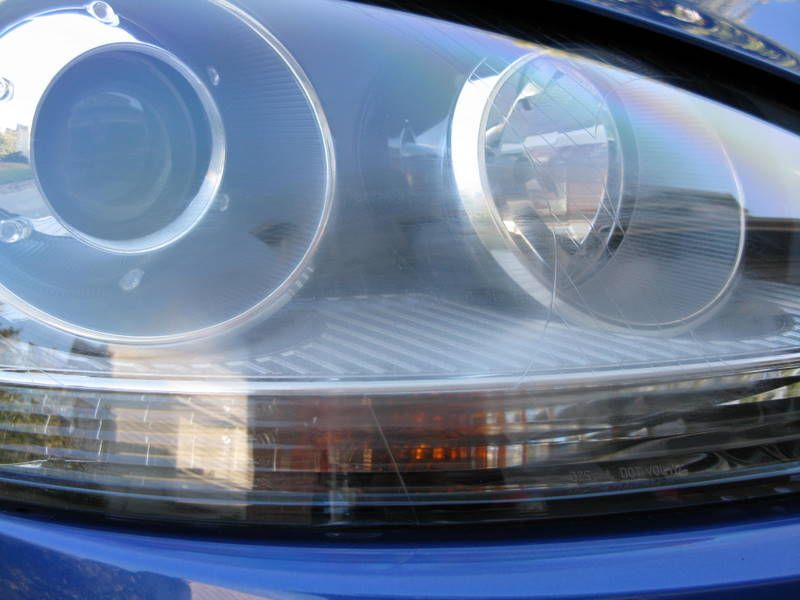
After sanding was finished.
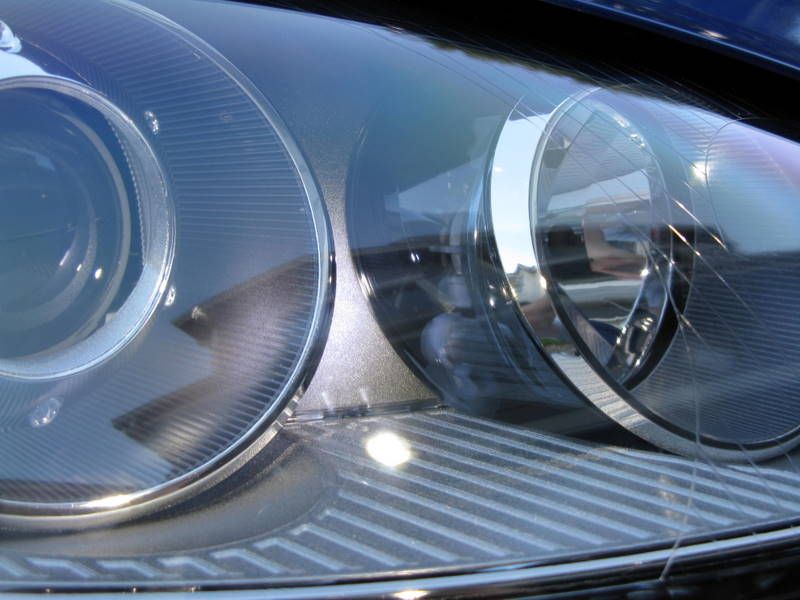
Adam's Four Inch Pad Kit was used with Adam's new soon to be released light compound, Swirl and Have Remover, and Fine Machine Polish to remove the sanding scratches.
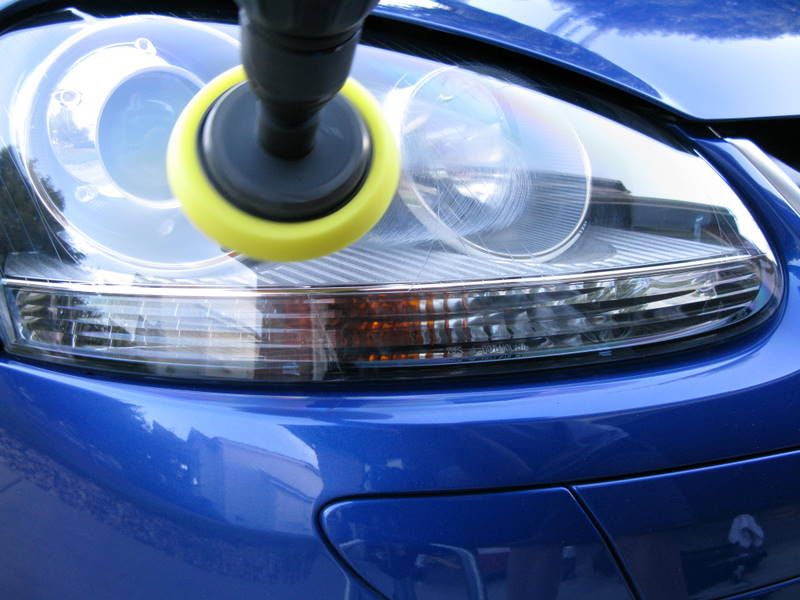
Completely corrected!
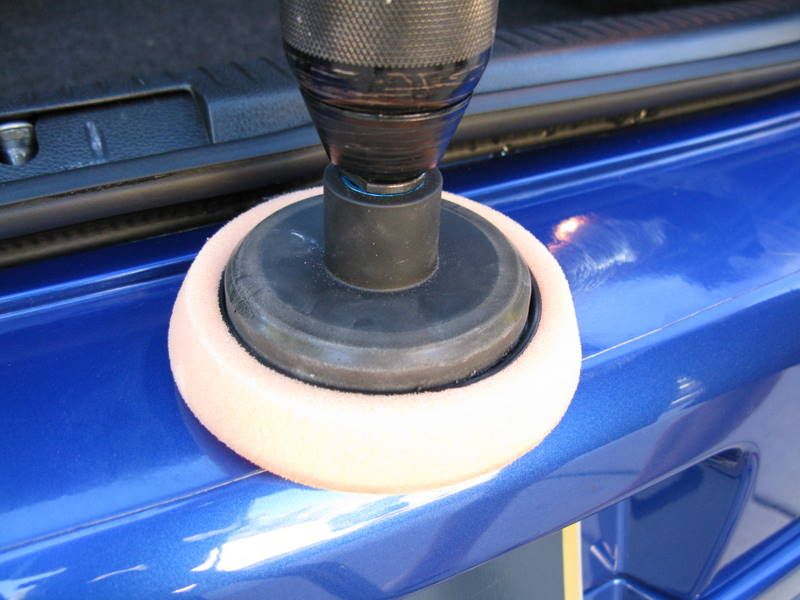
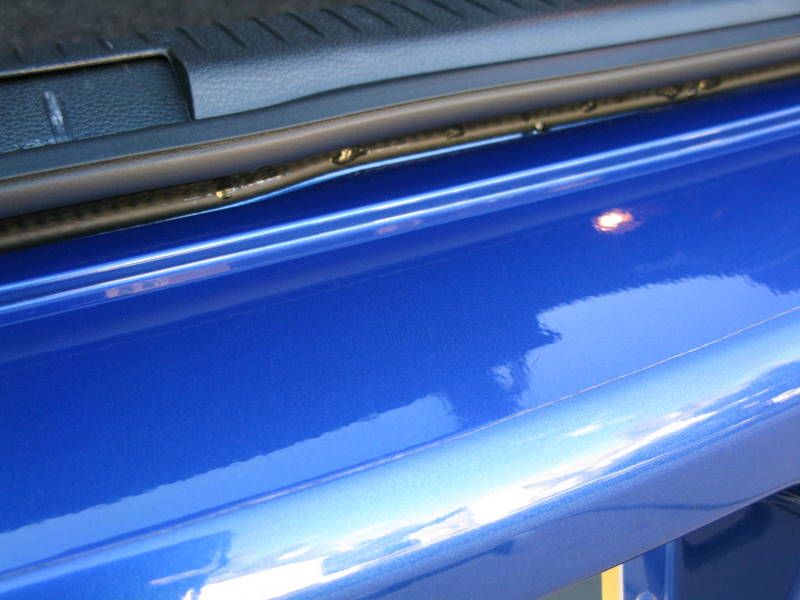
The rear bumpers clear bra had a scratch that I managed to make when loading my mountain bike in the hatch. Orange 4" pad and Clear Polish made short work of it.

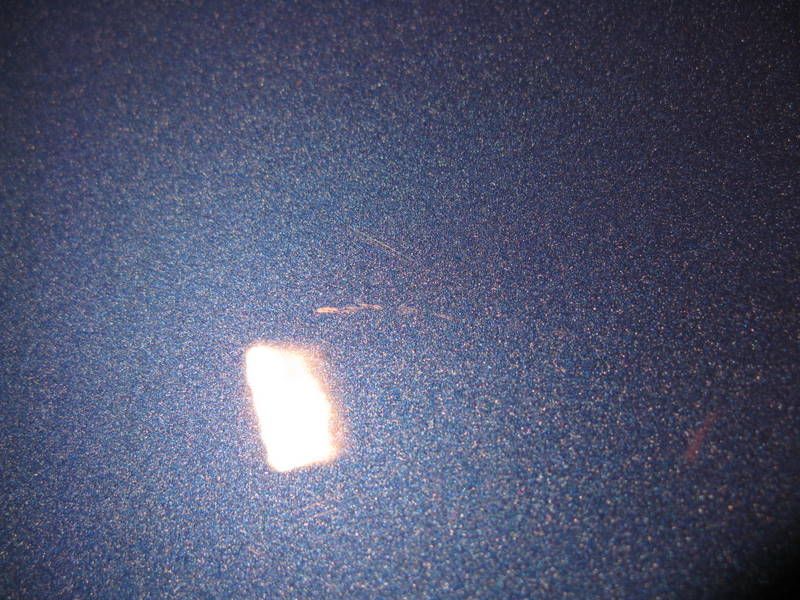
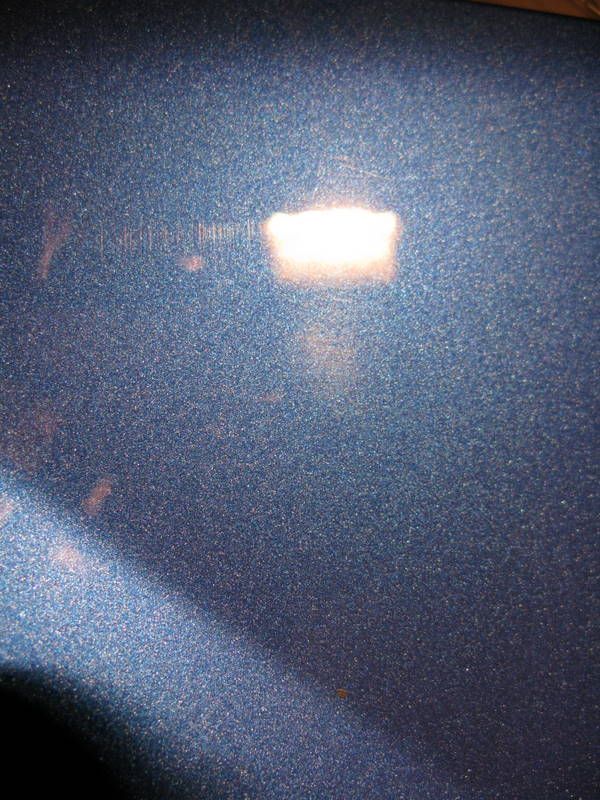
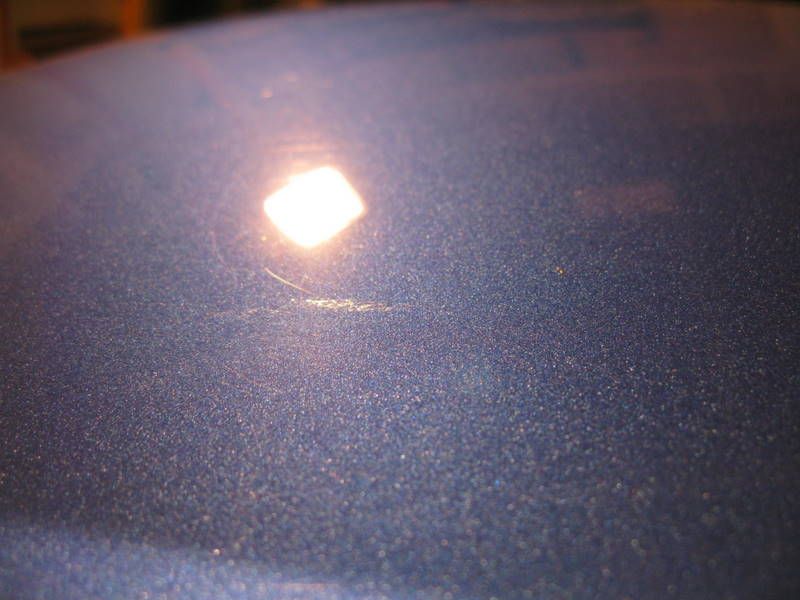
After claying the entire car, the paint was inspected. Fine scratches and swirls covered the entire car.
This was an excellent time to finish perfecting our new light compound and new pads for the Flex.
New compound in action.
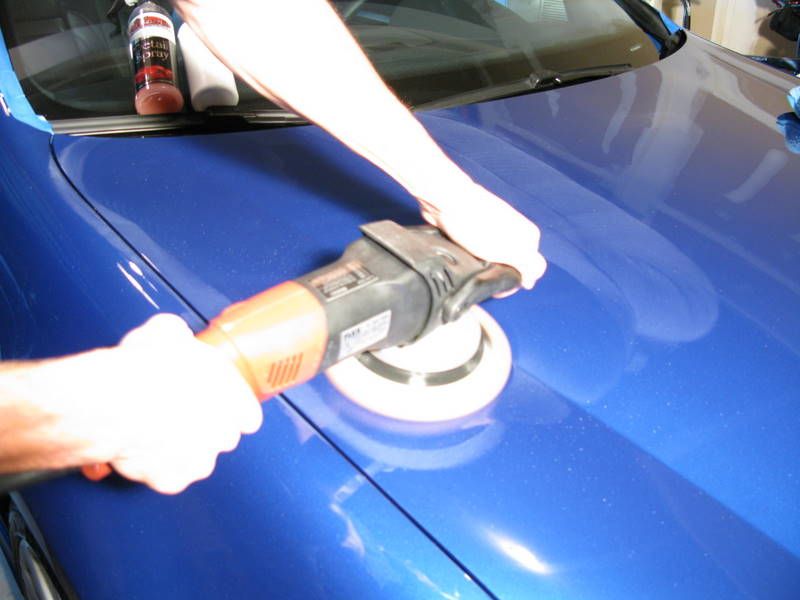
Adam's Swirl and Haze with our new, soon to be released orange flat face pad.
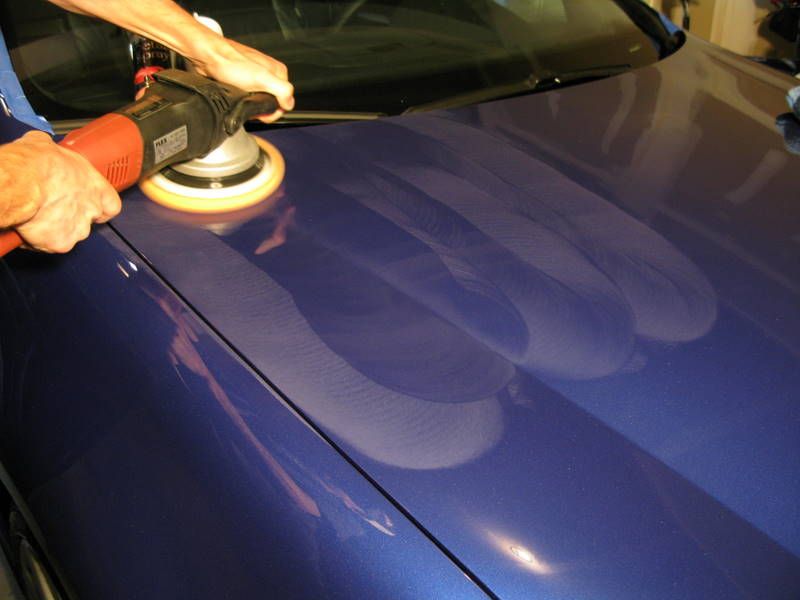
Fine Machine Polish and also soon to be released white flat face pad, finished the polishing steps.

A couple coats of Adam's Machine Super Wax were applied with a Porter Cable over couple of days.
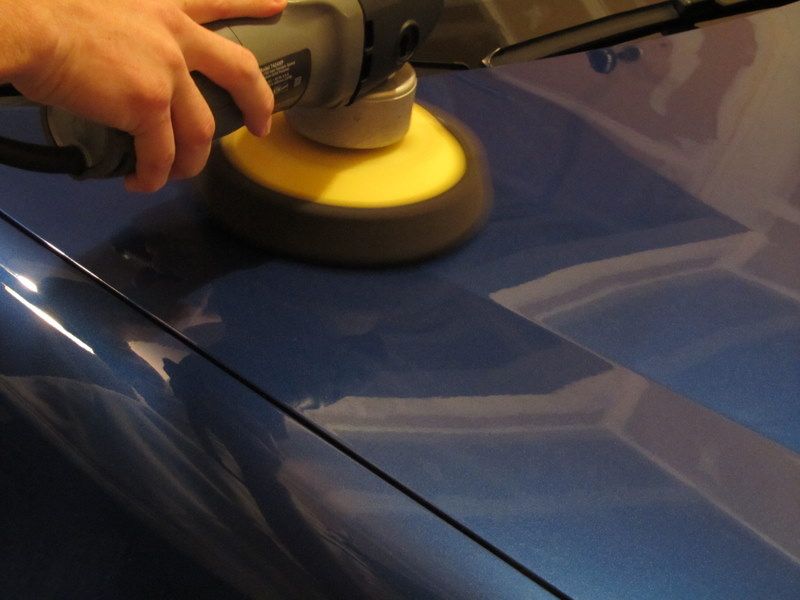
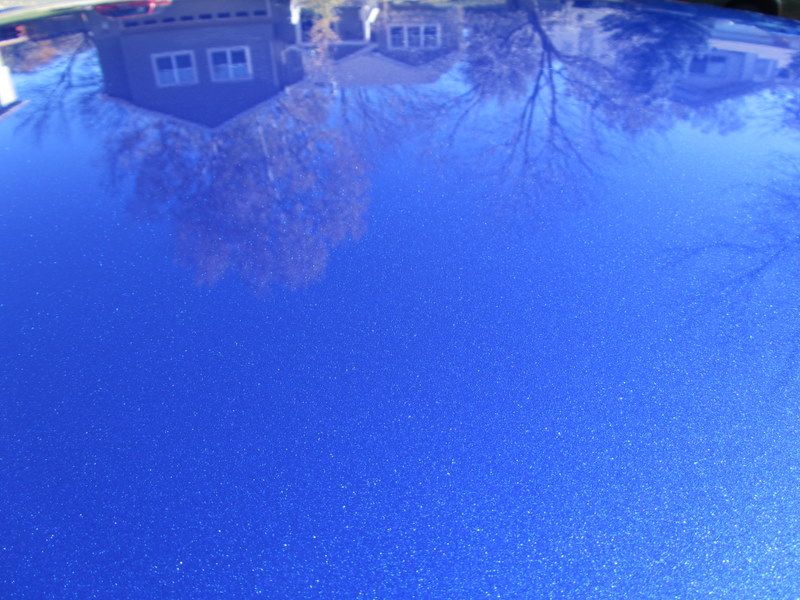
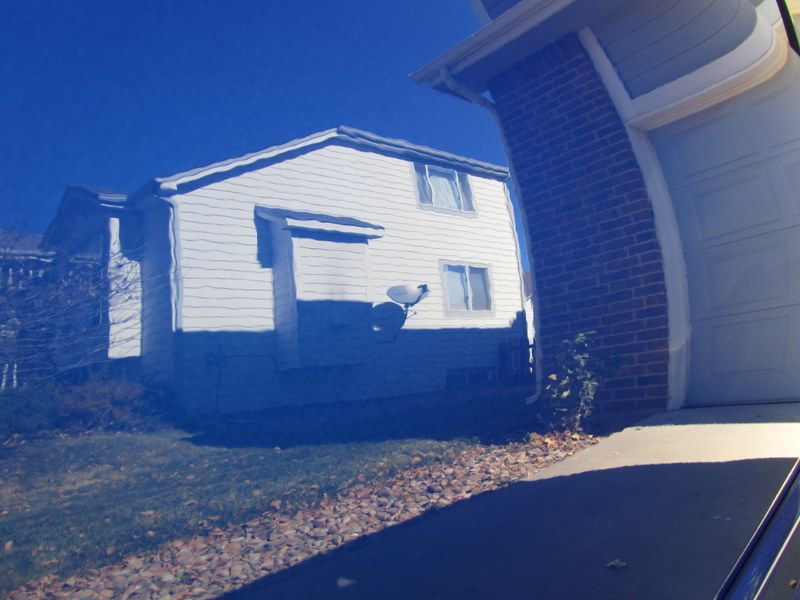
Adam's Americana Premium Paste Wax was used as the finishing touches to show off the depth of the paint even greater.

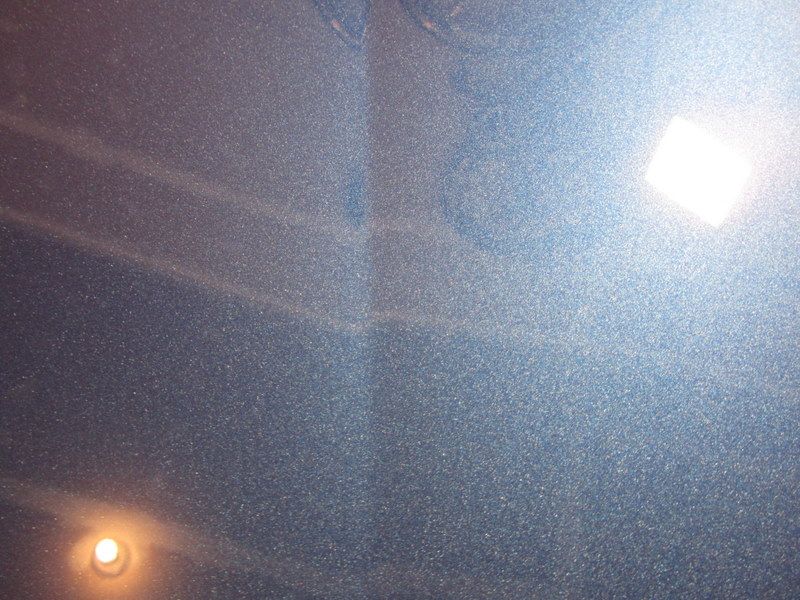
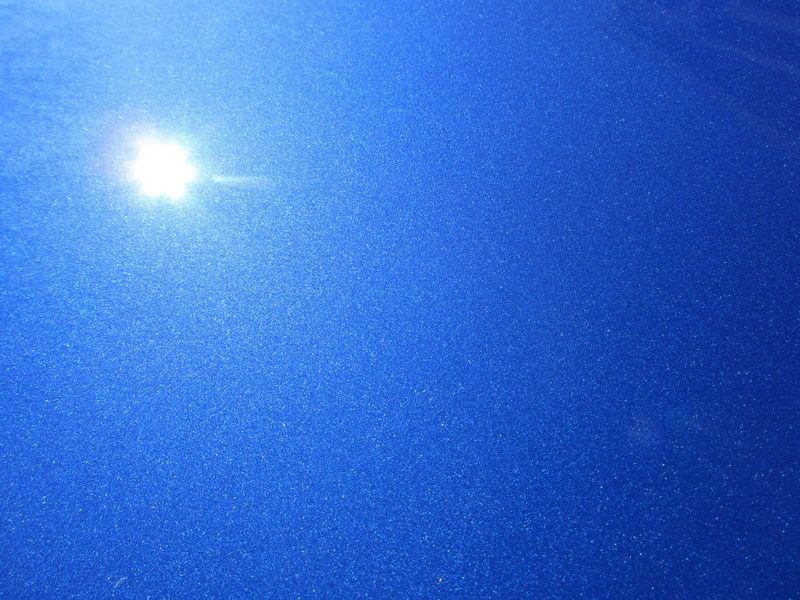
Deep Blue Pearl Metallic paint in all it's glory.

After sanding was finished.
Adam's Four Inch Pad Kit was used with Adam's new soon to be released light compound, Swirl and Have Remover, and Fine Machine Polish to remove the sanding scratches.
Completely corrected!
The rear bumpers clear bra had a scratch that I managed to make when loading my mountain bike in the hatch. Orange 4" pad and Clear Polish made short work of it.
After claying the entire car, the paint was inspected. Fine scratches and swirls covered the entire car.
This was an excellent time to finish perfecting our new light compound and new pads for the Flex.
New compound in action.
Adam's Swirl and Haze with our new, soon to be released orange flat face pad.
Fine Machine Polish and also soon to be released white flat face pad, finished the polishing steps.
A couple coats of Adam's Machine Super Wax were applied with a Porter Cable over couple of days.
Adam's Americana Premium Paste Wax was used as the finishing touches to show off the depth of the paint even greater.
Deep Blue Pearl Metallic paint in all it's glory.
Nov 9, 2010 | 06:06 PM
#4
Thread Starter
| Teamspeed Junior Member
Joined: Aug 2010
Posts: 37
From: Boulder, CO
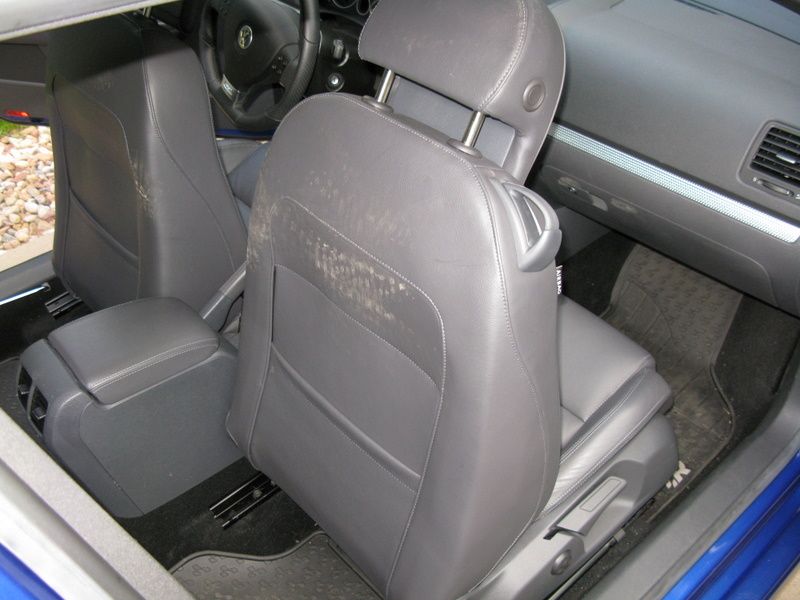
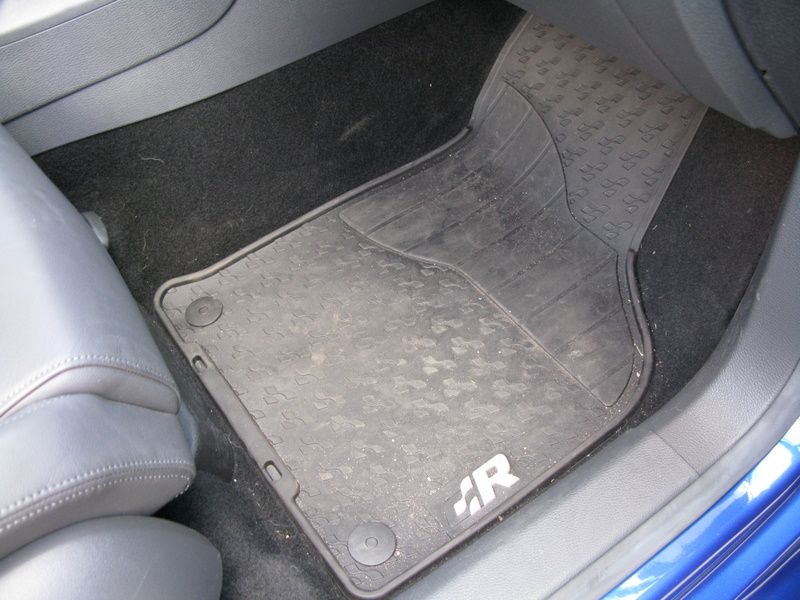
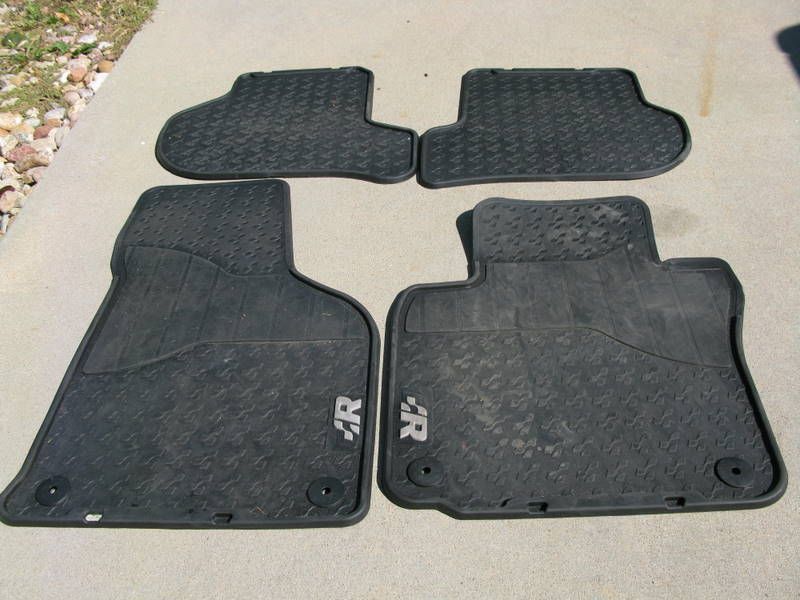
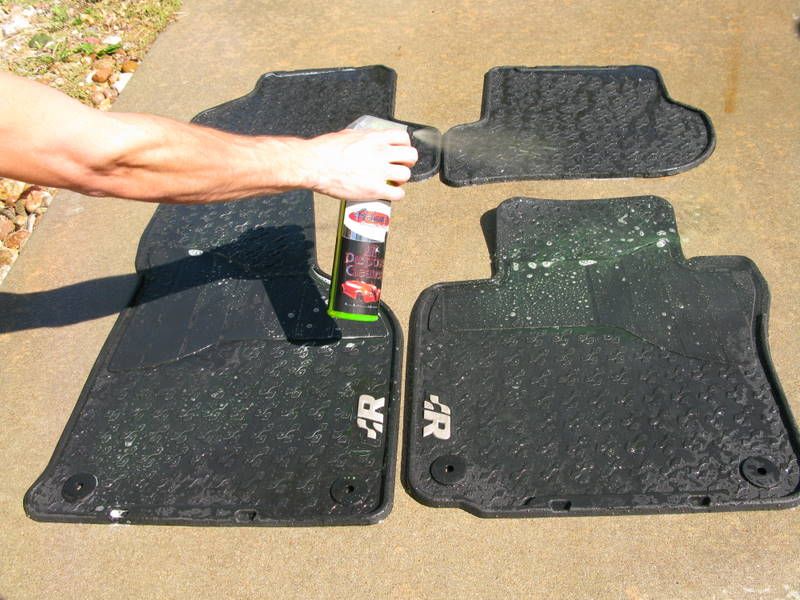
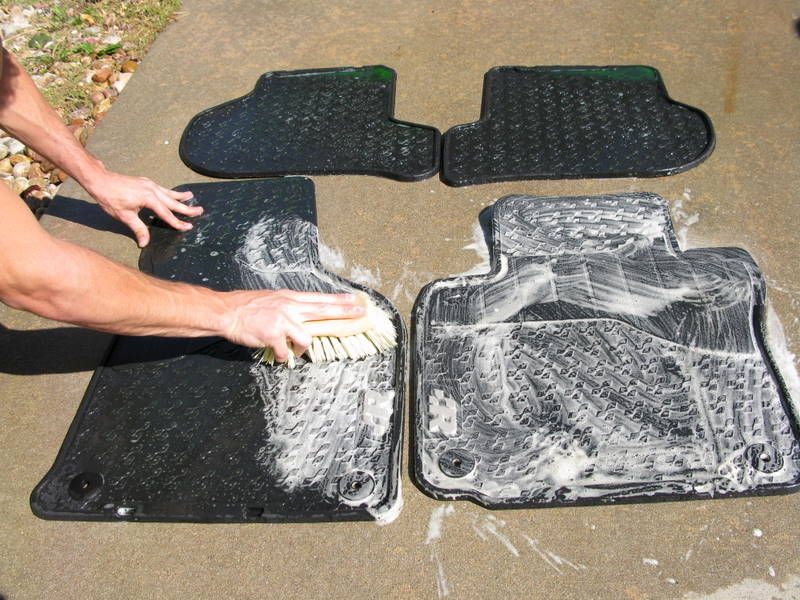
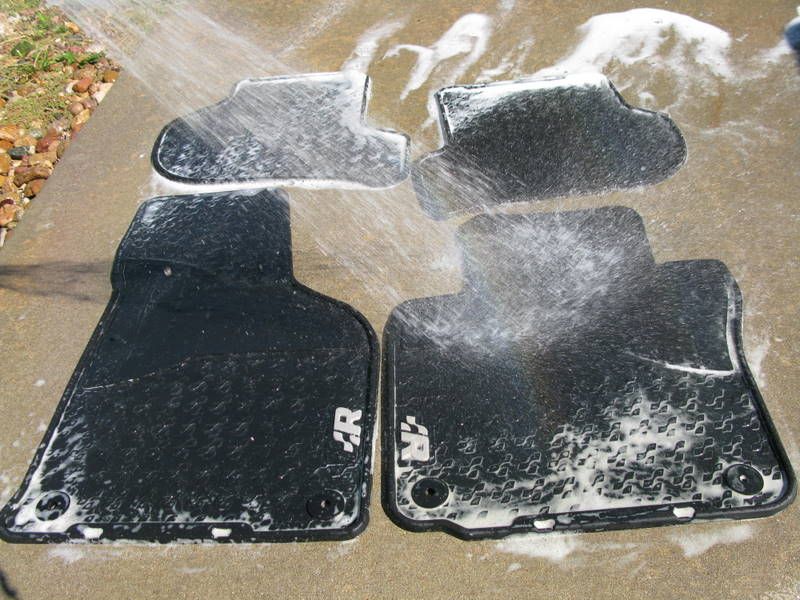
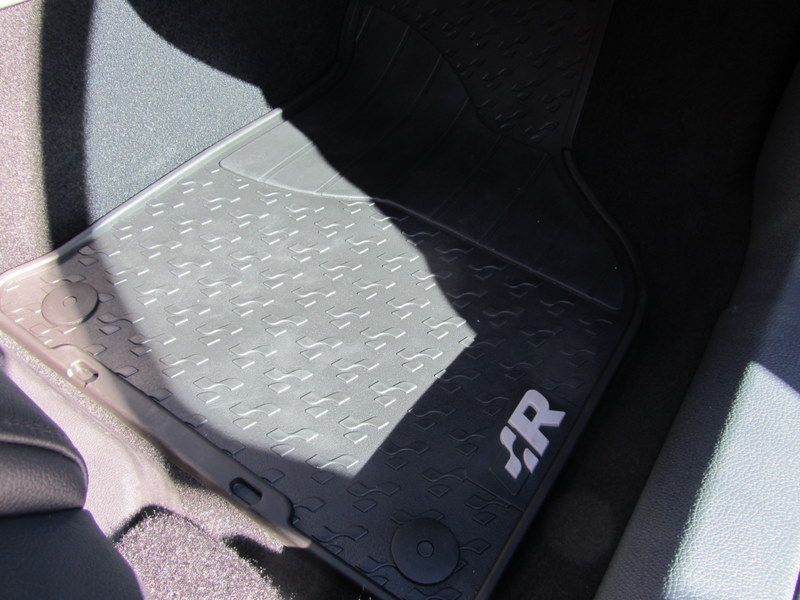
The interior was cleaned next. R32 rubber mats were removed and cleaned with Adam's All Purpose Cleaner.
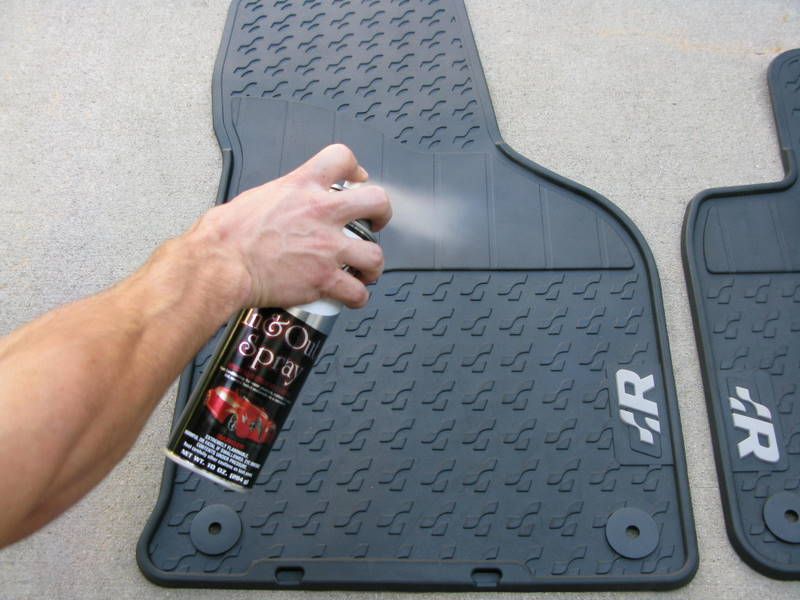
After they were dry, I sprayed them with Adam's In and Out Spray.
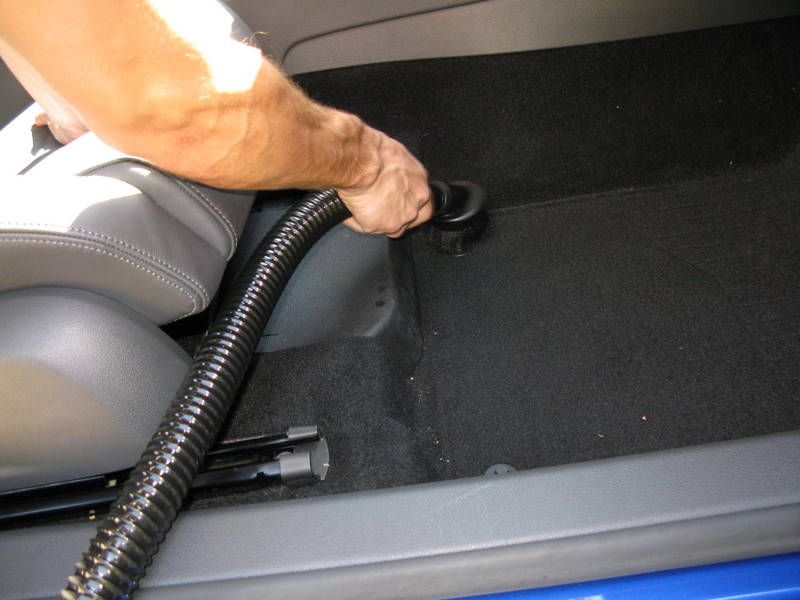
Interior was vacuumed with the Jumbo Vac N Blo.

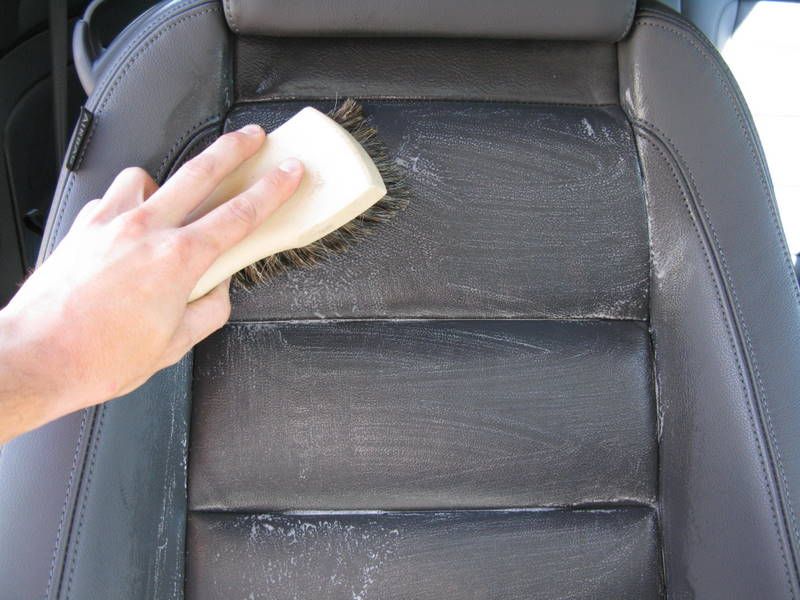
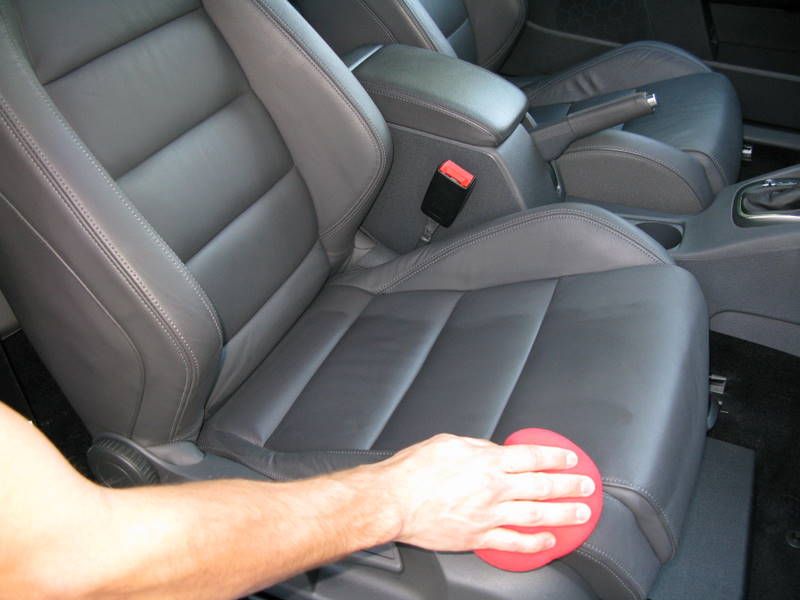
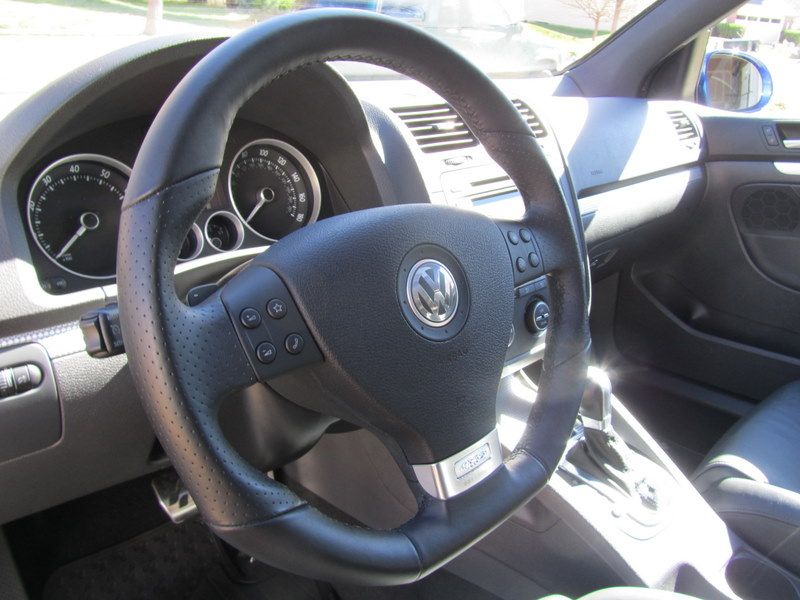
Leather Seats were cleaned with Adam's Leather and Interior Cleaner and a boar's hair interior brush.
Adam's Leather and Interior Condition.
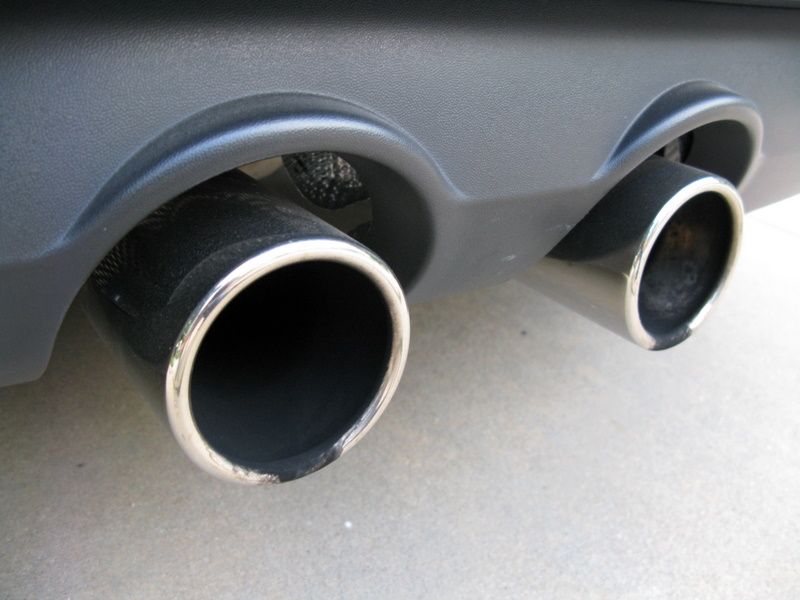
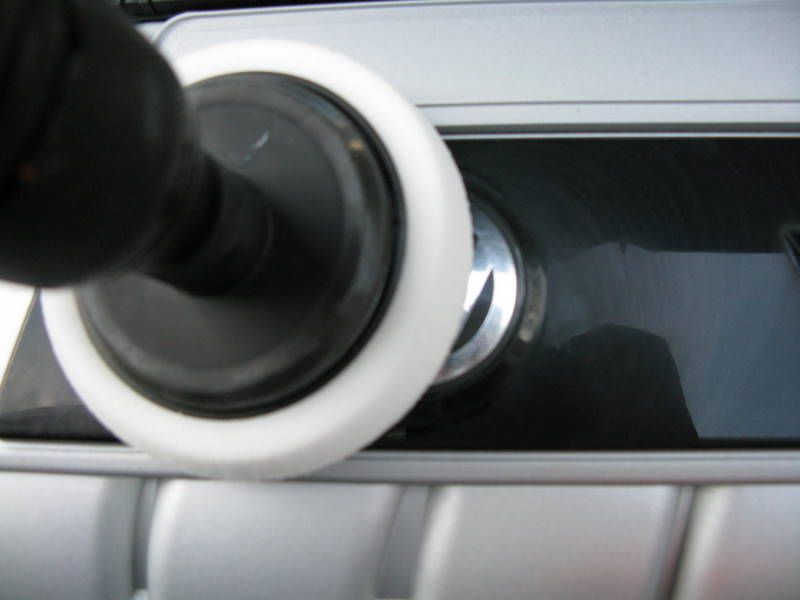
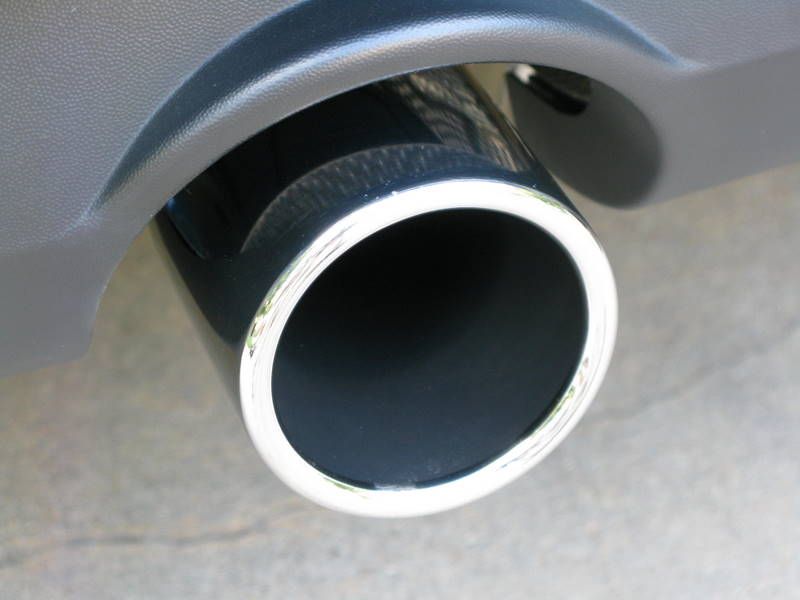
Exhaust tips were polishes with Adam's Metal Polish.

And finally the results.
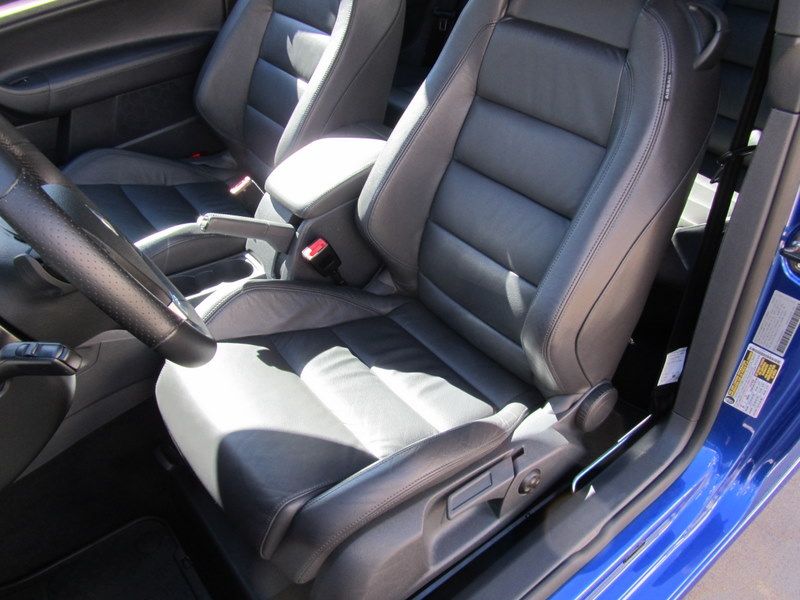
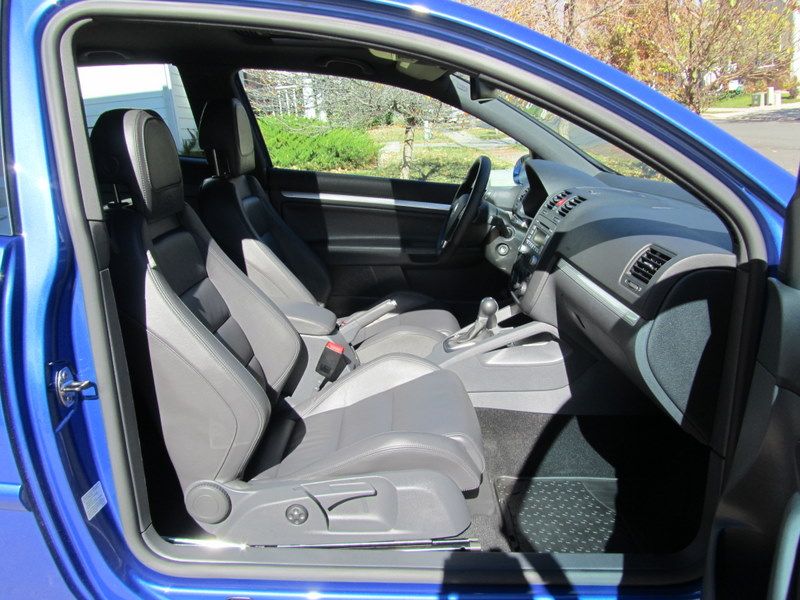
Cheers!
After they were dry, I sprayed them with Adam's In and Out Spray.
Interior was vacuumed with the Jumbo Vac N Blo.
Leather Seats were cleaned with Adam's Leather and Interior Cleaner and a boar's hair interior brush.
Adam's Leather and Interior Condition.
Exhaust tips were polishes with Adam's Metal Polish.
And finally the results.
Cheers!
