
Beefy Paint Correction on Hammered Lexus LS460L
 Sep 12, 2010 | 02:47 PM
#1

Thread Starter
| Teamspeed Senior Member
Joined: May 2008
Posts: 526
From: New Jersey


Beefy Paint Correction on Hammered Lexus LS460L
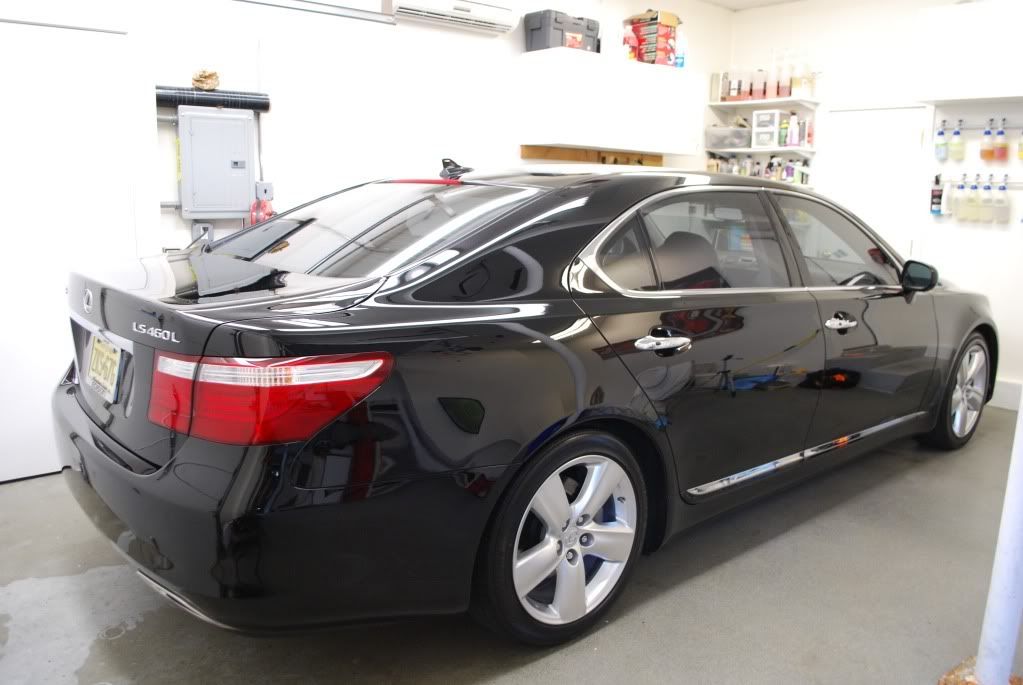
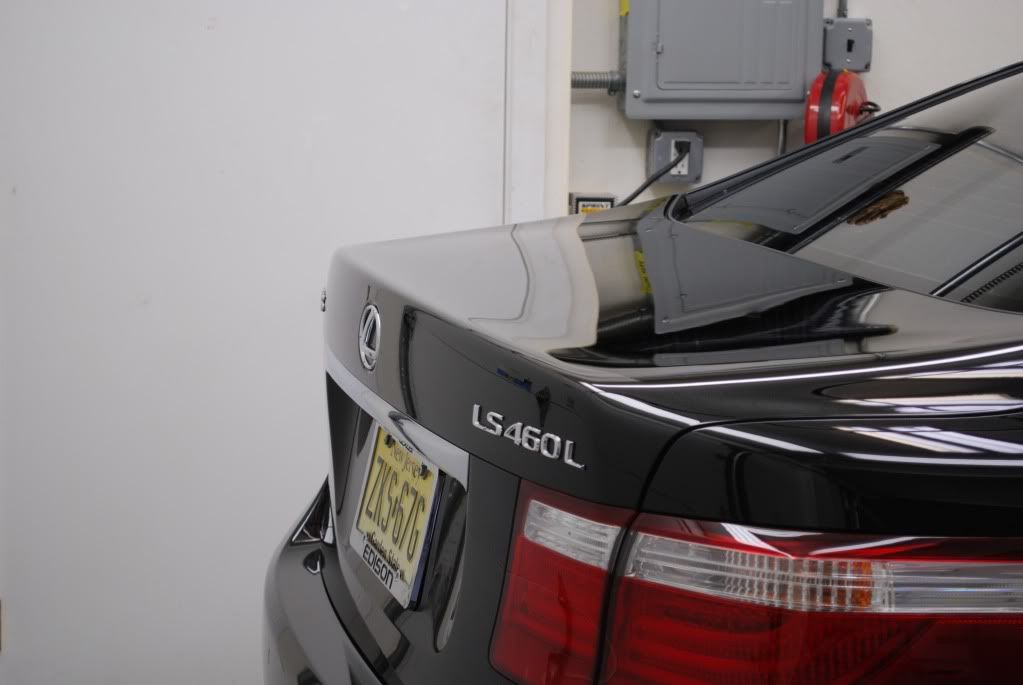
Lexus LS 460L in for an extensive paint correction and interior detail.
Majority of the paint issues came from automatic car washes and later a paint chip repair guy who attempted some "buffing" of his own, naturally that only added to the issues.
This writeup contains lots of 50/50 pictures and several videos including one on DA wetsanding.
Prep procedure:
Pressure rinse
Foam
2 bucket wash using strong mix of CG citrus wash
Riccardo clay + ONR lube
Multiple IPA wipedowns to completely strip paint of old glaze
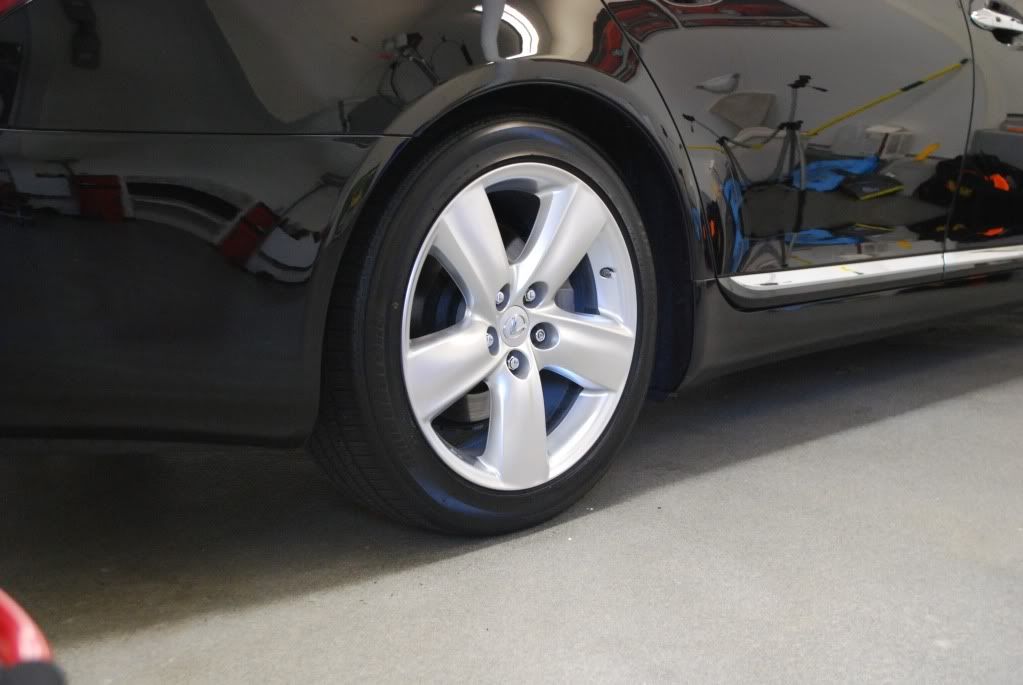
Wheels:
Sonax on wheels
Powerclean on tires/wheel wells
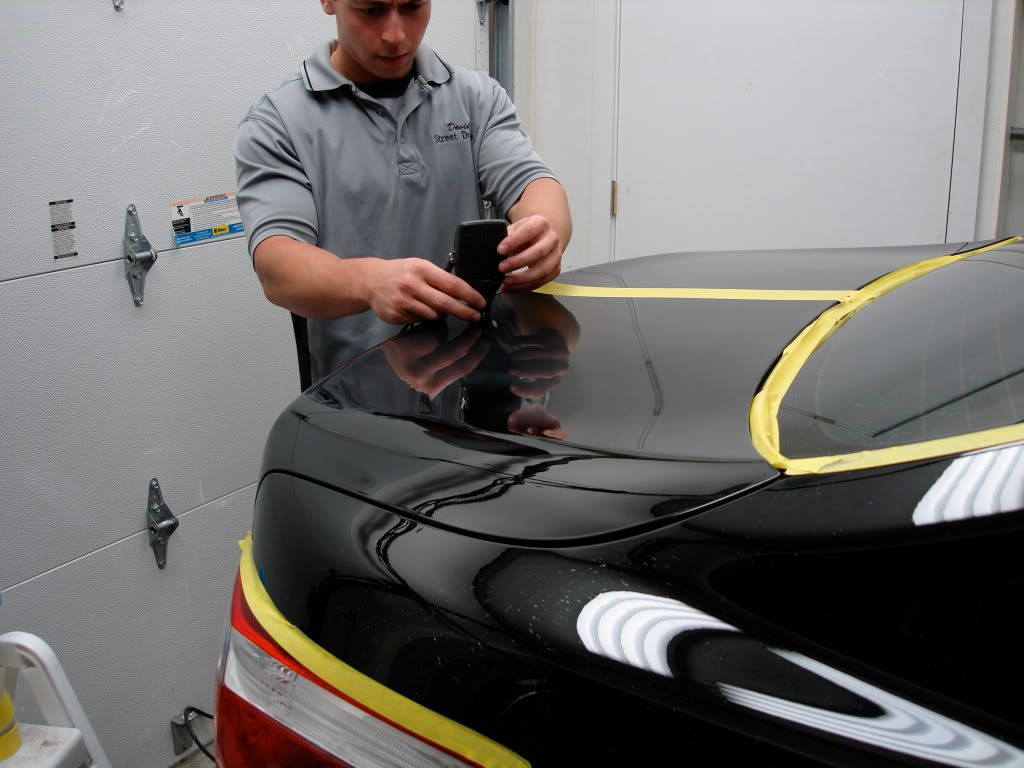
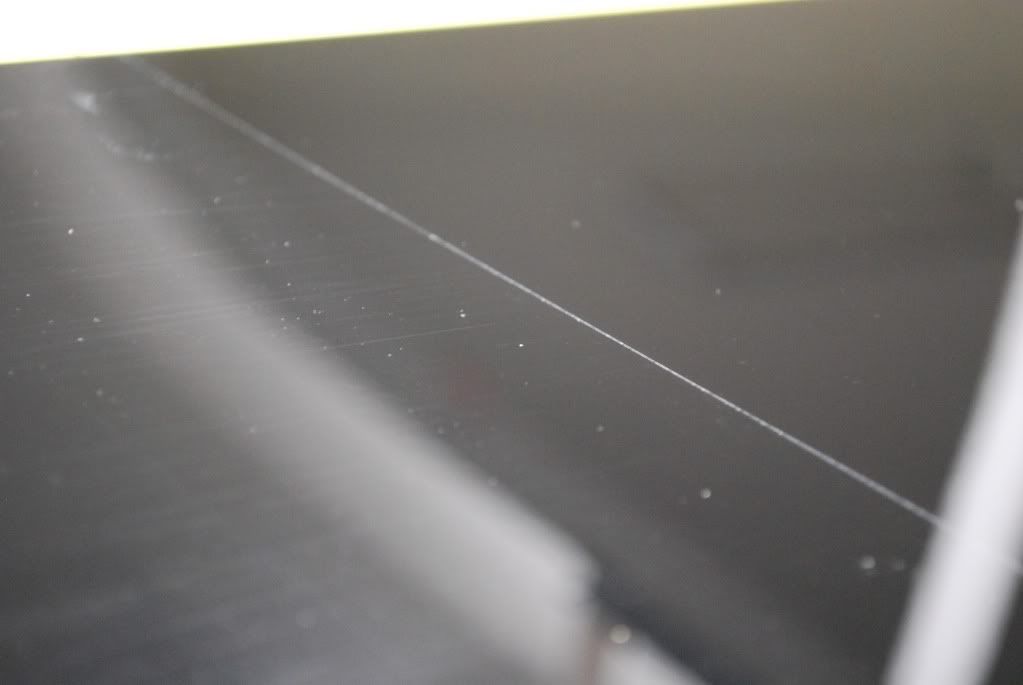
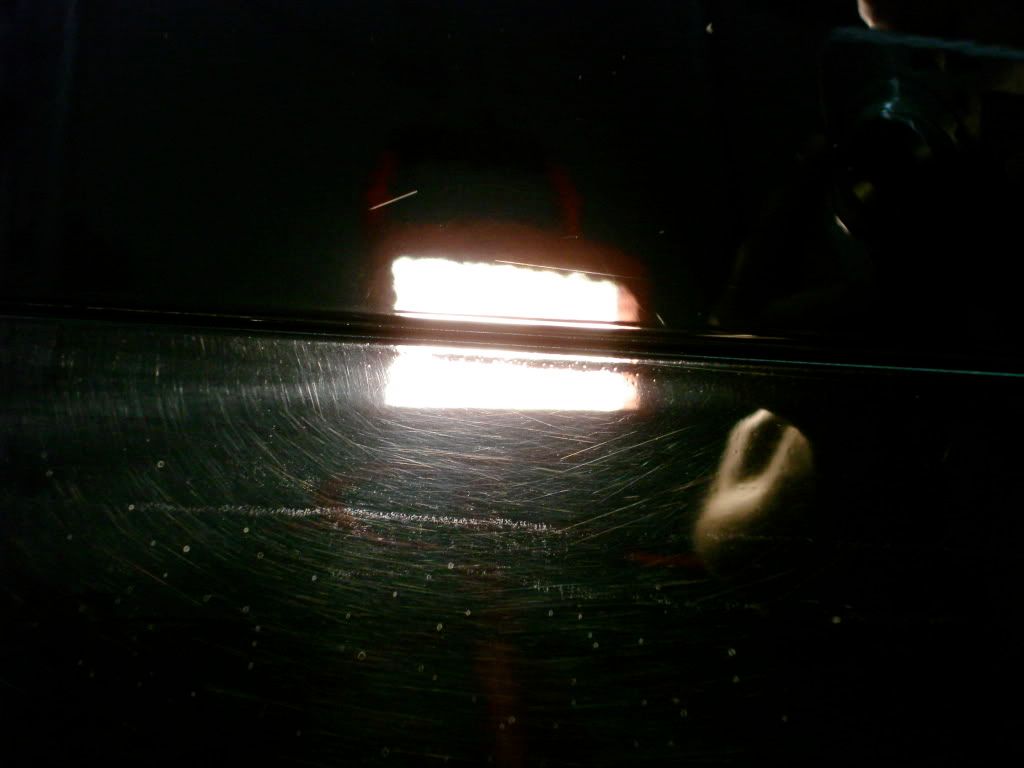
Started with the hood, many rock chips attempted to be fixed on the hood and more damage was left than damage fixed
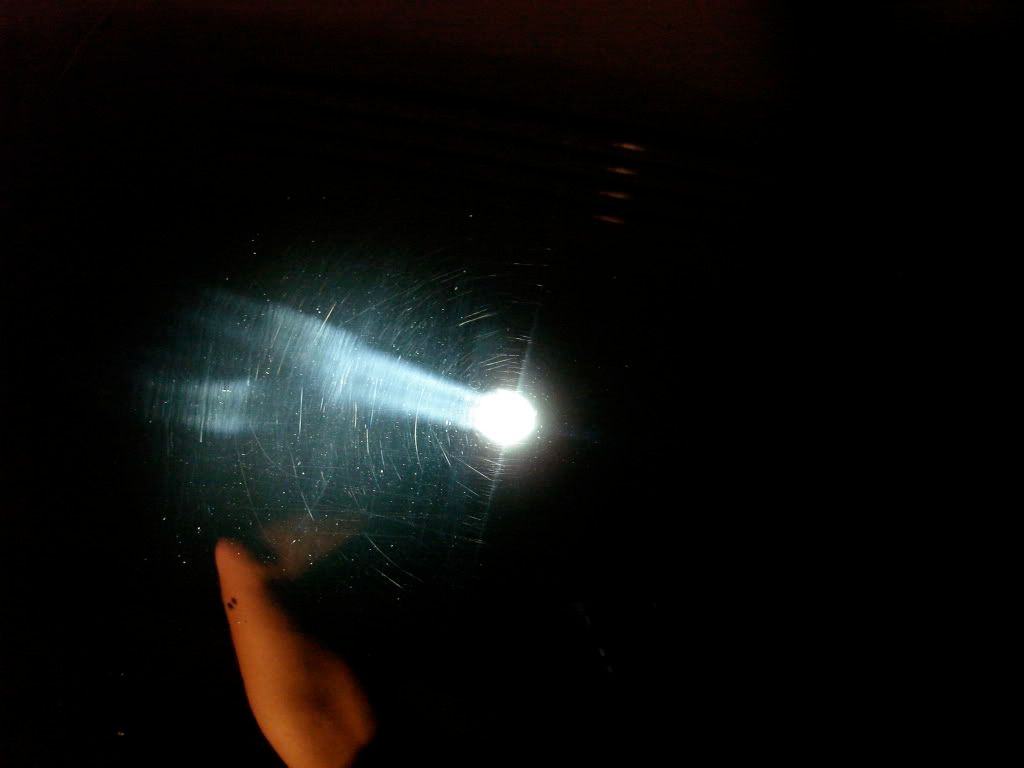
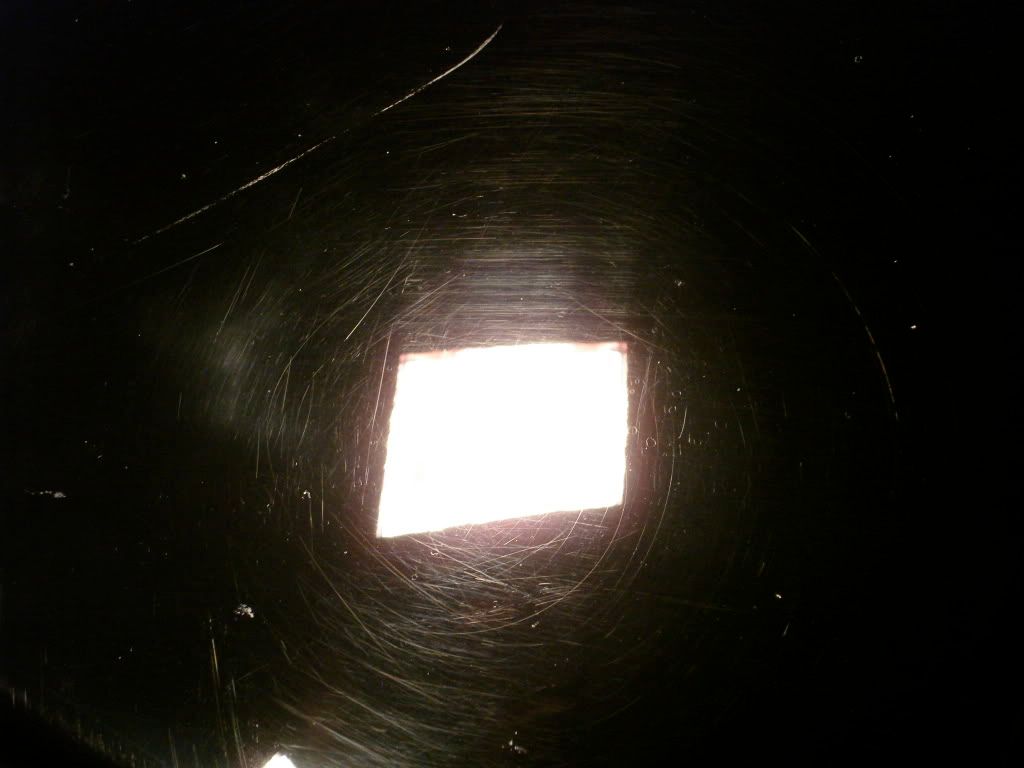
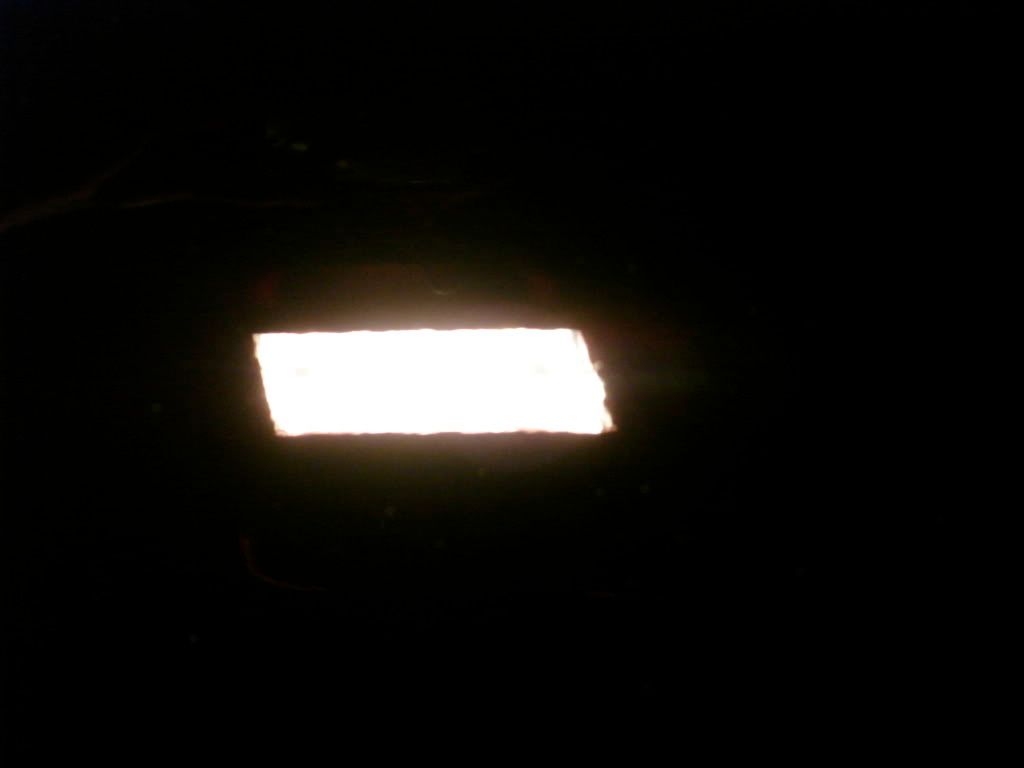
Closeup of defects under Fenix LED

After M105 + wool pad and Menzerna Powerfinish

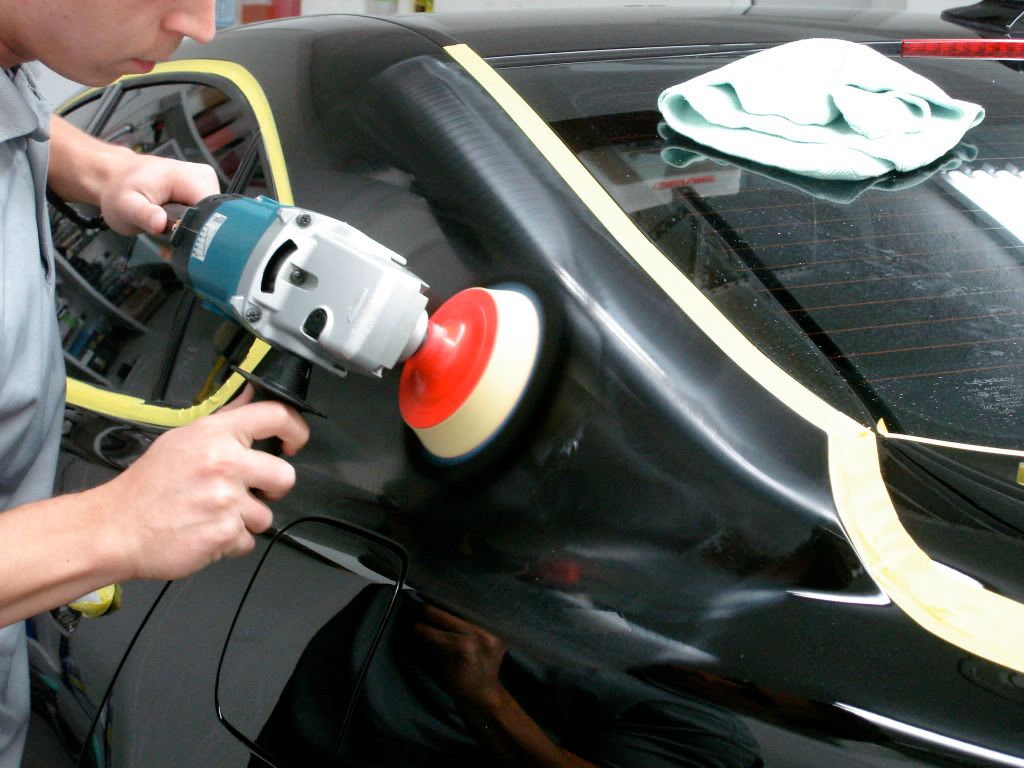
Wool compounding
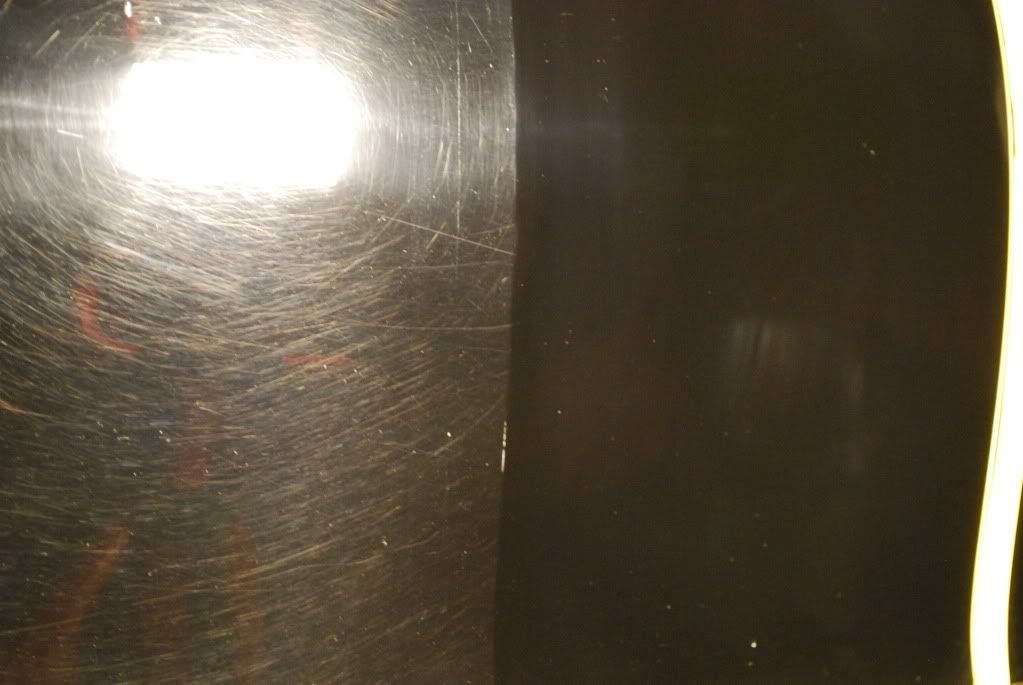
Front fender corrected, door uncorrected
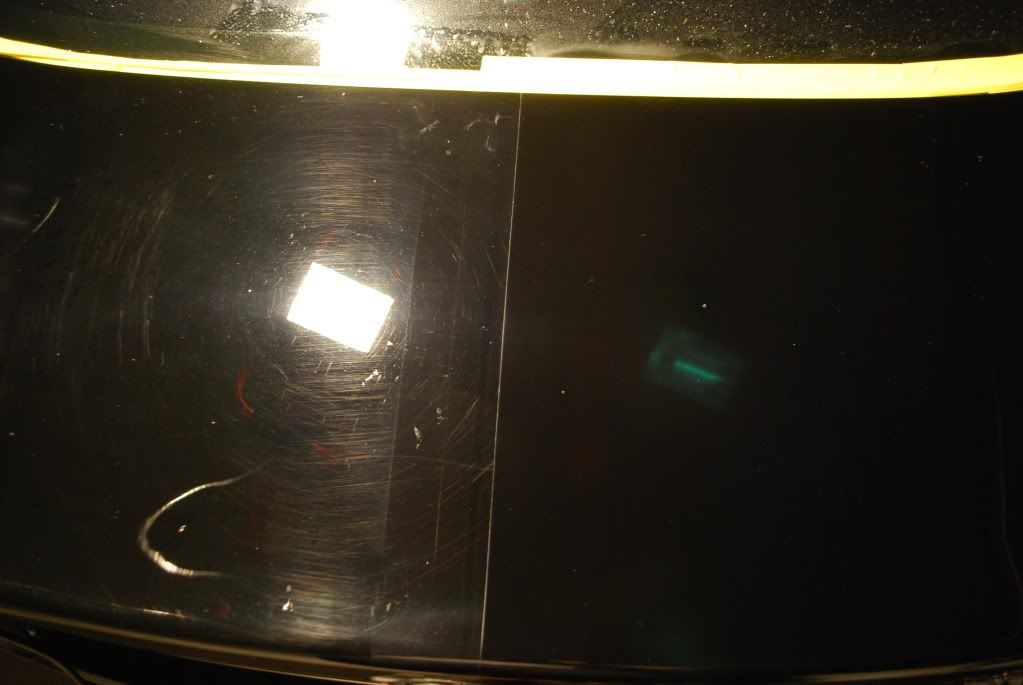
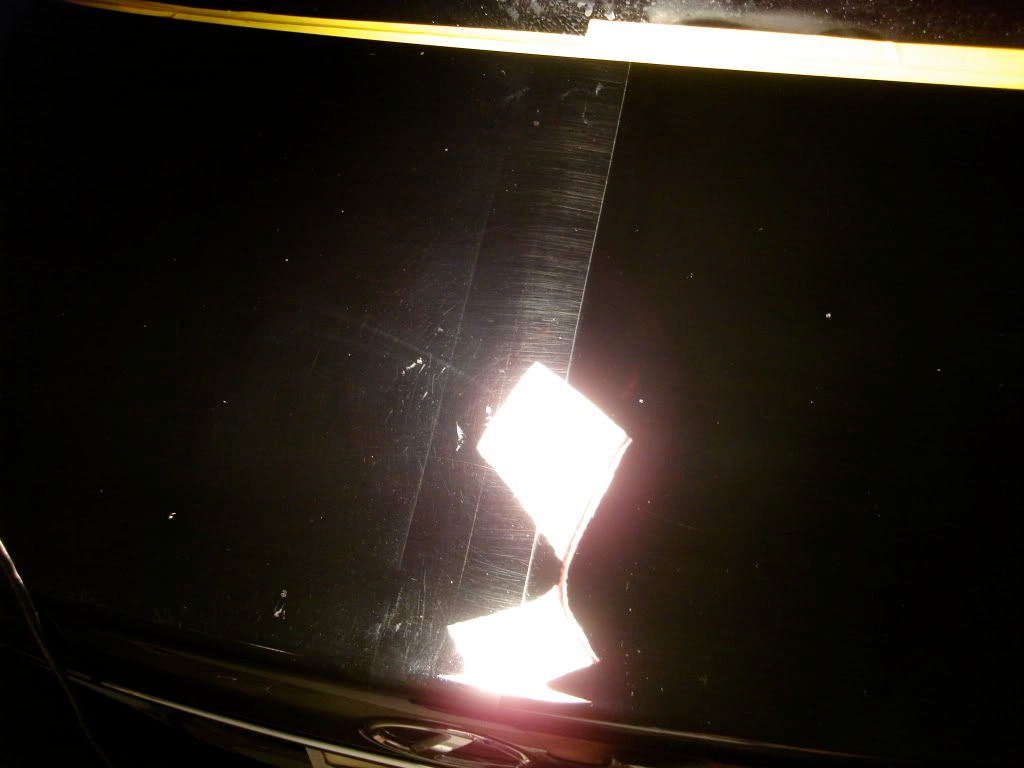
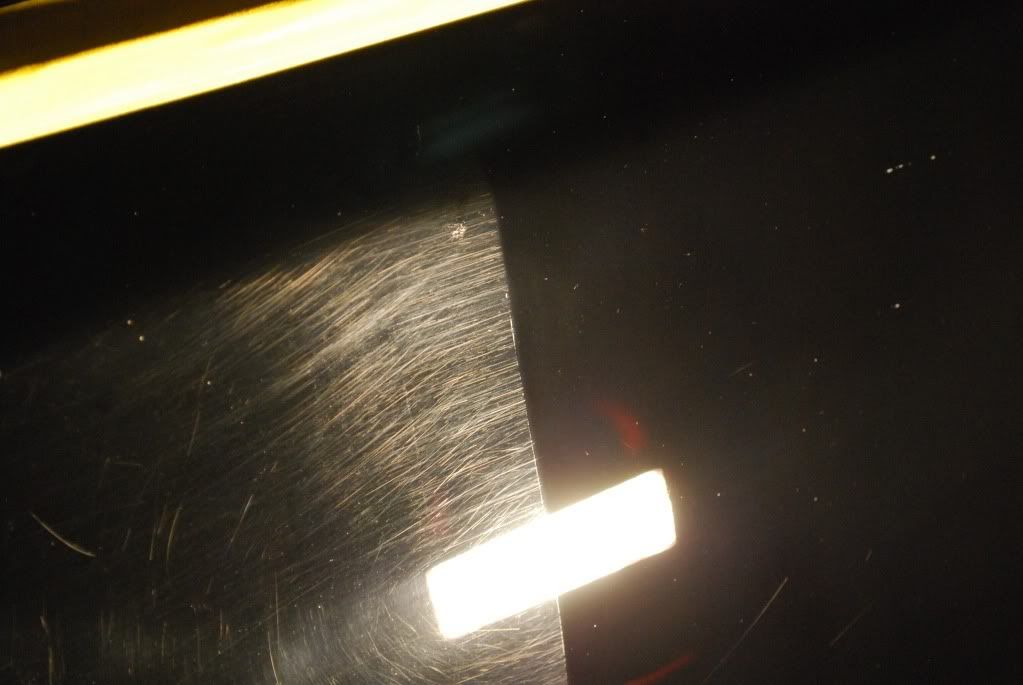
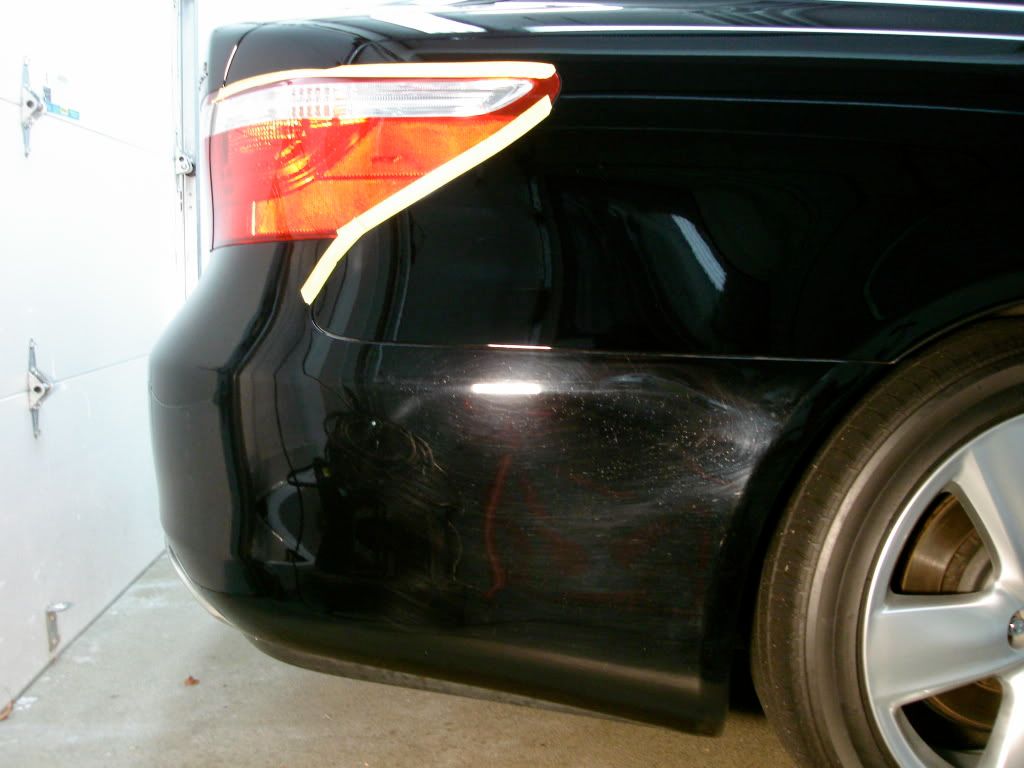
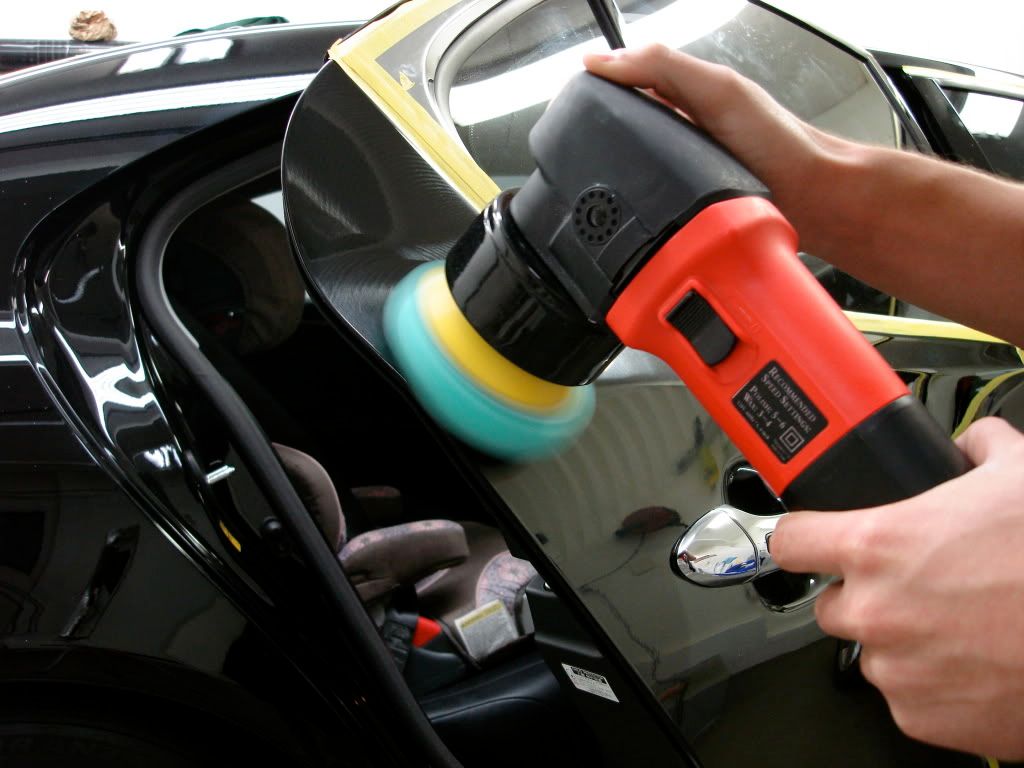
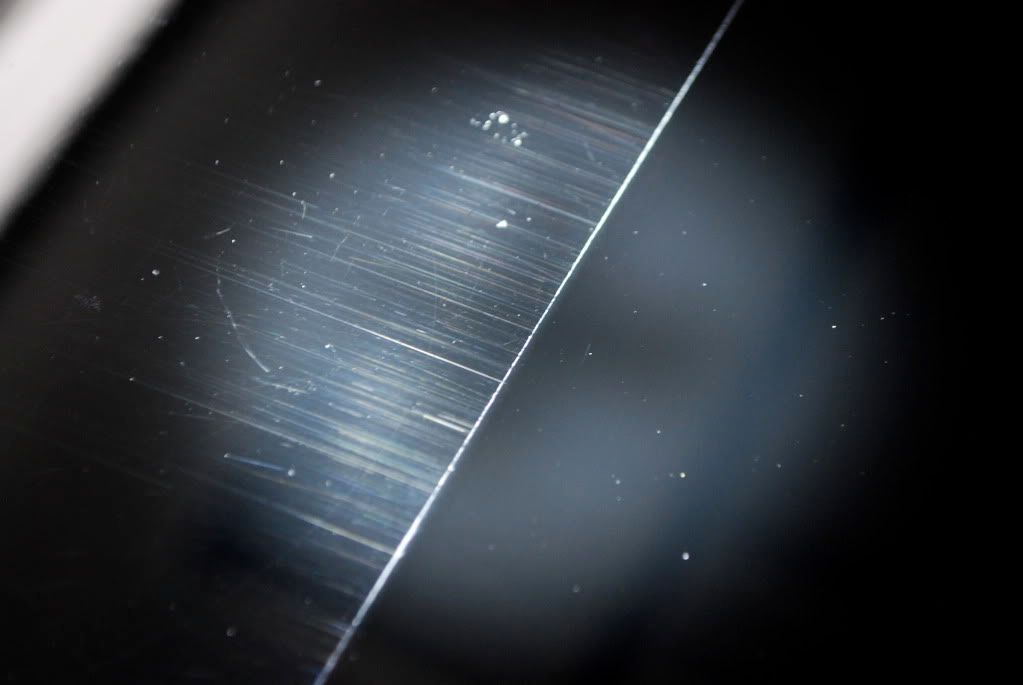
Trunk section was too damaged for high level correction using even a wool pad and M105, no sense in even testing out that combination as I would have yielded no more than maybe 75% correction, the gouges and deep rids would be left all over the trunk. In trying to chase down those very deep defects with a wool pad at high RPM I would most likely remove more clear coat than I would like to in the process.
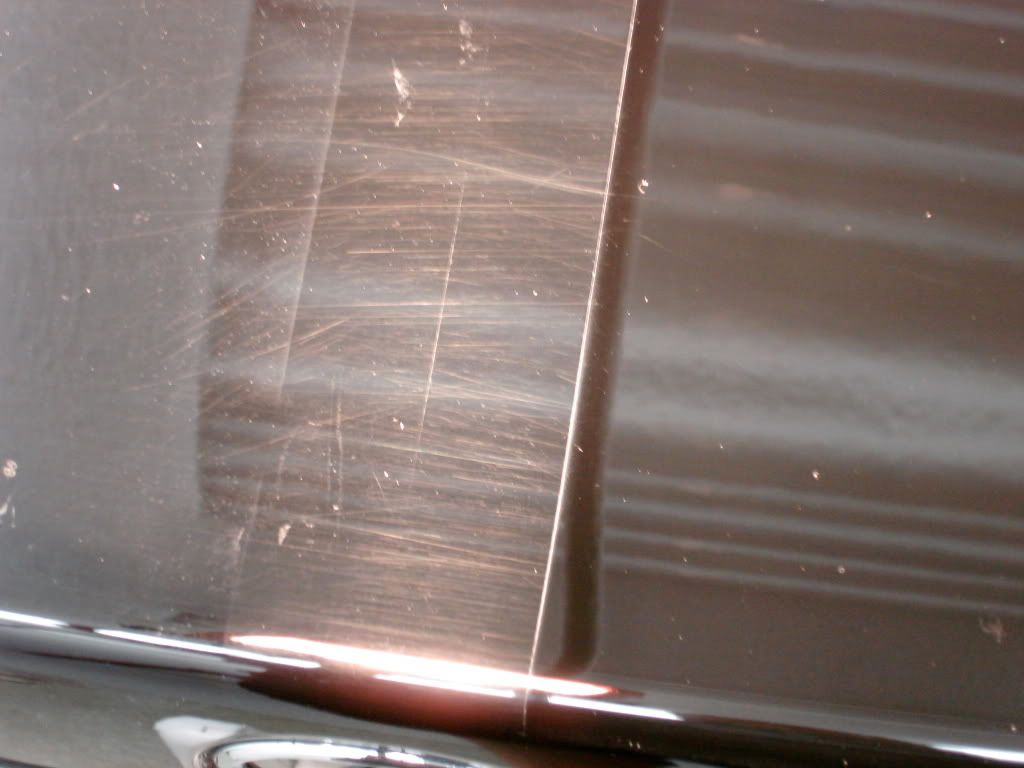
So I opted to wetsand it instead. The entire trunk was DA sanded using 3000 grit discs
Lots of deep RIDS and gouges, again rock chip repair was attempted here and failed miserably.
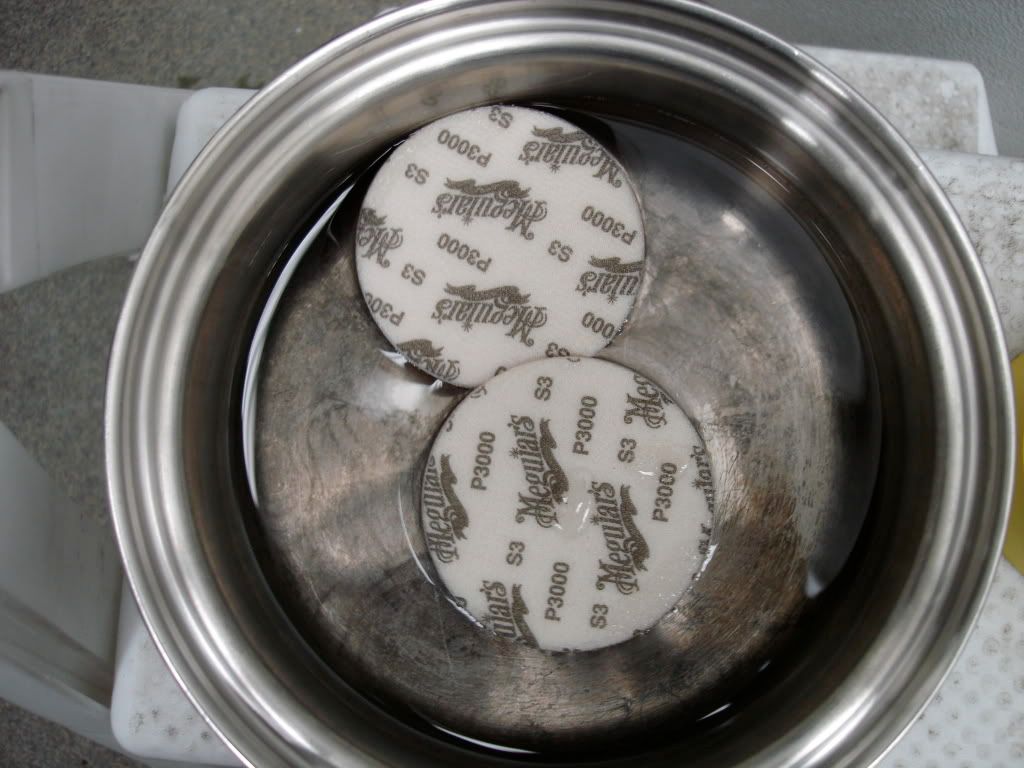
Before beginning prep on the trunk I let the paper soak for about 40 minutes in lukewarm water
Two 3000grit discs soaking before using
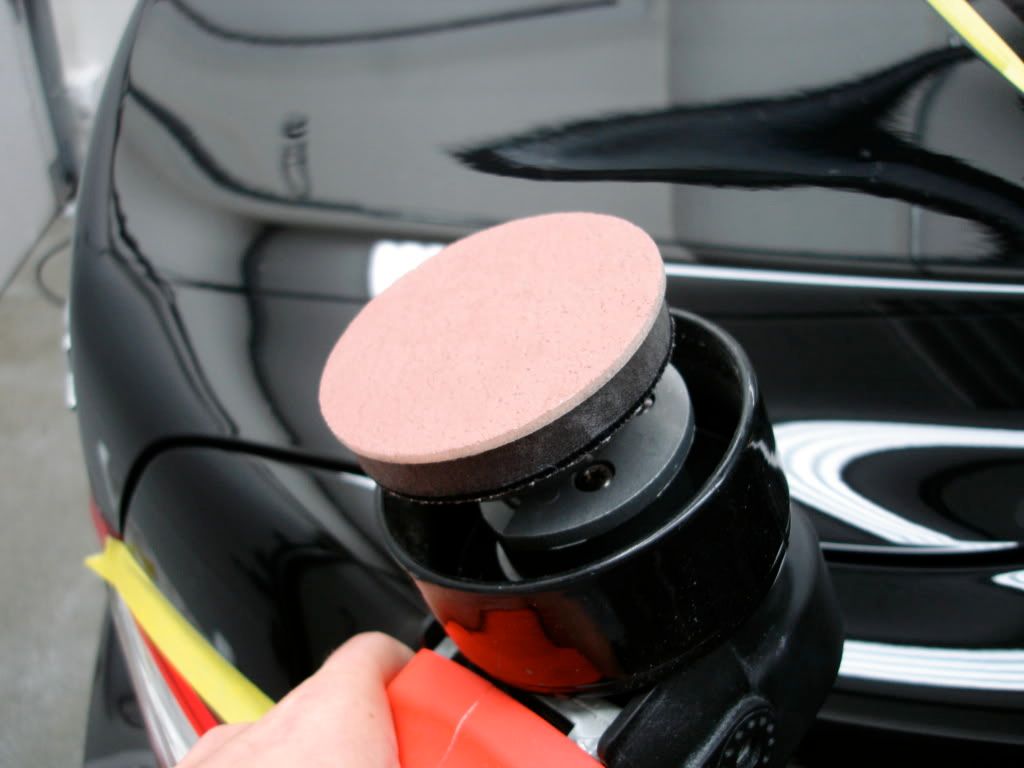
Proper adapter screwed into backing plate for sanding, then the backing pad was put on

Majority of the paint issues came from automatic car washes and later a paint chip repair guy who attempted some "buffing" of his own, naturally that only added to the issues.
This writeup contains lots of 50/50 pictures and several videos including one on DA wetsanding.
Prep procedure:
Pressure rinse
Foam
2 bucket wash using strong mix of CG citrus wash
Riccardo clay + ONR lube
Multiple IPA wipedowns to completely strip paint of old glaze
Wheels:
Sonax on wheels
Powerclean on tires/wheel wells
Started with the hood, many rock chips attempted to be fixed on the hood and more damage was left than damage fixed
Closeup of defects under Fenix LED
After M105 + wool pad and Menzerna Powerfinish
Wool compounding
Front fender corrected, door uncorrected
Trunk section was too damaged for high level correction using even a wool pad and M105, no sense in even testing out that combination as I would have yielded no more than maybe 75% correction, the gouges and deep rids would be left all over the trunk. In trying to chase down those very deep defects with a wool pad at high RPM I would most likely remove more clear coat than I would like to in the process.
So I opted to wetsand it instead. The entire trunk was DA sanded using 3000 grit discs
Lots of deep RIDS and gouges, again rock chip repair was attempted here and failed miserably.
Before beginning prep on the trunk I let the paper soak for about 40 minutes in lukewarm water
Two 3000grit discs soaking before using
Proper adapter screwed into backing plate for sanding, then the backing pad was put on
Sep 12, 2010 | 02:47 PM
#2
Thread Starter
| Teamspeed Senior Member
Joined: May 2008
Posts: 526
From: New Jersey
Finally after soaking, disc was centered on. I used 1 disc for the right side, and 1 disc for the left side after which both were thrown away.
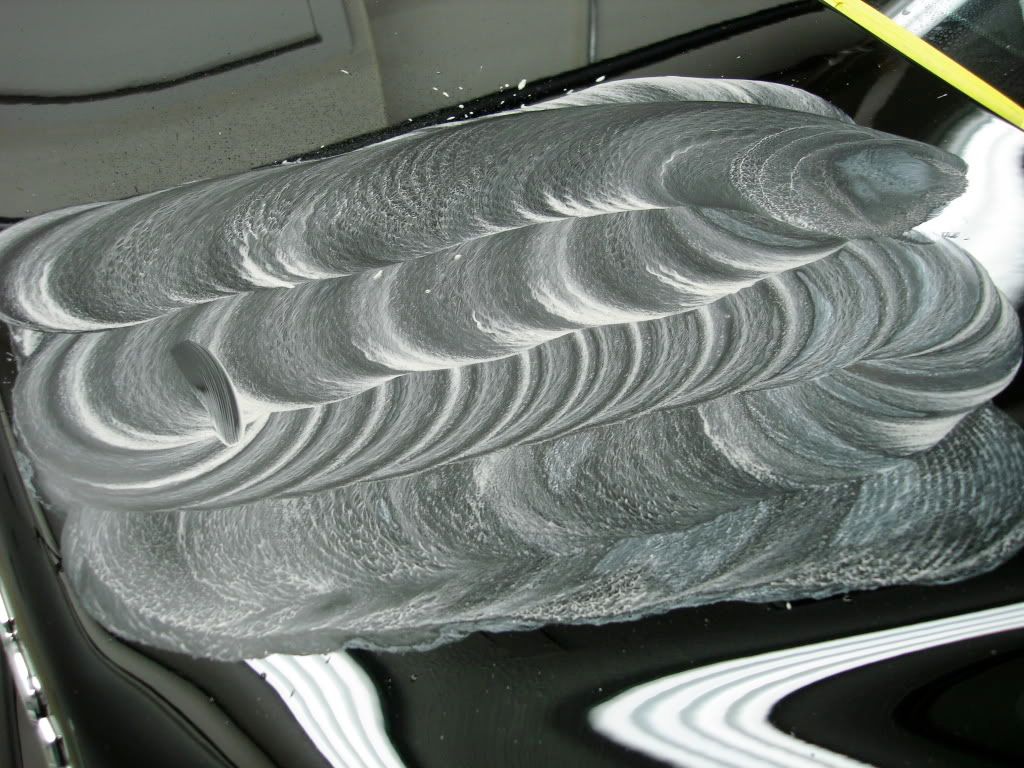
Slurry left in the process of sanding, water in a sprayer bottled had a tiny bit of pH car soap for lubricity, some like that some dont, I prefer it. Not a ton of water used in this process so I guess you could classify it as "damp sanding" rather than wet sanding.

Readings taken after also
DA sanding Video
YouTube - Machine Wetsanding by Street Dreams Detail
Results and 50/50s after removing sanding marks with the same black wool pad and M105 combo plus foam compounding with Powerfinish, no finishing polish at this point
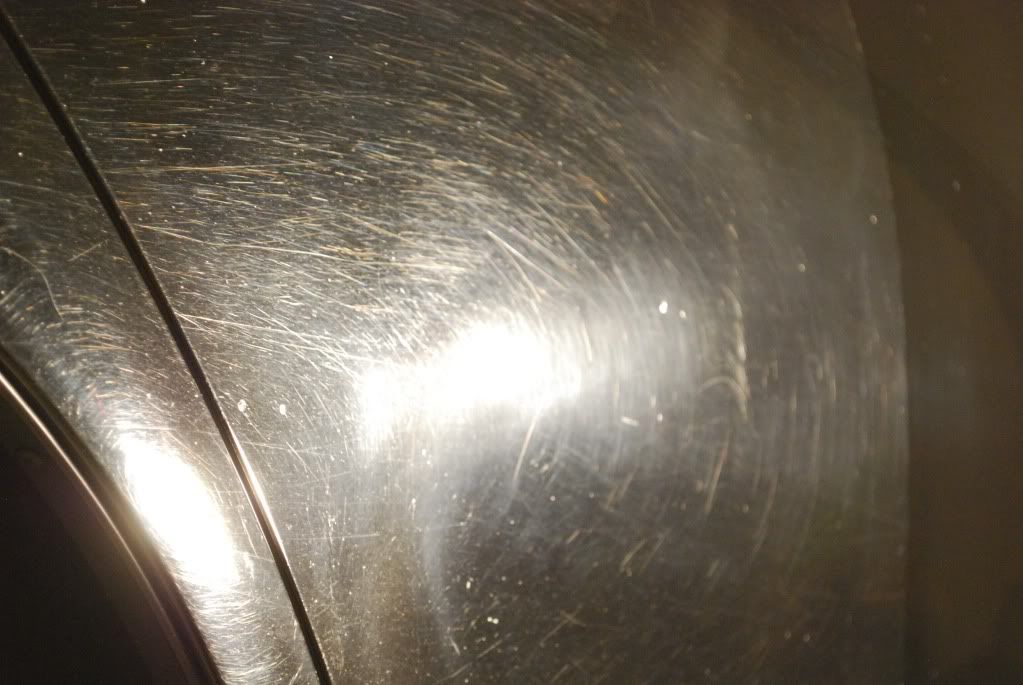
I like this picture because it shows the natural color of the finish with the heavy concentration of swirls compared to the sanded and polished side
Left side then sanded also
Onto the rest of the car
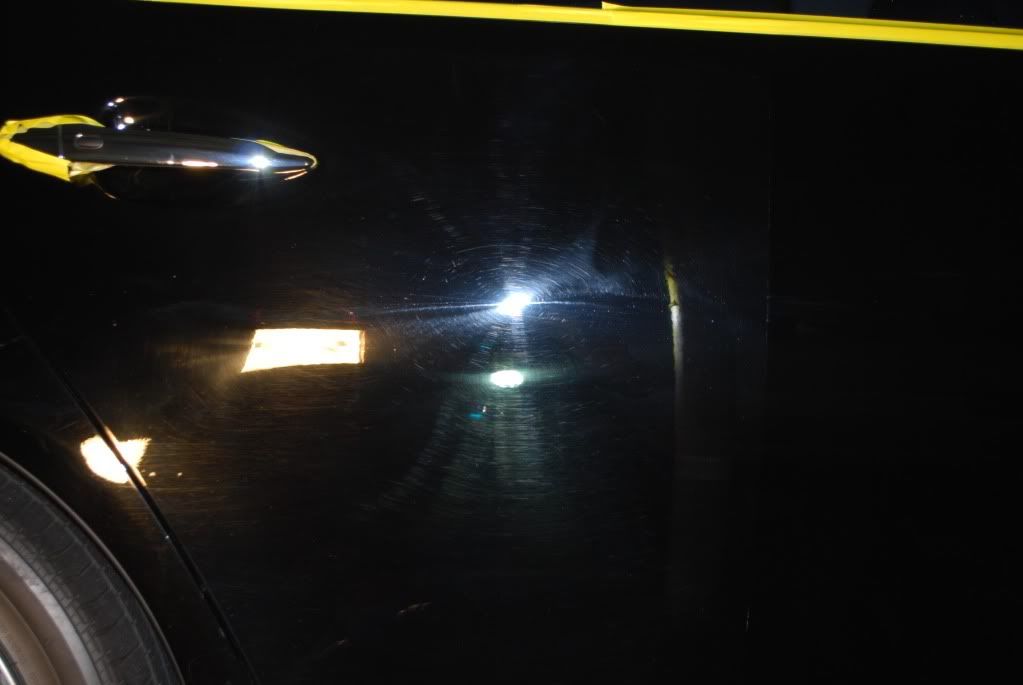
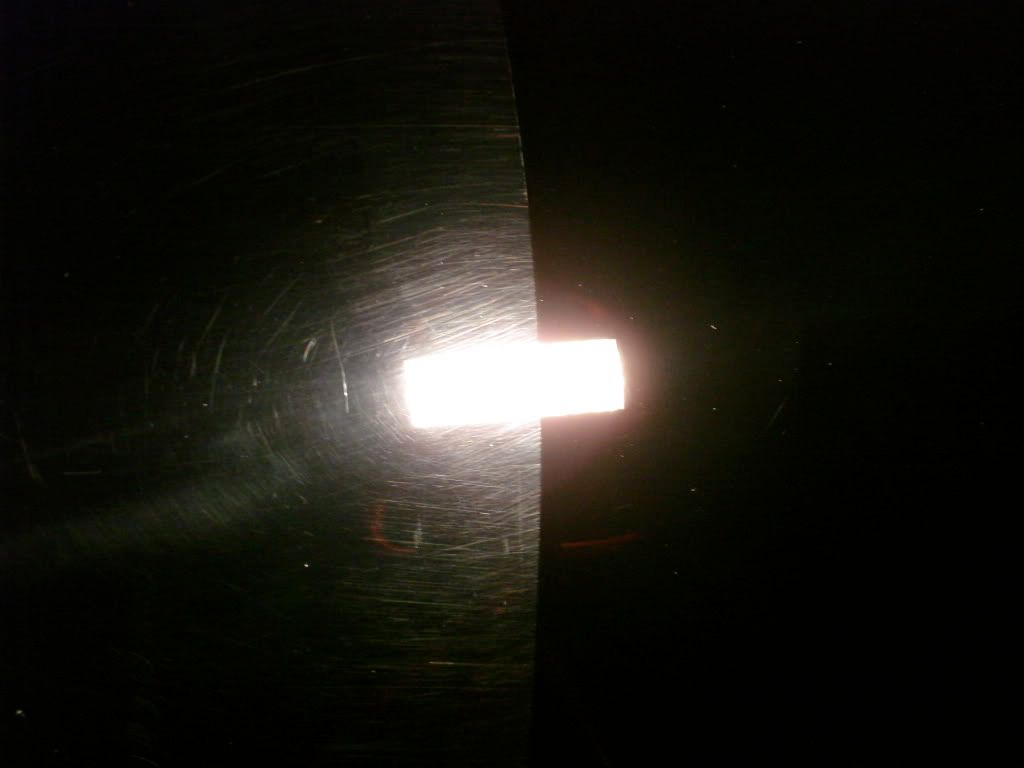
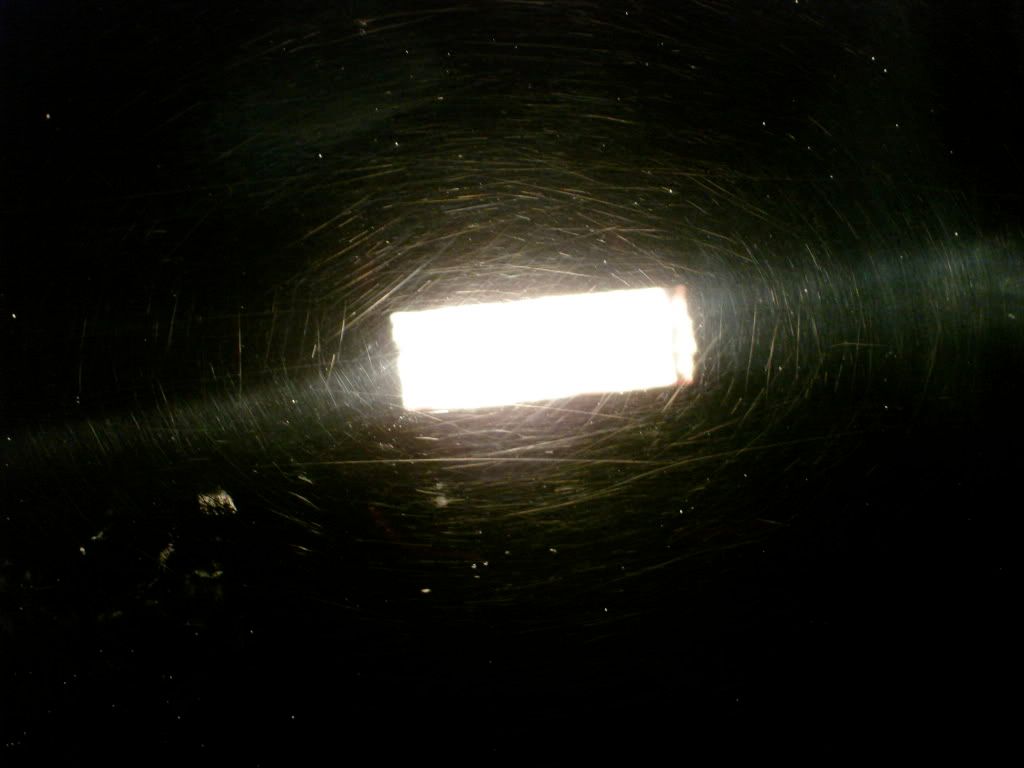
The doors had some of the heaviest concentrations of swirls I have seen so far on any car
The 3 lightsource test.. if it passes this you achieved what you wanted.
- Halogen
- LED
- Camera Flash
Uncorrected under 3 different light sources
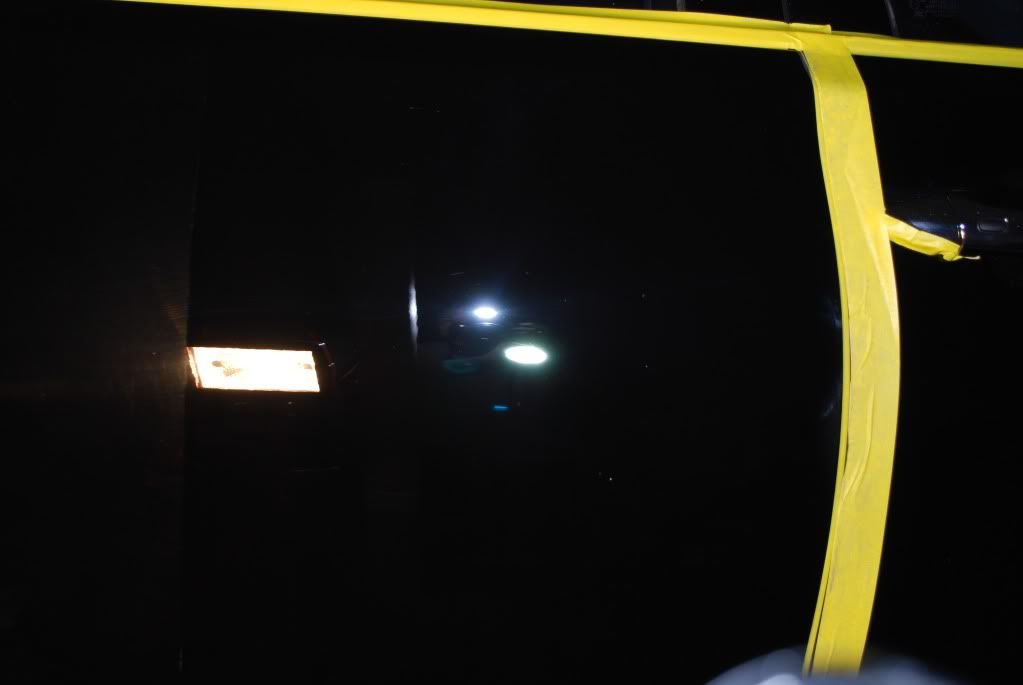
Corrected side under the same 3 light sources
Video 50/50
YouTube - Street Dreams Detail - Video 50/50 Before and After polishing
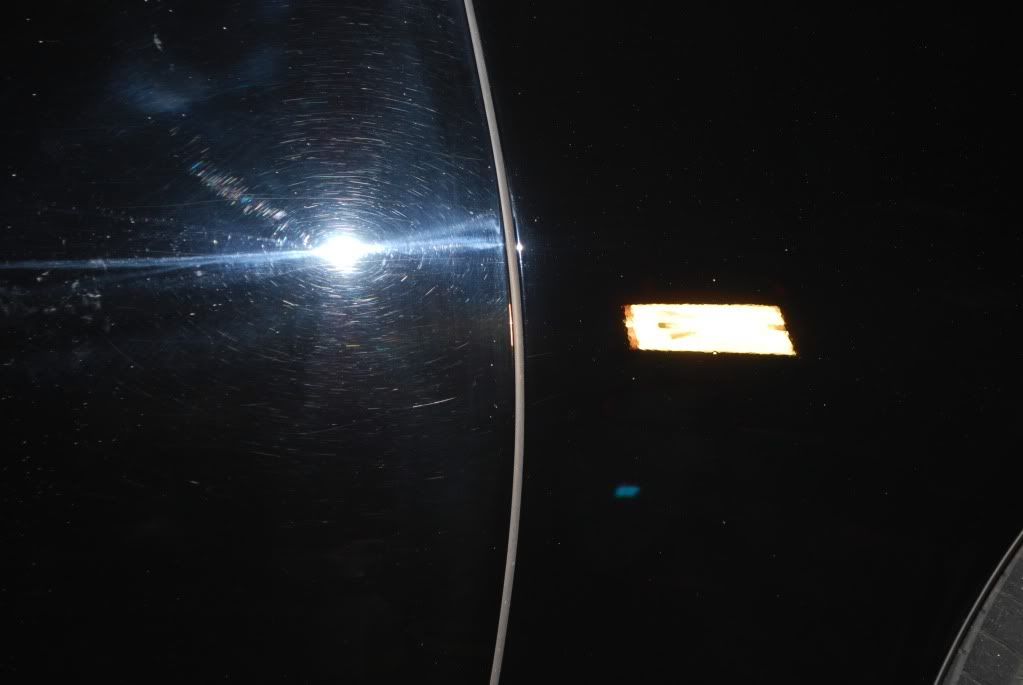
Closeup
Drivers side door, same issues
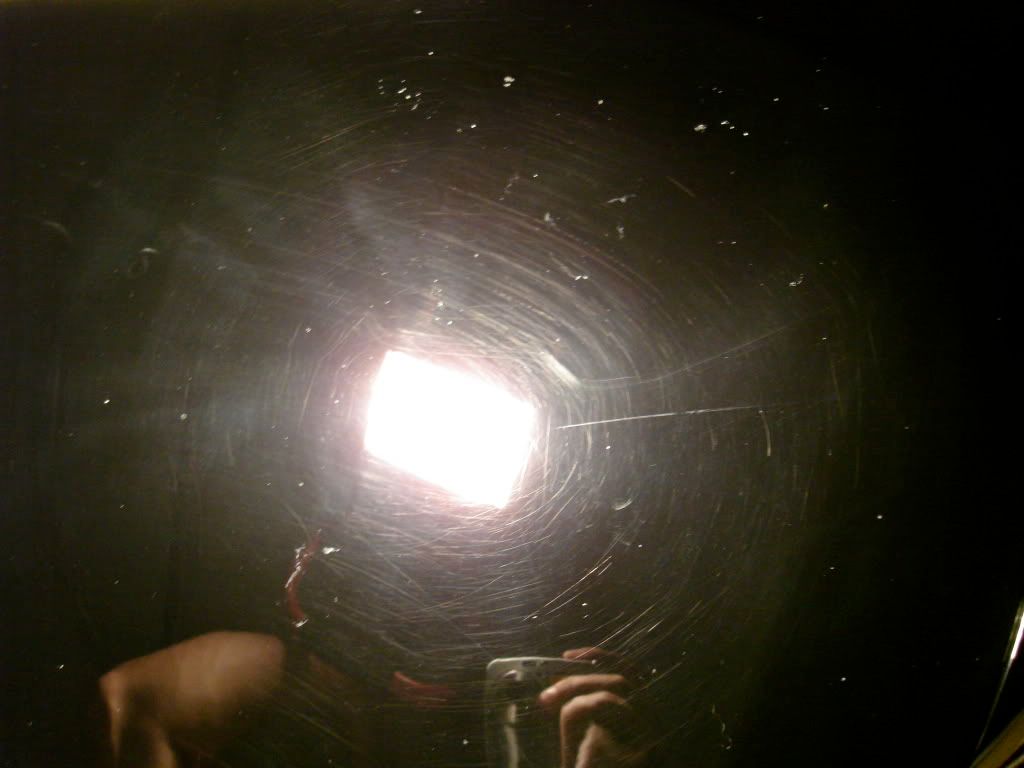
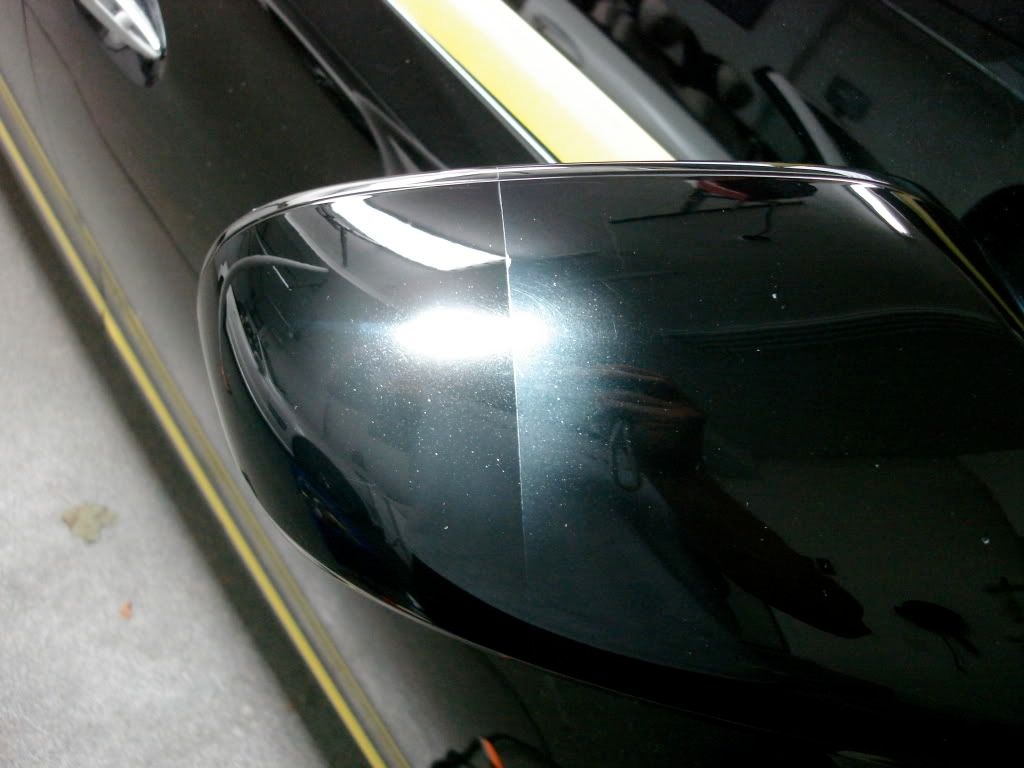
Mirror
After all compounding and polishing work the car was finished using the DA and Menzerna PO85rd. Lexus paint is very nice to work with but can be a bit of a pain to finish down via rotary so before taking any chances I switched down to the DA and it worked great.
Slurry left in the process of sanding, water in a sprayer bottled had a tiny bit of pH car soap for lubricity, some like that some dont, I prefer it. Not a ton of water used in this process so I guess you could classify it as "damp sanding" rather than wet sanding.
Readings taken after also
DA sanding Video
YouTube - Machine Wetsanding by Street Dreams Detail
Results and 50/50s after removing sanding marks with the same black wool pad and M105 combo plus foam compounding with Powerfinish, no finishing polish at this point
I like this picture because it shows the natural color of the finish with the heavy concentration of swirls compared to the sanded and polished side
Left side then sanded also
Onto the rest of the car
The doors had some of the heaviest concentrations of swirls I have seen so far on any car
The 3 lightsource test.. if it passes this you achieved what you wanted.
- Halogen
- LED
- Camera Flash
Uncorrected under 3 different light sources
Corrected side under the same 3 light sources
Video 50/50
YouTube - Street Dreams Detail - Video 50/50 Before and After polishing
Closeup
Drivers side door, same issues
Mirror
After all compounding and polishing work the car was finished using the DA and Menzerna PO85rd. Lexus paint is very nice to work with but can be a bit of a pain to finish down via rotary so before taking any chances I switched down to the DA and it worked great.
Sep 12, 2010 | 02:48 PM
#3
Thread Starter
| Teamspeed Senior Member
Joined: May 2008
Posts: 526
From: New Jersey
I'll open up a door or pop a hood so I can polish all the way to an edge without spilling over on the next panel...
Like I did here
After gentle finishing and some more inspection after another IPA wipedown I pulled the car outside to double check my work in the sun. No LSP applied yet
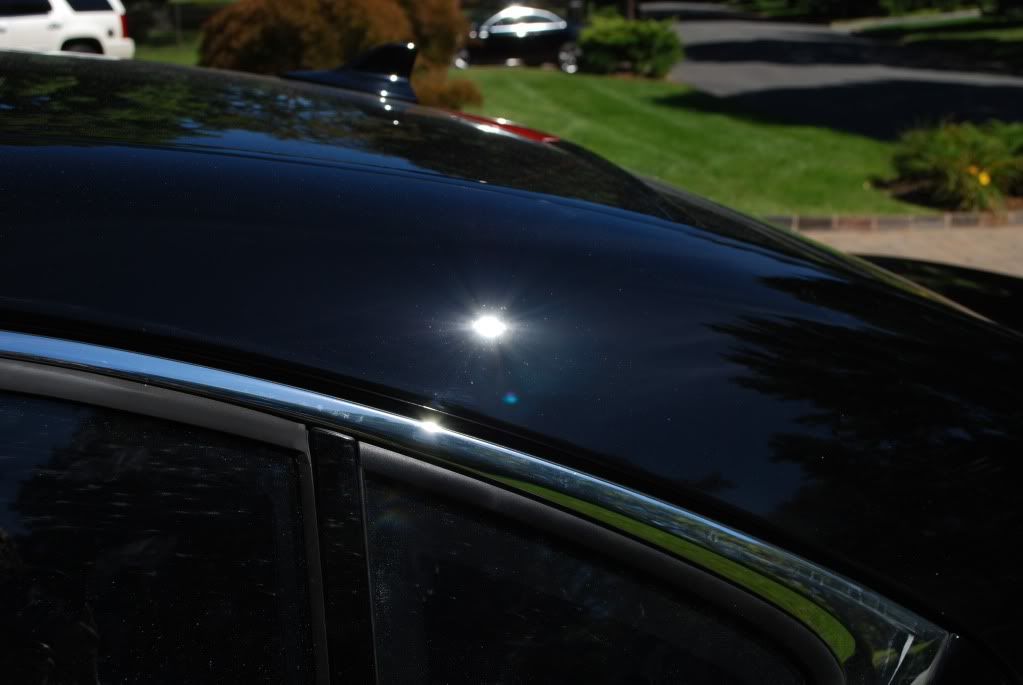
Sun shots after correction only
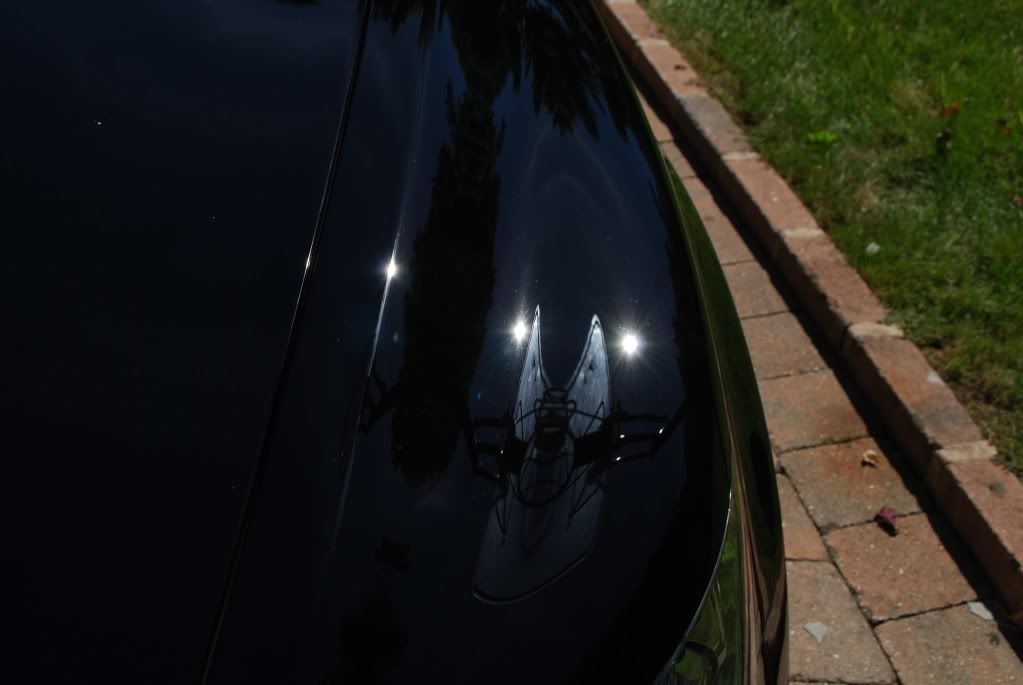
Trunk, nice and leveled

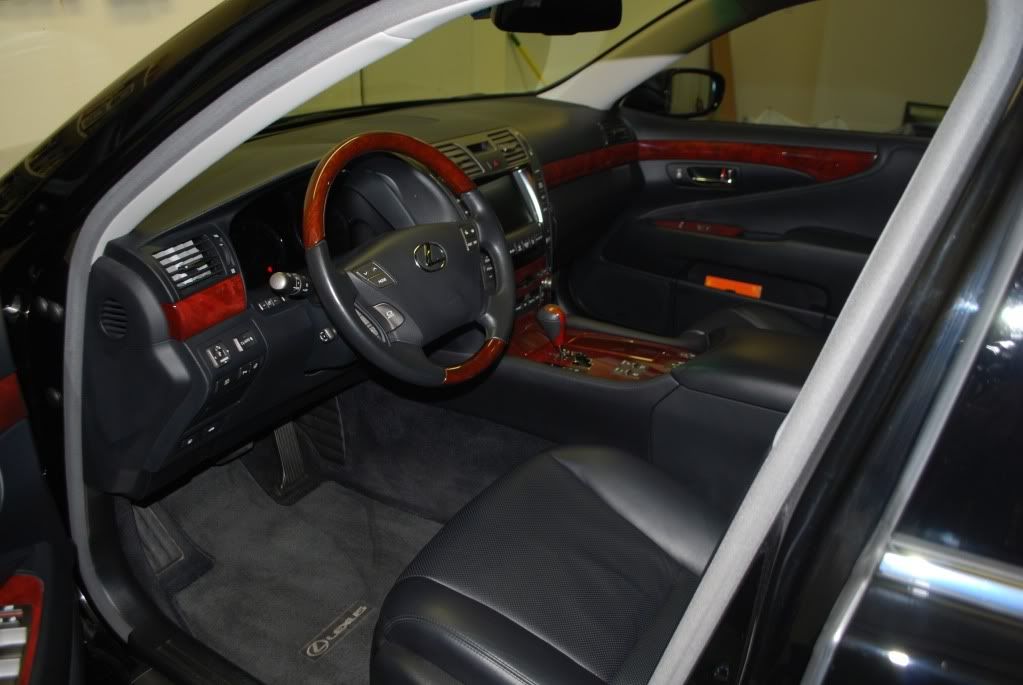
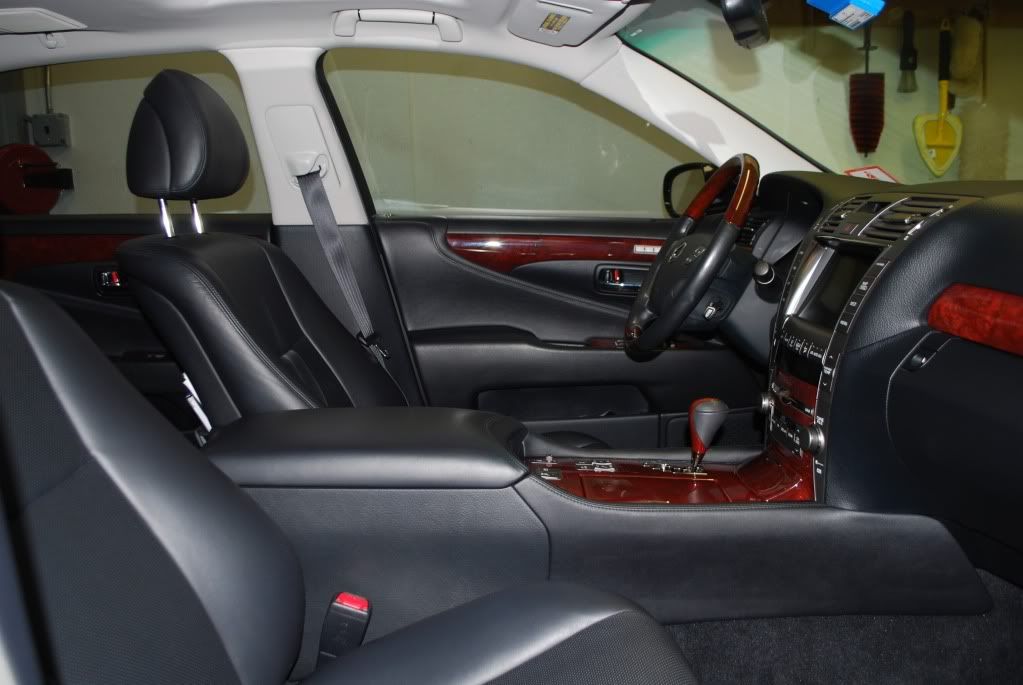
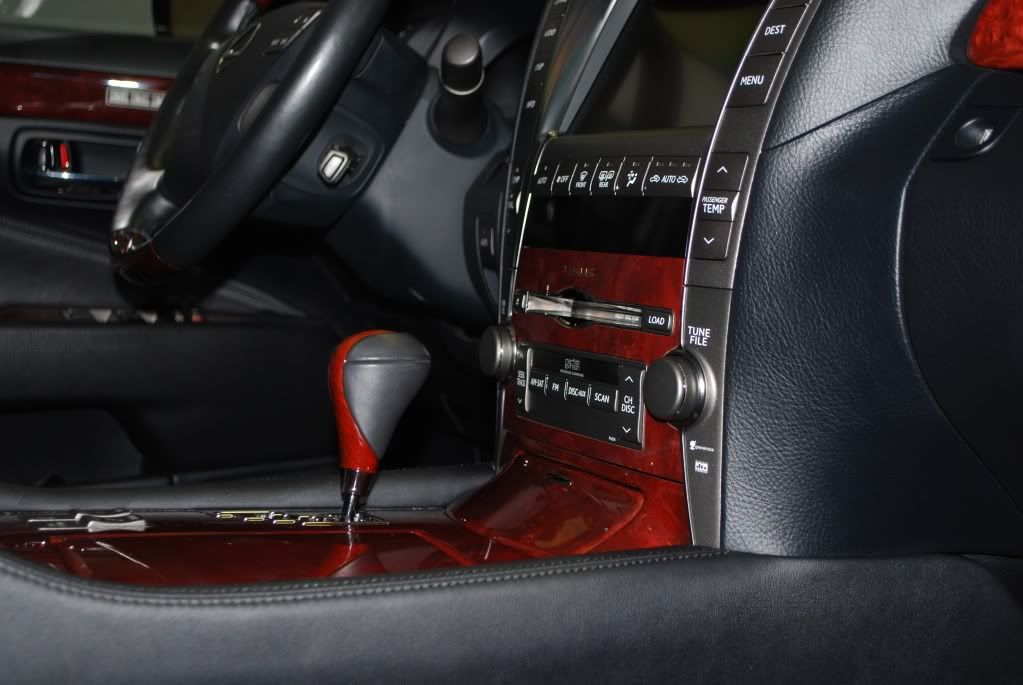
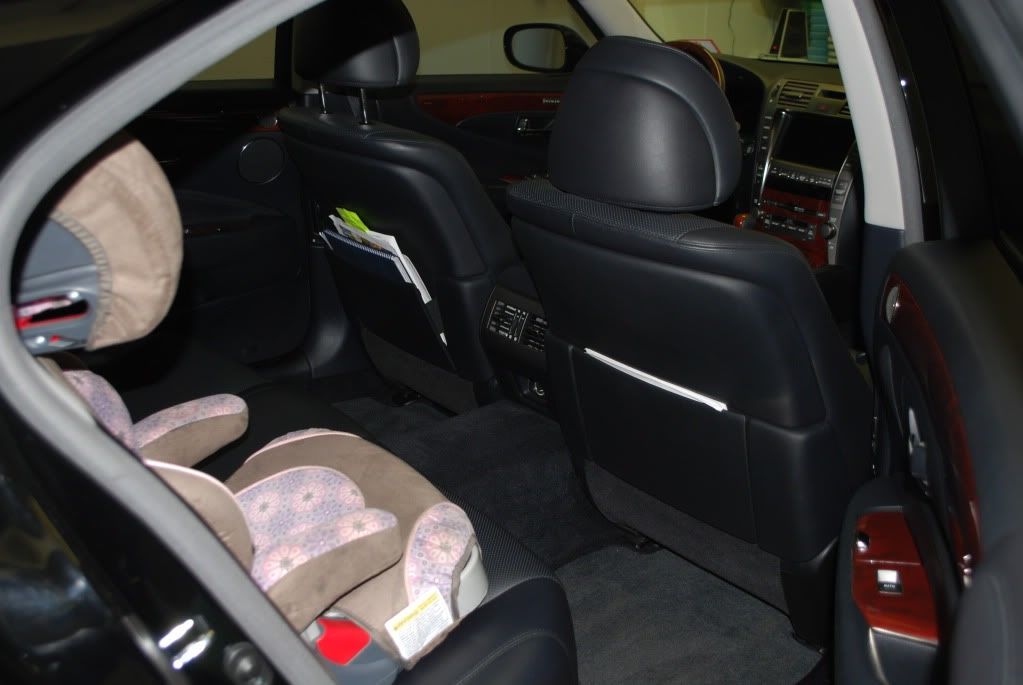
Back inside for interior work
Before
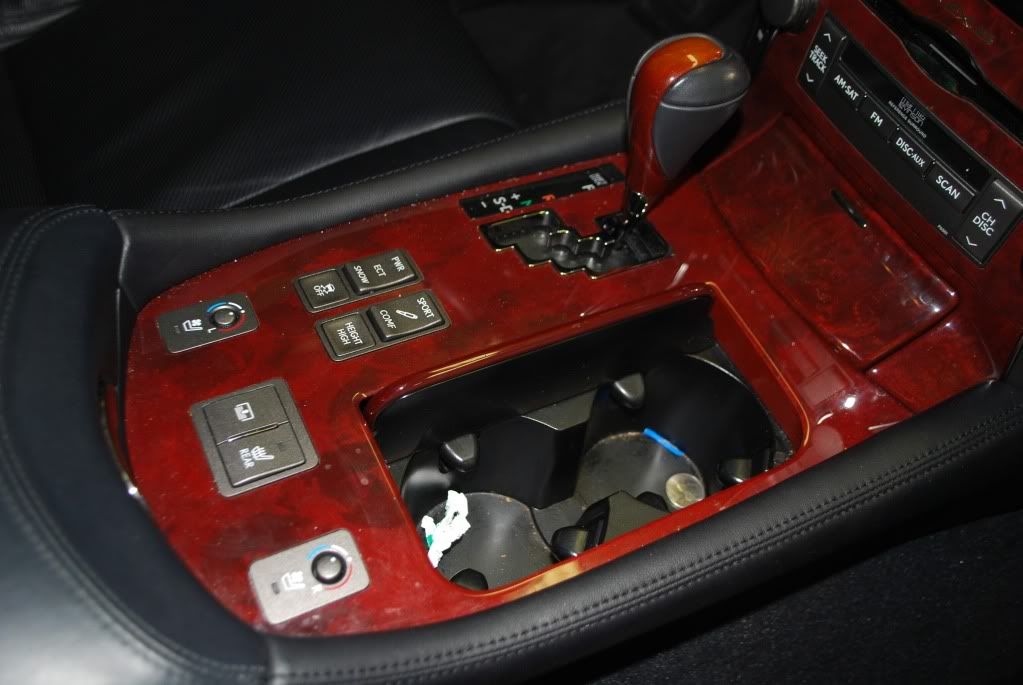
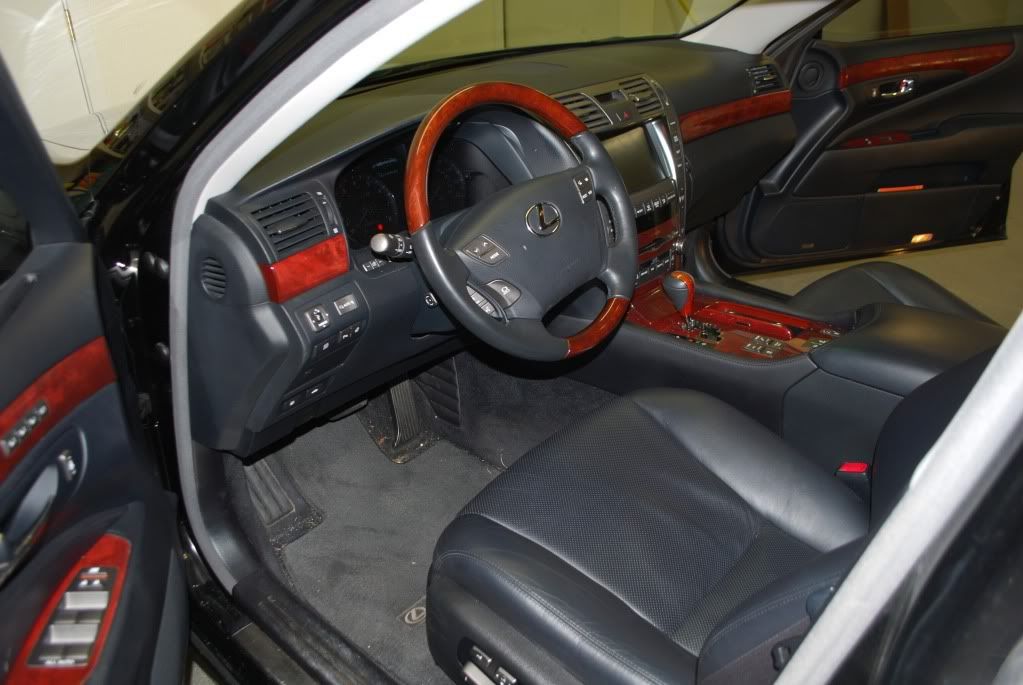
After
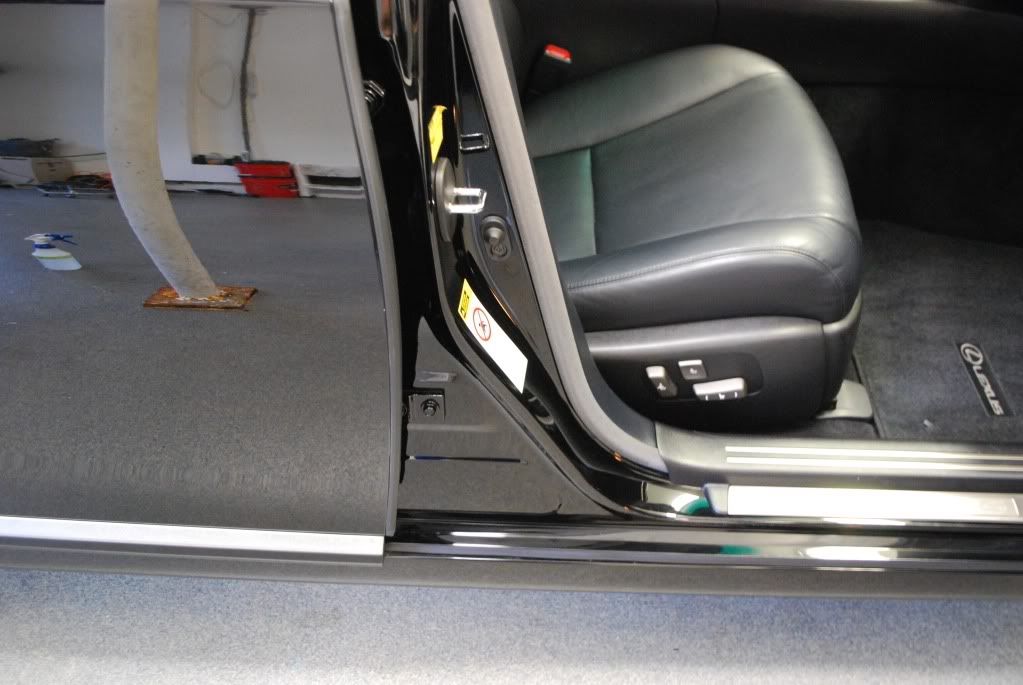
Doorjambs sealed using Opti seal
LSP: Powerlock x2 applied by machine

Inside for the final wipedown using distilled water
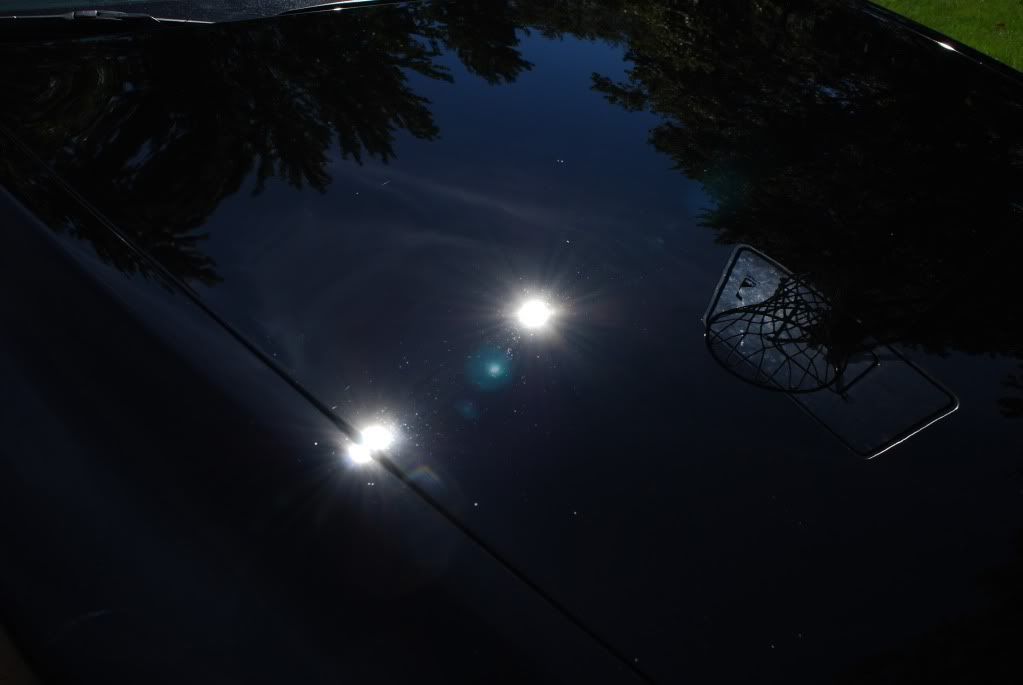
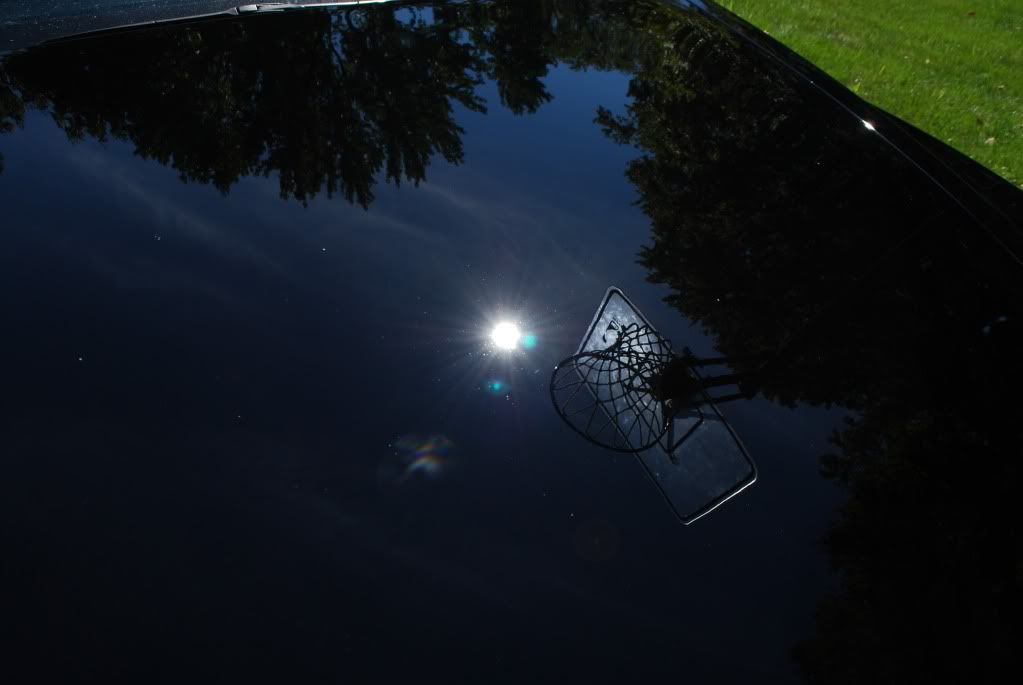
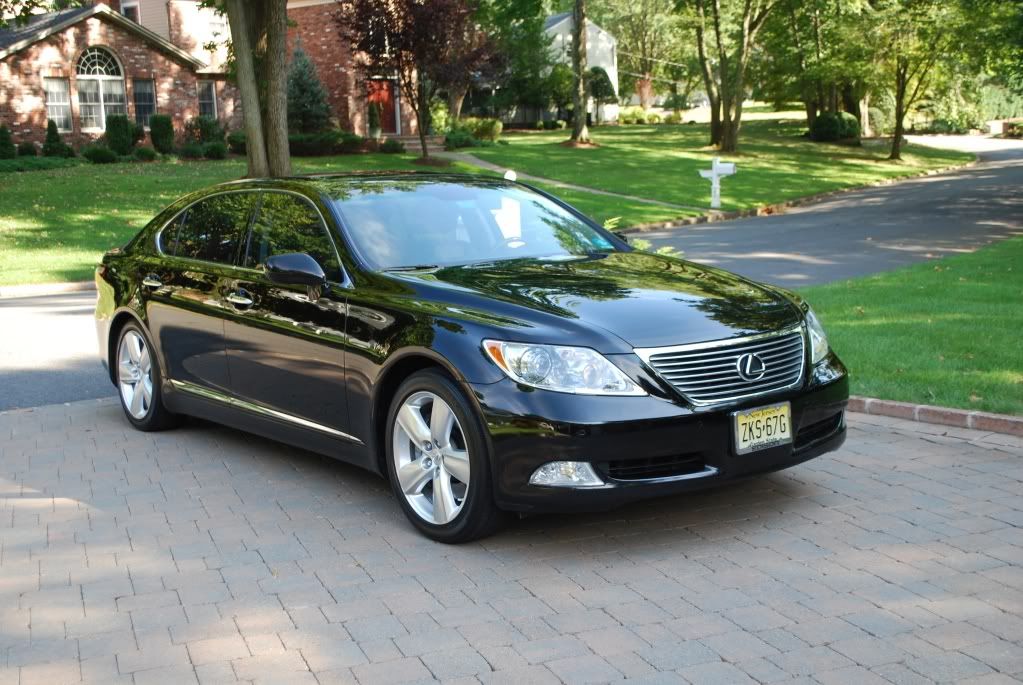
Final shots

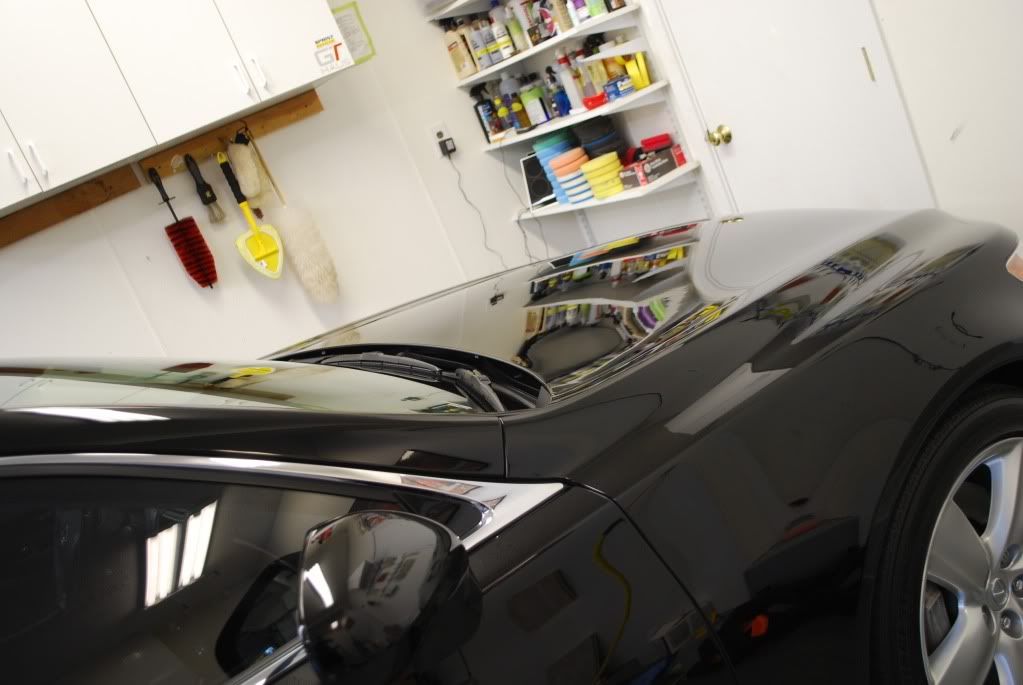
Trunk as I imagined it would look after the time spent on it
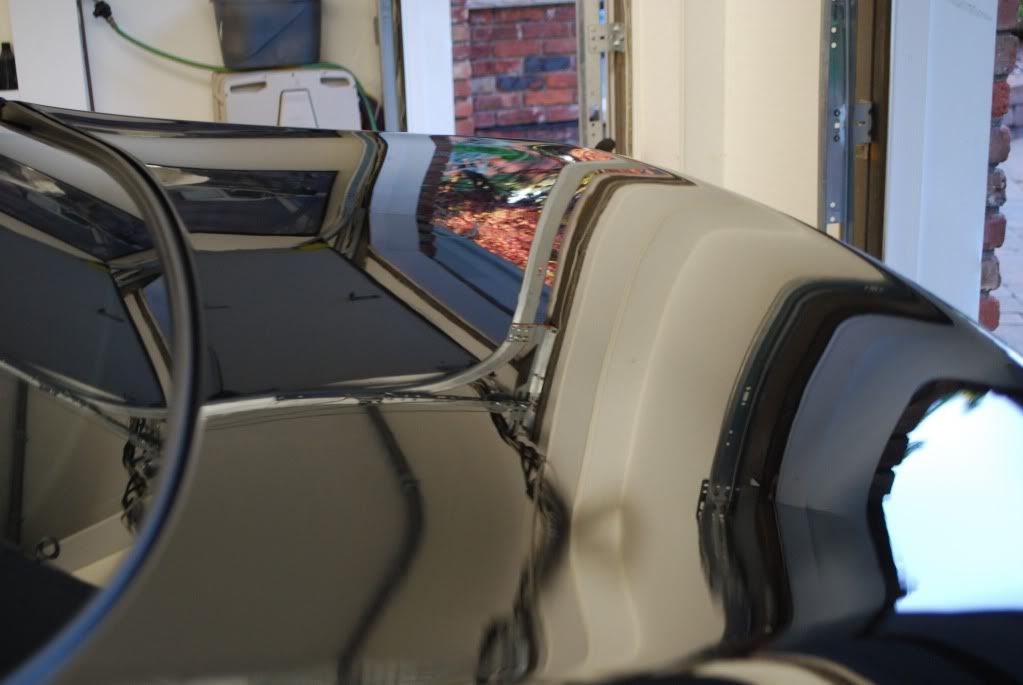
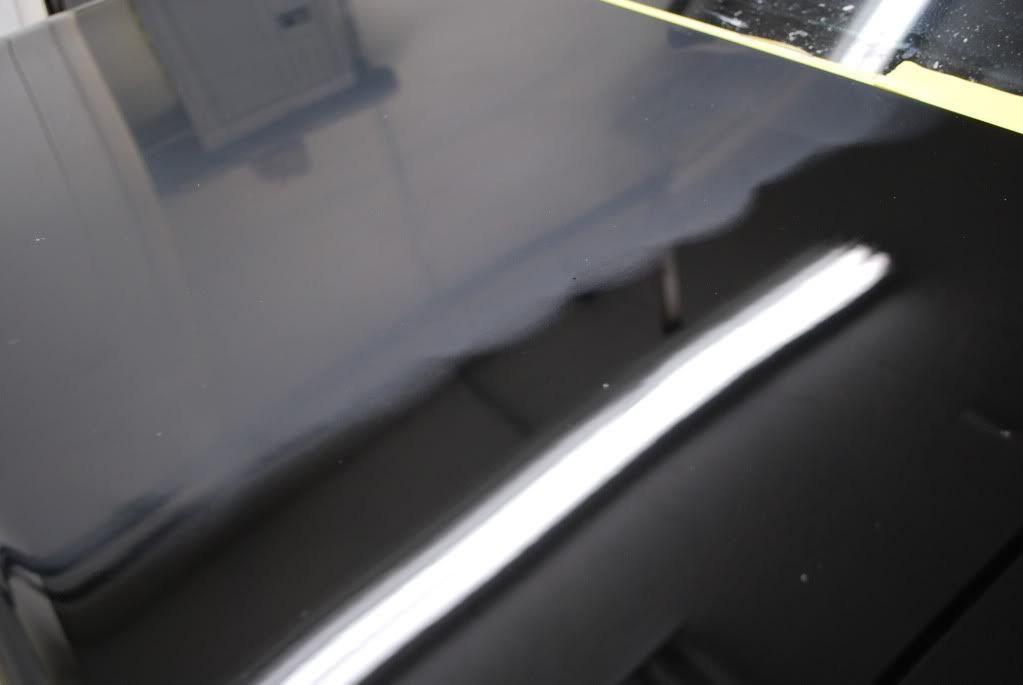
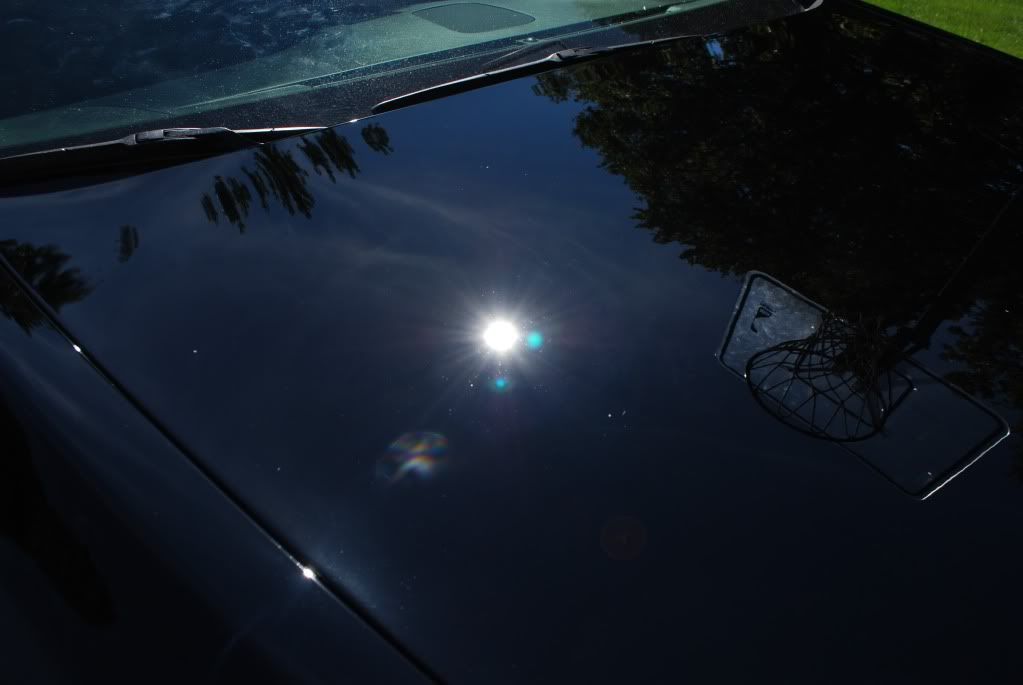
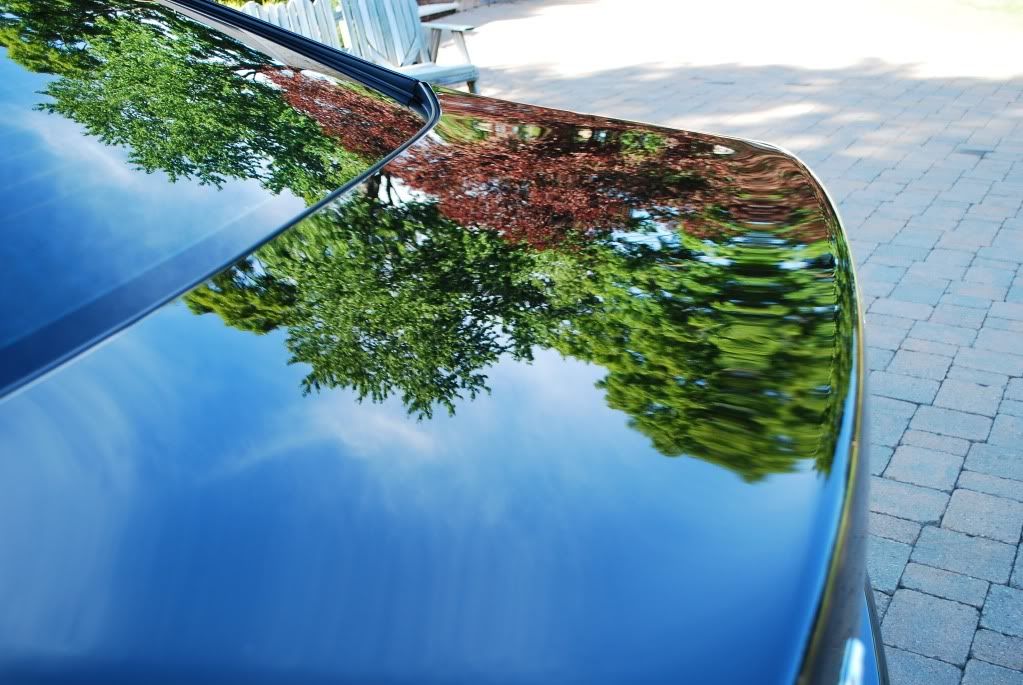
Hood reflection

Walkaround video
YouTube - Street Dreams Detail - Lexus LS 460 After Massive Correction
I usually keep my favorite picture for last, one that sums up the detail as a whole...in this case it was not a finished shot but a 50/50 of the trunk...
Thats it, thanks for looking!
Like I did here
After gentle finishing and some more inspection after another IPA wipedown I pulled the car outside to double check my work in the sun. No LSP applied yet
Sun shots after correction only
Trunk, nice and leveled
Back inside for interior work
Before
After
Doorjambs sealed using Opti seal
LSP: Powerlock x2 applied by machine
Inside for the final wipedown using distilled water
Final shots
Trunk as I imagined it would look after the time spent on it
Hood reflection
Walkaround video
YouTube - Street Dreams Detail - Lexus LS 460 After Massive Correction
I usually keep my favorite picture for last, one that sums up the detail as a whole...in this case it was not a finished shot but a 50/50 of the trunk...
Thats it, thanks for looking!


 Sep 16, 2010 | 09:50 PM
#10
Thread Starter
| Teamspeed Senior Member
Joined: May 2008
Posts: 526
From: New Jersey
Have to constantly push the envelope Damon, sometimes wool pads at high RPM just wont cut it, lol.
How you been?

Thread
Thread Starter
Forum
Replies
Last Post
Lucci Elite Detail
Detailing & Paint Protection
3
Jul 5, 2012 03:24 PM
Shane@AtlantaAutoSalon
Detailing & Paint Protection
13
Jun 6, 2012 04:46 AM
Phil Y
Detailing & Paint Protection
3
Dec 10, 2010 09:35 AM
PresidentialDetails
Detailing & Paint Protection
6
Oct 21, 2010 03:18 PM
gmblack3
Detailing & Paint Protection
5
Dec 14, 2009 08:22 PM
Bookmarks


Currently Active Users Viewing This Thread: 1 (0 members and 1 guests)

