
Theo's DIY Guide to Detailing Engine Bay
 Sep 2, 2010 | 04:43 PM
#1

Thread Starter
| Teamspeed Rookie
Joined: Dec 2007
Posts: 6

Theo's DIY Guide to Detailing Engine Bay
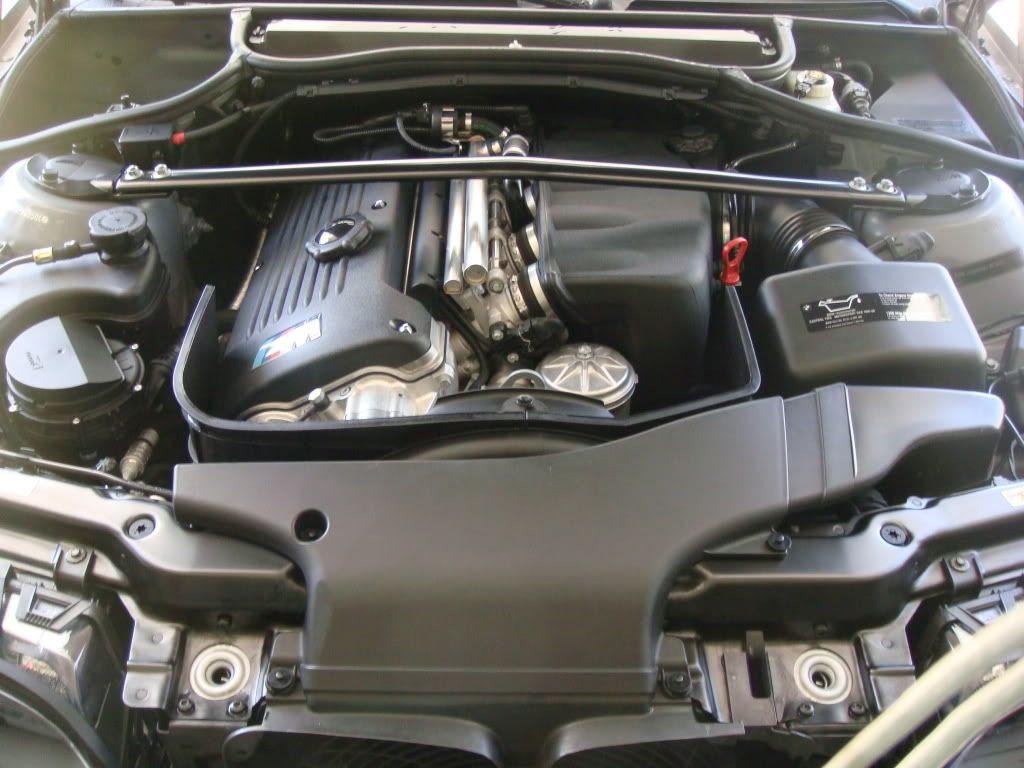
Today was my annual engine bay detail for my E46 M3 (05) so I decided to help others out there who would want to do the same. My car is going to be about 6 years old (original owner) and in my honest opinion just by cleaning the engine bay once a year it will keep it looking in top shape. The steps are pretty much the same for any engine bay. Here is an easy step by step process of how to detail your engine bay:
Supplies needed:
Detailing Brush/ toothbrush (Best to get into the tight spots with dirt)
Engine bay Degreaser/Wash
Gloves
30 to 50 minutes of time

IMPORTANT before the detailing:
Cover up any electrical wiring with a MF towel
Make sure you have shade and cool temperatures to work with
Make sure the engine is cool enough to touch
1. Wash down the engine with a light to moderate mist of water from the hose
2. Follow up by spraying your engine degreaser or what have you. NOTE: some degreasers require you to dilute w/ water so be sure you have the appropriate balance of your solution.
3. Wait approximately one minute so that the solution can dig into the dirt/grease
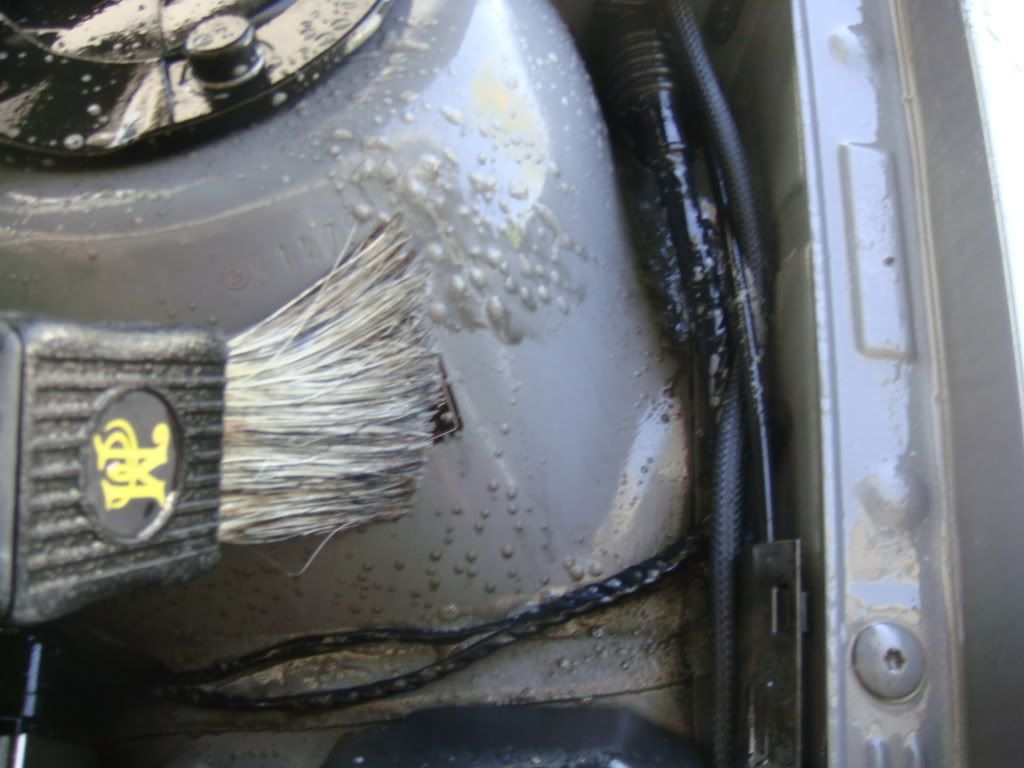
4. Then, agitate the dirt with your detailing brush or toothbrush for maximum results.


5. After scrubbing the majority of the engine hose it down and then remove all MF towels or painters tape protecting the electrical.
6. Immediately start the engine and wipe down the engine bay with preferably an MF towel. NOTE: This step is the most important, especially if you do not have a water filter because the water will leave dry spots if not wiped appropriately.
7. Drive the car down a block to get the rest of the water out and then wipe the engine bay again.
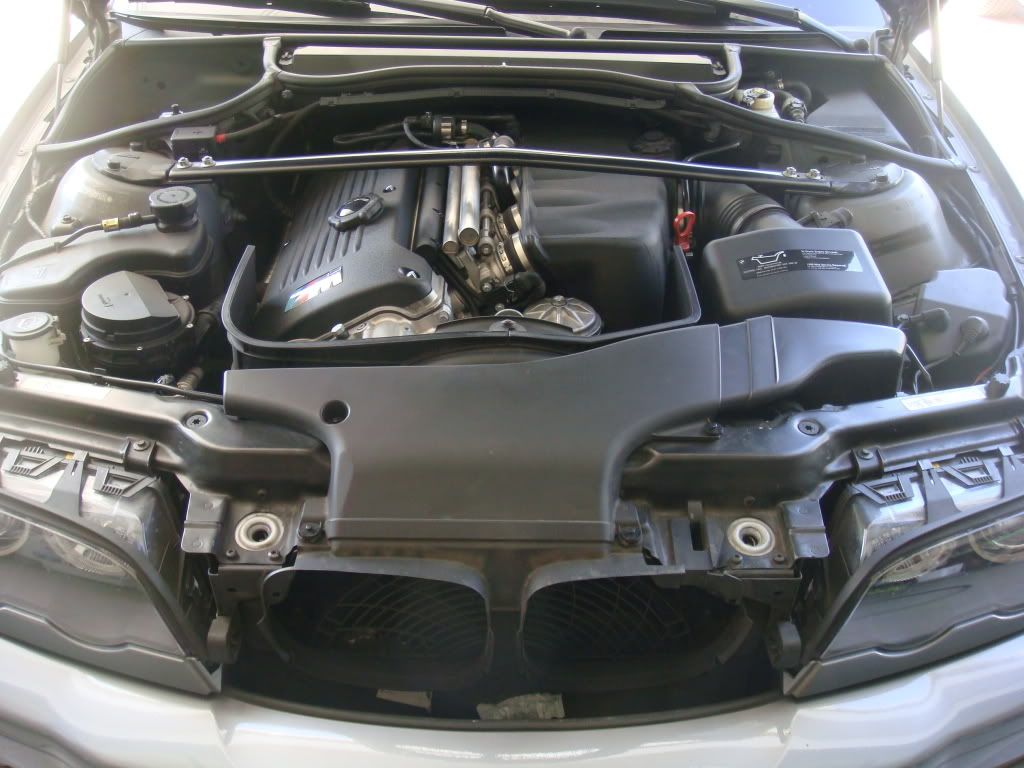
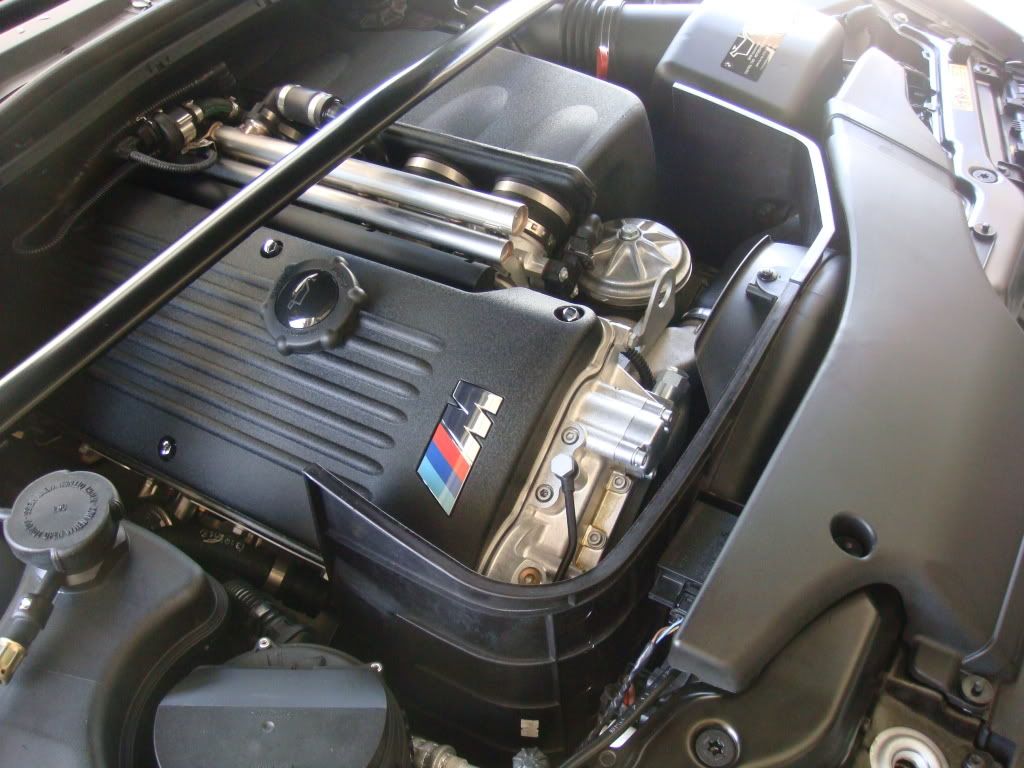
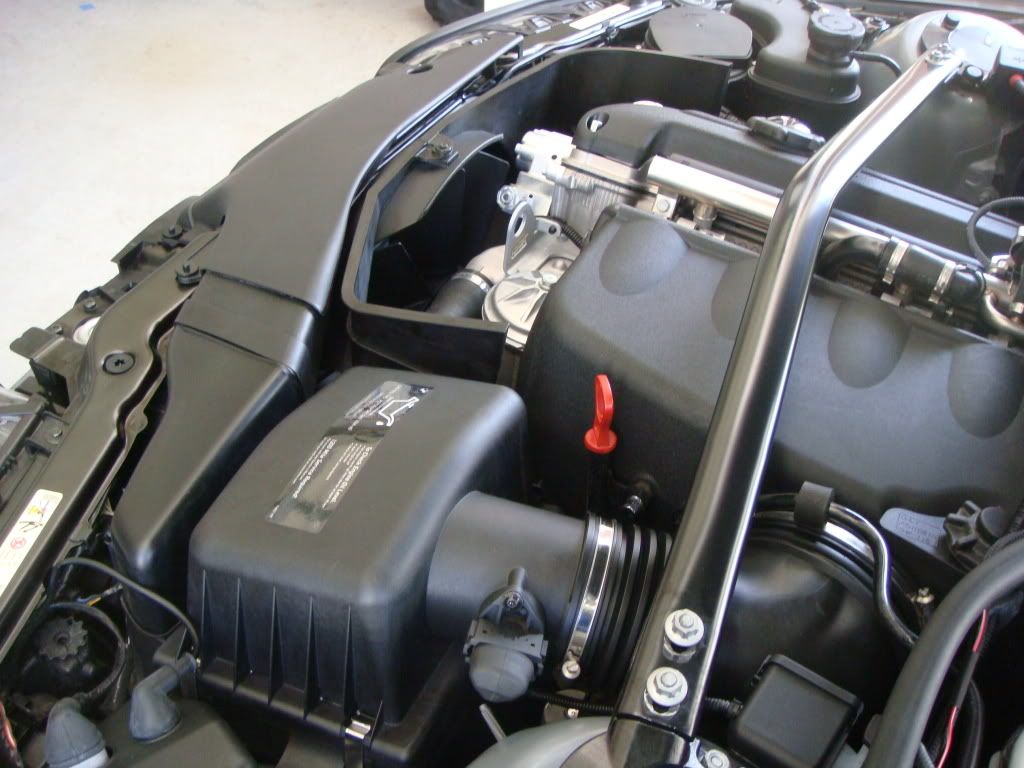
8. You can finish off the car by spraying an engine bay dresser like Adam's In n Out spray or CG's rubber etc finish. HOWEVER, I never use those because I like the plain clean look as you can see by my final results:
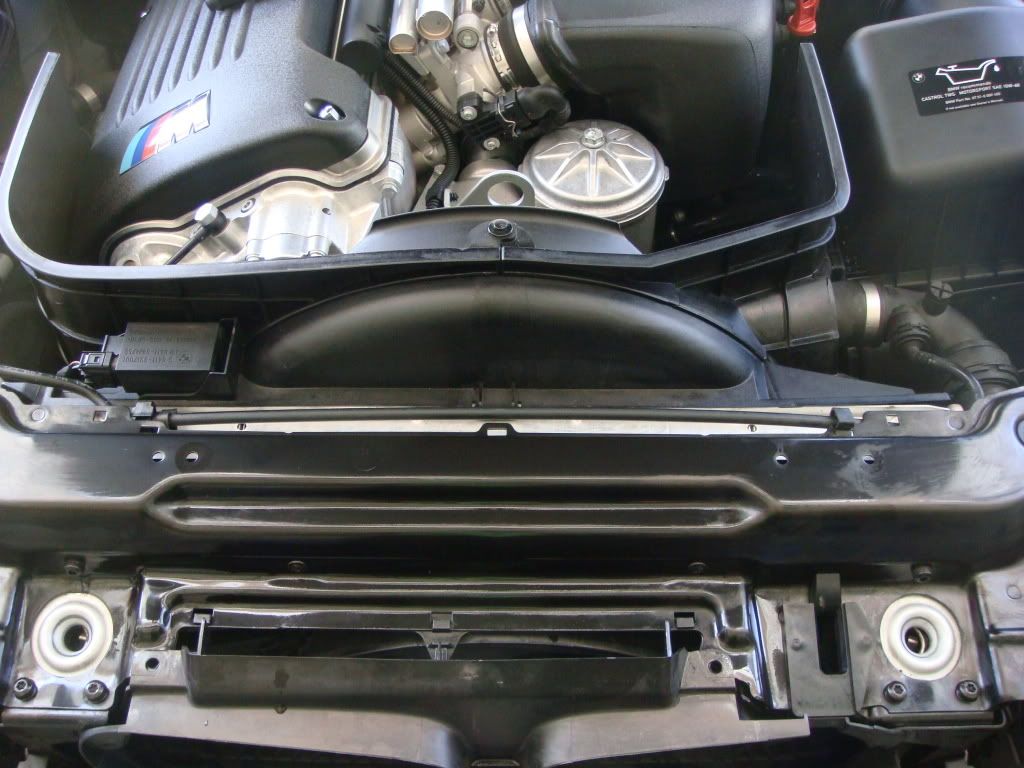
Final results:
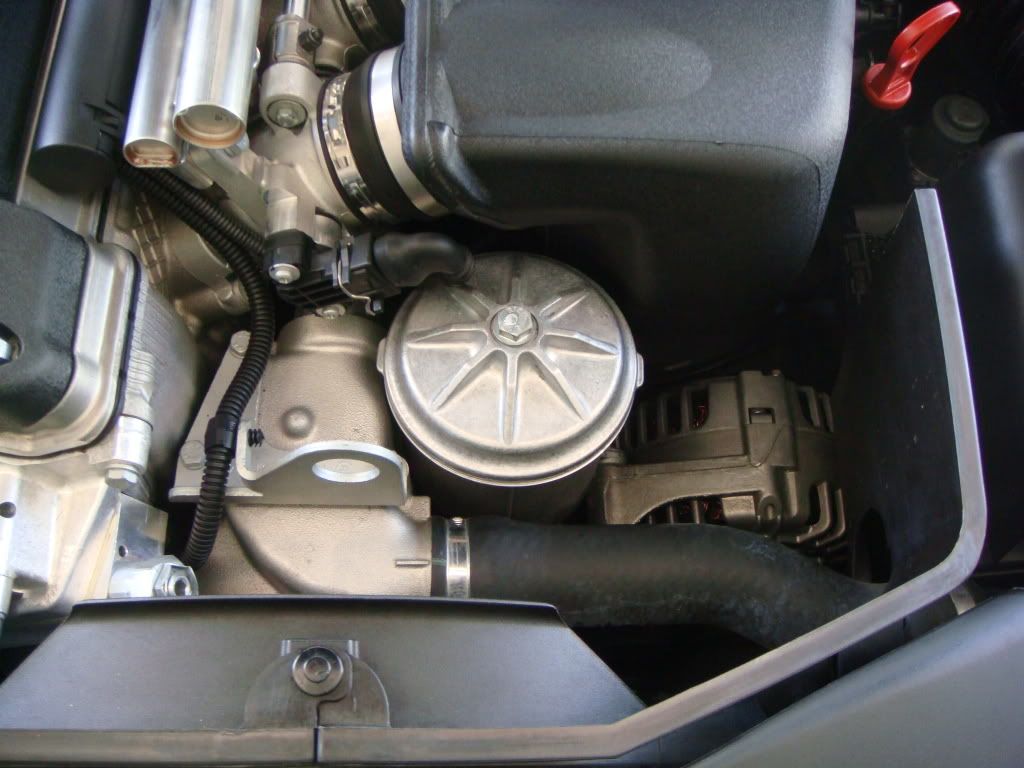
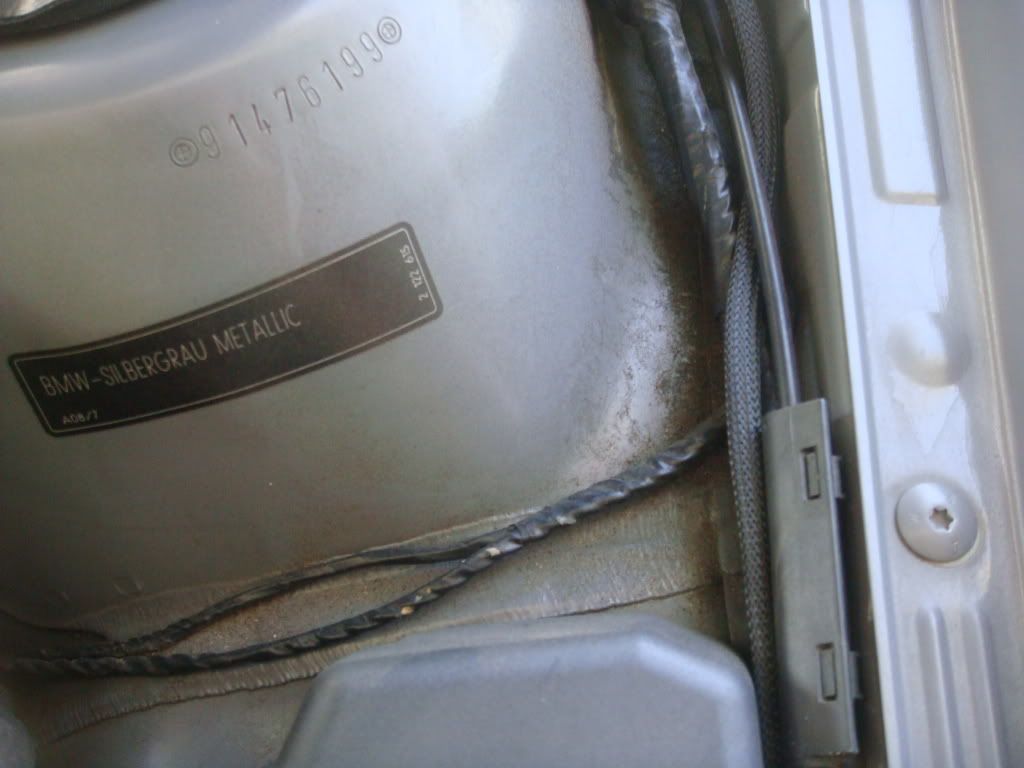
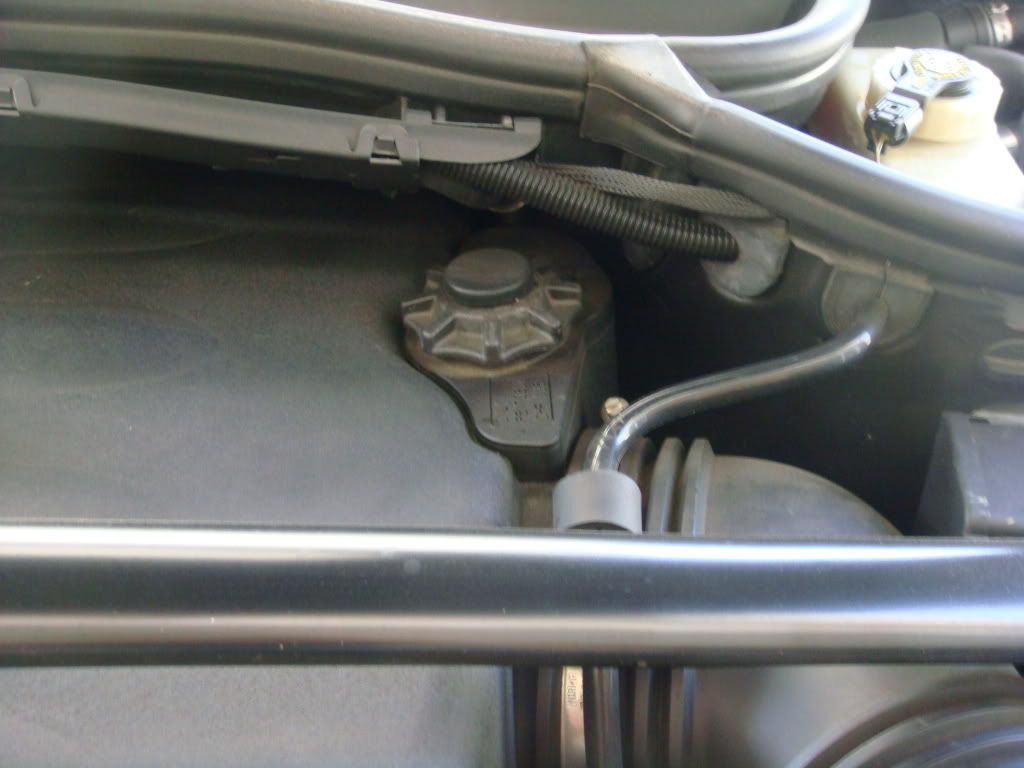
I also did the optional step of staking out one of the engine housings to clean it inside and out:
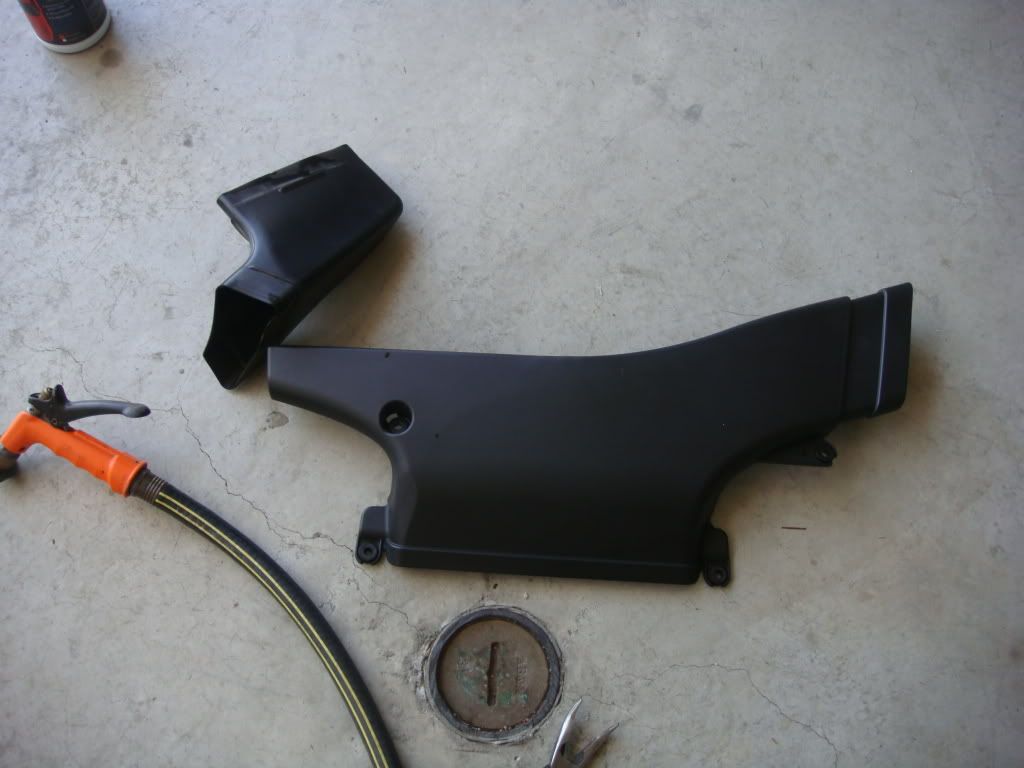
Hope you guys learned a thing or two on how to detail the engine bay! If you have any questions feel free to PM me.
Supplies needed:
Detailing Brush/ toothbrush (Best to get into the tight spots with dirt)
Engine bay Degreaser/Wash
Gloves
30 to 50 minutes of time
IMPORTANT before the detailing:
Cover up any electrical wiring with a MF towel
Make sure you have shade and cool temperatures to work with
Make sure the engine is cool enough to touch
1. Wash down the engine with a light to moderate mist of water from the hose
2. Follow up by spraying your engine degreaser or what have you. NOTE: some degreasers require you to dilute w/ water so be sure you have the appropriate balance of your solution.
3. Wait approximately one minute so that the solution can dig into the dirt/grease
4. Then, agitate the dirt with your detailing brush or toothbrush for maximum results.
5. After scrubbing the majority of the engine hose it down and then remove all MF towels or painters tape protecting the electrical.
6. Immediately start the engine and wipe down the engine bay with preferably an MF towel. NOTE: This step is the most important, especially if you do not have a water filter because the water will leave dry spots if not wiped appropriately.
7. Drive the car down a block to get the rest of the water out and then wipe the engine bay again.
8. You can finish off the car by spraying an engine bay dresser like Adam's In n Out spray or CG's rubber etc finish. HOWEVER, I never use those because I like the plain clean look as you can see by my final results:
Final results:
I also did the optional step of staking out one of the engine housings to clean it inside and out:
Hope you guys learned a thing or two on how to detail the engine bay! If you have any questions feel free to PM me.


 !
Sep 3, 2010 | 05:15 AM
!
Sep 3, 2010 | 05:15 AM
#3

Banned
Joined: Jul 2010
Posts: 21
[IMPORTANT before the detailing:
Cover up any electrical wiring with a MF towel
Make sure you have shade and cool temperatures to work with
Make sure the engine is cool enough to touch] Takumi587
Protection of Electrical Components
The most important electrical components are sealed �water resistant�, that is to say against low pressure, water splashing encountered in the course of daily driving conditions. As long as you avoid directing a strong stream of water (or a pressure washer at close range) directly into these components, you will be fine.
You need to cover various parts prior to using any cleaning products, sprays (water deterrent, formula 40(WD-40)) or water.
� Alternator
� Alarm Housing
� Intercooler
� Battery terminals (if not covered already)
� Induction kit cone (if you have one)
� Coil packs
� Electronic control units (ECU)
� On-Board Diagnostics (OBD) port
� Air intake systems (exposed air filters) can be covered with plastic wrap and a rubber band
Notes:
1. This is not an exhaustive list, nor is it marque specific, if in doubt use a water repellent (WD-40) and exercise common sense
2. Use cling-film and then tin foil for the alternator, alarm housing etc as the foil is easier to mould and has greater protection properties. I suggest you use a plastic bag for the induction kit and just wrap it tight over the end to stop any water ingress.
3. For the intercooler the best way to cover is to get a flat sheet of cardboard and just cut it to size so it fits and covers the fins. Cardboard will normally protect the fins for the duration of the washing. It will get soaked so discard after the wash.
4. If you are uncertain of how to proceed on something not included here; talk with somebody who has marque /model /year specific knowledge.

Thread
Thread Starter
Forum
Replies
Last Post
Phil Y
Detailing & Paint Protection
2
Sep 26, 2011 10:42 PM
Bookmarks


Currently Active Users Viewing This Thread: 1 (0 members and 1 guests)