
Oakes - Detailed: 2009 BMW 335 Diesel - Body Shop Nightmare
 Dec 20, 2009 | 06:39 PM
#1
Thread Starter
| Teamspeed Member
Joined: Jun 2009
Posts: 208
From: West Chester, PA


Oakes - Detailed: 2009 BMW 335 Diesel - Body Shop Nightmare
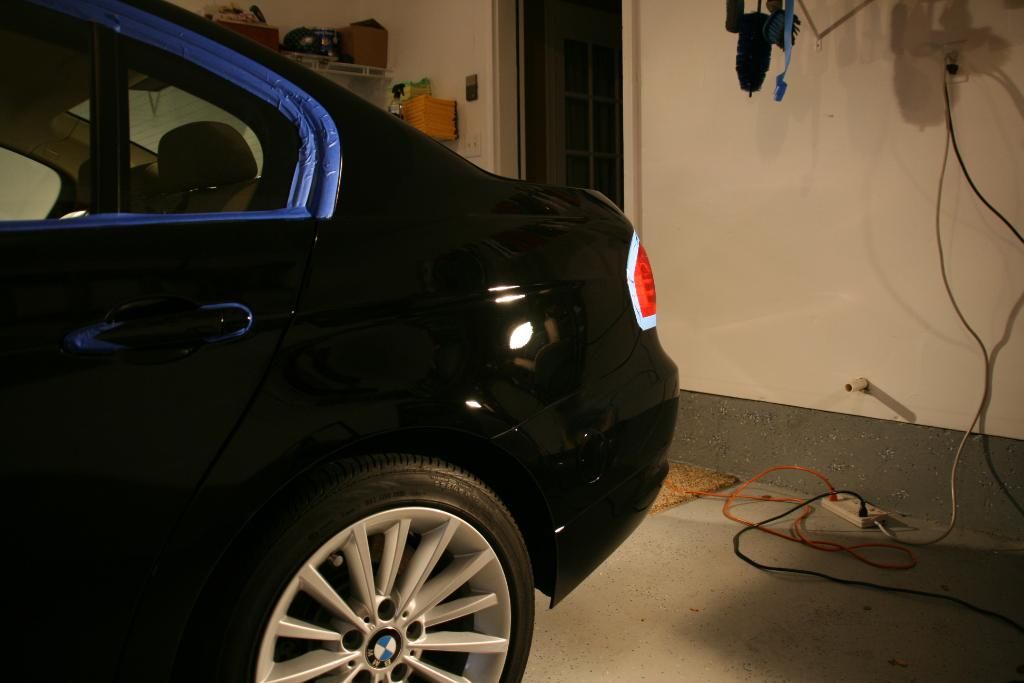
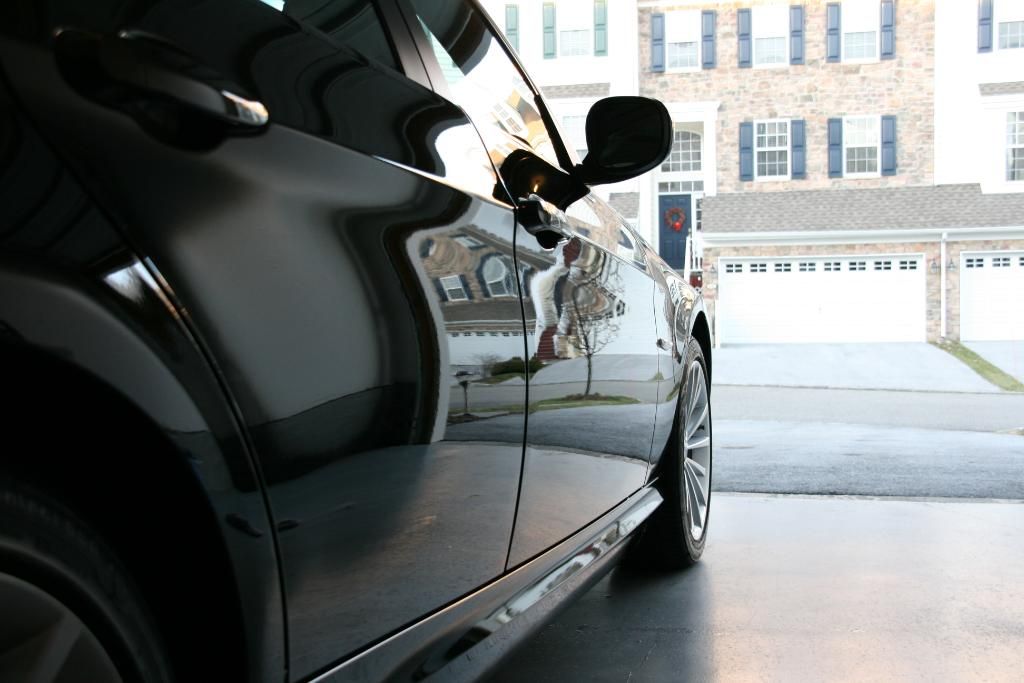
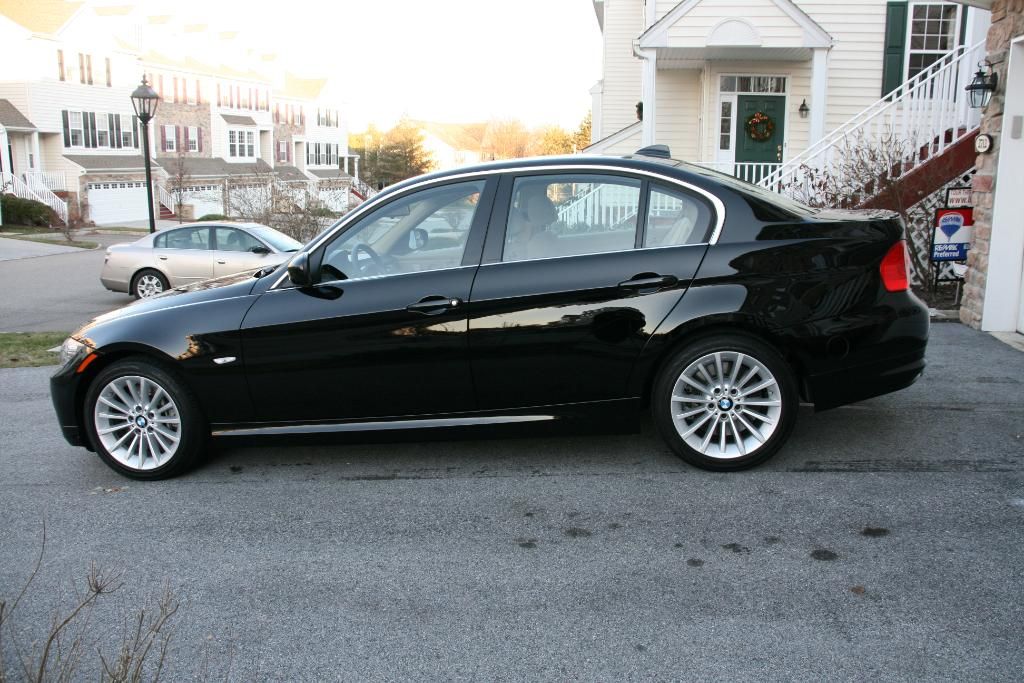
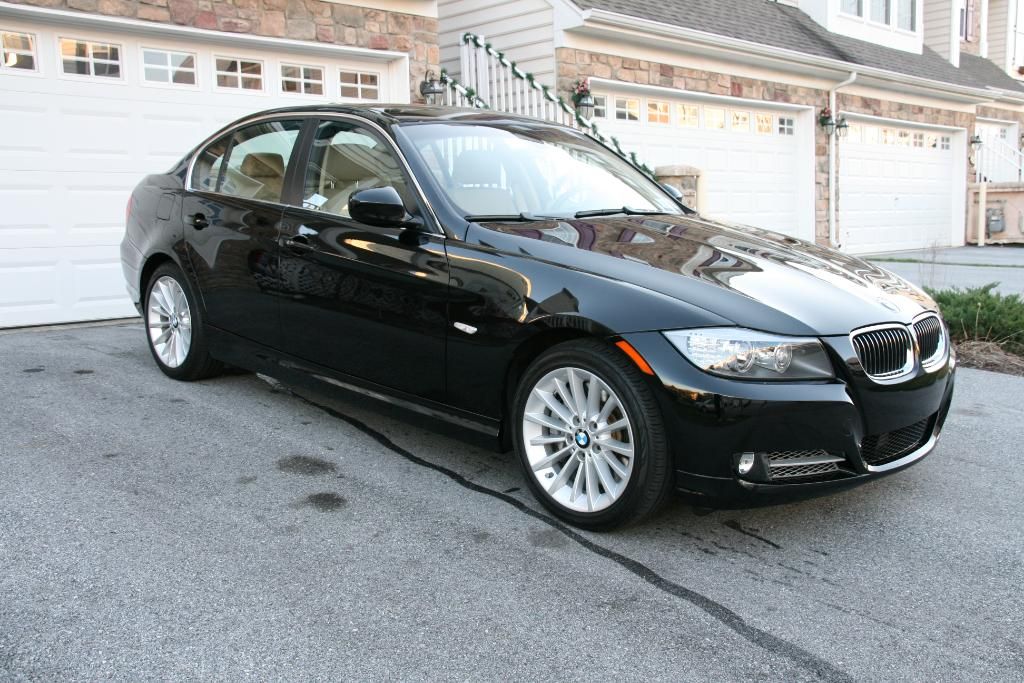
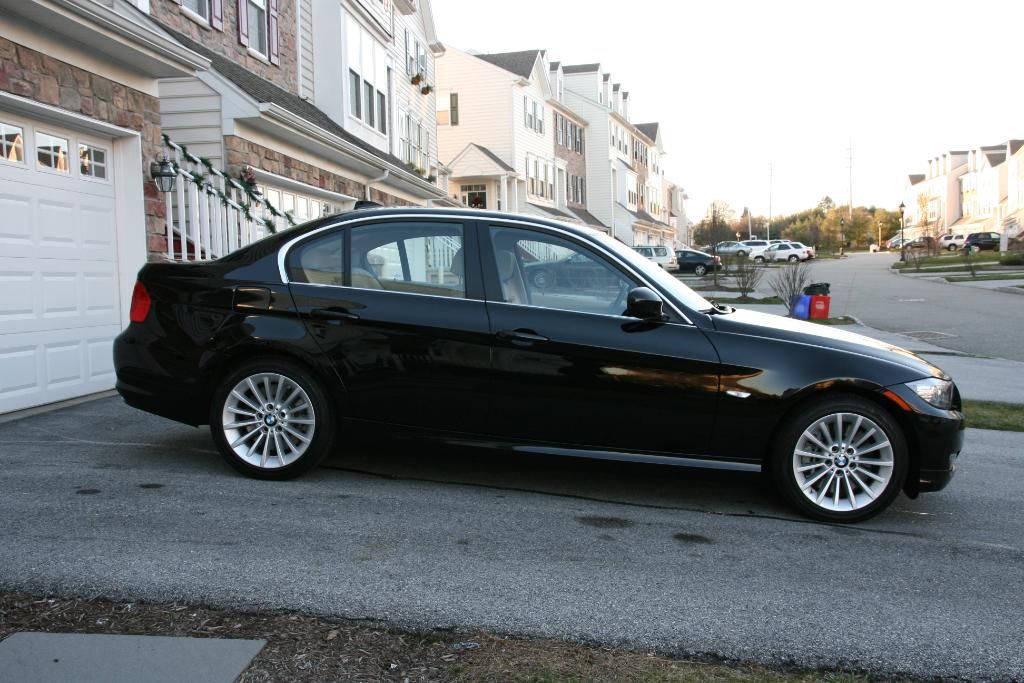
A Paint corrective detail of a 2009 BMW 335 Diesel, in the infamous BMW Jet Black that fell victim to poor body shop �detailing� as you will clearly see in the pictures. This 1,700 mile 335d looked far too defected for it�s age, so it was evident that full correction was needed. After getting consistent readings across the car with the paint gauge, Mikhael and I went to work to make this 2009 car ready for 2010. The damage was unfair to the owner, especially being the first car he has ever purchased, so we made every effort to ensure it was perfect when it left my hands. The other goal was to get this car properly protected for the north east winters, giving it a double sealant and then Collinite�s 845 wax, as well as sealing the wheels. I will let the pictures do the talking on this one, as they are worth a thousand words themselves.
Process:
Menzerna SIP � Yellow pad
Menzerna 203 � Orange Pad
Menzerna 106FF � Green Pad
Blackfire Wet Diamond Sealant � Blue Pad
Collinite�s No. 845 Insulator Wax � Blue Pad
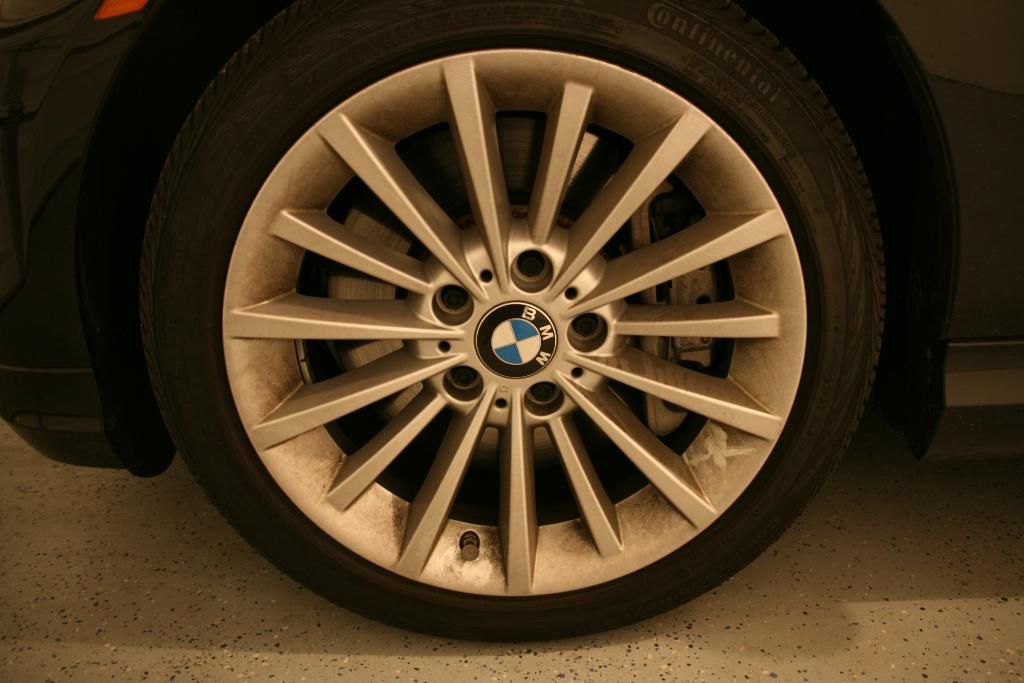
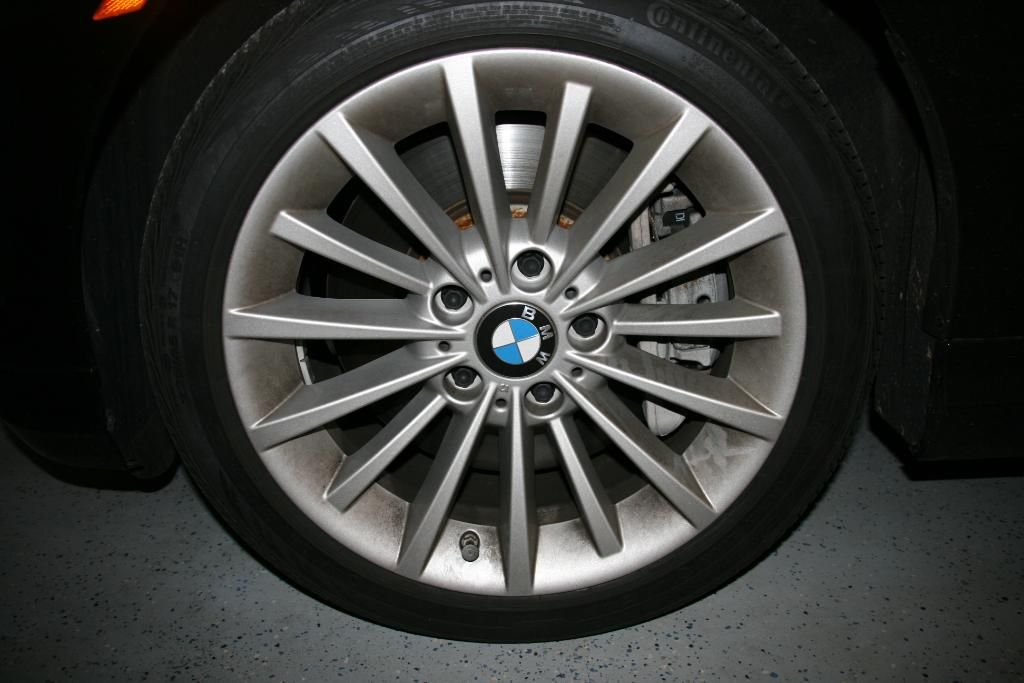
Poor Boy�s Wheel Sealant/Collinite�s No. 845 Wax on wheels.
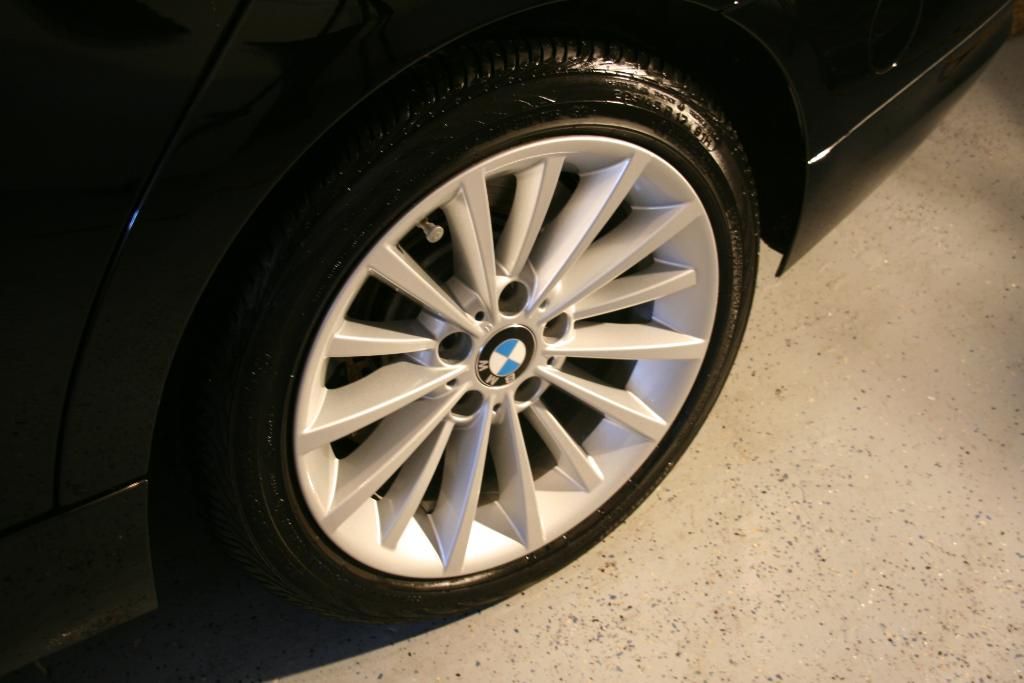
Wheels Before

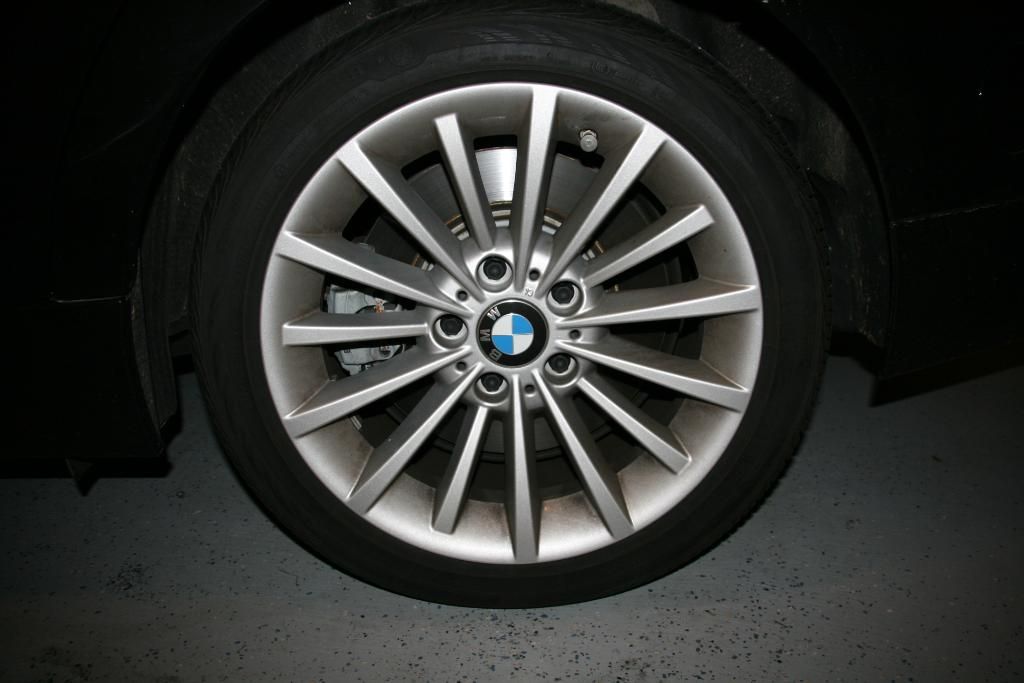
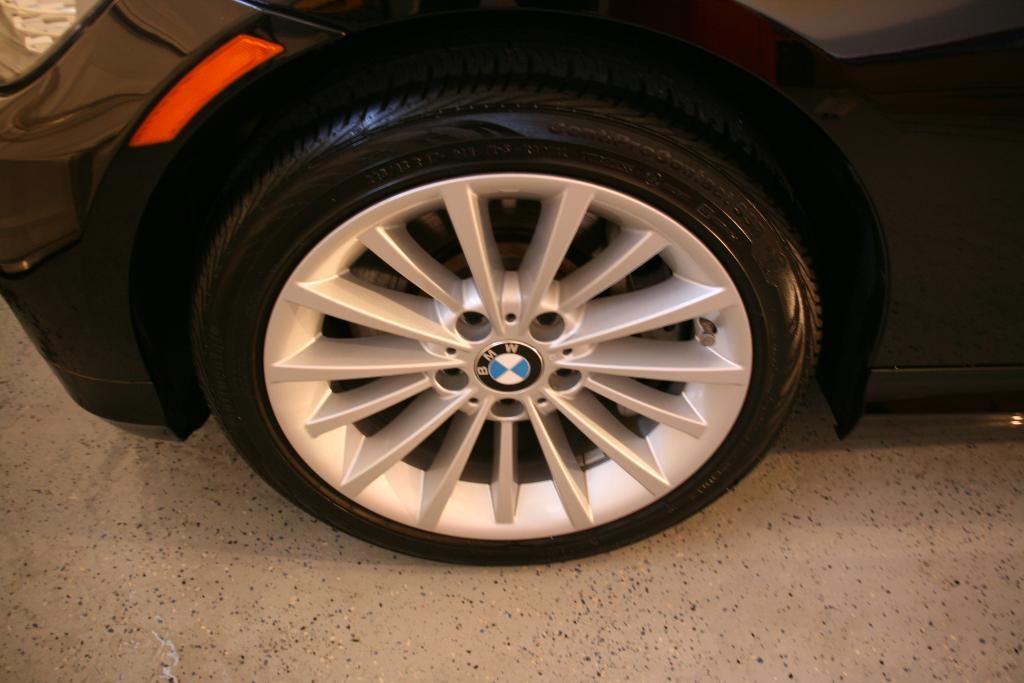
Wheels After

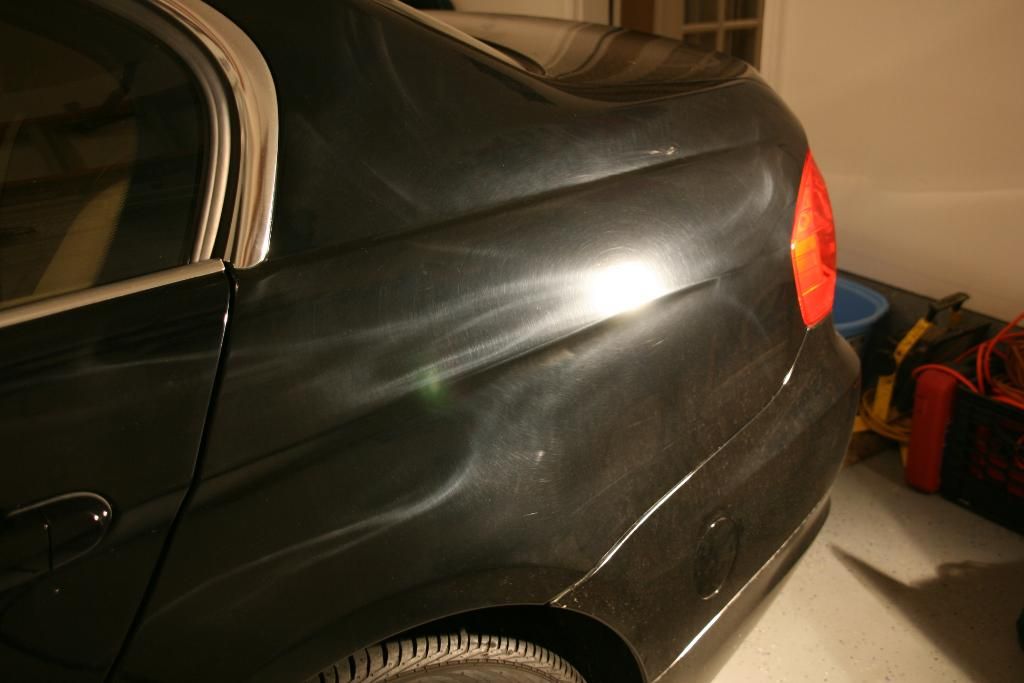
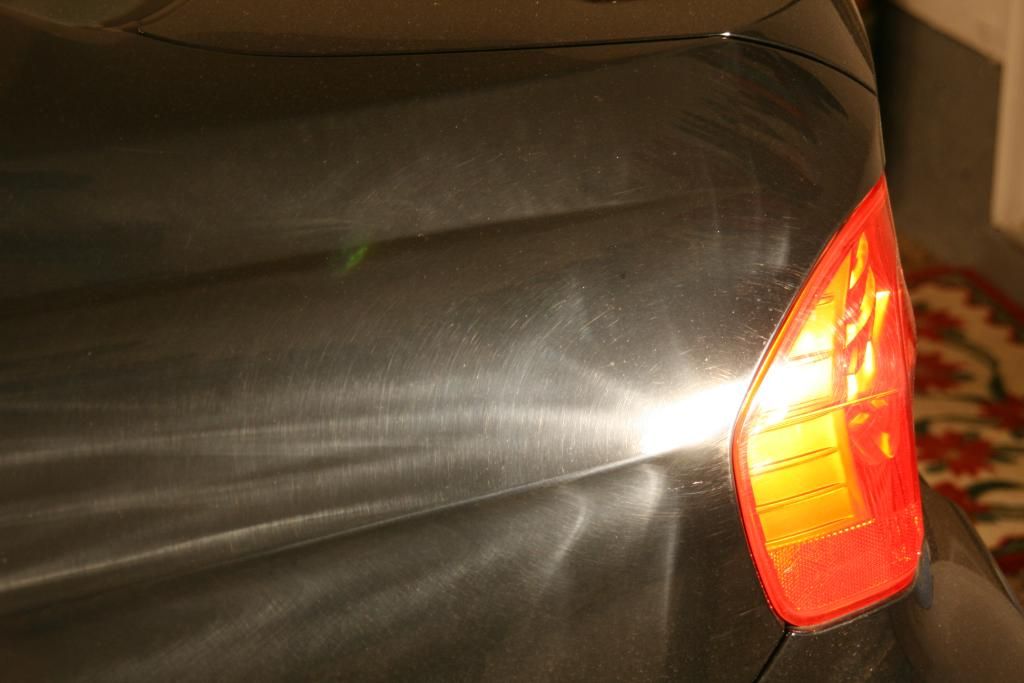
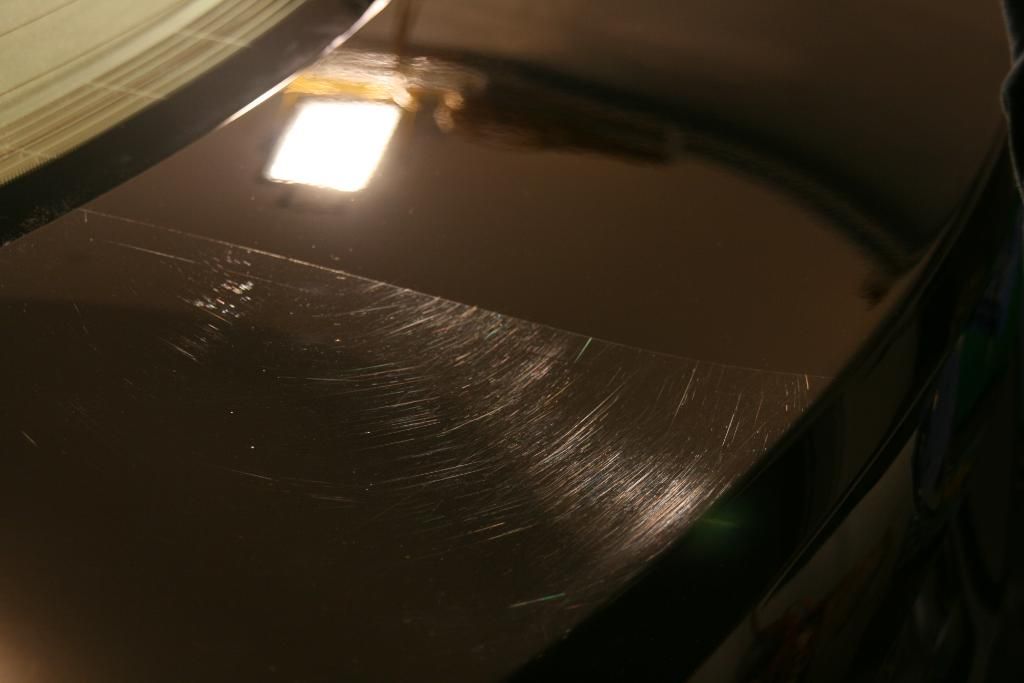
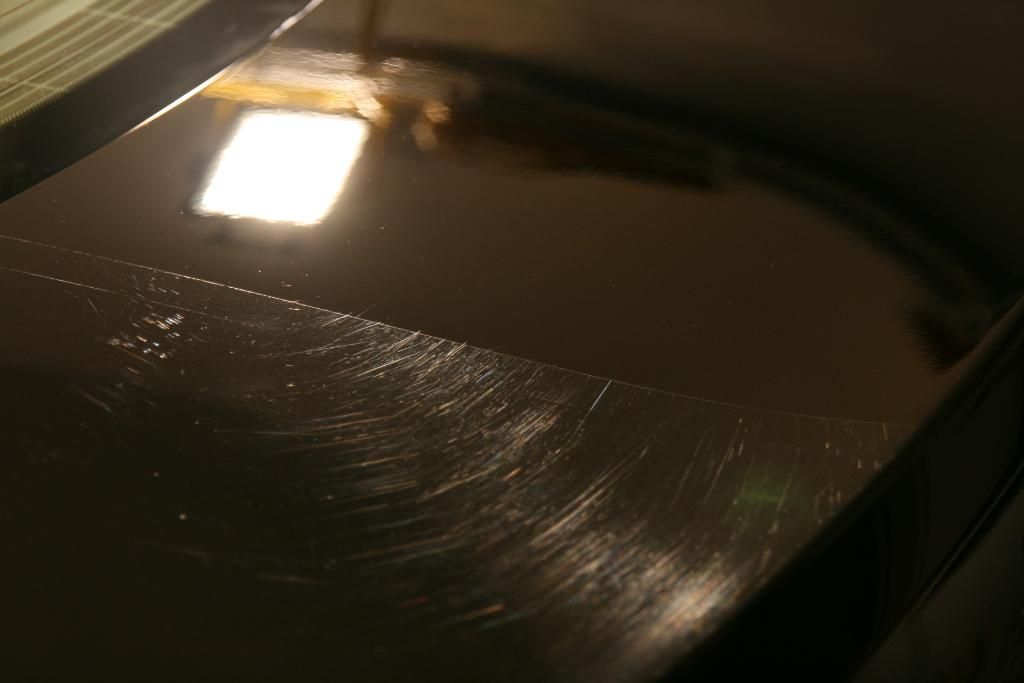
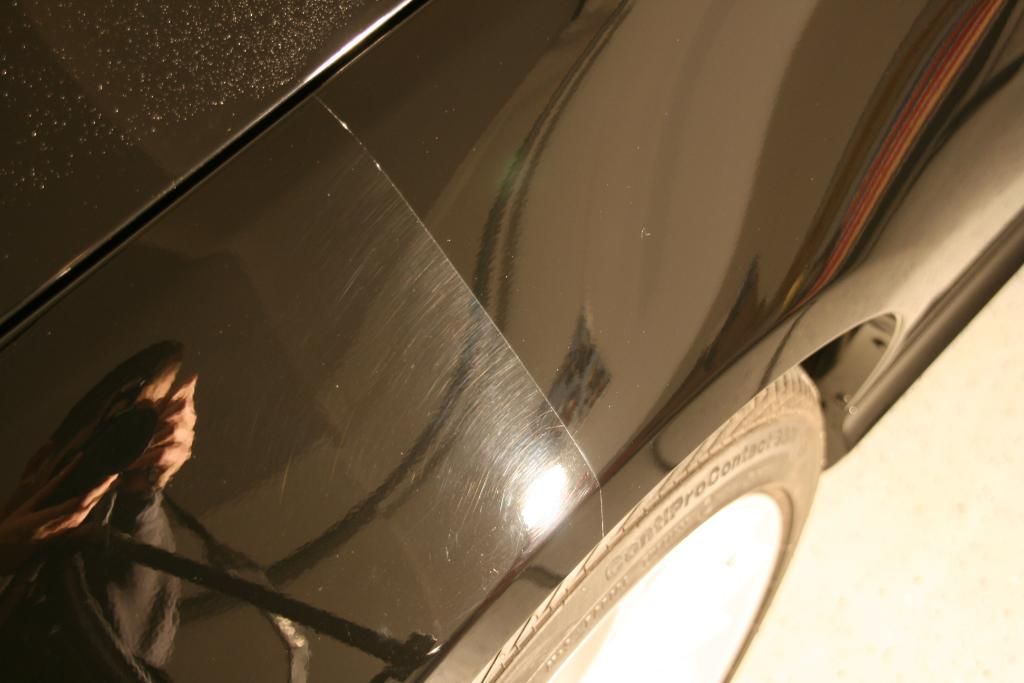
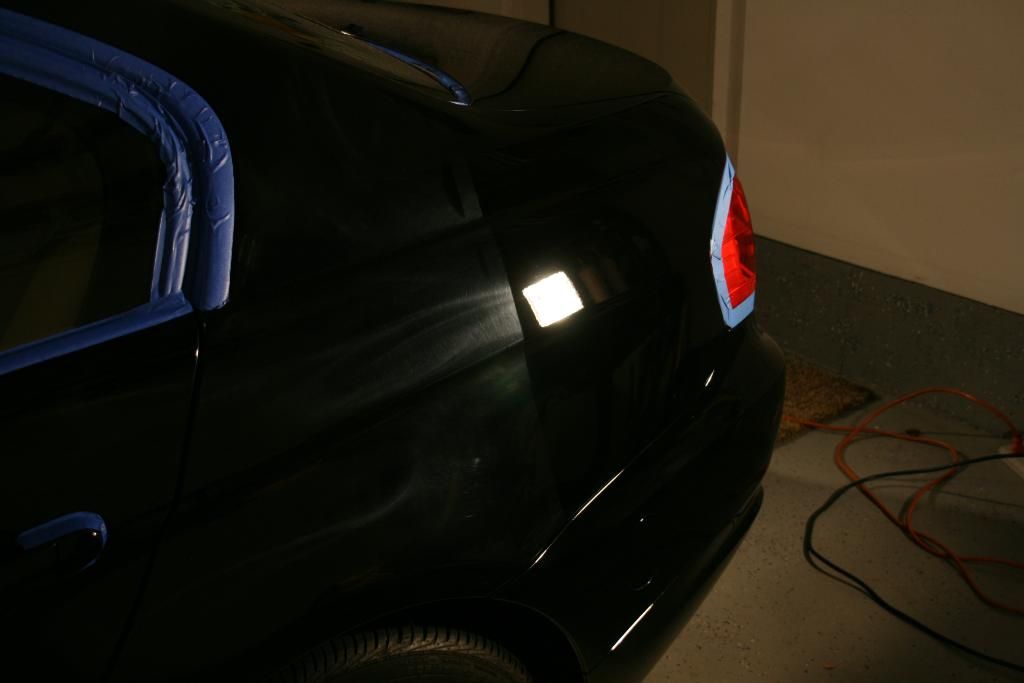
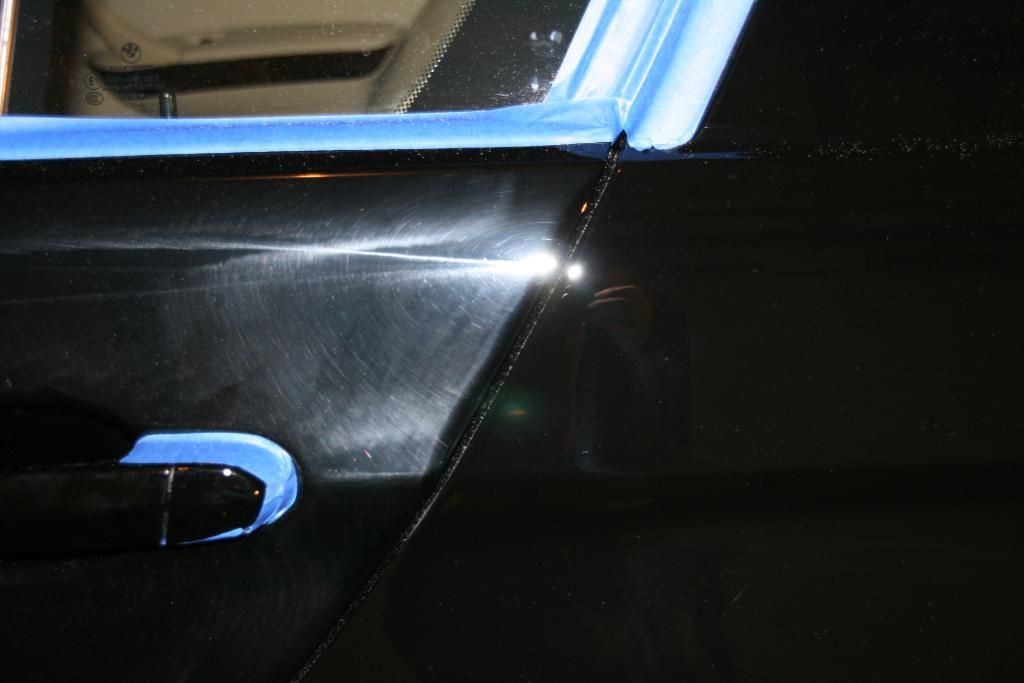
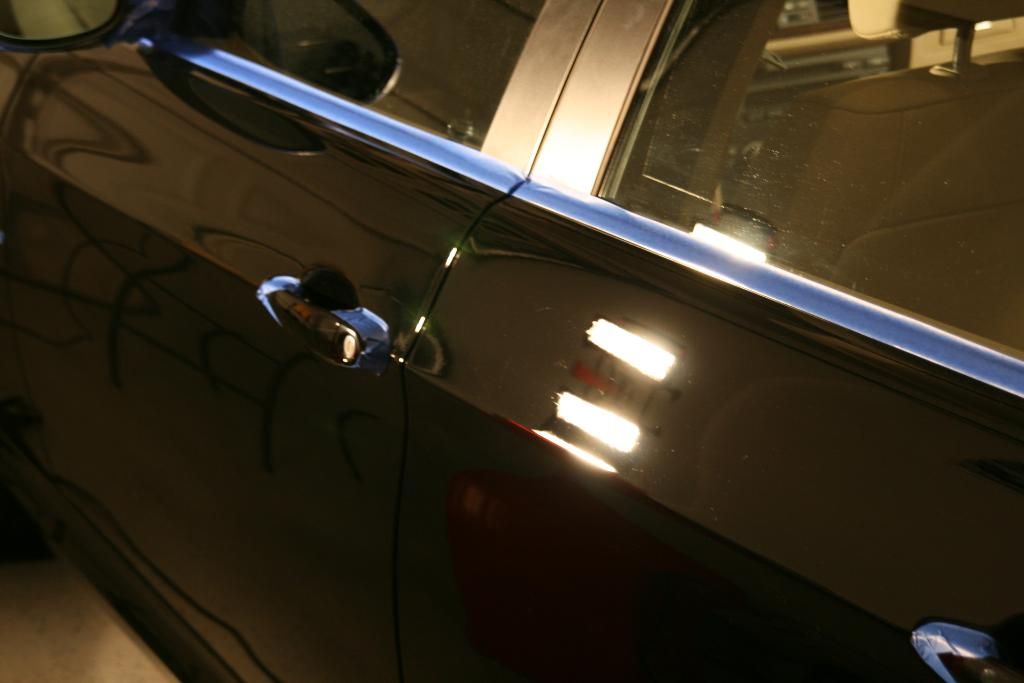
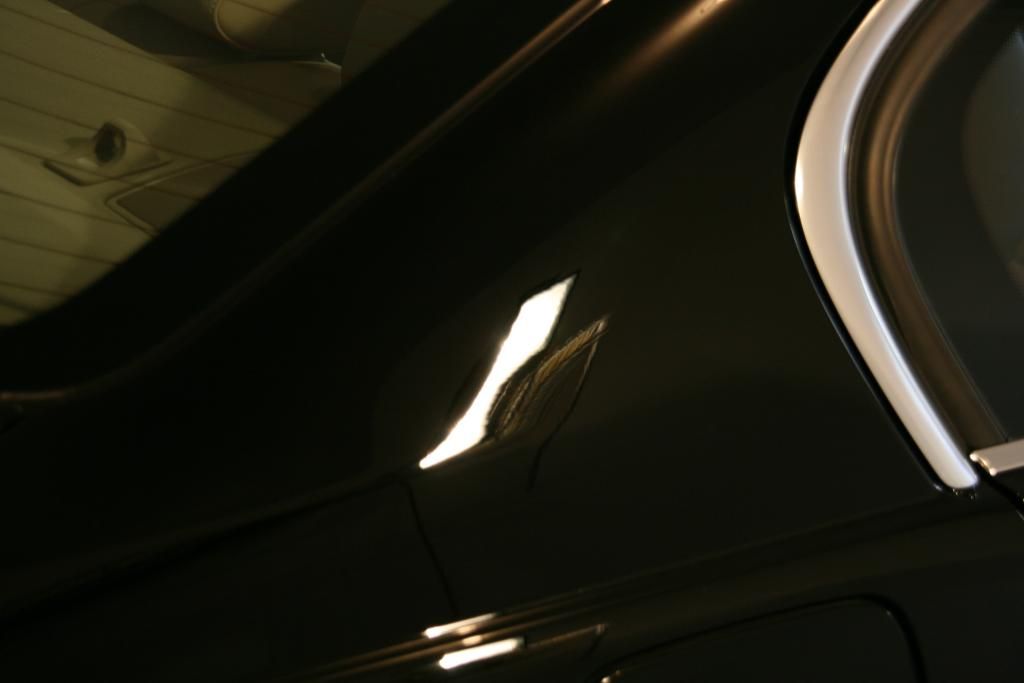
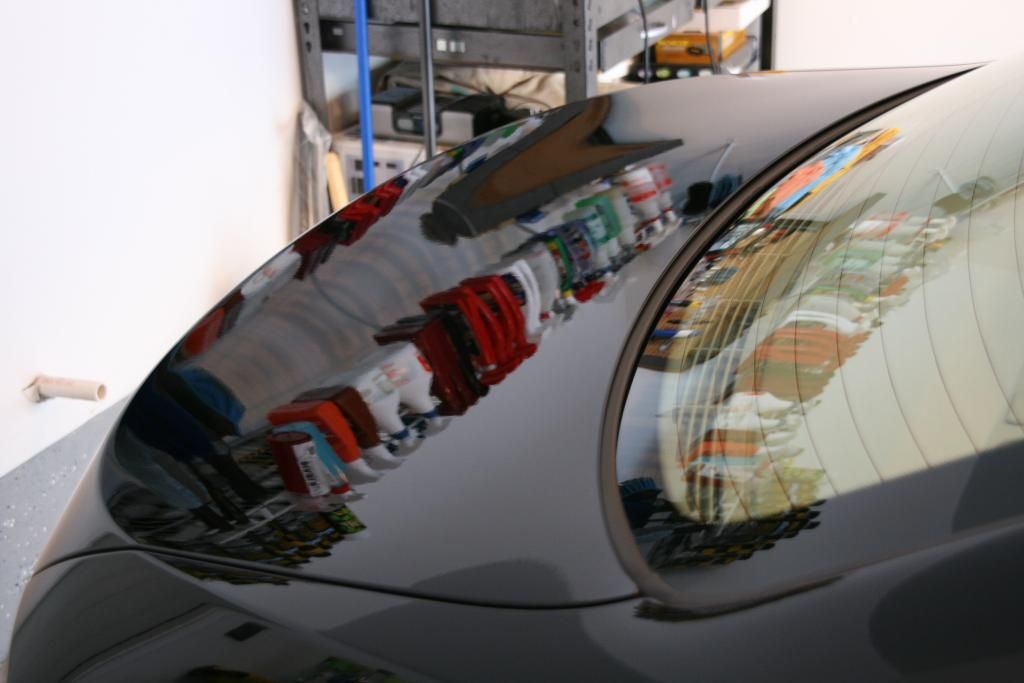
The paint damage under the halogens, you can clearly see the horrible holograms/buffer trails.
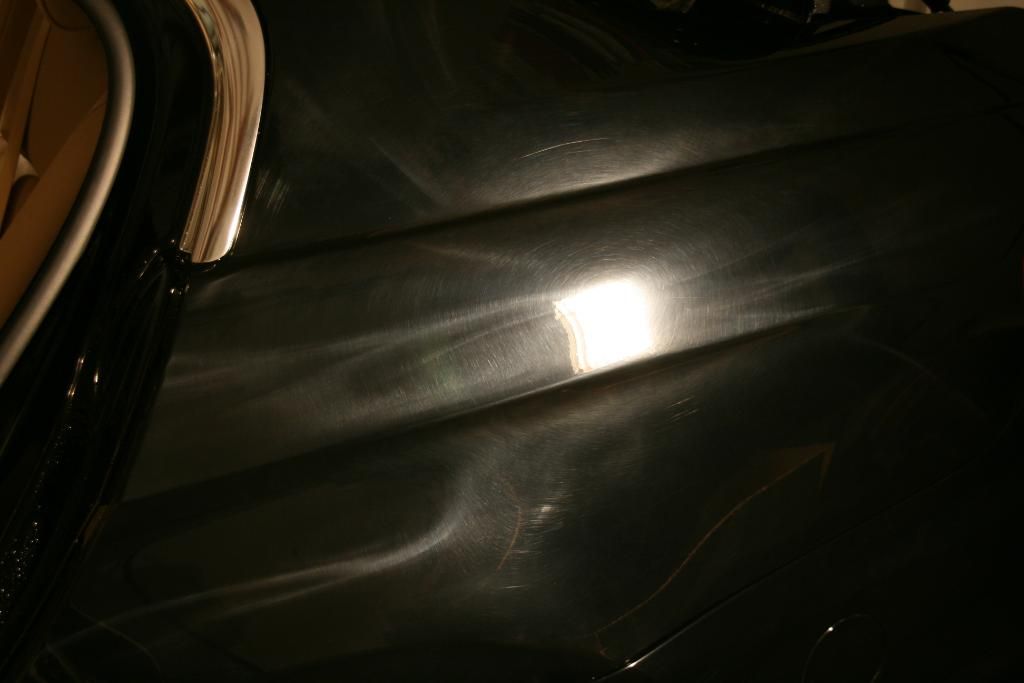


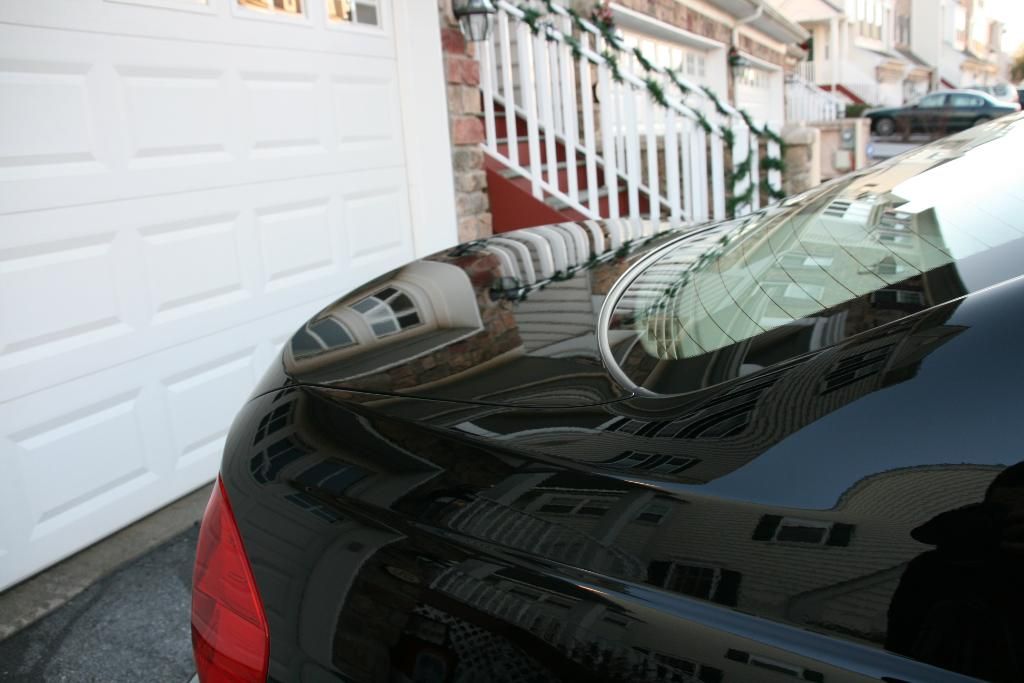
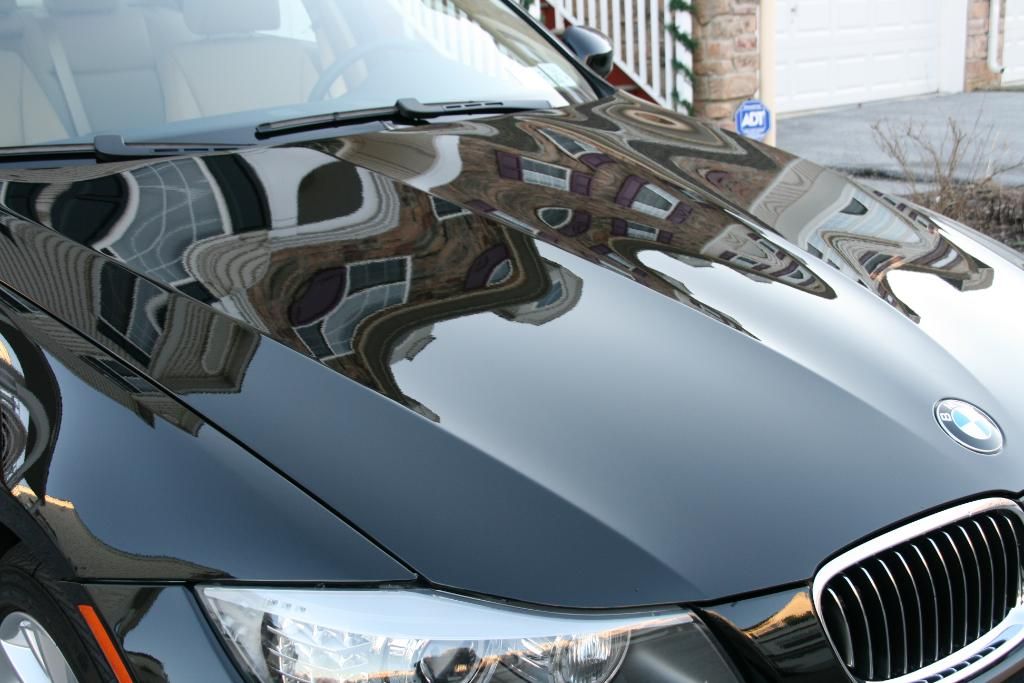
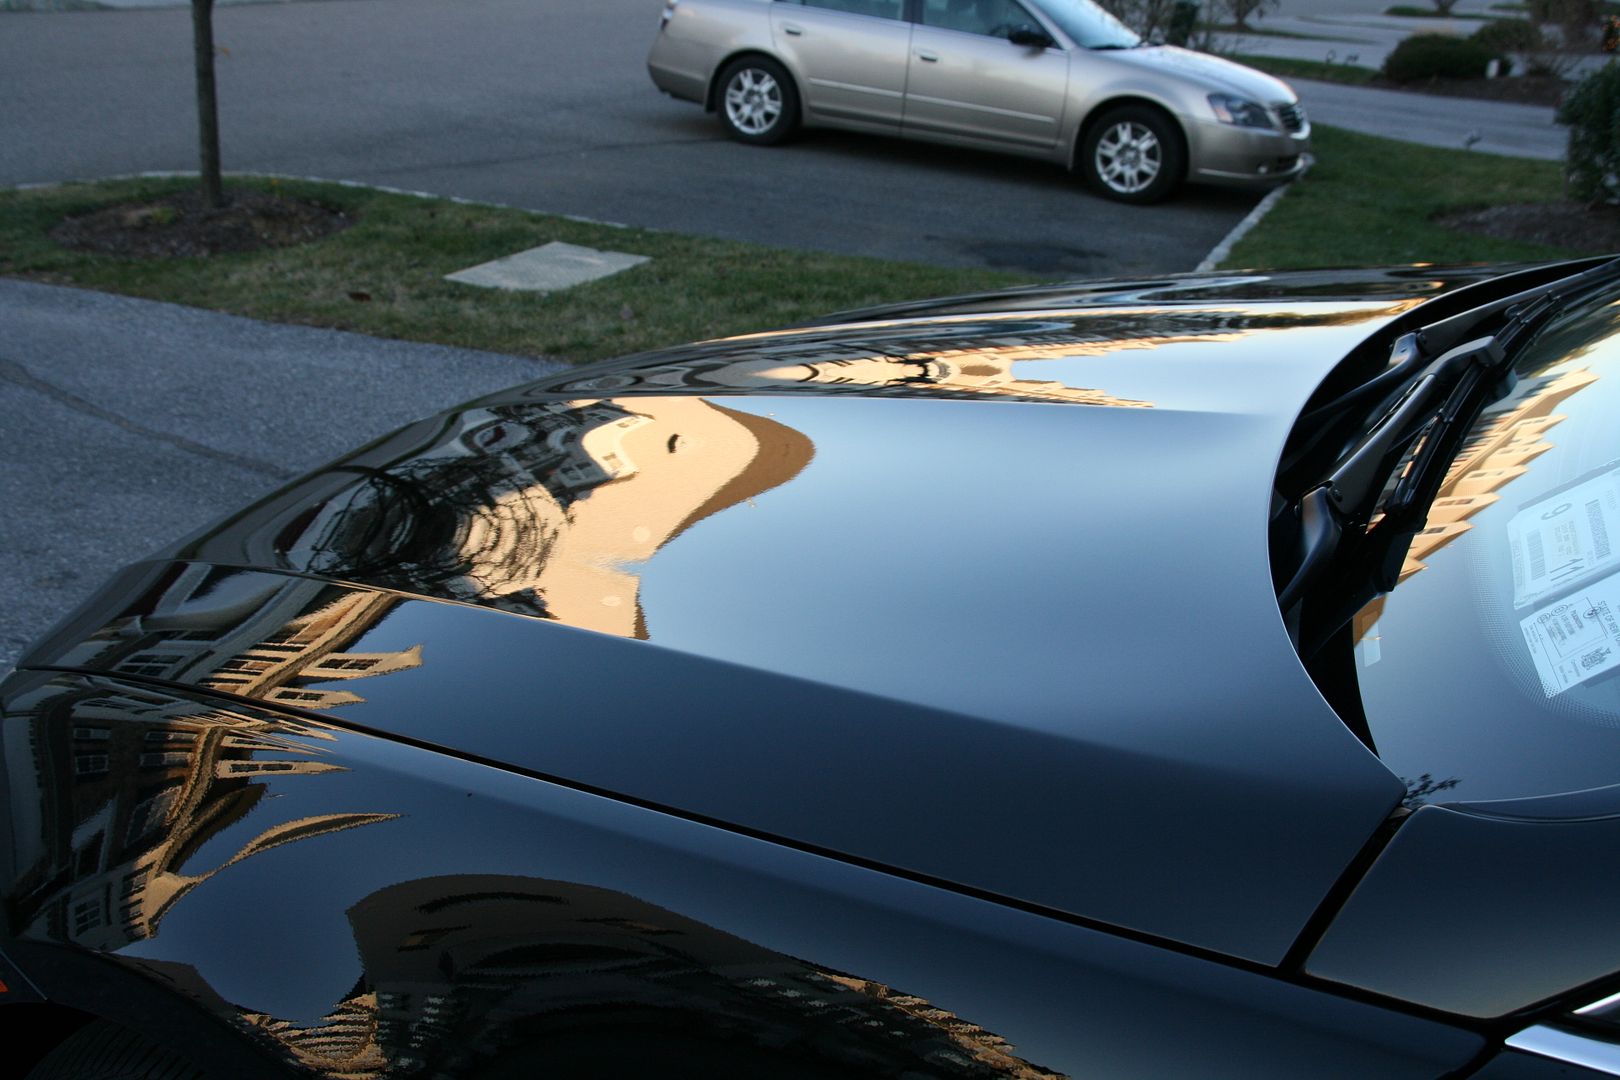
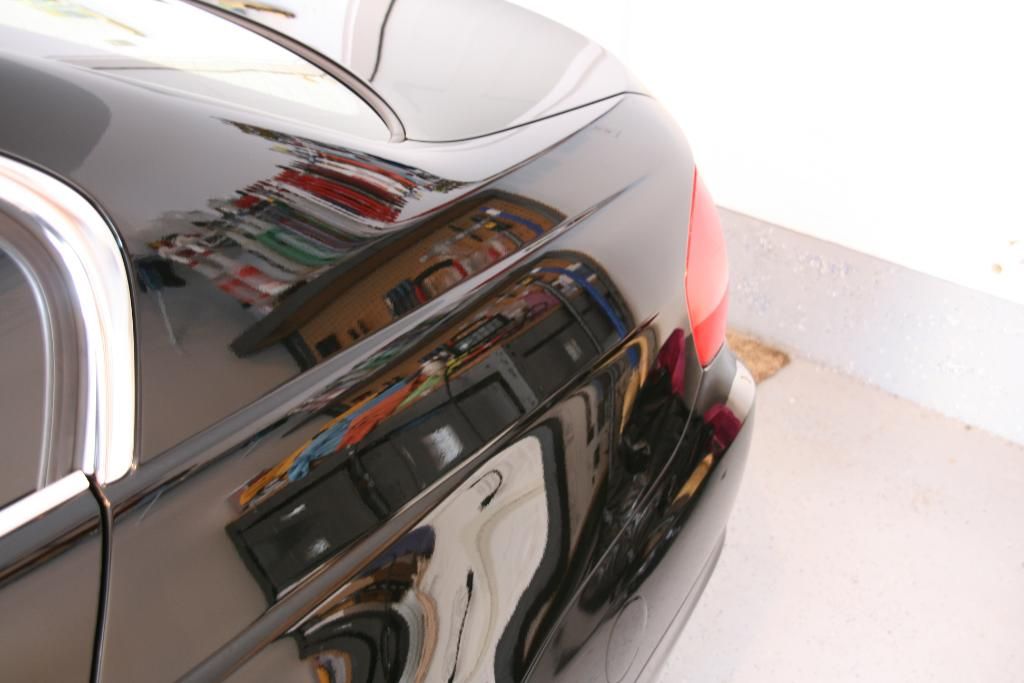
You can clearly see the extent of the paint damage in the above pictures, so I focused a lot on the 50/50 photos and the difference is beyond clear. Starting with the trunk.
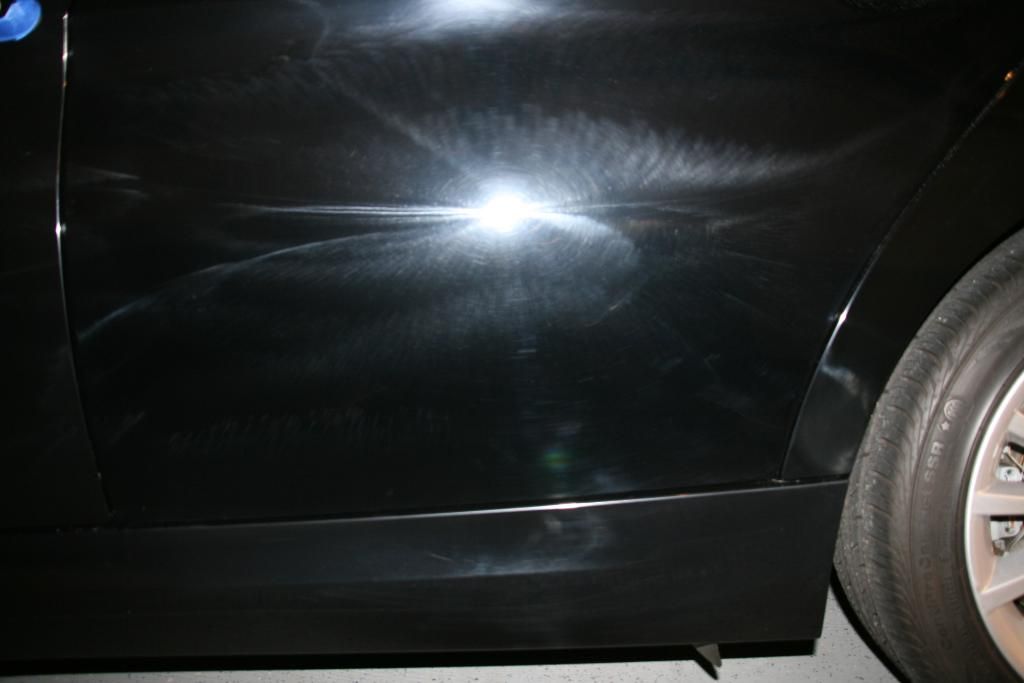
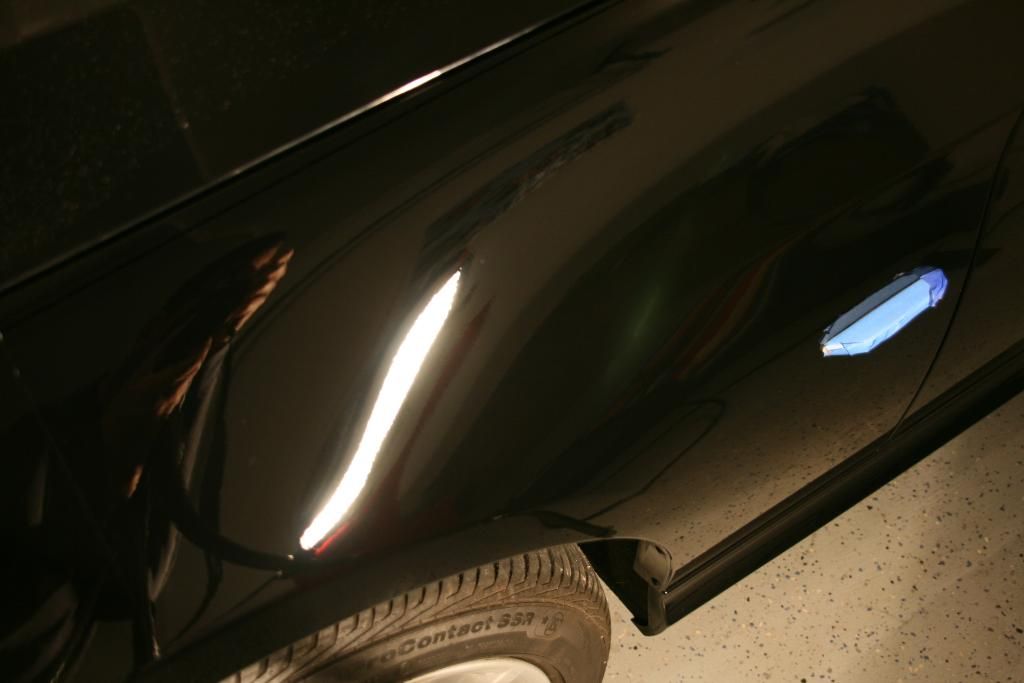
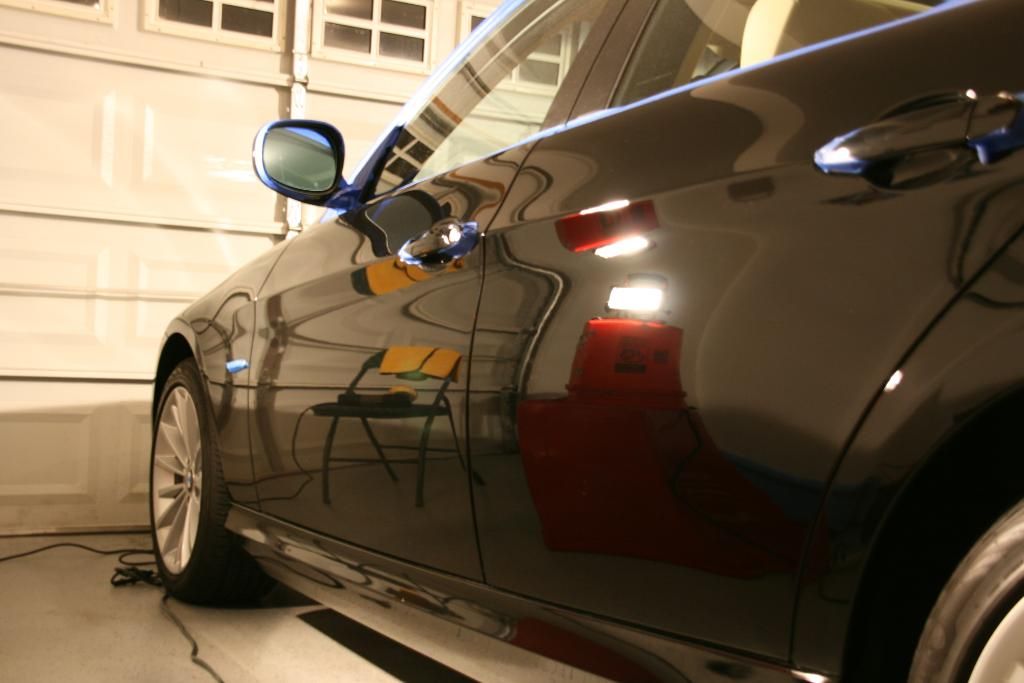
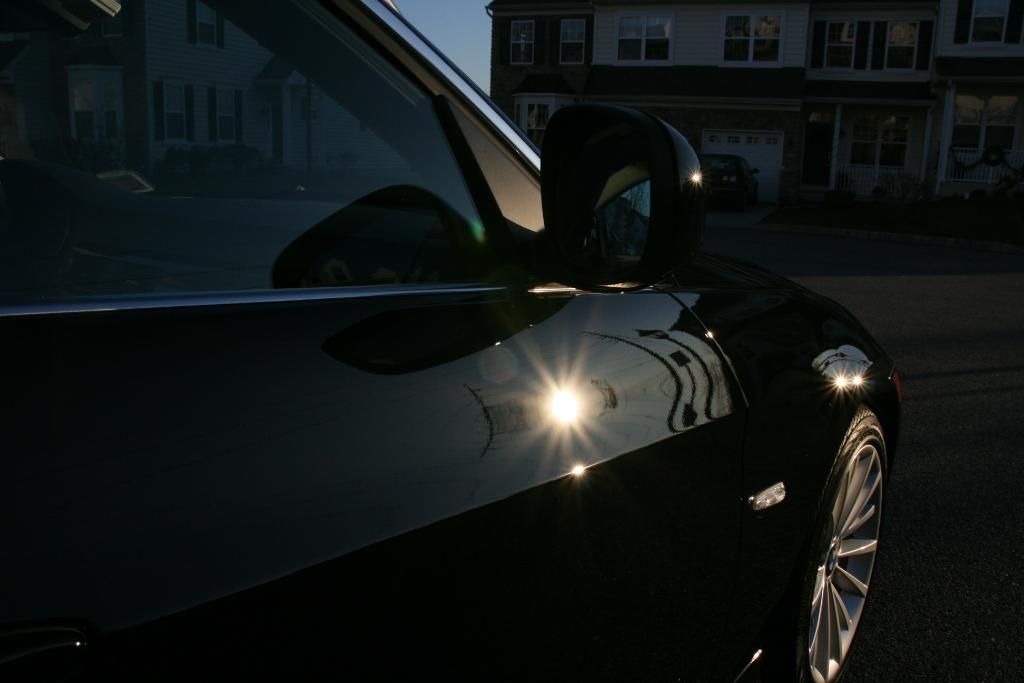
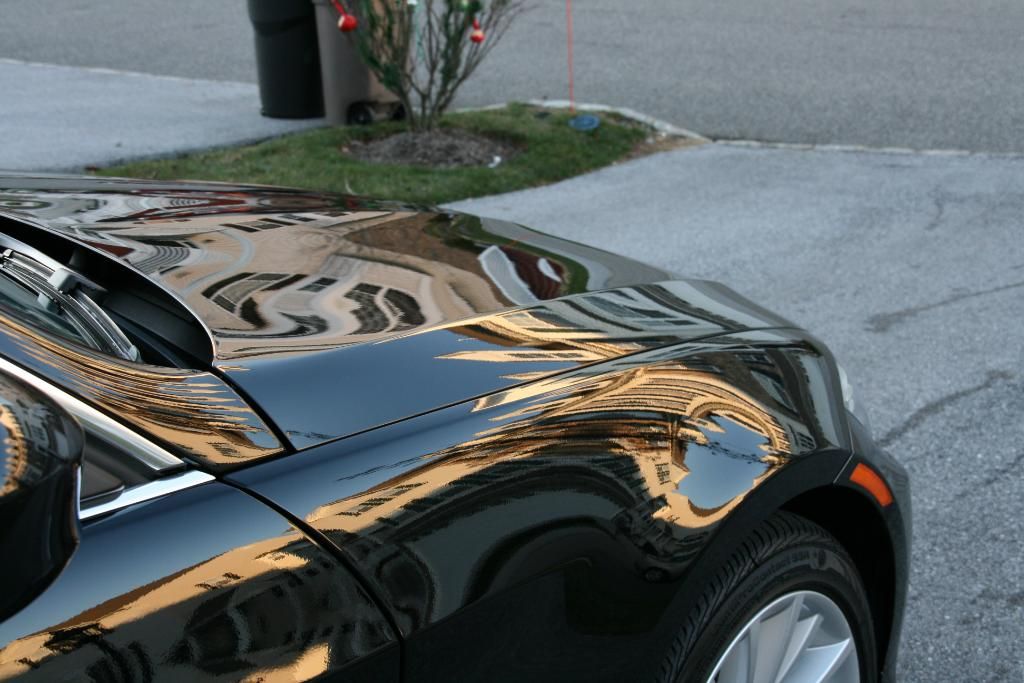
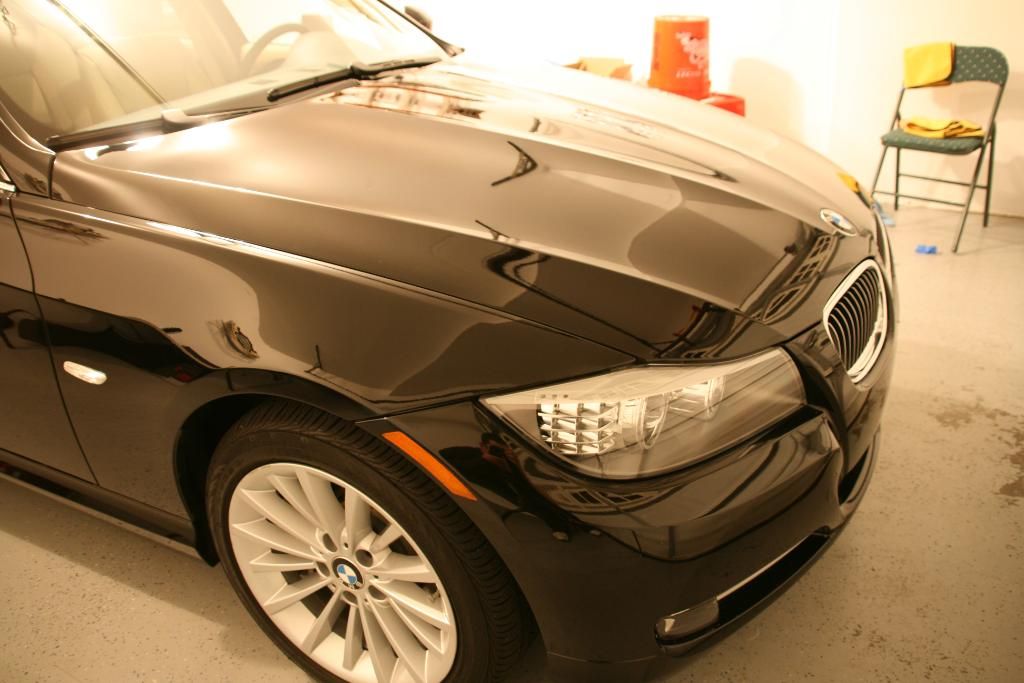
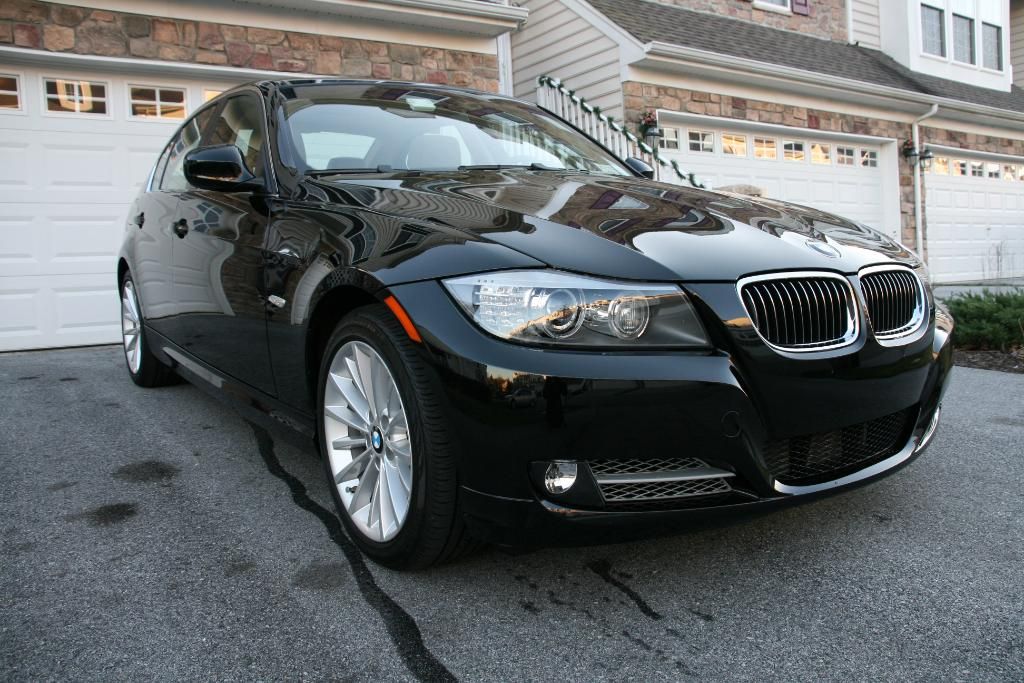
The front fender:
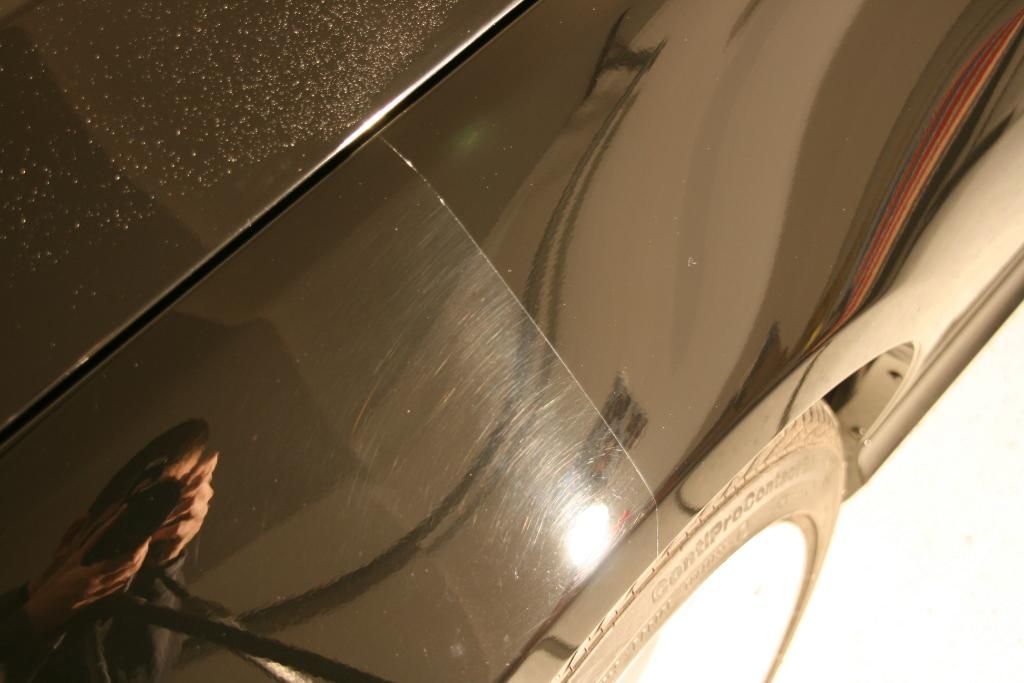
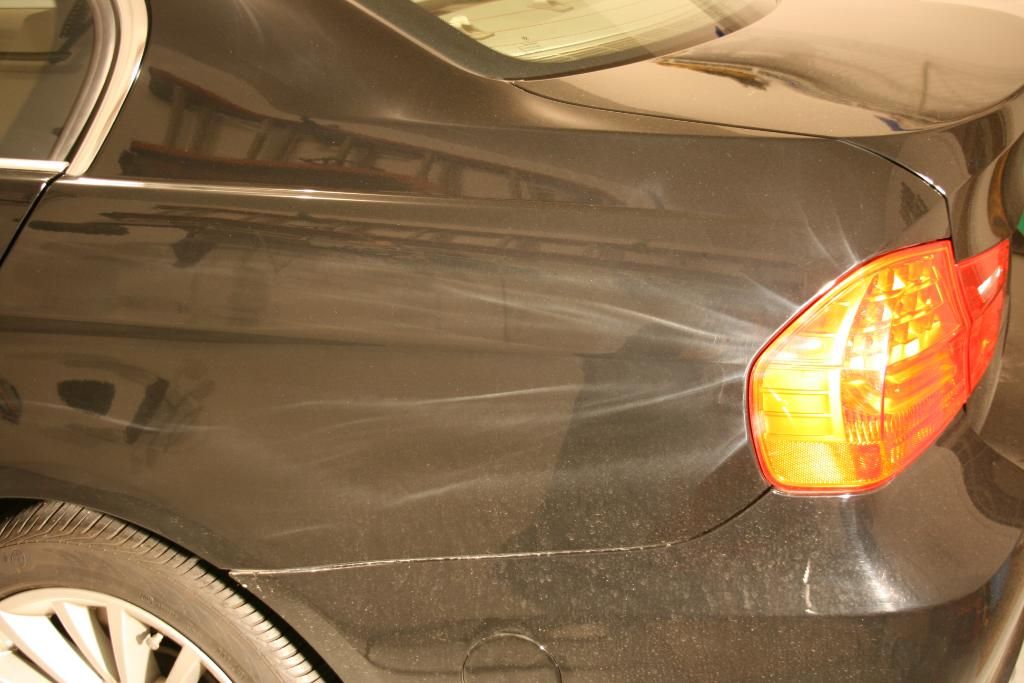
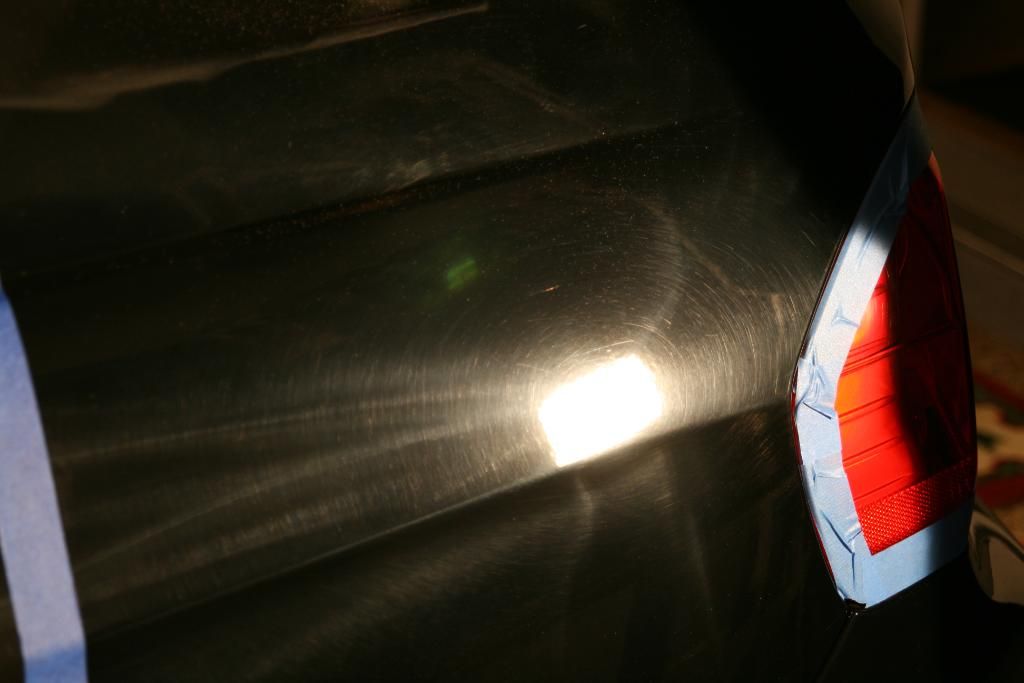
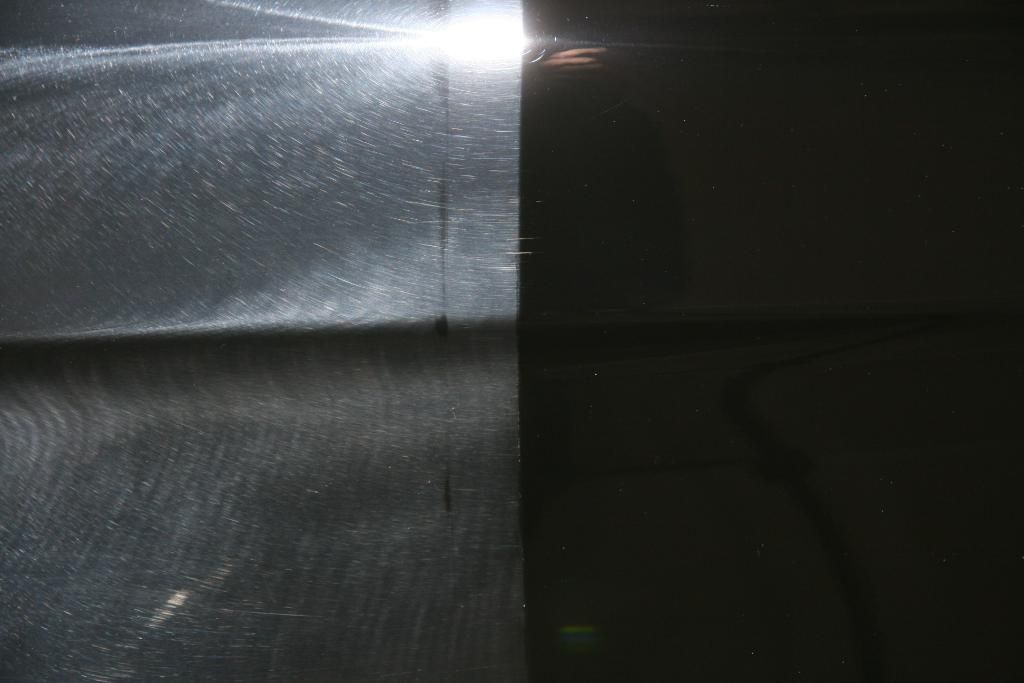
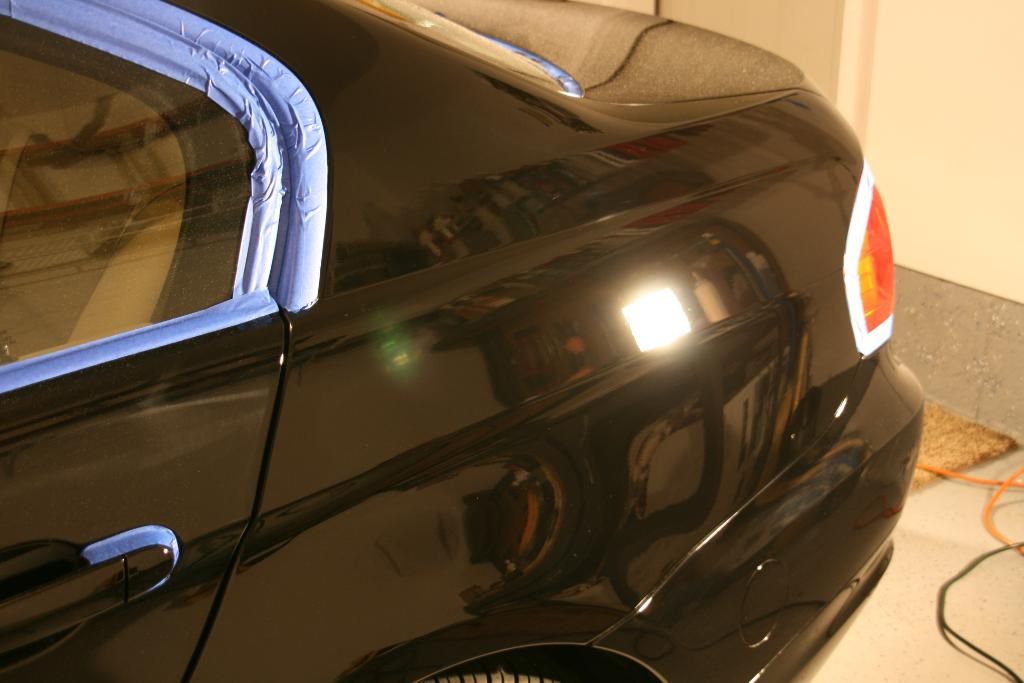
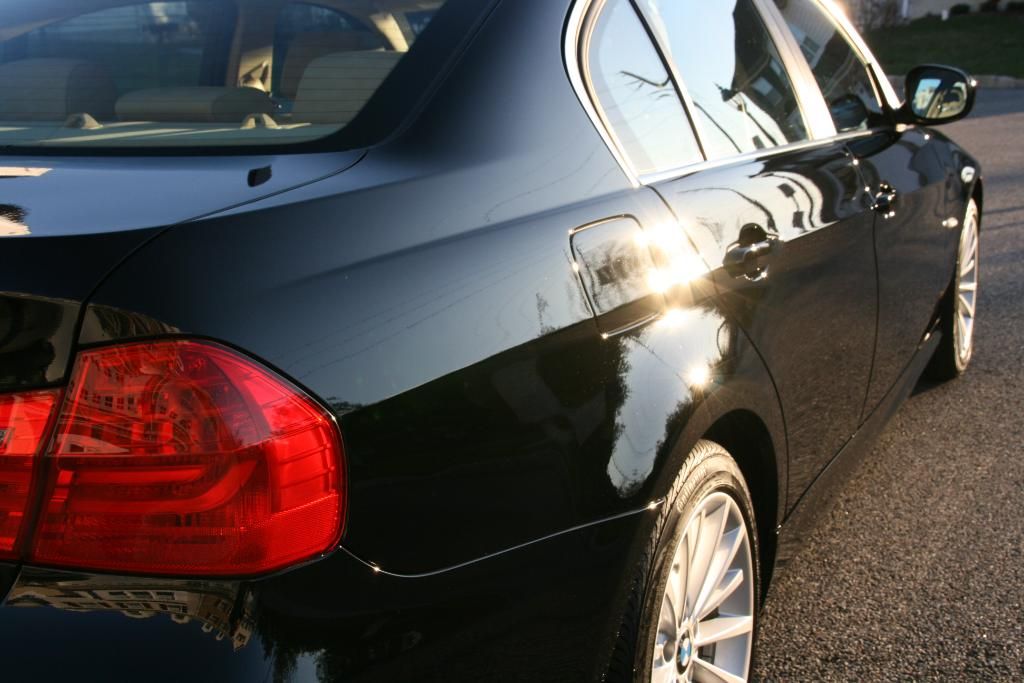
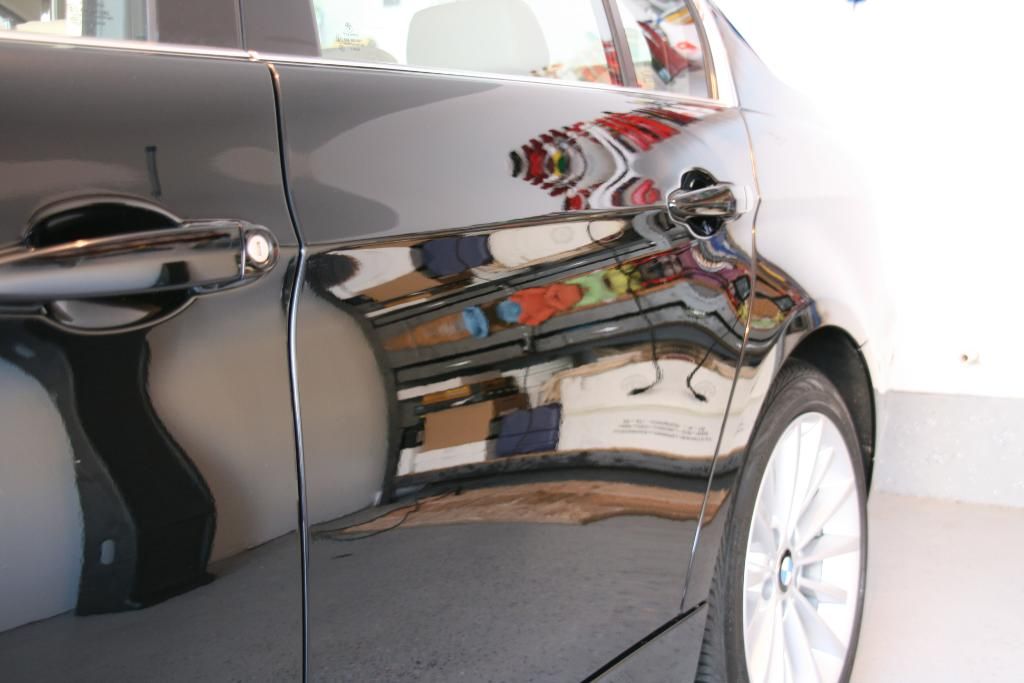
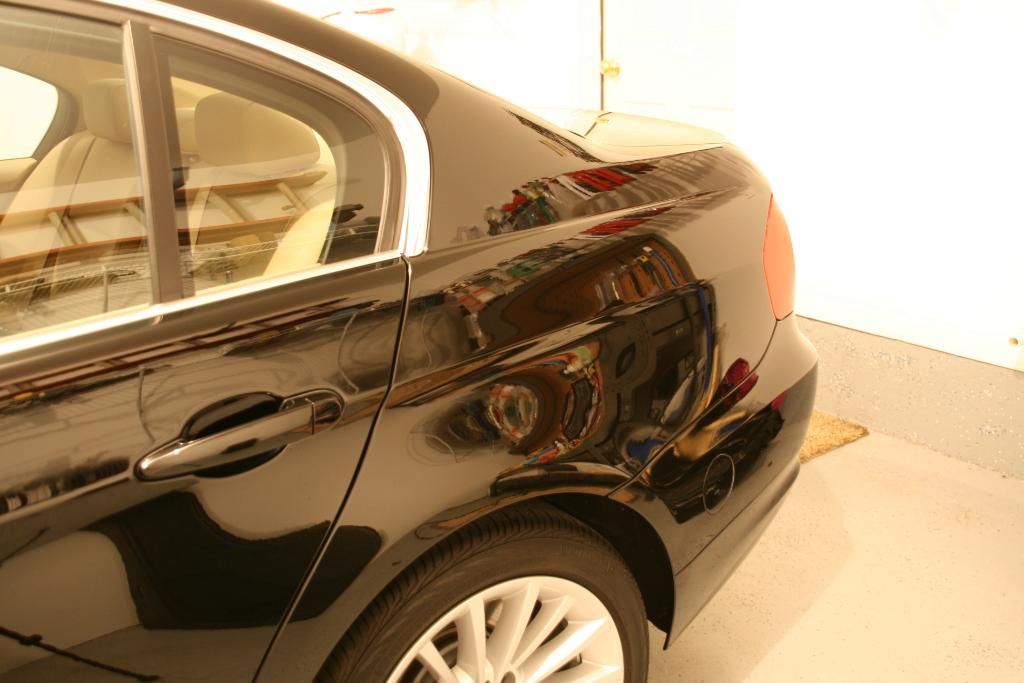
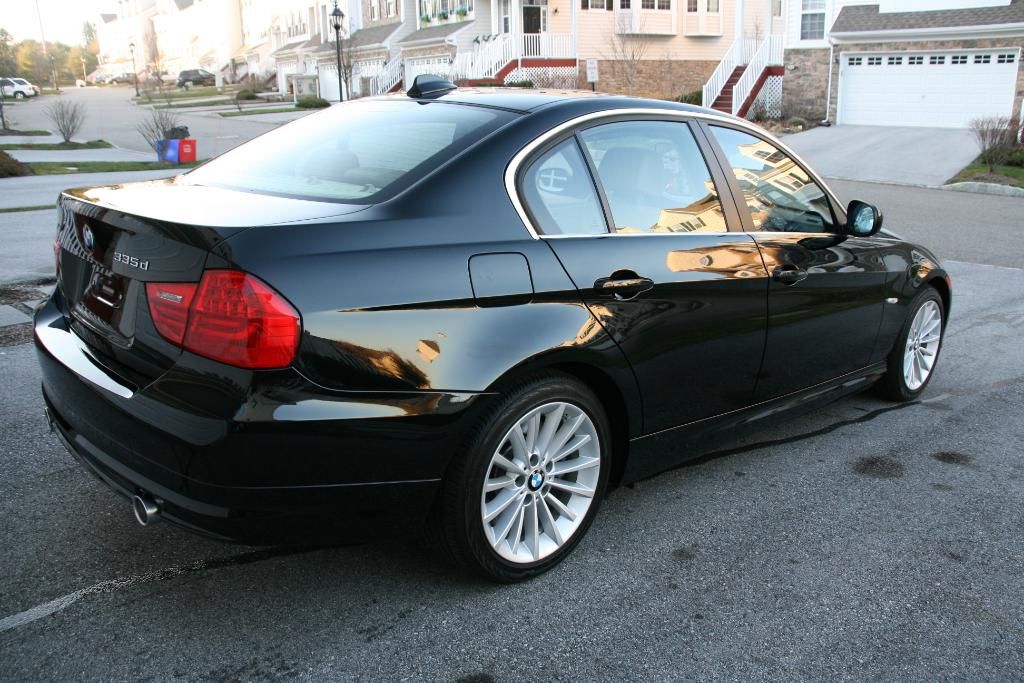
The most dramatic 50/50 photos can be seen on the rear quarter panel below:
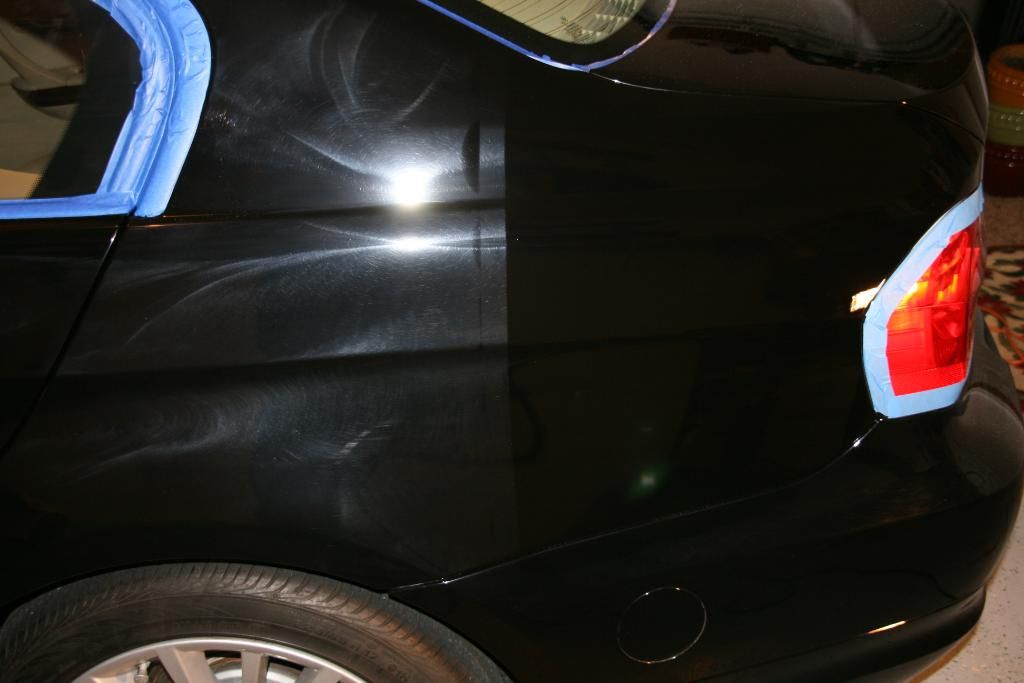

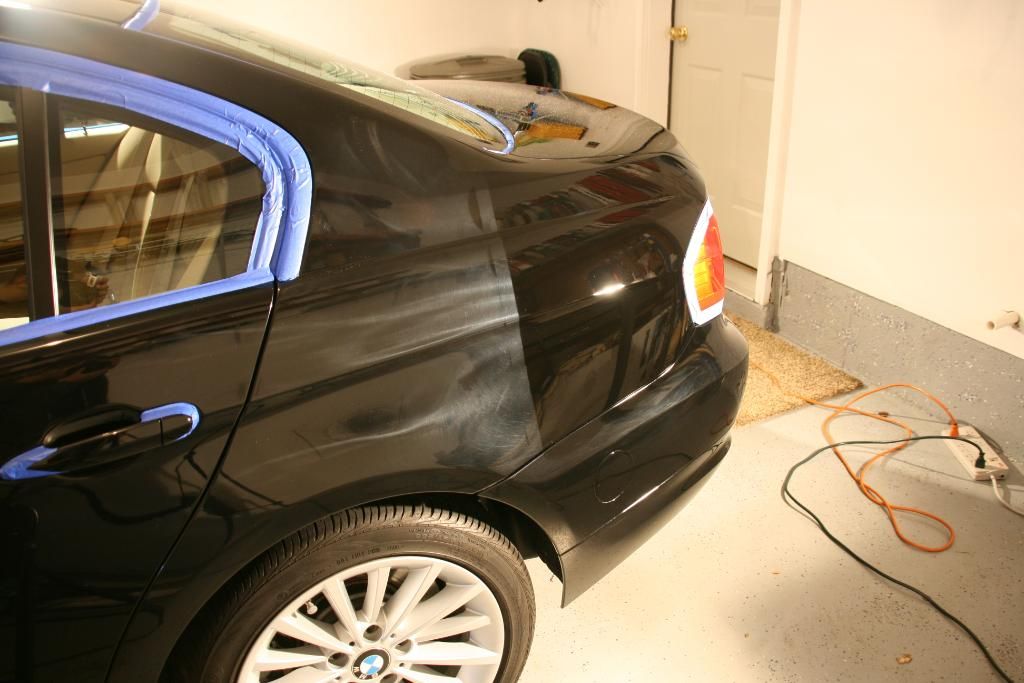
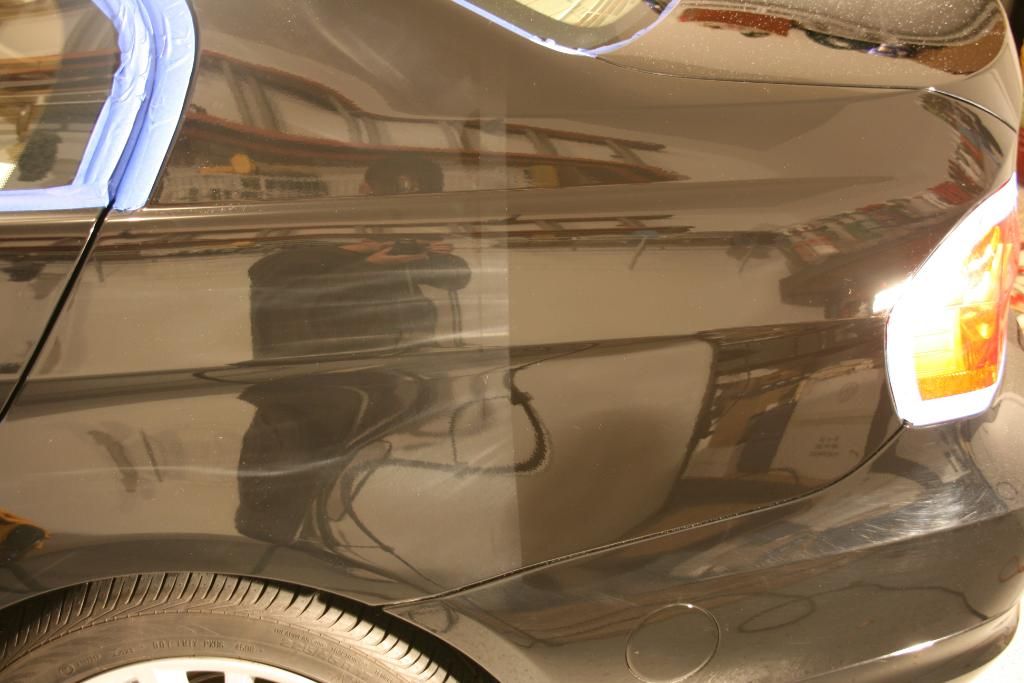
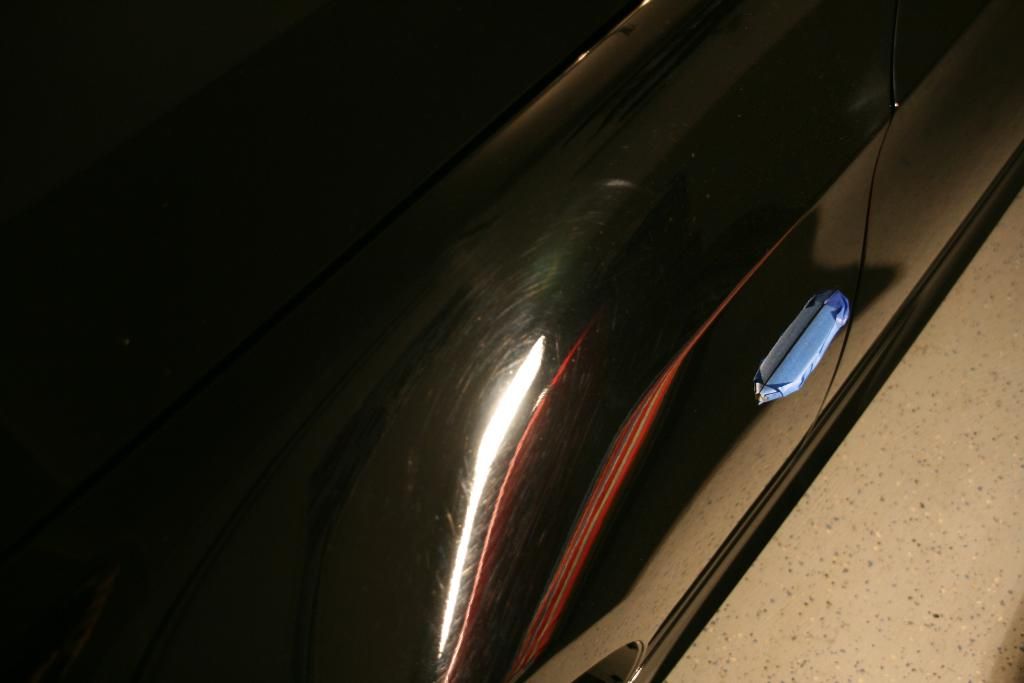
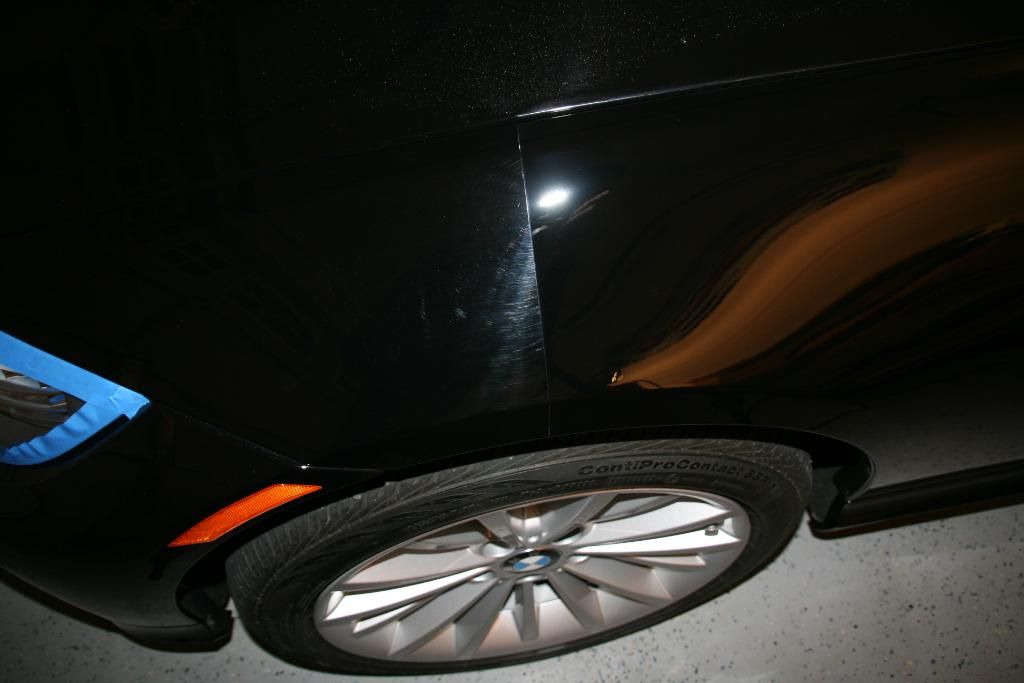
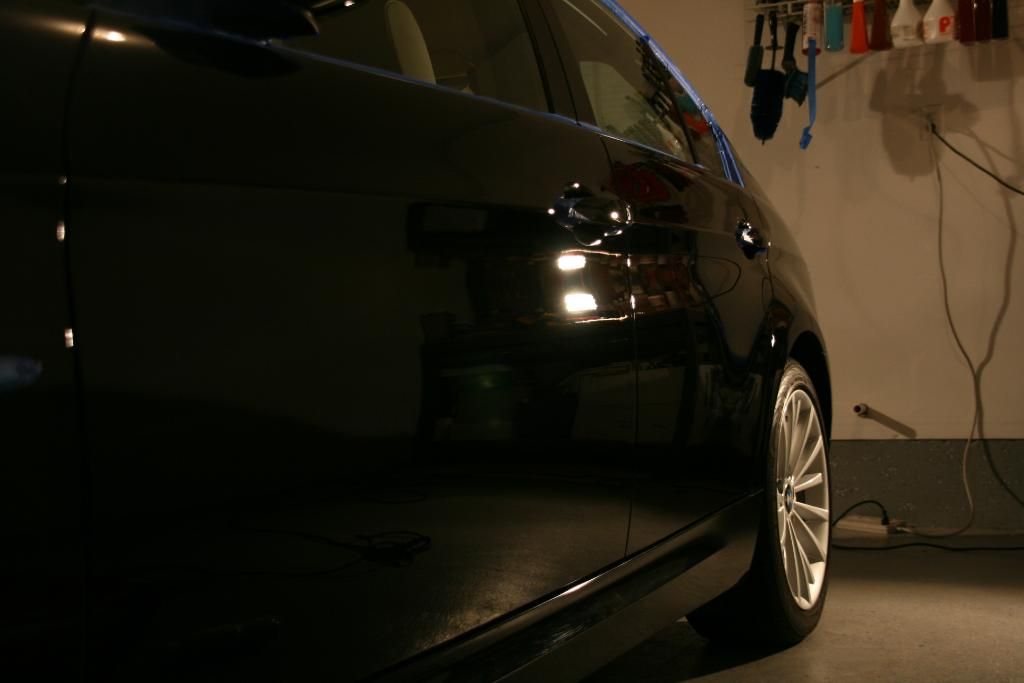
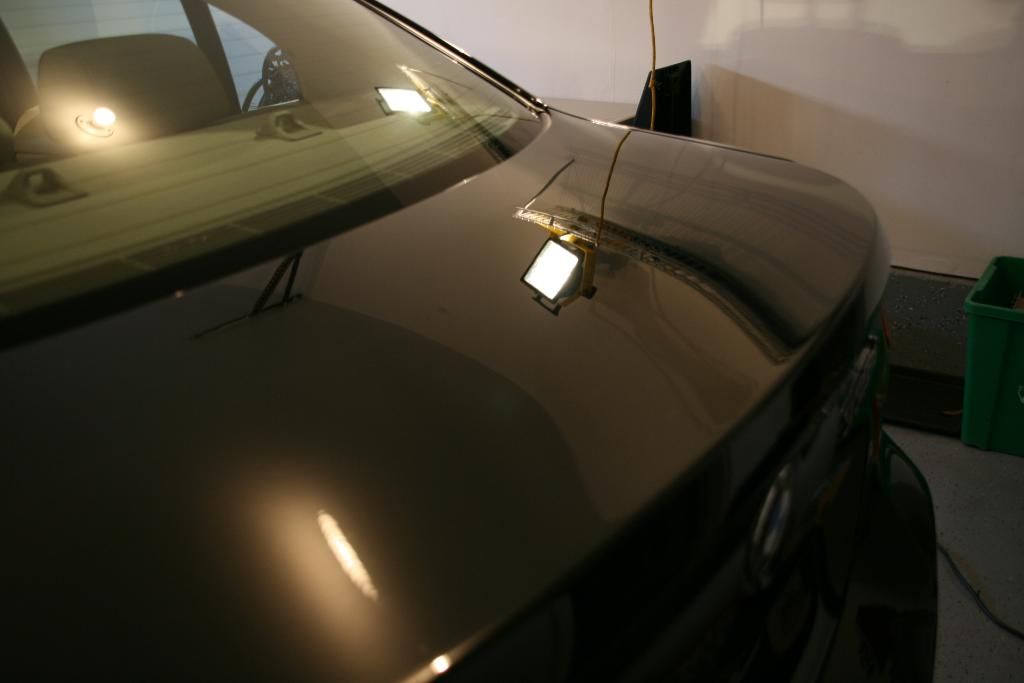
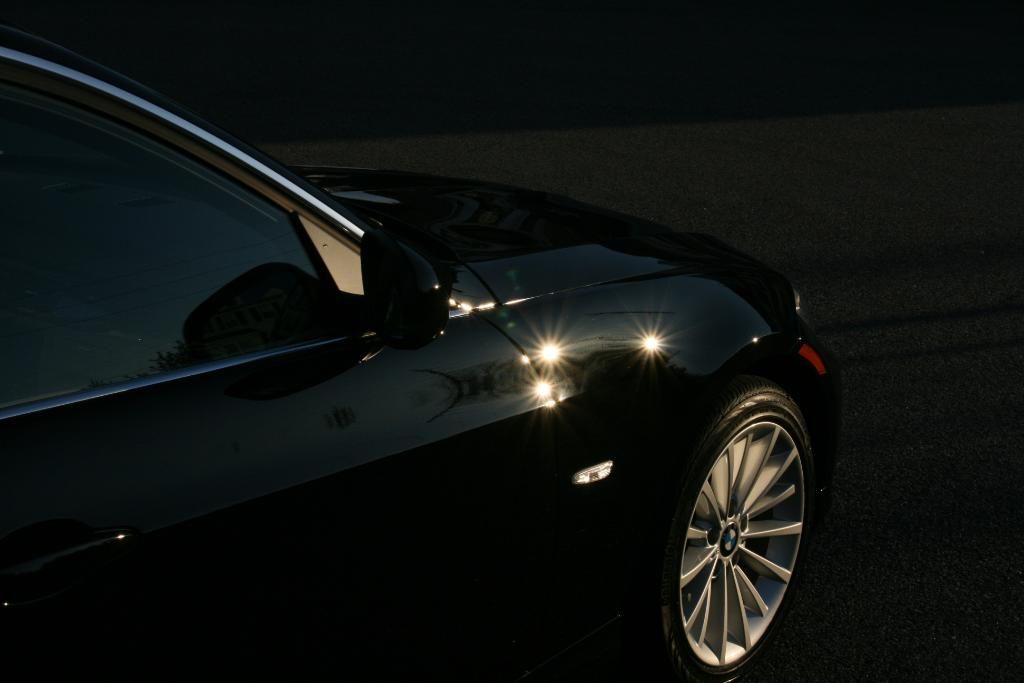
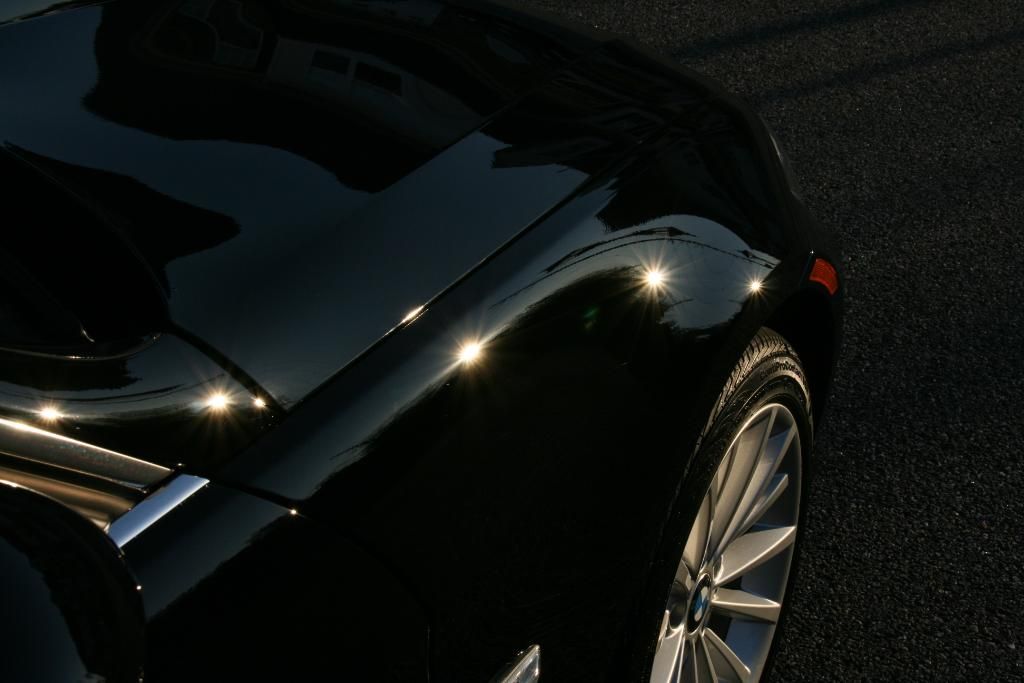
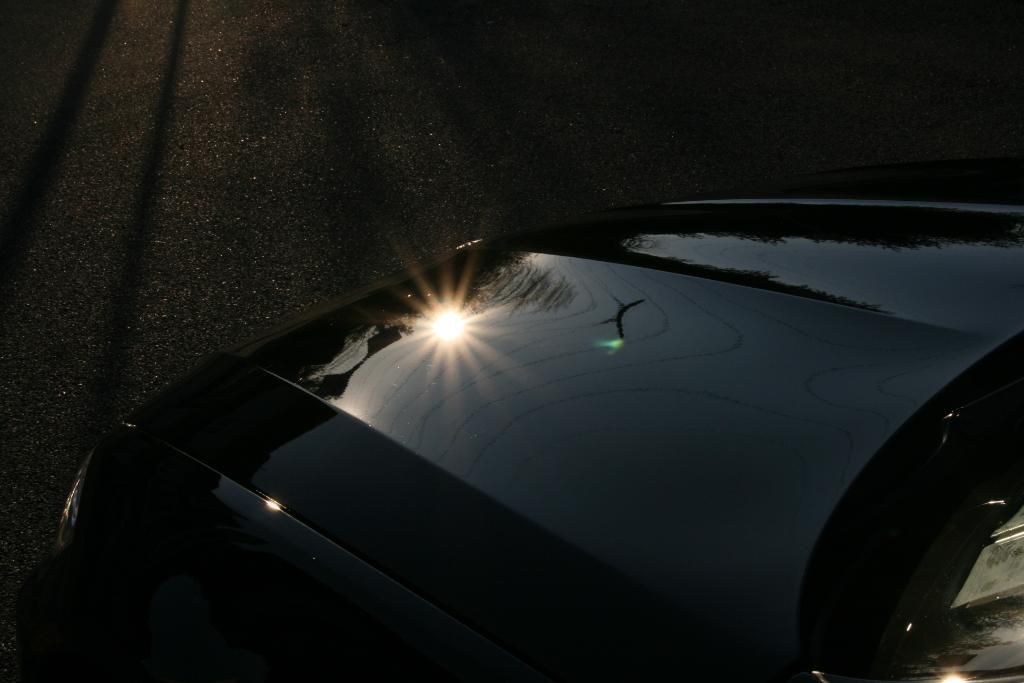
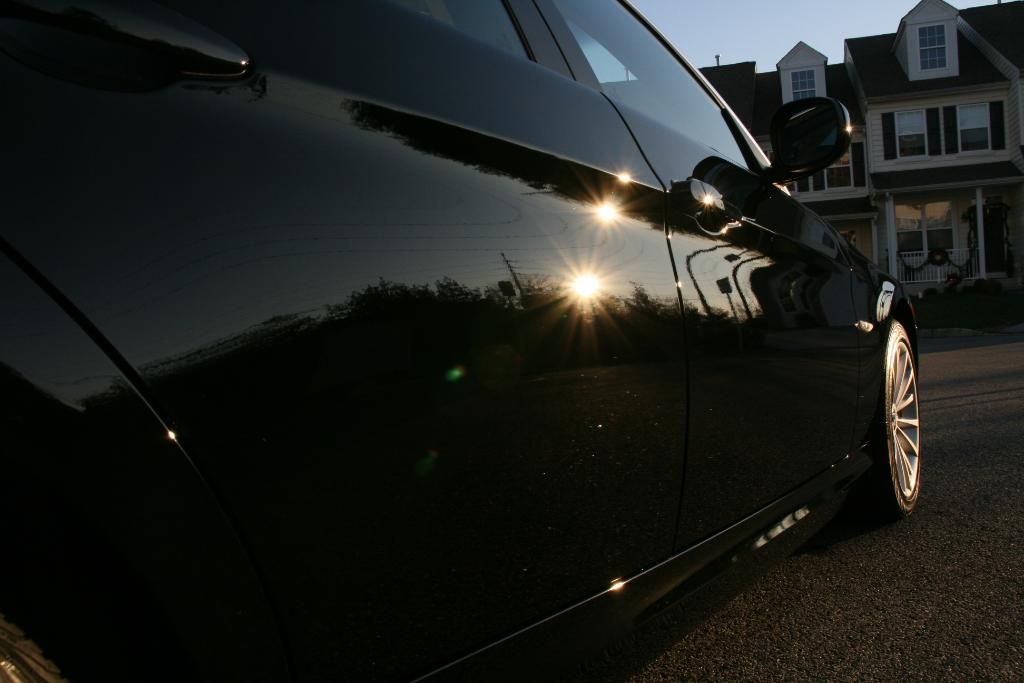
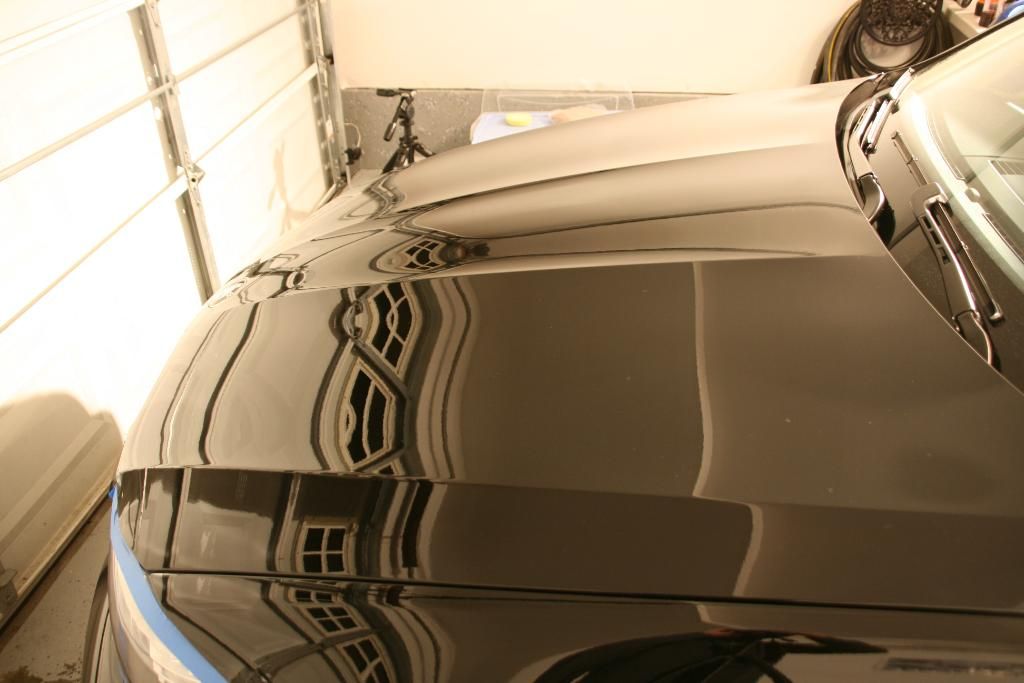
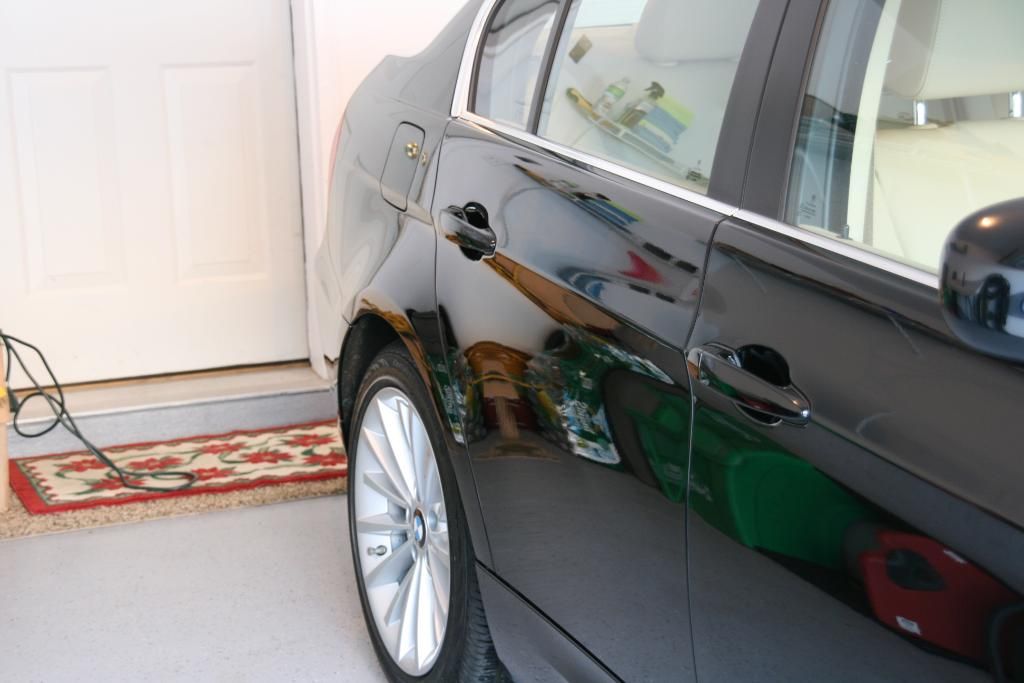
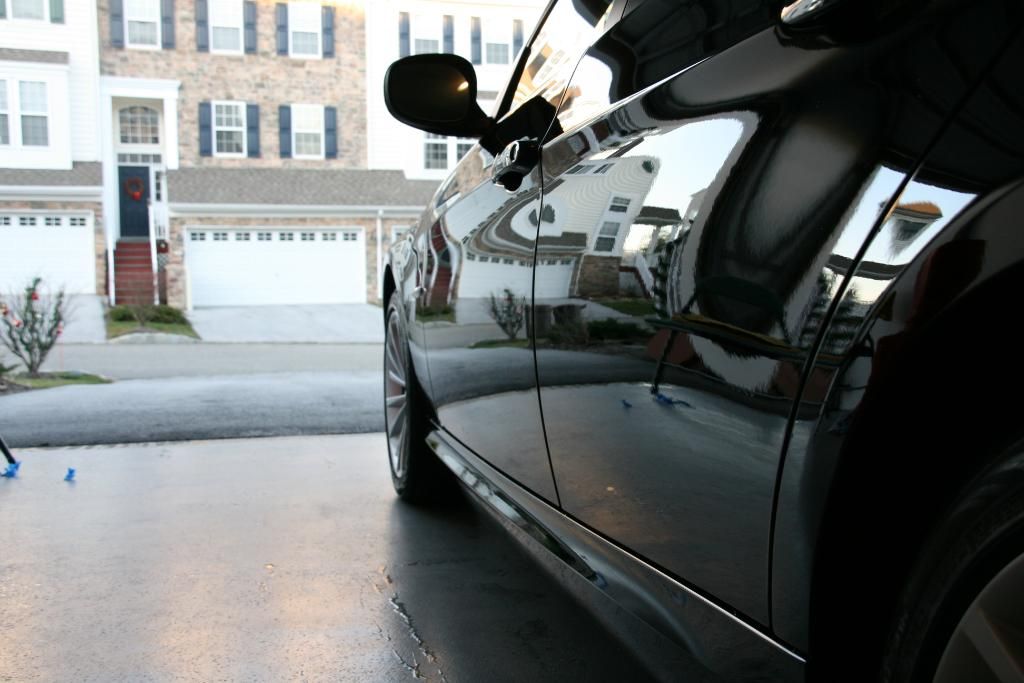
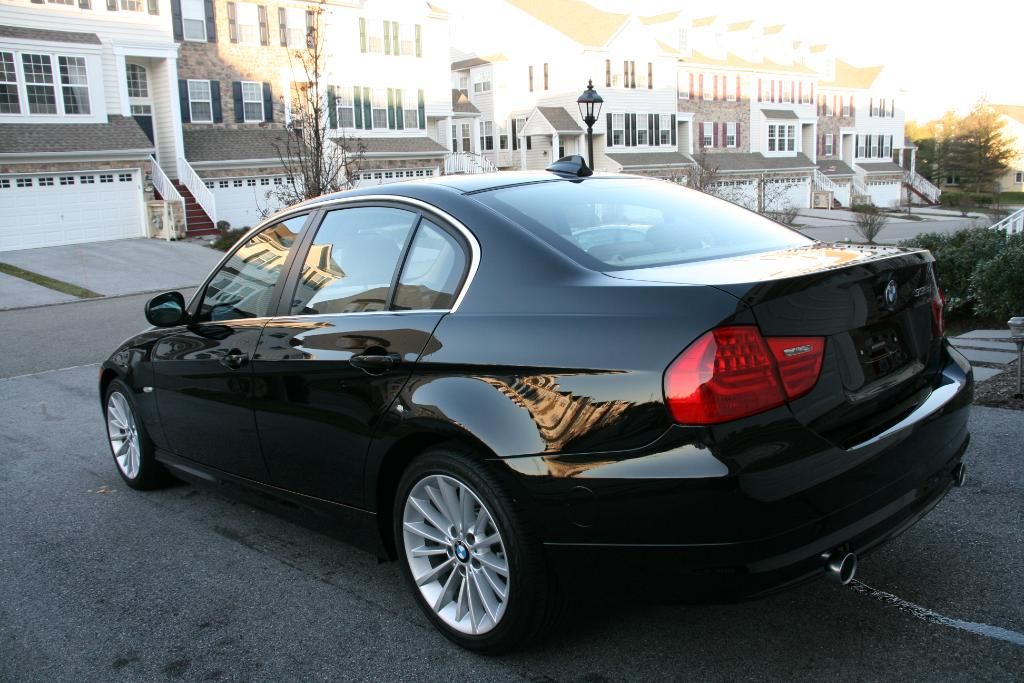
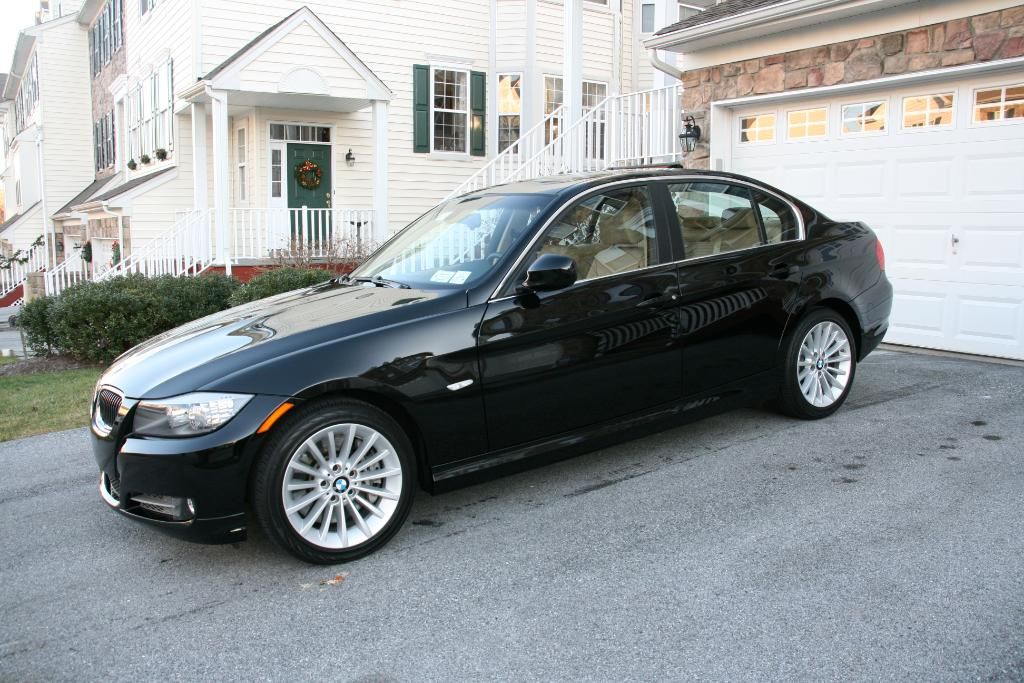
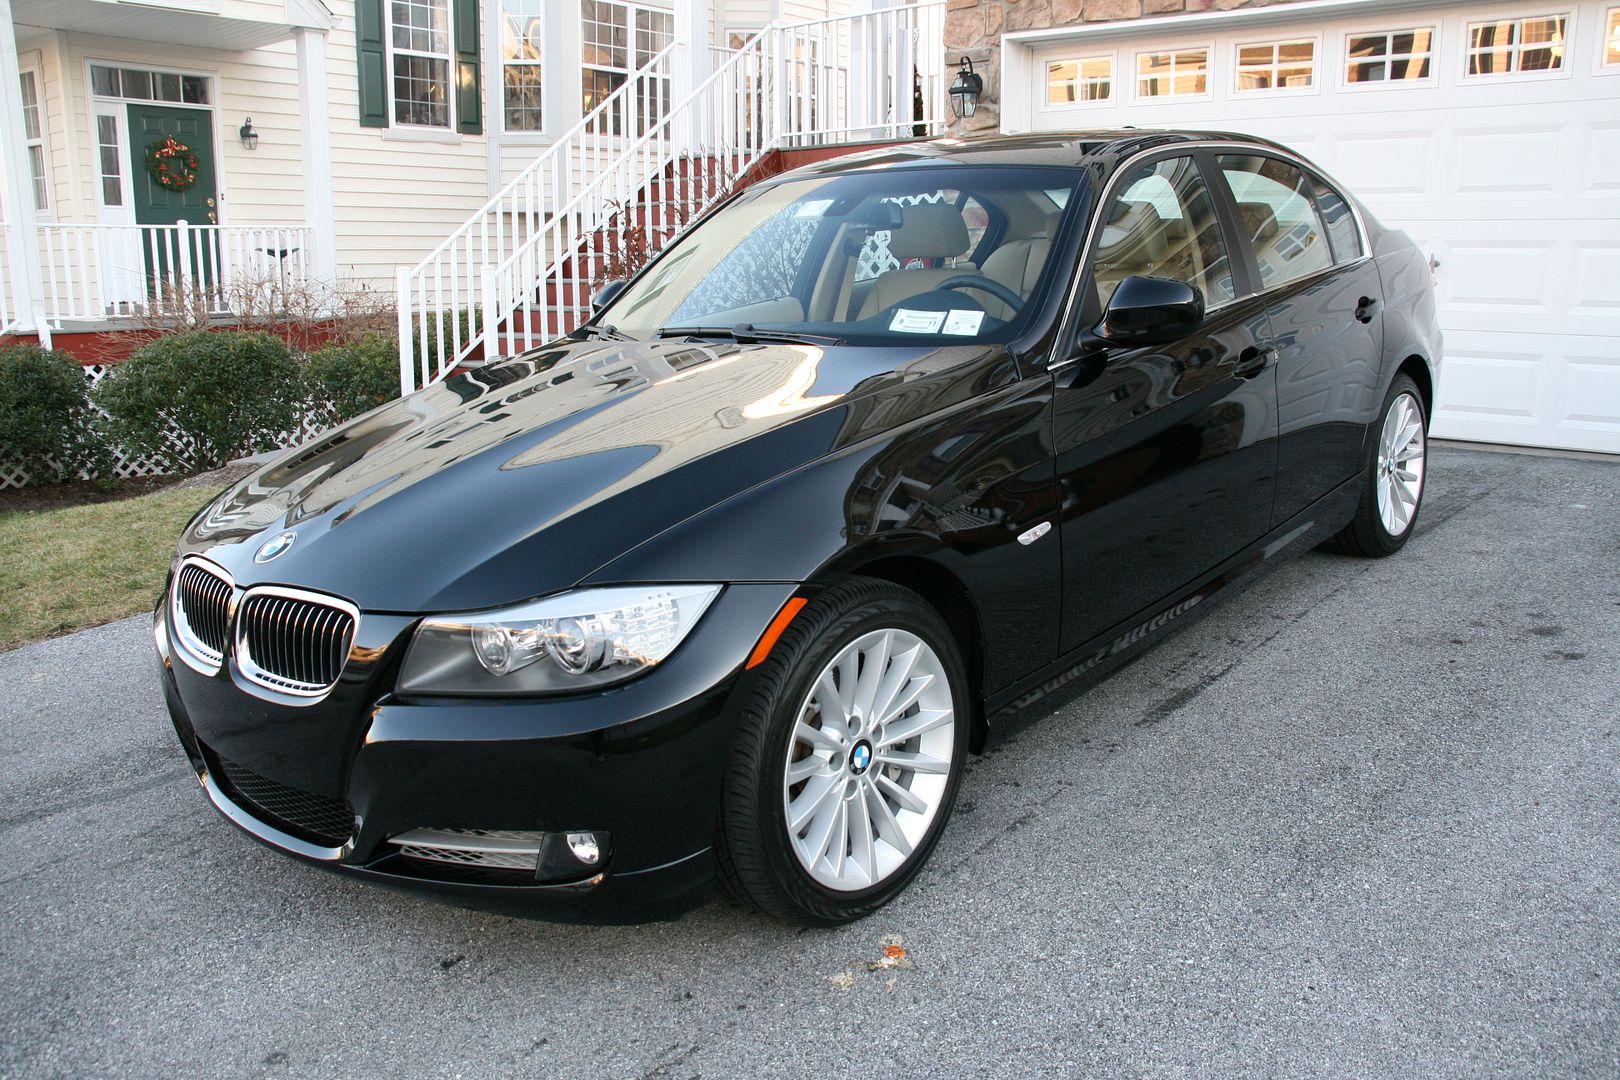
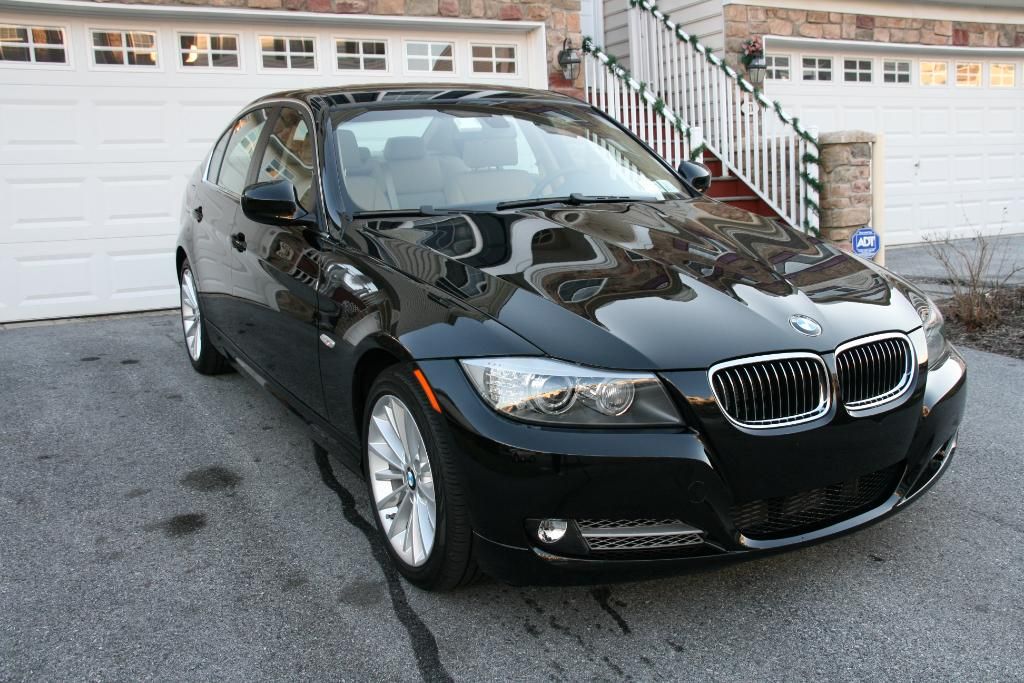
The corrected paint can be seen in the pictures below under direct halogen spotlights and then under direct sunlight.
Process:
Menzerna SIP � Yellow pad
Menzerna 203 � Orange Pad
Menzerna 106FF � Green Pad
Blackfire Wet Diamond Sealant � Blue Pad
Collinite�s No. 845 Insulator Wax � Blue Pad
Poor Boy�s Wheel Sealant/Collinite�s No. 845 Wax on wheels.
Wheels Before
Wheels After
The paint damage under the halogens, you can clearly see the horrible holograms/buffer trails.
You can clearly see the extent of the paint damage in the above pictures, so I focused a lot on the 50/50 photos and the difference is beyond clear. Starting with the trunk.
The front fender:
The most dramatic 50/50 photos can be seen on the rear quarter panel below:
The corrected paint can be seen in the pictures below under direct halogen spotlights and then under direct sunlight.


 Dec 23, 2009 | 10:30 AM
#6
Thread Starter
| Teamspeed Member
Joined: Jun 2009
Posts: 208
From: West Chester, PA

Thank you! I appreciate the kind words!

Thread
Thread Starter
Forum
Replies
Last Post
Oakes
Detailing & Paint Protection
7
Mar 25, 2016 08:26 PM
Oakes
Detailing & Paint Protection
24
Aug 7, 2009 10:28 AM
Oakes
Detailing & Paint Protection
5
Jul 23, 2009 08:09 PM
Bookmarks


Currently Active Users Viewing This Thread: 1 (0 members and 1 guests)