
Oakes - Detailed: 2008 Evolution X - Dealership Hackjob!
 Aug 10, 2009 | 03:53 AM
#1
Thread Starter
| Teamspeed Member
Joined: Jun 2009
Posts: 208
From: West Chester, PA


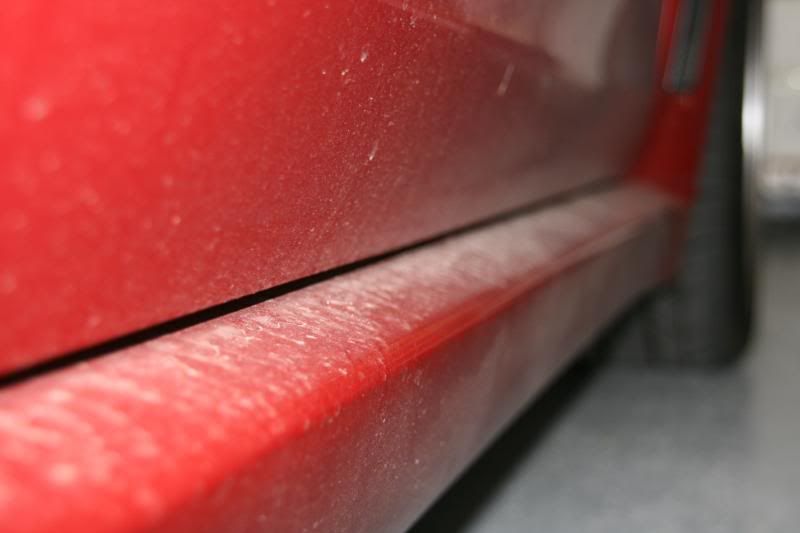
You could call this a rescue detail of a 2008 Evolution X, hence I was essentially reviving the paint after some poor, poor dealership "detailing" or "hacking" rather? The project was brought to me by it's owner, Nick, in hopes to get it "looking the way she should." The paint on this particular Evo was in rough shape, looked dull to the naked eye and in direct light, as you will see it looked terrible! After 24 hours of working on this vehicle over 3 days, over a dozen water bottles and significantly less Red Bulls later, this car was restored to perfection.
Process:
Vehicle wash - Clay - Wash
Menzerna Power Gloss - Orange pad
Menzerna Power Finish 203 - Green pad
Optimum Poli - Seal - Black pad
Collinite's No. 845 wax
Re-wash - Carnuaba Spray wax
Blood, Sweat, more sweat, and tears
A Few Before Pictures
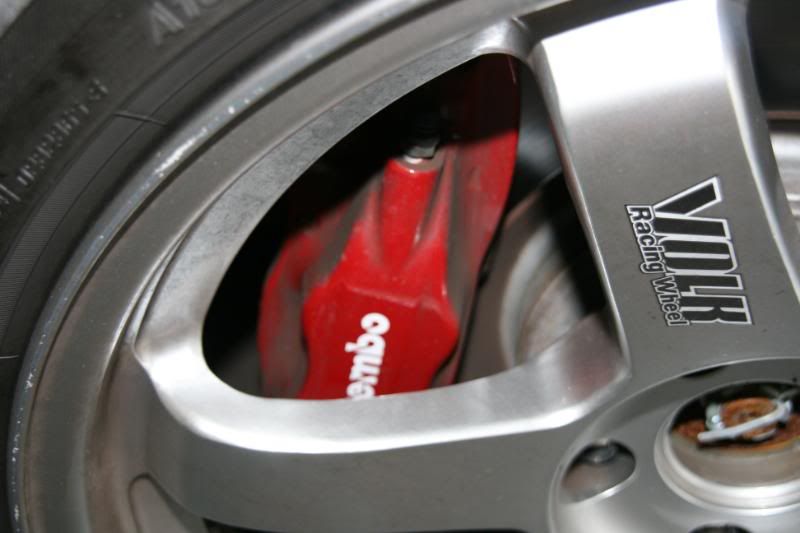
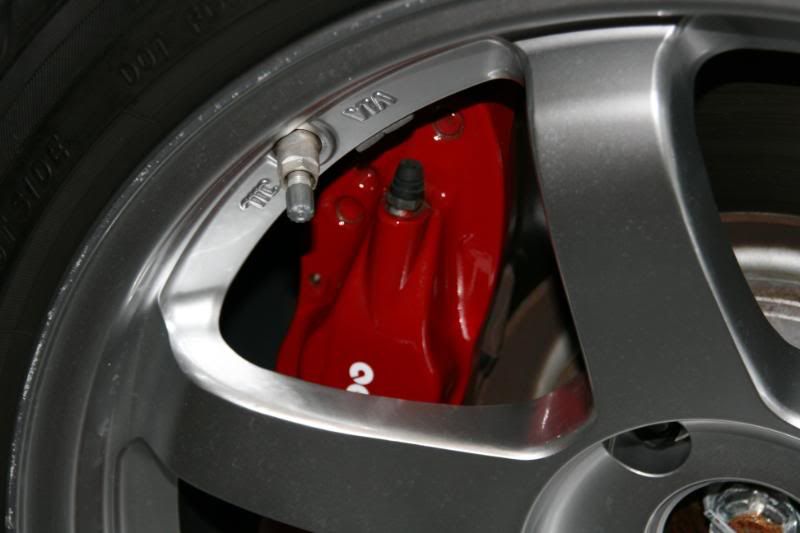
Brake Caliper Before/After - Passenger
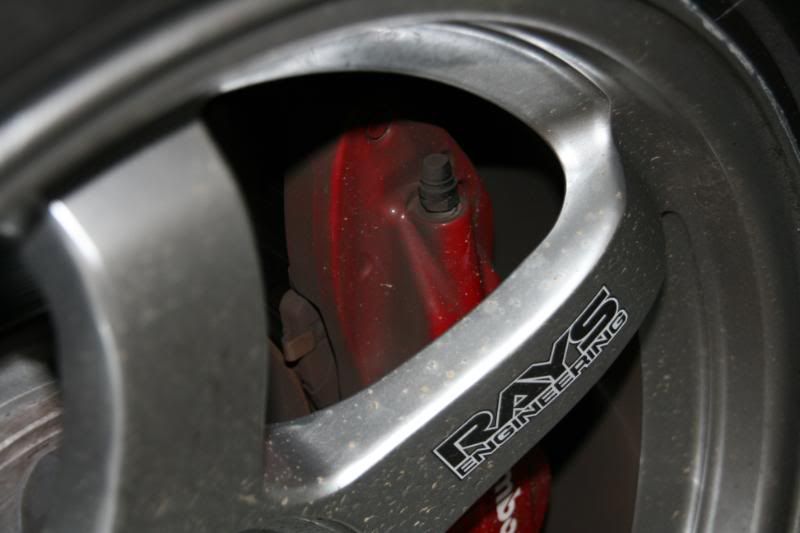
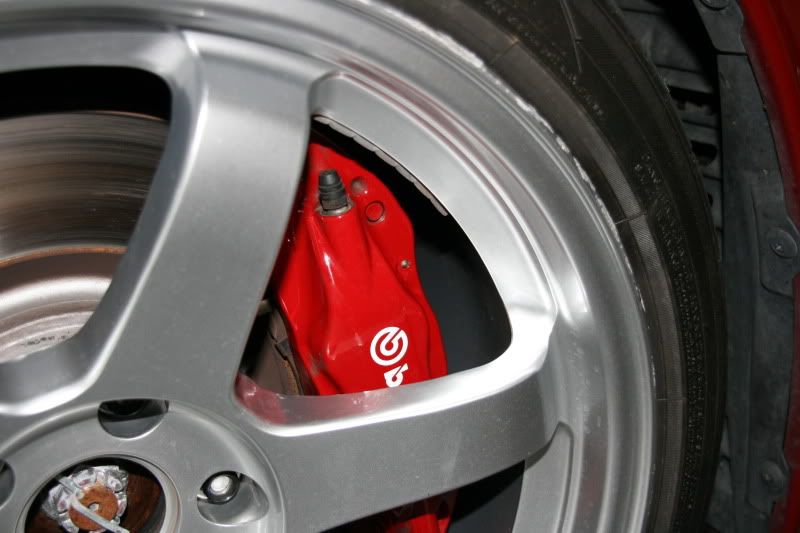
Brake Caliper Before/After - Driver
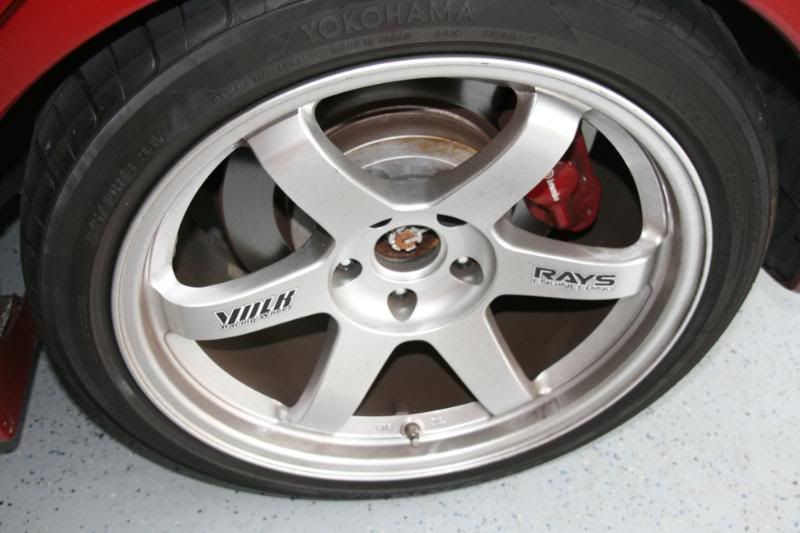
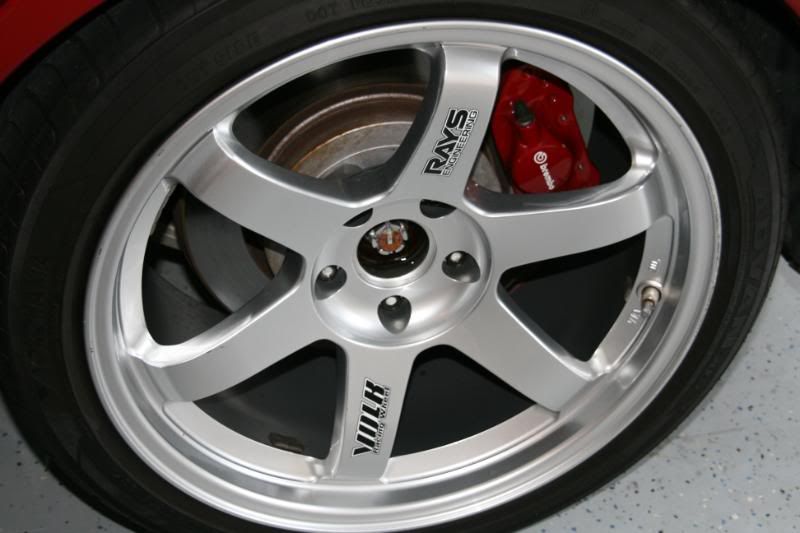
Wheel Before/After
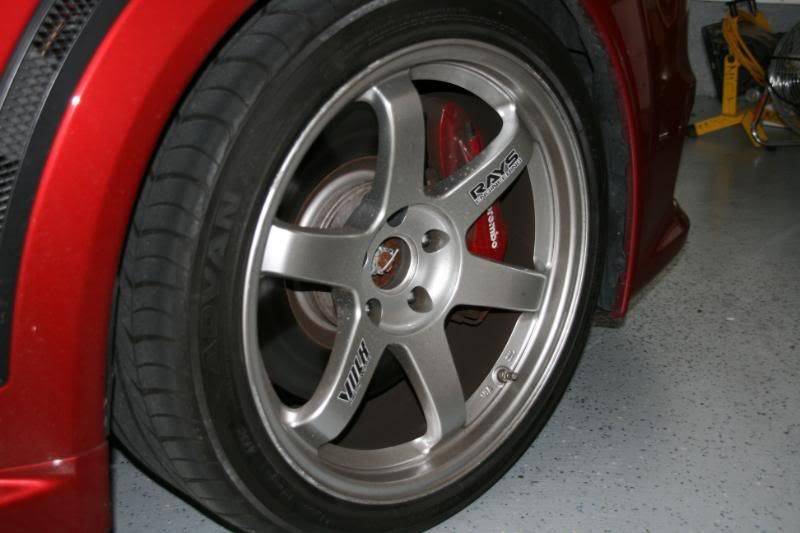
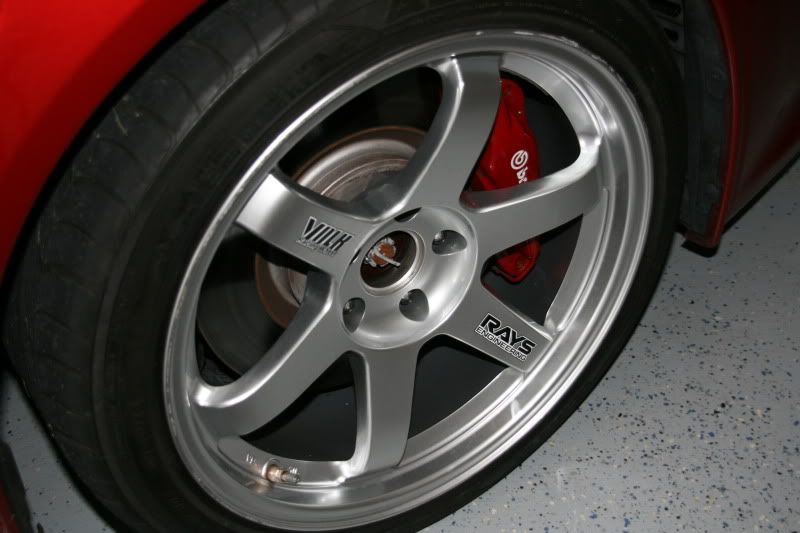
Wheel Before/After
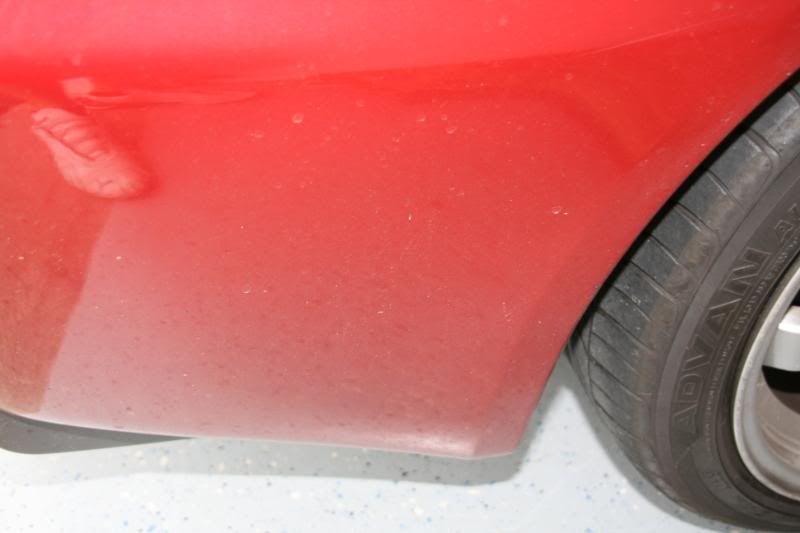
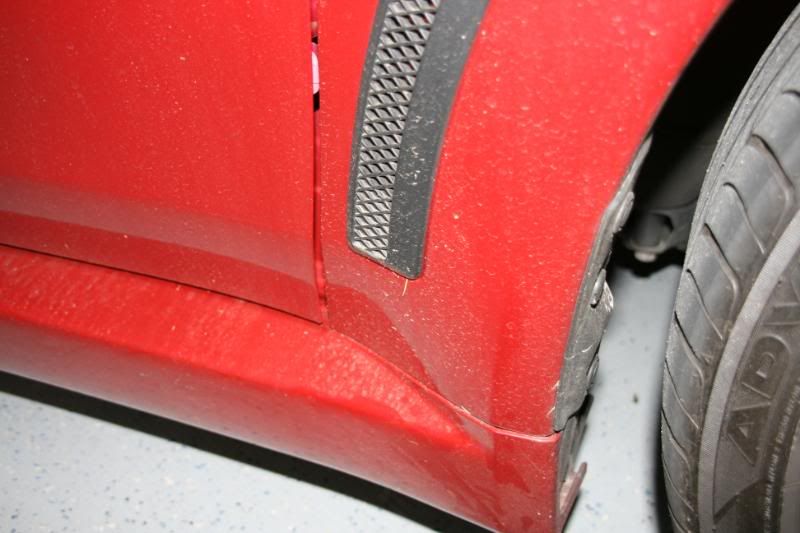
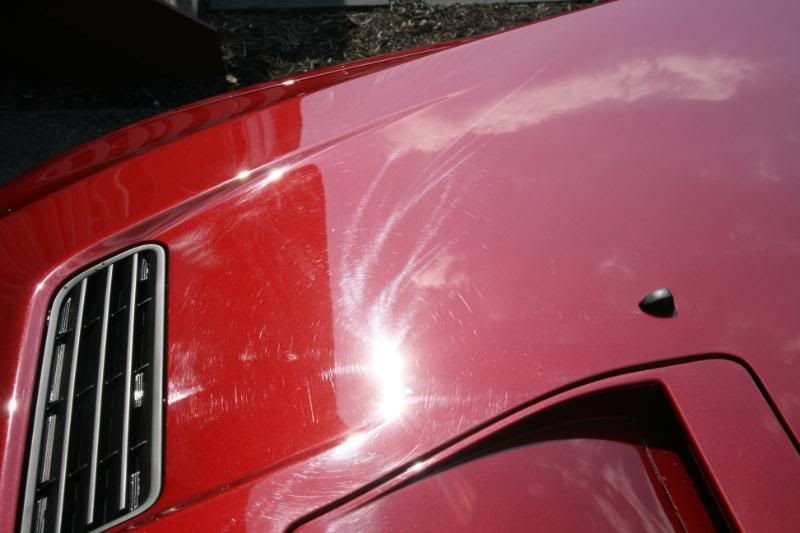
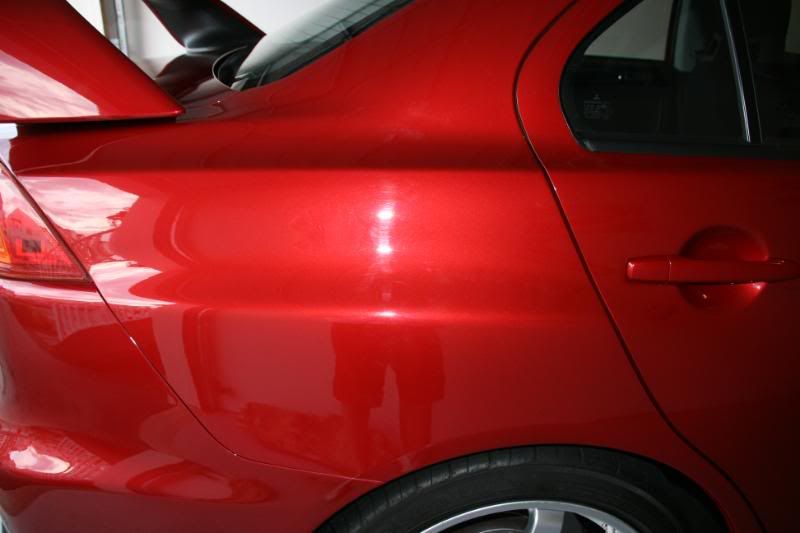
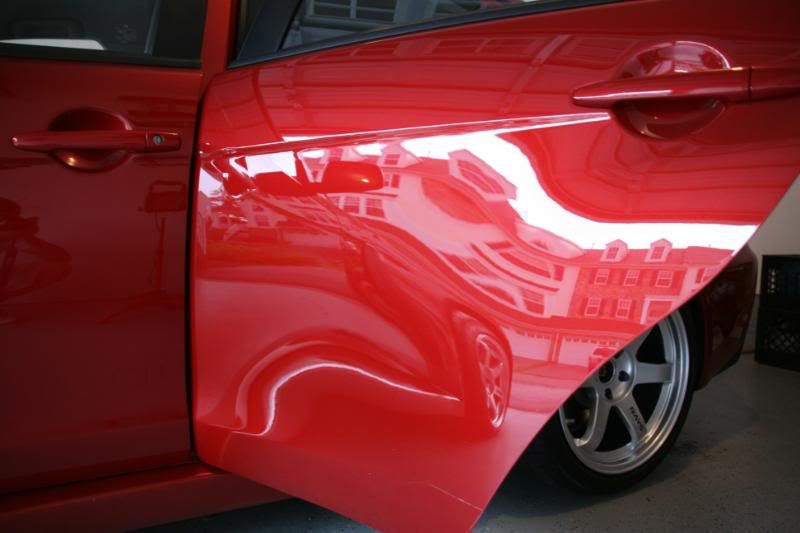
Paint Pictures In Direct Sunlight
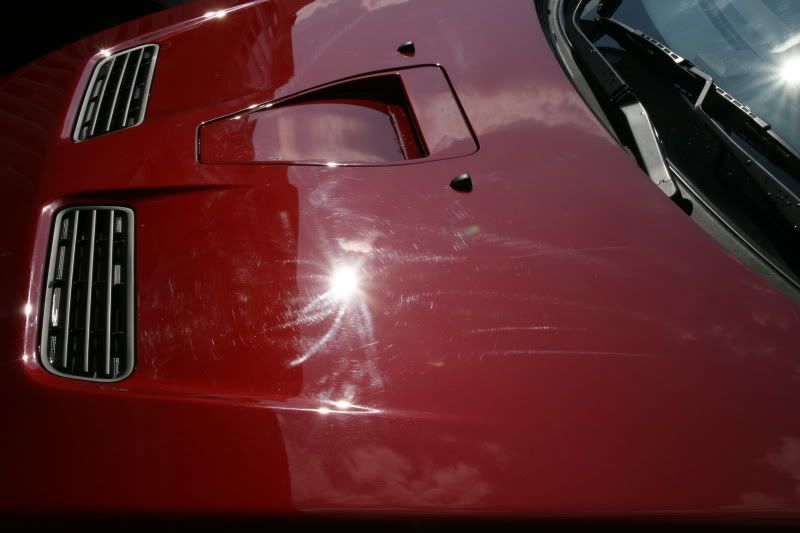
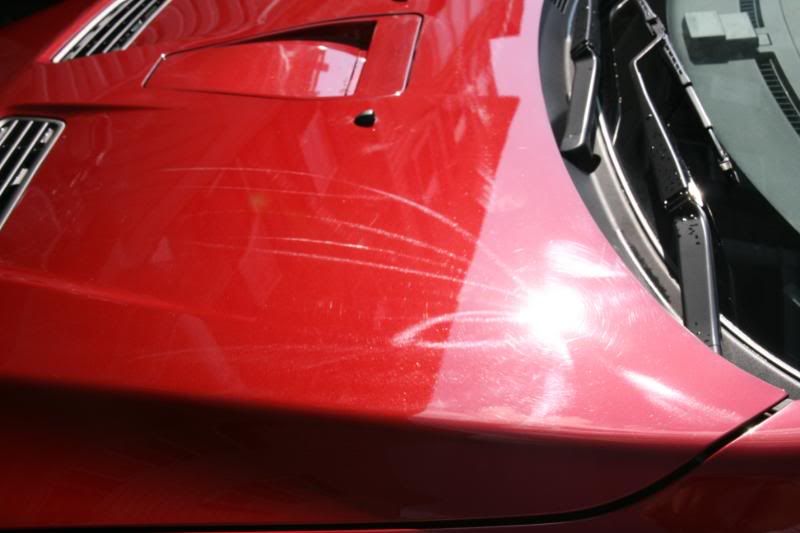
After Vehicle prep, all the plastic, rubber and vinyl edges were taped off
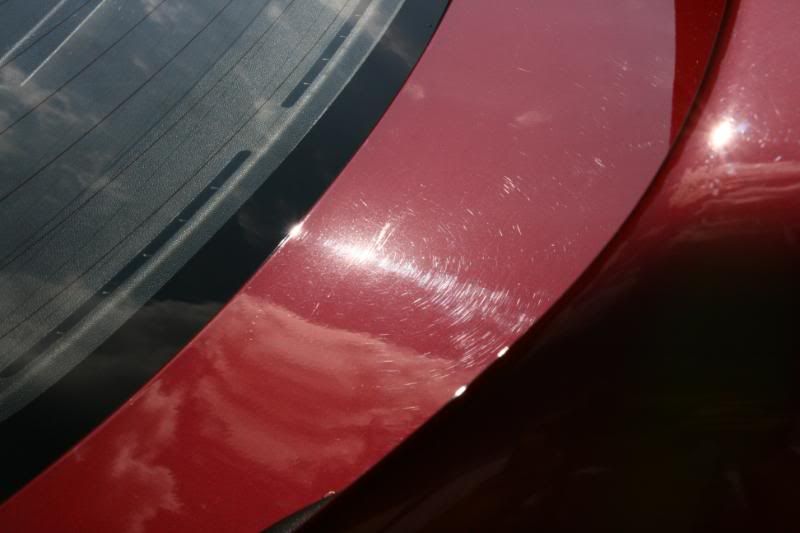
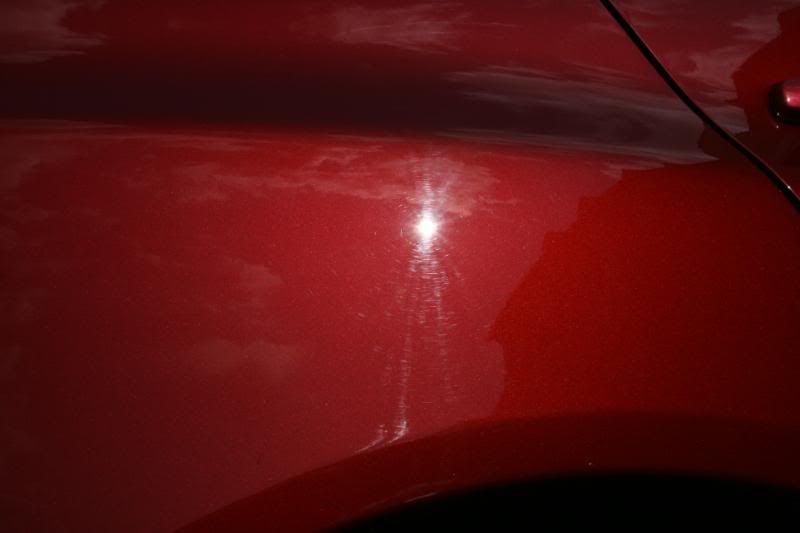
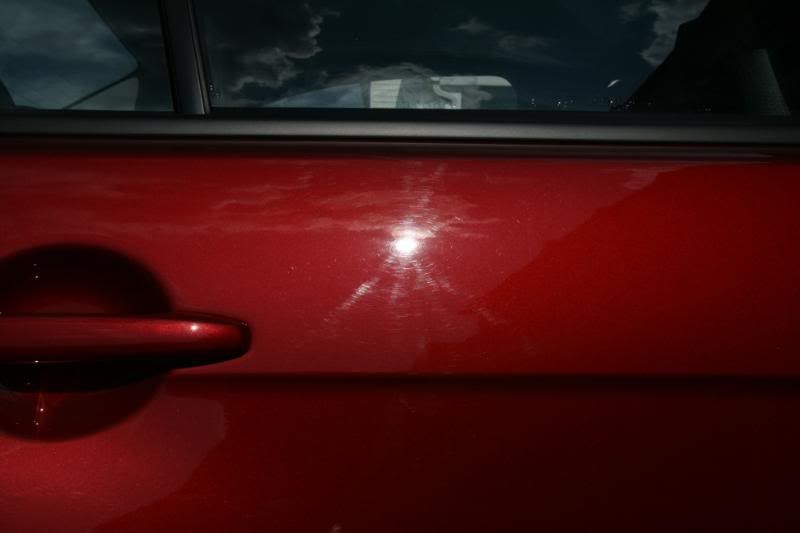
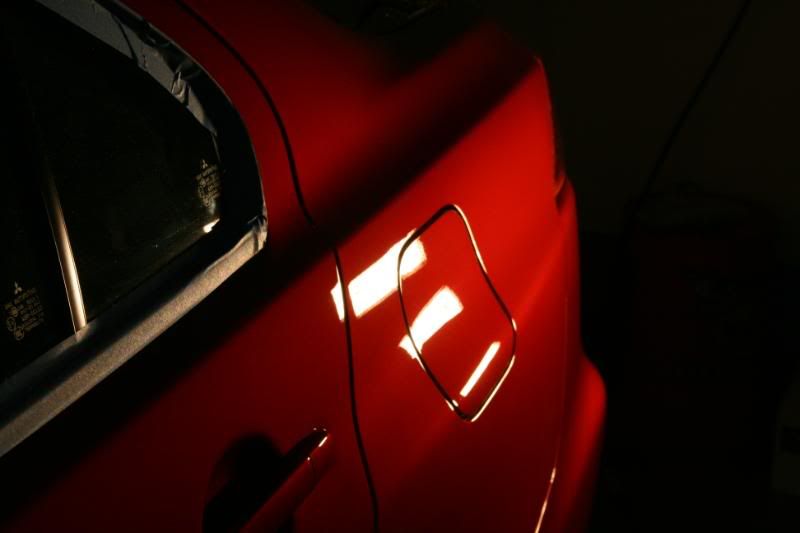
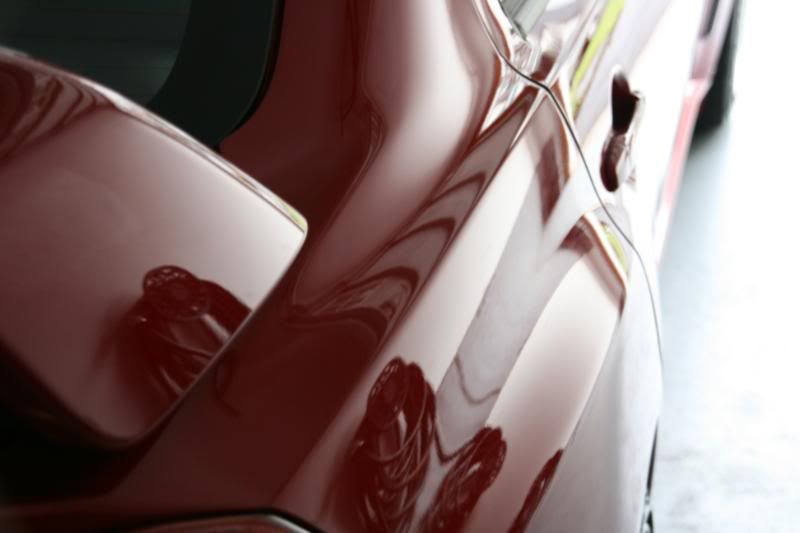
Another Inspection of the paint then followed, the picture below show the damage that was found.
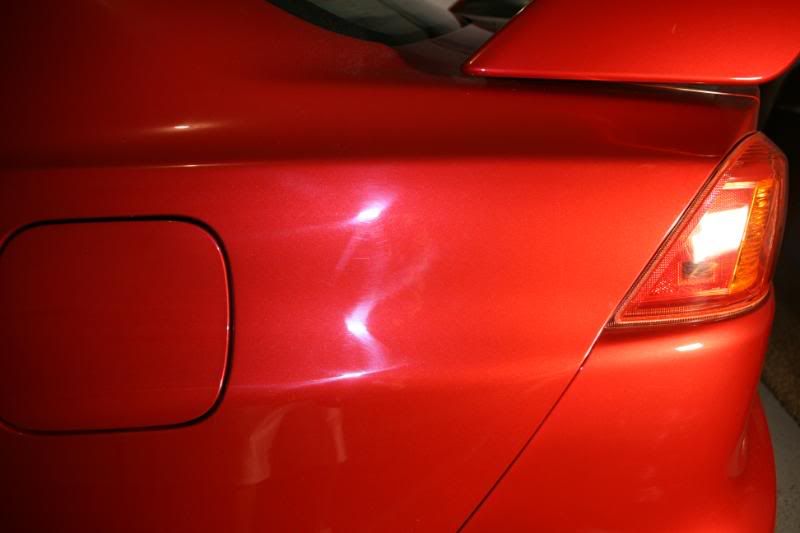
Here is the only successful 50/50 shot I could manage, with metallic paint it is difficult to capture a shot like this because the usual light angles reflect off of too many flakes and give it a hazed effect.
As can see the damage above was covering the entire vehicle, about 90-95% of the damage was repaired and can be seen in the pictures below. These pics were taken after compounding/polishing, no sealant, glazes or waxes on the finish.
Process:
Vehicle wash - Clay - Wash
Menzerna Power Gloss - Orange pad
Menzerna Power Finish 203 - Green pad
Optimum Poli - Seal - Black pad
Collinite's No. 845 wax
Re-wash - Carnuaba Spray wax
Blood, Sweat, more sweat, and tears
A Few Before Pictures
Brake Caliper Before/After - Passenger
Brake Caliper Before/After - Driver
Wheel Before/After
Wheel Before/After
Paint Pictures In Direct Sunlight
After Vehicle prep, all the plastic, rubber and vinyl edges were taped off
Another Inspection of the paint then followed, the picture below show the damage that was found.
Here is the only successful 50/50 shot I could manage, with metallic paint it is difficult to capture a shot like this because the usual light angles reflect off of too many flakes and give it a hazed effect.
As can see the damage above was covering the entire vehicle, about 90-95% of the damage was repaired and can be seen in the pictures below. These pics were taken after compounding/polishing, no sealant, glazes or waxes on the finish.
Aug 10, 2009 | 03:54 AM
#2
Thread Starter
| Teamspeed Member
Joined: Jun 2009
Posts: 208
From: West Chester, PA
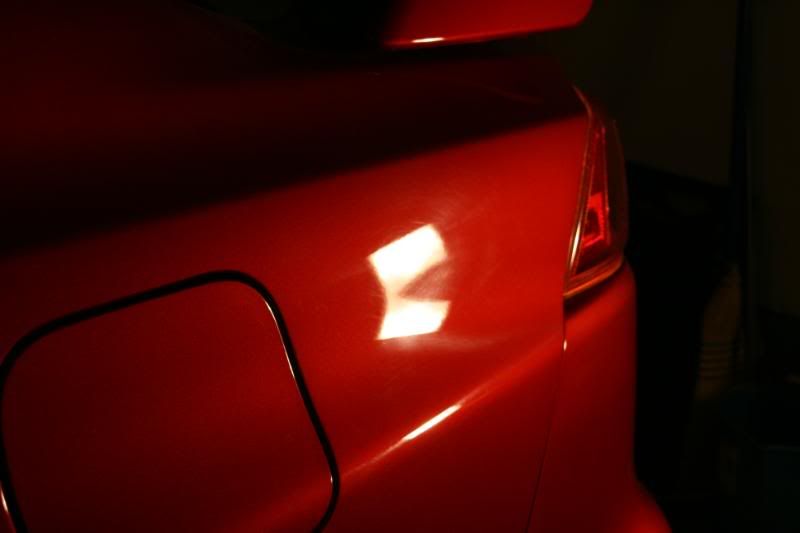
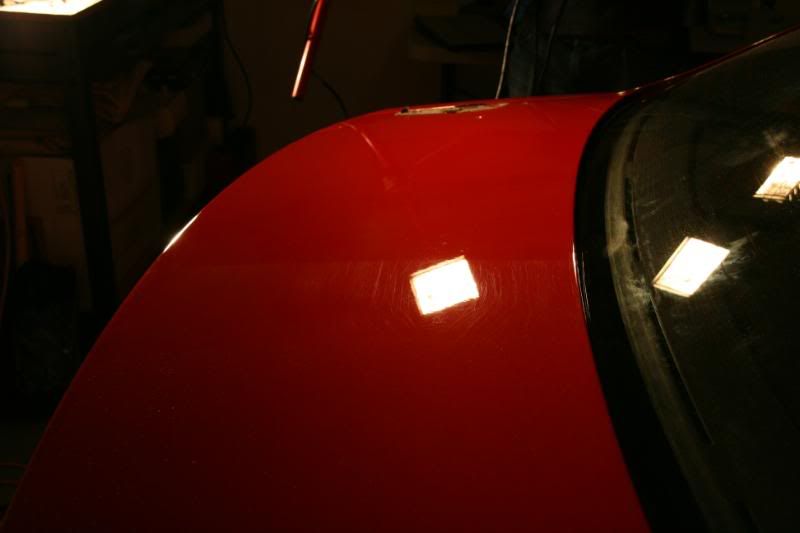
Paint shots afterwords in the sun, albeit cloudy still enough to light to expose defects

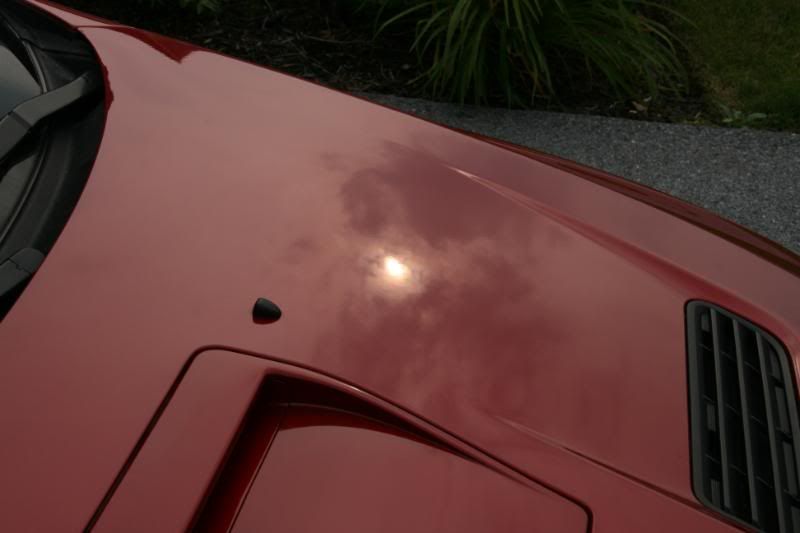
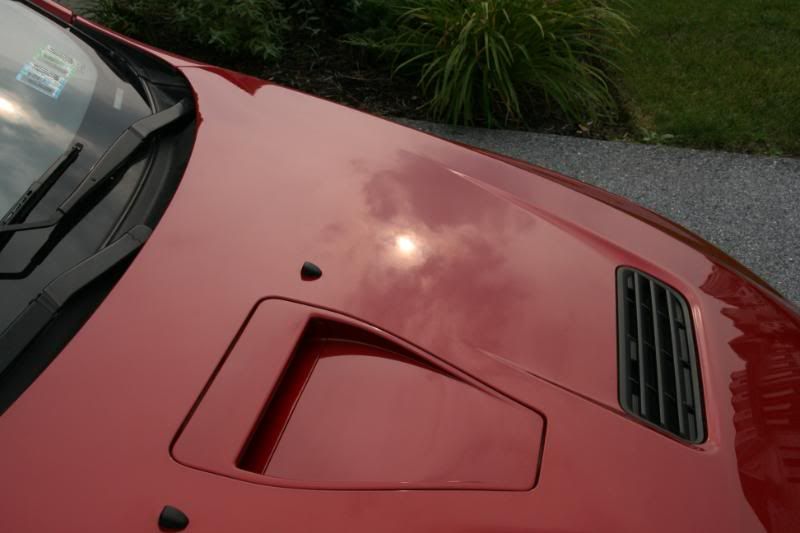
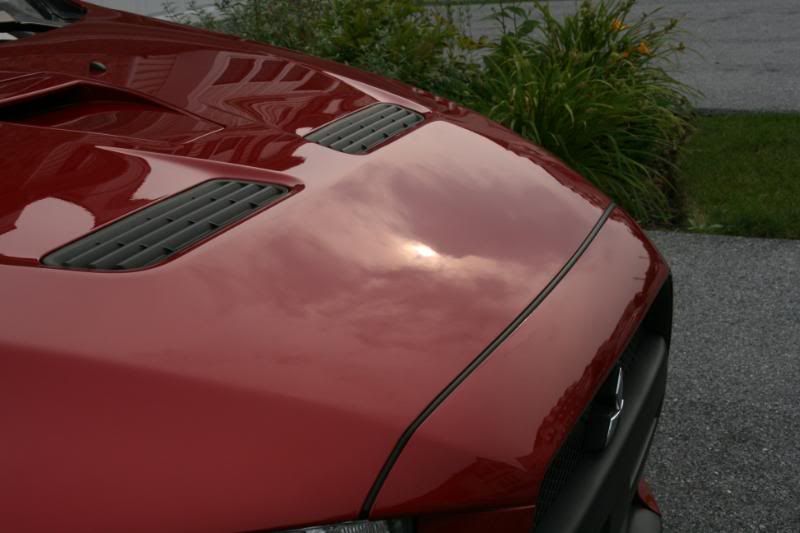
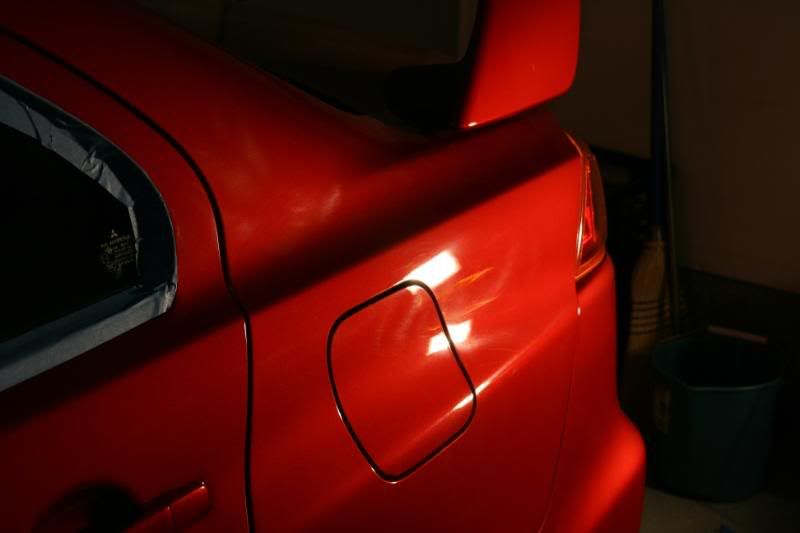
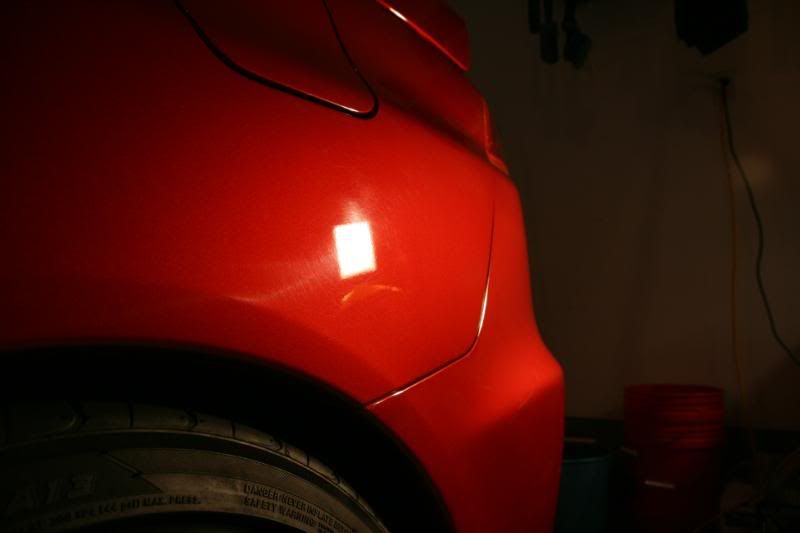
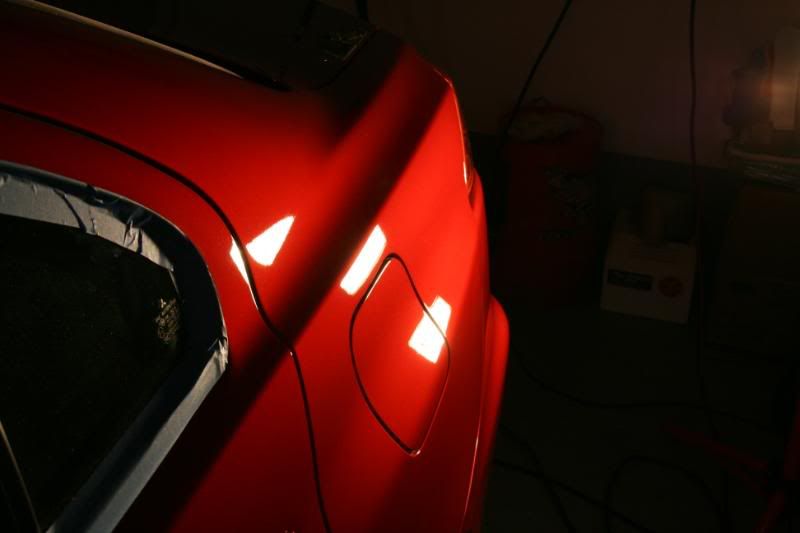
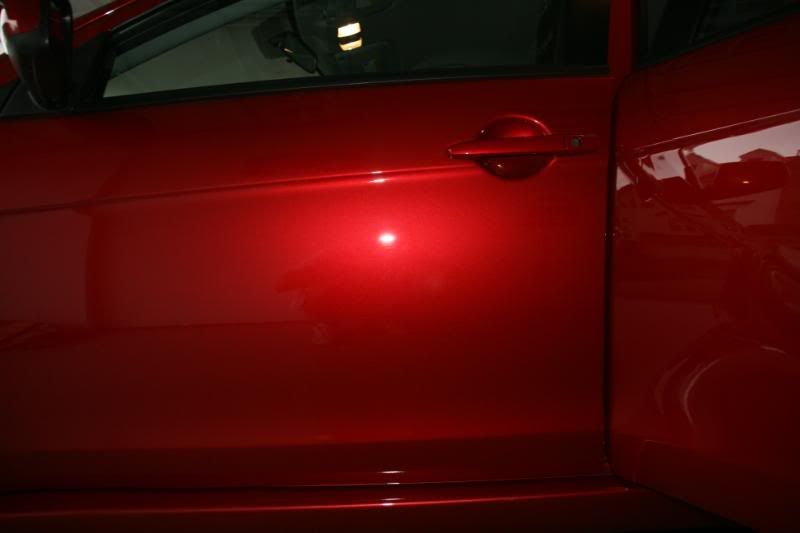
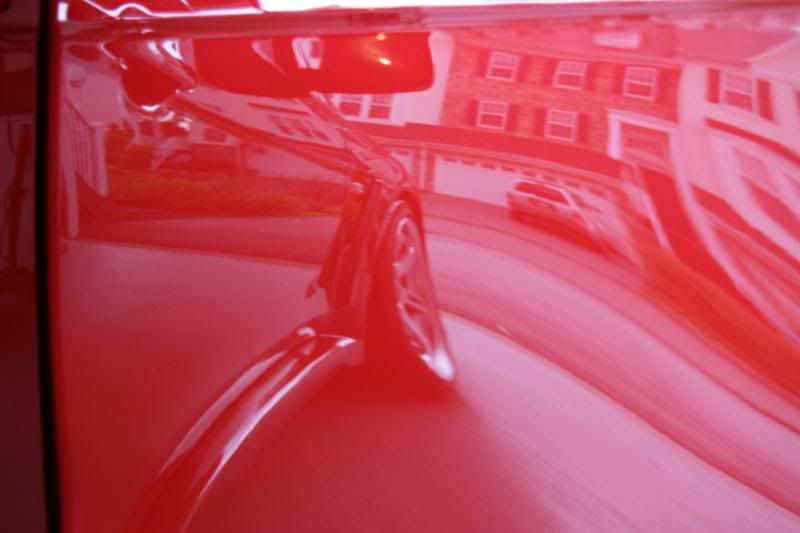
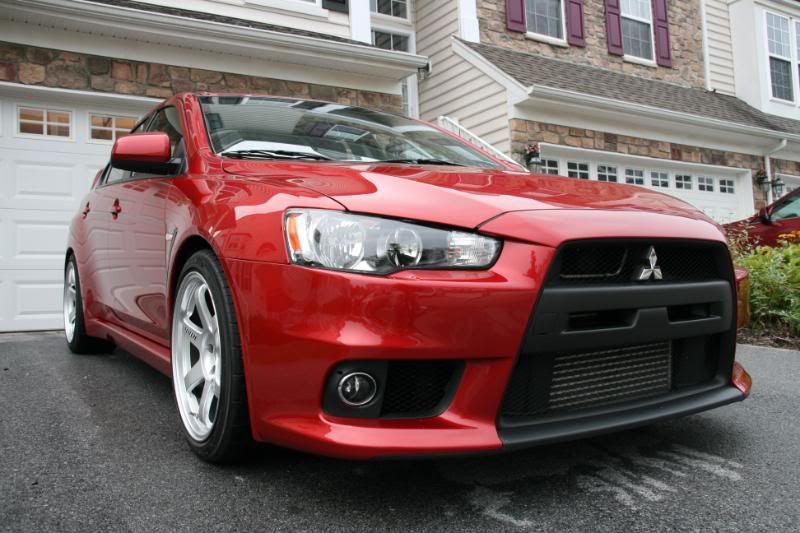
After about 24 hours combined on this vehicle, I present the finished photos, starting with the reflection shots!
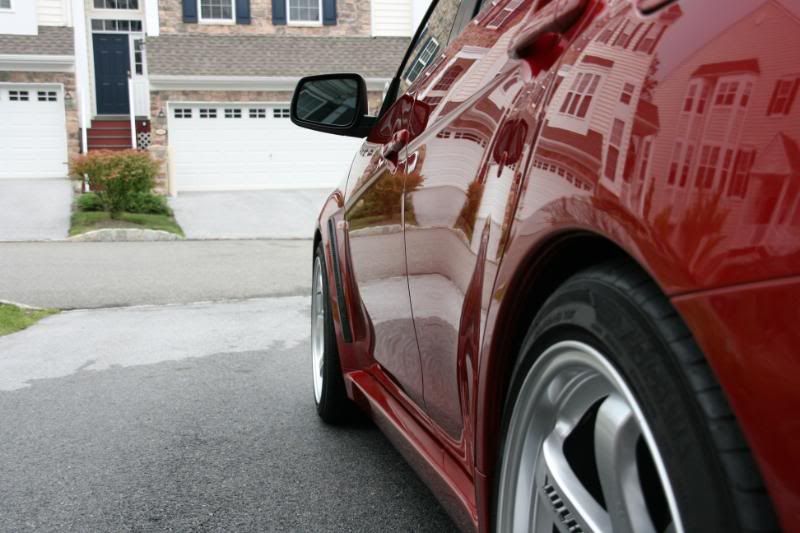
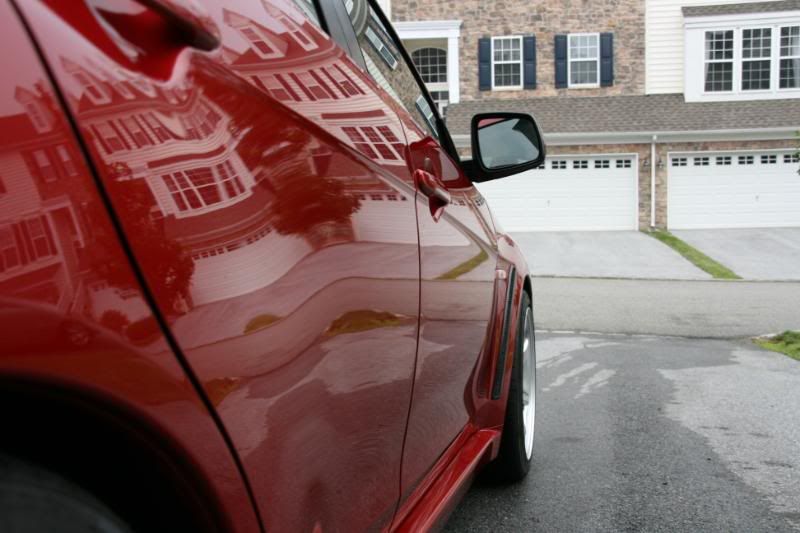
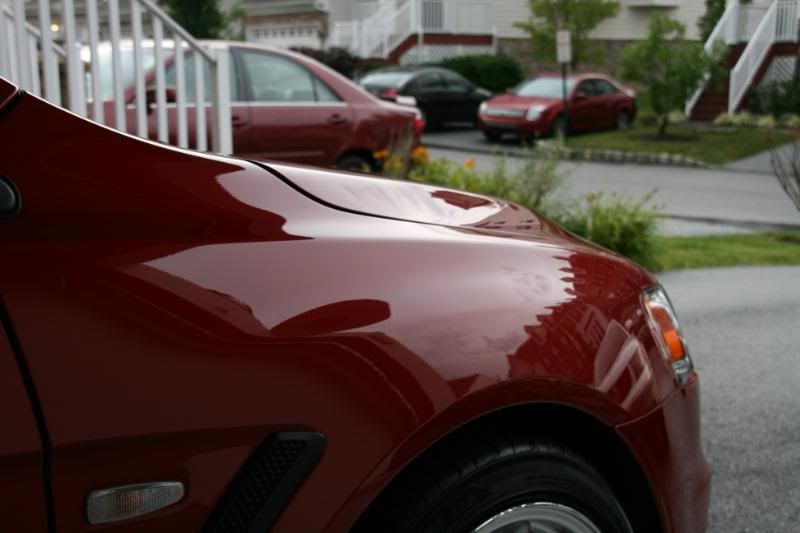
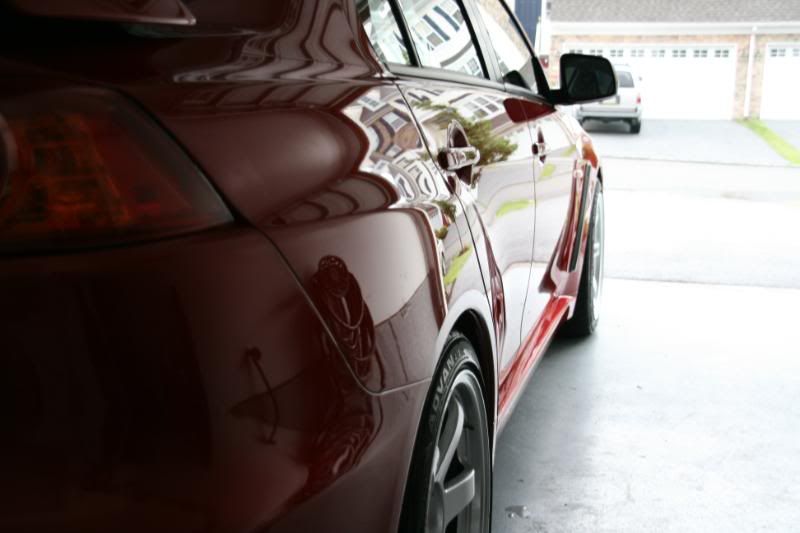
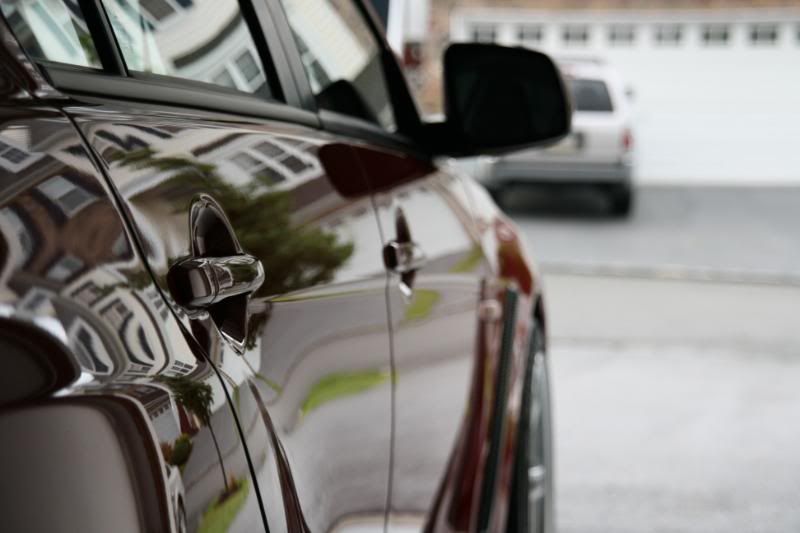
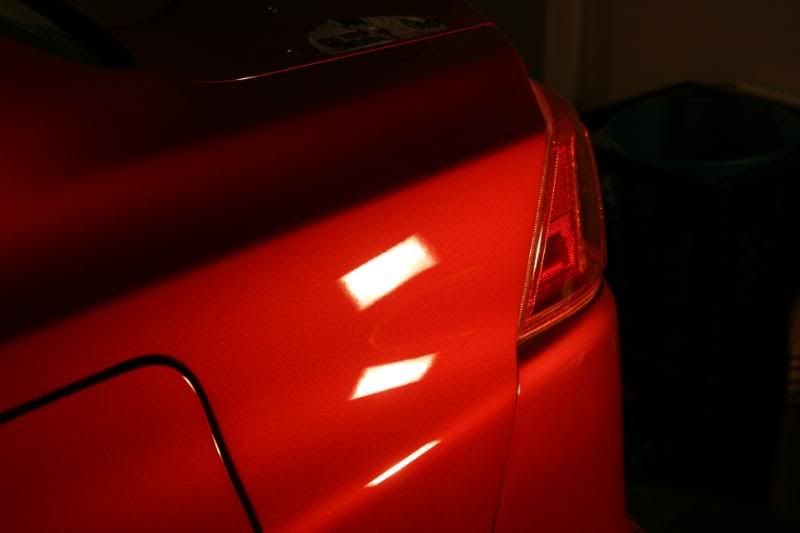
I like how these two turned out
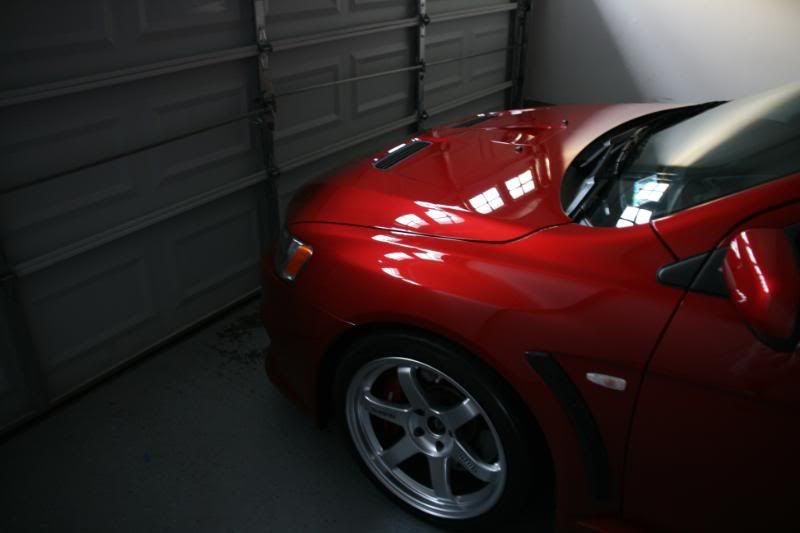
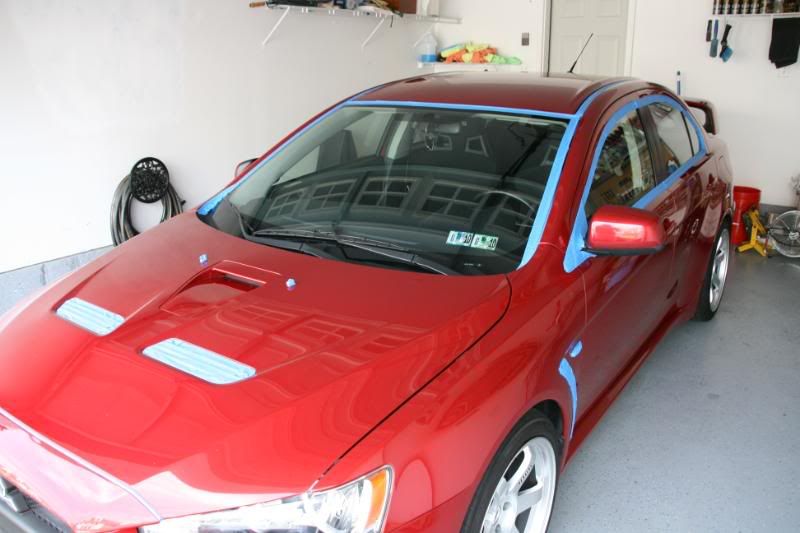
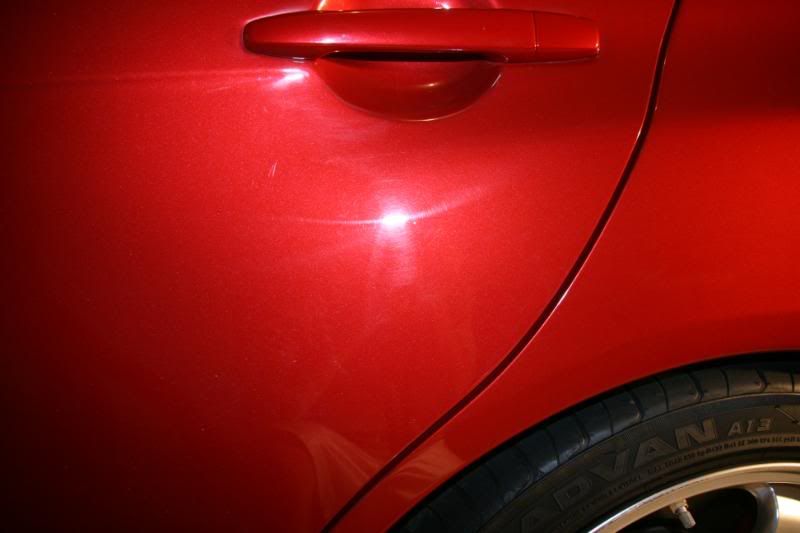
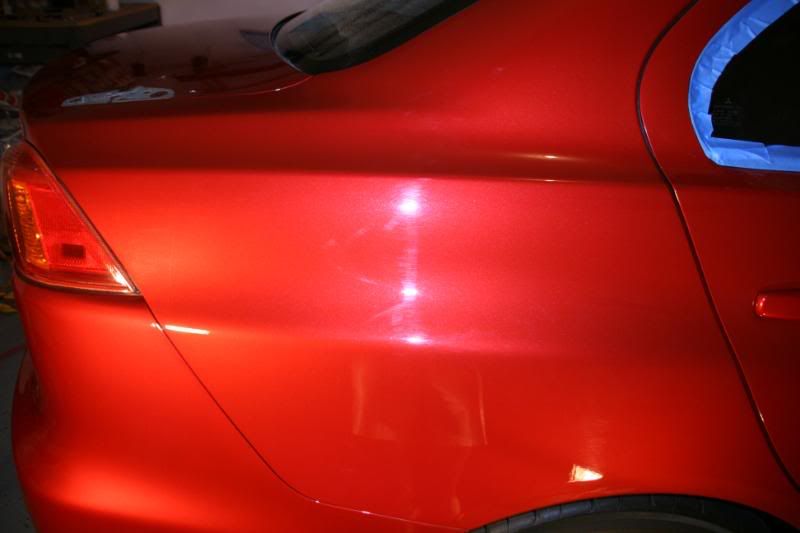
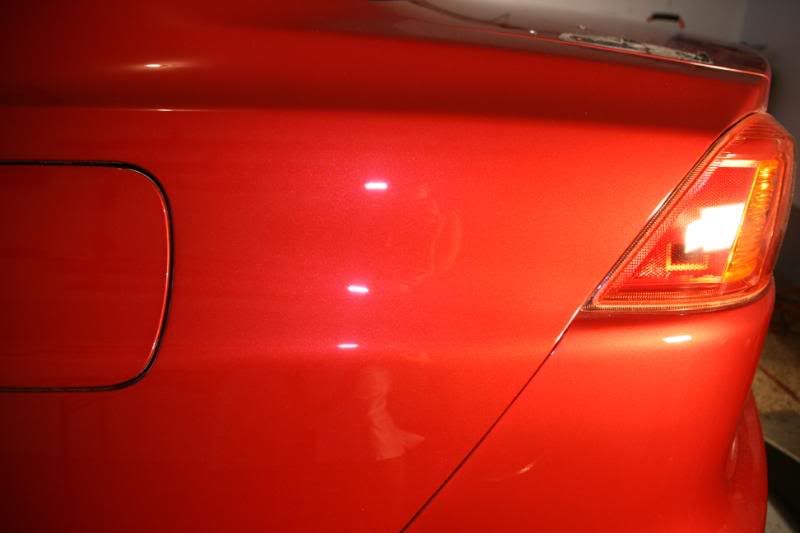
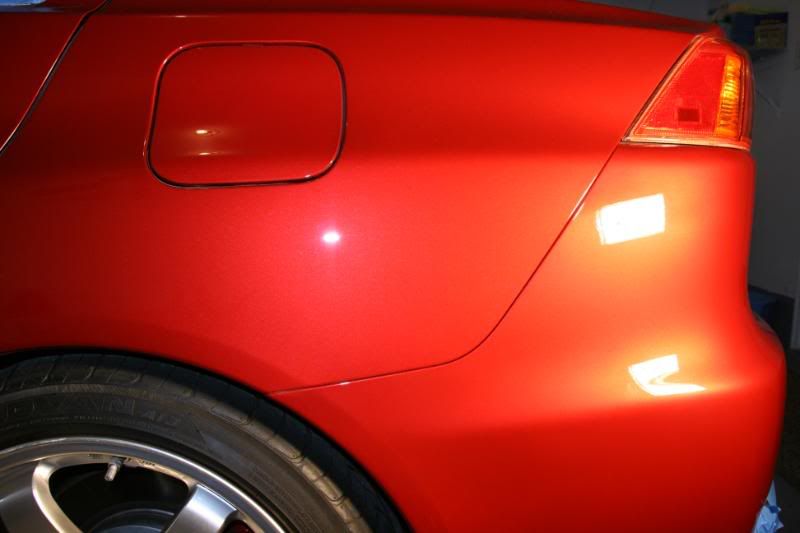
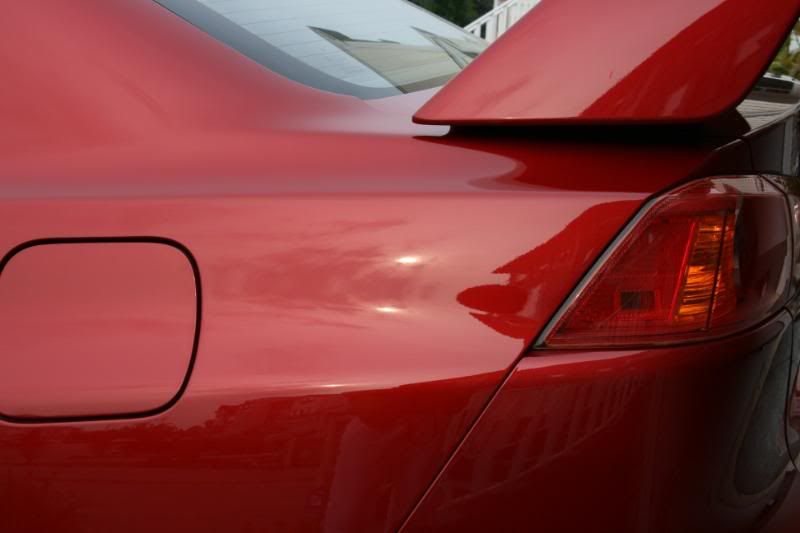
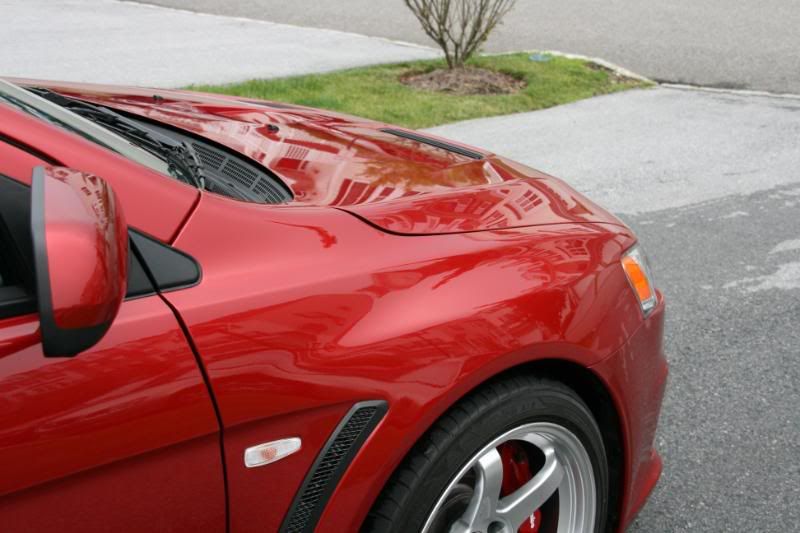
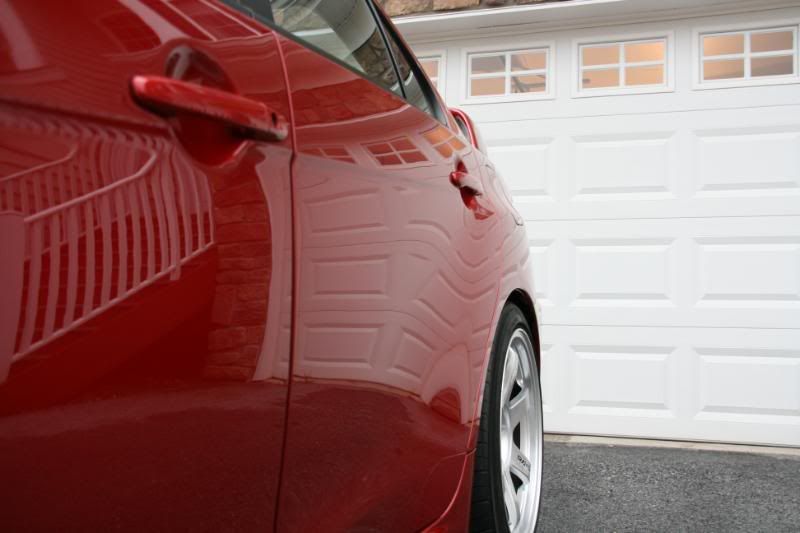
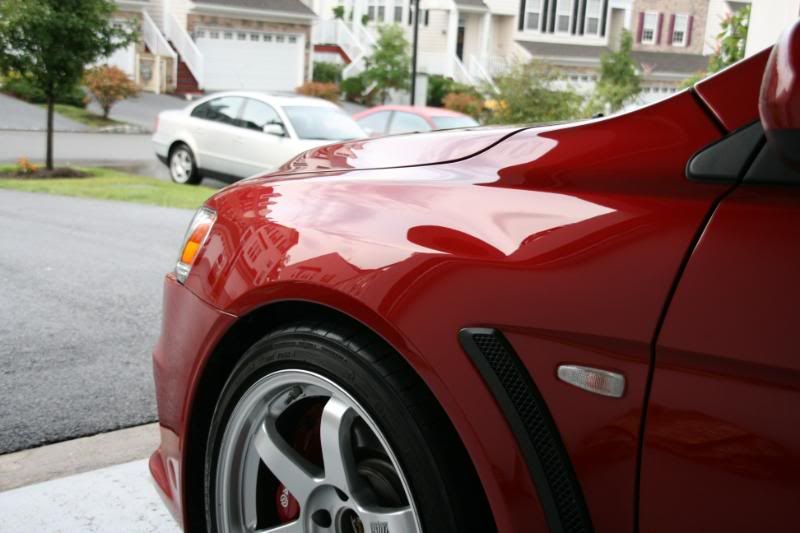
Finished vehicle Photos, who said Red can't be shiny?
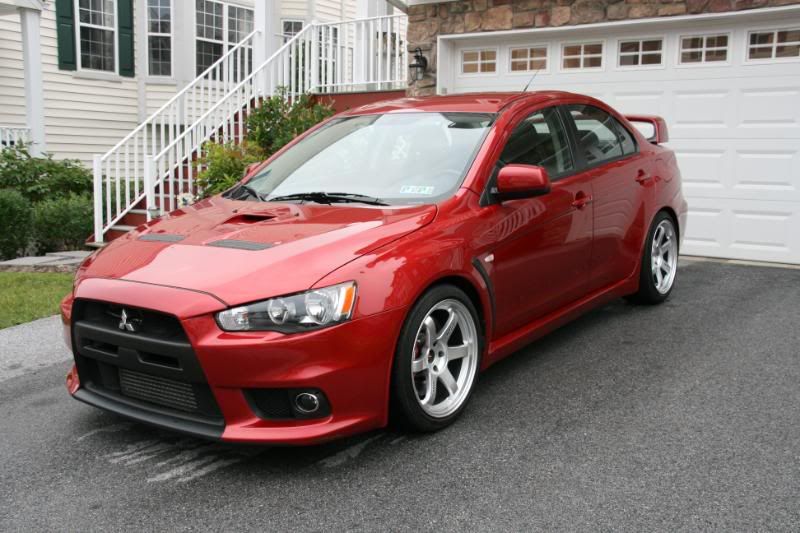
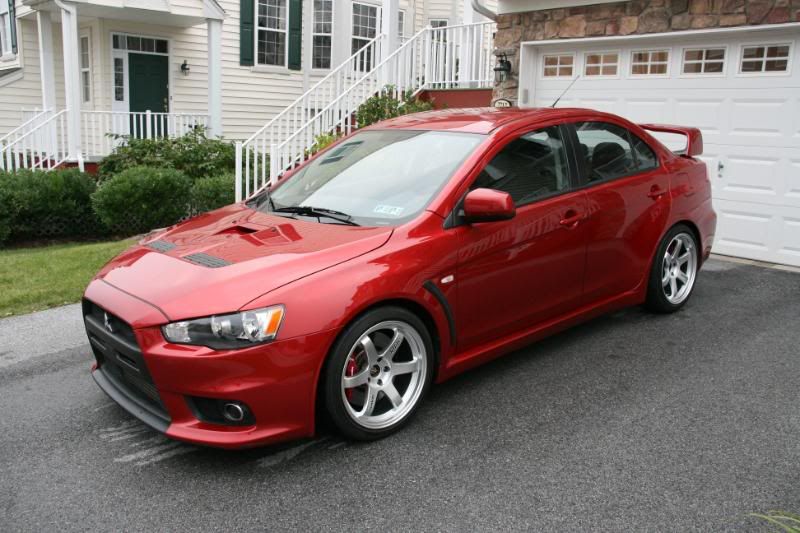
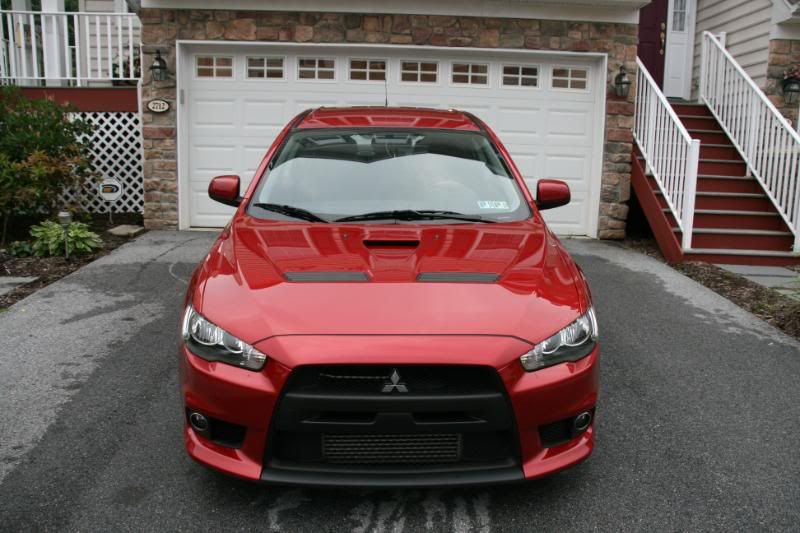
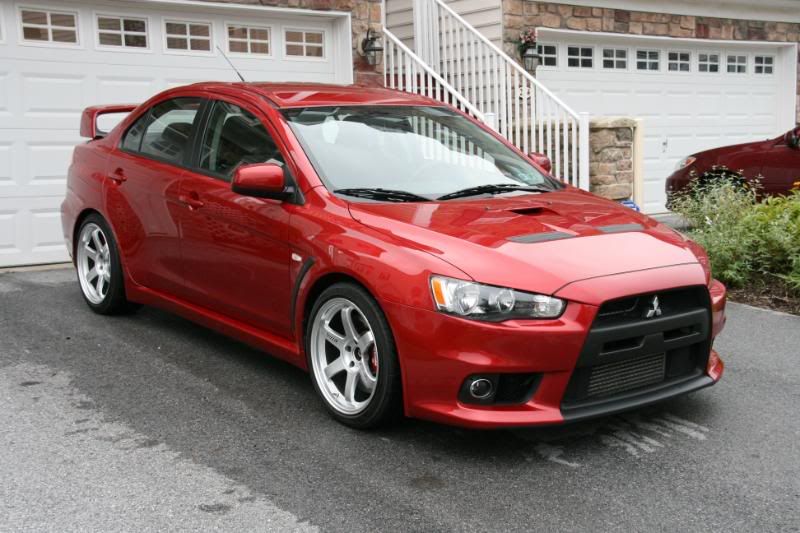
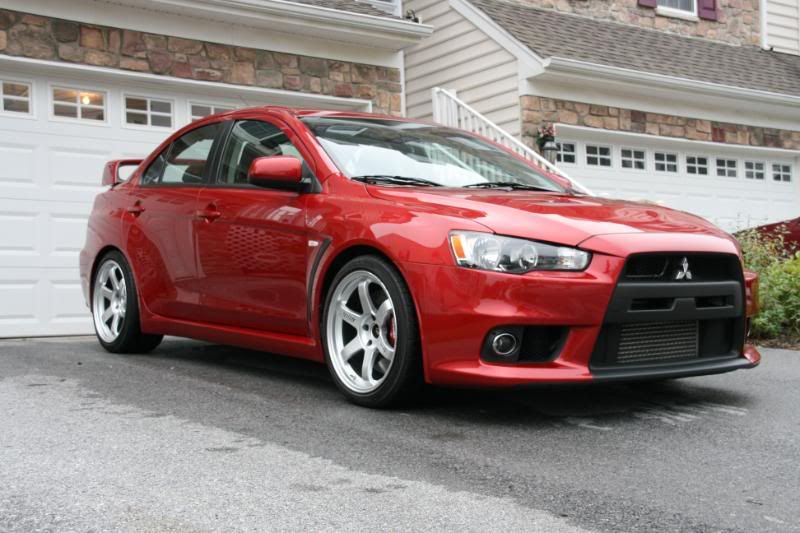
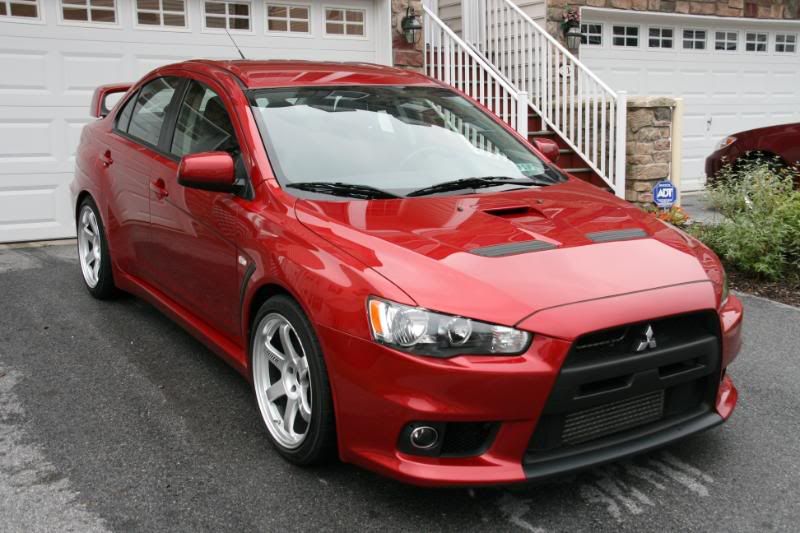
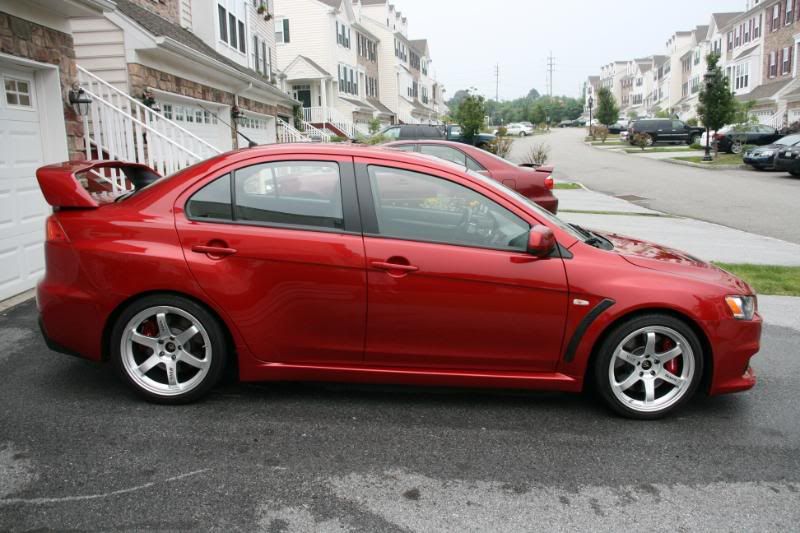
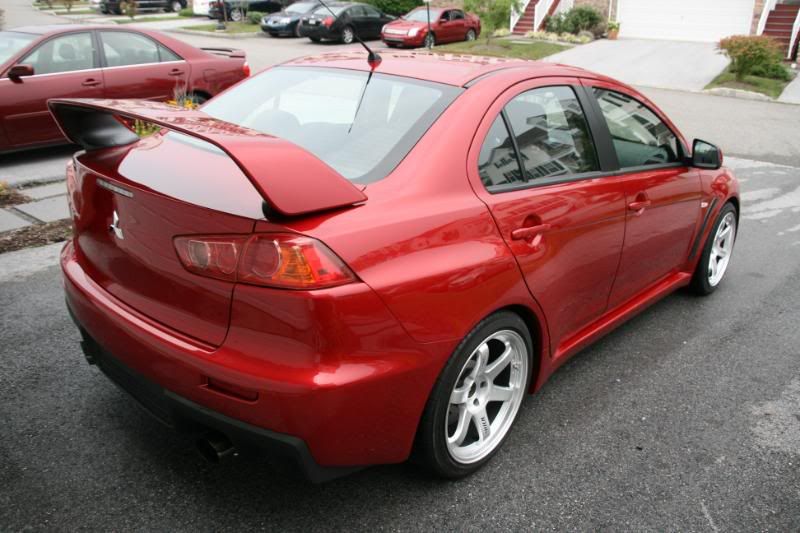
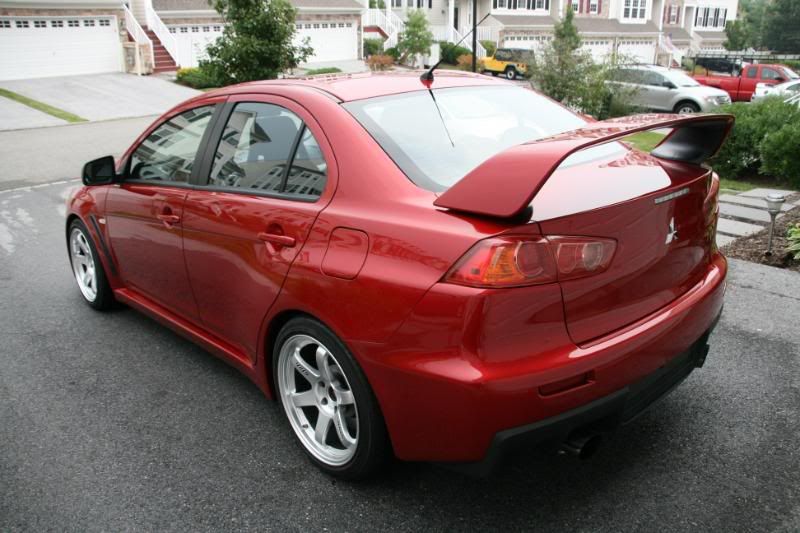
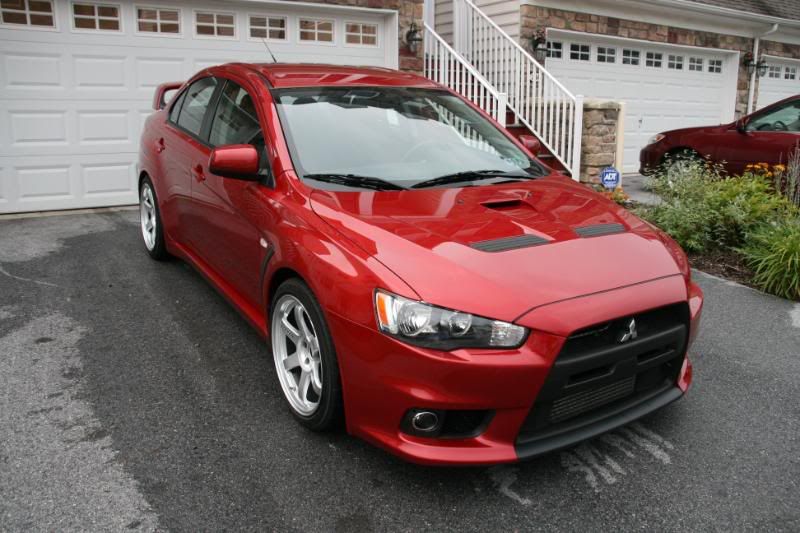
Enjoy! As always, please comment!
-Oakes
After about 24 hours combined on this vehicle, I present the finished photos, starting with the reflection shots!
I like how these two turned out
Finished vehicle Photos, who said Red can't be shiny?
Enjoy! As always, please comment!
-Oakes

Thread
Thread Starter
Forum
Replies
Last Post
Oakes
Detailing & Paint Protection
7
Feb 9, 2012 09:49 AM
Oakes
Detailing & Paint Protection
5
Oct 13, 2009 01:04 PM
Oakes
Detailing & Paint Protection
3
Aug 31, 2009 10:20 AM
Oakes
Detailing & Paint Protection
1
Aug 11, 2009 02:36 AM
Bookmarks


Currently Active Users Viewing This Thread: 1 (0 members and 1 guests)