Carrera GT Battery change DIY..pics
#1
 12-20-2011, 10:27 AM


Carrera GT Battery change DIY..pics
First generation porsche battery tenders are not up to the job of maintaining batteries. Consequently Porsche has switched to the CTEK type conditioner under their own brand. During the last few start cycles I noticed the CGT was turning over a little slower each time despite being on the tender (old type)...oh oh ! Finally, one morning....battery dead !
Tried the emergency jump start procedure but after a couple of attempts I decided not to push my luck with delicate electrics and just swap out the battery. My CGT shop manual on disk courtesy of a fellow TS'er came in handy to outline the procedure. Mark (H2Oskier) had kindly sent me the lifting plates for the jack points a couple of years ago which are essential to proper lifting and preservation of carbon fiber bits !
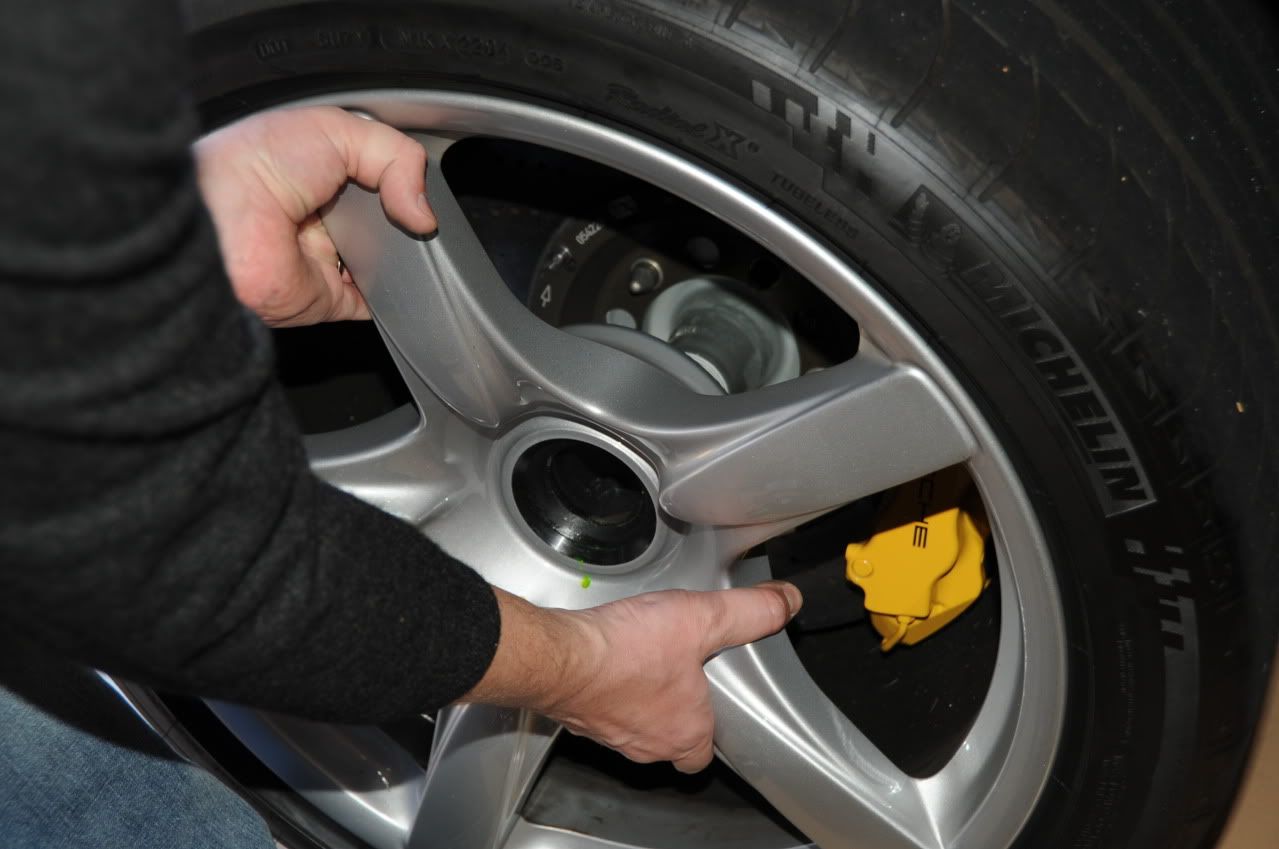
Here is a photo detail of the job...it was nice to do it at home and save a flatbed to dealer etc.
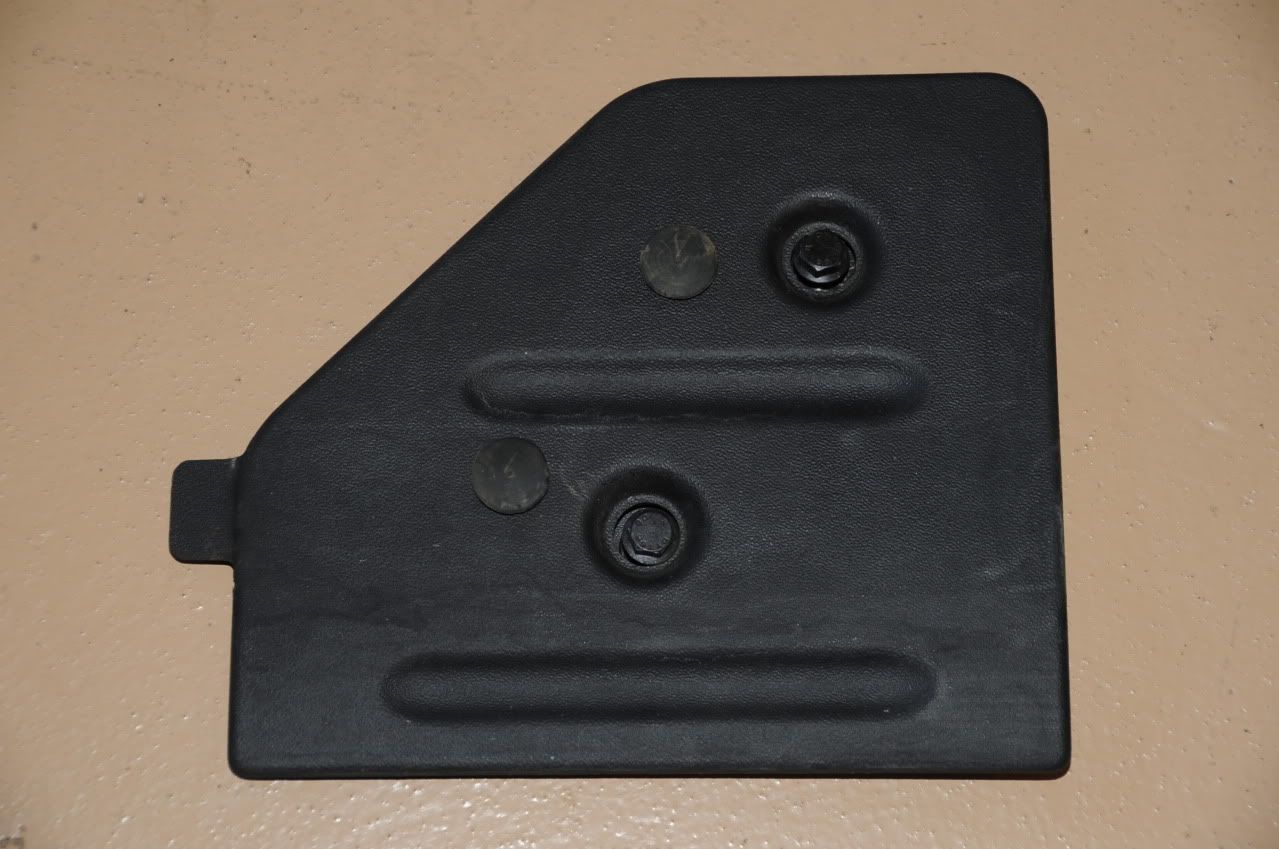
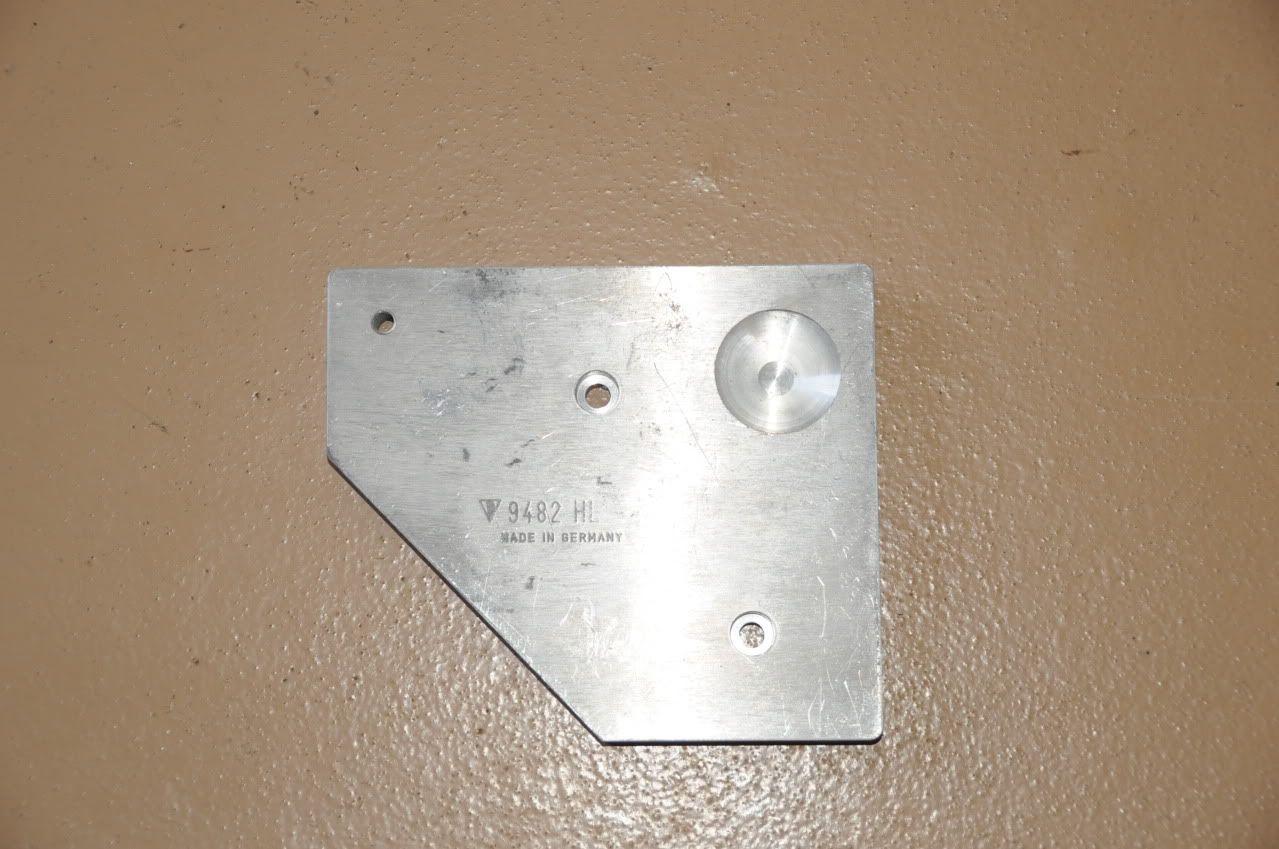
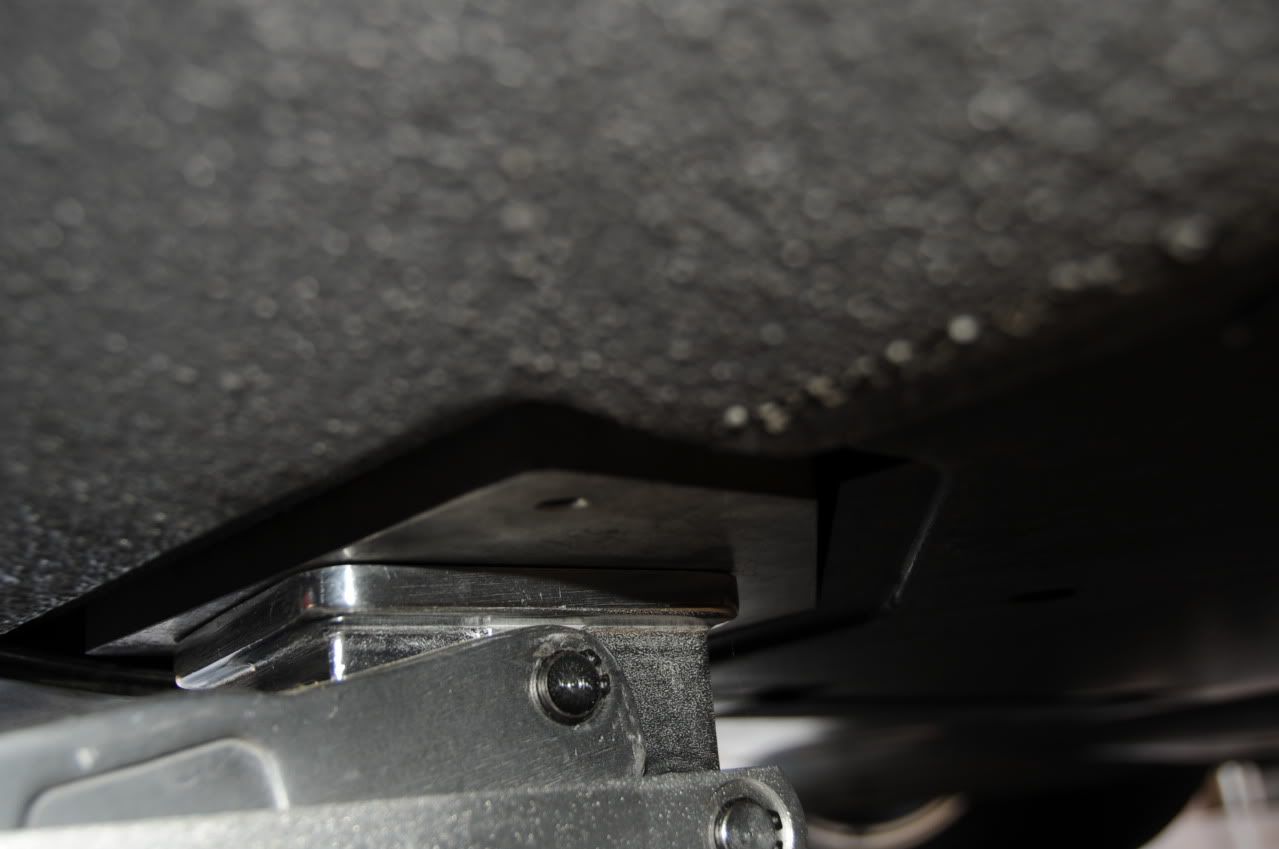
Here is a pic of the lifting plate that attaches to the underside of the body. The attachment point is protected by a black plastic cover (shown) that is attached by 2 screws...the plate then bolts in with its own two bolts.
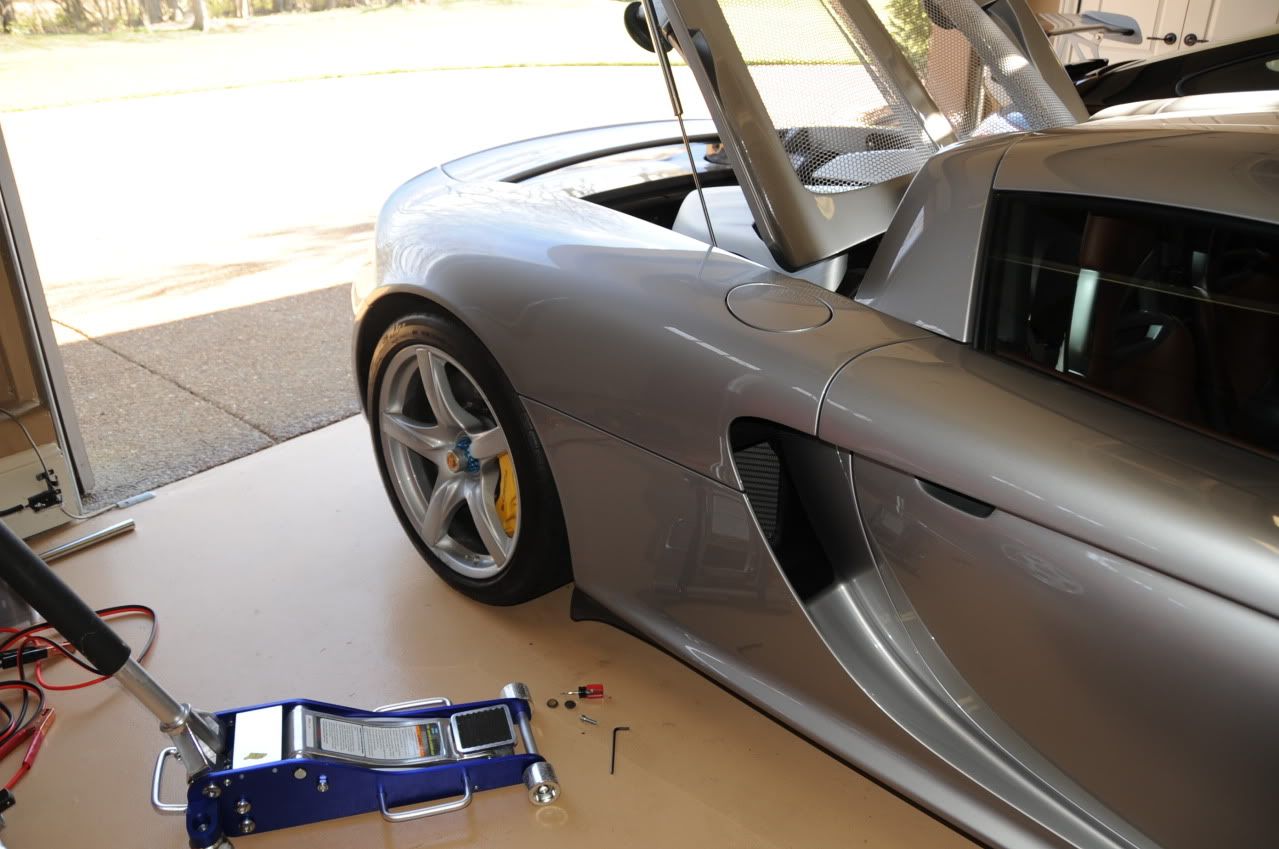
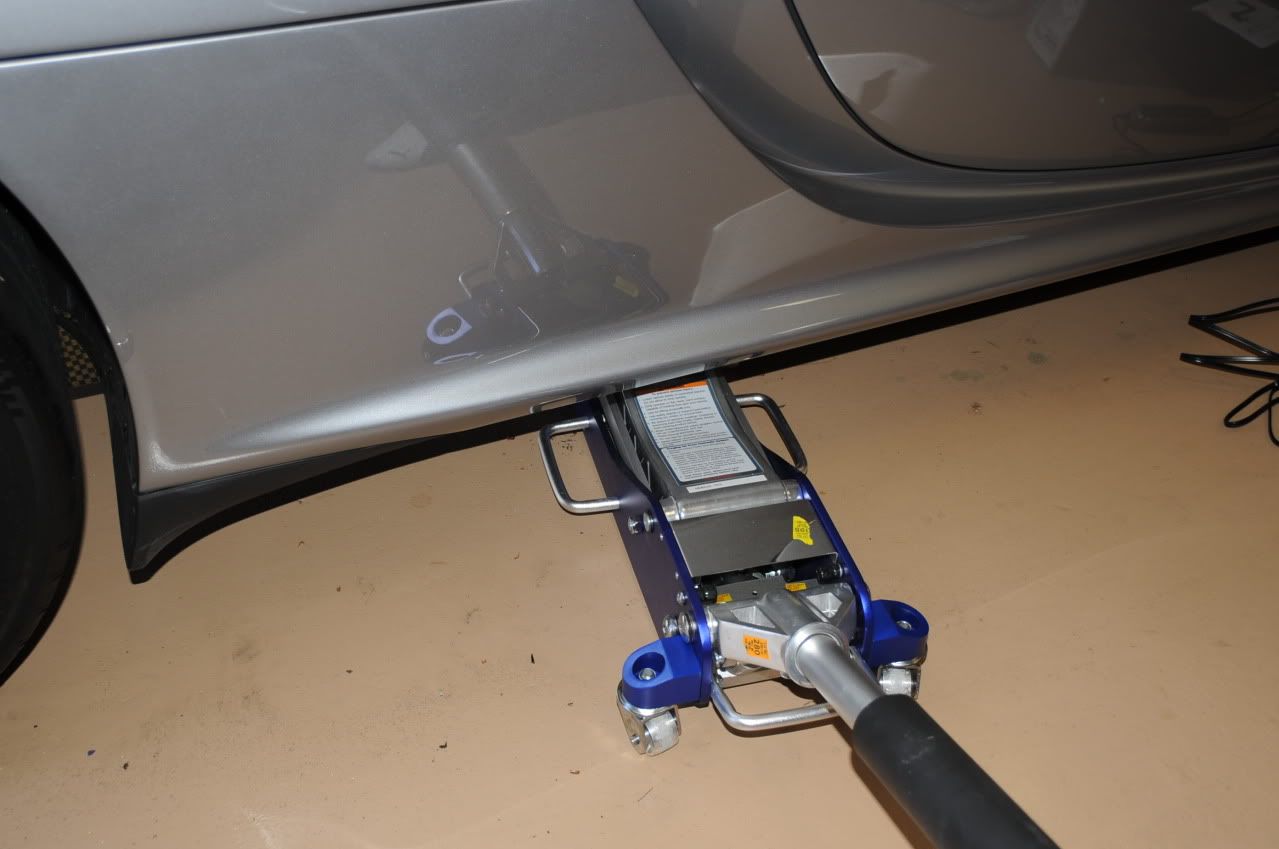
Low profile jack is imperative...here is a pic of the jack and a pic showing it against the jack plate.
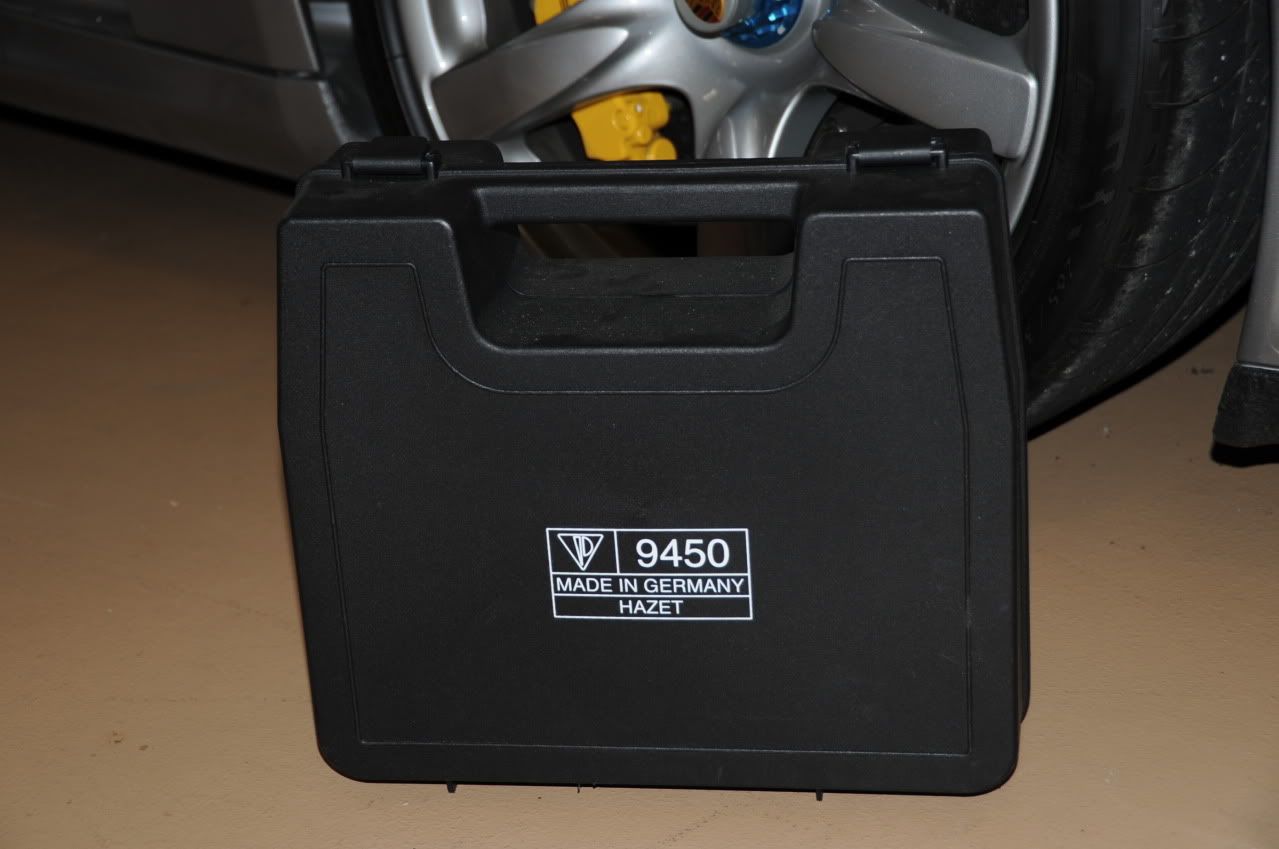
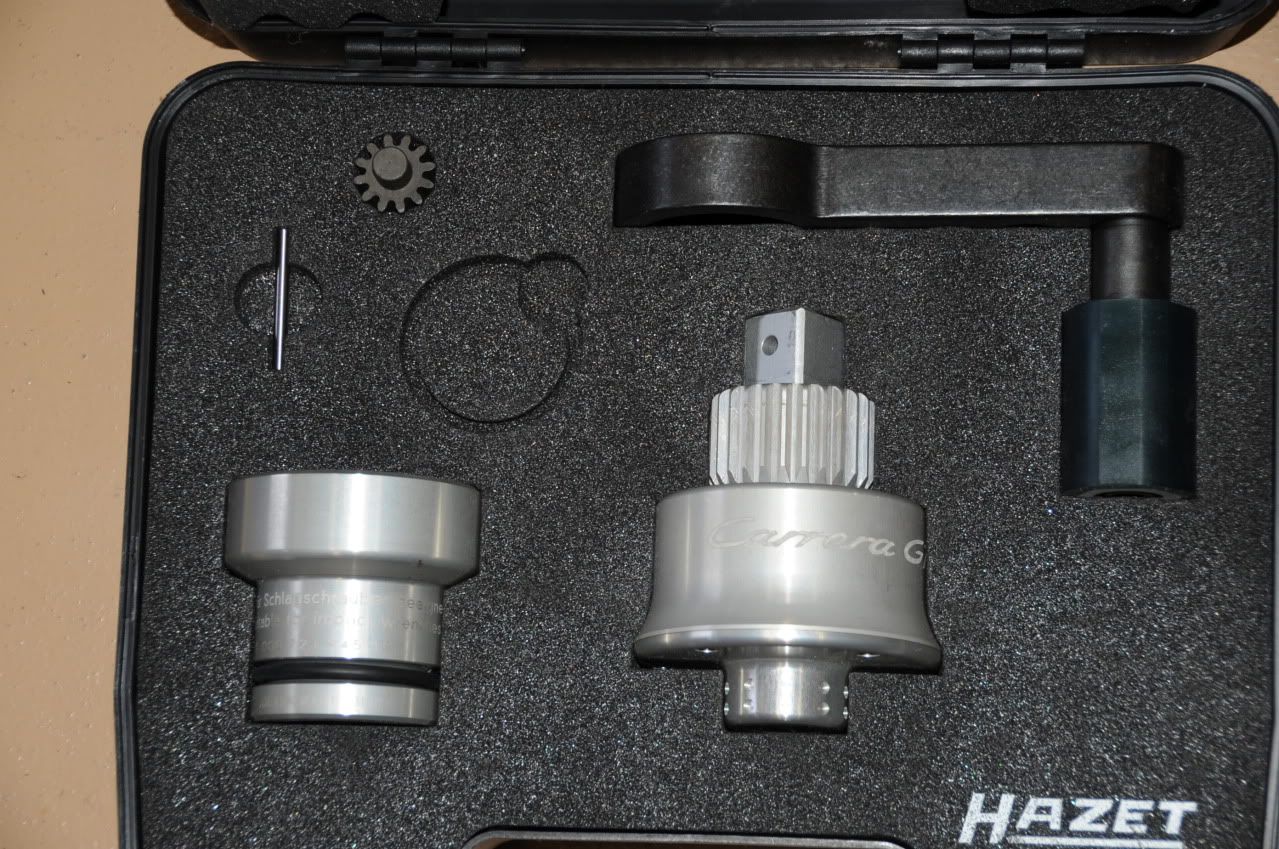
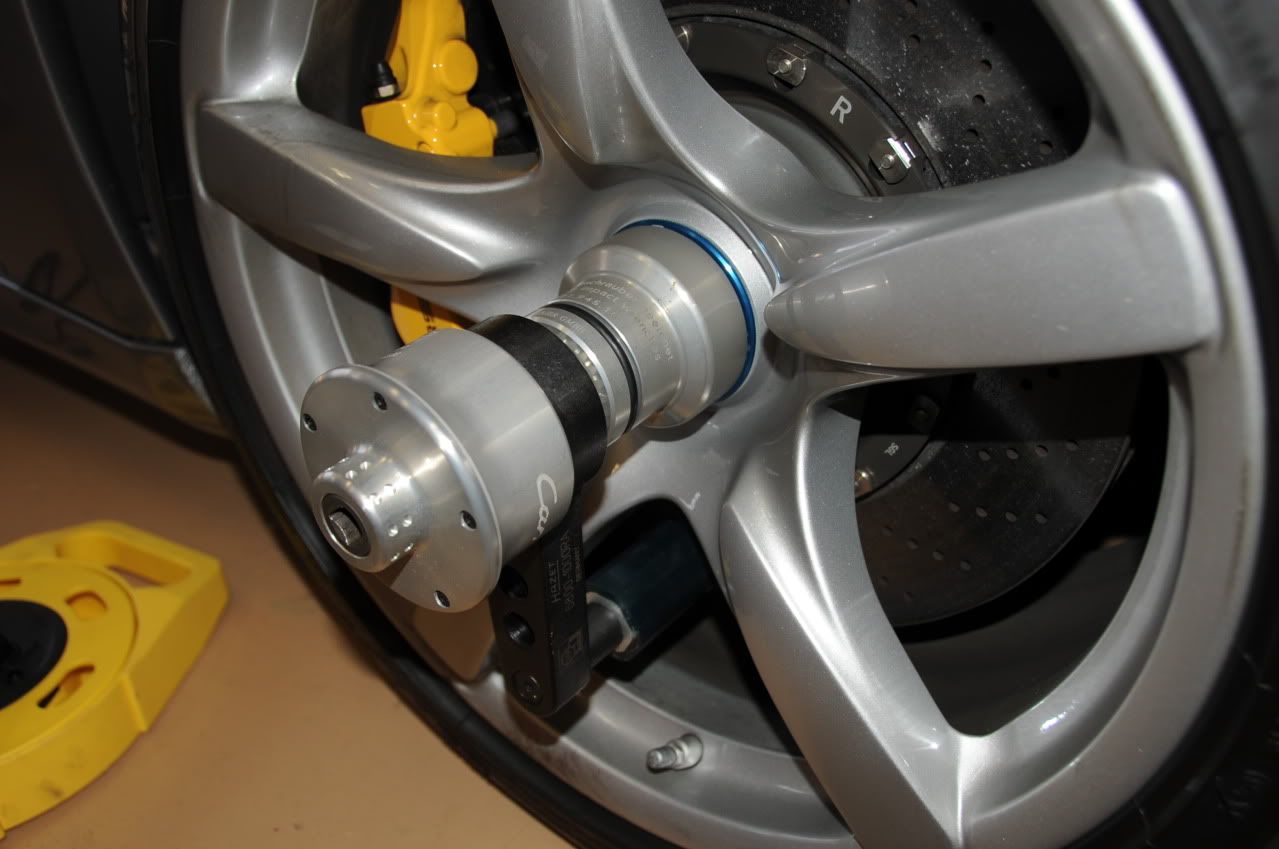
The torque multiplier tool is essential for this job as the wheel nuts call for 550 NM or 407ft lbs of torque. The torque multiplier converts 110ft lbs of applied torque to around 450ft lbs.

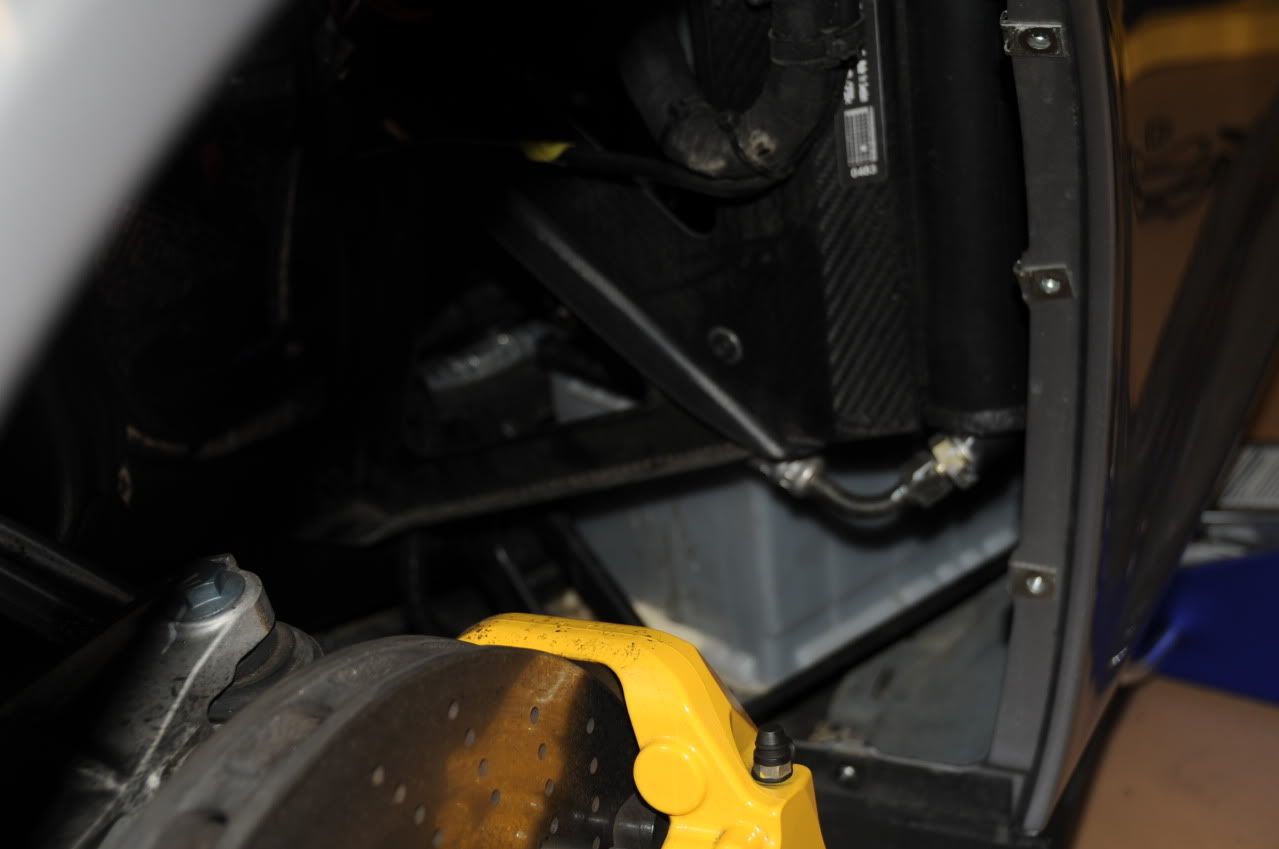
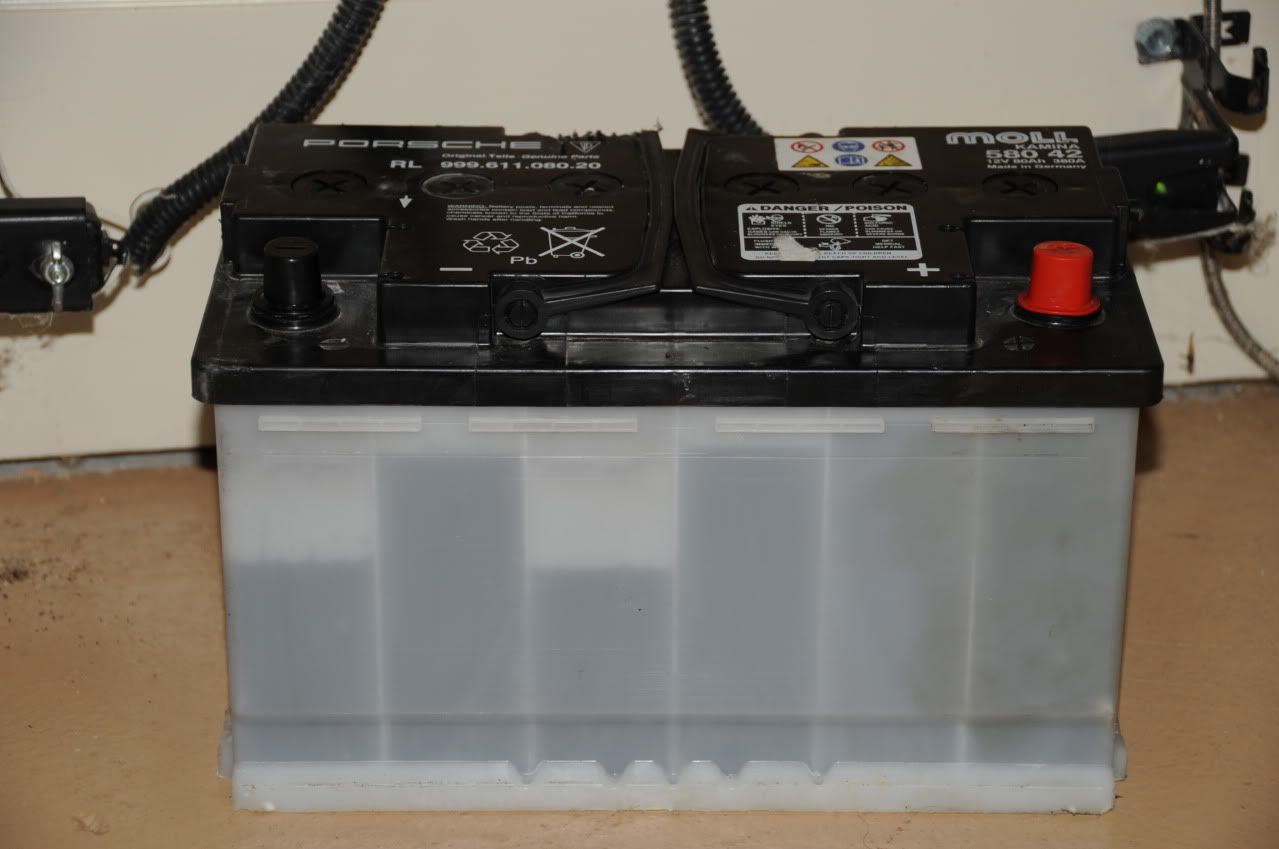
The battery is tucked away behind an access panel in front of the R rear wheel. Once it is removed, the battery can be seen.
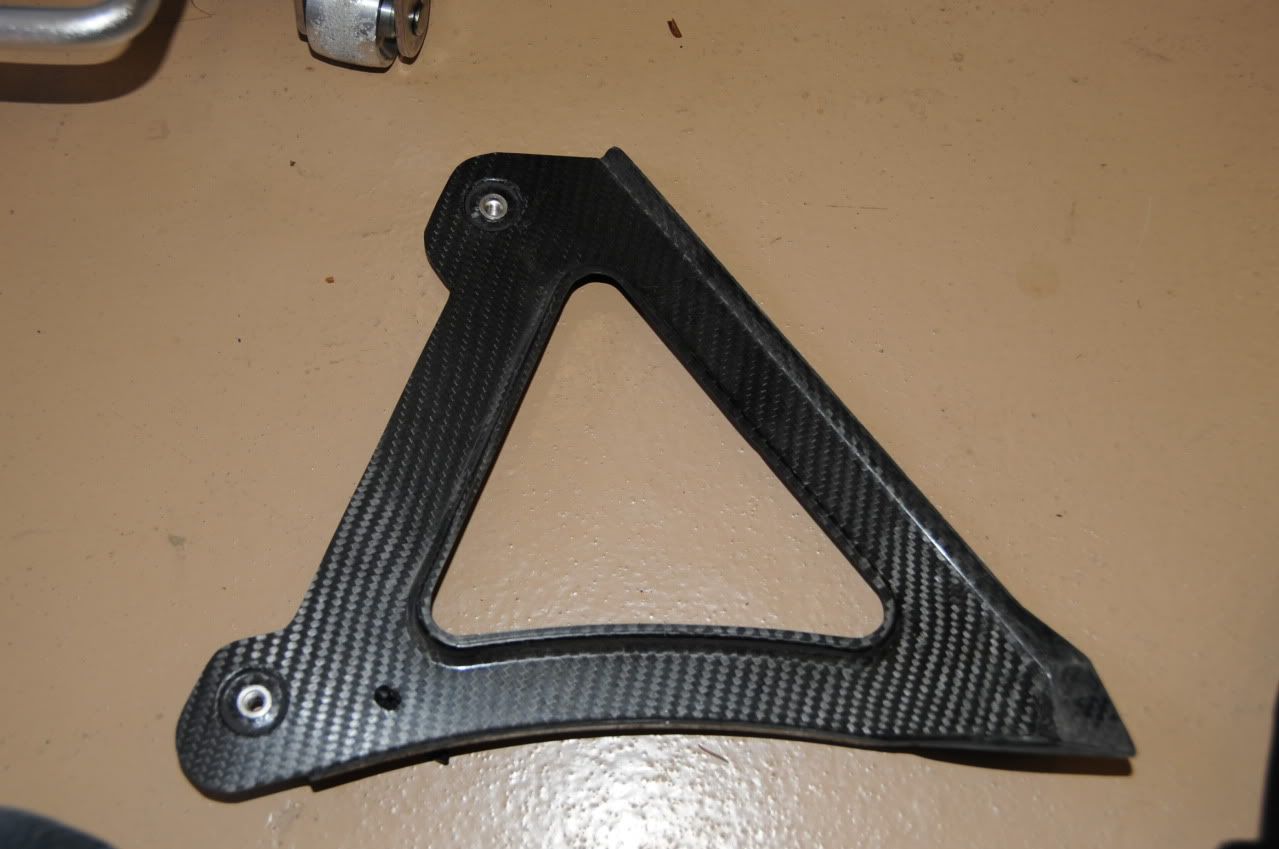
There is a grounding cable that has to be removed prior to disconnecting the battery...if you don't, the alarm goes off Once the ground cable is detached, the battery anchor brackets are removed, single terminal released, battery is slid out and the other terminal removed. A radiator mounting bracket has to be removed prior to this in order for the battery to come out...here is a pic of that bracket...lovely CF that no one will ever see !
The procedure above sounds simple but in typical millimeter german design constraints, the battery was a pain in the arse to get out !!! Patience and a few scraped knuckles finally got it out. Hmmm, see a problem with this pic ?
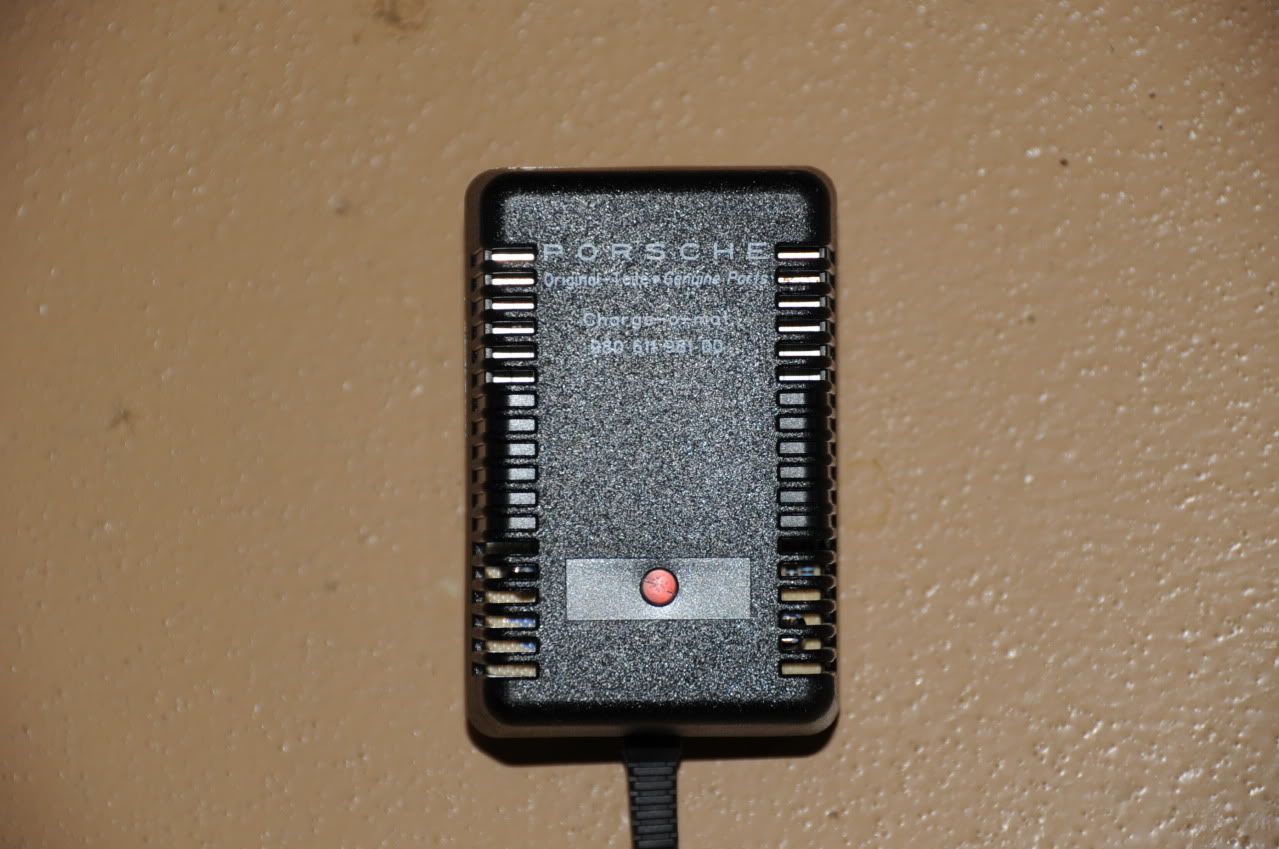
This is a pic of the old type battery tender.
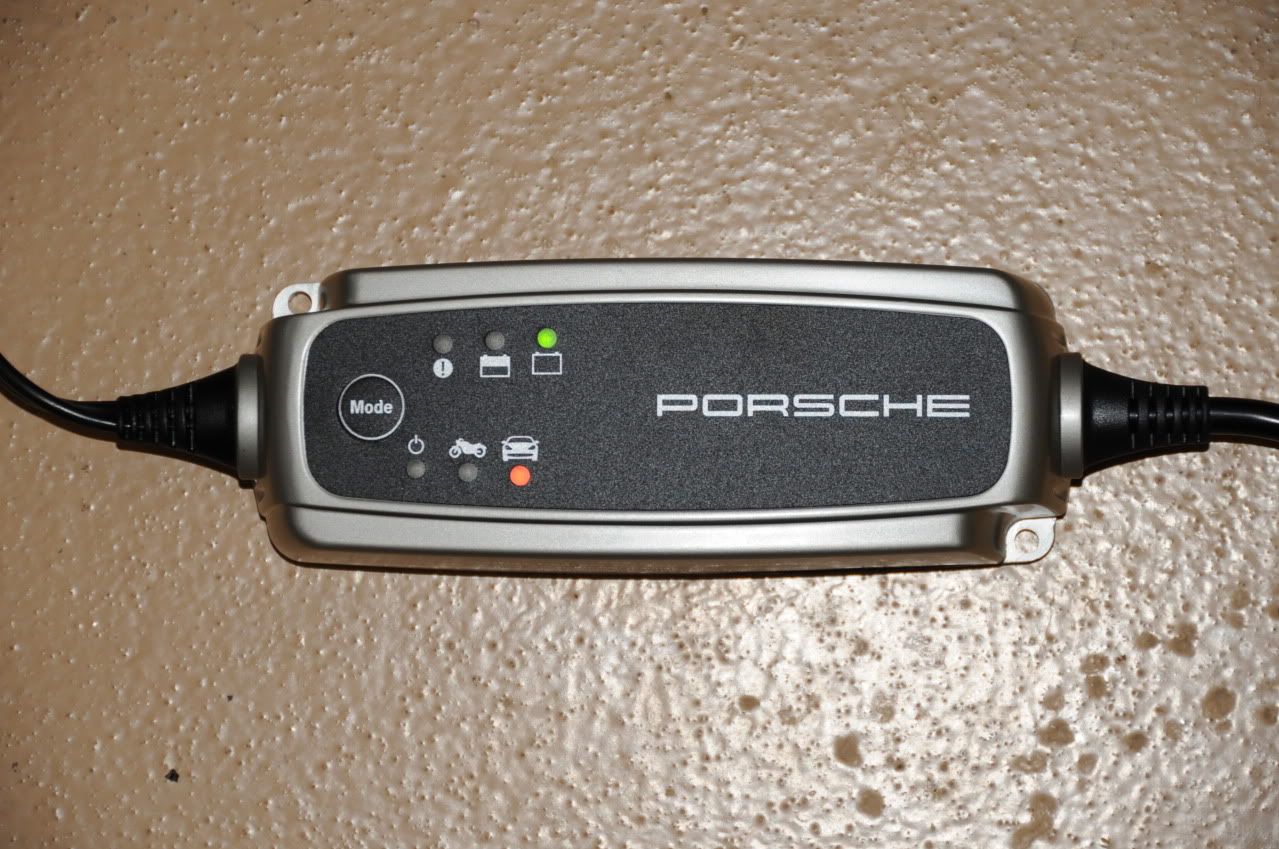
This is the Porsche branded CTEK one. Porsche insists battery issues are resolved with this tender because it uses a different form of pulse charging that doesn't damage cells...in short, use this tender and dont worry !
Battery was replaced and everything buttoned up. Reprogrammed the radio code and that was it ! Very satisfying to do this at home but the right tools are essential.
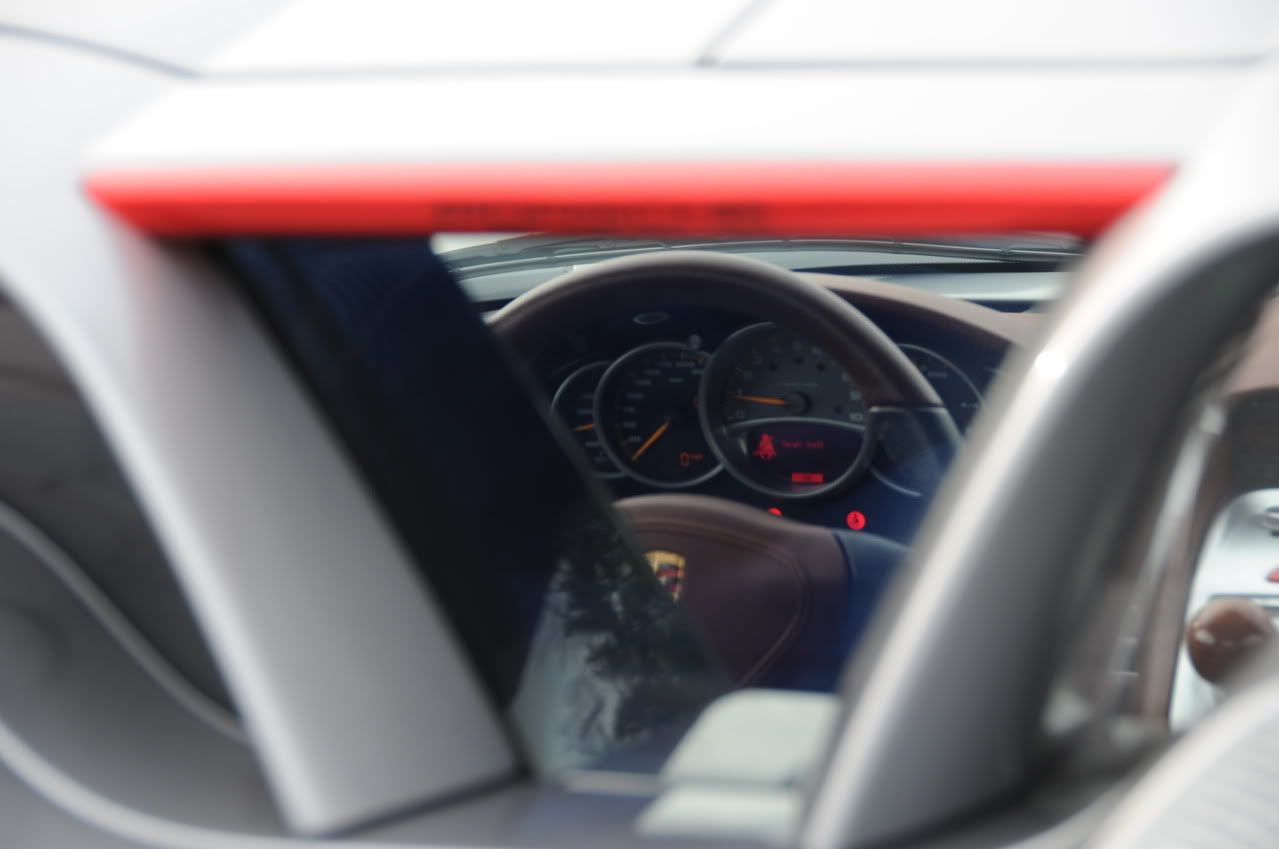
Of course, had to take it for a test drive

Tried the emergency jump start procedure but after a couple of attempts I decided not to push my luck with delicate electrics and just swap out the battery. My CGT shop manual on disk courtesy of a fellow TS'er came in handy to outline the procedure. Mark (H2Oskier) had kindly sent me the lifting plates for the jack points a couple of years ago which are essential to proper lifting and preservation of carbon fiber bits !
Here is a photo detail of the job...it was nice to do it at home and save a flatbed to dealer etc.
Here is a pic of the lifting plate that attaches to the underside of the body. The attachment point is protected by a black plastic cover (shown) that is attached by 2 screws...the plate then bolts in with its own two bolts.
Low profile jack is imperative...here is a pic of the jack and a pic showing it against the jack plate.
The torque multiplier tool is essential for this job as the wheel nuts call for 550 NM or 407ft lbs of torque. The torque multiplier converts 110ft lbs of applied torque to around 450ft lbs.
The battery is tucked away behind an access panel in front of the R rear wheel. Once it is removed, the battery can be seen.
There is a grounding cable that has to be removed prior to disconnecting the battery...if you don't, the alarm goes off
Once the ground cable is detached, the battery anchor brackets are removed, single terminal released, battery is slid out and the other terminal removed. A radiator mounting bracket has to be removed prior to this in order for the battery to come out...here is a pic of that bracket...lovely CF that no one will ever see !The procedure above sounds simple but in typical millimeter german design constraints, the battery was a pain in the arse to get out !!! Patience and a few scraped knuckles finally got it out. Hmmm, see a problem with this pic ?
This is a pic of the old type battery tender.
This is the Porsche branded CTEK one. Porsche insists battery issues are resolved with this tender because it uses a different form of pulse charging that doesn't damage cells...in short, use this tender and dont worry !
Battery was replaced and everything buttoned up. Reprogrammed the radio code and that was it ! Very satisfying to do this at home but the right tools are essential.
Of course, had to take it for a test drive


