
Ferrari F50 OEM Carbon Fiber Shift Knob Restoration by MAcarbon
 May 21, 2014 | 01:32 PM
#1
Thread Starter
| TEAMSPEED.COM

Joined: Mar 2008
Posts: 1,544
From: Santa Cruz, CA


Ferrari F50 OEM Carbon Fiber Shift Knob Restoration by MAcarbon
Ferrari F50 OEM Carbon Shift Knob Restoration
A customer recently sent us this factory Ferrari F50 carbon fiber shift knob to see if we could rescue it and make it look like it should be fitted to a 1/2 million dollar Ferrari. We decided to take on the project, knowing that once we started, there was no turning back.
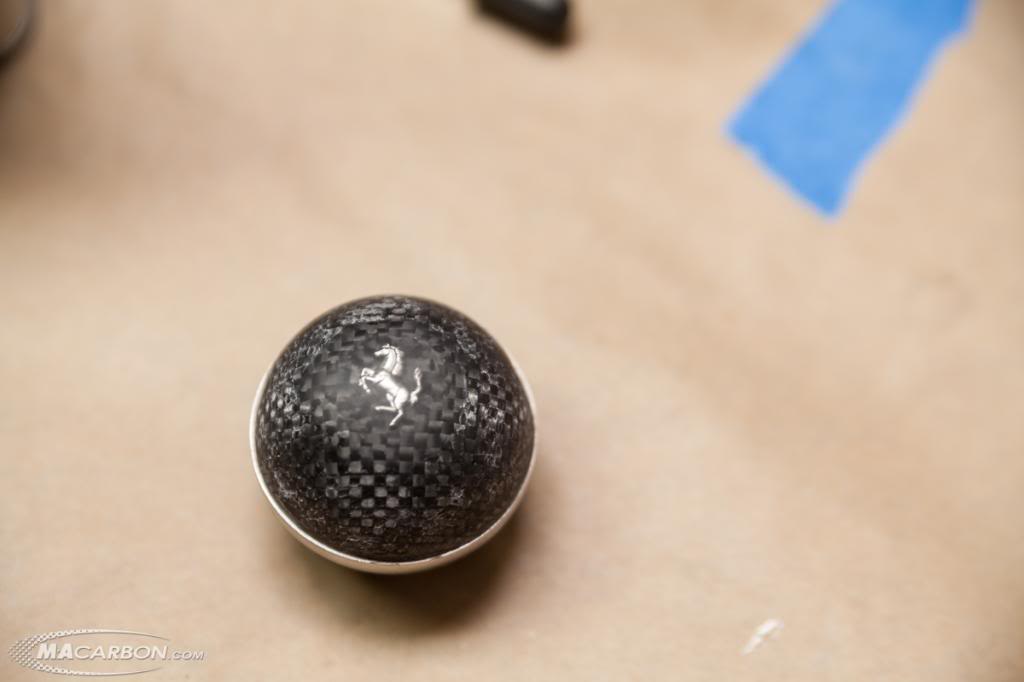
Before Pictures (you can see that the clear very cloudy and the finish has nicks and scratches all over the carbon and the stainless steel ring).
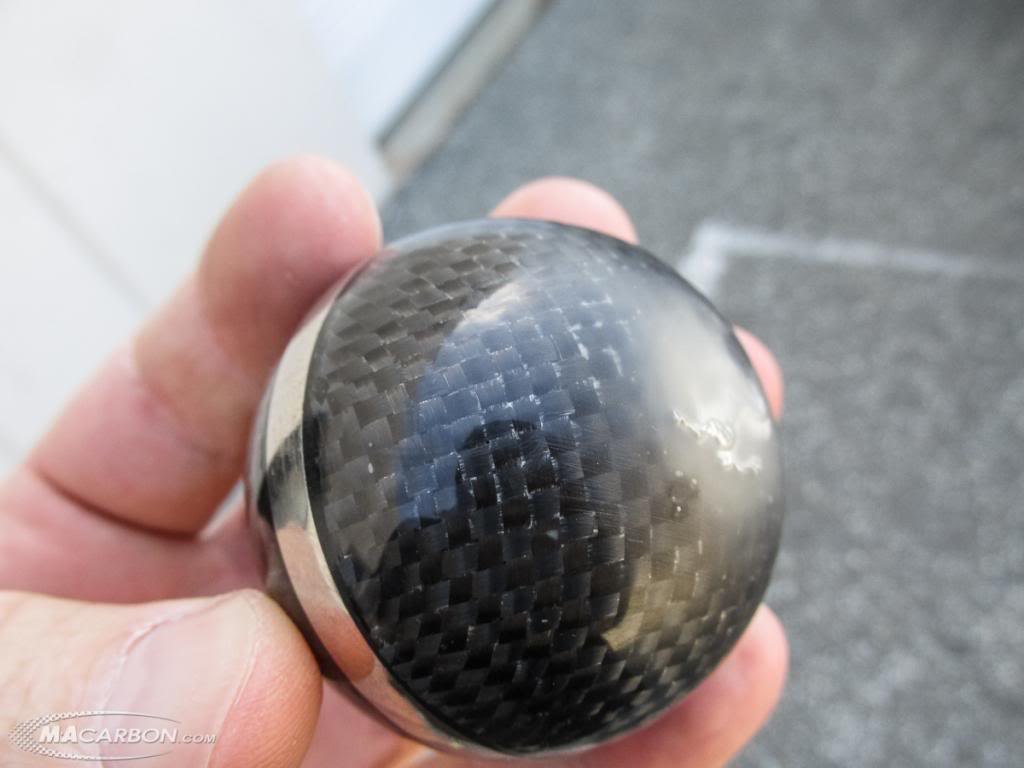
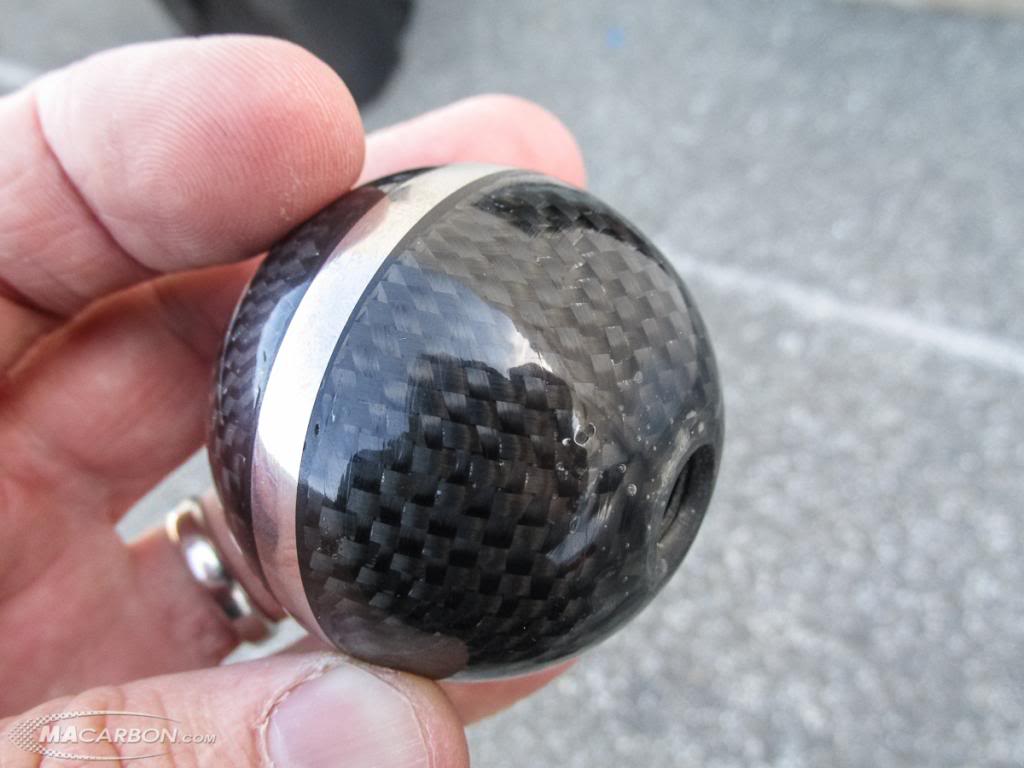
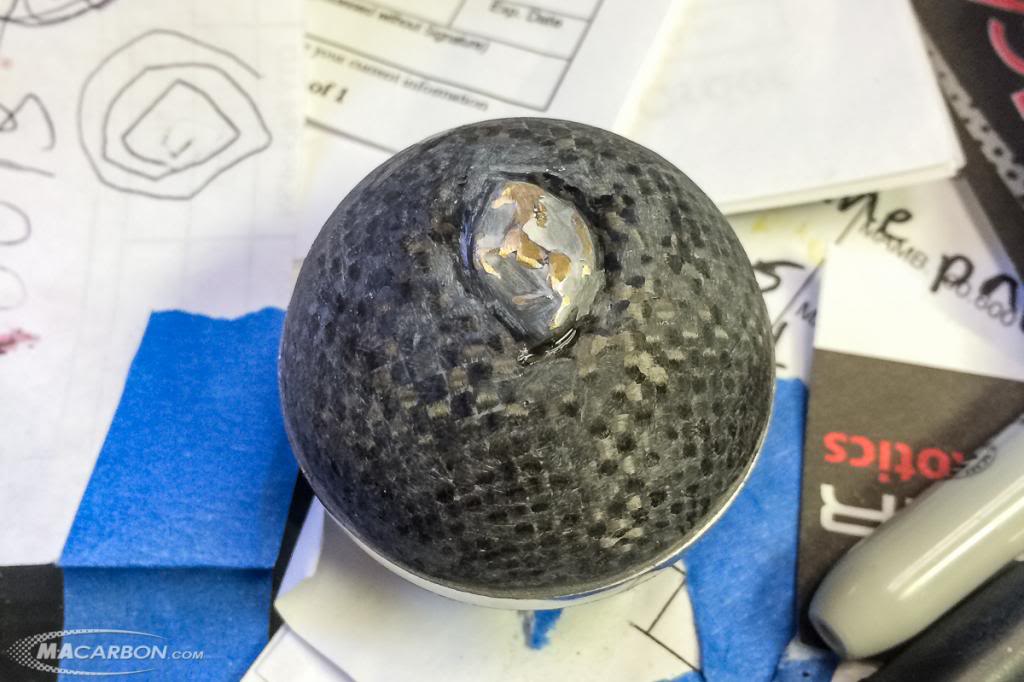
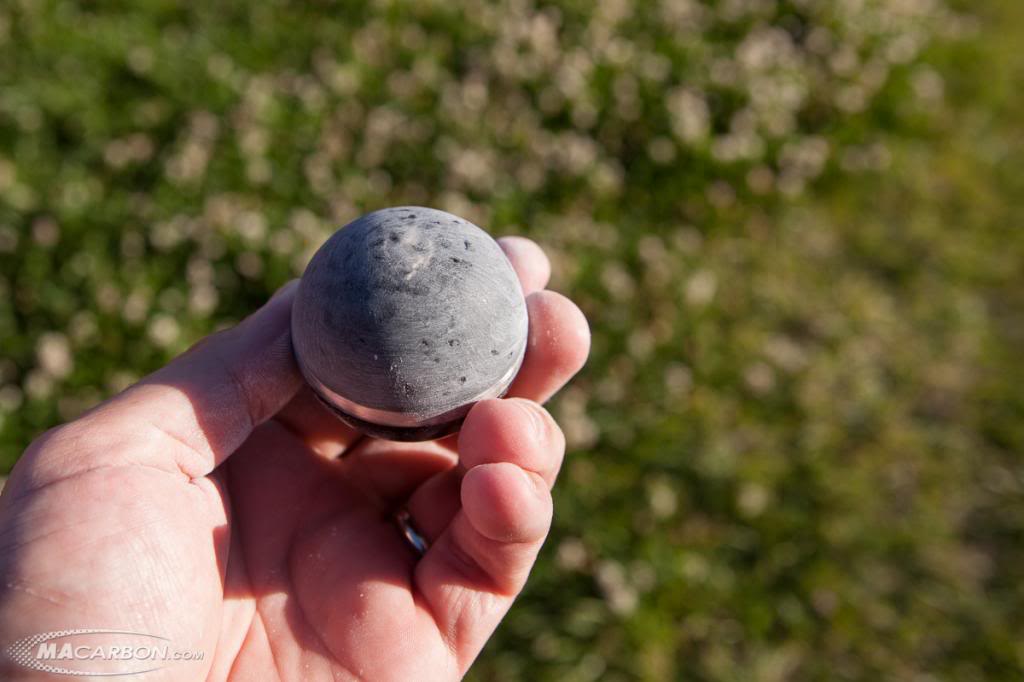
1. The First step was the daunting task of sanding off all of the original clear that had since turned cloudy to the point where you could hardly see the chrome cavallino on top. We had to destroy the original cavallino during the process, so we replaced it with a new one from Ferrari.
Sanding the old clear off to expose the raw carbon fiber
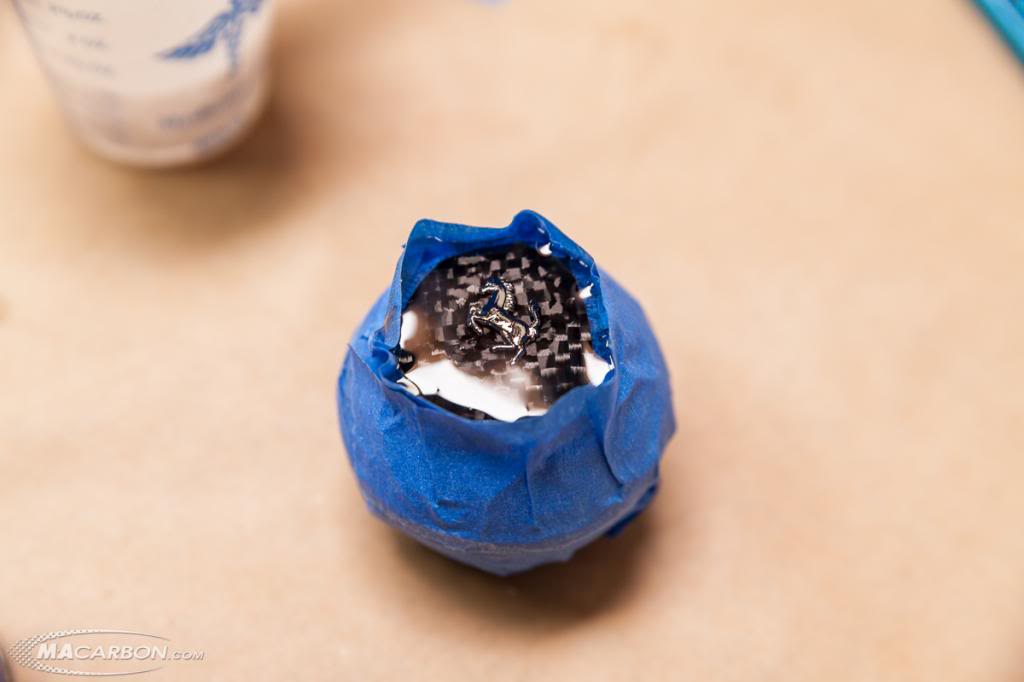
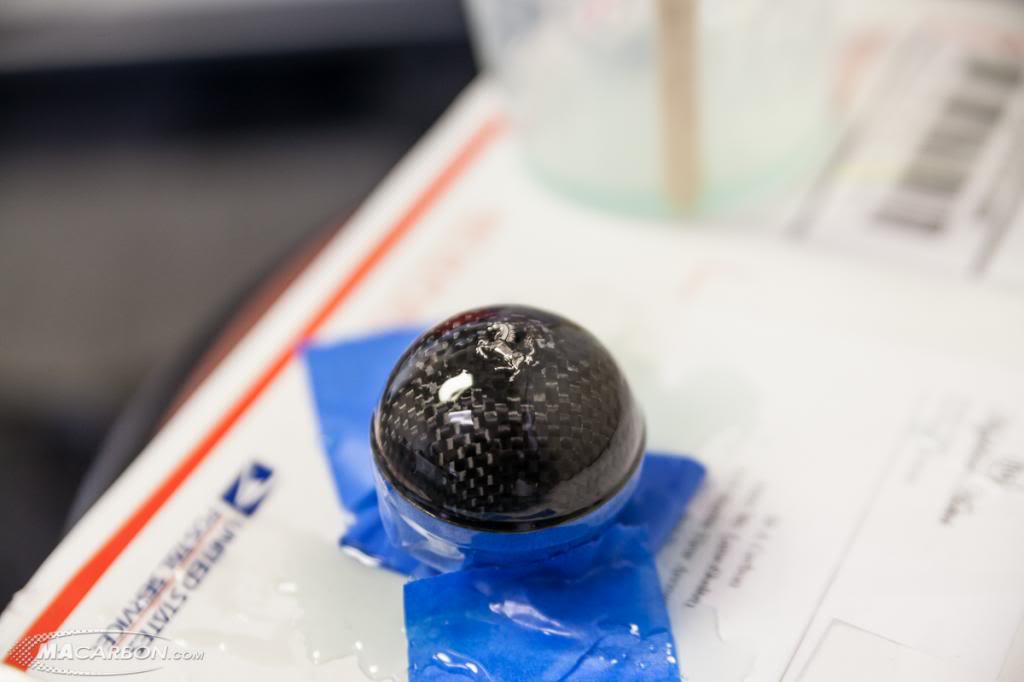
2. This shift knob has a stainless steel ring sandwiched between the top and bottom layers of carbon and the top where the cavallino is placed is flat, so it had to be built up with resin first. After the top resin was poured around the horse, we shaped it into a sphere.
First layer of resin over the cavallino
First layer of resin sanded down to shape
3. We were left with the stainless steel ring being about 1.5mm higher than the rest of the shift knob, so we had to tape the ring and pour several layers of resin over the top then the bottom with several hours or drying time in-between coats.
Layer of resin poured over the top half of the shift knob�only two more coats to go on top and three more on the bottom half.
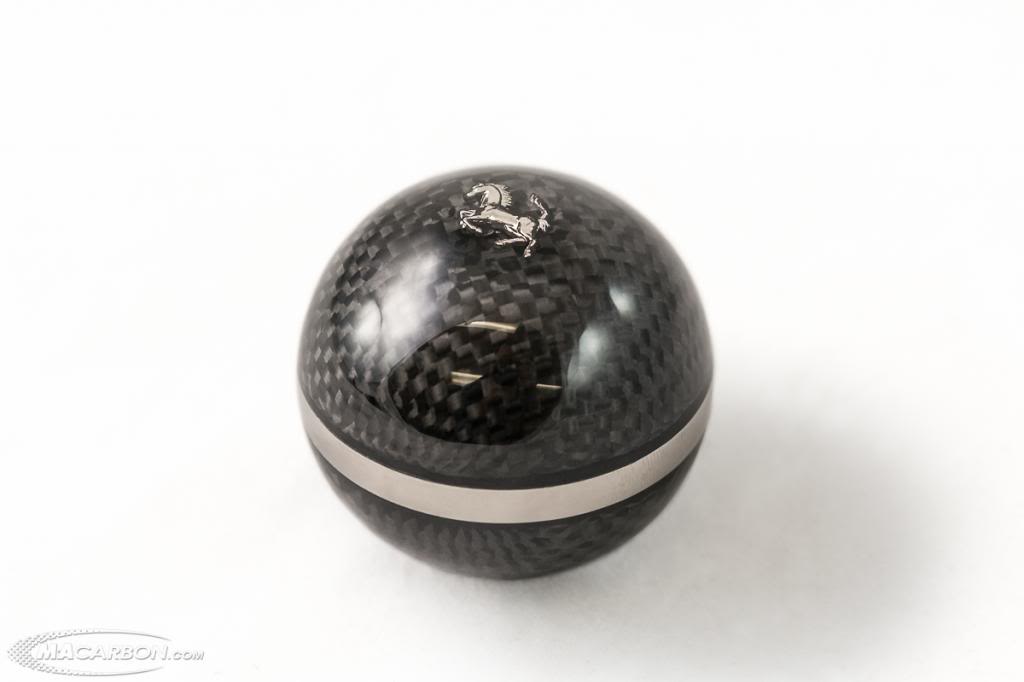
4. When it all dried we sanded the whole knob, including the stainless ring into shape then polished it to a perfect shine.
Final layer of resin rough sanded into shape on the top half
DONE!!! Polished to a perfect shine and ready for the Ferrari F50
A customer recently sent us this factory Ferrari F50 carbon fiber shift knob to see if we could rescue it and make it look like it should be fitted to a 1/2 million dollar Ferrari. We decided to take on the project, knowing that once we started, there was no turning back.
Before Pictures (you can see that the clear very cloudy and the finish has nicks and scratches all over the carbon and the stainless steel ring).


1. The First step was the daunting task of sanding off all of the original clear that had since turned cloudy to the point where you could hardly see the chrome cavallino on top. We had to destroy the original cavallino during the process, so we replaced it with a new one from Ferrari.
Sanding the old clear off to expose the raw carbon fiber

2. This shift knob has a stainless steel ring sandwiched between the top and bottom layers of carbon and the top where the cavallino is placed is flat, so it had to be built up with resin first. After the top resin was poured around the horse, we shaped it into a sphere.
First layer of resin over the cavallino

First layer of resin sanded down to shape

3. We were left with the stainless steel ring being about 1.5mm higher than the rest of the shift knob, so we had to tape the ring and pour several layers of resin over the top then the bottom with several hours or drying time in-between coats.
Layer of resin poured over the top half of the shift knob�only two more coats to go on top and three more on the bottom half.

4. When it all dried we sanded the whole knob, including the stainless ring into shape then polished it to a perfect shine.
Final layer of resin rough sanded into shape on the top half

DONE!!! Polished to a perfect shine and ready for the Ferrari F50


Thread
Thread Starter
Forum
Replies
Last Post
LaneS@macarbon.com
458 | 430 | 360
0
Apr 16, 2014 03:12 PM
LaneS@macarbon.com
Aventador | Hurac�n | Murcielago | Gallardo
9
Jan 31, 2014 06:53 AM
LaneS@macarbon.com
Performance Series Audi Models
0
Jun 5, 2013 03:56 PM
LaneS@macarbon.com
Performance Series Audi Models
14
Oct 24, 2010 02:21 PM
Bookmarks


Currently Active Users Viewing This Thread: 1 (0 members and 1 guests)