
Audi R8 Spyder Ibis White Full Detail and Clear Film Instal
 Apr 2, 2011 | 12:00 PM
#1

Thread Starter
| Teamspeed Senior Member
Joined: May 2008
Posts: 526
From: New Jersey


Audi R8 Spyder Ibis White Full Detail and Clear Film Instal
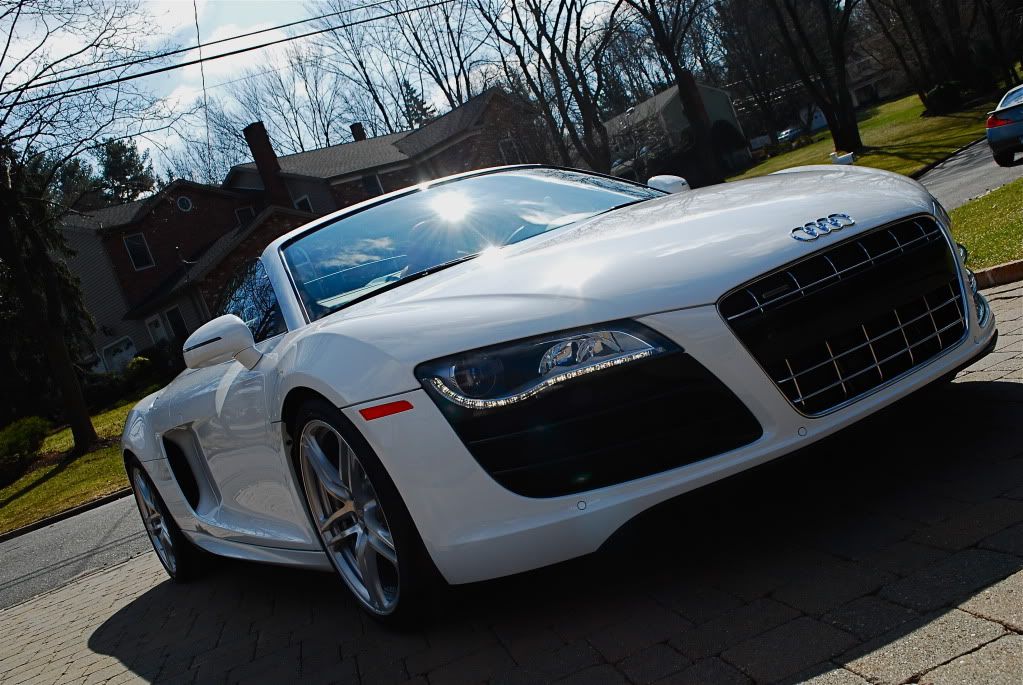
2 day old R8 V10 Spyder in for full paint correction followed by clear film installation.
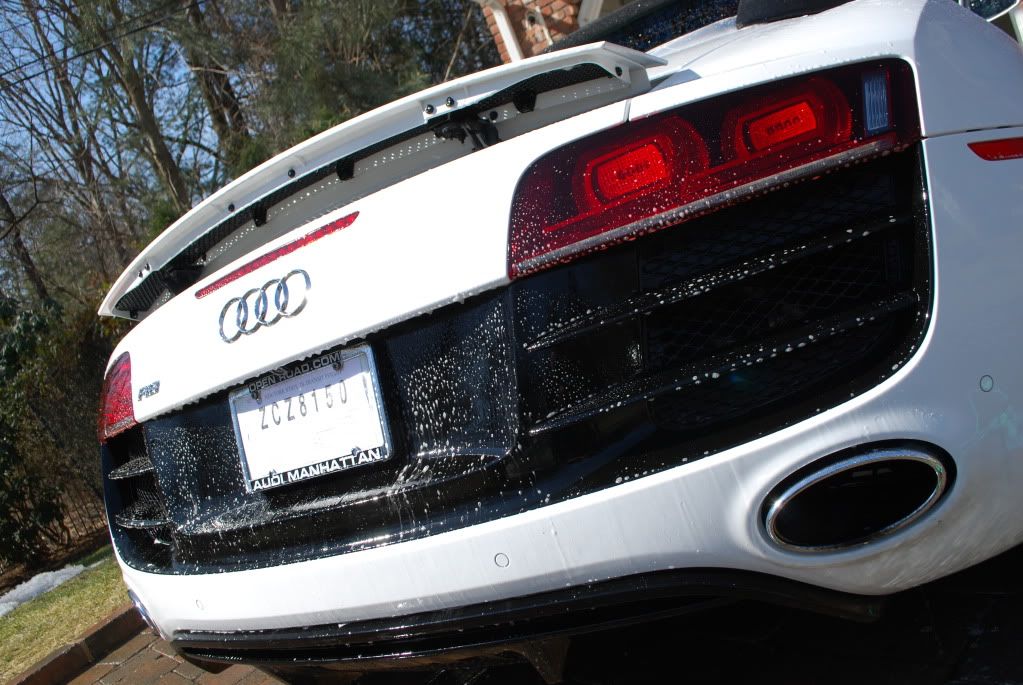
Finish was beading nicely from a dealer prep. Pressure washed the body and pre soaked it using Optimum Powerclean 5:1
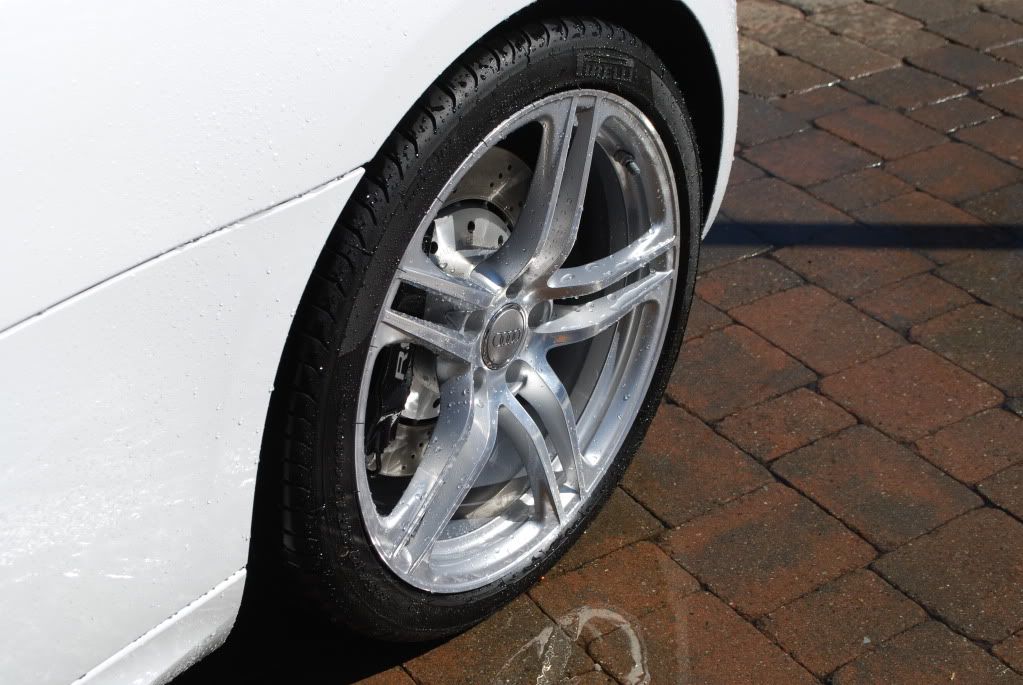
Wheels cleaned with Autoglym CWC, tires cleaned and degreased of old dressing using the same product, yes it works great on tires too.

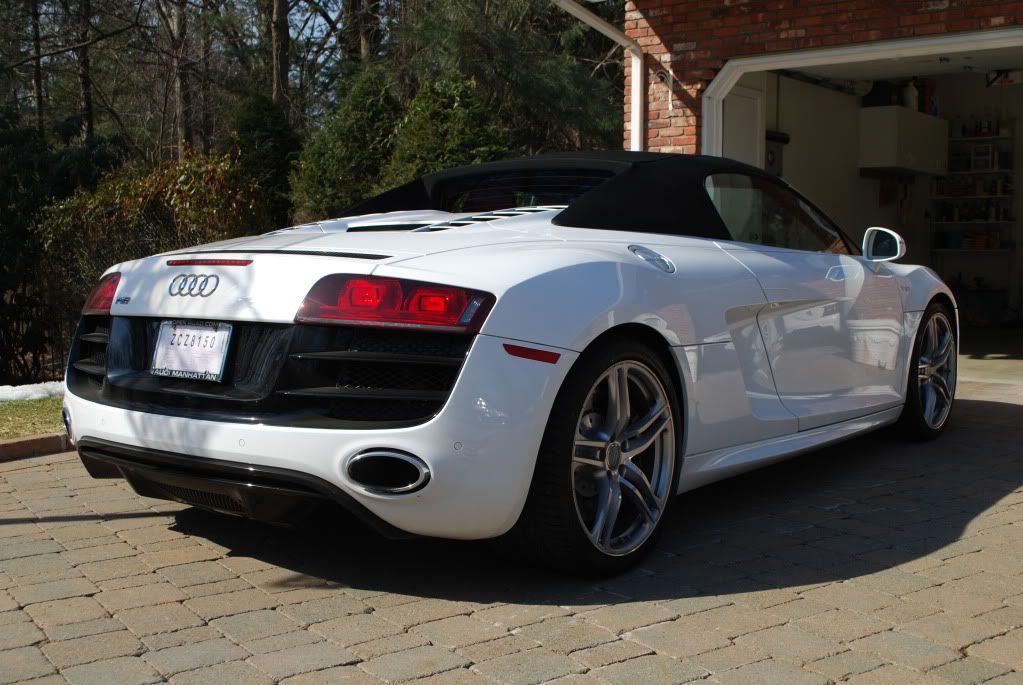
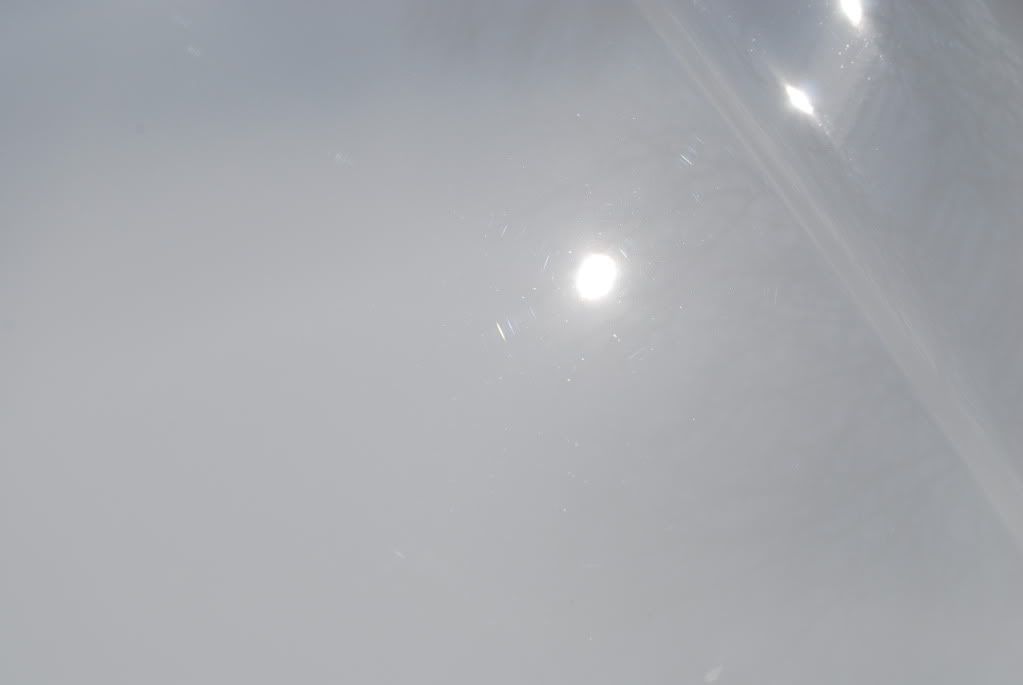
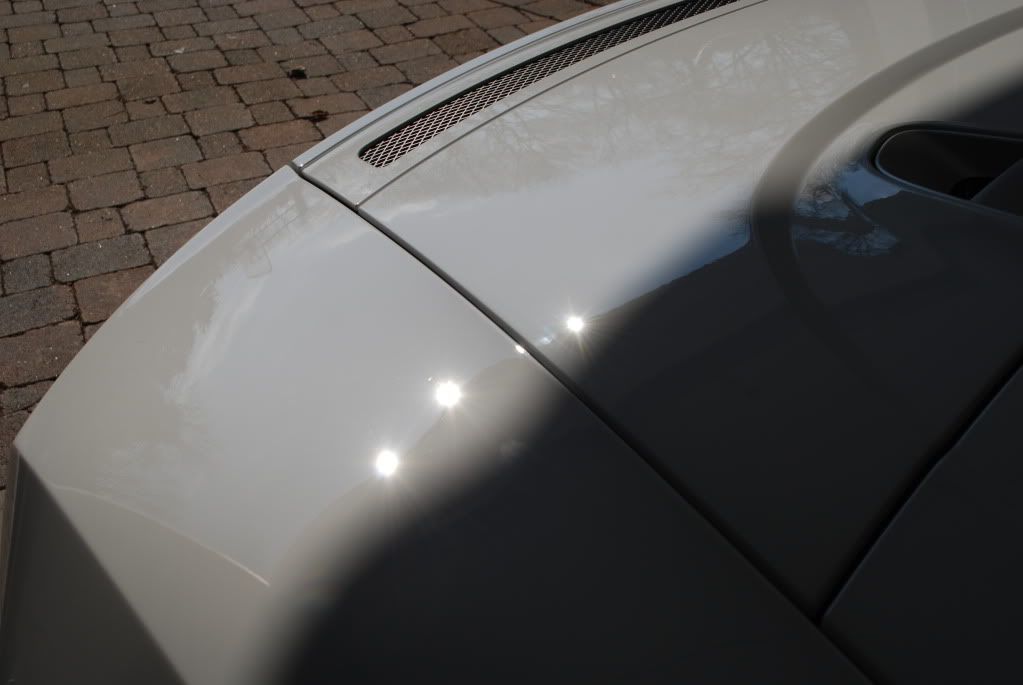
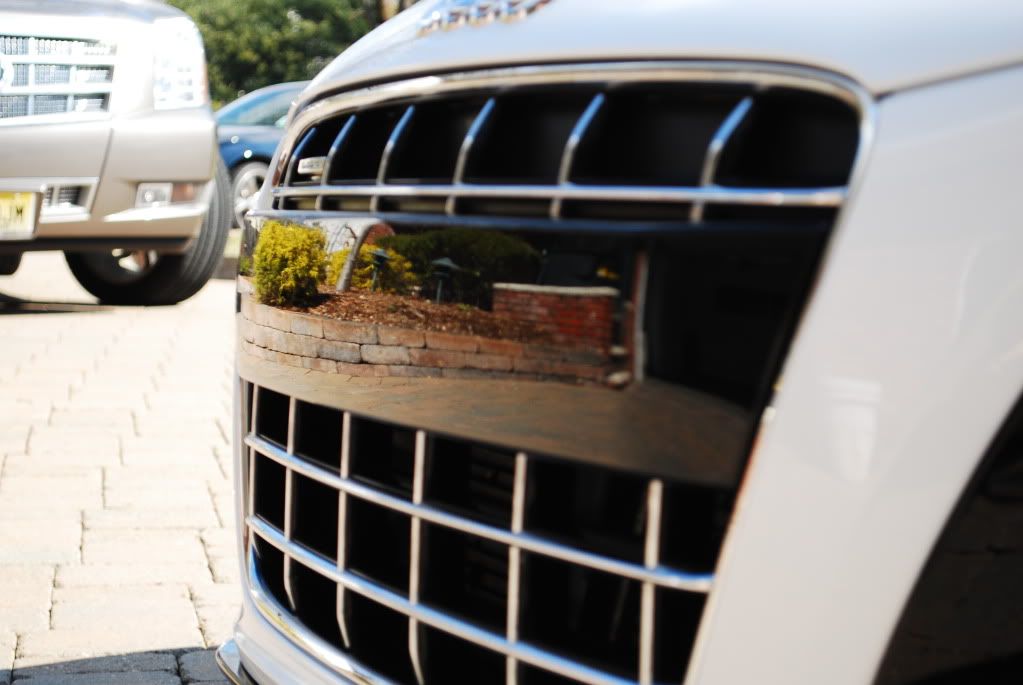
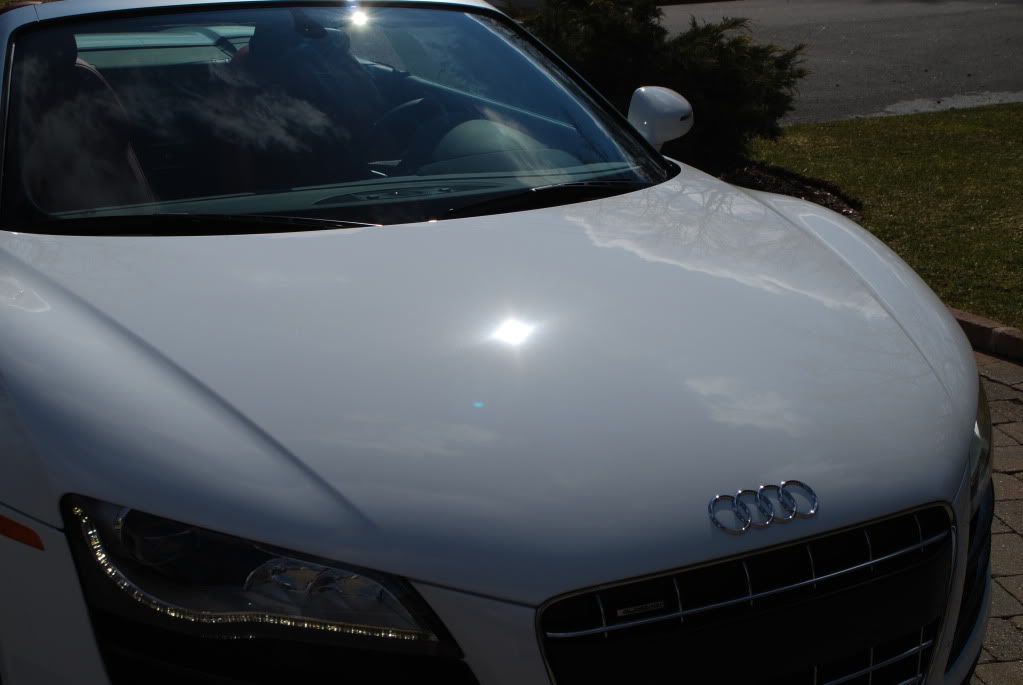
Few shots of the finish in sunlight after a 2 bucket wash
Few RIDS on the hood
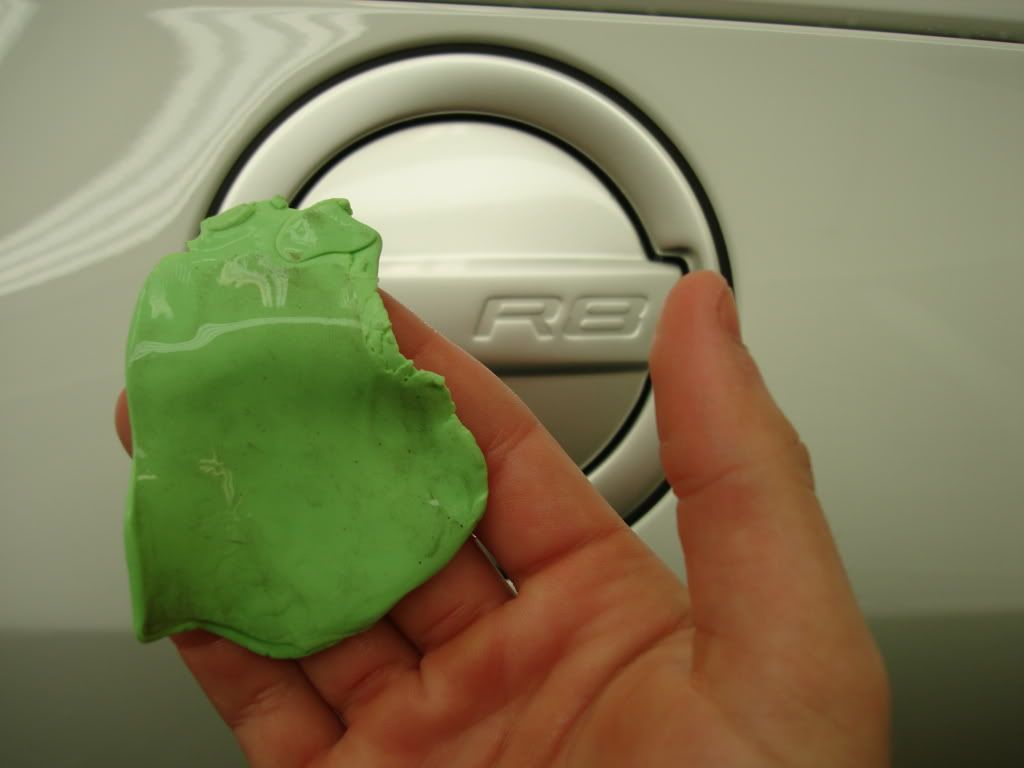
Onto claying
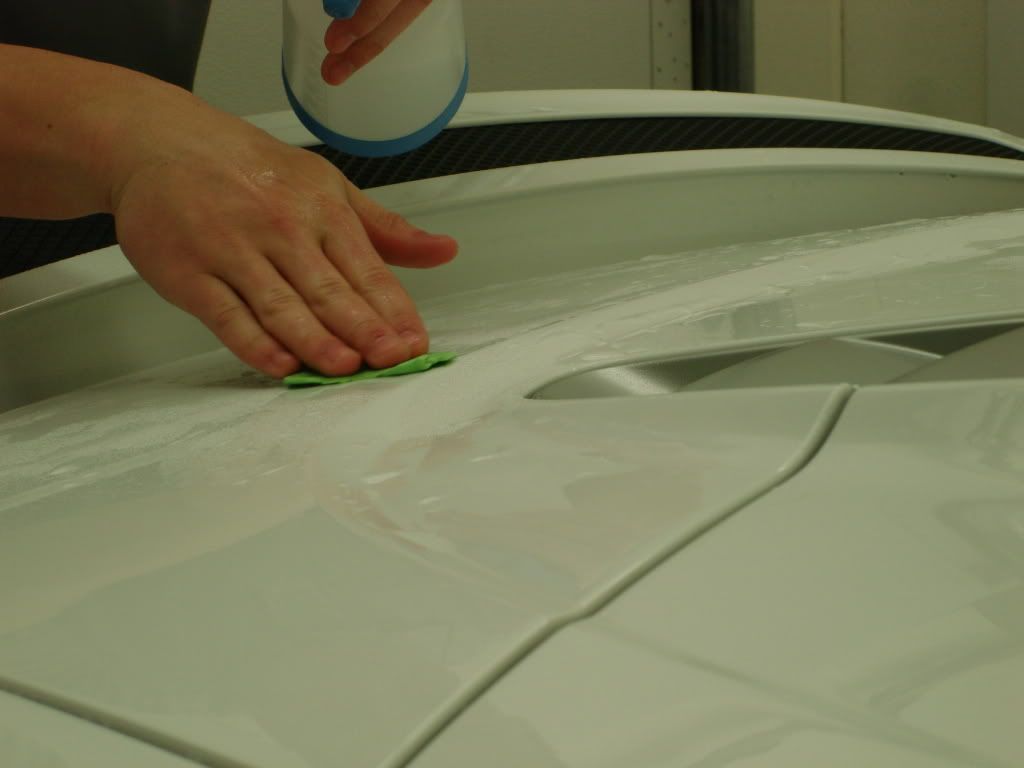
Mild contaminants, nothing serious
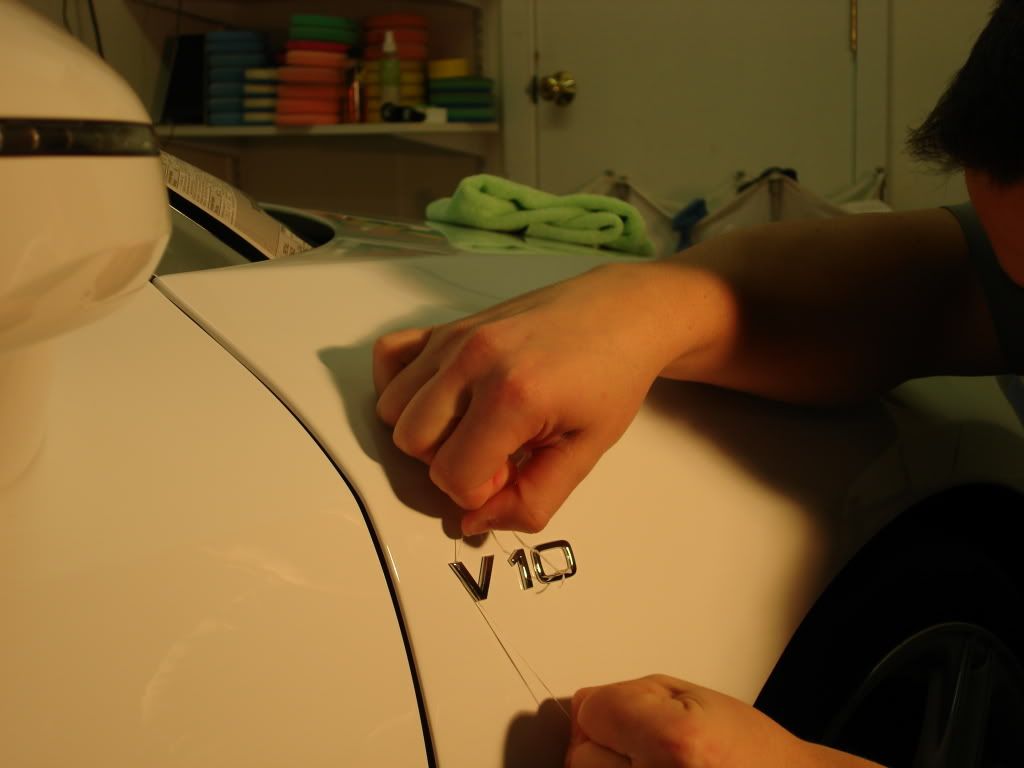
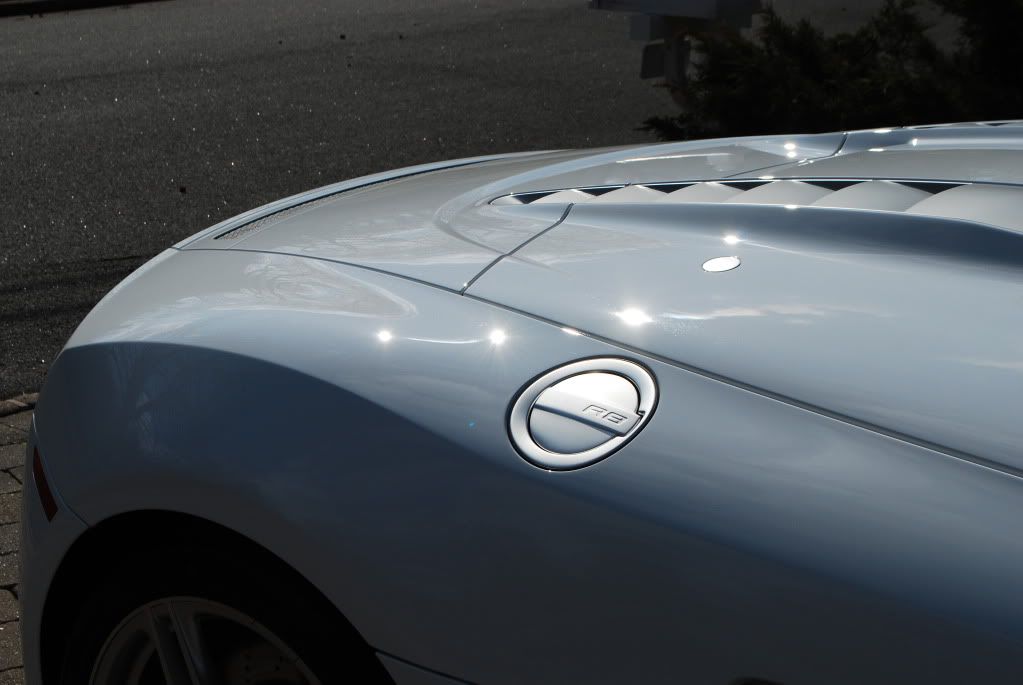
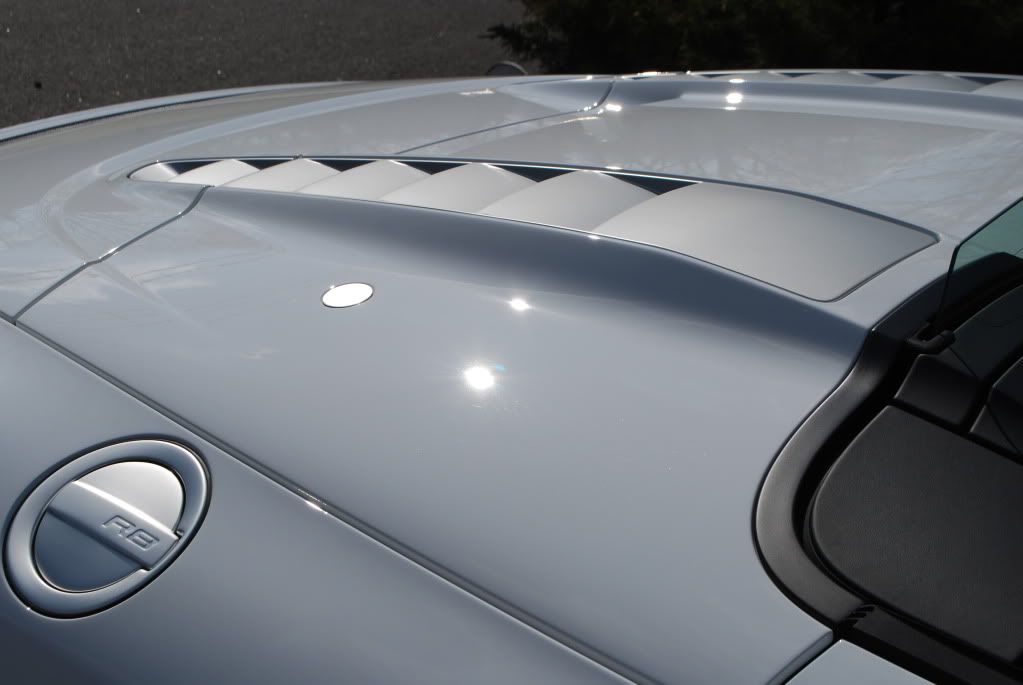
Owner asked for the V10 badges to be removed for a cleaner look plus for the later film installation no hole would need to be cut here.
Out with some very special top secret detailing thread commonly known as dental floss..
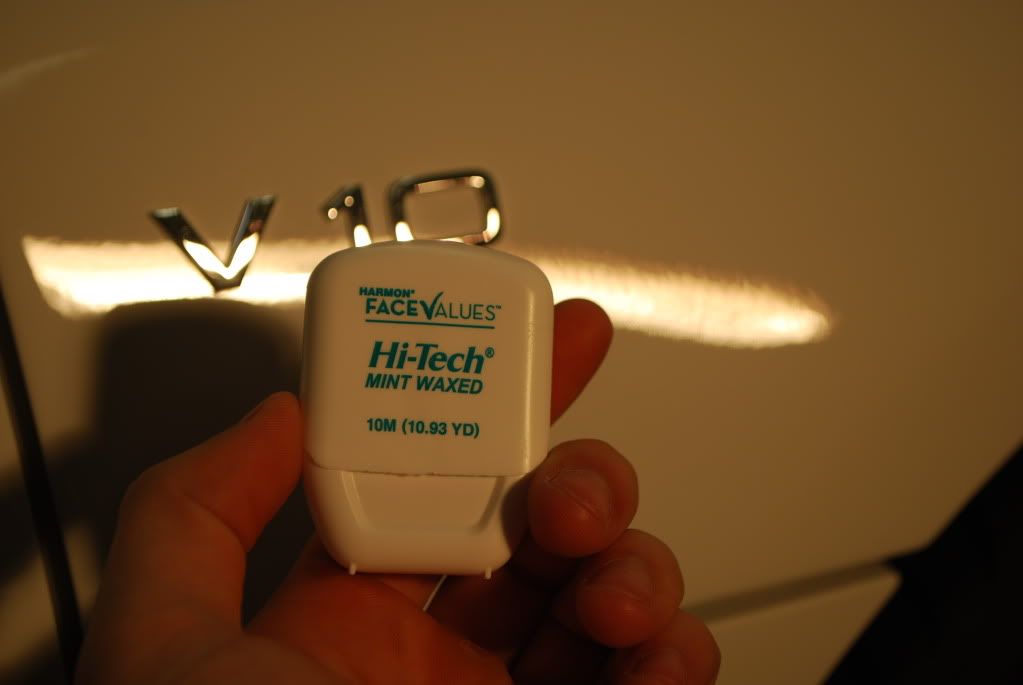
Gently slicing through the adhesive behind each letter
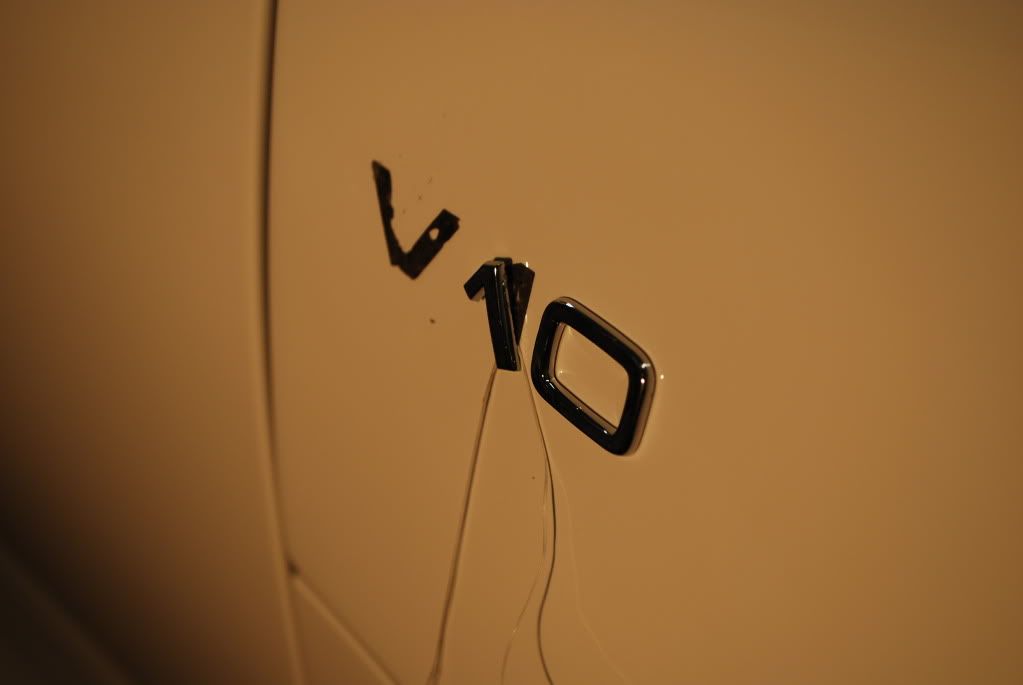
Whats left over
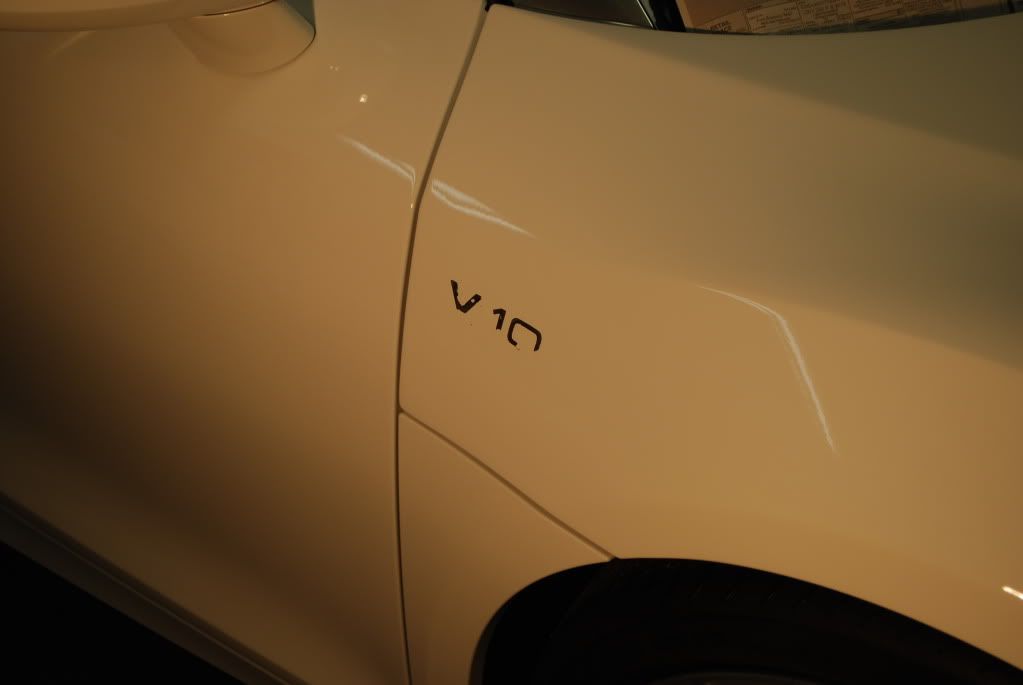
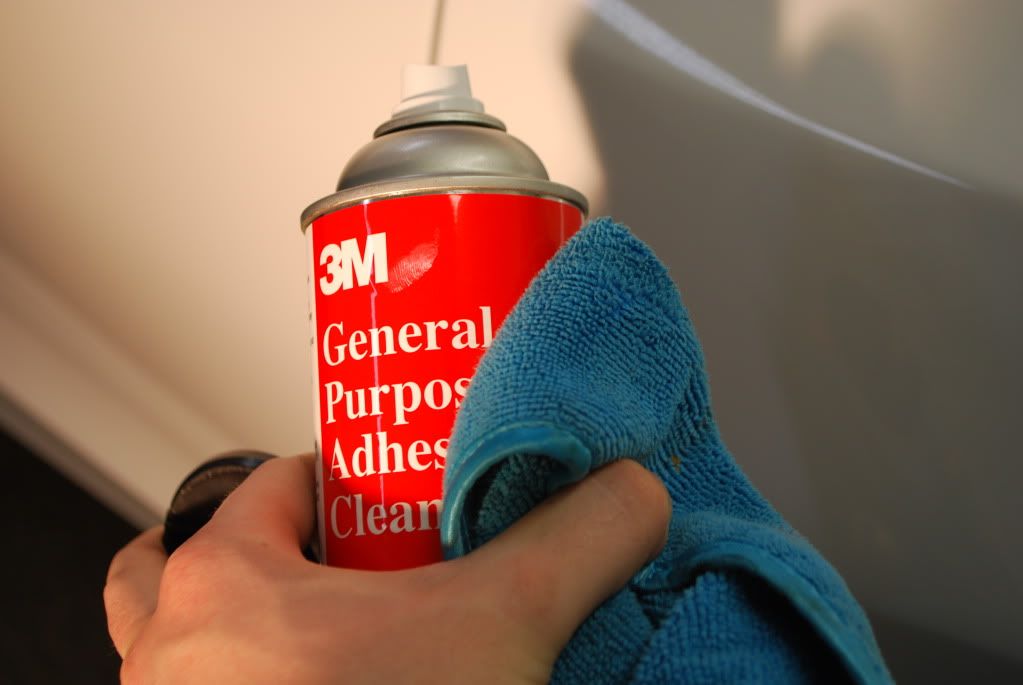
Used a heat gun to help loosen up and gently peel off what I could and the followed up with 3M adhesive remover for the rest.
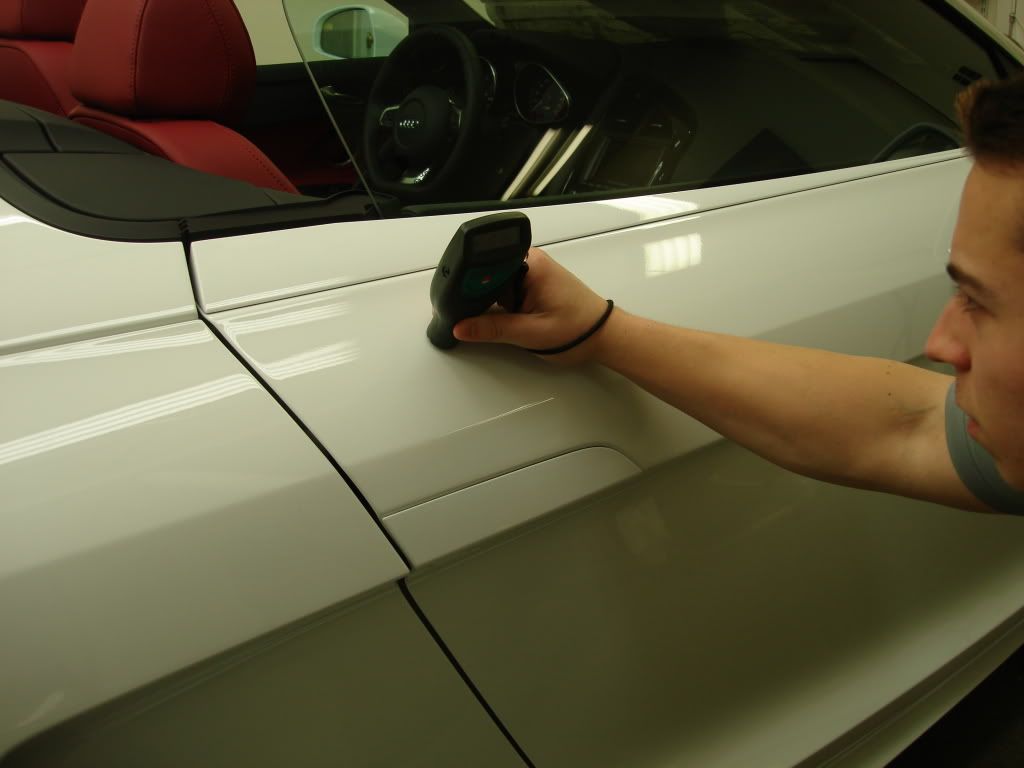
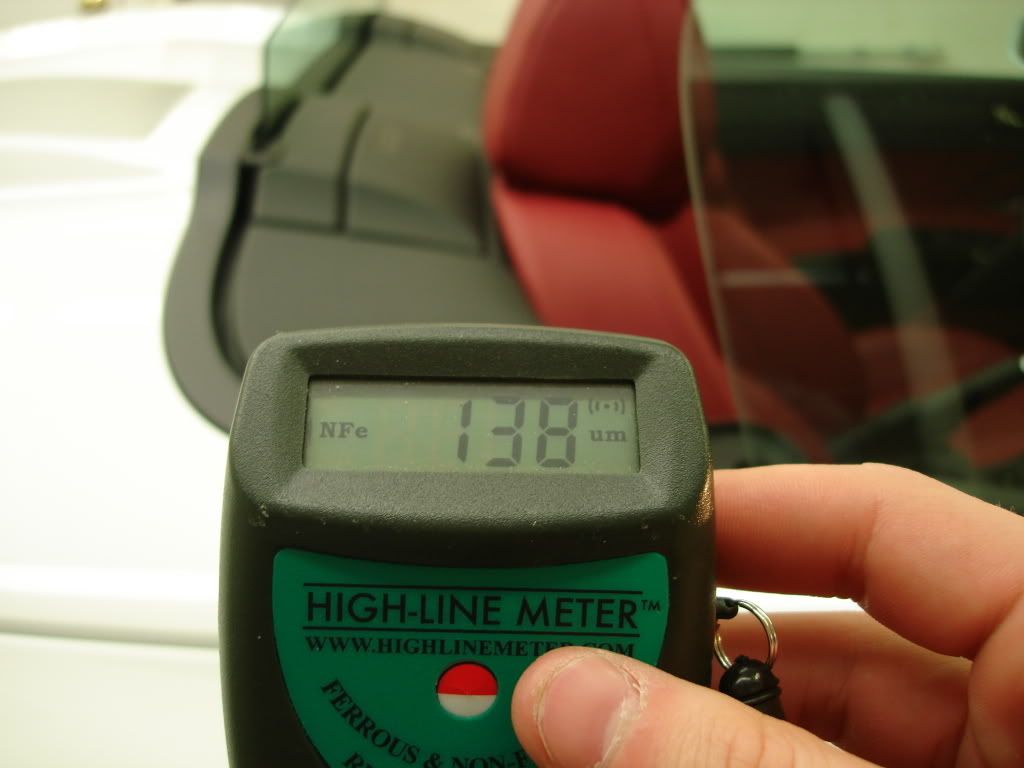
Onto paint correction, started off with some PTG readings.
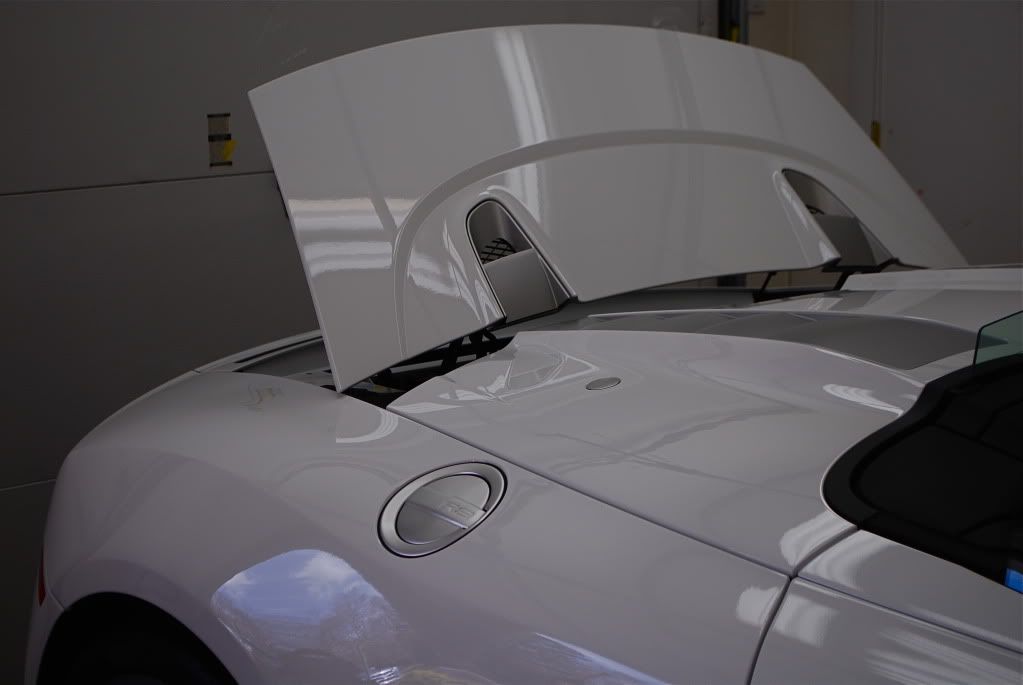
Cleared for takeoff...
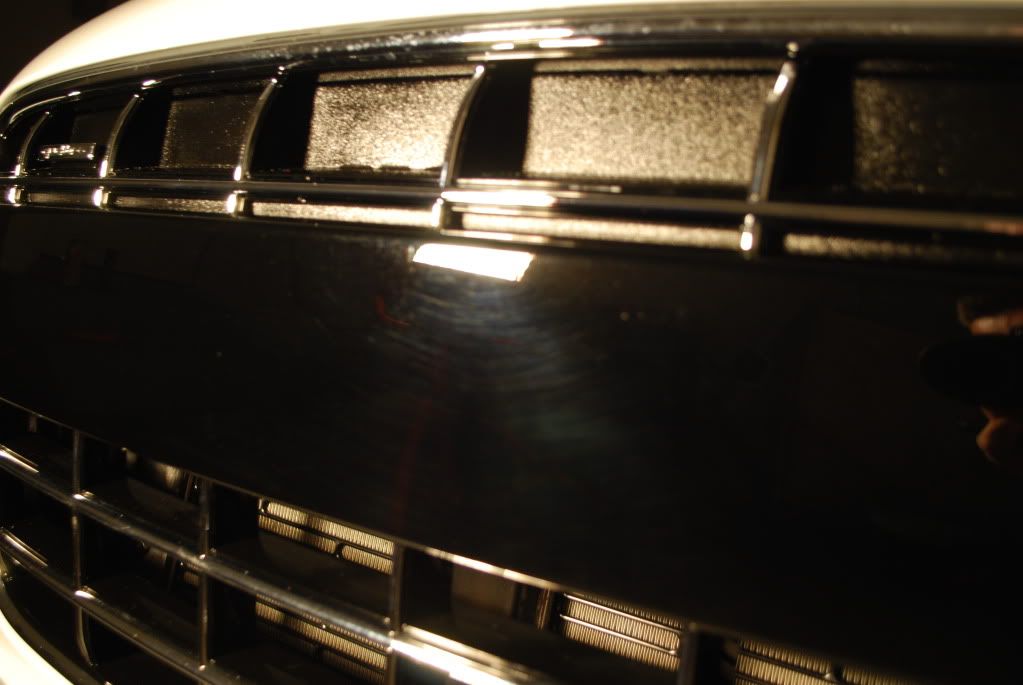
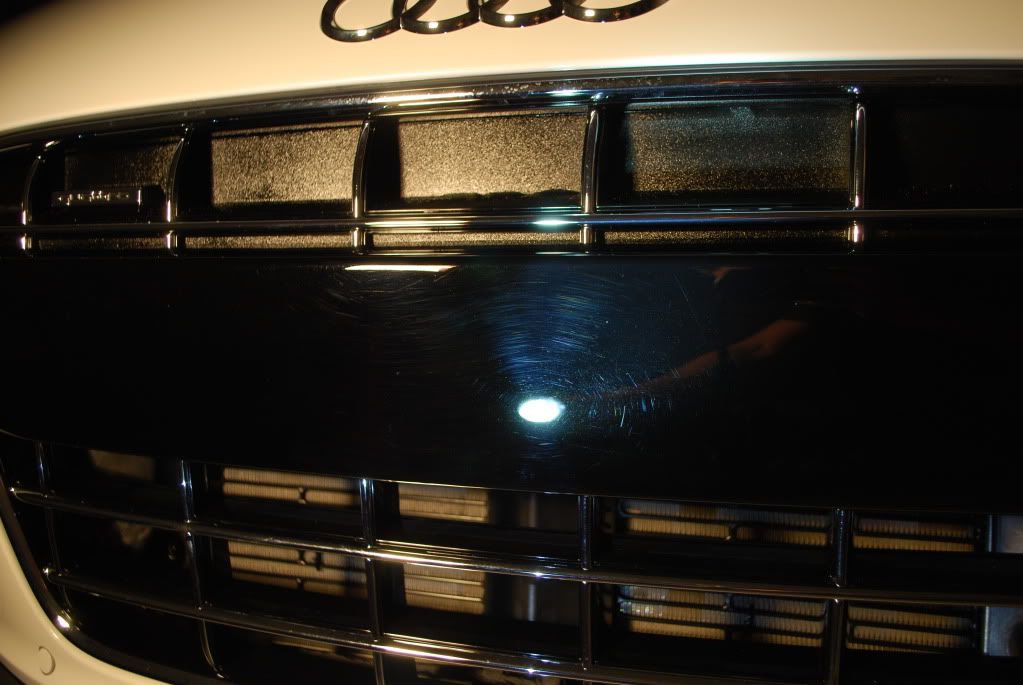
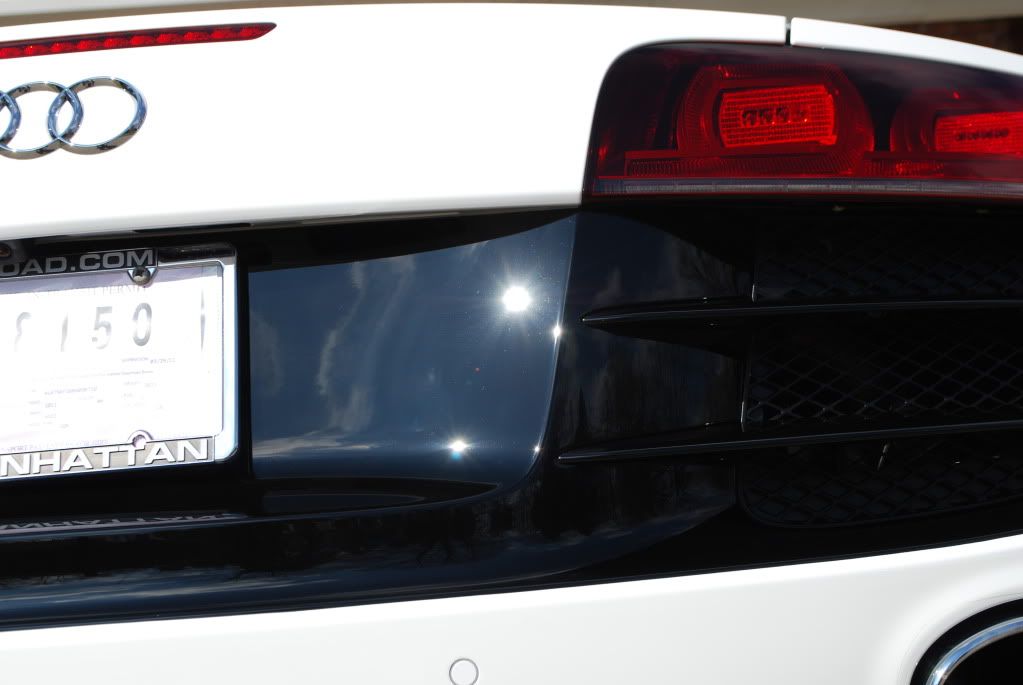
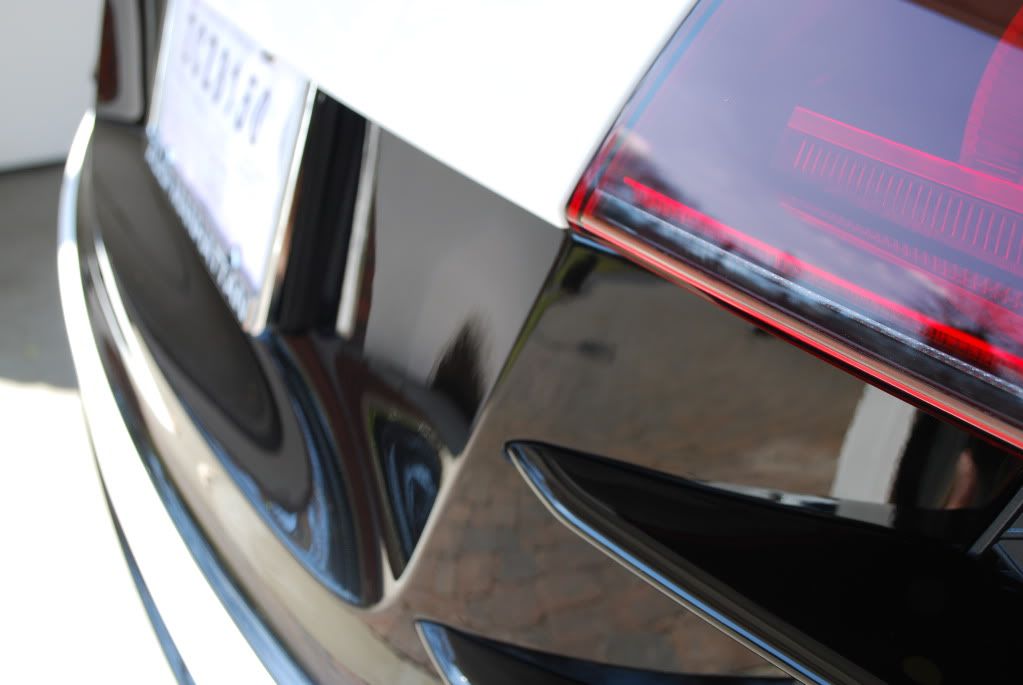
Started with the front plate holder or as it should be called, "the front black piece" because lets face it, nobody is putting a license plater here, ever :dupe:
Correction carried out with the new Meguiars microfiber discs (4") and compound. This is a very nice system I have been playing with for the past 3 months. The system comes with a finishing micrfiber disc and finishing polish/wax as a follow up step and while it does work great, on this very soft finish plate holder I opted to use a polishing pad and Menzerna 106fa for clean up the marring and the hit it once again with a black pad and 85rd for ensure zero marring/holograms and on down the list of remaining defects.
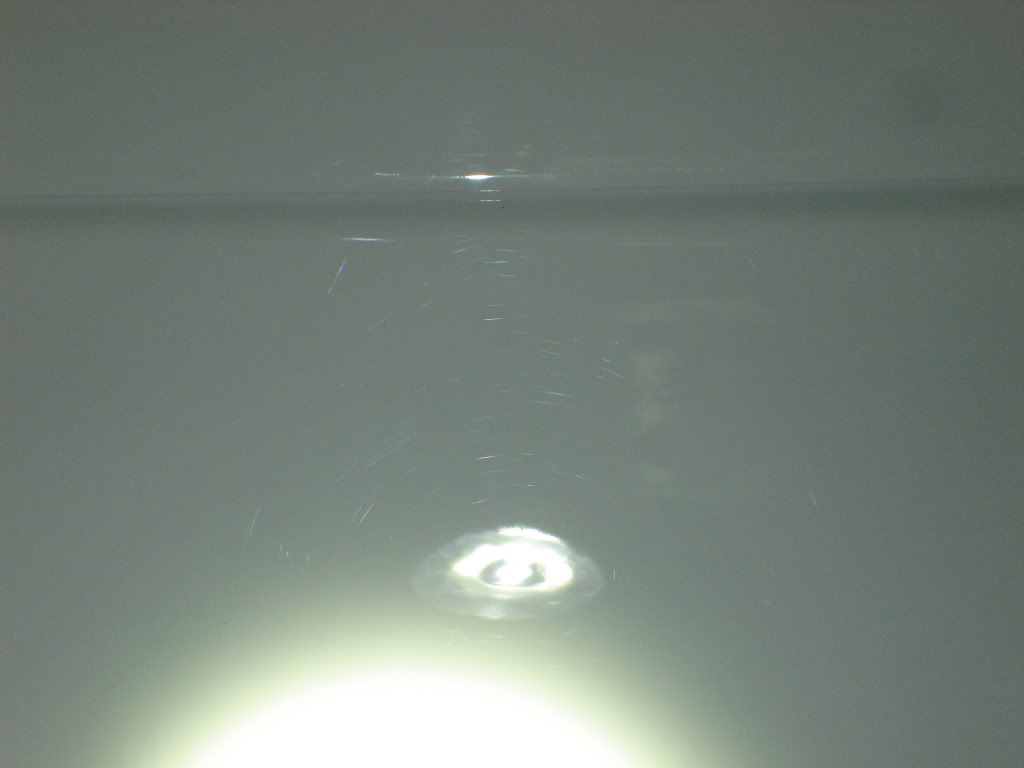
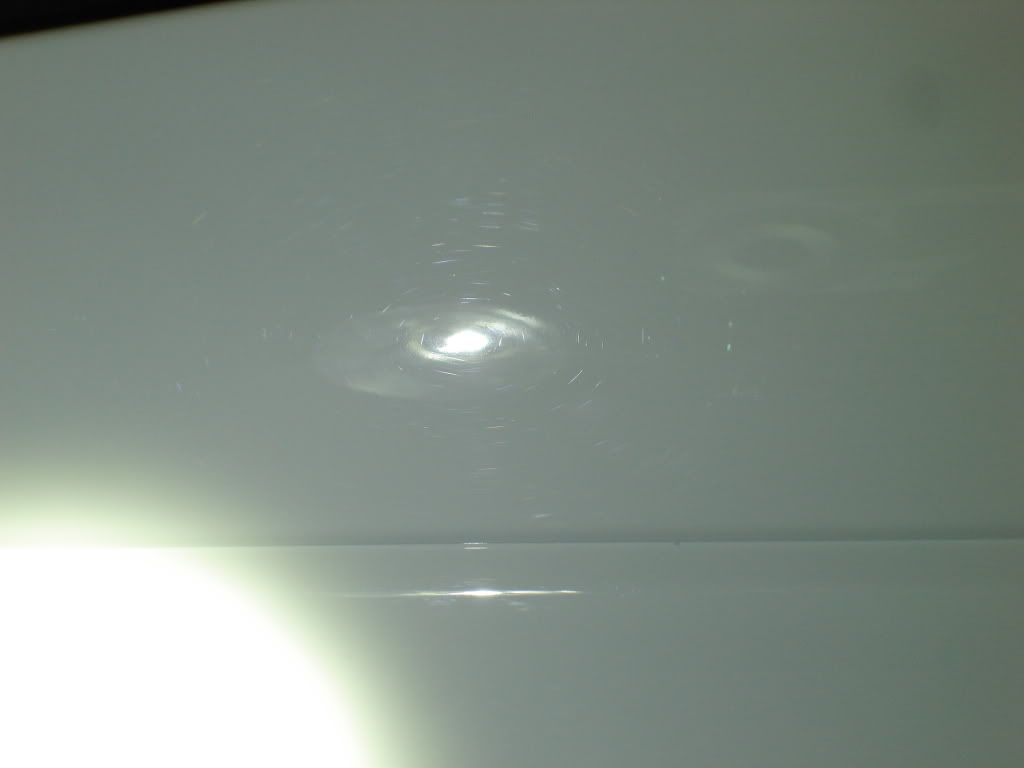
Before defects

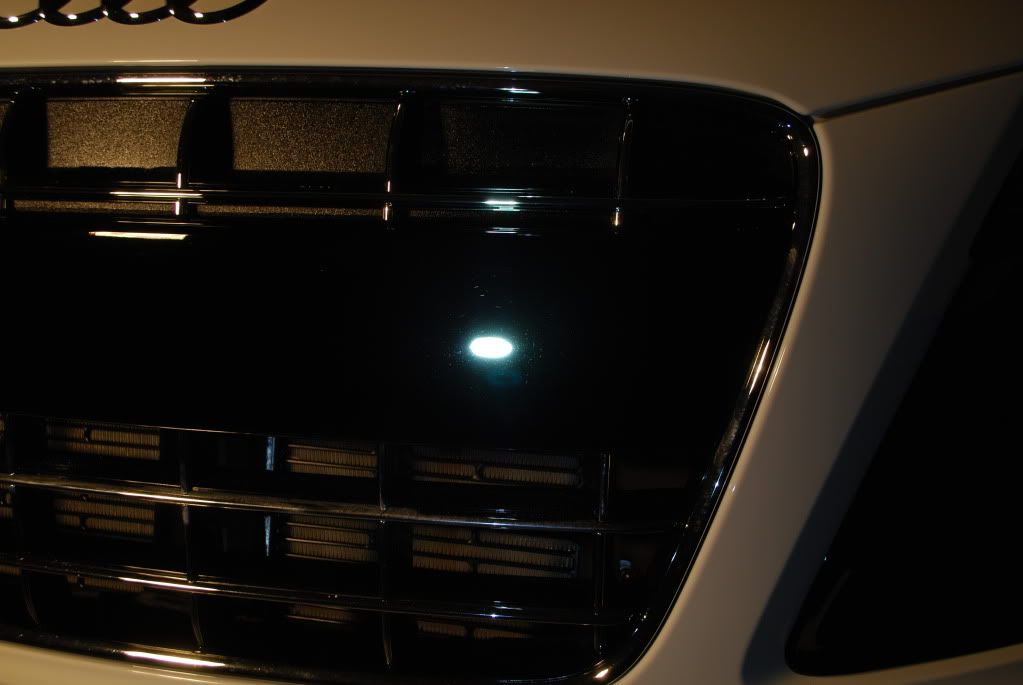
After
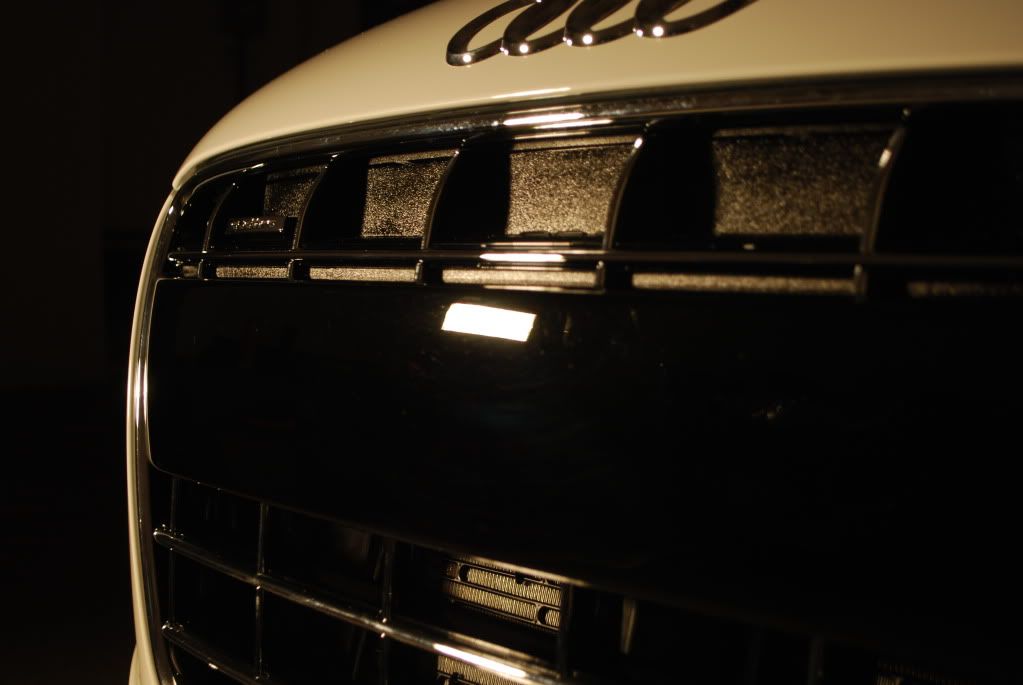
Under Fenix TK40
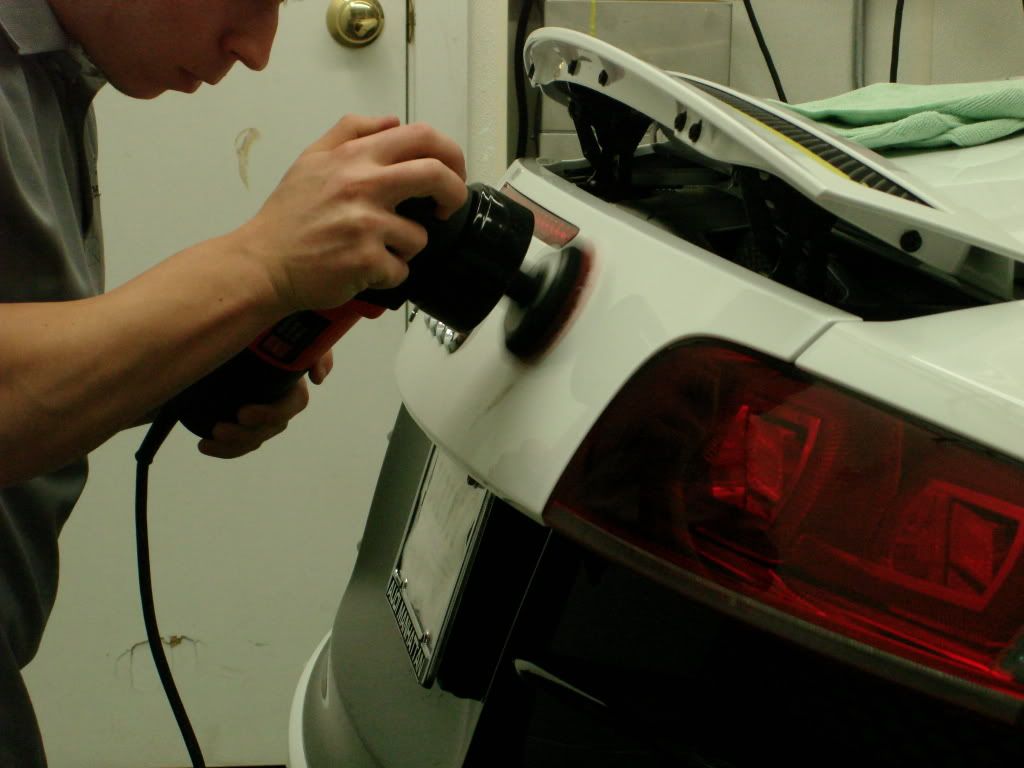
I moved onto the rest of the car which was compounding using the Micrfofiber disc and compound.
Pics have been posted before about the pads before and after use, while they do gum up and the fibers flatten out they clean out equally as good and can be used again and again.
After compounding a section...
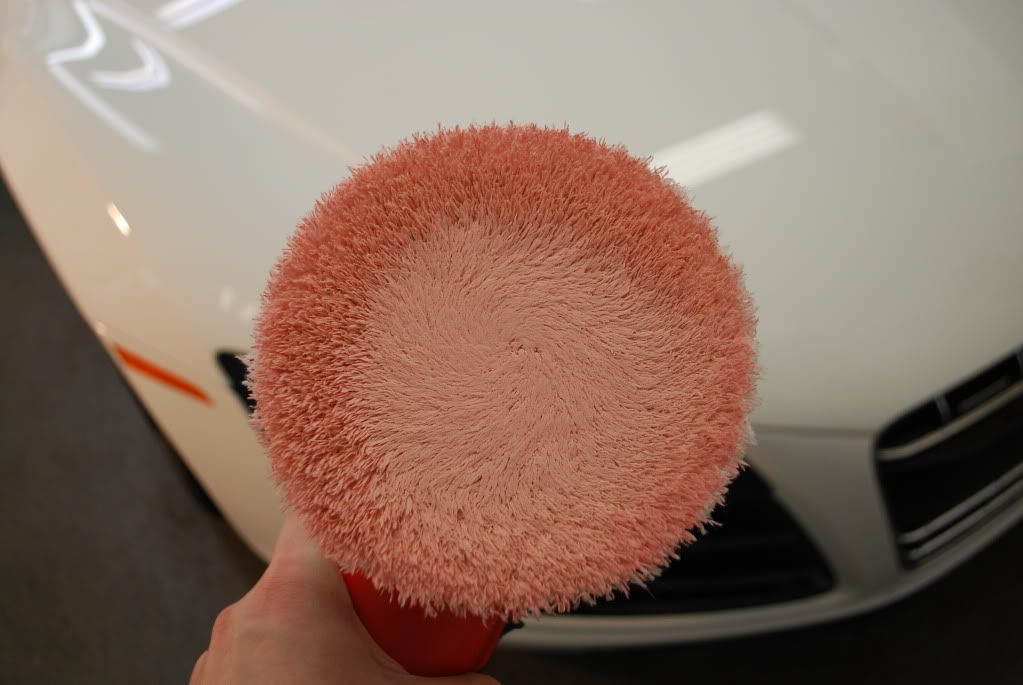
After cleaning pad with a pad brush, no compressed air (yet, compressor on the way)

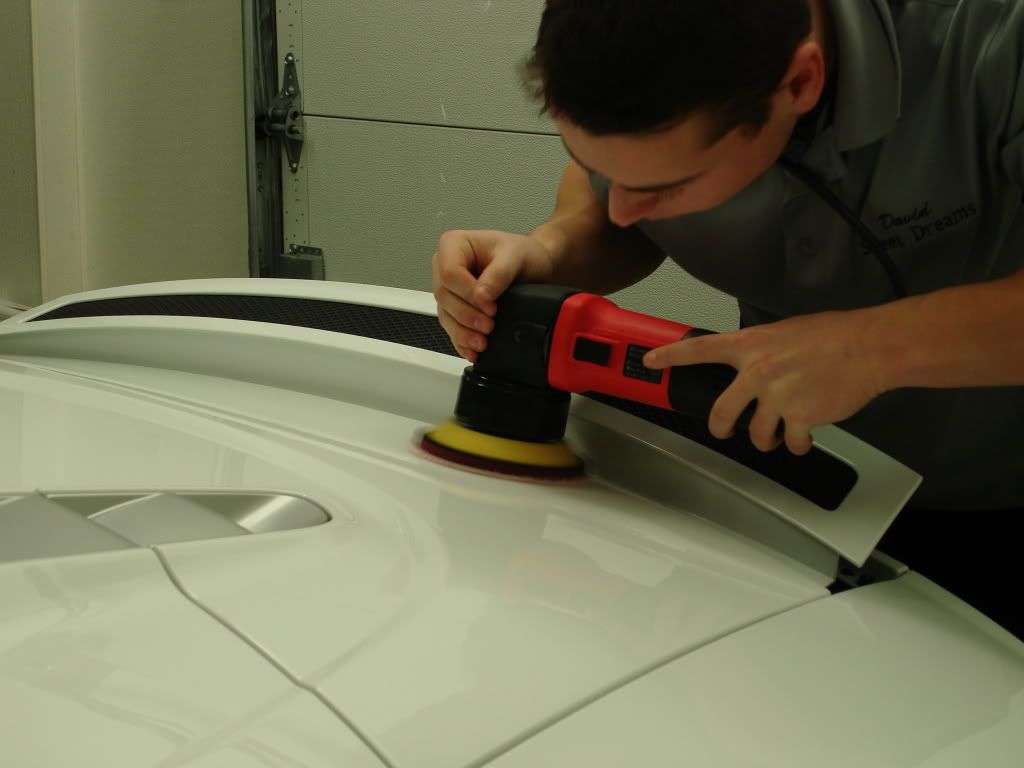
Couple action shots with the compound and compounding discs. I followed up this step with Menzerna 106FA using a green detailersdomain polishing pad.

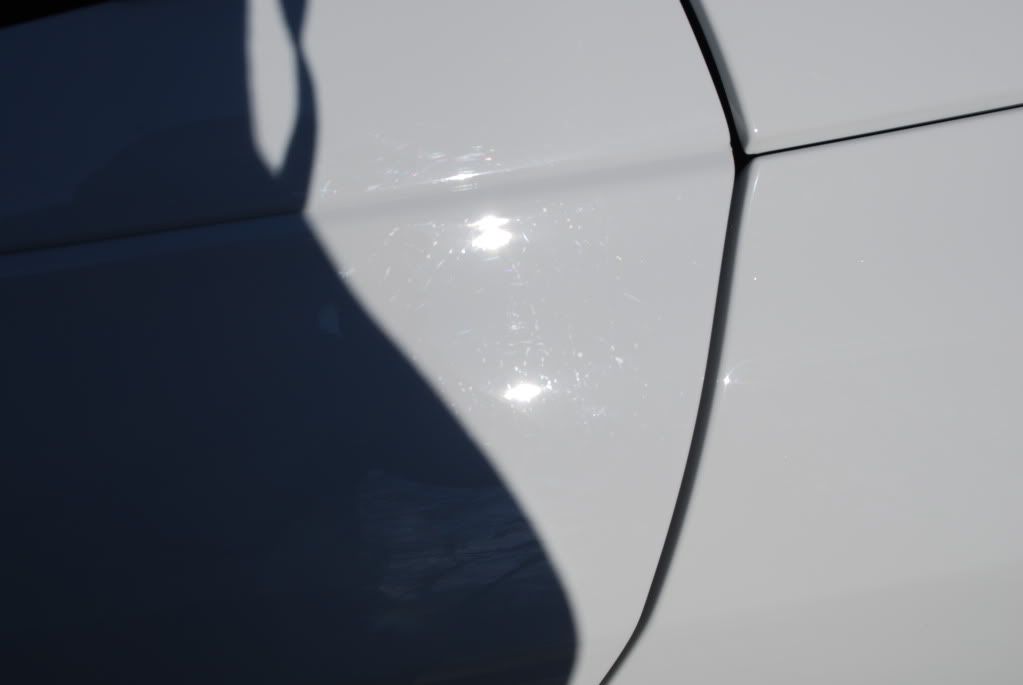
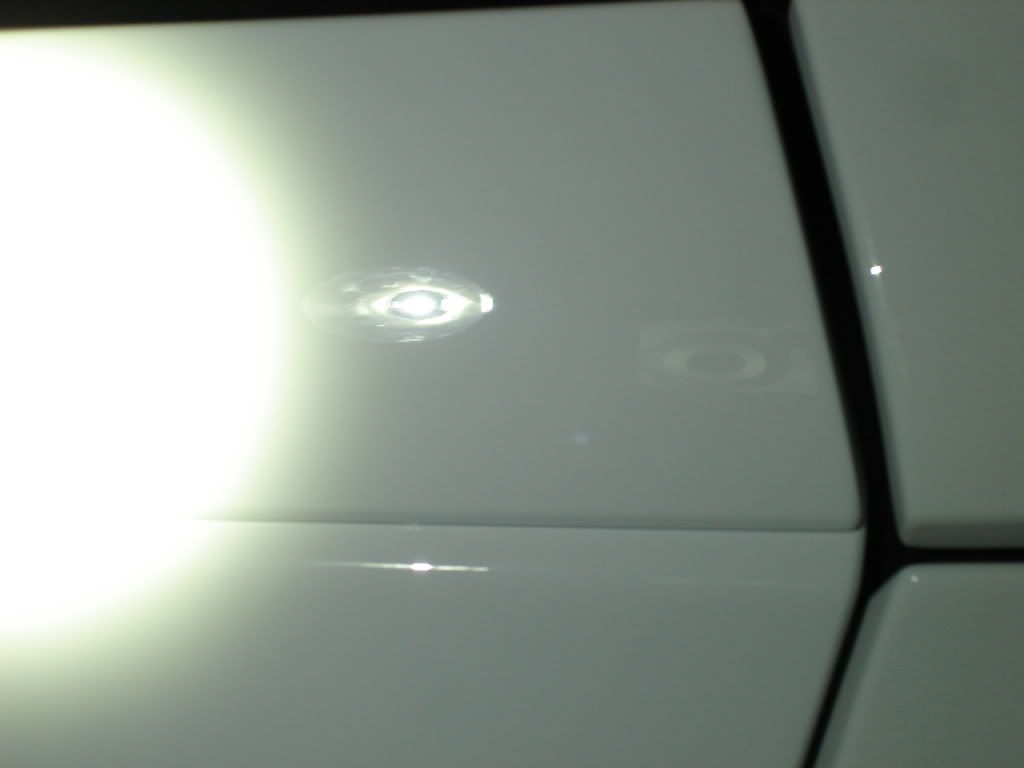
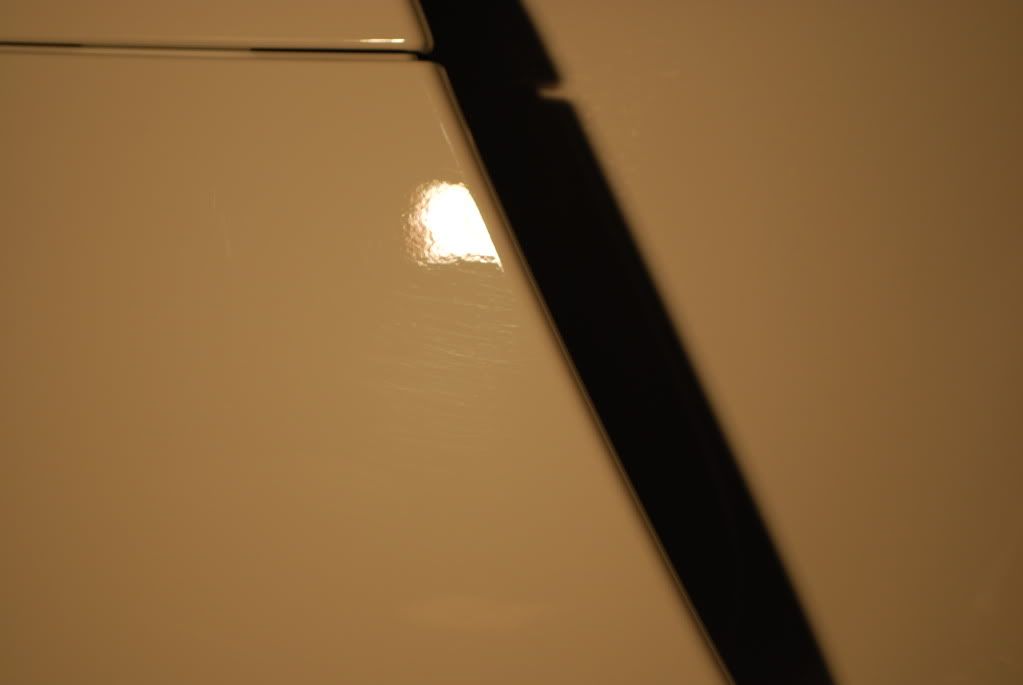
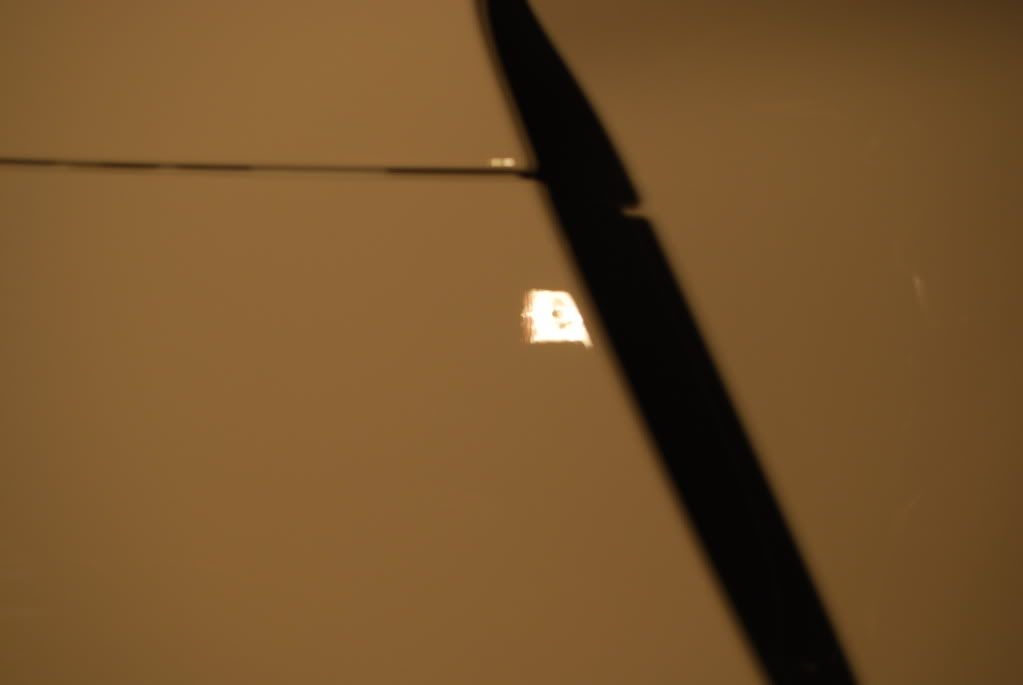
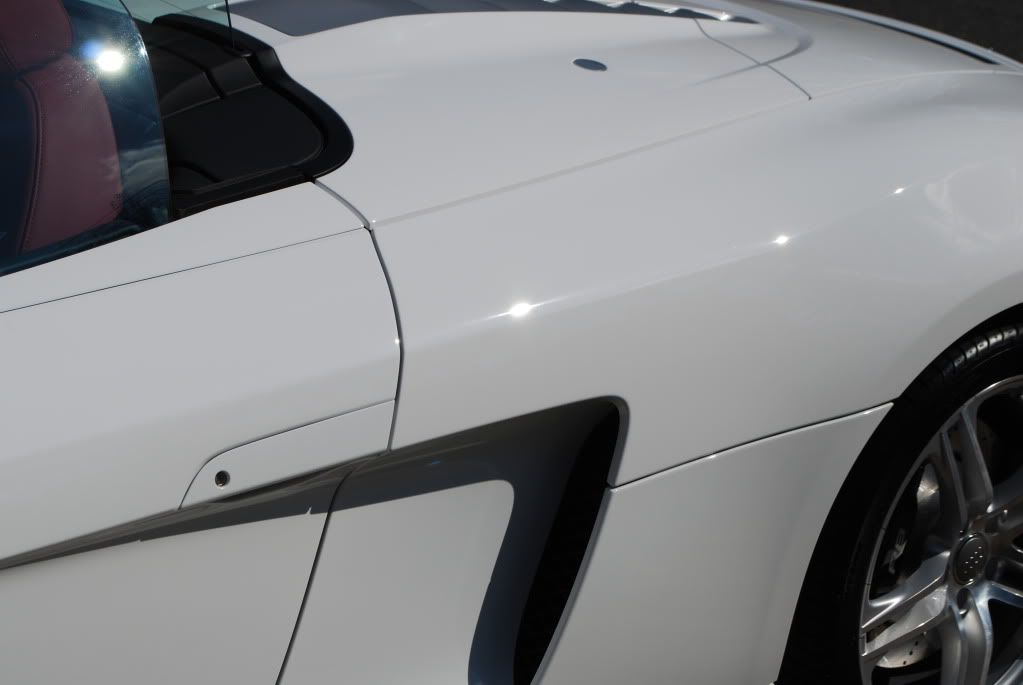
Very hard to show defects on a white car but you get an idea of the before and after (the latter sun shots tell a better story I'd say)
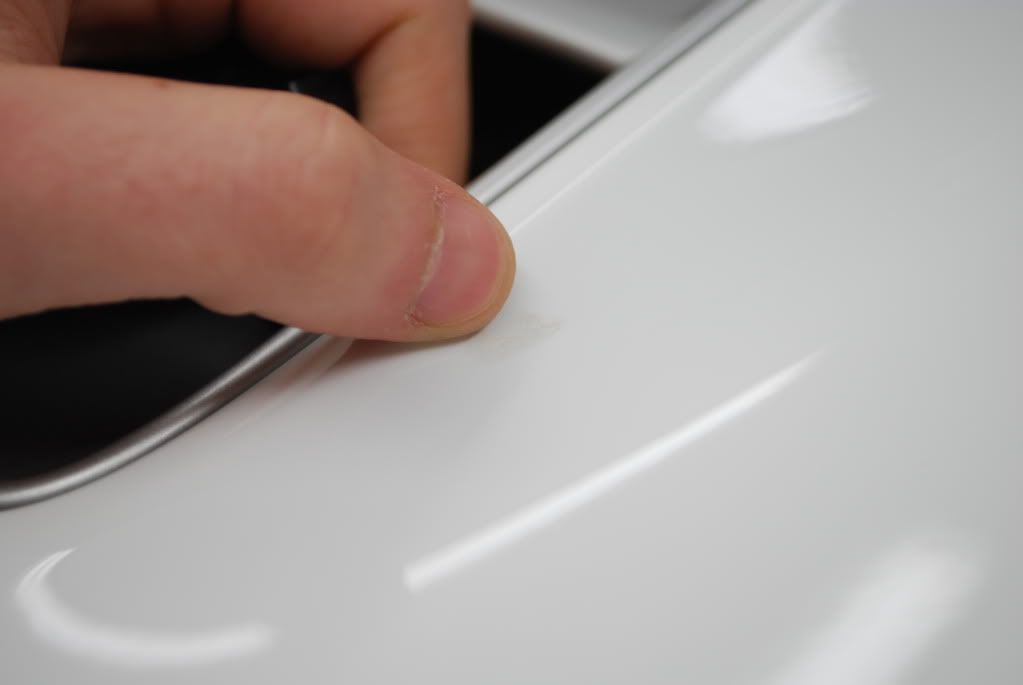
Working on the rear deck-lid I spotted a few faint left over adhesive marks... again some 3M adhesive remover plus a little Tarminator worked nicely
Before
After
Finish was beading nicely from a dealer prep. Pressure washed the body and pre soaked it using Optimum Powerclean 5:1
Wheels cleaned with Autoglym CWC, tires cleaned and degreased of old dressing using the same product, yes it works great on tires too.
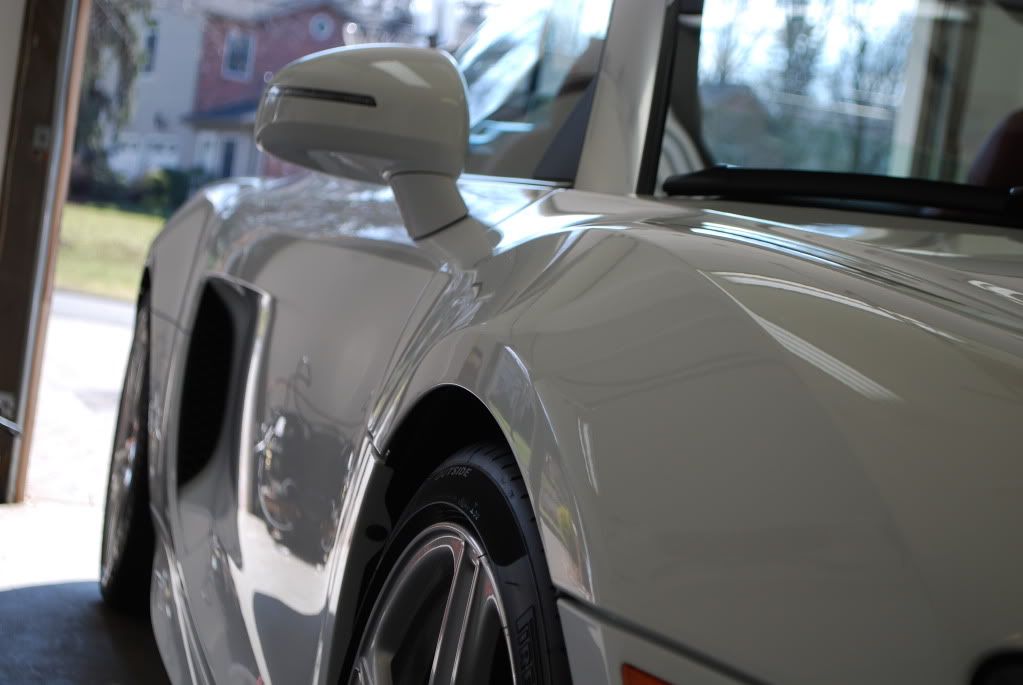
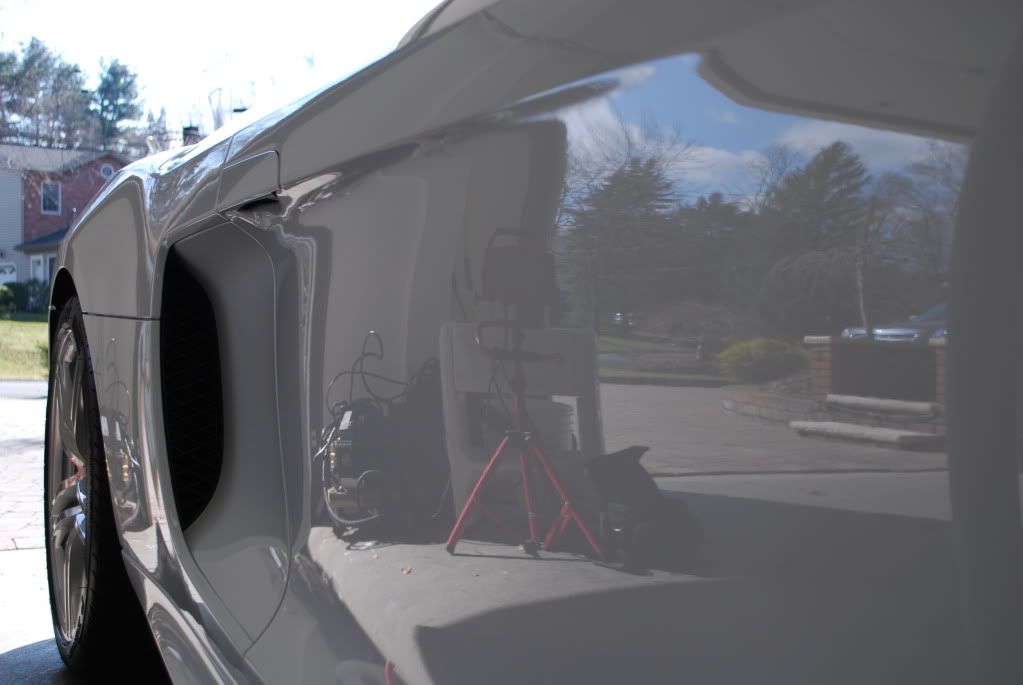
Few shots of the finish in sunlight after a 2 bucket wash
Few RIDS on the hood
Onto claying
Mild contaminants, nothing serious
Owner asked for the V10 badges to be removed for a cleaner look plus for the later film installation no hole would need to be cut here.
Out with some very special top secret detailing thread commonly known as dental floss..
Gently slicing through the adhesive behind each letter
Whats left over
Used a heat gun to help loosen up and gently peel off what I could and the followed up with 3M adhesive remover for the rest.
Onto paint correction, started off with some PTG readings.
Cleared for takeoff...
Started with the front plate holder or as it should be called, "the front black piece" because lets face it, nobody is putting a license plater here, ever :dupe:
Correction carried out with the new Meguiars microfiber discs (4") and compound. This is a very nice system I have been playing with for the past 3 months. The system comes with a finishing micrfiber disc and finishing polish/wax as a follow up step and while it does work great, on this very soft finish plate holder I opted to use a polishing pad and Menzerna 106fa for clean up the marring and the hit it once again with a black pad and 85rd for ensure zero marring/holograms and on down the list of remaining defects.
Before defects
After
Under Fenix TK40
I moved onto the rest of the car which was compounding using the Micrfofiber disc and compound.
Pics have been posted before about the pads before and after use, while they do gum up and the fibers flatten out they clean out equally as good and can be used again and again.
After compounding a section...
After cleaning pad with a pad brush, no compressed air (yet, compressor on the way)
Couple action shots with the compound and compounding discs. I followed up this step with Menzerna 106FA using a green detailersdomain polishing pad.
Very hard to show defects on a white car but you get an idea of the before and after (the latter sun shots tell a better story I'd say)
Working on the rear deck-lid I spotted a few faint left over adhesive marks... again some 3M adhesive remover plus a little Tarminator worked nicely
Before
After
Apr 2, 2011 | 12:00 PM
#2
Thread Starter
| Teamspeed Senior Member
Joined: May 2008
Posts: 526
From: New Jersey
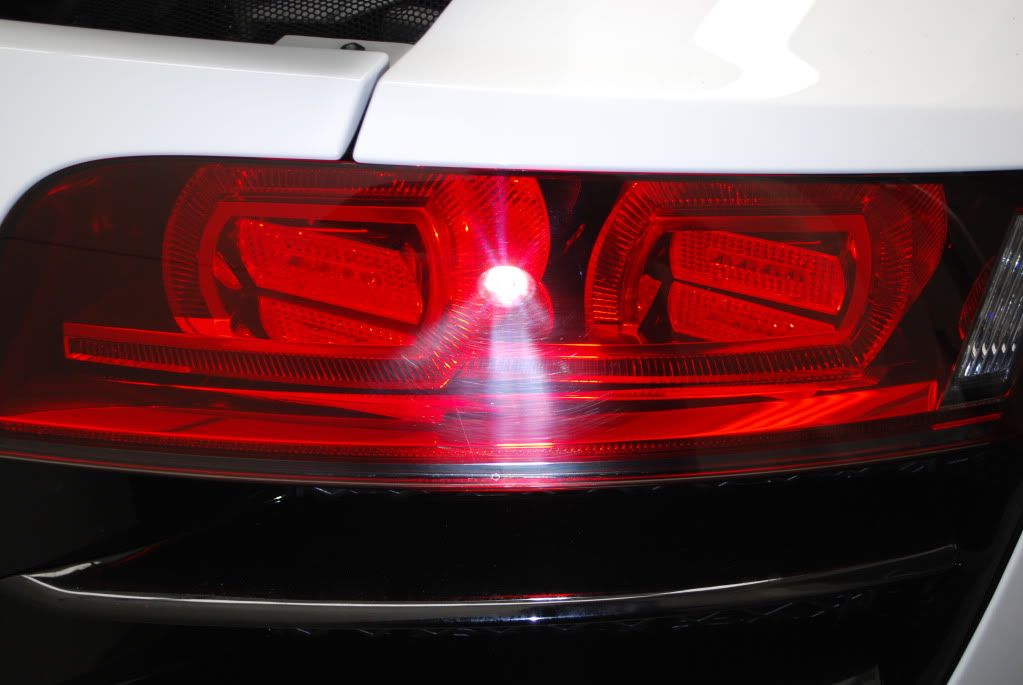
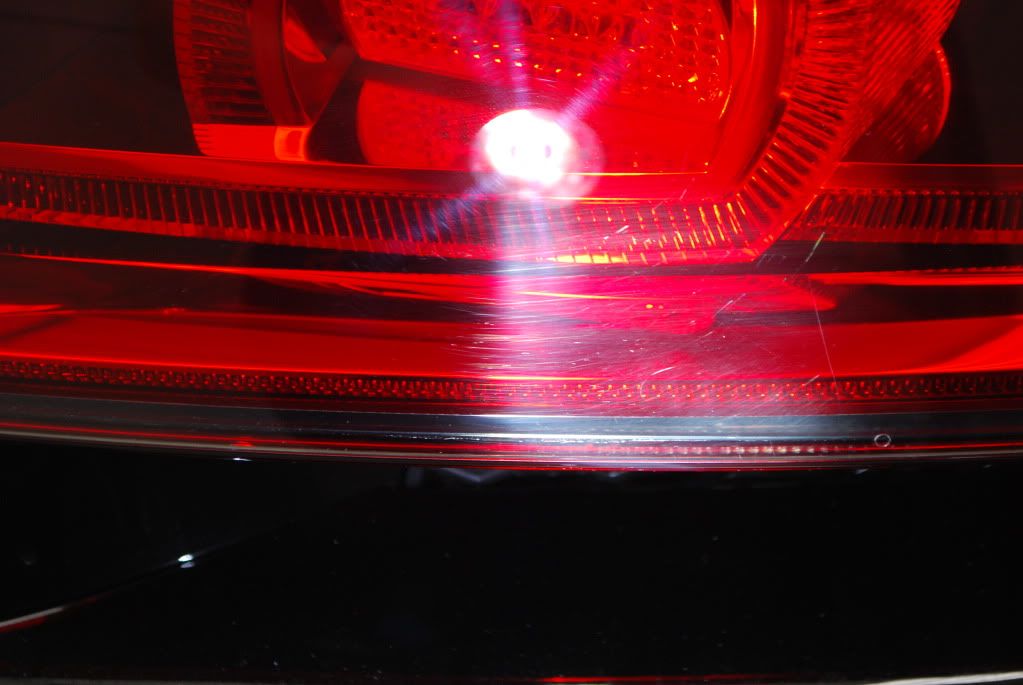
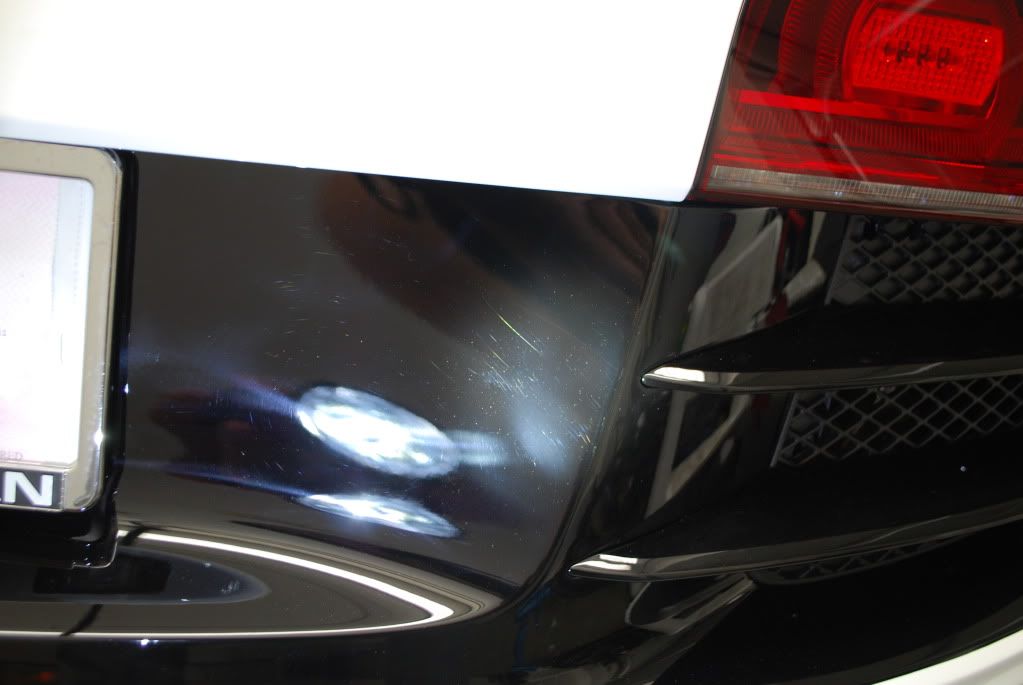
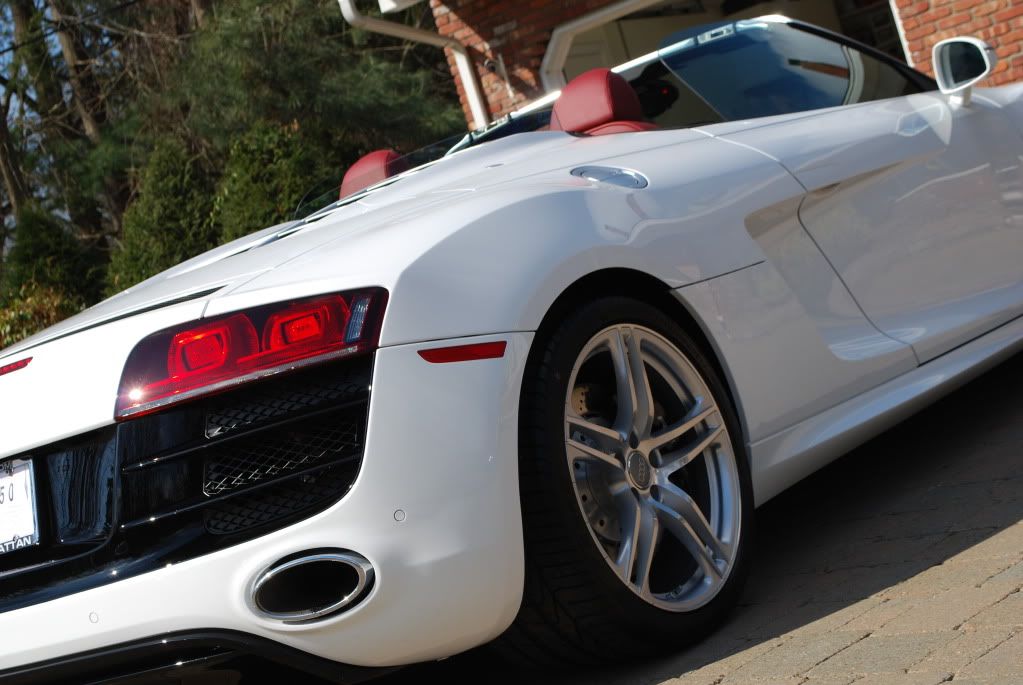
Most Audi vehicles including this one have hard clear coats but I always judge how well a dealer or previous owner maintained a car not always by the paint condition, but the taillights. Its much easier to marr up plastic tailights... and these were in pretty bad shape.
^^ Finished shots in the sun later.
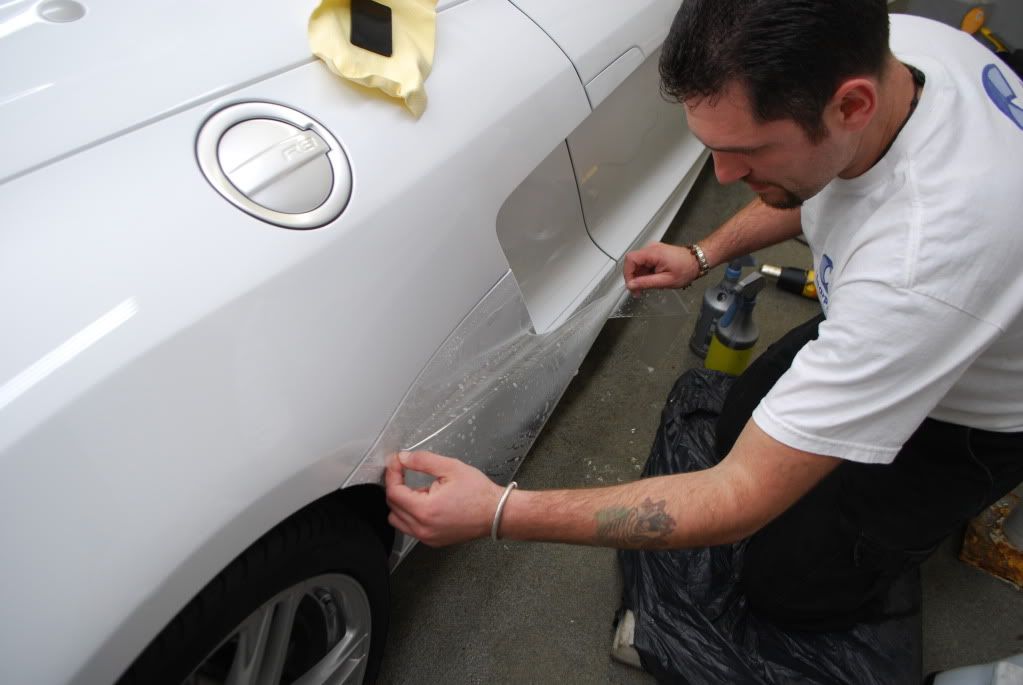
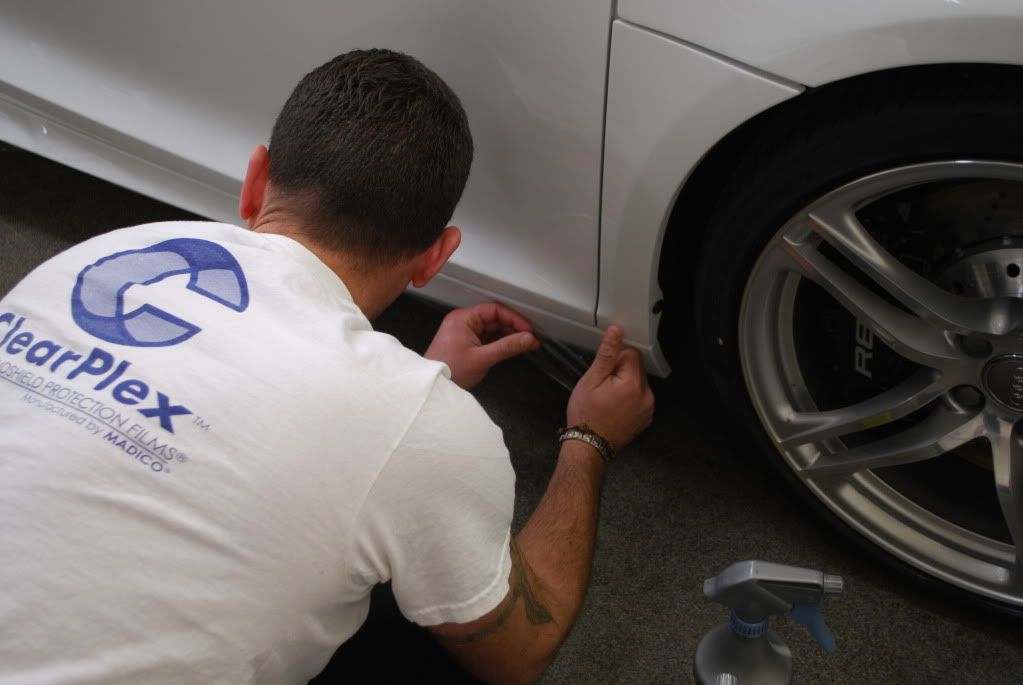
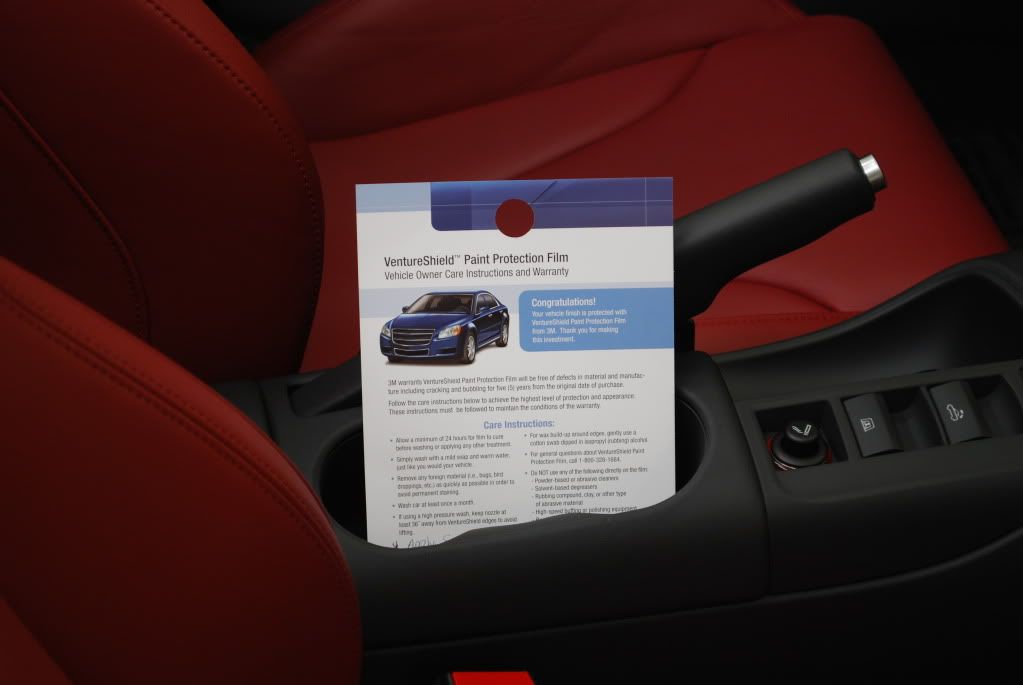
Once again I had John and Nick come in to install Venture film on this car as per the owners request. Just like the last R8 we did this car got the full hood, front bumper, headlights, mirrors, side skirts and full rear bumper.
This is really the best way to have film installed, while its getting detailed. All areas that were to be filmed were washed, clayed and polished just a few hours before they showed up. Also just before they began each section I wiped it down with an 70/30 IPA mix to ensure the finish was 100% clean and dust free.
After the install I did all the necessary wipedowns on the filmed areas to ensure no marring and then I proceeded to gently polish the film. Later I added my LSP of choice... no it wasnt Plexus :applause2:
John placing the film on the hood

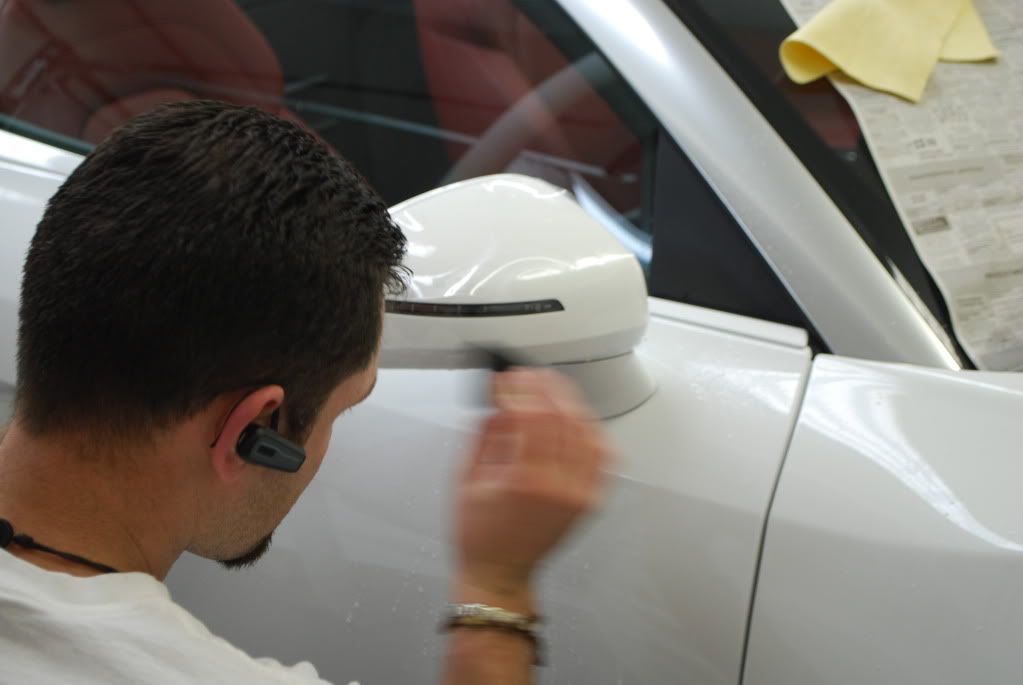
Nick wrapping the side mirrors
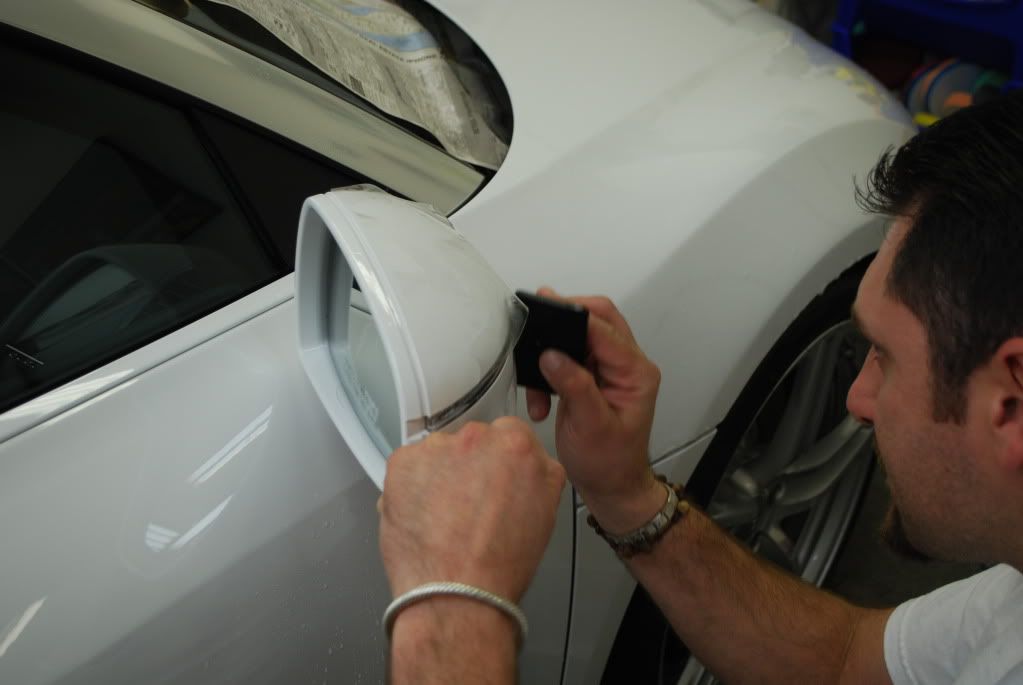
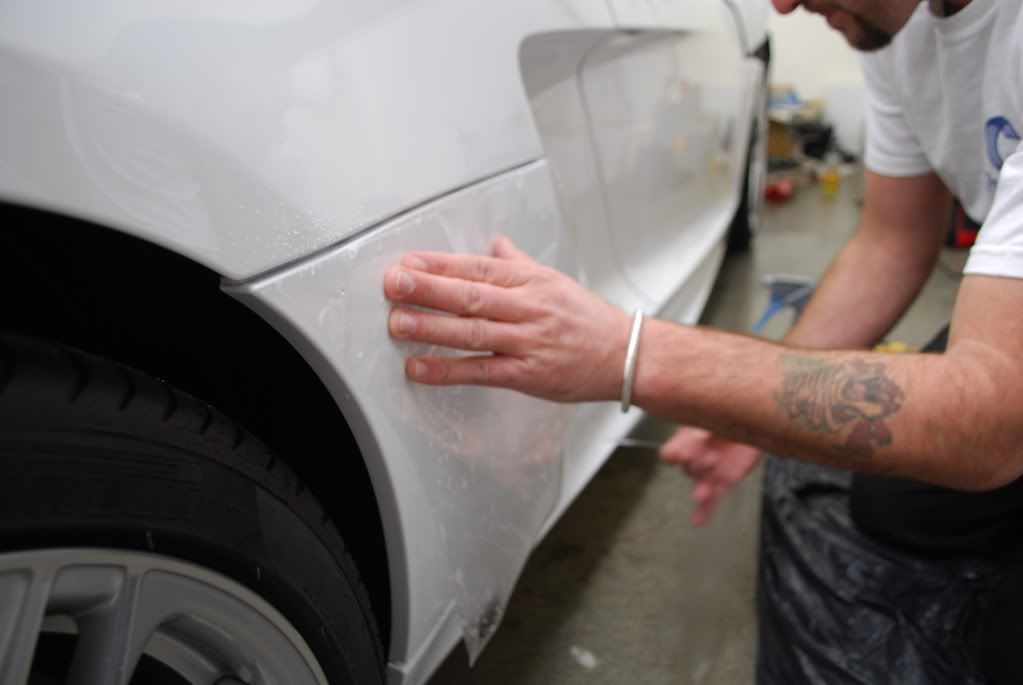
Film is only as good as the installer, happy to say I am very pleased with the work done by John and Nick, films a very tedious process
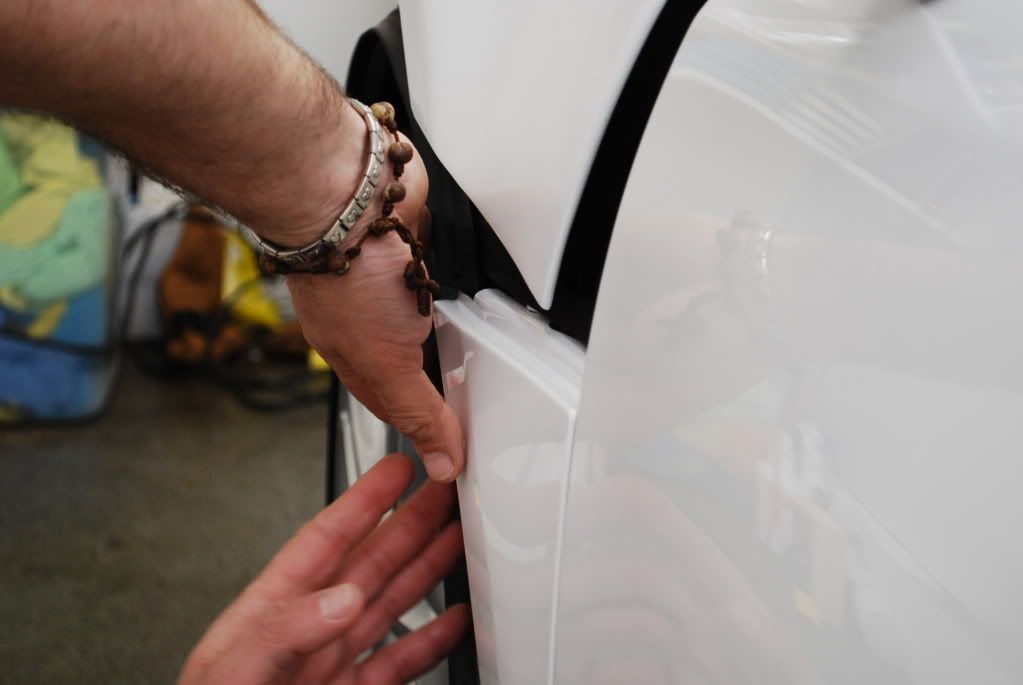
One of the wrapped edges
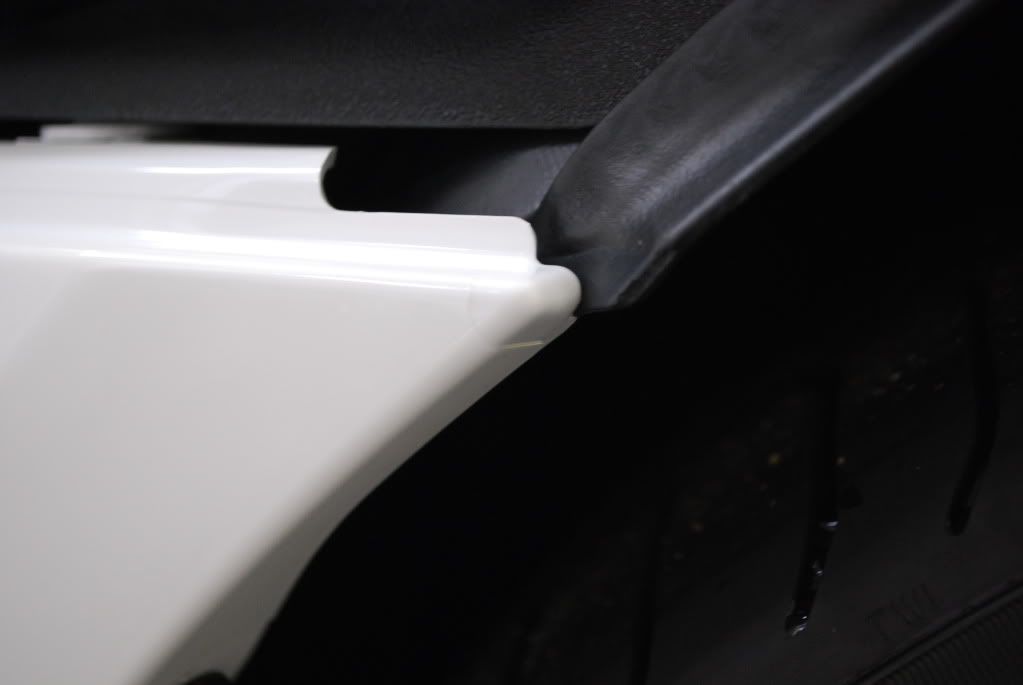
Each front blade done individually
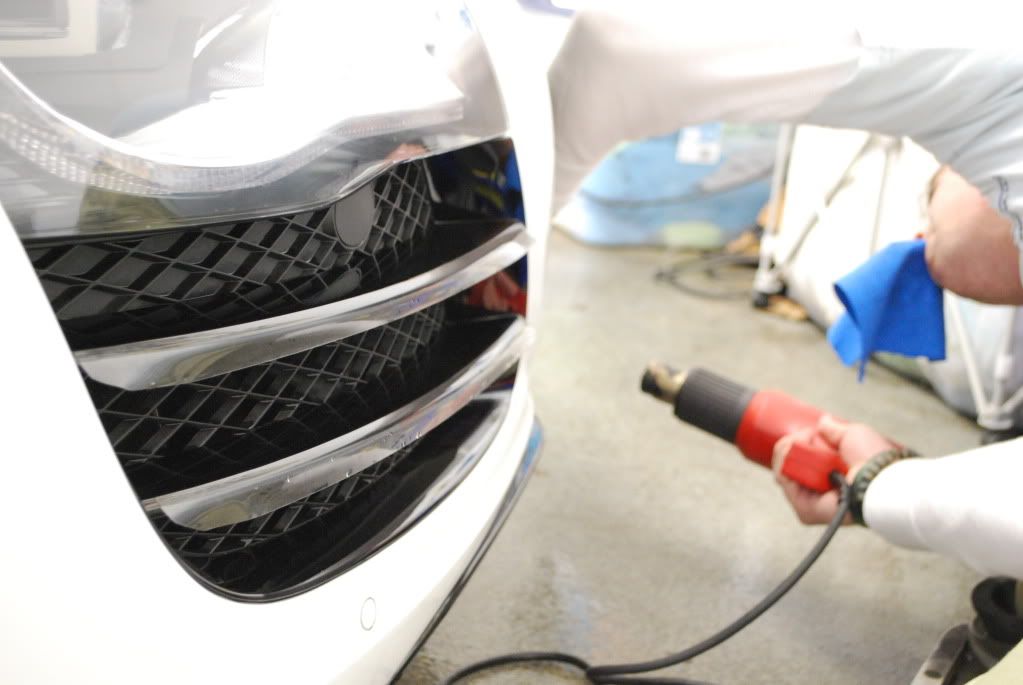
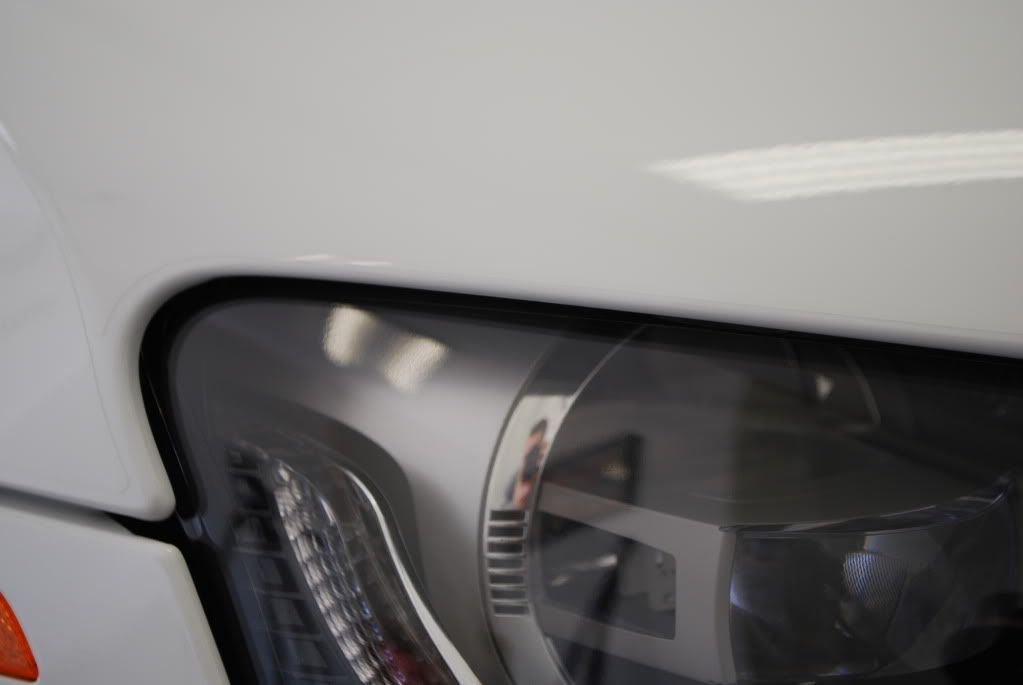
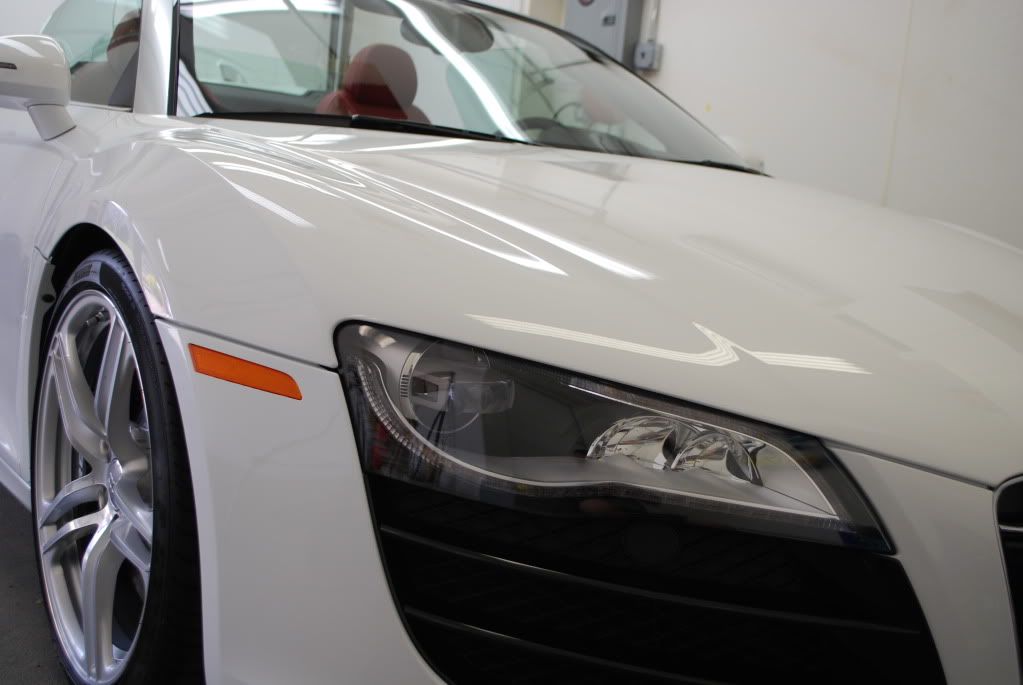
Headlight filmed, clean edges all around
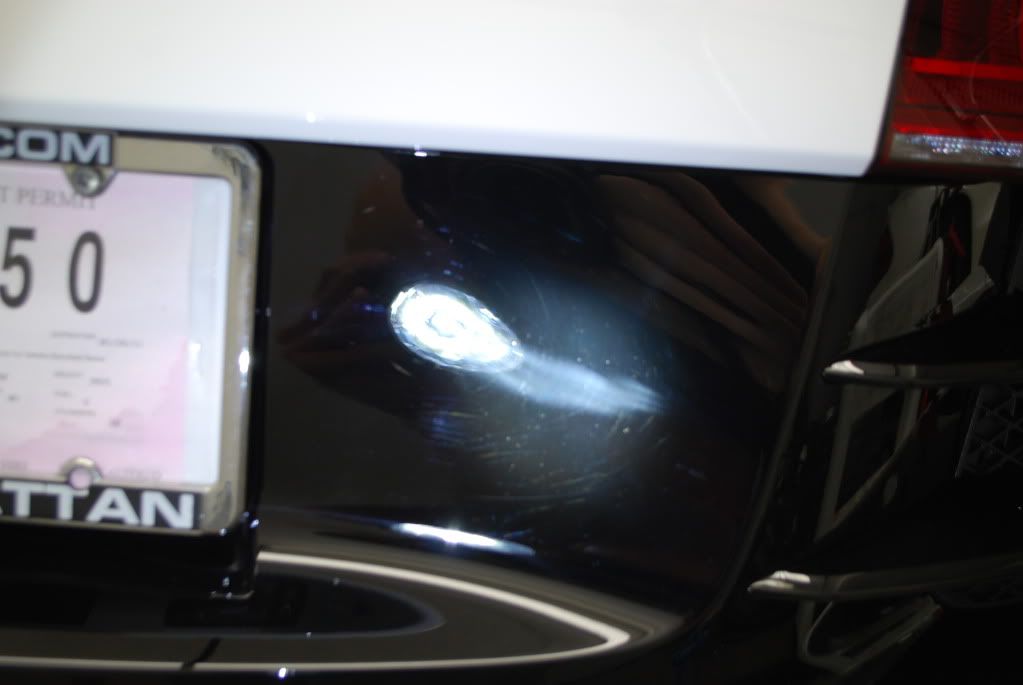
Once they left (well fed of course) I went back to finishing up the correction work. Onto the rear which is my least favorite part of the V10 R8's... more soft plastic!
Before
After a bit of time finessing a marr free finish, under sunlight...
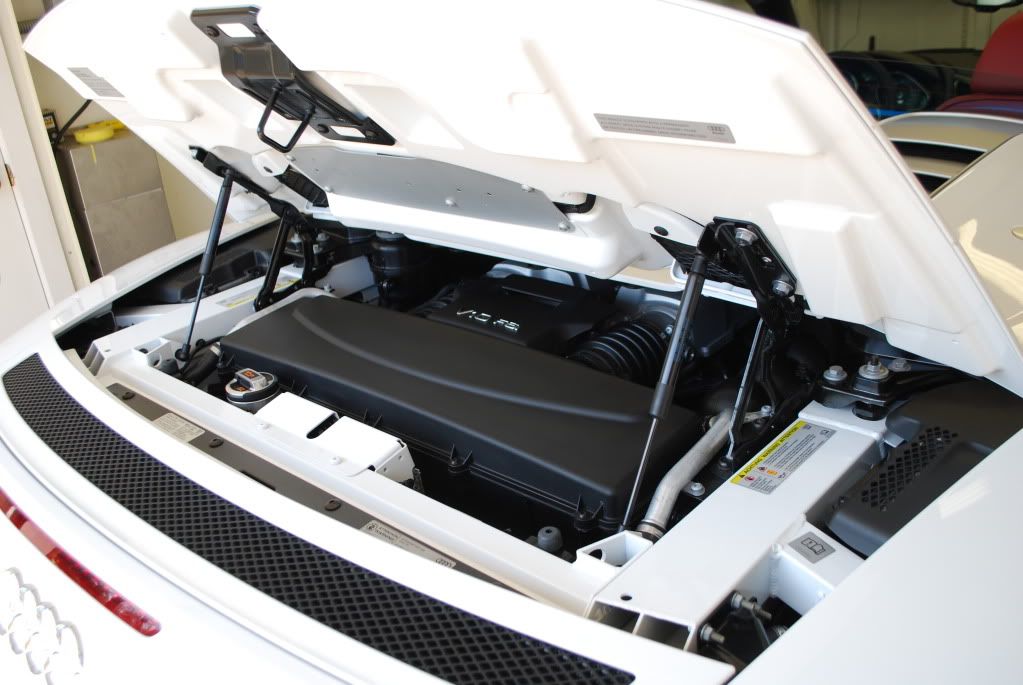
Engine detail before
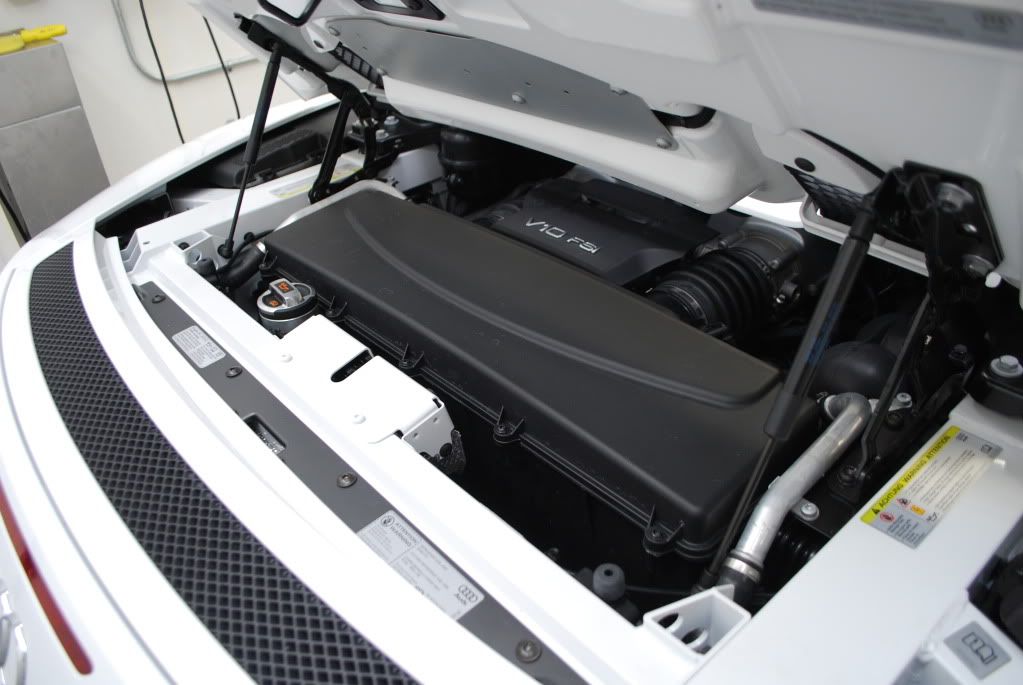
Dressed with 303 left to sit for a bit while I tidied up the other components
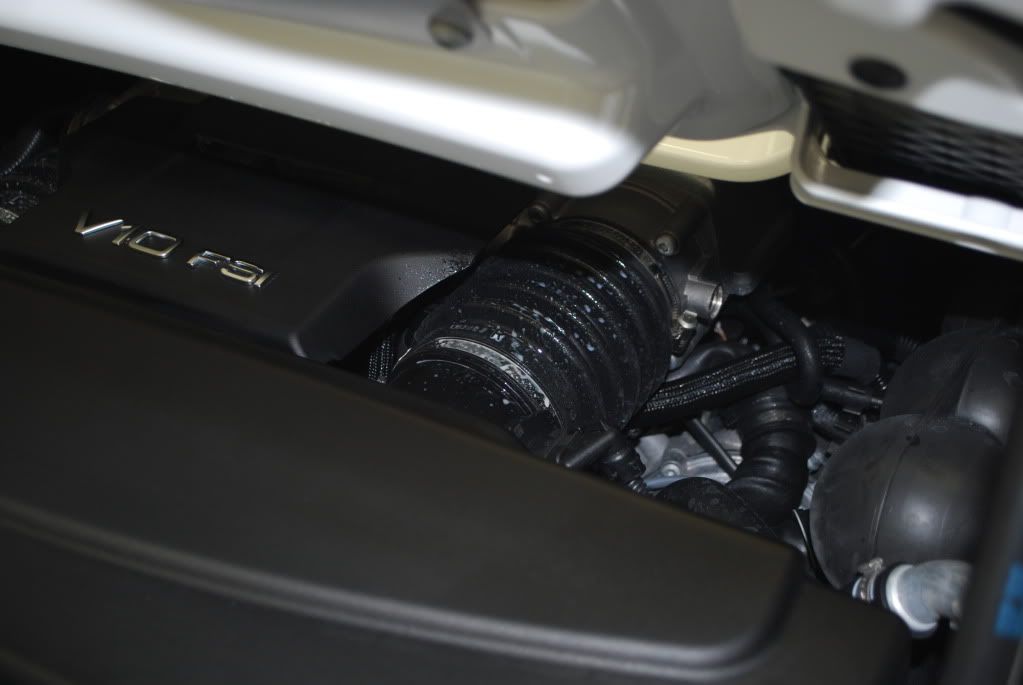
After
LSP:
Werkstat Prime machine applied followed by 2 coats of Acrylic Jet Trigger
Following day: 1 coat Collinite 915 carnauba wax
Convertible tip protected with 303 Fabric guard
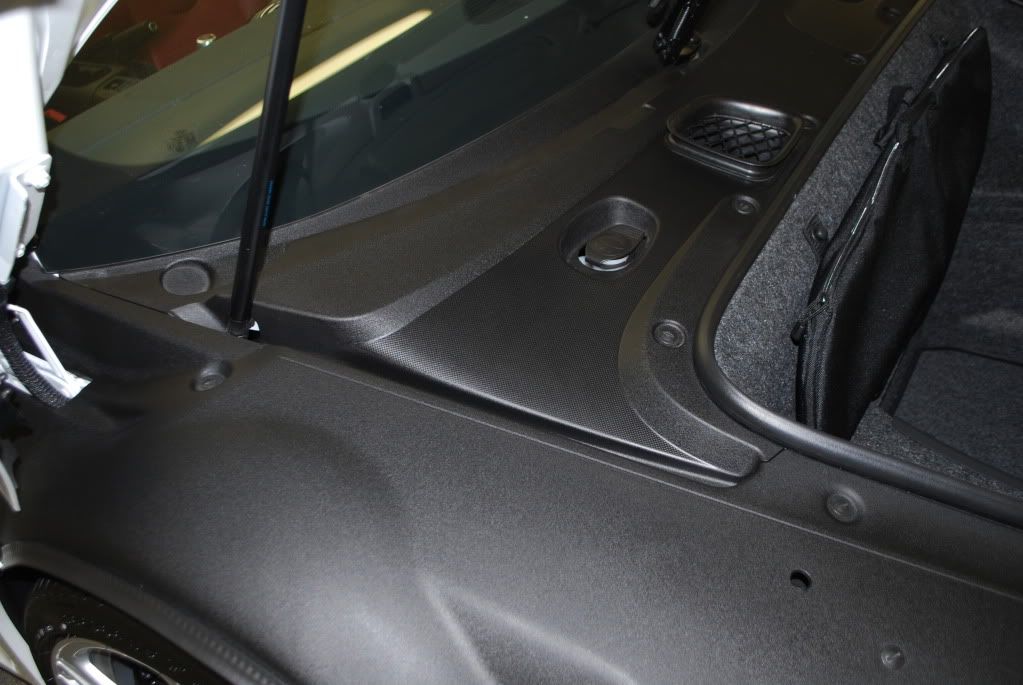
Front trunk area cleaned and dressed matte and streak free, how it ought to be.
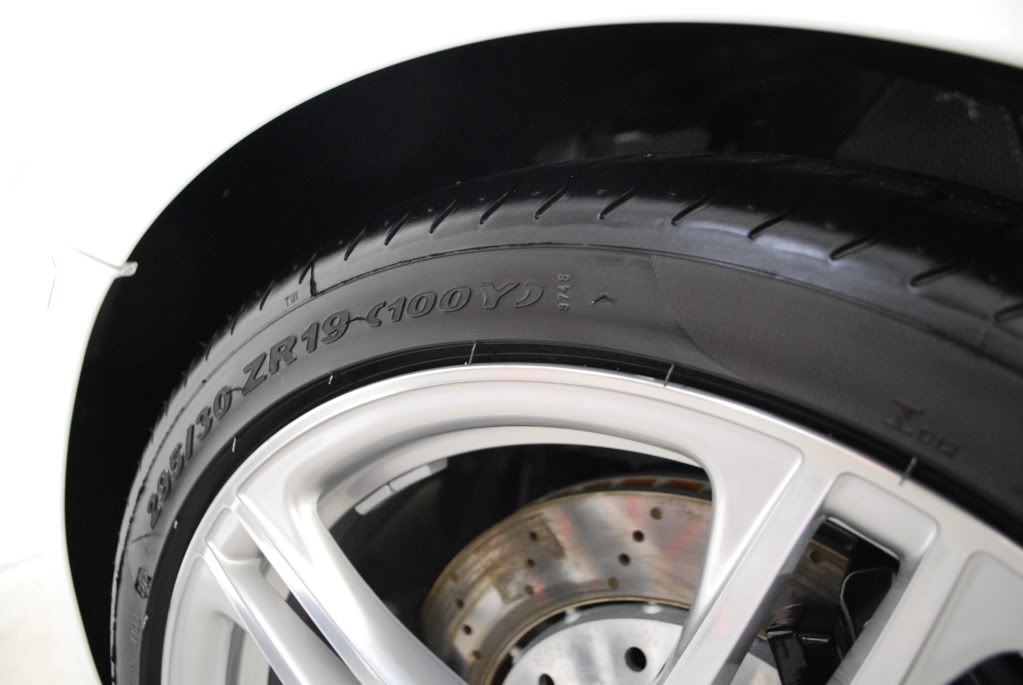
Wheels protected with a few coats of Rejex, tires dressed with Swissvax Pneu, wheel wells dressed.
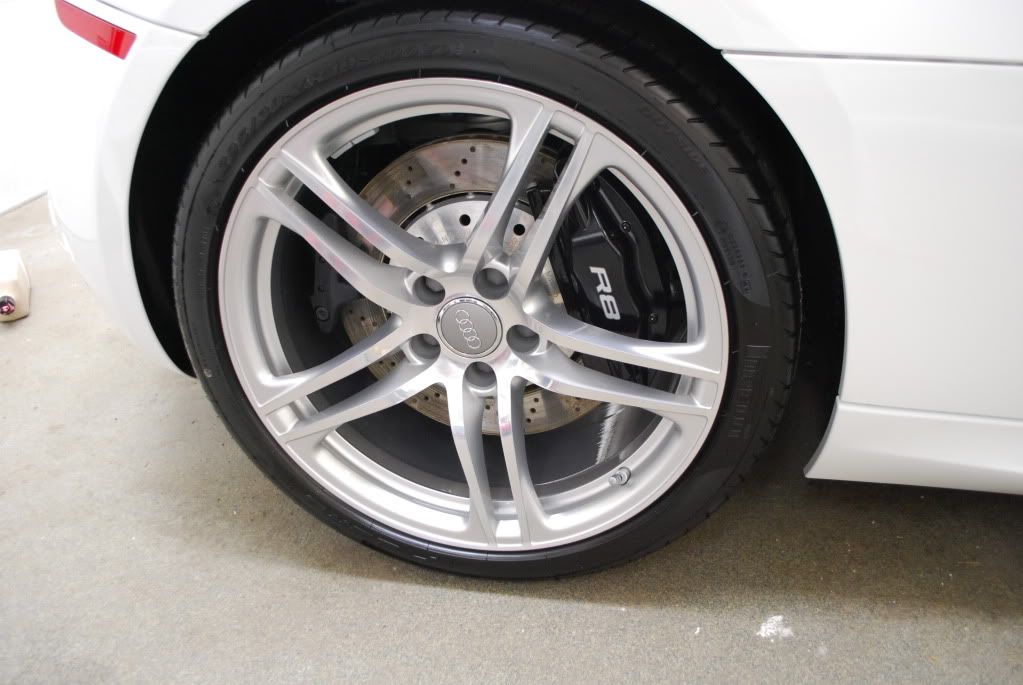
Even coats on the tires, no thank you sling.
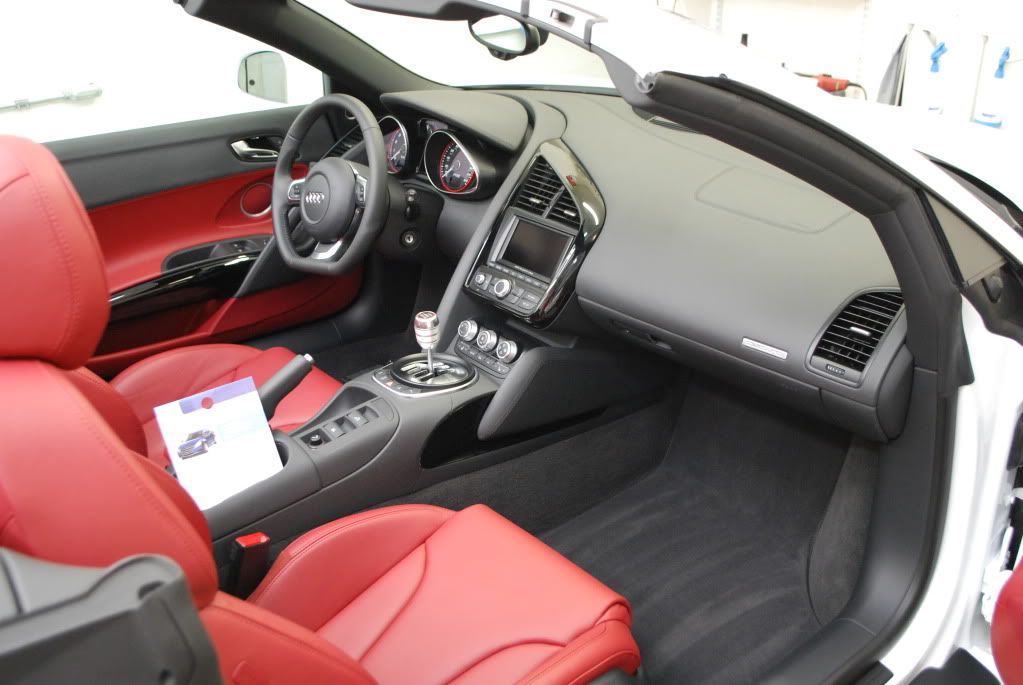
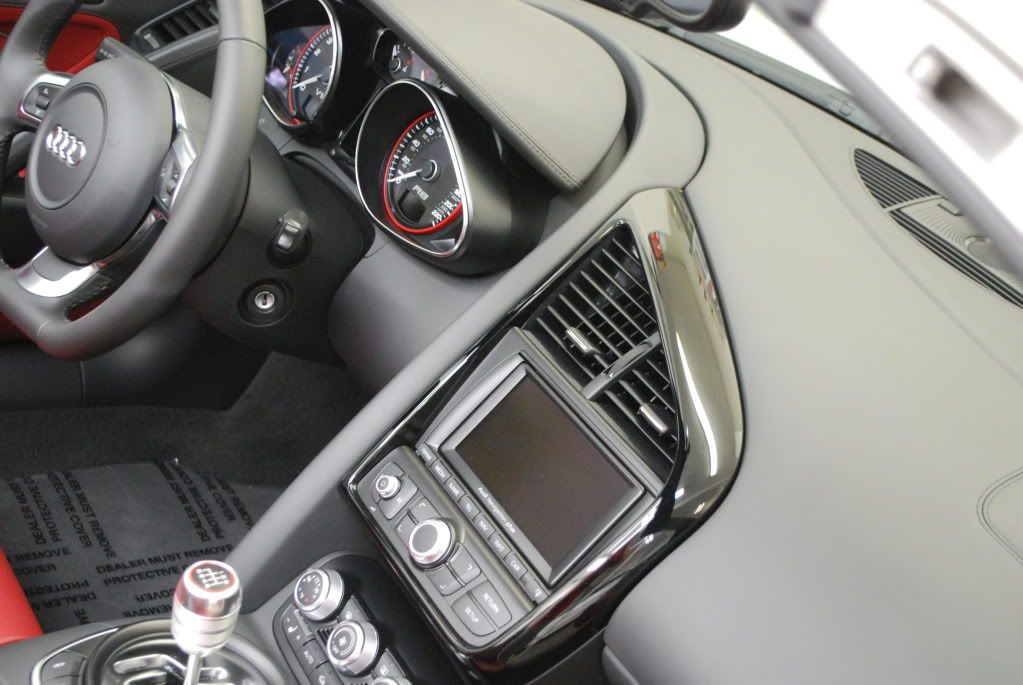
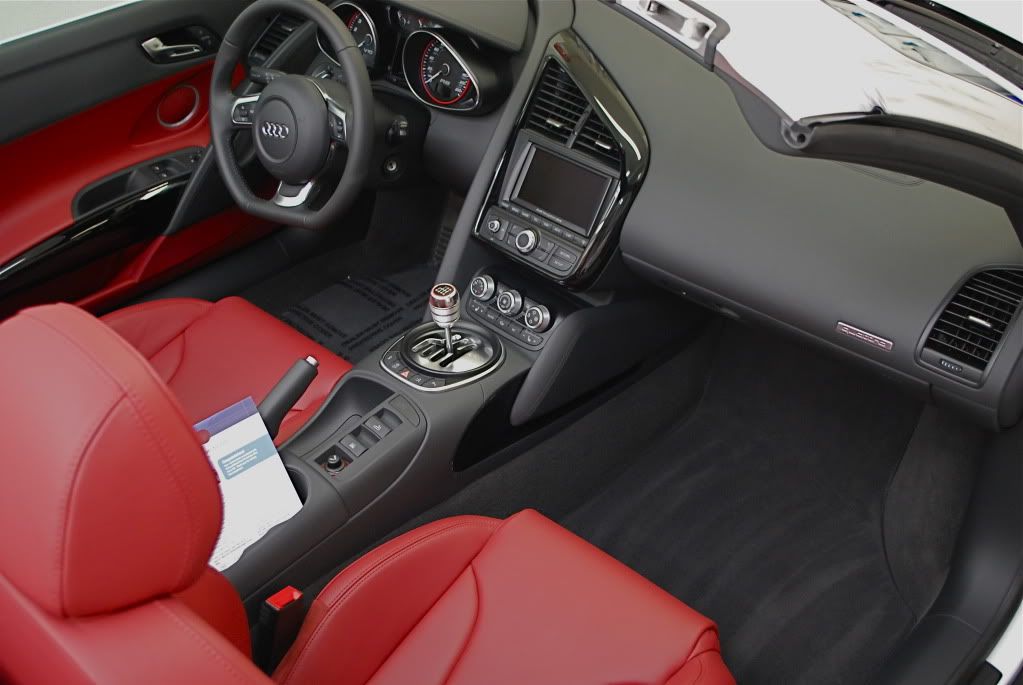
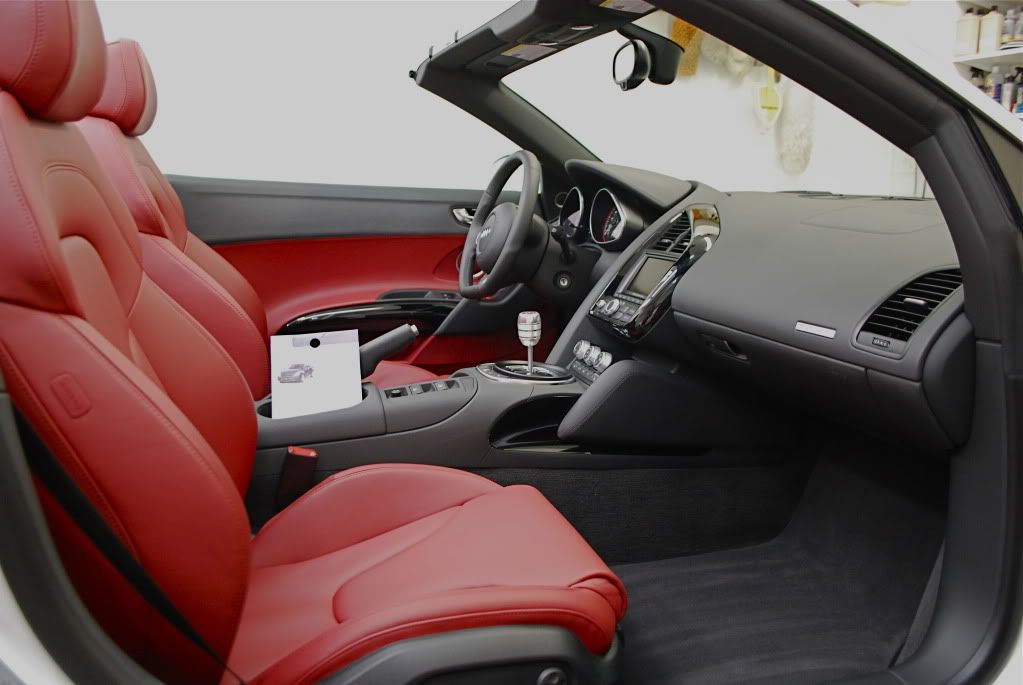
Interior needed just a little bit of work, gave the leather a wipedown and followed by conditioning. All plastics, vents etc cleaned and dusted.
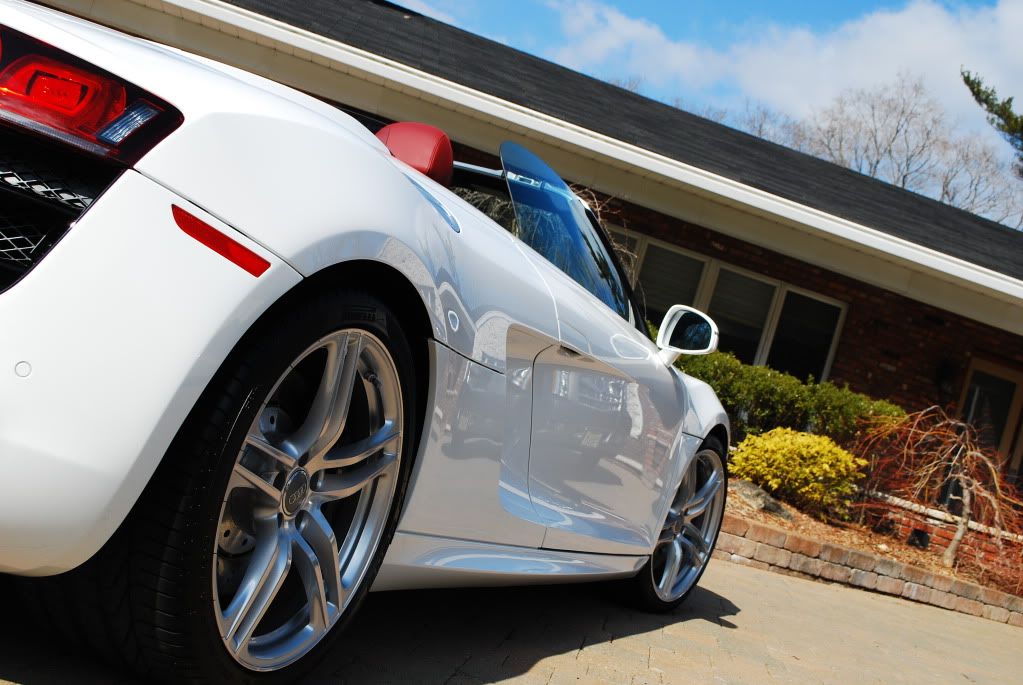
Finished shots

^^ Finished shots in the sun later.
Once again I had John and Nick come in to install Venture film on this car as per the owners request. Just like the last R8 we did this car got the full hood, front bumper, headlights, mirrors, side skirts and full rear bumper.
This is really the best way to have film installed, while its getting detailed. All areas that were to be filmed were washed, clayed and polished just a few hours before they showed up. Also just before they began each section I wiped it down with an 70/30 IPA mix to ensure the finish was 100% clean and dust free.
After the install I did all the necessary wipedowns on the filmed areas to ensure no marring and then I proceeded to gently polish the film. Later I added my LSP of choice... no it wasnt Plexus :applause2:
John placing the film on the hood
Nick wrapping the side mirrors
Film is only as good as the installer, happy to say I am very pleased with the work done by John and Nick, films a very tedious process
One of the wrapped edges
Each front blade done individually
Headlight filmed, clean edges all around
Once they left (well fed of course) I went back to finishing up the correction work. Onto the rear which is my least favorite part of the V10 R8's... more soft plastic!
Before
After a bit of time finessing a marr free finish, under sunlight...
Engine detail before
Dressed with 303 left to sit for a bit while I tidied up the other components
After
LSP:
Werkstat Prime machine applied followed by 2 coats of Acrylic Jet Trigger
Following day: 1 coat Collinite 915 carnauba wax
Convertible tip protected with 303 Fabric guard
Front trunk area cleaned and dressed matte and streak free, how it ought to be.
Wheels protected with a few coats of Rejex, tires dressed with Swissvax Pneu, wheel wells dressed.
Even coats on the tires, no thank you sling.
Interior needed just a little bit of work, gave the leather a wipedown and followed by conditioning. All plastics, vents etc cleaned and dusted.
Finished shots
Apr 2, 2011 | 12:01 PM
#3
Thread Starter
| Teamspeed Senior Member
Joined: May 2008
Posts: 526
From: New Jersey
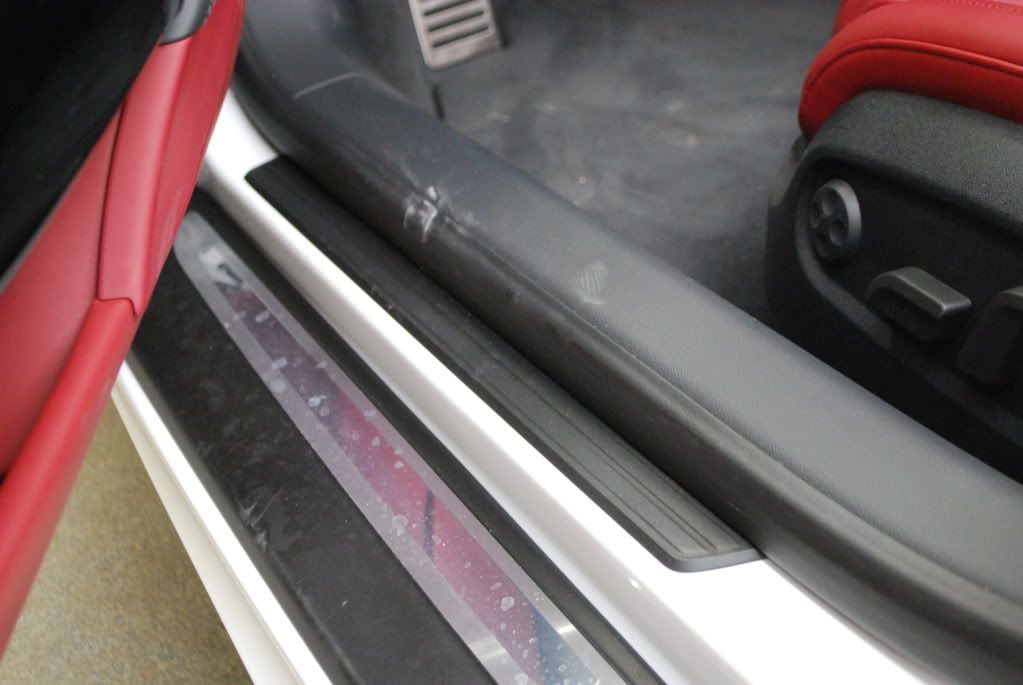
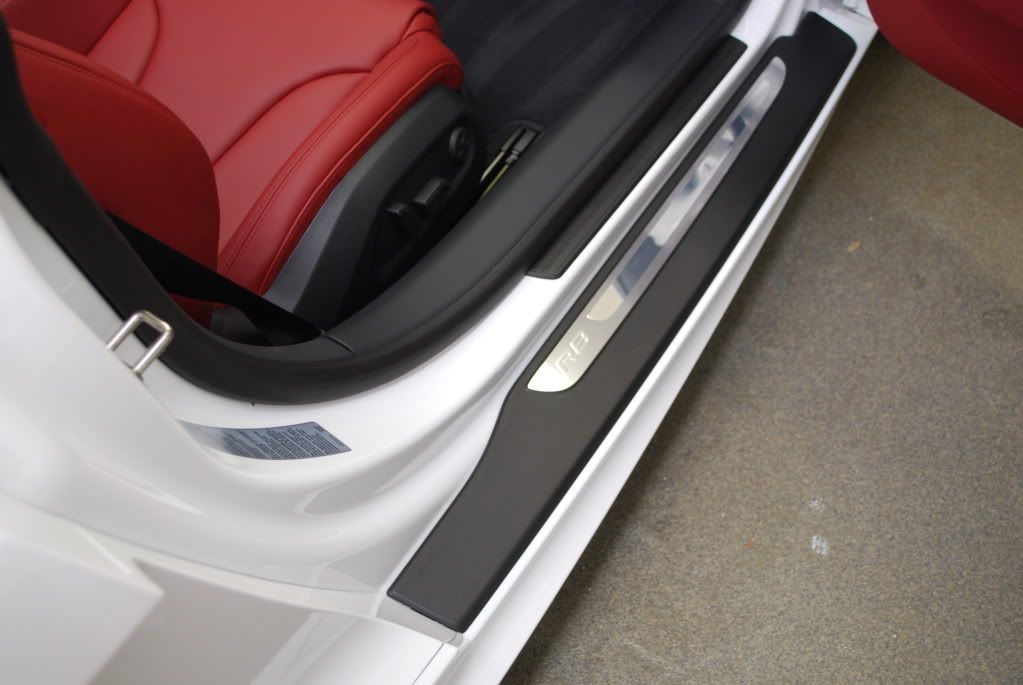
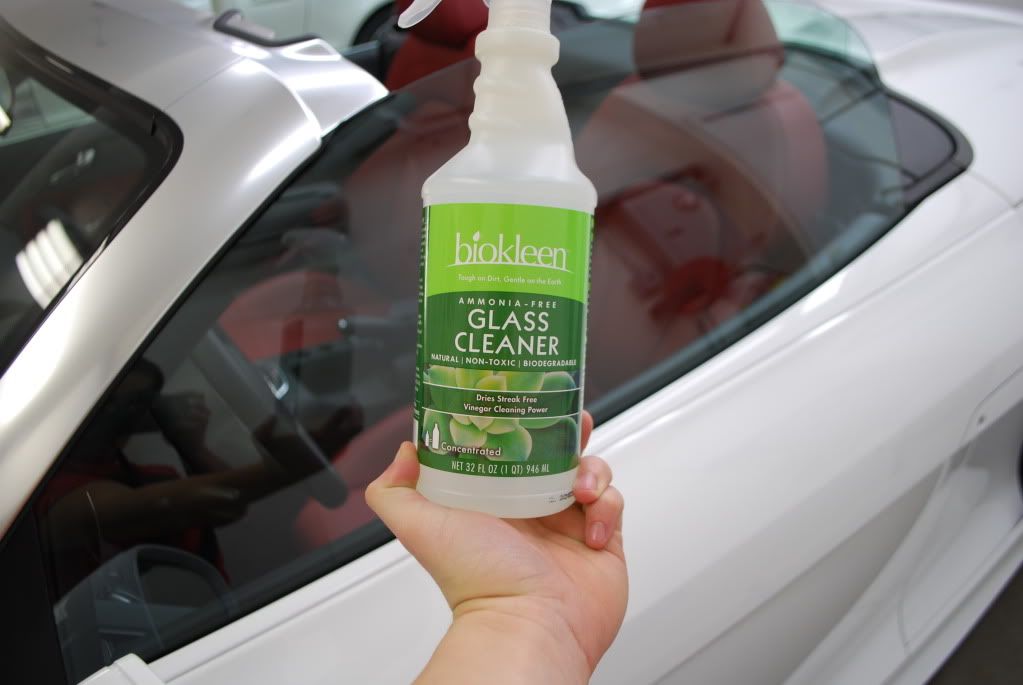
Doorjambs sealed with Jetseal 109
Trying out a new class cleaner from BioKleen... Hey Im Eco-Frinedly:graduation:
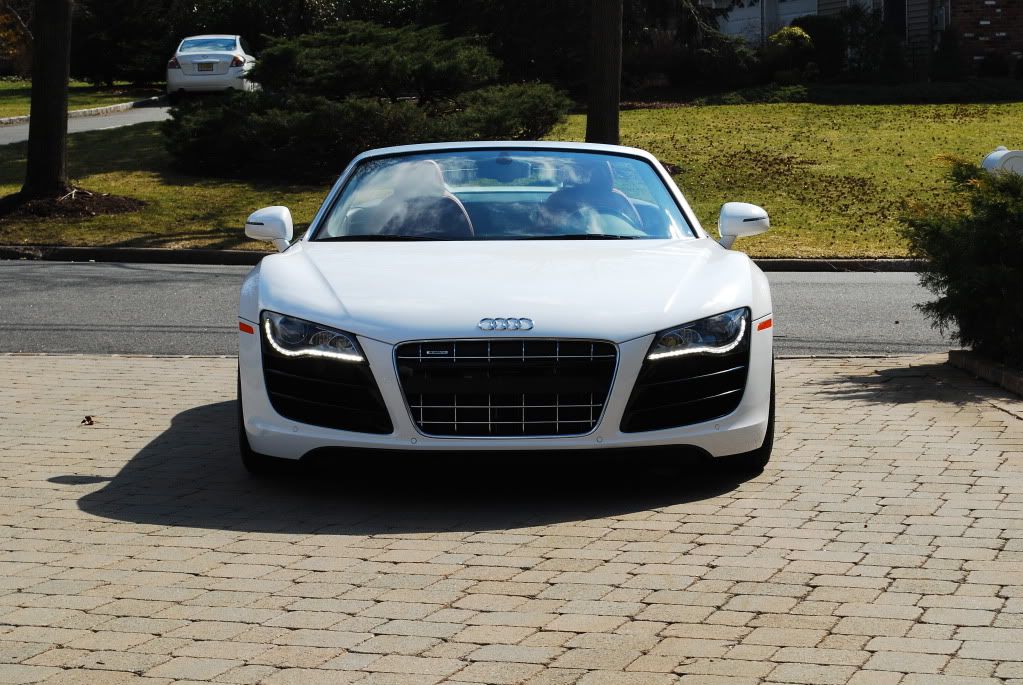
And now the final shots, finally the sun has shined down on New Jersey... well for that day at least, it snowed this moring :shead:
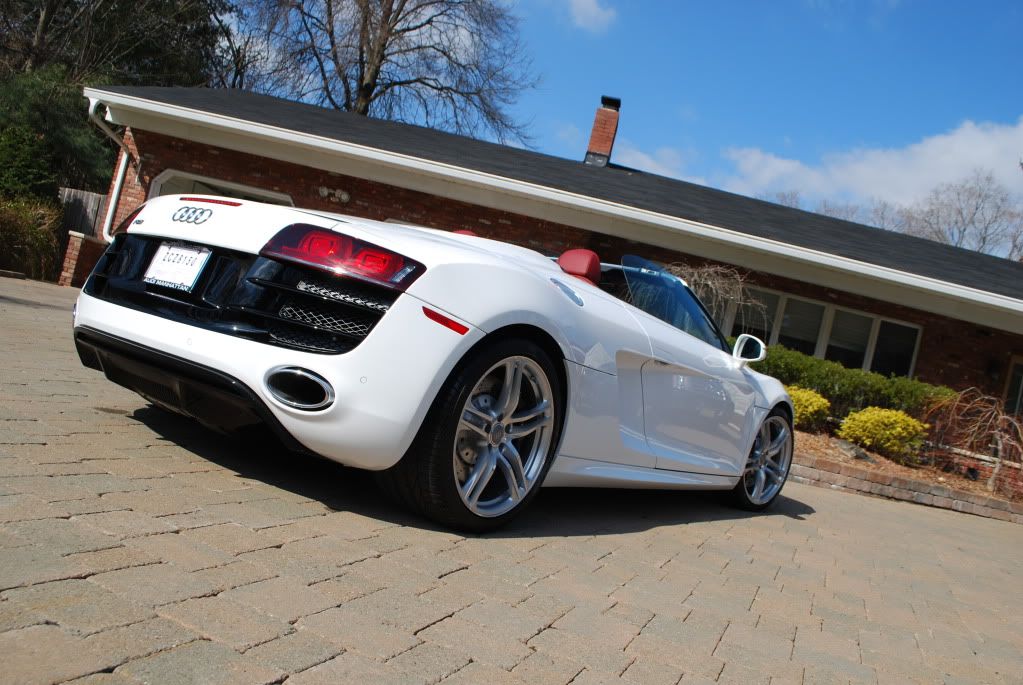
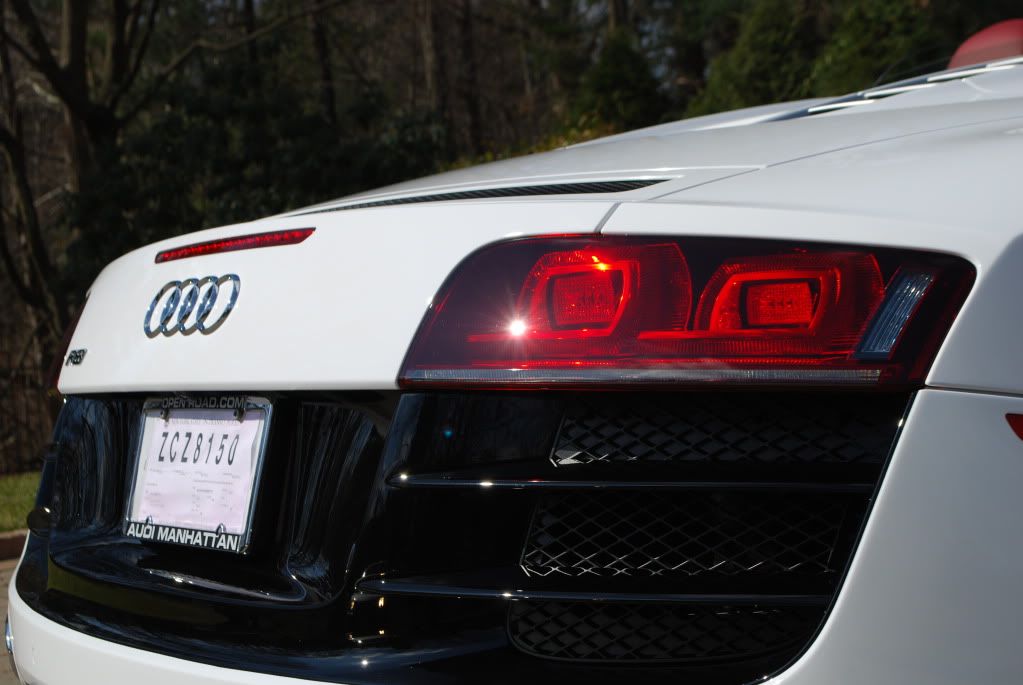
Tailights back to 100%
B4L always...
Thanks for reading, hope you enjoyed.
Regards,
Dave
Trying out a new class cleaner from BioKleen... Hey Im Eco-Frinedly:graduation:
And now the final shots, finally the sun has shined down on New Jersey... well for that day at least, it snowed this moring :shead:
Tailights back to 100%
B4L always...
Thanks for reading, hope you enjoyed.
Regards,
Dave


Thread
Thread Starter
Forum
Replies
Last Post
BlakeNW
Detailing & Paint Protection
1
Jun 15, 2011 02:10 PM
Phil Y
Northeast (US)
3
Nov 10, 2009 06:31 PM
Phil Y
Detailing & Paint Protection
10
Sep 2, 2009 08:22 AM
Bookmarks


Currently Active Users Viewing This Thread: 1 (0 members and 1 guests)