Audi R8 V10 Complete Detail and Film Install
#1
 02-28-2011, 11:25 AM


Audi R8 V10 Complete Detail and Film Install
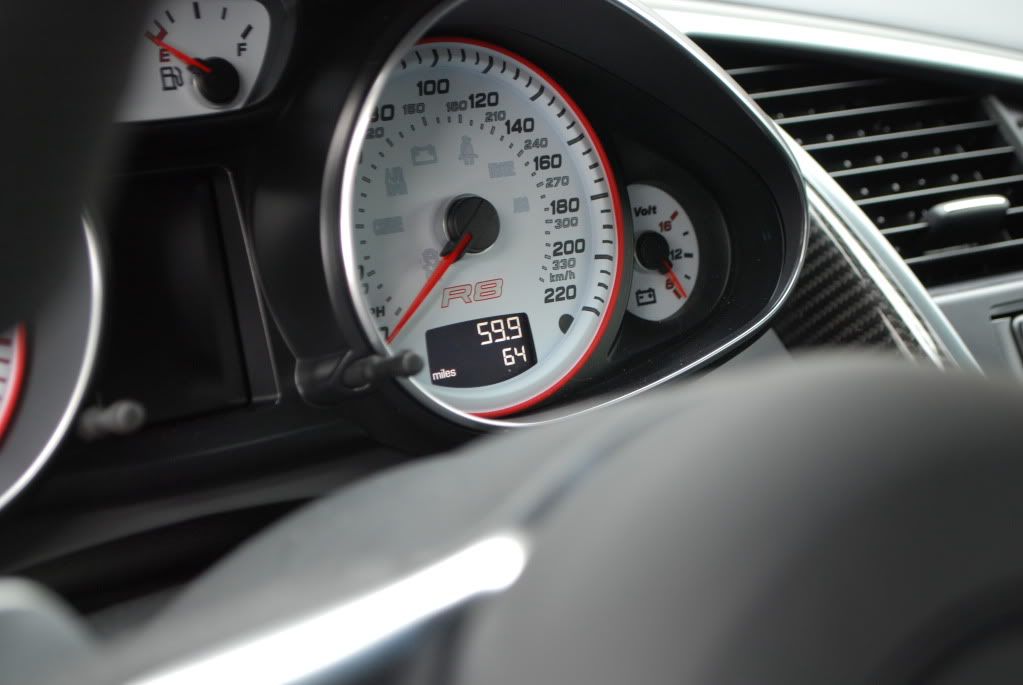
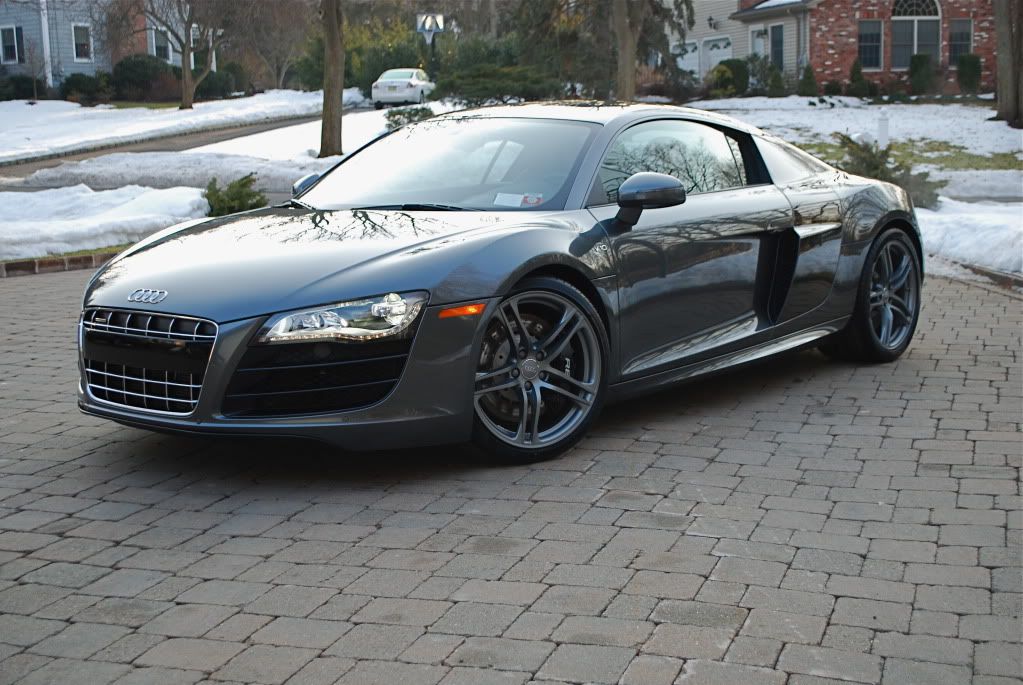
Brand new R8 V10 in for a New Car Preparation and Clear Film install.
This car is about as new as you can get, it was brought to me the day after delivery, some plastic wrapping still on. If only all owners had the restraint to let their new sports coupe get a proper detail and clear film install done before really taking it out for a spin!
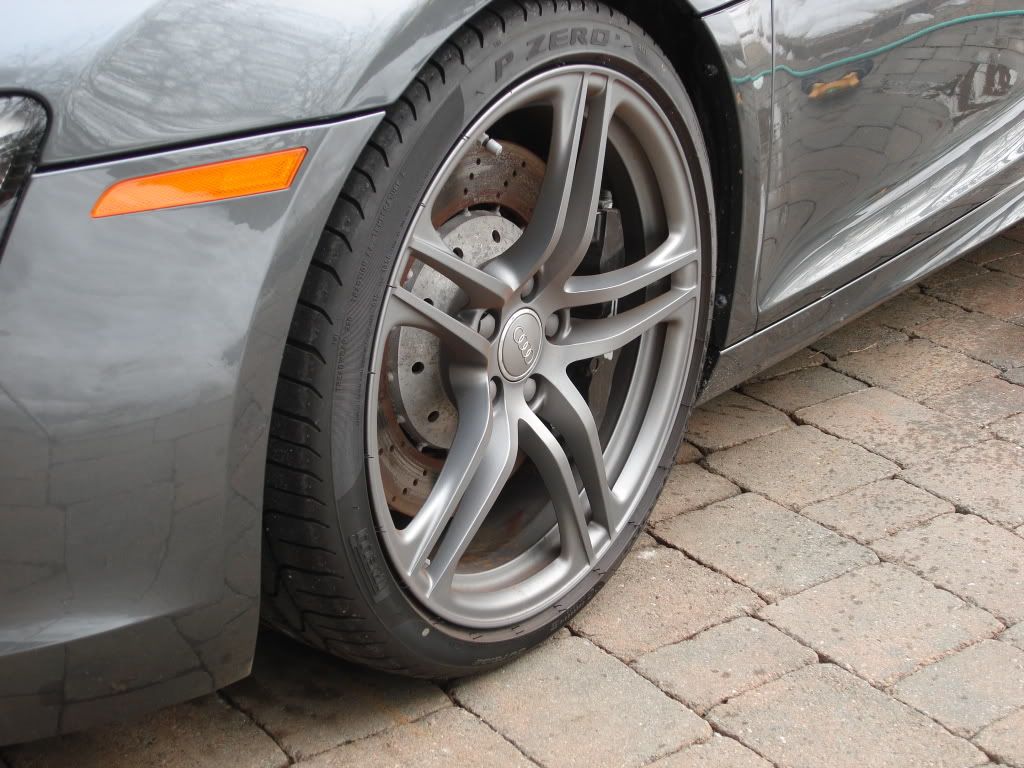
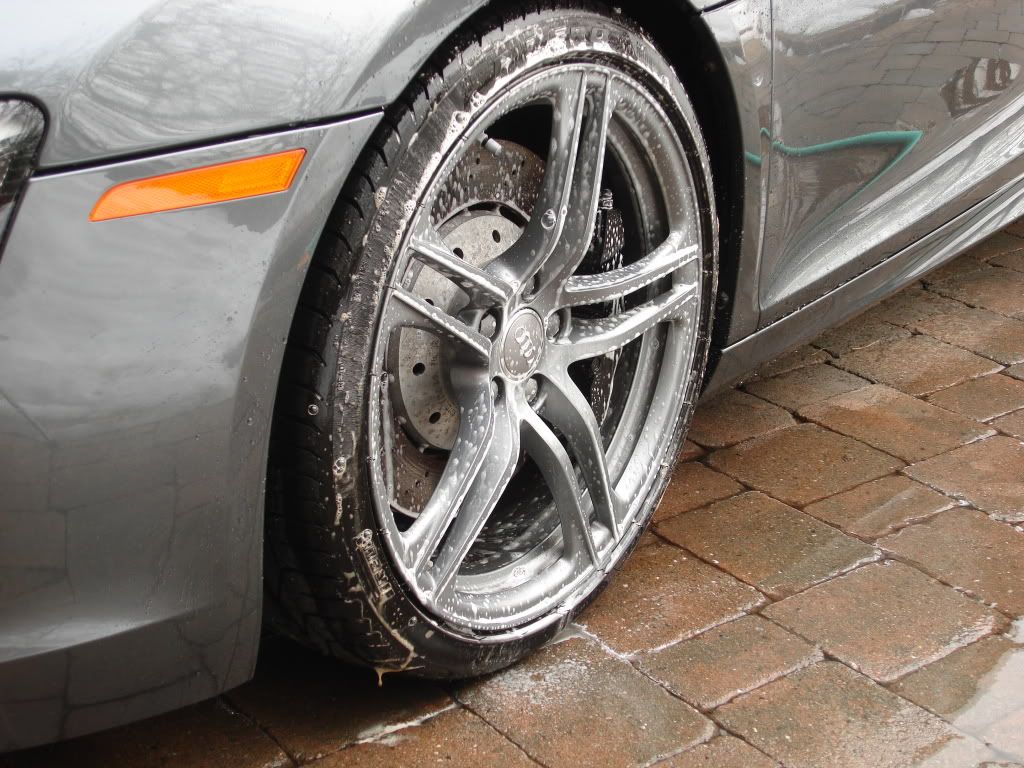
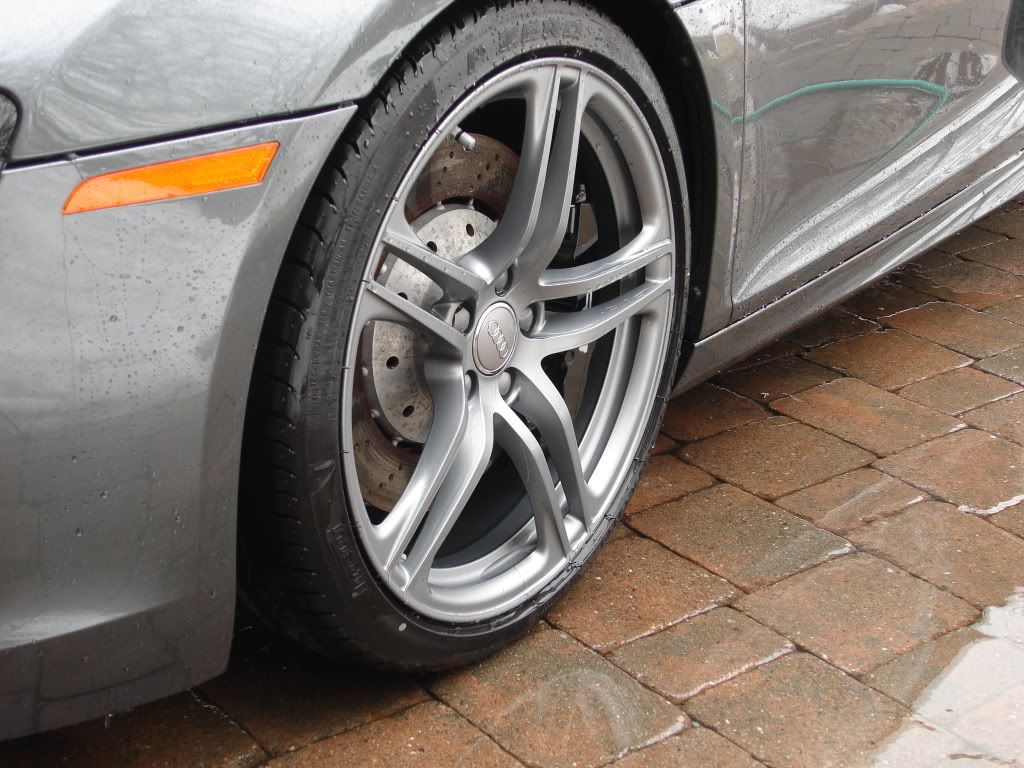
Started with the wheels and tires. AutoGlym CWC was used on the wheels, Optimum powerclean 3:1 on the tires and wheel wells. Wheel scrubbed using various brushes.
Before
During
After
Although brand new the car was fairly dirty from the ride to my place in New Jersey from New York.
Some goodies left on the car from delivery, the owner left explicit instructions to NOT have the dealer remove any more than the necessary plastic protection from transport...
After the wheels I pressure washed the body and then sprayed the car down using Optimum Powerclean at 6:1 (more gentle ratio) to help loosen up some grime before foaming and washing.
Sometimes foaming dirty car doesn't loosen up grime as well as a pre-soak which IMO can cling to the body better and emulsify dirt really well... follow up with foam for good measure.
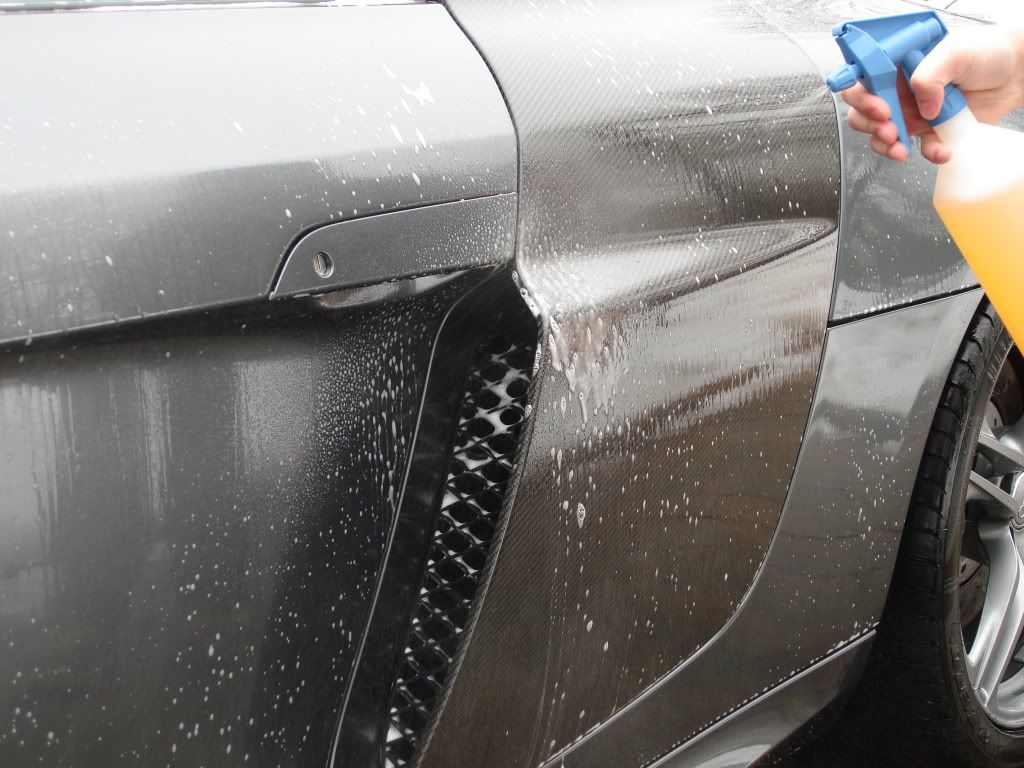
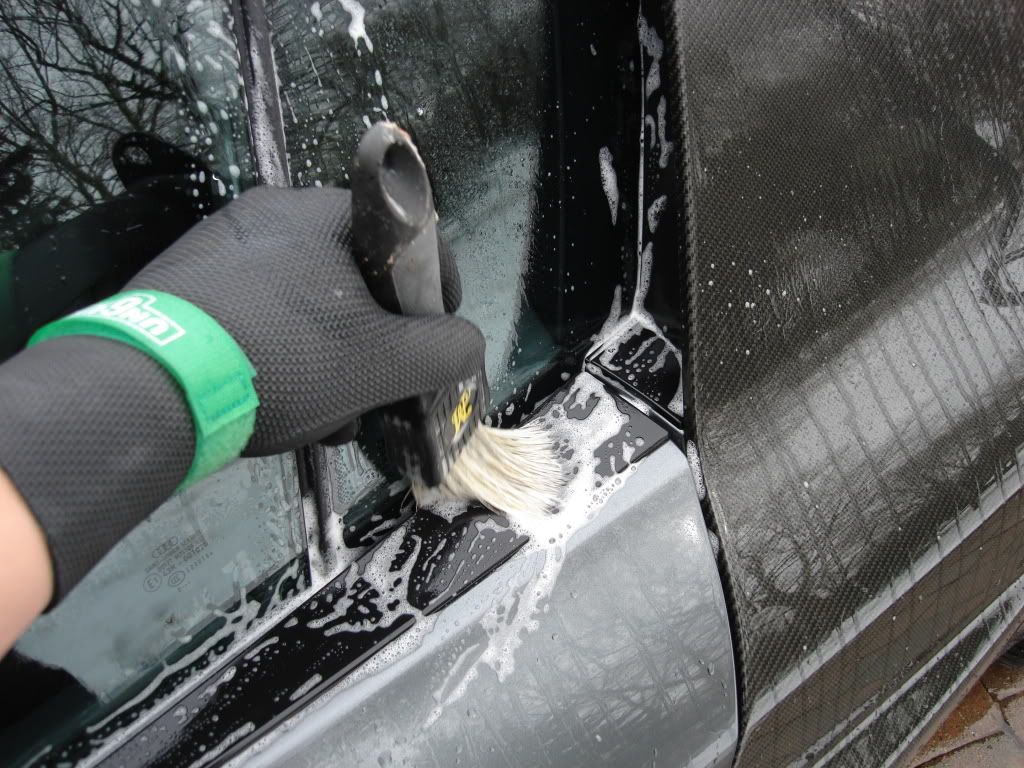
Pre-cleaned all badges, cracks and crevices
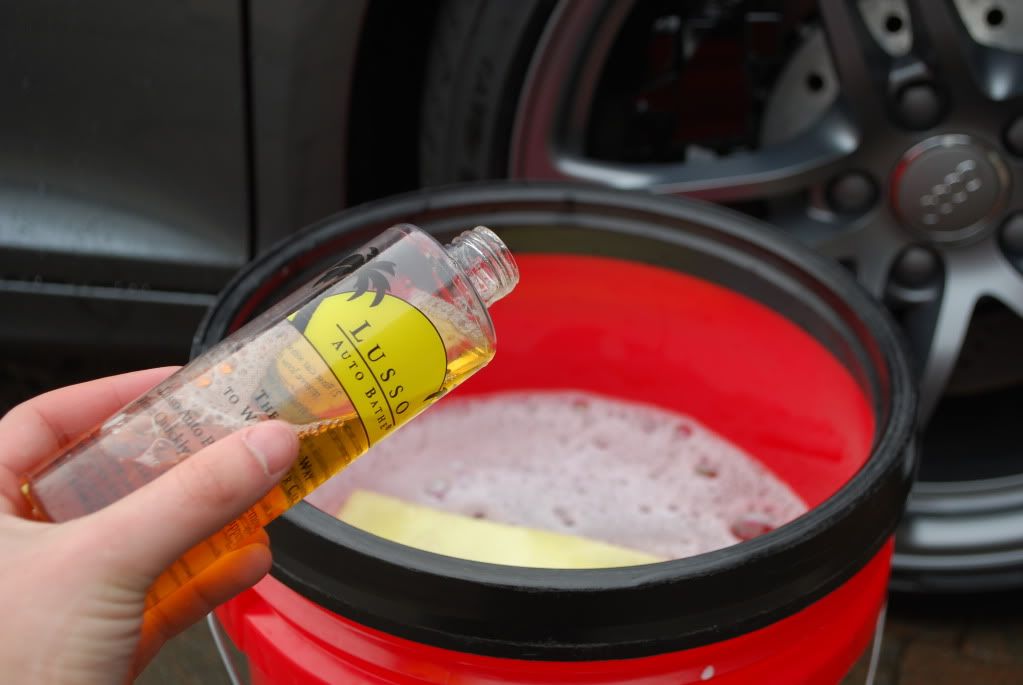
After rinsing and a quick 5 minute pre-foam I washed the R8 using my favorite shampoo... normally I would go with a Chemical Guys Citrus wash to remove old wax or sealant but the car came to me pretty much bare, nothing old to strip of so Lusso was the obvious choice, plus it smells incredible!
After the wash I pulled the car inside with the heat on and begun the rest of the prep process.
First I clayed, very few contaminants if any were removed, car was generally clean.
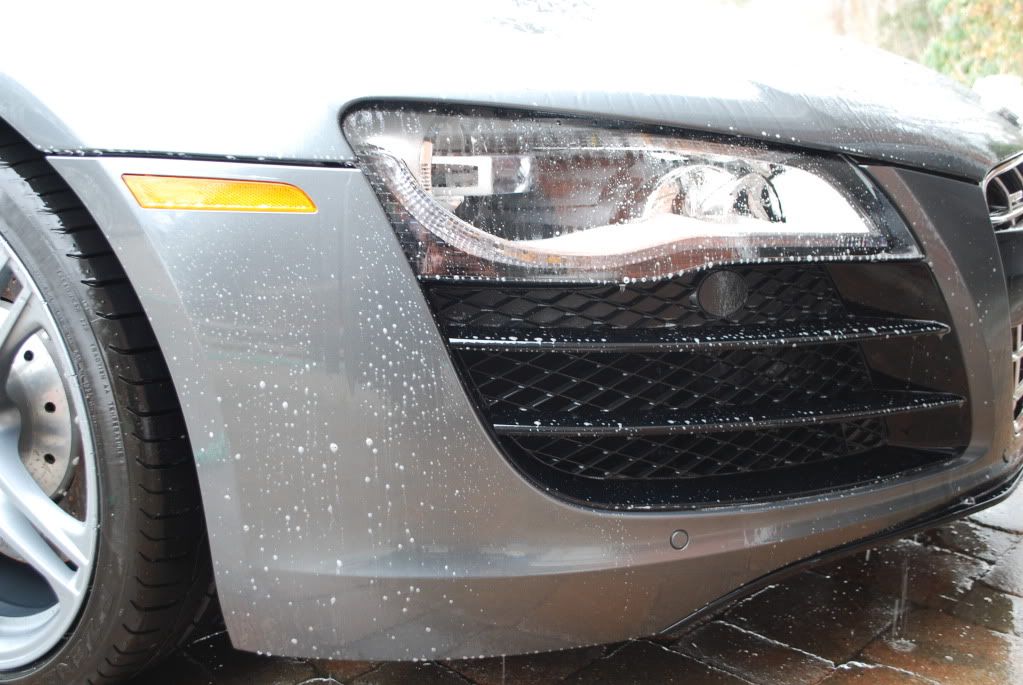
Headlights clayed also, clear film is going to be applied here so it needed to be prepped accordingly.
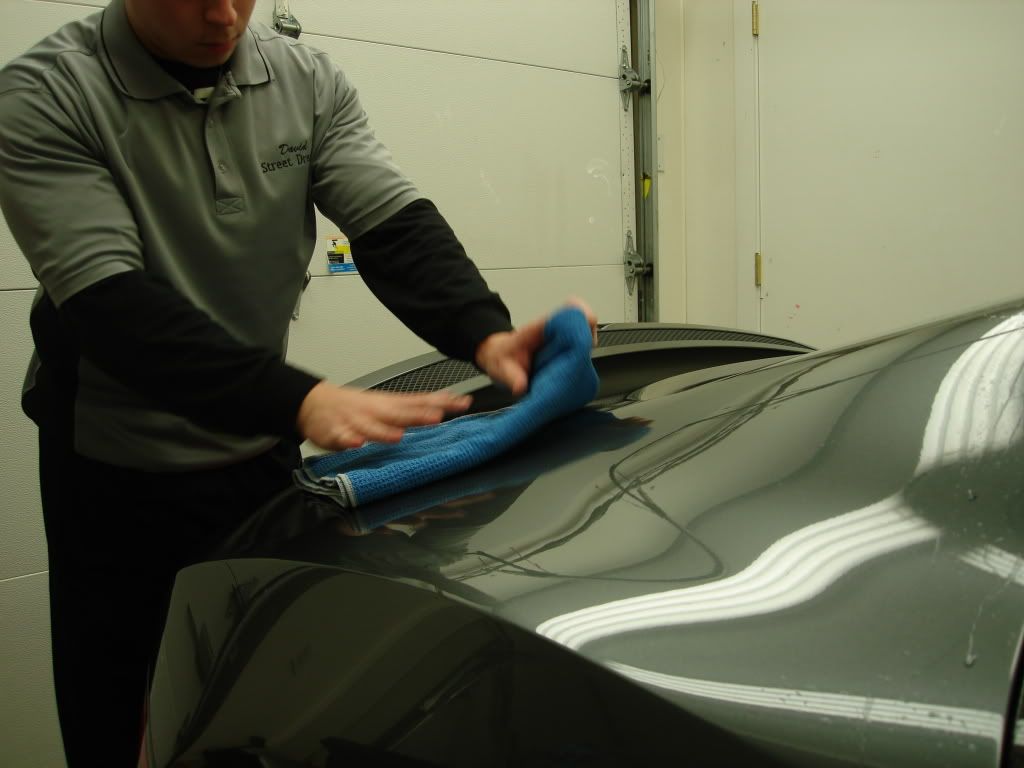
After claying I patted the car dry with a waffle weave drying towel and then gave it a few IPA wipedowns to remove any streaking and prep for polishing.
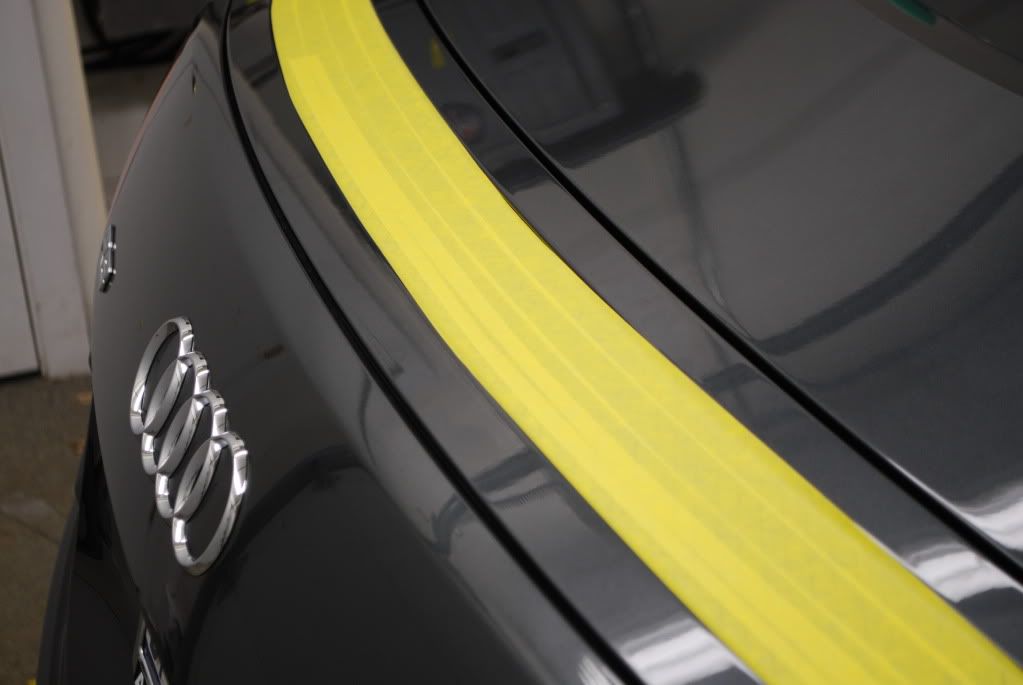
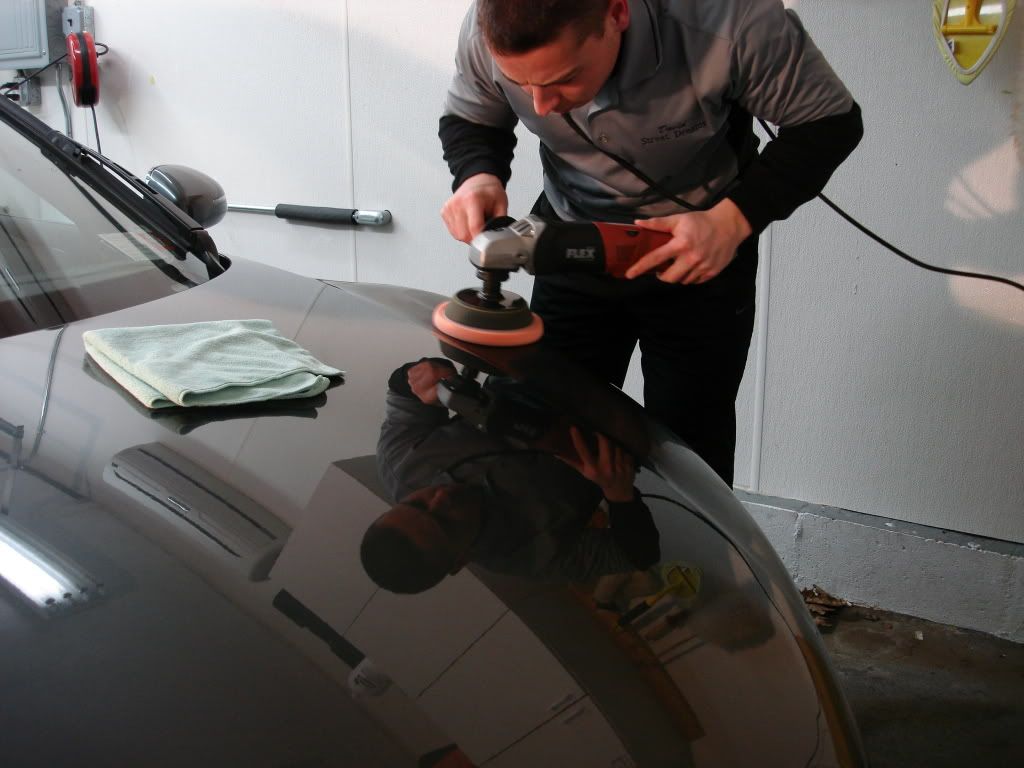
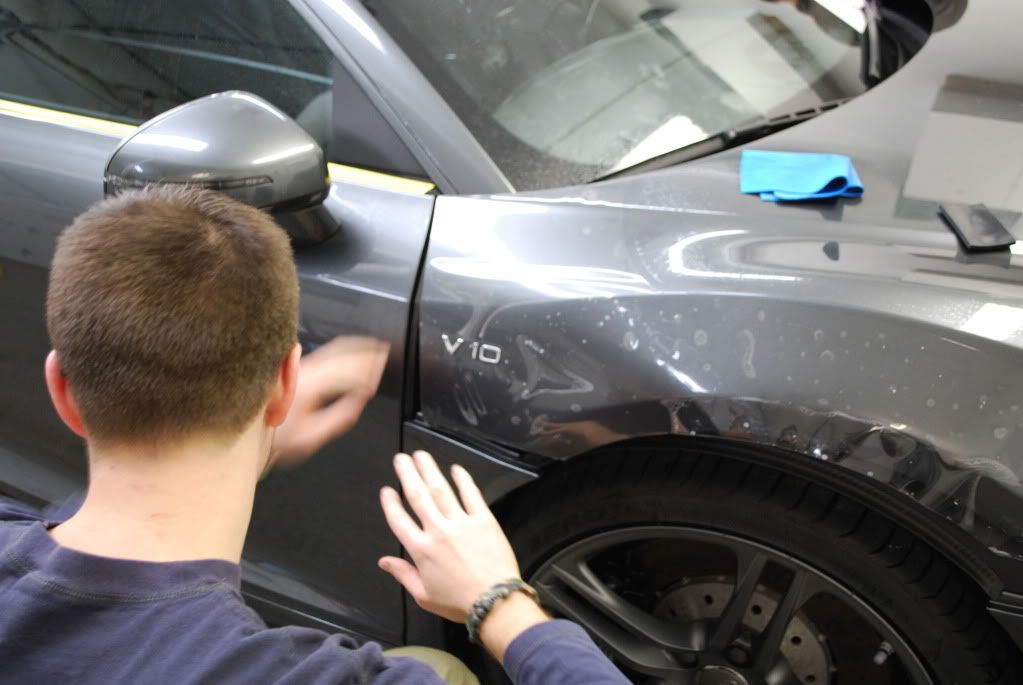
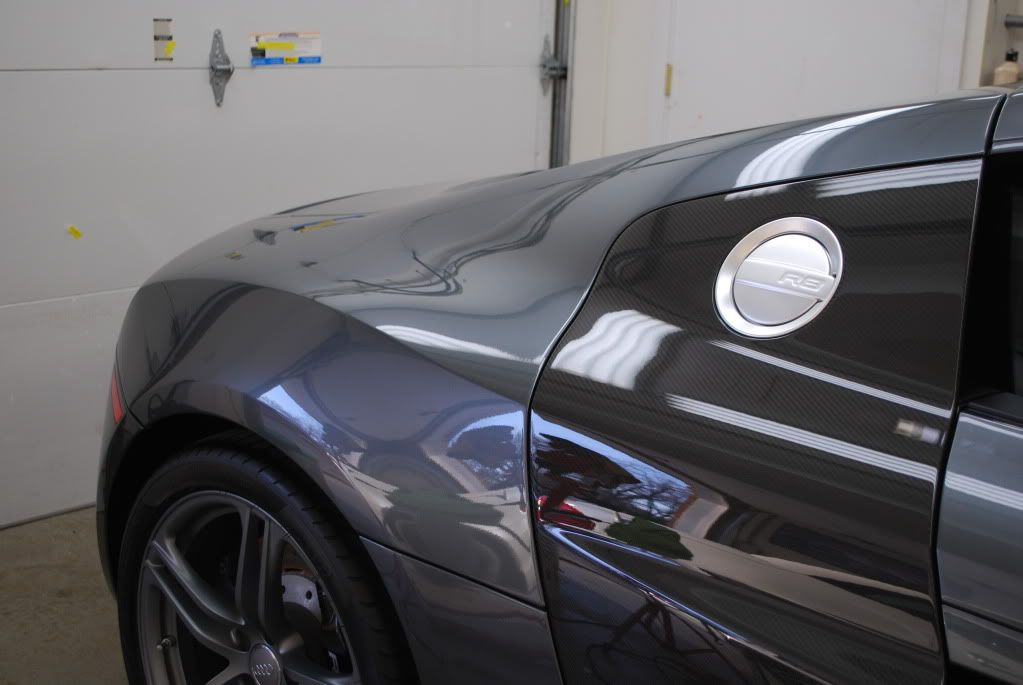
Next was taping, your pretty much looking at it :doh: Not much to tape on an R8. Paint readings were taken on every measurable panel, nothing abnormal, healthy levels of paint front to back.
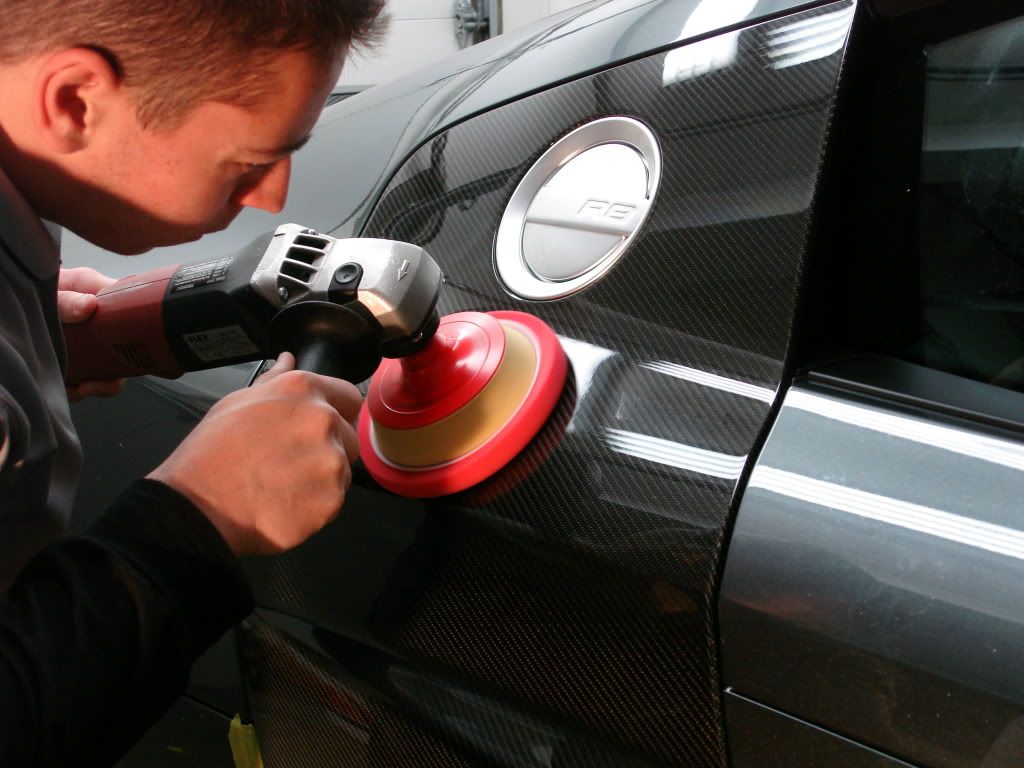
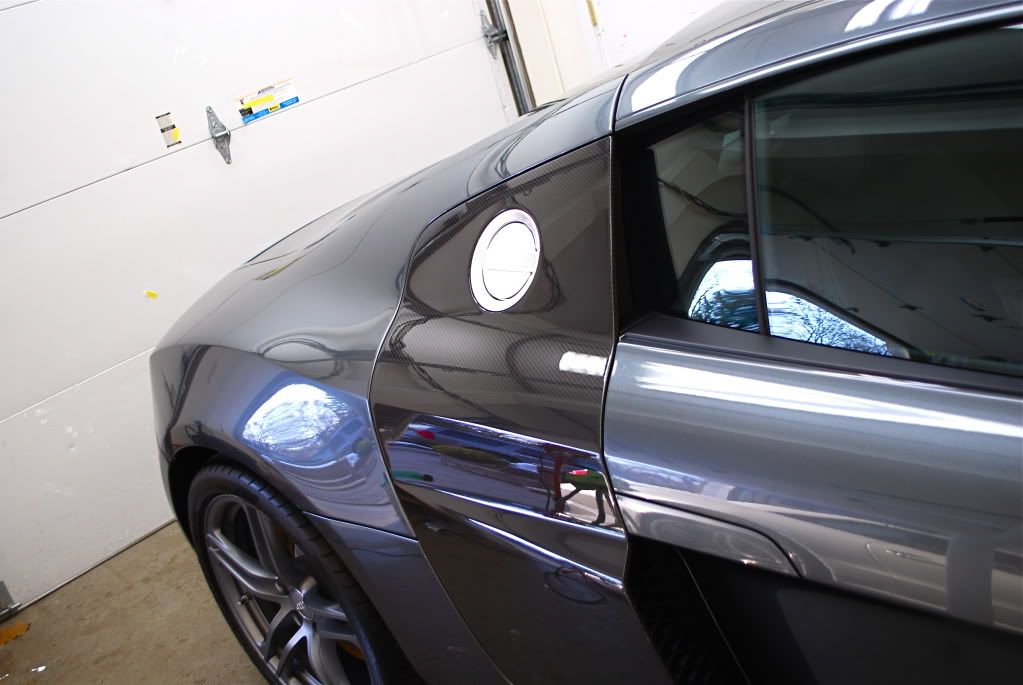
Onto machine polishing, despite being brand new the R8 did need a bit of polishing work, some areas had light defects, others (like the carbon fiber) had more serious defects and most importantly I needed to ensure all the areas that were to be clear filmed were in perfect shape.
Using the LC tangerine hydro pad at about 1900rpm to remove light defects from the finish, this pad works great on harder finishes with the rotary.
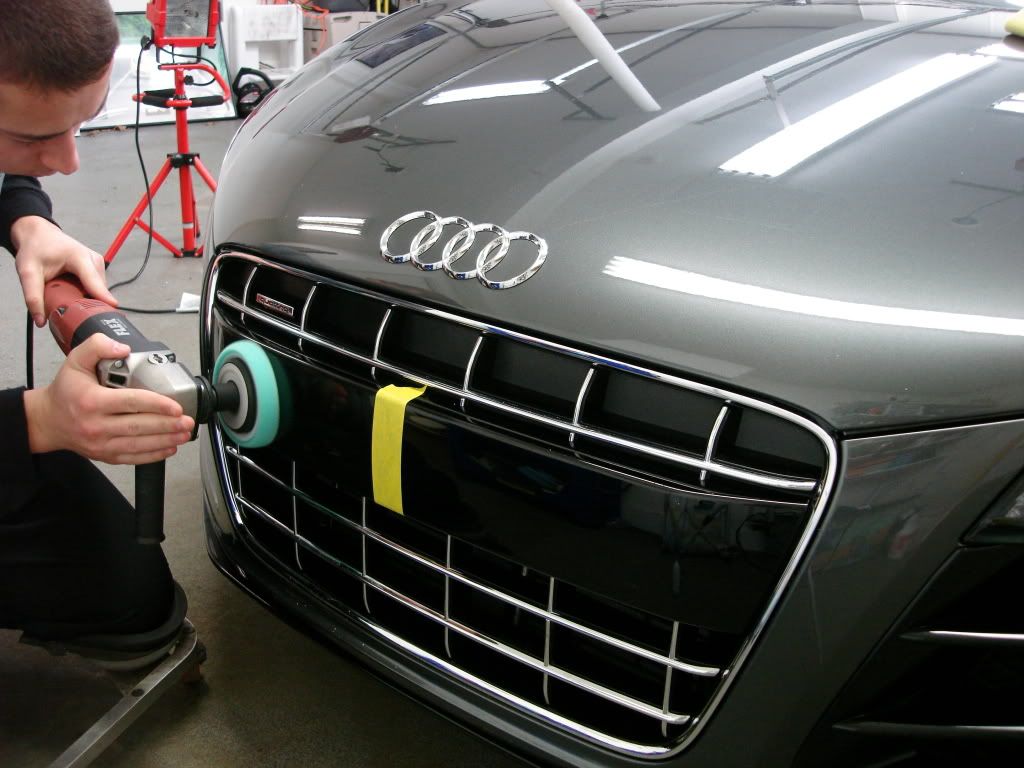
Front clip was somewhat trashed, these areas marr up very easily.
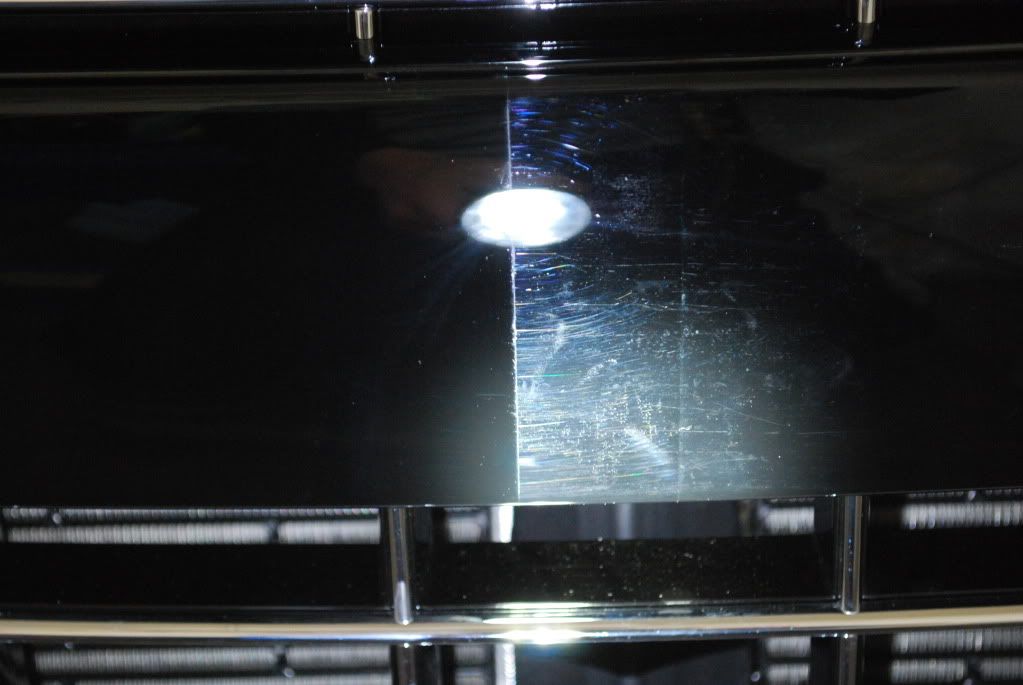
50/50
Closeup after compounding
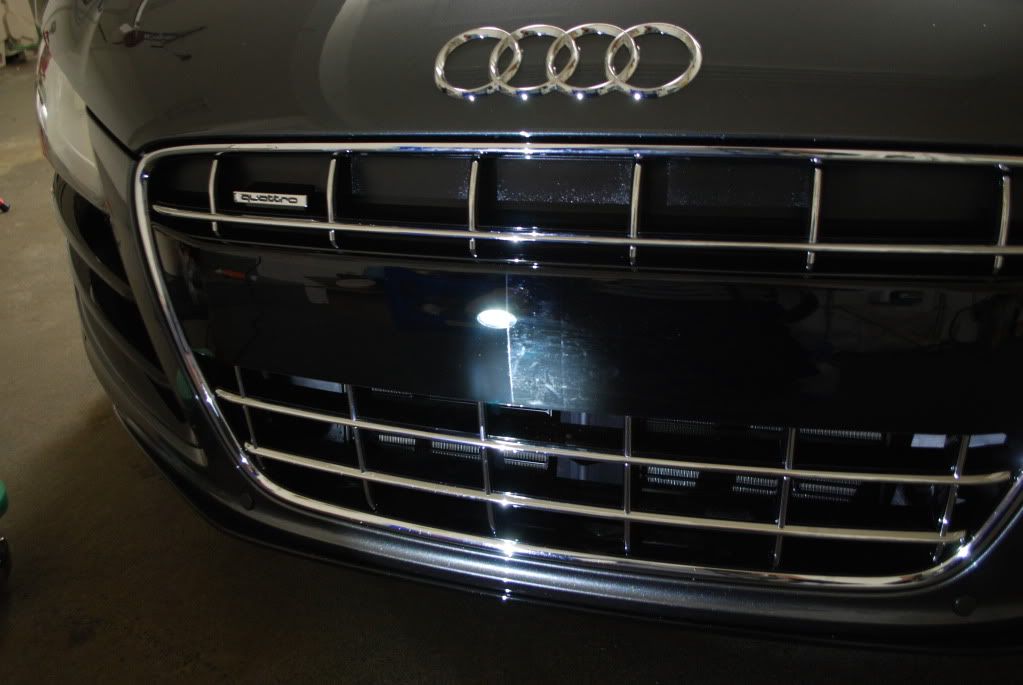
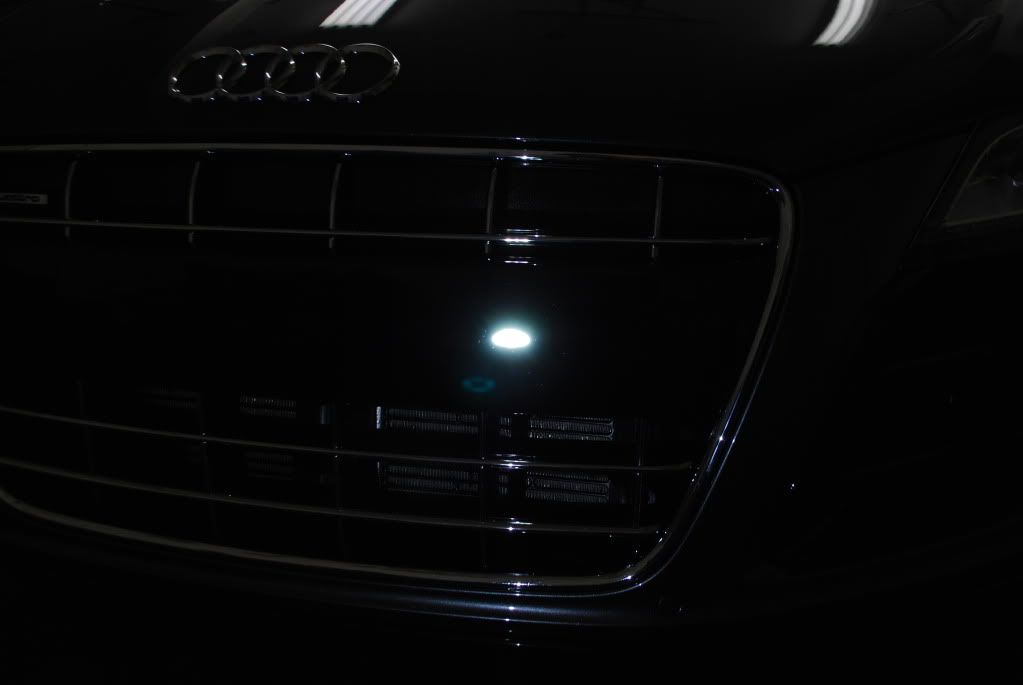
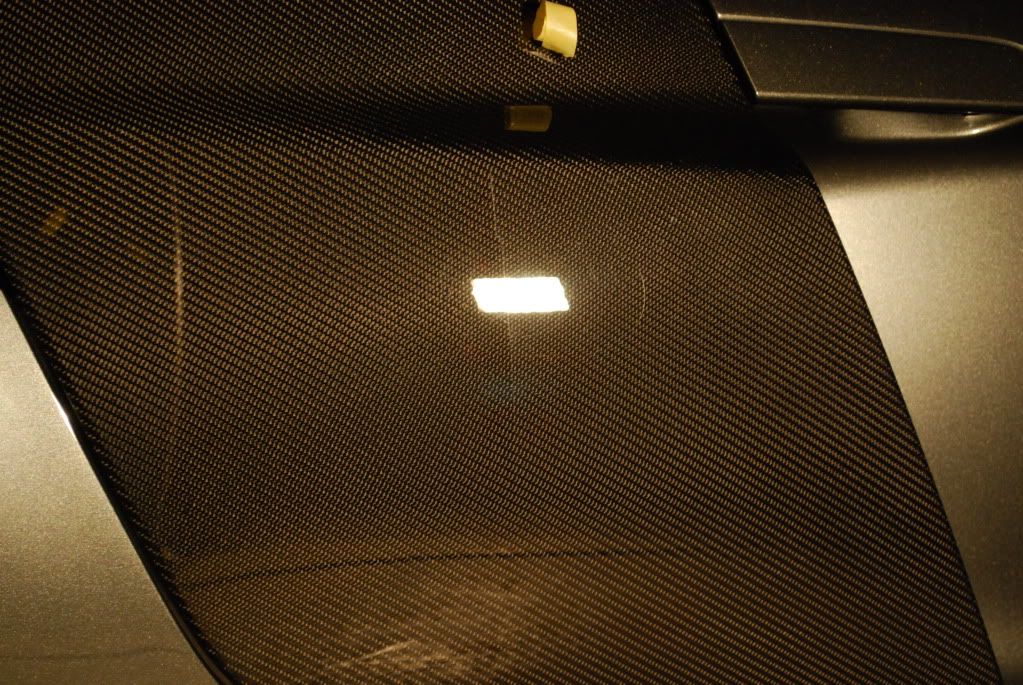
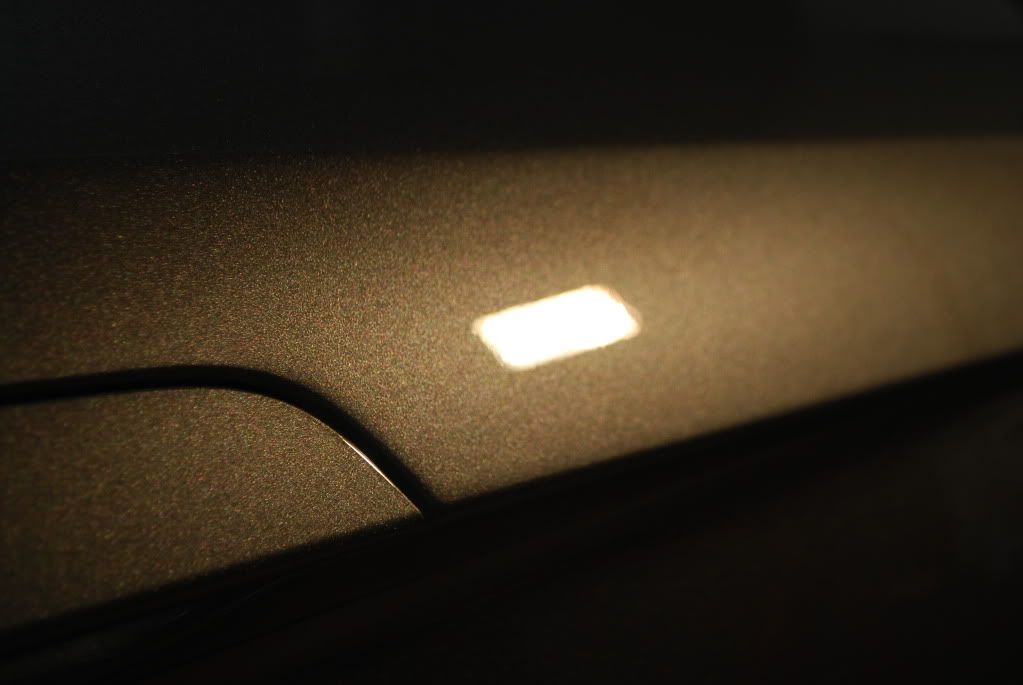
After finishing, LED light only no other light sources.
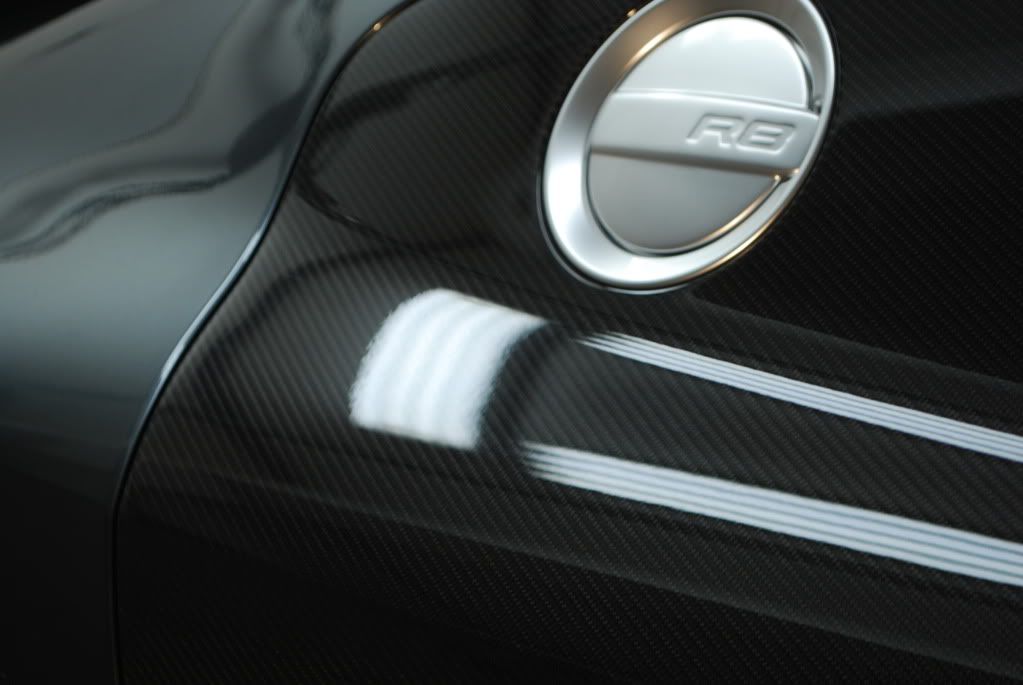
Carbon blade needed some extra work to remove the deeper defects. Whoever said brand new cars are unscathed is mistaken... factory defects still happen!
Before
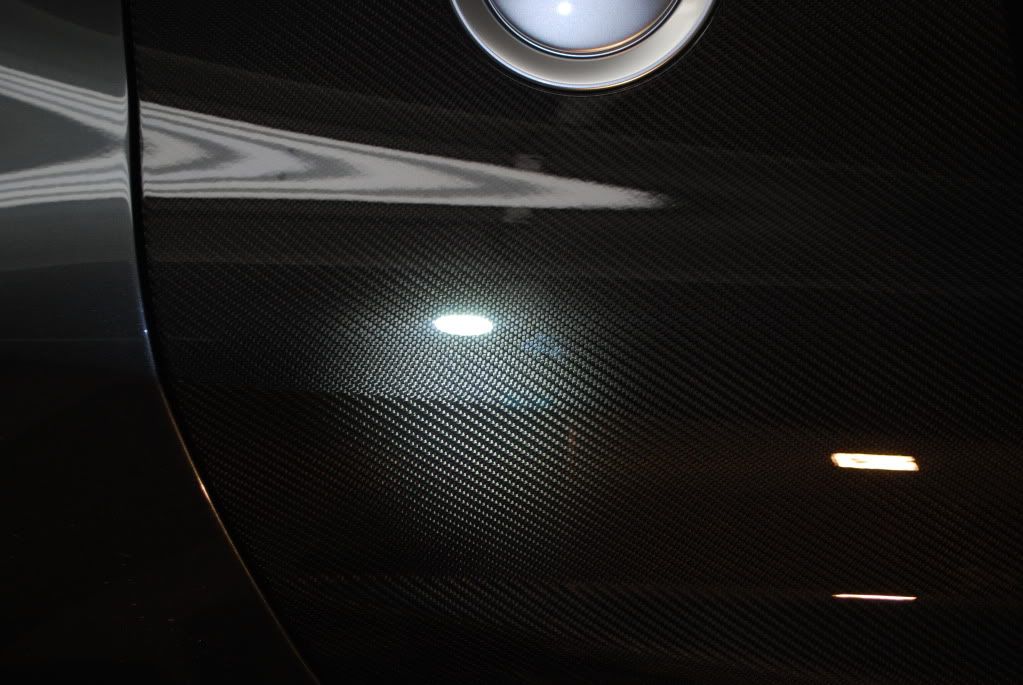
Difference in jetness after polishing 1 side...
Some Menzerna 85rd used for refining, 1200rpm and below to amp up "zeee gloss" ... thats German by the way in case you were curious.
Finished result after IPA wipedowns, No LSP.
And the LED shot
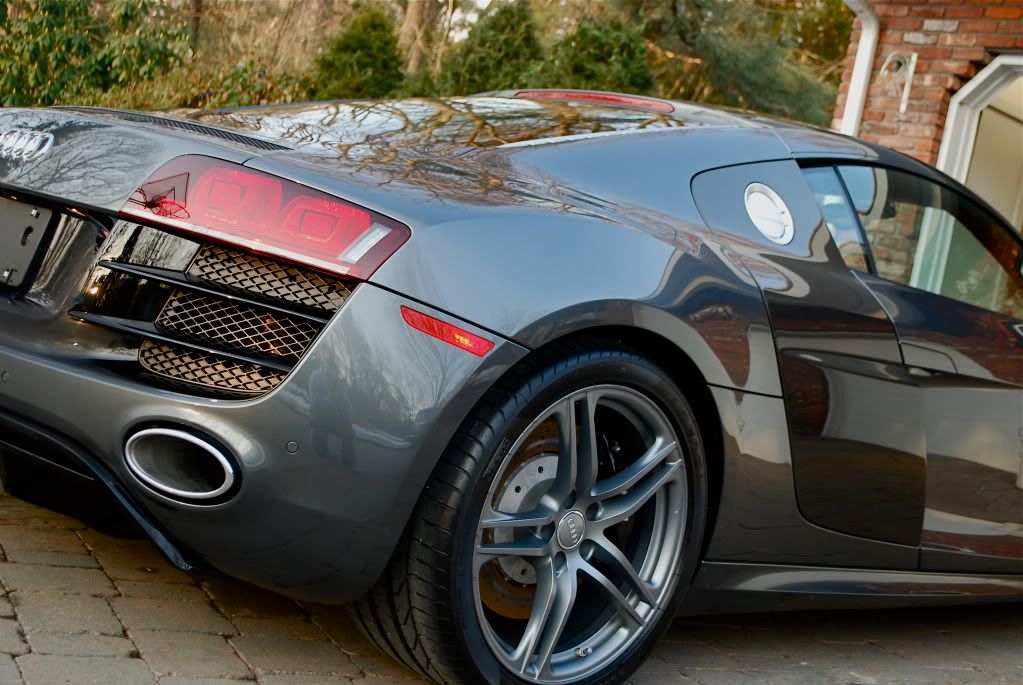
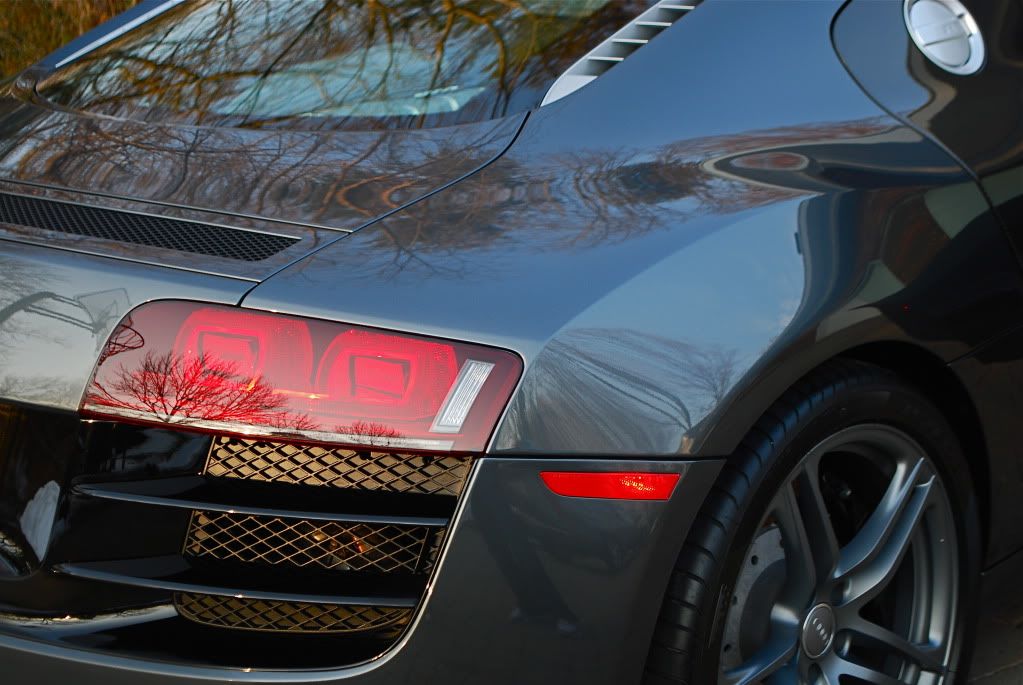
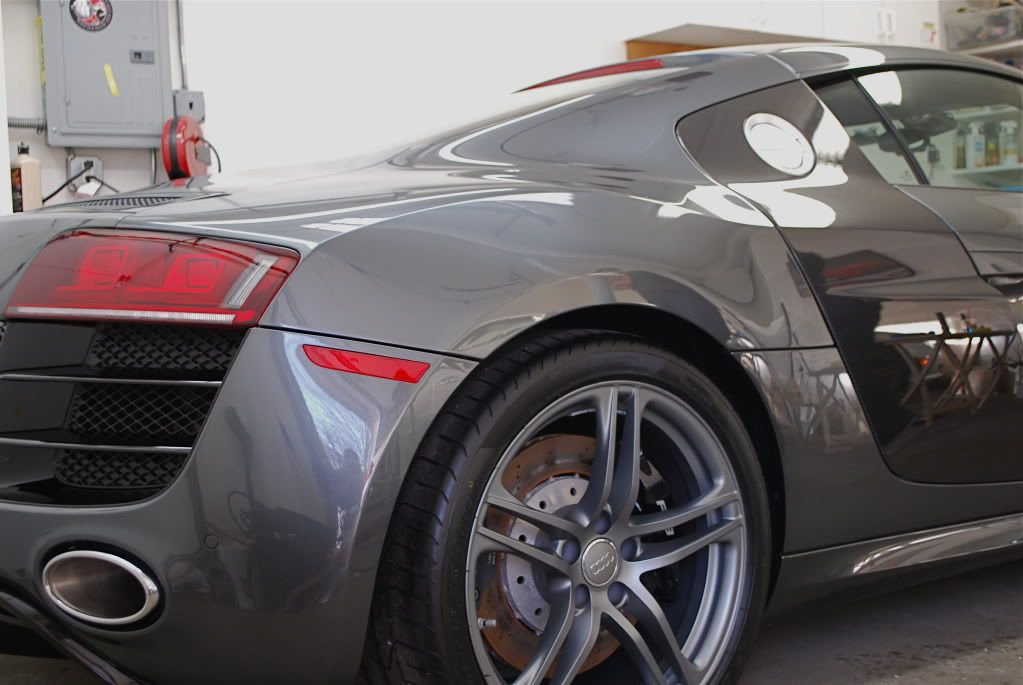
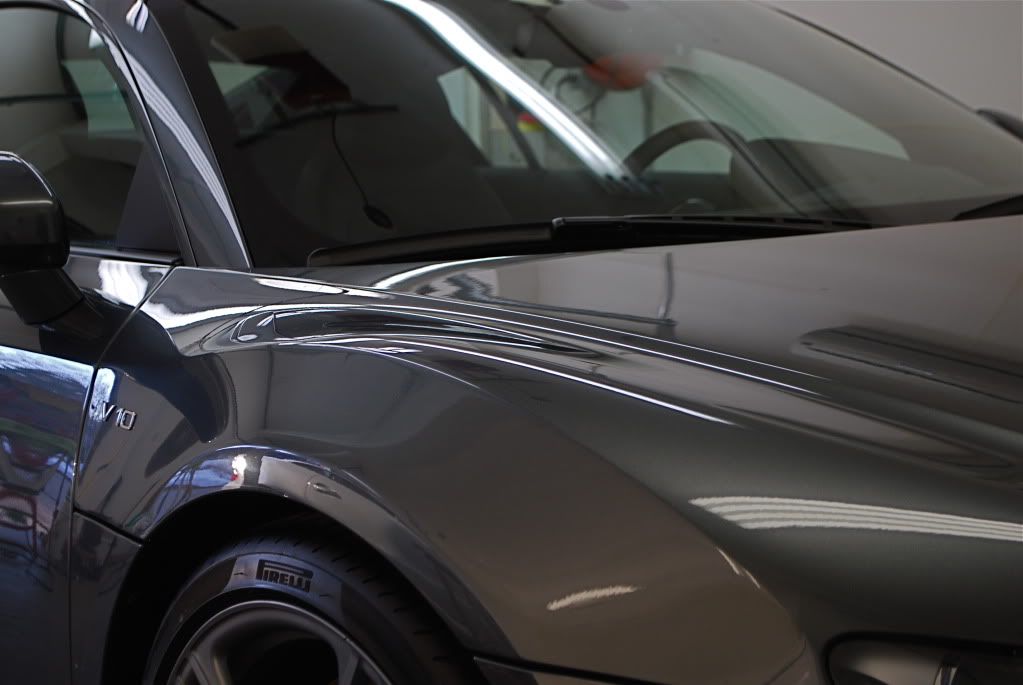
The rear decklid was in good shape to begin with compared to a few other areas on the car, very minor defects but still a noticeable difference after correction

This car is about as new as you can get, it was brought to me the day after delivery, some plastic wrapping still on. If only all owners had the restraint to let their new sports coupe get a proper detail and clear film install done before really taking it out for a spin!
Started with the wheels and tires. AutoGlym CWC was used on the wheels, Optimum powerclean 3:1 on the tires and wheel wells. Wheel scrubbed using various brushes.
Before
During
After
Although brand new the car was fairly dirty from the ride to my place in New Jersey from New York.
Some goodies left on the car from delivery, the owner left explicit instructions to NOT have the dealer remove any more than the necessary plastic protection from transport...
After the wheels I pressure washed the body and then sprayed the car down using Optimum Powerclean at 6:1 (more gentle ratio) to help loosen up some grime before foaming and washing.
Sometimes foaming dirty car doesn't loosen up grime as well as a pre-soak which IMO can cling to the body better and emulsify dirt really well... follow up with foam for good measure.
Pre-cleaned all badges, cracks and crevices
After rinsing and a quick 5 minute pre-foam I washed the R8 using my favorite shampoo... normally I would go with a Chemical Guys Citrus wash to remove old wax or sealant but the car came to me pretty much bare, nothing old to strip of so Lusso was the obvious choice, plus it smells incredible!
After the wash I pulled the car inside with the heat on and begun the rest of the prep process.
First I clayed, very few contaminants if any were removed, car was generally clean.
Headlights clayed also, clear film is going to be applied here so it needed to be prepped accordingly.
After claying I patted the car dry with a waffle weave drying towel and then gave it a few IPA wipedowns to remove any streaking and prep for polishing.
Next was taping, your pretty much looking at it :doh: Not much to tape on an R8. Paint readings were taken on every measurable panel, nothing abnormal, healthy levels of paint front to back.
Onto machine polishing, despite being brand new the R8 did need a bit of polishing work, some areas had light defects, others (like the carbon fiber) had more serious defects and most importantly I needed to ensure all the areas that were to be clear filmed were in perfect shape.
Using the LC tangerine hydro pad at about 1900rpm to remove light defects from the finish, this pad works great on harder finishes with the rotary.
Front clip was somewhat trashed, these areas marr up very easily.
50/50
Closeup after compounding
After finishing, LED light only no other light sources.
Carbon blade needed some extra work to remove the deeper defects. Whoever said brand new cars are unscathed is mistaken... factory defects still happen!
Before
Difference in jetness after polishing 1 side...
Some Menzerna 85rd used for refining, 1200rpm and below to amp up "zeee gloss" ... thats German by the way in case you were curious.
Finished result after IPA wipedowns, No LSP.
And the LED shot
The rear decklid was in good shape to begin with compared to a few other areas on the car, very minor defects but still a noticeable difference after correction
#2
02-28-2011, 11:25 AM
After the second day all the needed areas that were to be clear filmed were polished and left WITHOUT ANY LSP in preparation for the film. I wiped down the clear filmed areas prior to install with IPA to remove any trace polishing oils.
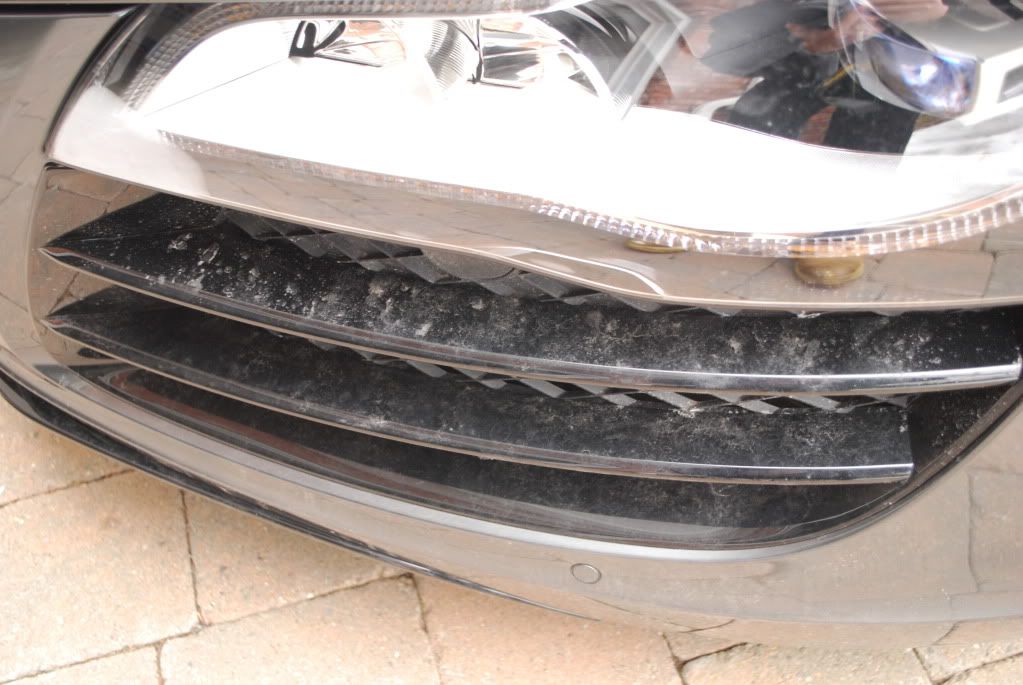
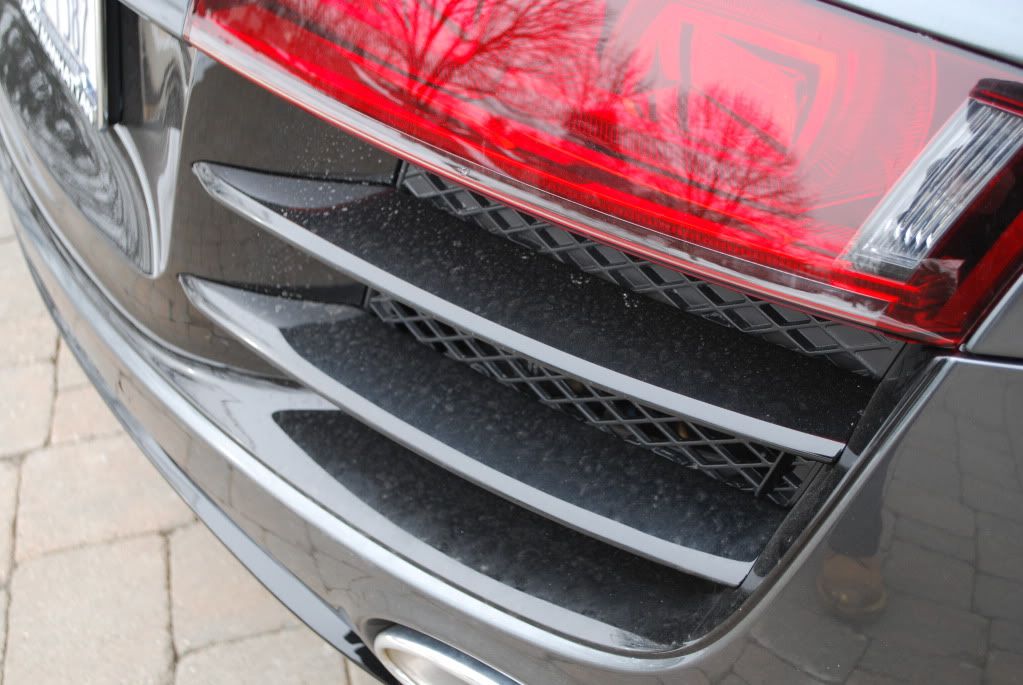
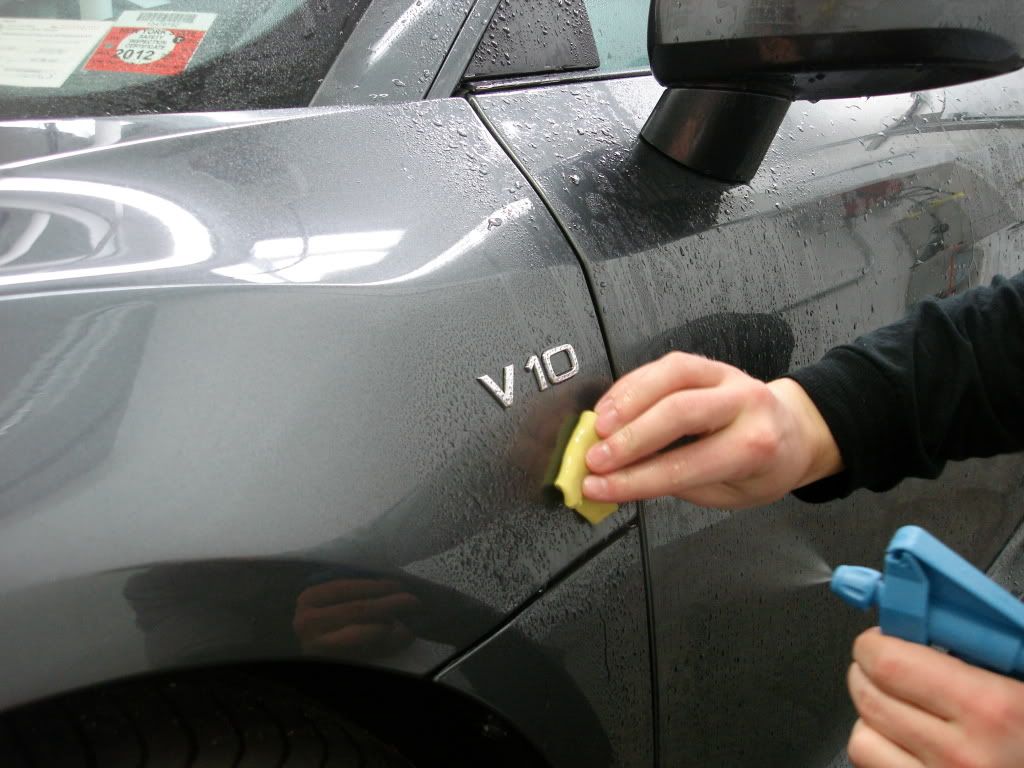
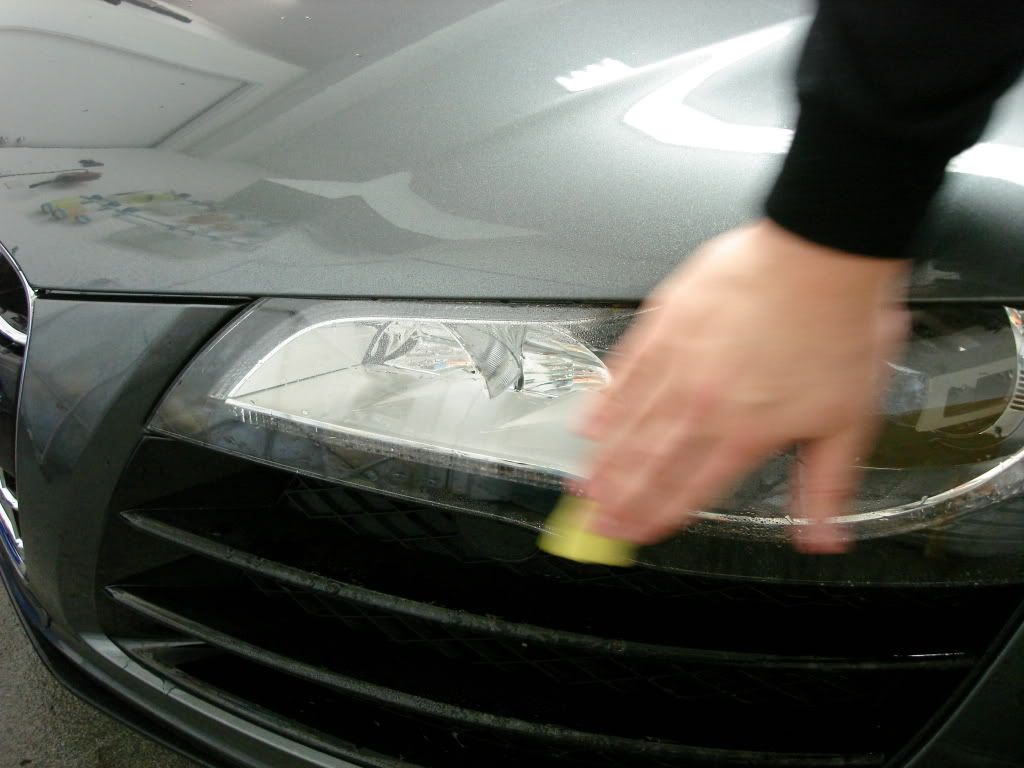
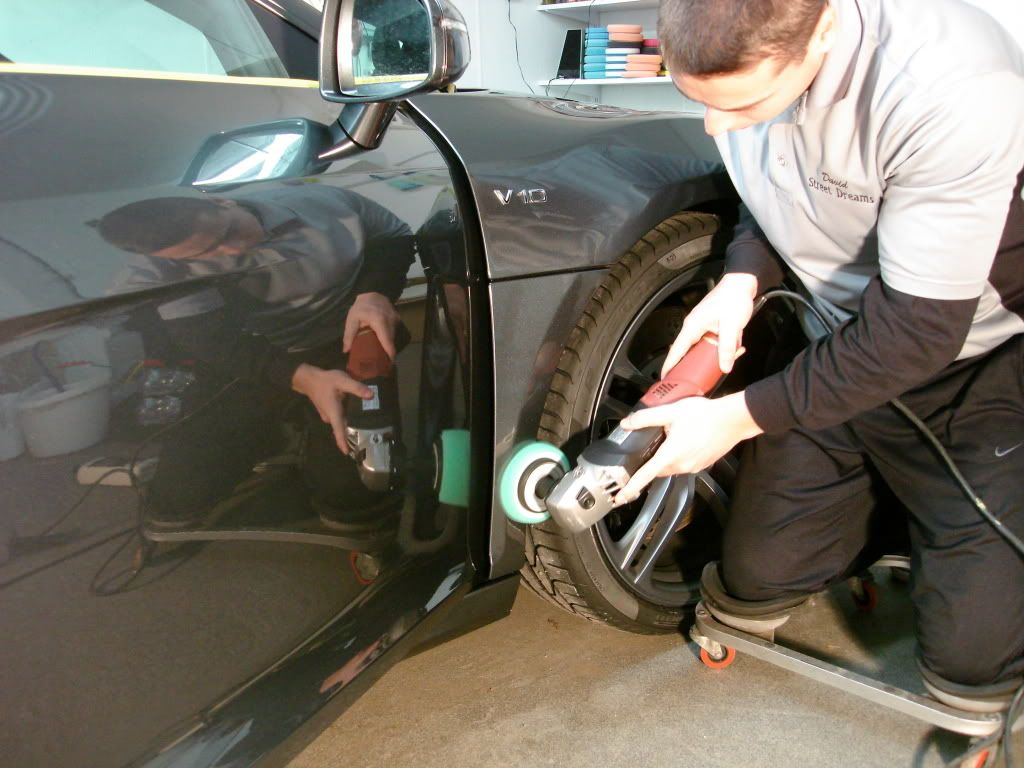
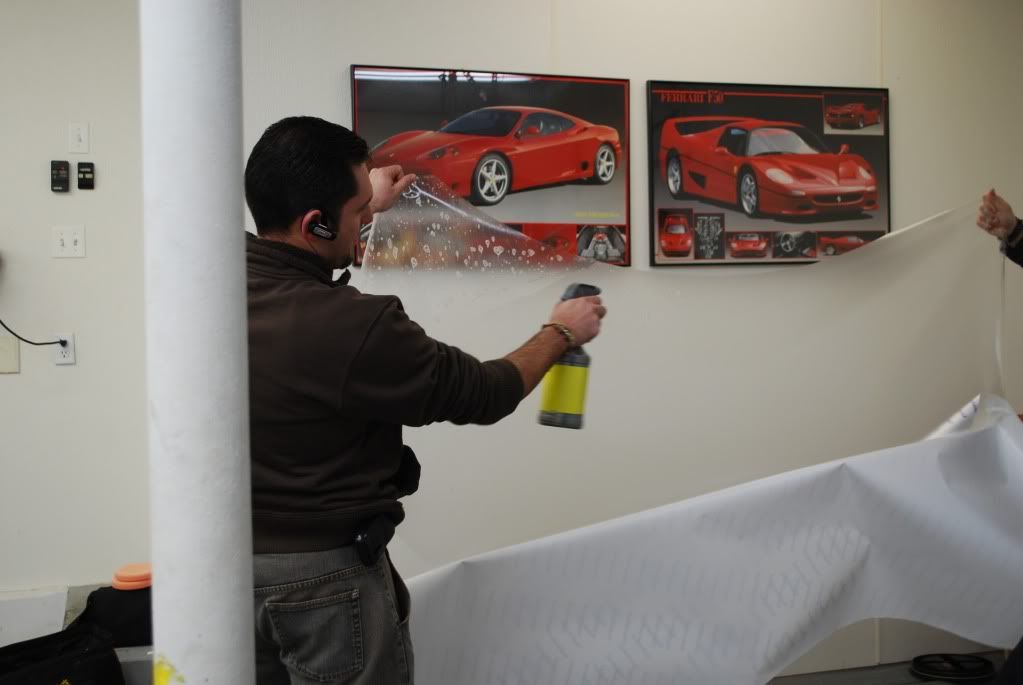
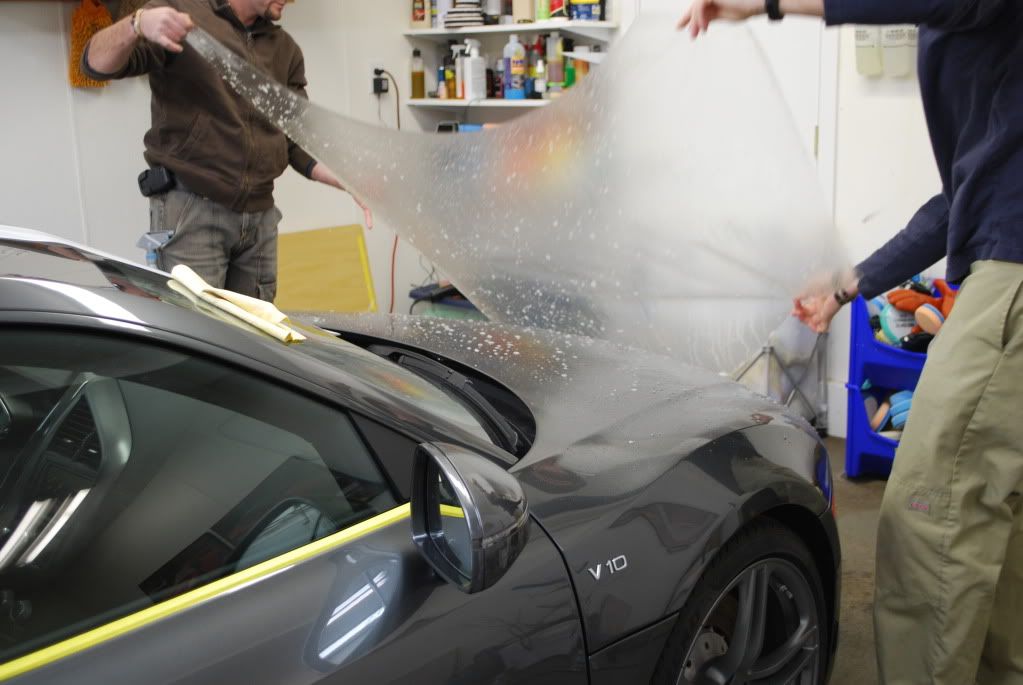
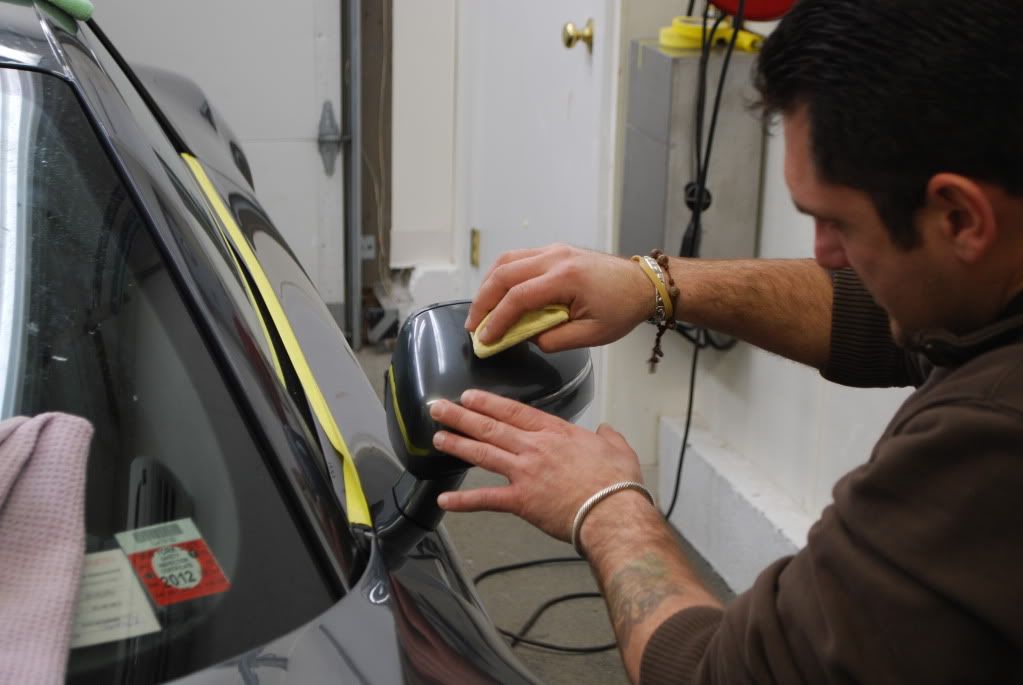
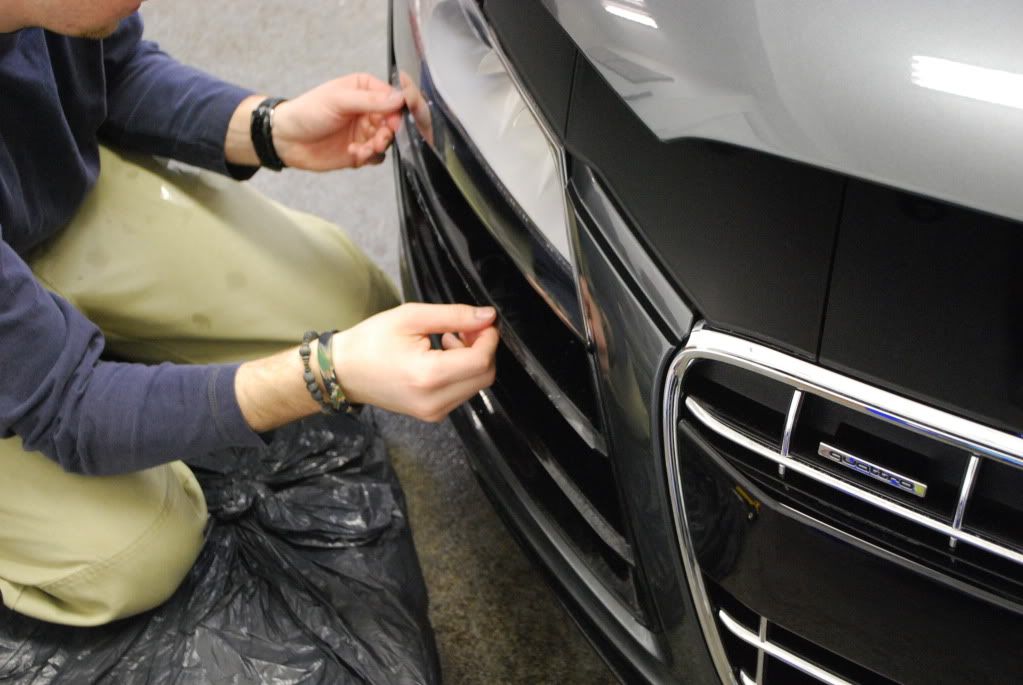
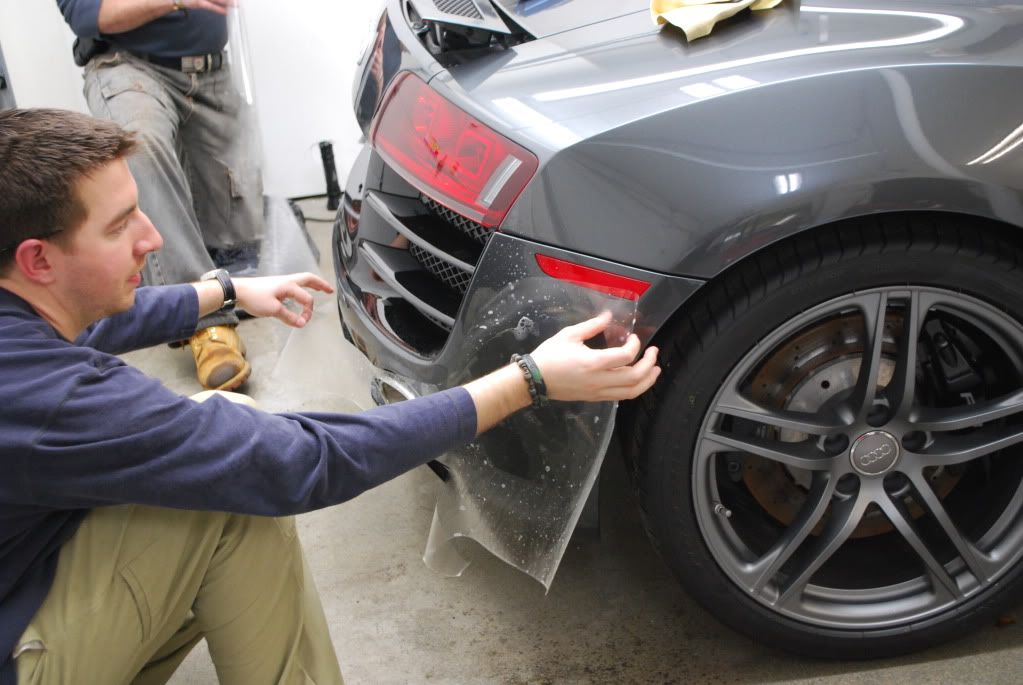
John and Nick came in to install Venture Shield film on the entire hood, front bumper, front blades, side rockers, mirrors, A pillars, side skirts and rear bumper. These are all key areas that are perfect for clear film and a must if you plan on doing some real driving in a car like this.
The only film I recommend to my customers who are thinking about paint protection...

Starting the prep for the install, I took some action shots of the boys doing their thing...

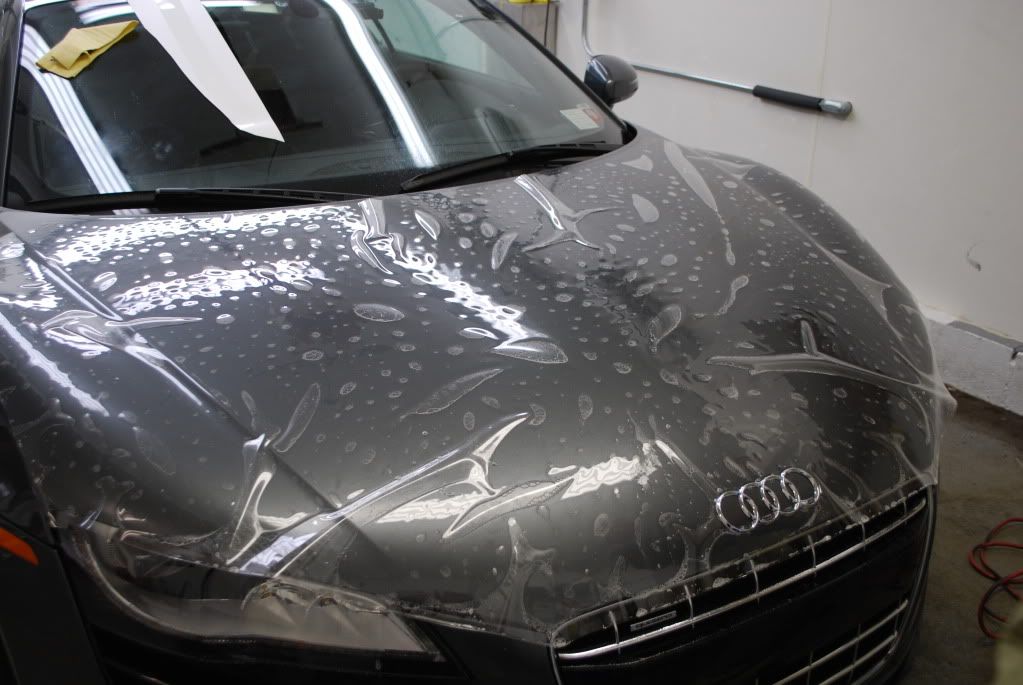
Wetting the film with warm water
John working the finer areas and getting the film around the V10 badge
Nick finishing the side mirrors
They were going to use the ever so popular Plexus to protect and clean the film, while that is a decent product I convinced them to let me apply my sealants of choice later :giggle:
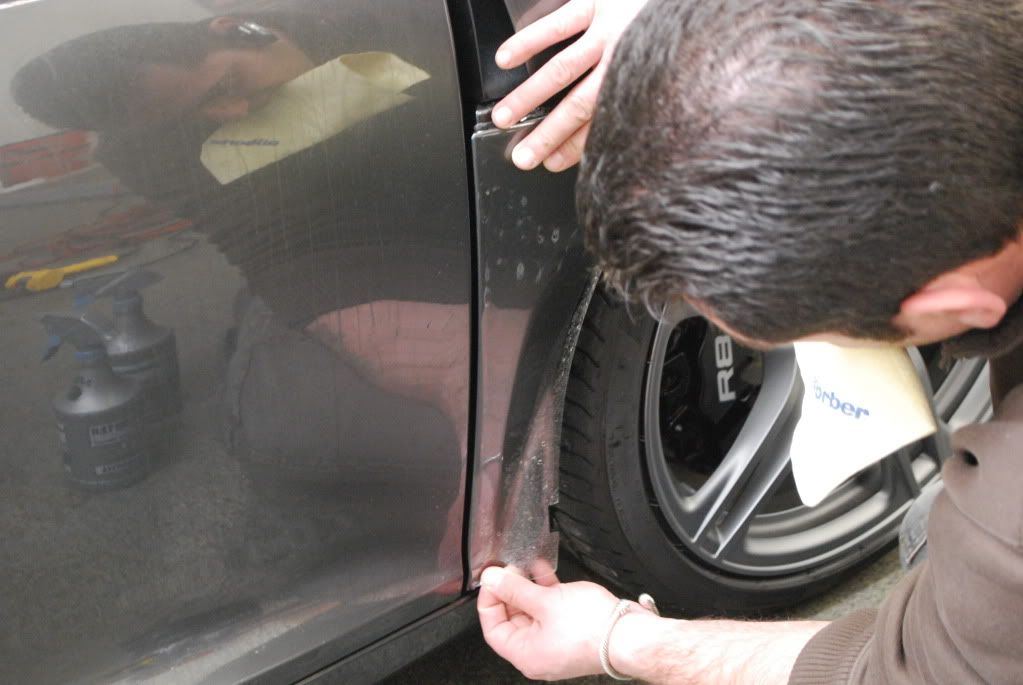
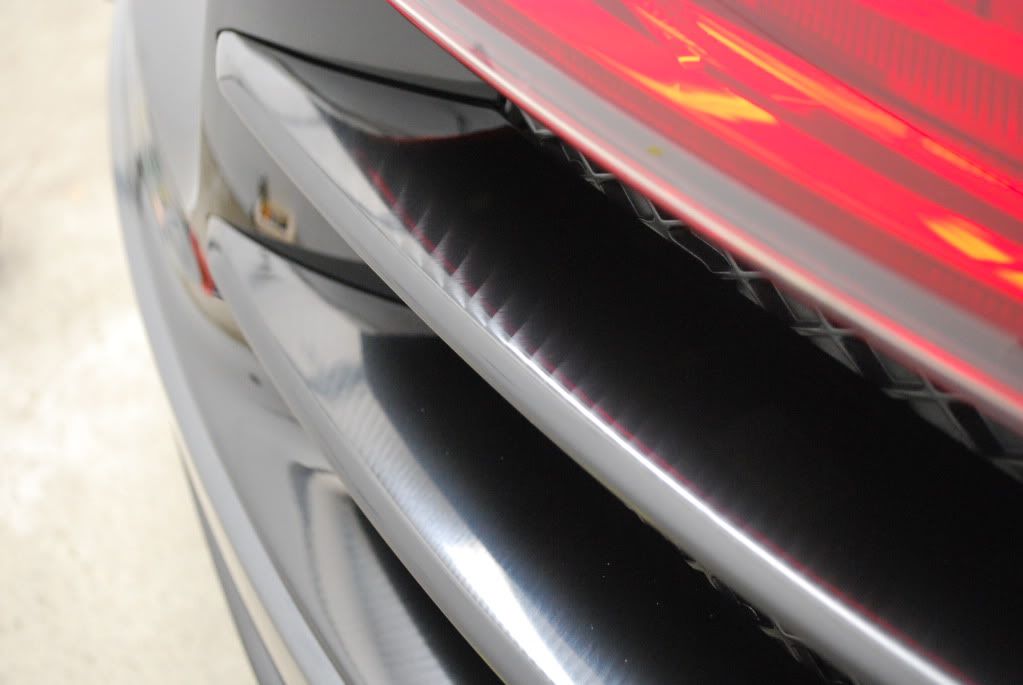
Side skirts have a pretty nice edge to them, not an easy piece to film

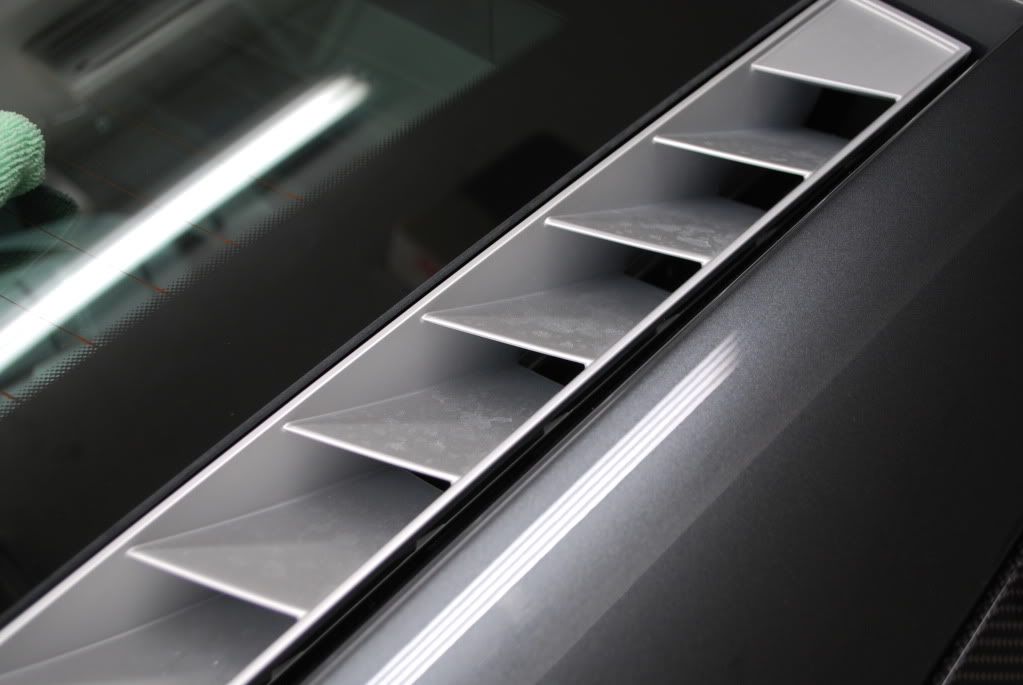
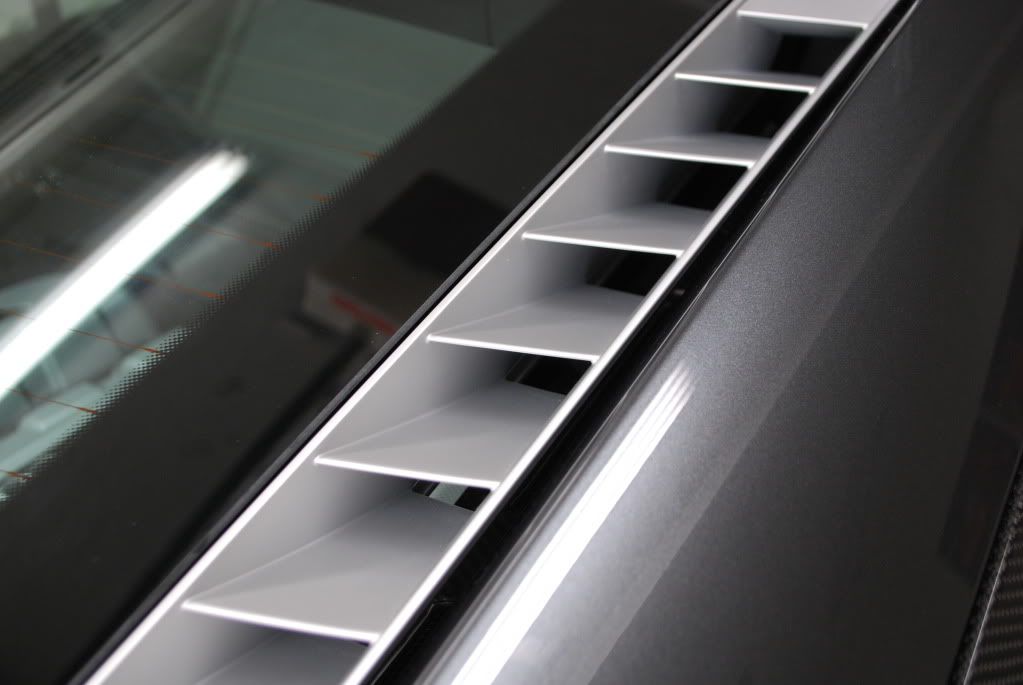
Tedious task applying film to every single blade in the front bumper
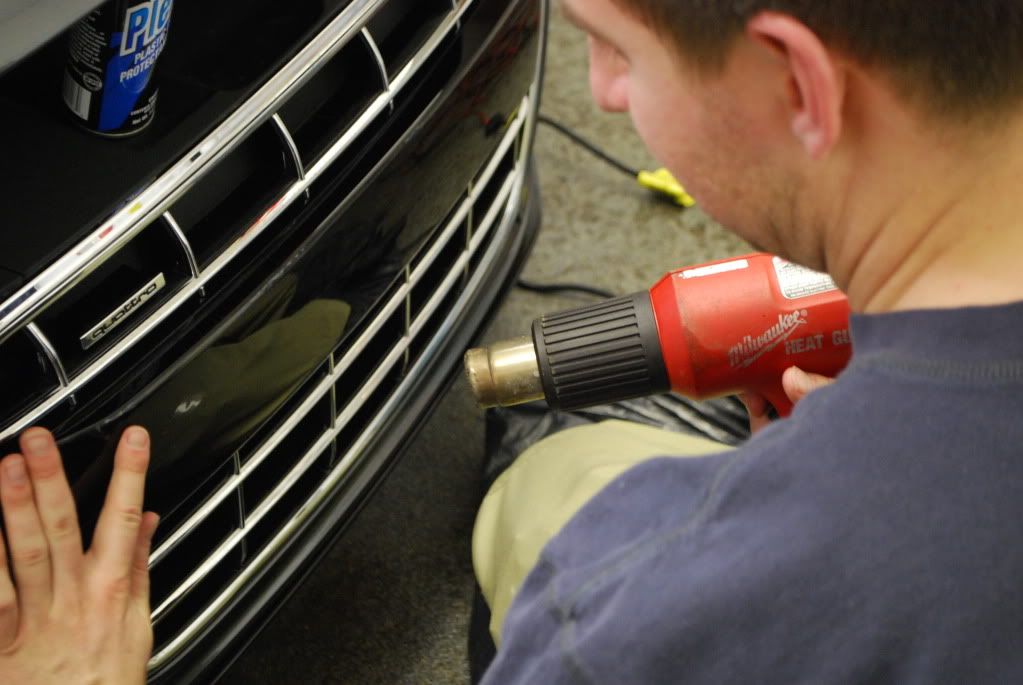
Heat gun helps set the film
Rear bumper piece being installed
The install took roughly a full day, John and Nick are perfectionists and I was happy to meet them and see their work/work ethic, the film protection came out perfect! More pics in the finished shots.
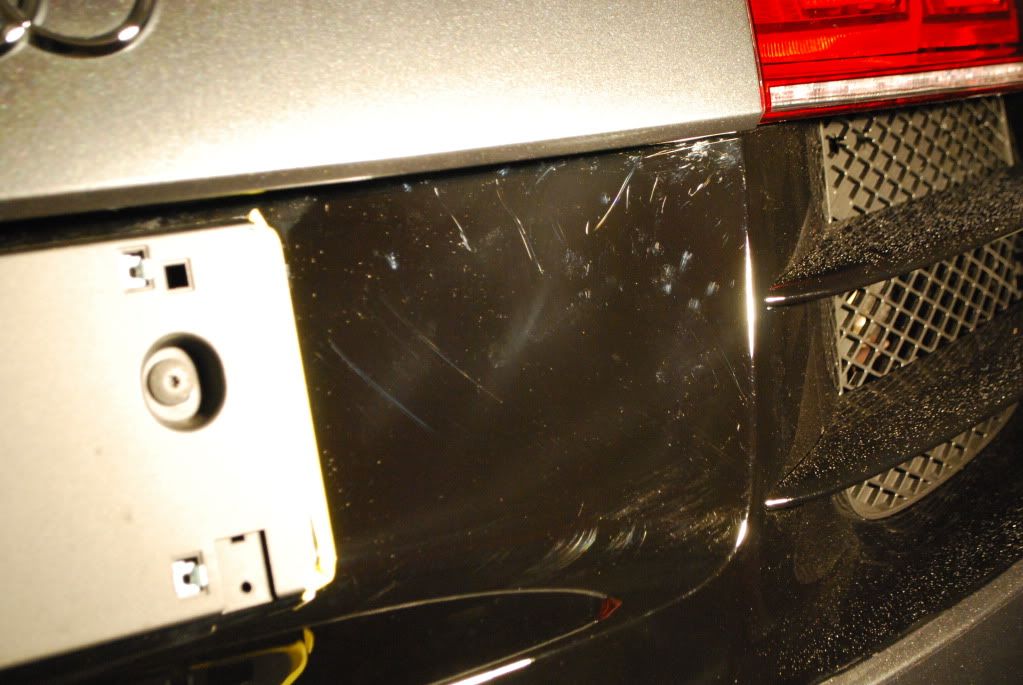
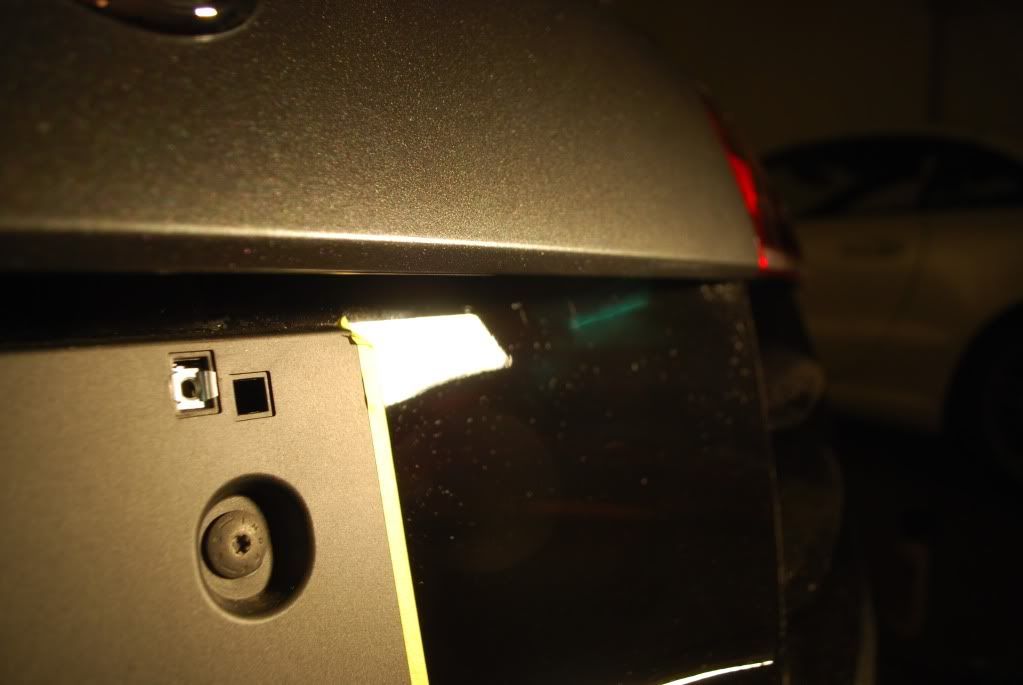
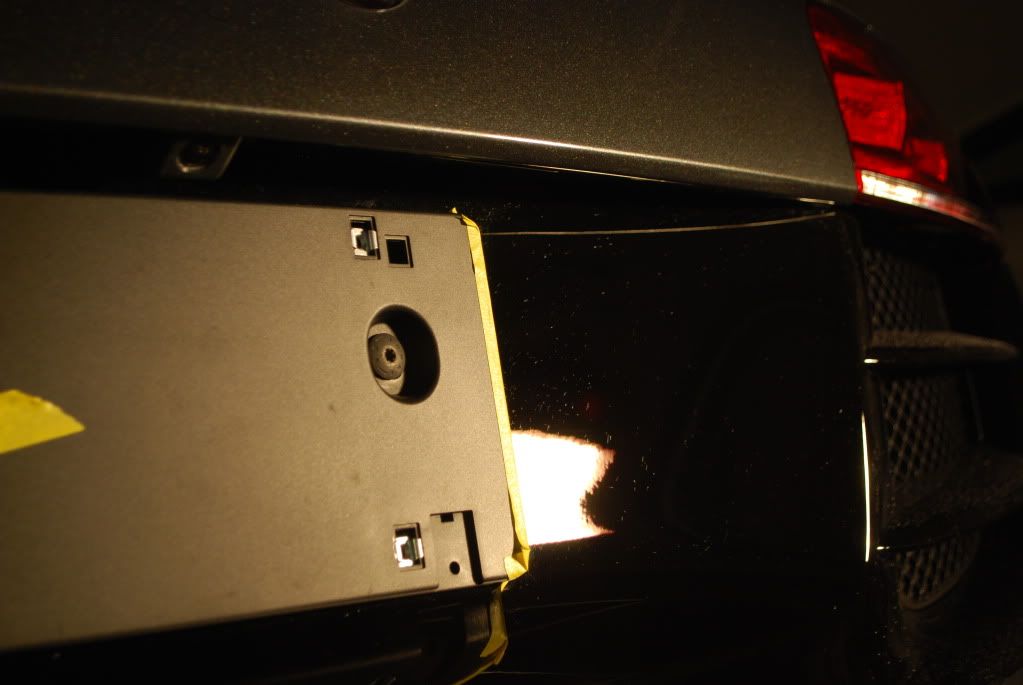
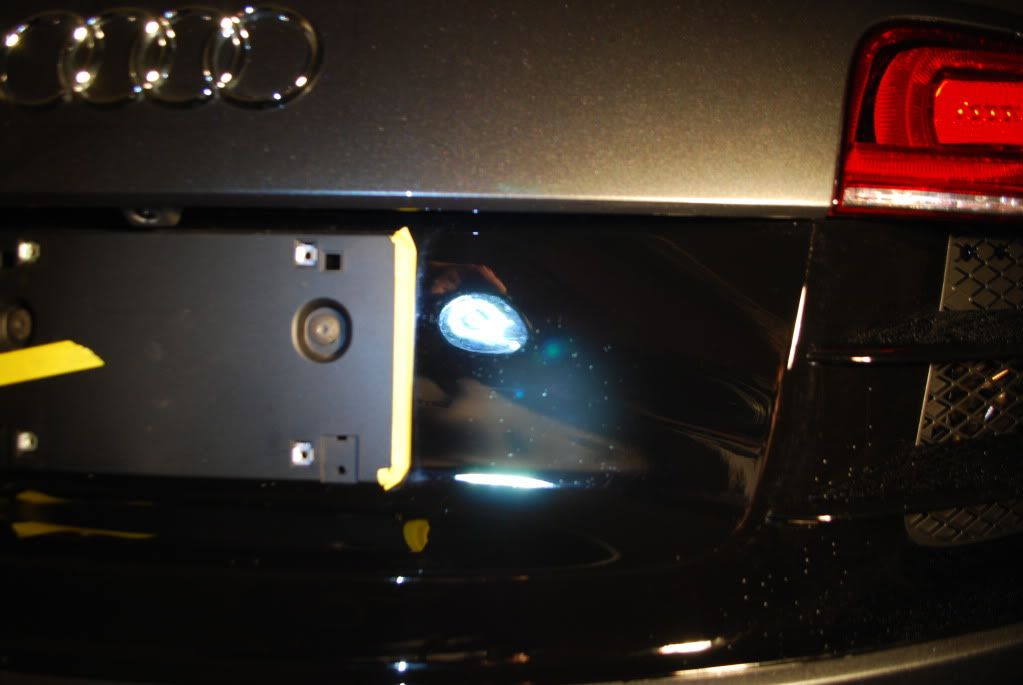
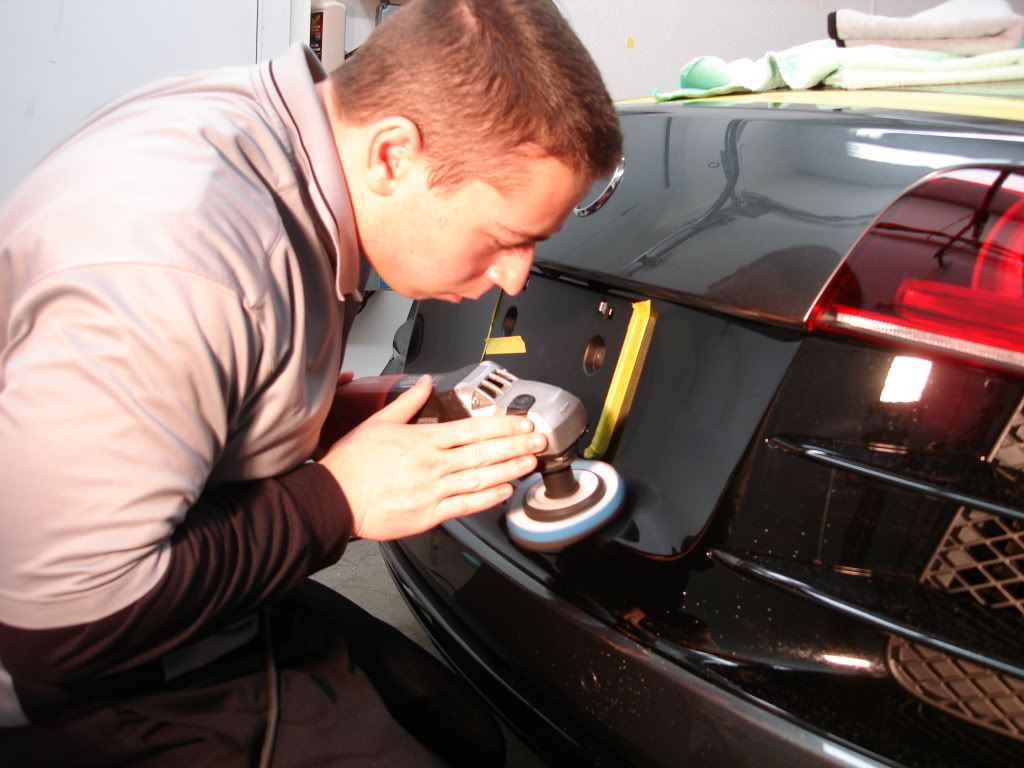
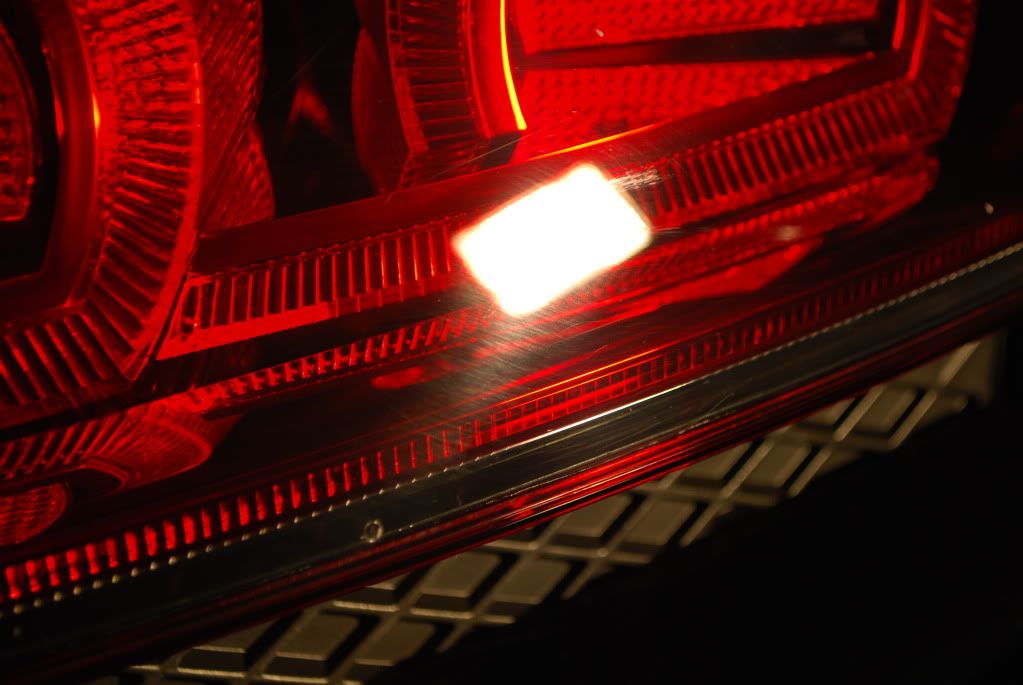
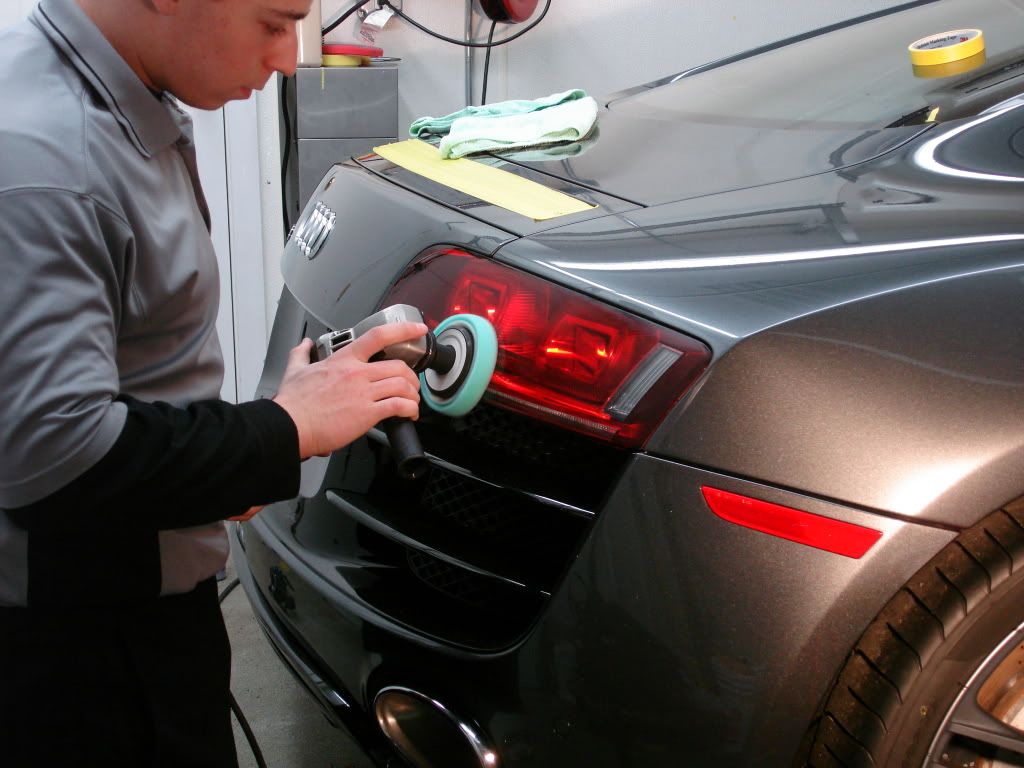
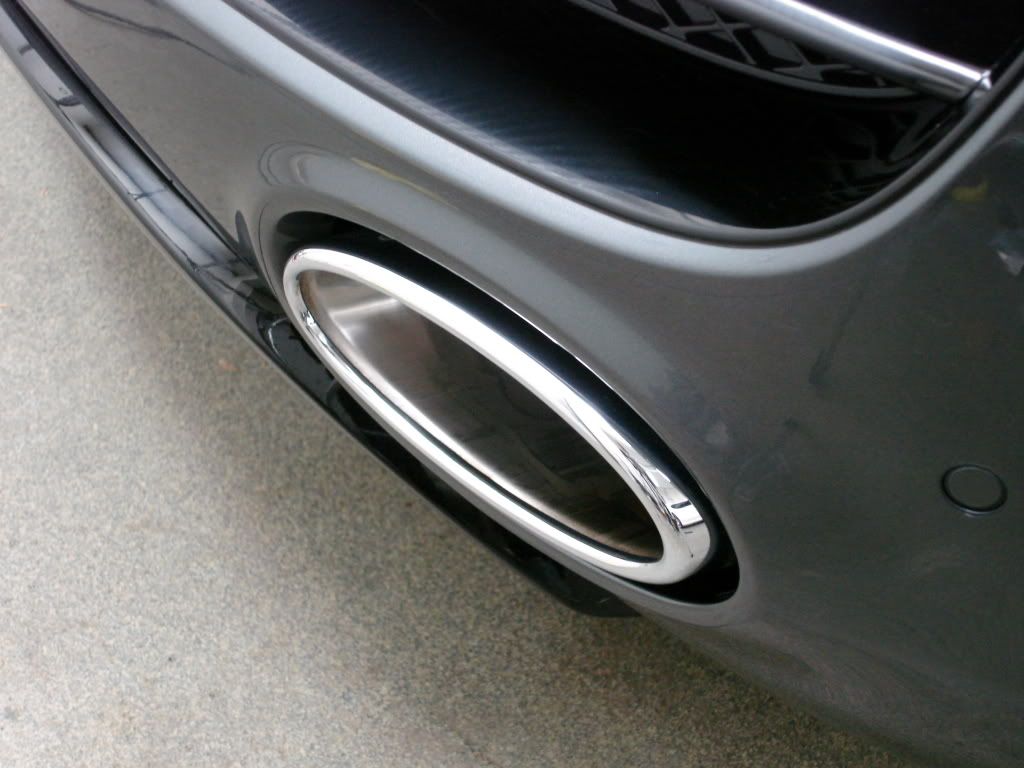
Back to the detail, rear plate area was in a sad state. Lots of RIDS and marring, not to mention buffer trails? I didnt think Audi buffed cars at the factory but I guess I was mistaken. There is no way this car was touched at the dealer, the owner was their to take it off the truck himself.
After some M105 on a light cutting pad...
Finishing down this area took a bit of time as the slightest jerk of the polisher can leave a hologram on the soft plastic...
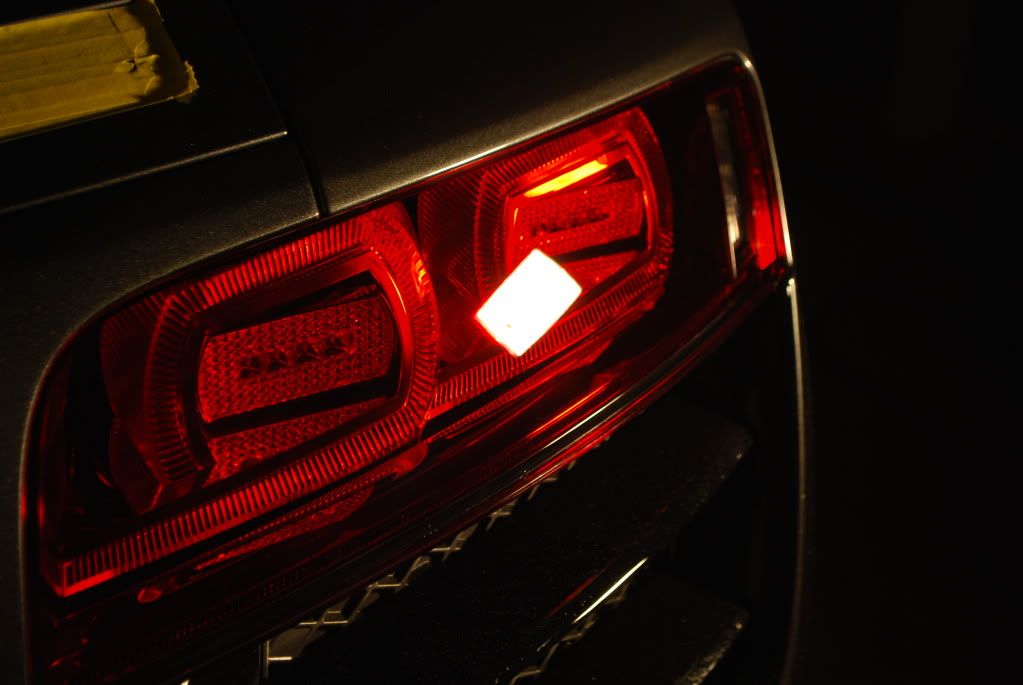
Rear taillights were a bit rough as well, quite a bit of hazing. Some Menzerna Powerfinish on a light cutting pad followed by 85rd on a finishing pad worked beautifully.
50/50
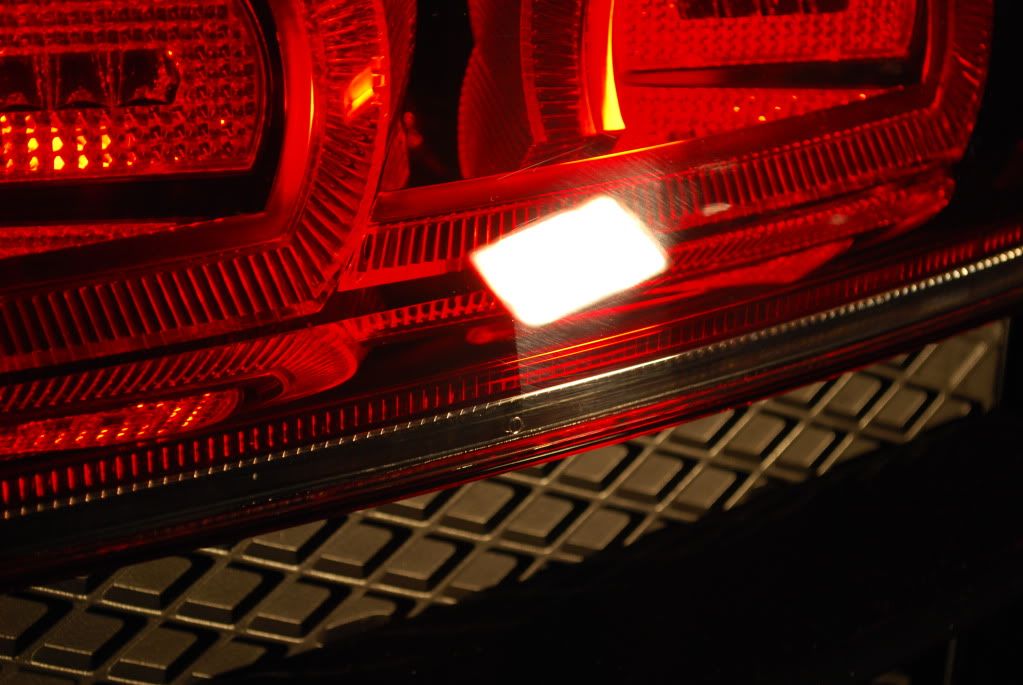
Finished
John and Nick came in to install Venture Shield film on the entire hood, front bumper, front blades, side rockers, mirrors, A pillars, side skirts and rear bumper. These are all key areas that are perfect for clear film and a must if you plan on doing some real driving in a car like this.
The only film I recommend to my customers who are thinking about paint protection...
Starting the prep for the install, I took some action shots of the boys doing their thing...
Wetting the film with warm water
John working the finer areas and getting the film around the V10 badge
Nick finishing the side mirrors
They were going to use the ever so popular Plexus to protect and clean the film, while that is a decent product I convinced them to let me apply my sealants of choice later :giggle:
Side skirts have a pretty nice edge to them, not an easy piece to film
Tedious task applying film to every single blade in the front bumper
Heat gun helps set the film
Rear bumper piece being installed
The install took roughly a full day, John and Nick are perfectionists and I was happy to meet them and see their work/work ethic, the film protection came out perfect! More pics in the finished shots.
Back to the detail, rear plate area was in a sad state. Lots of RIDS and marring, not to mention buffer trails? I didnt think Audi buffed cars at the factory but I guess I was mistaken. There is no way this car was touched at the dealer, the owner was their to take it off the truck himself.
After some M105 on a light cutting pad...
Finishing down this area took a bit of time as the slightest jerk of the polisher can leave a hologram on the soft plastic...
Rear taillights were a bit rough as well, quite a bit of hazing. Some Menzerna Powerfinish on a light cutting pad followed by 85rd on a finishing pad worked beautifully.
50/50
Finished
#3
02-28-2011, 11:26 AM
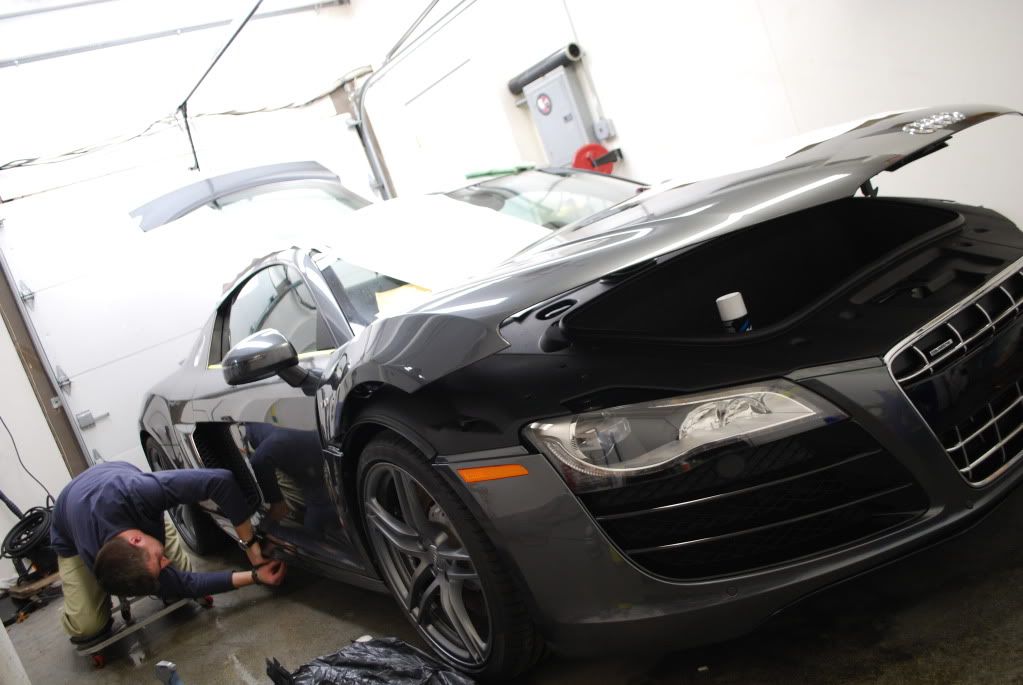
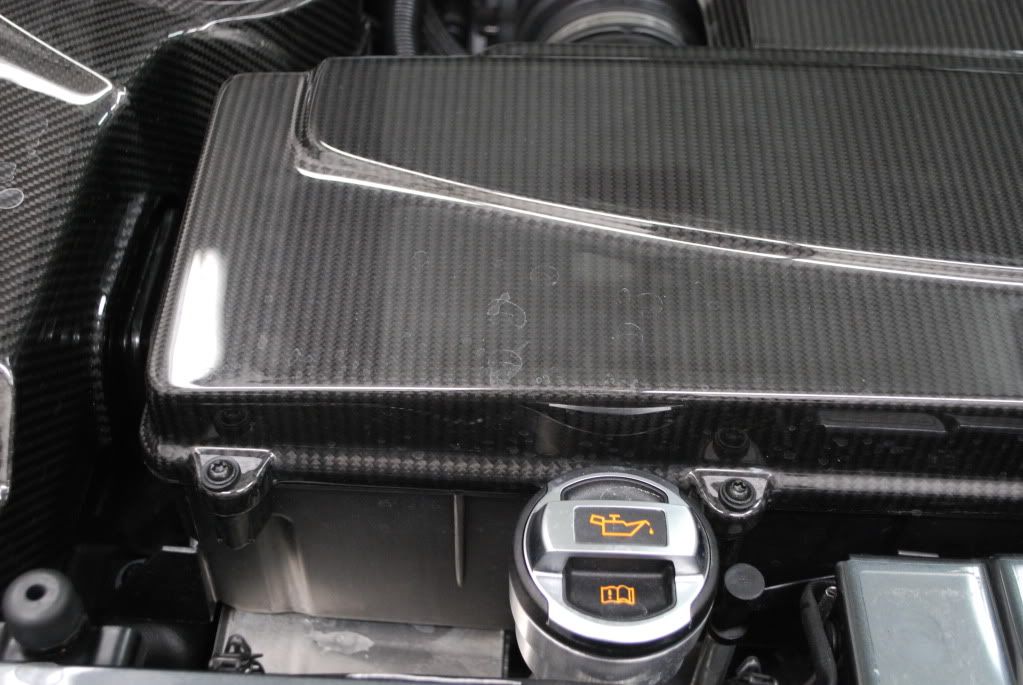
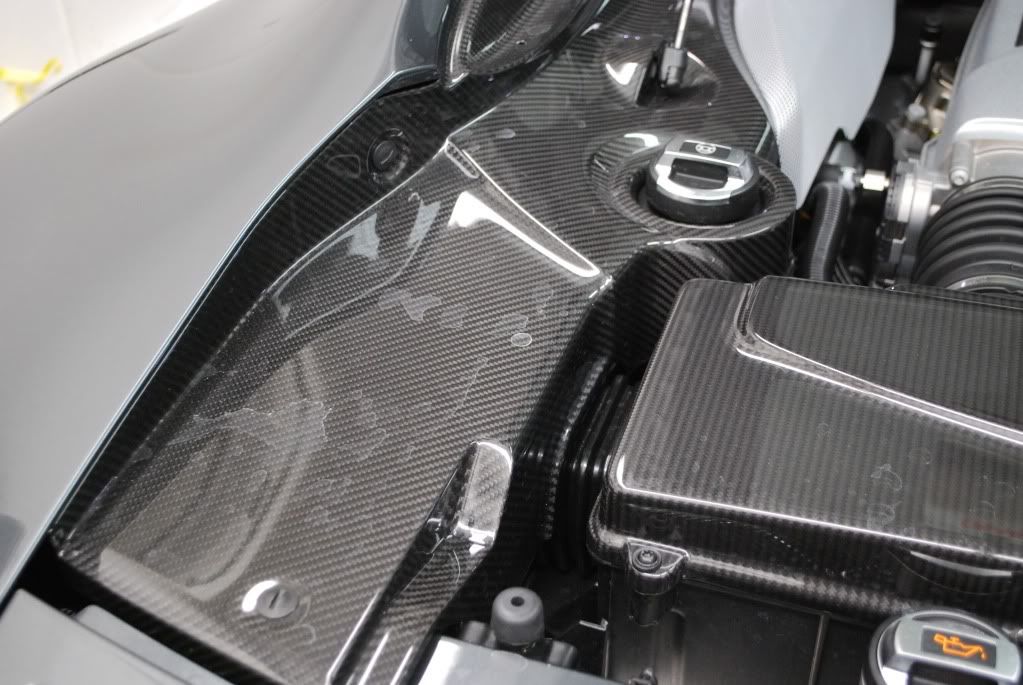
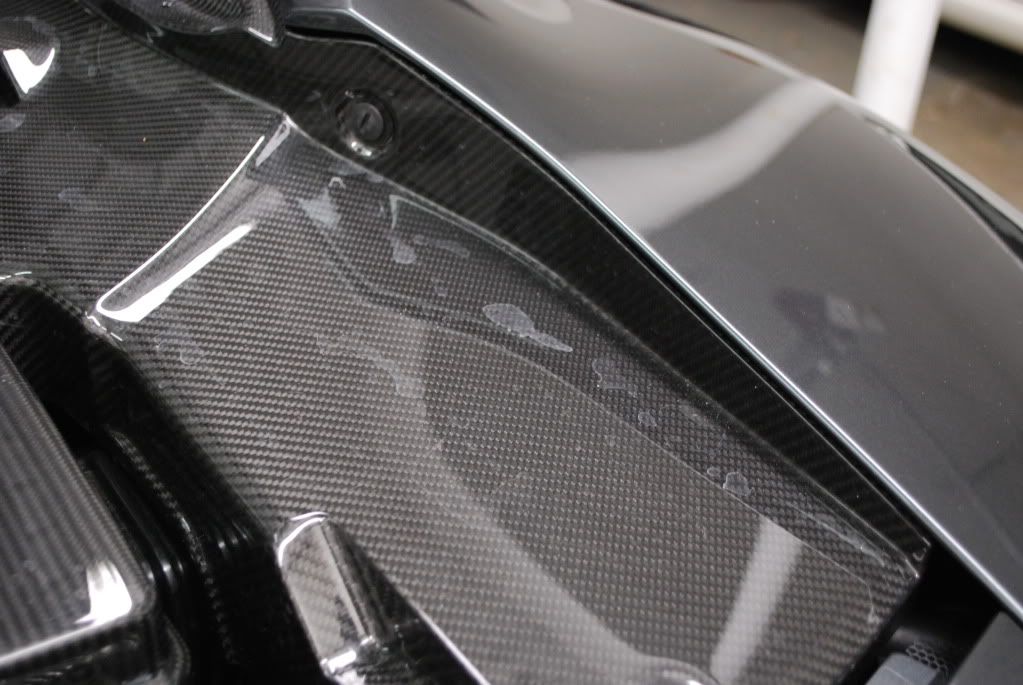
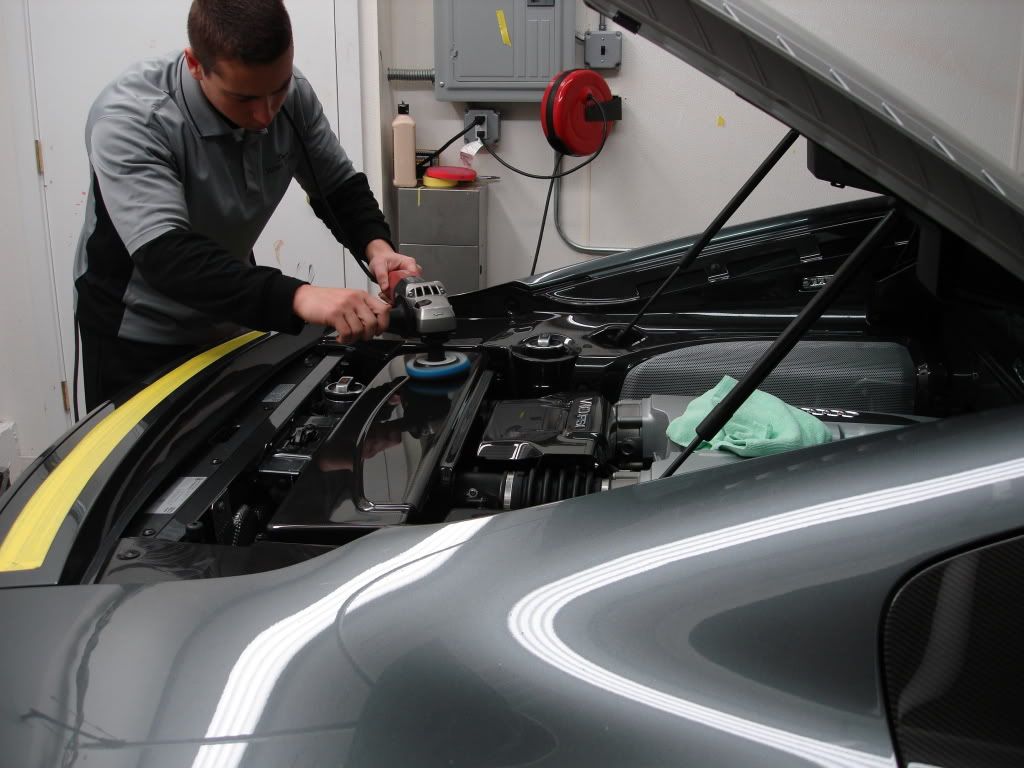
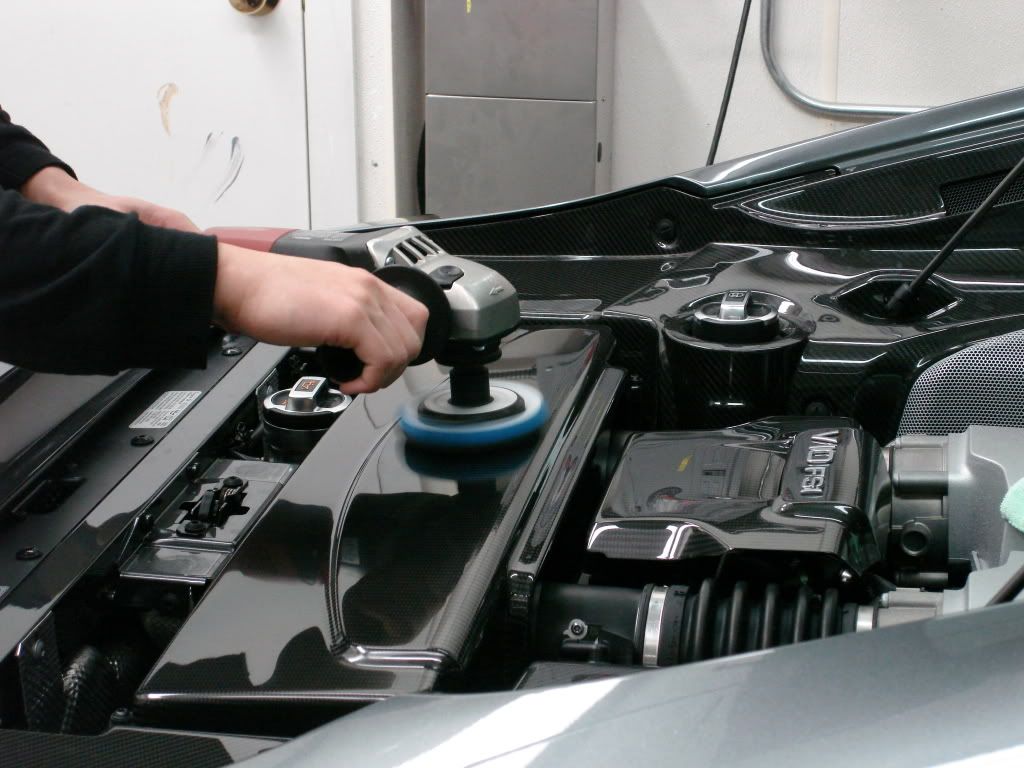
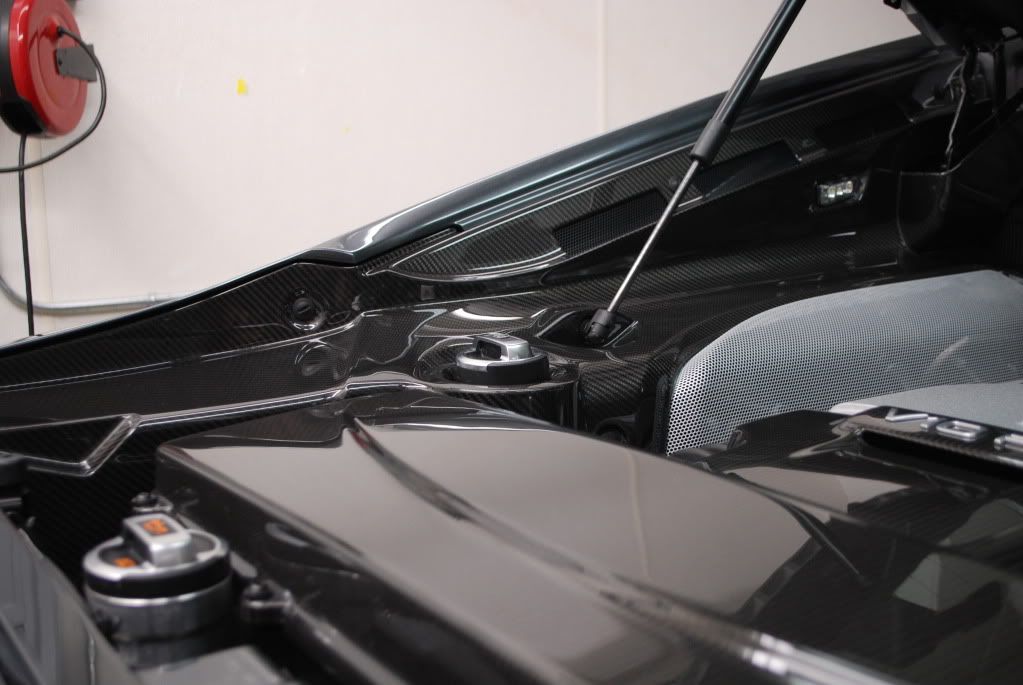
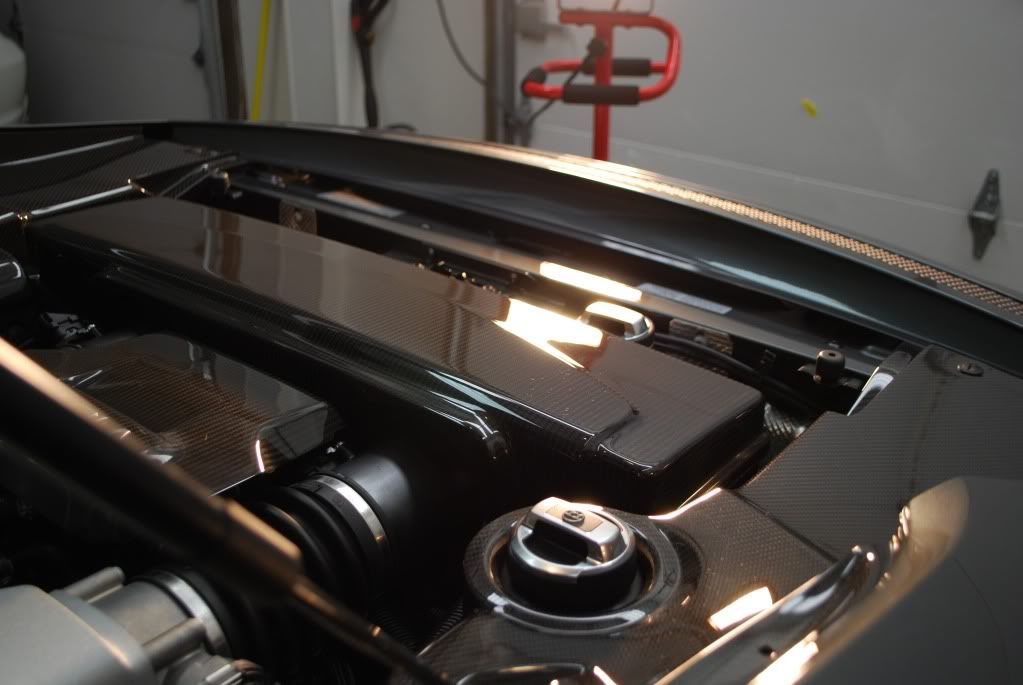
Onto the engine, I have to say I definitely spent the most amount of time with a buffer on this engine compartment than any other before it. I have machine polished air boxes and plenty of exhaust cans but the amount of carbon fiber in this engine bay takes the cake.
Well worth the time spent, a little over 1 hour was needed to get the carbon looking right.
Before shots, some hard water etching...
106FA on a finishing pad worked very nicely, some more stubborn spots were hand rubbed out using M105 if needed.
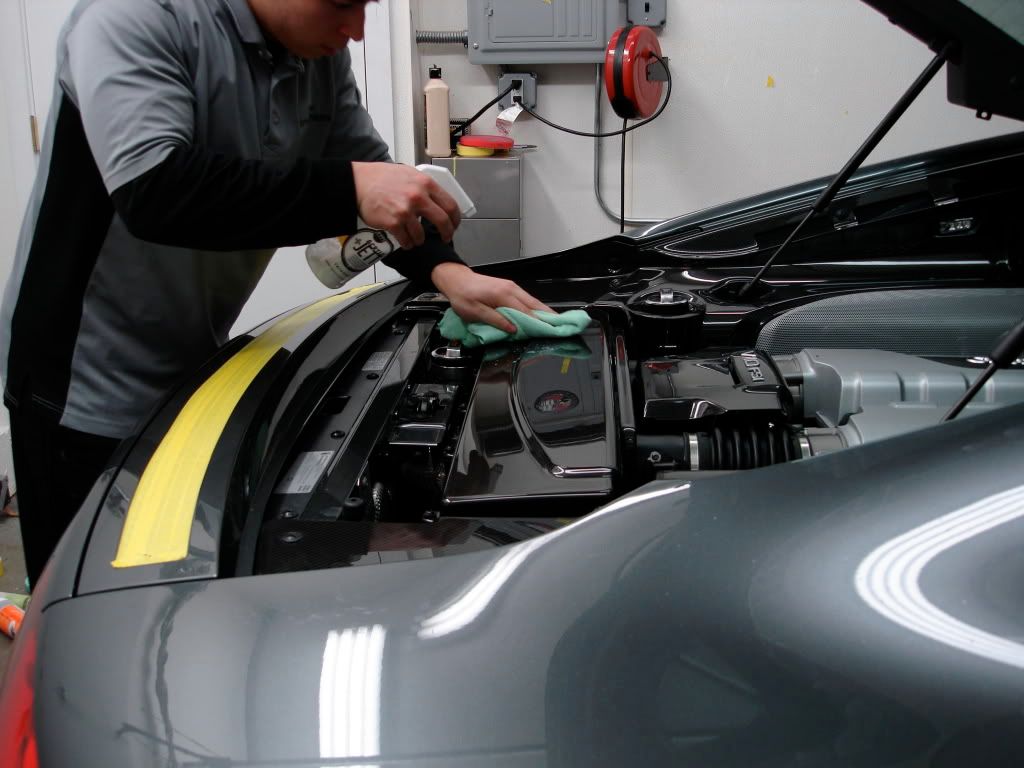
After correction I did an IPA wipedown and prepped the CF with Werkstat Prime before applying the first of 3 coats of Werkstat AJT, this sealant was ideal because of its easy application in tight areas, plus it just looks outstanding.
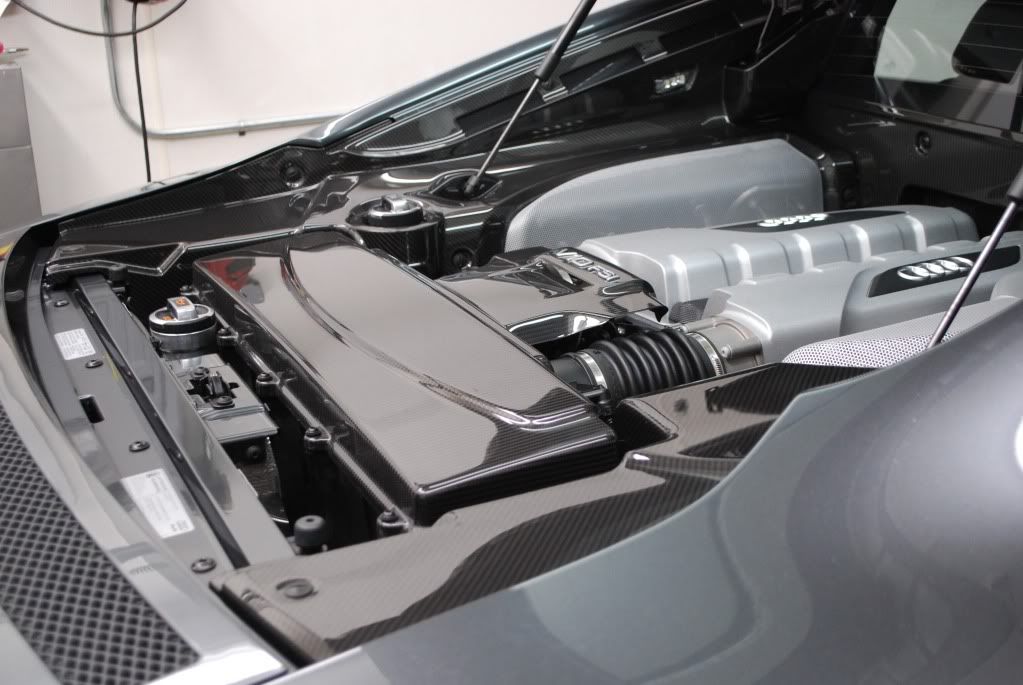
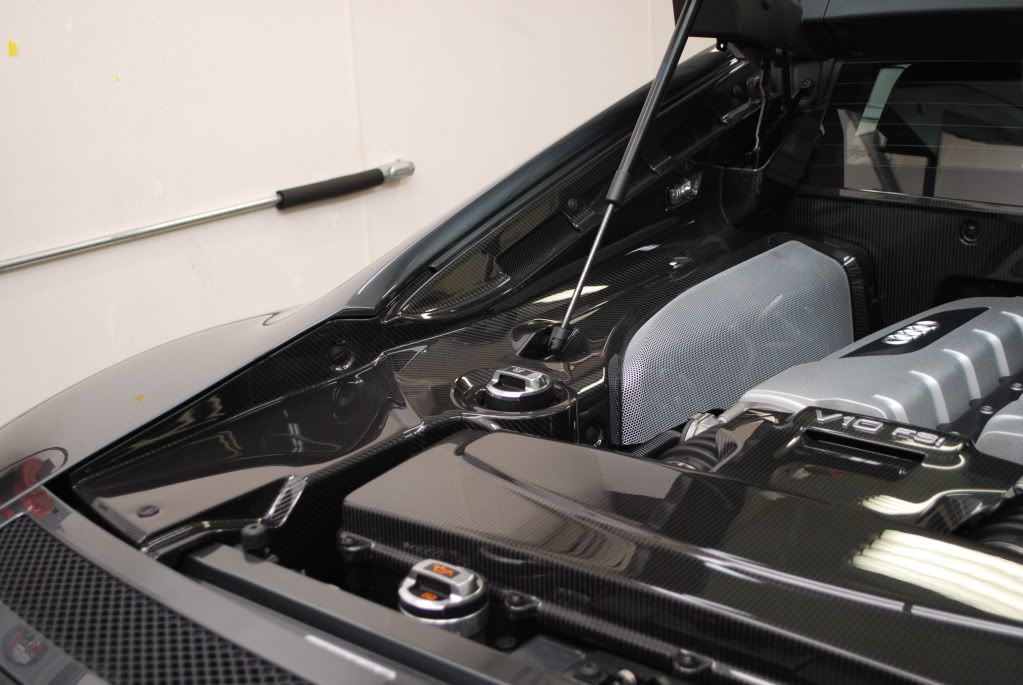
Finished shots of the carbon...
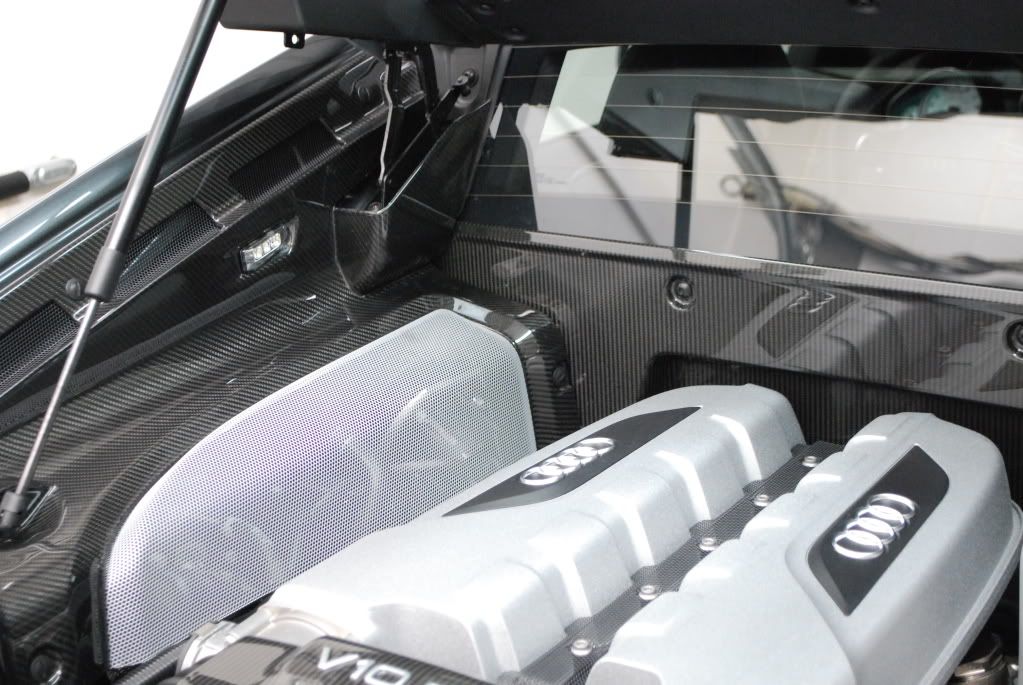
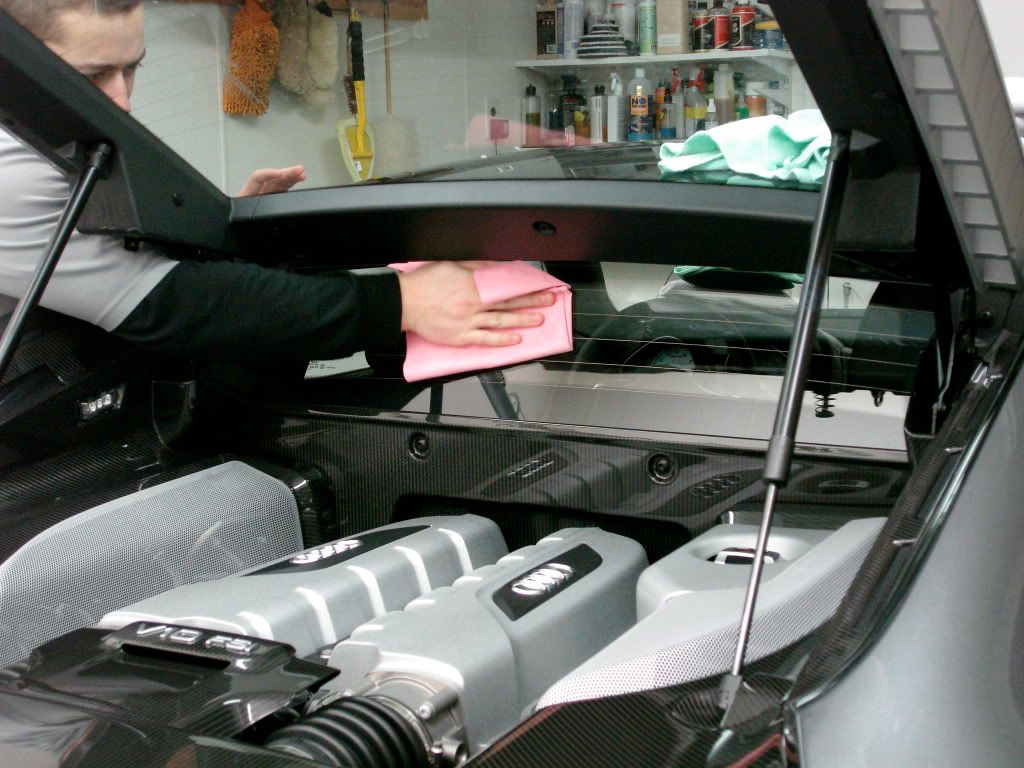
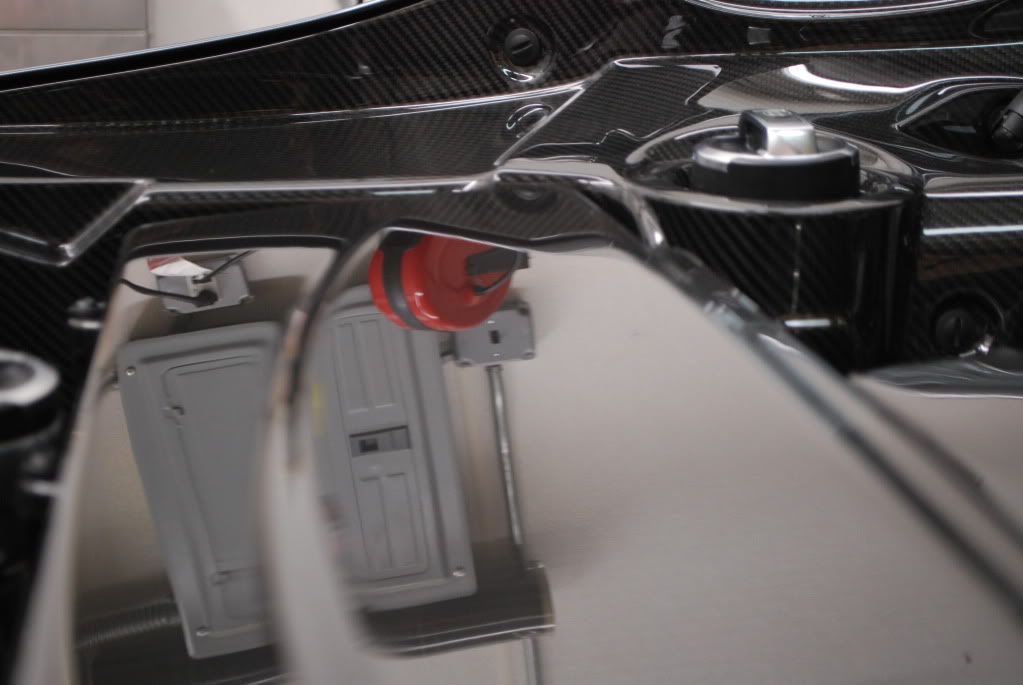
Tidied up the plastic pieces under the decklid as well, protected with 303 protectant...
Before

After
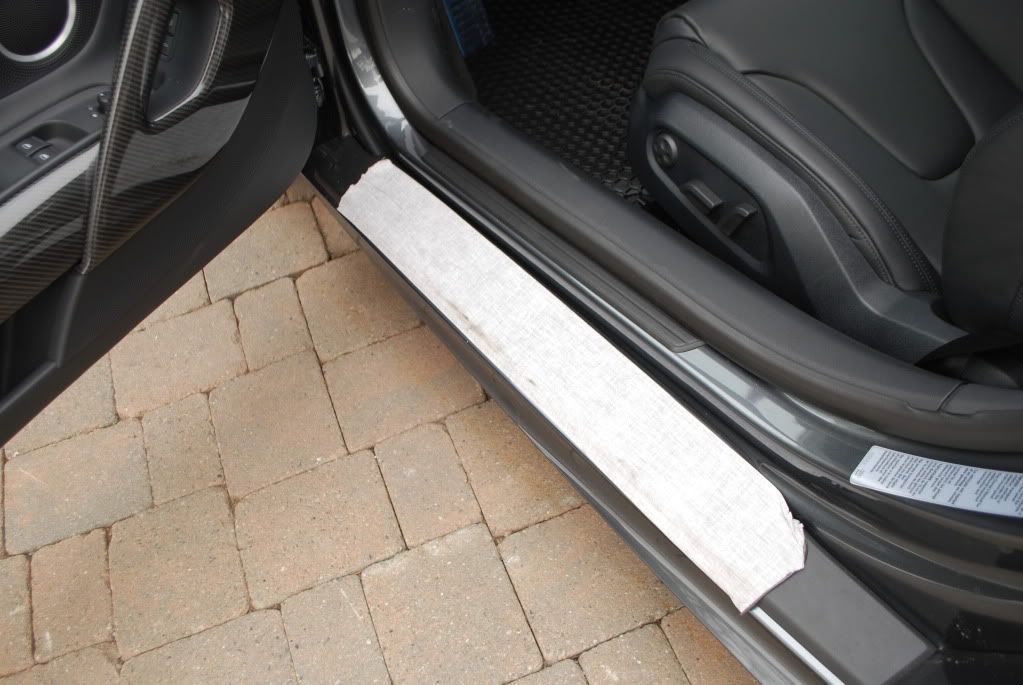
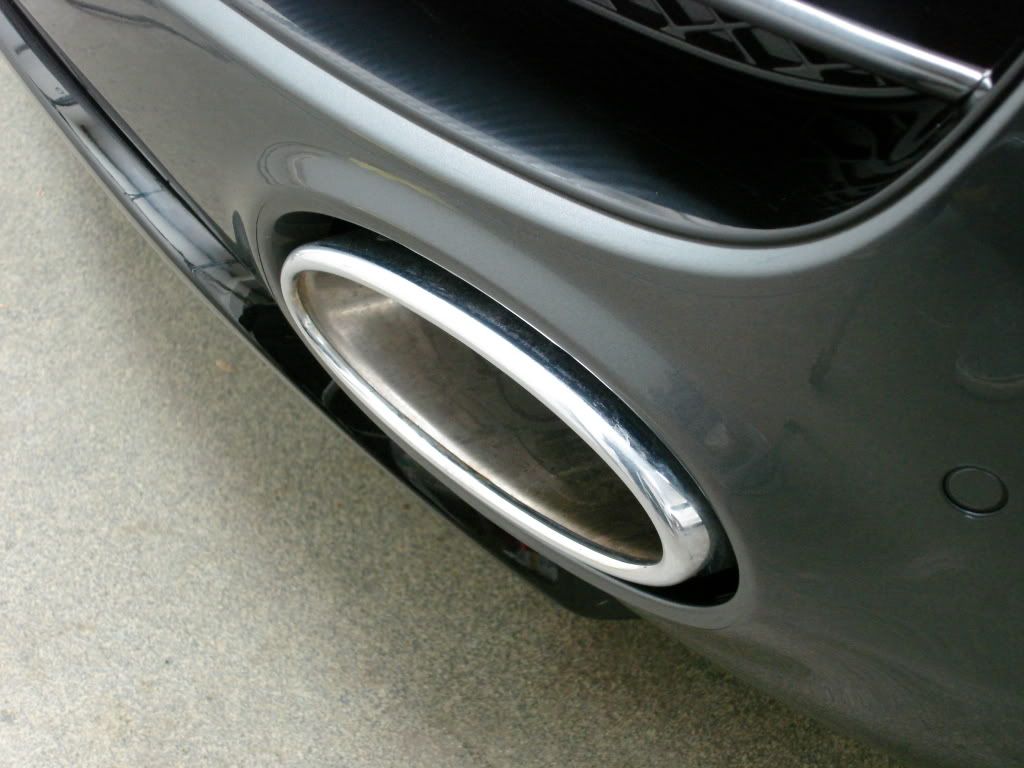
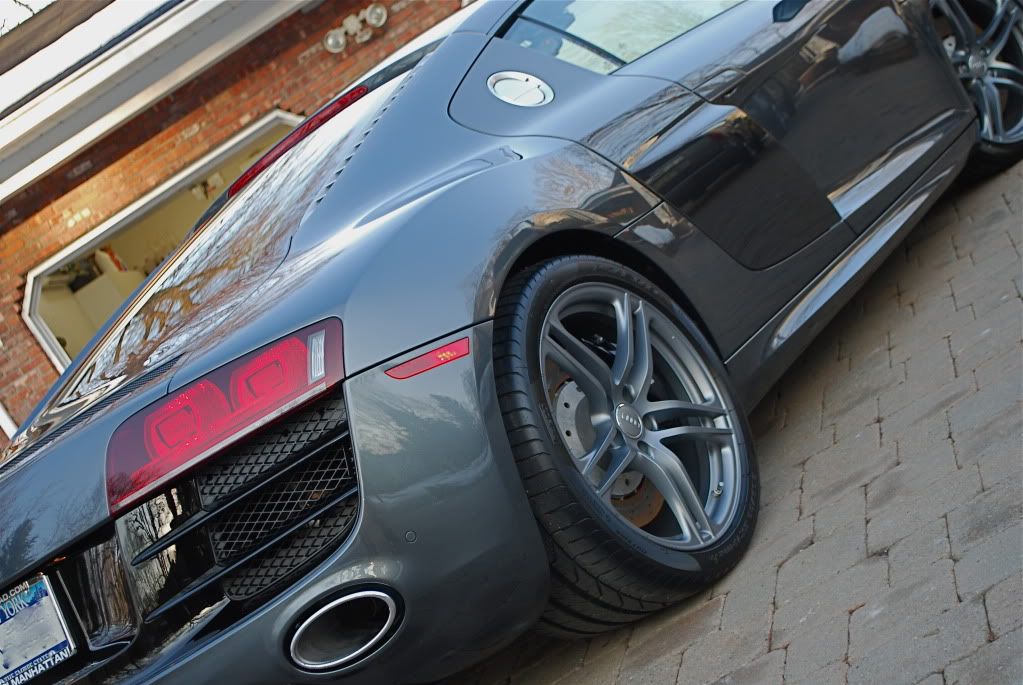
Odds and Ends. Wheels treated with Rejex, tires with Swissvax Pneu (3 coats). Exhaust pipes protected with Rejex. Doorjambs sealed, interior got a light wipedown.
First of 3 coats of Menzerna Powerlock curing, machined applied of course.
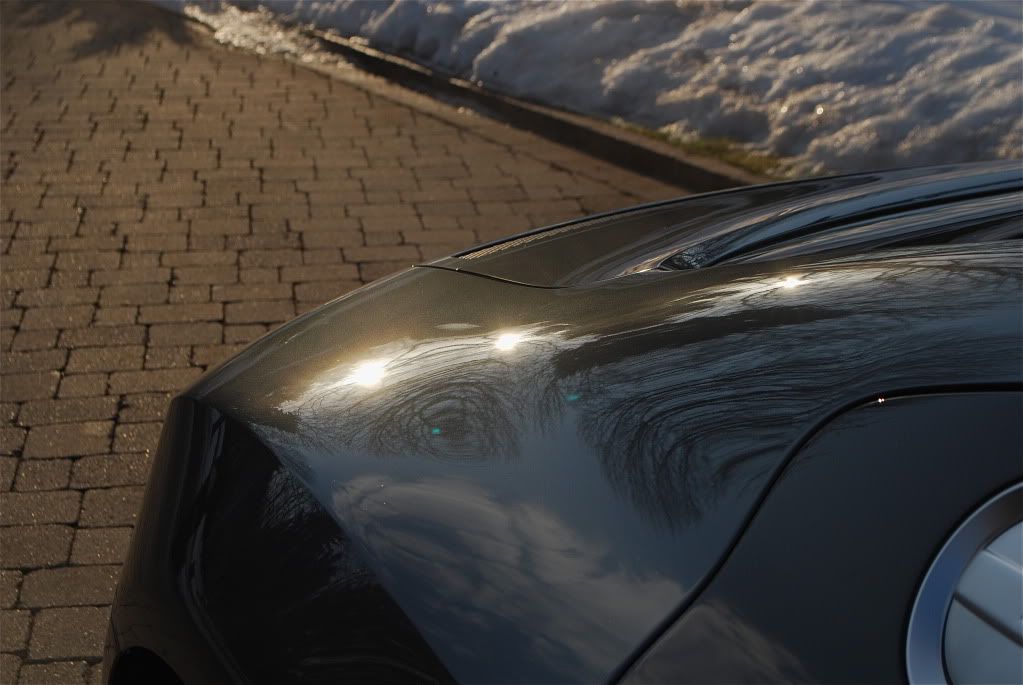
Film finished, powerlock definitely amped up the clarity and slickness of the film too, notice the lack of orange peel that Venture film has compared to so many other brands!
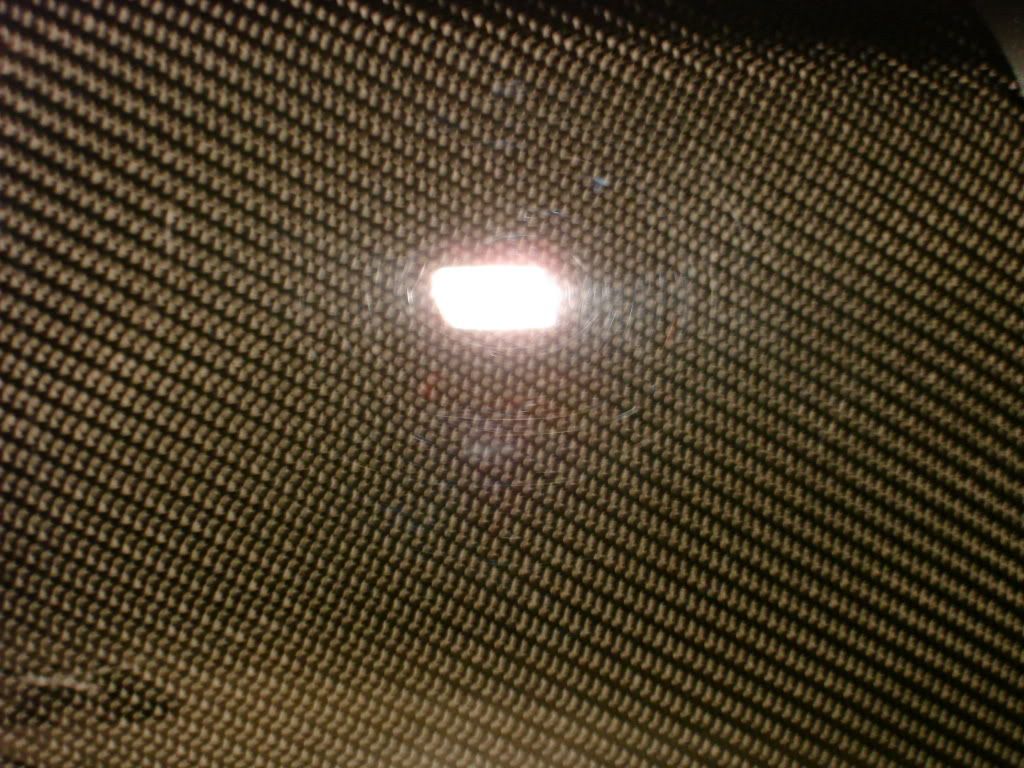
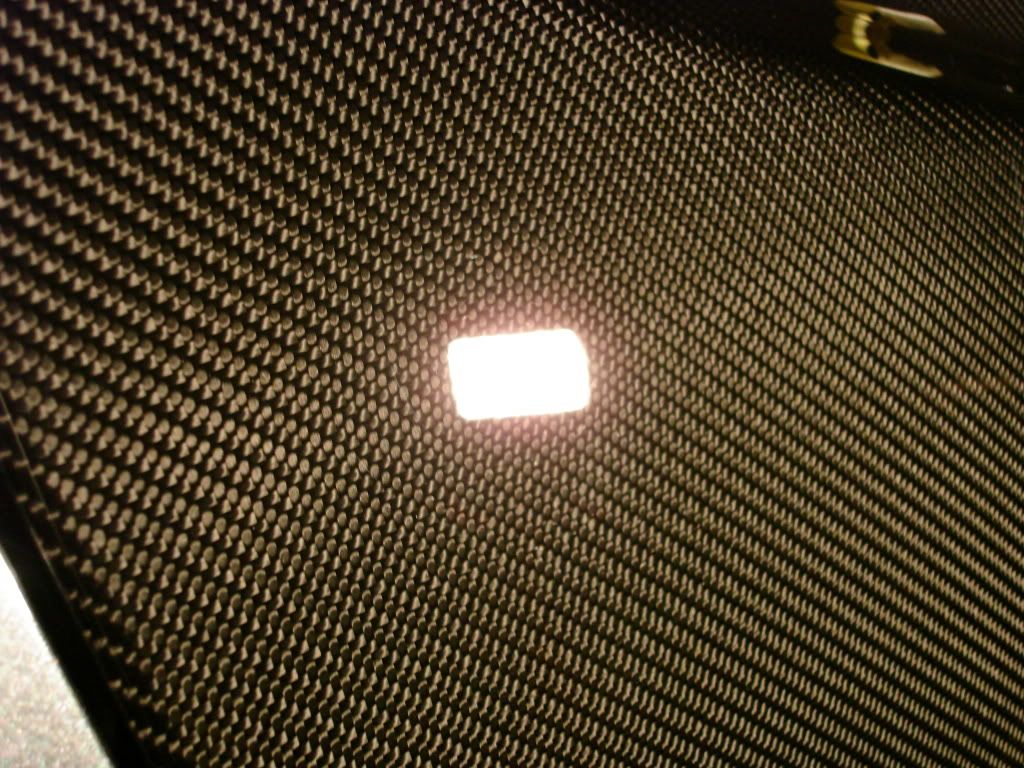
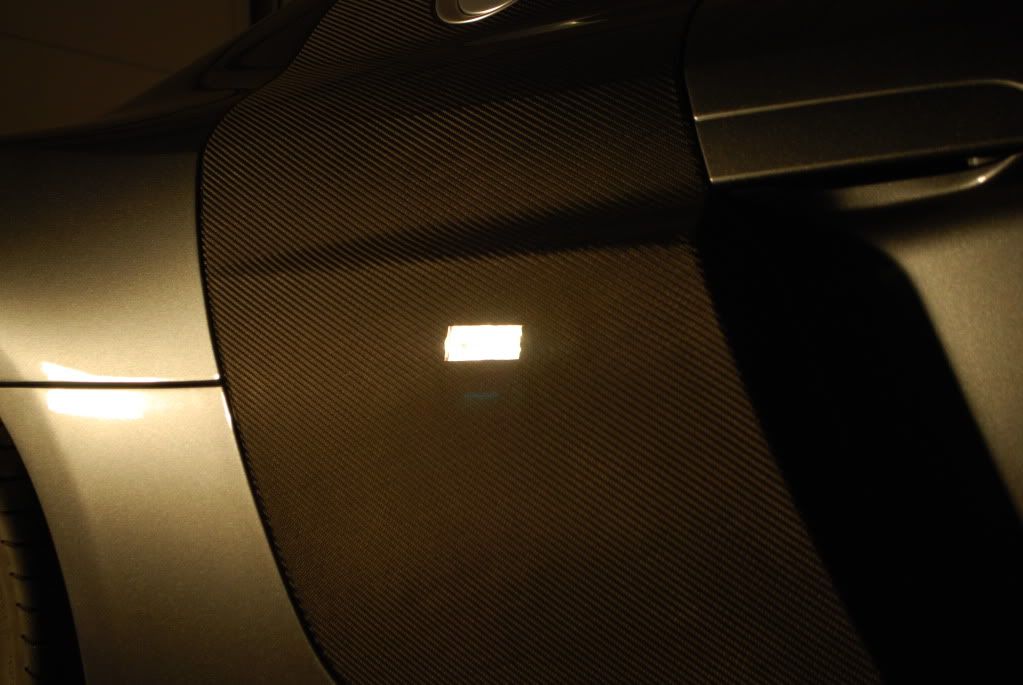
Finished result of Carbon Blade under halogen.
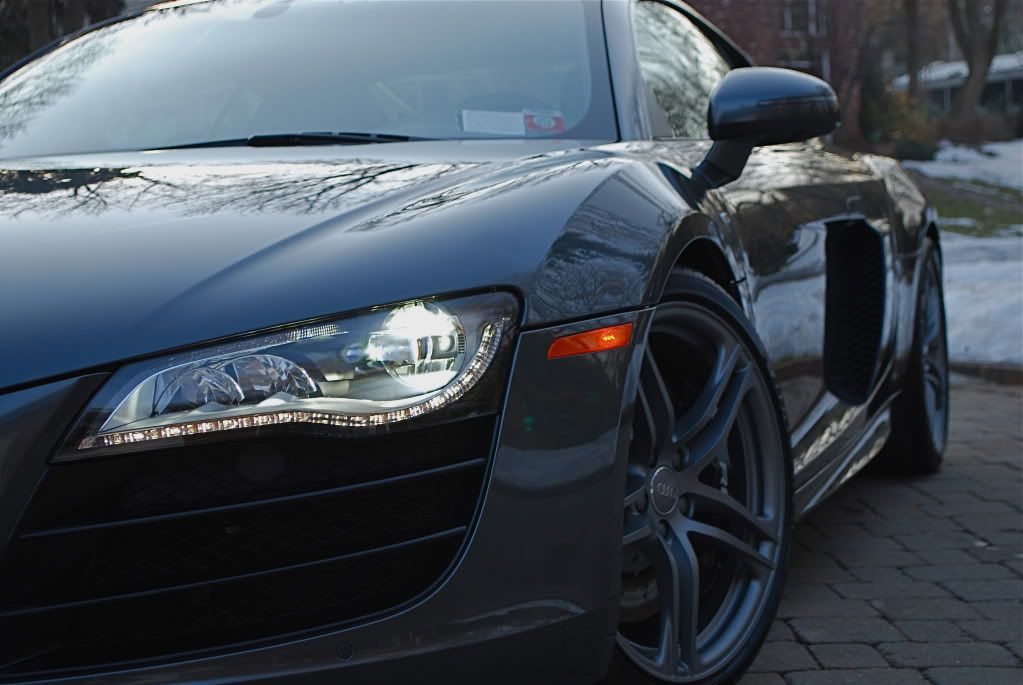
Finished shots 7am time of pick up...

Full video writeup to come as well with in action polishing movies etc.
Thanks for looking, hope you enjoyed.
Well worth the time spent, a little over 1 hour was needed to get the carbon looking right.
Before shots, some hard water etching...
106FA on a finishing pad worked very nicely, some more stubborn spots were hand rubbed out using M105 if needed.
After correction I did an IPA wipedown and prepped the CF with Werkstat Prime before applying the first of 3 coats of Werkstat AJT, this sealant was ideal because of its easy application in tight areas, plus it just looks outstanding.
Finished shots of the carbon...
Tidied up the plastic pieces under the decklid as well, protected with 303 protectant...
Before
After
Odds and Ends. Wheels treated with Rejex, tires with Swissvax Pneu (3 coats). Exhaust pipes protected with Rejex. Doorjambs sealed, interior got a light wipedown.
First of 3 coats of Menzerna Powerlock curing, machined applied of course.
Film finished, powerlock definitely amped up the clarity and slickness of the film too, notice the lack of orange peel that Venture film has compared to so many other brands!
Finished result of Carbon Blade under halogen.
Finished shots 7am time of pick up...
Full video writeup to come as well with in action polishing movies etc.
Thanks for looking, hope you enjoyed.

