
Black magic GTI 5 gets some TLC
 Oct 9, 2010 | 03:46 AM
#1

Thread Starter
| Teamspeed Junior Member
Joined: Nov 2009
Posts: 50


Black magic GTI 5 gets some TLC
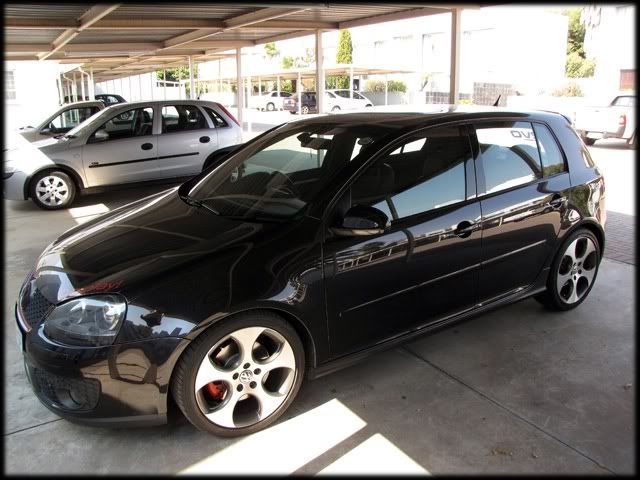
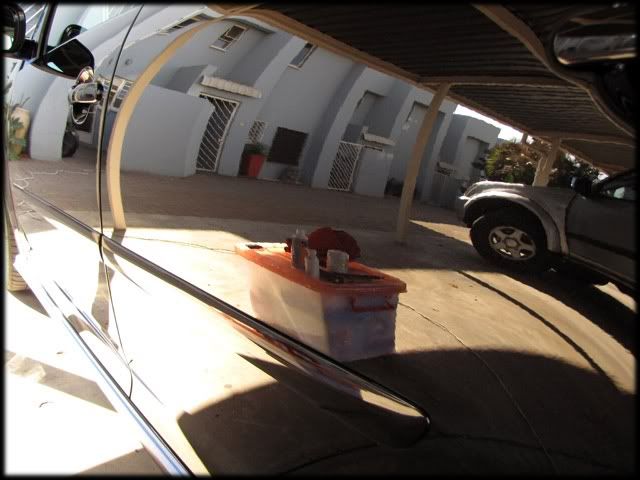
This past weekend saw me detailing yet another black magic metallic Mk V GTI. Lets see how it panned out...
The car upon starting on Friday afternoon.
As usual wheels and arches were 1st on the list.
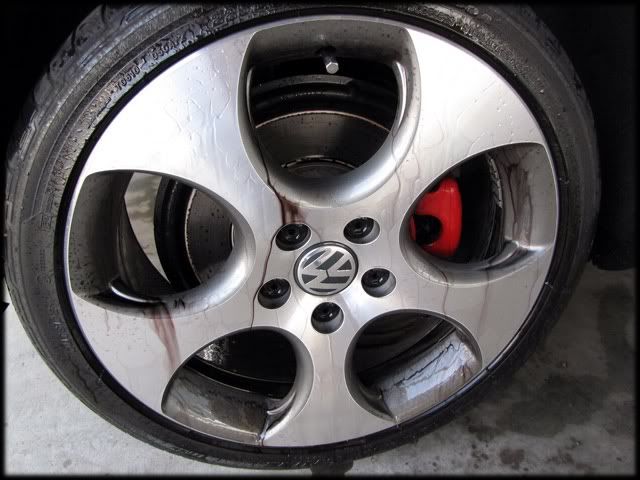
Wheels with some general dirt and grime
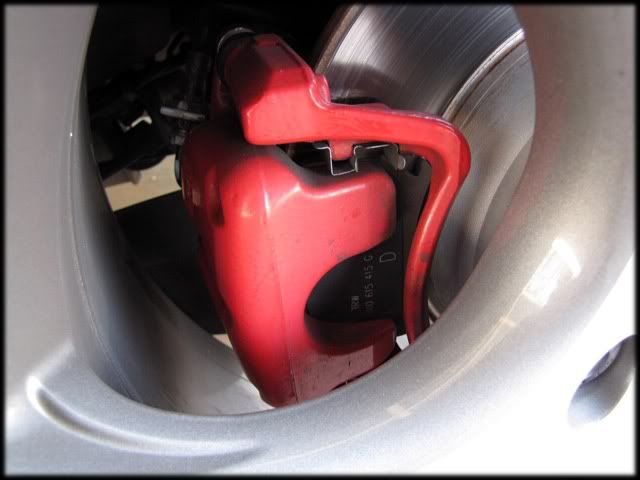
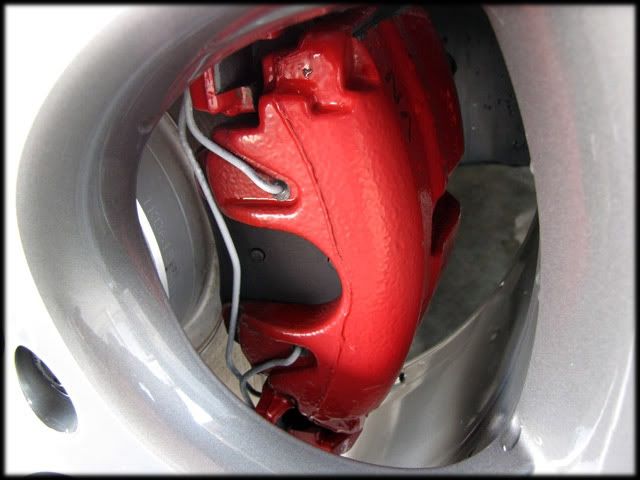
Brake calipers were a bit dirty as well
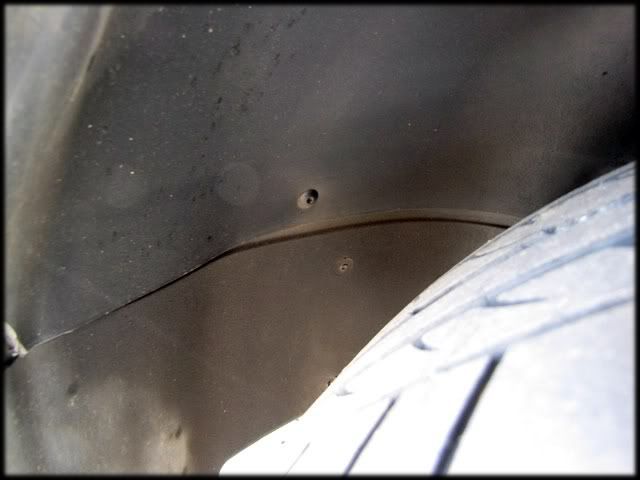
I jacked up the car to gain better access to the wheel arches
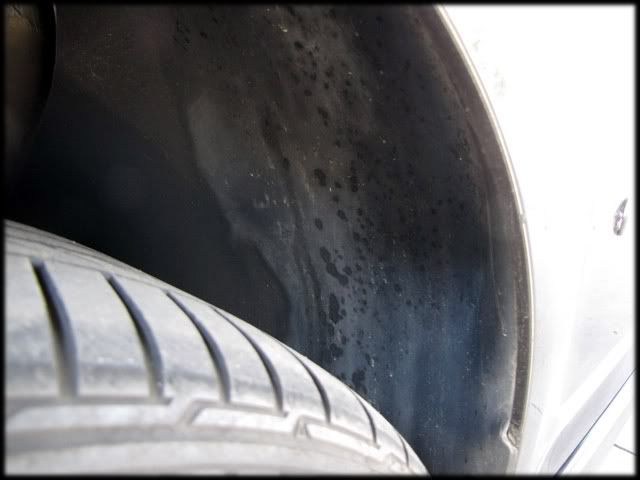
Arches were pretty dirty as expected
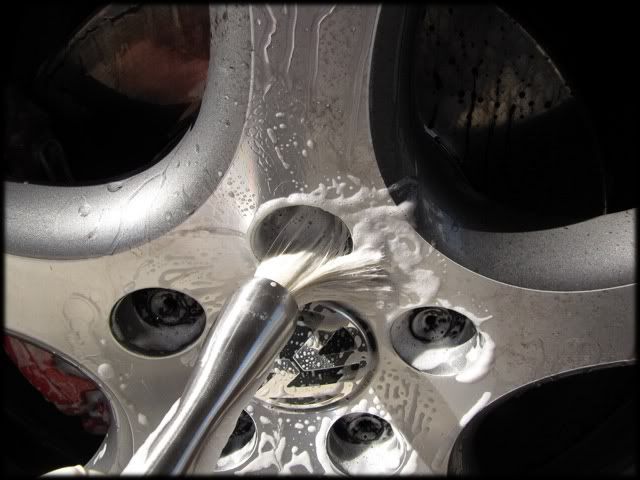
Sonax Extreme rim cleaner was applied liberaly and left to dwell
A detail brush was used to clean all the small areas and calipers...

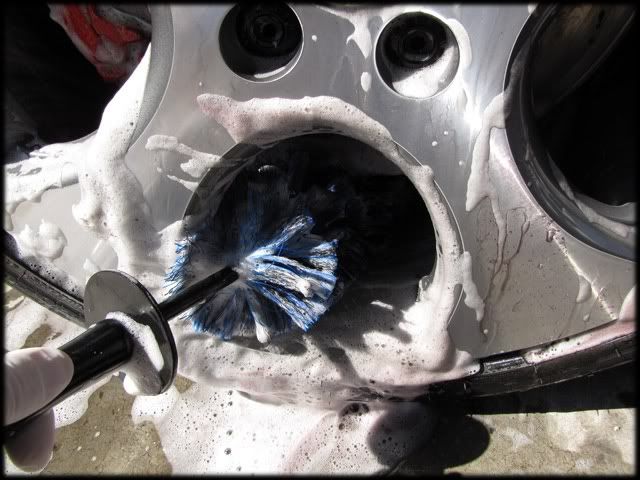
Ez Wheel brush removing the majority of the dirt buildup from the wheels
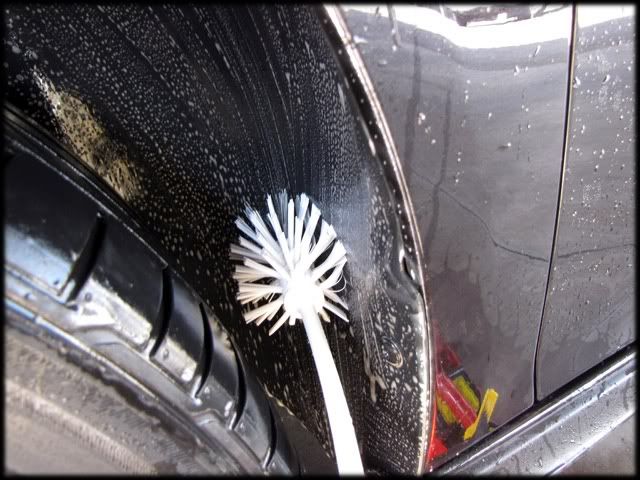
Tyres were scrubbed with a stiff bristle brush and 5:1 APC

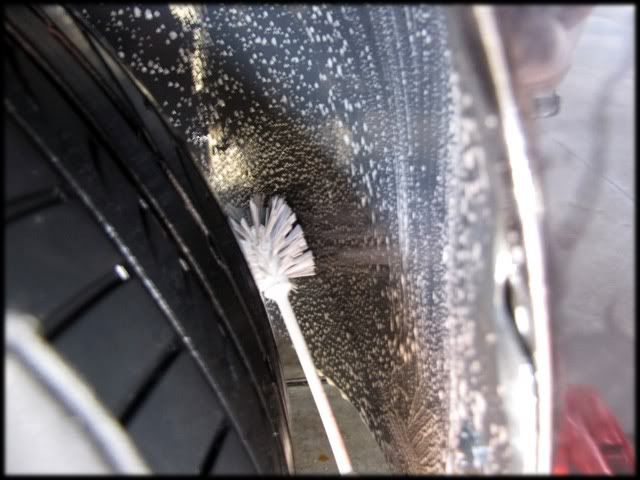
Arches cleaned with 5:1 APC and wheel back brushes
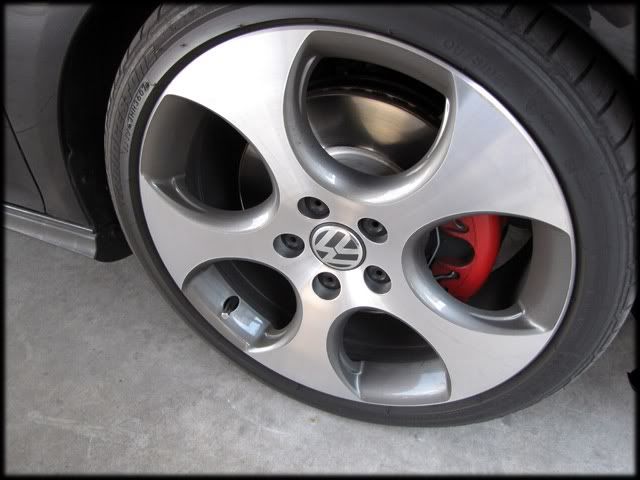
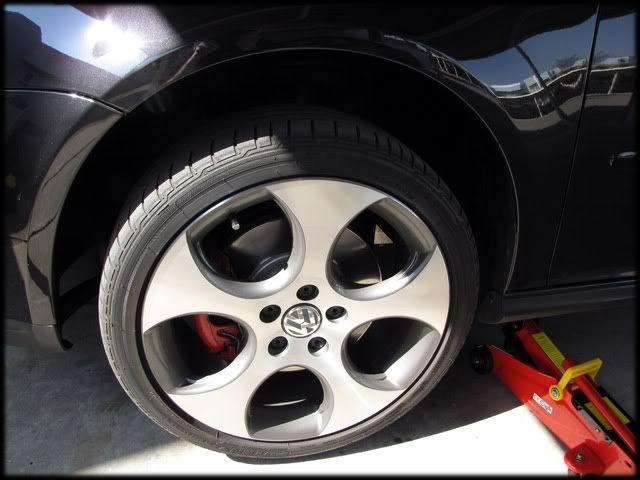
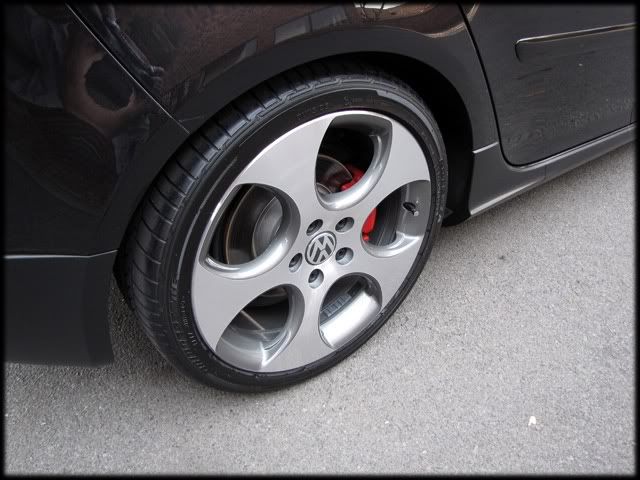
After rinsing the wheels were looking pretty neat and tidy
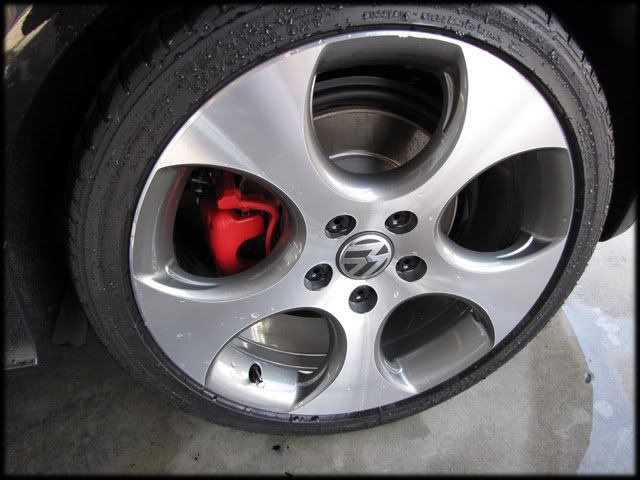
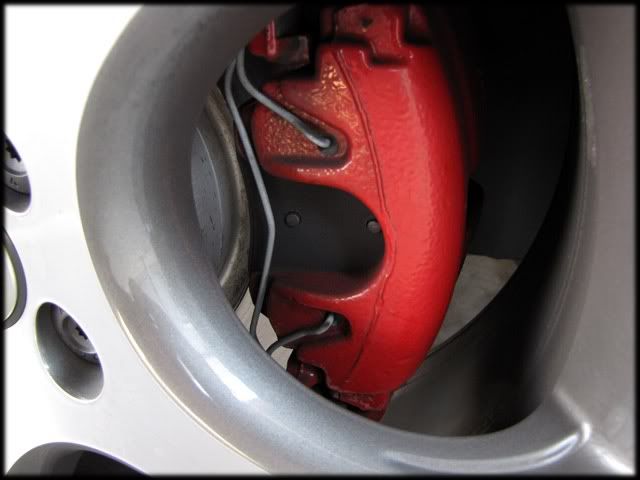
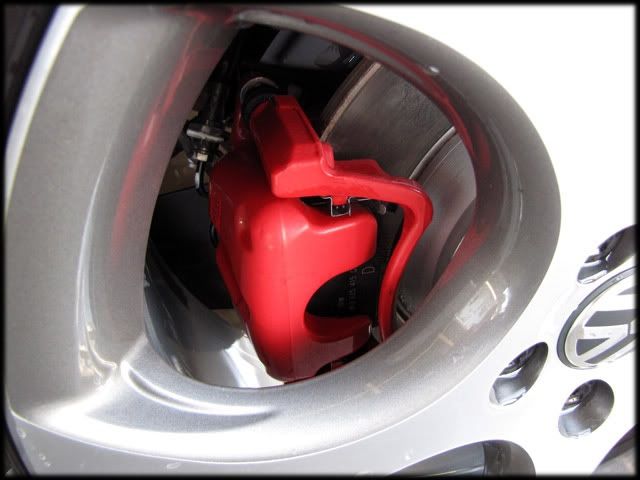
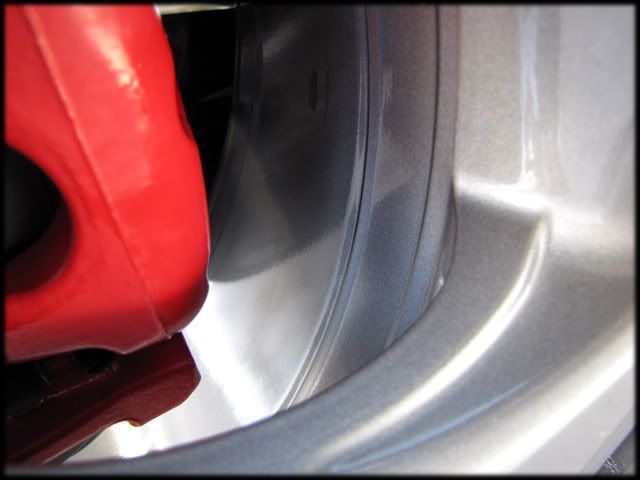
Calipers came up pretty well, albeit still suffering from slight discolouration
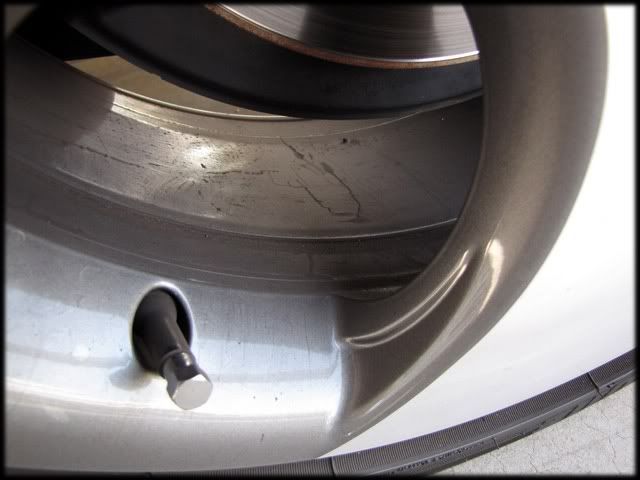
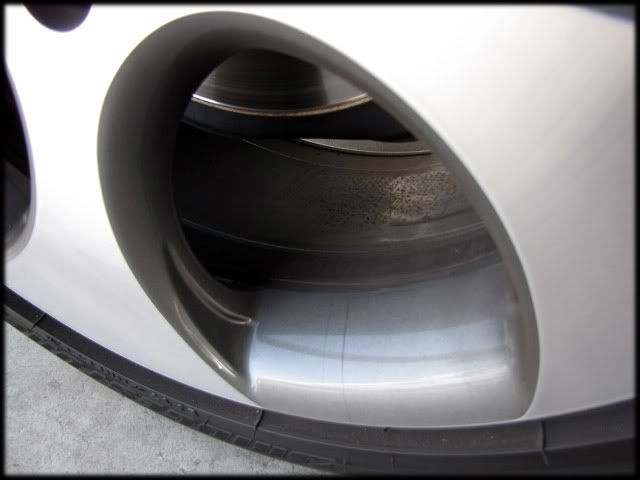
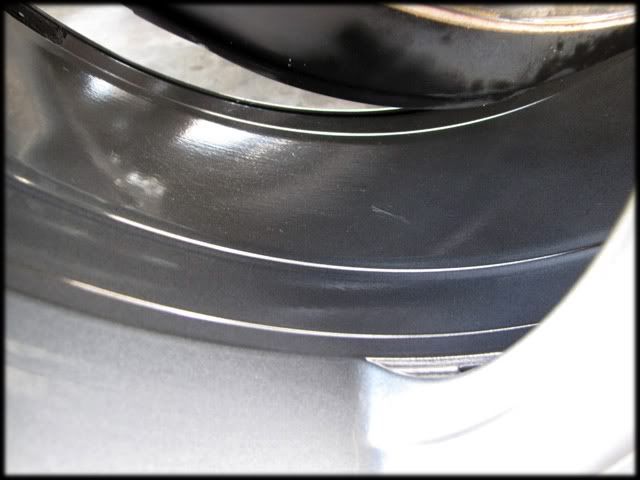
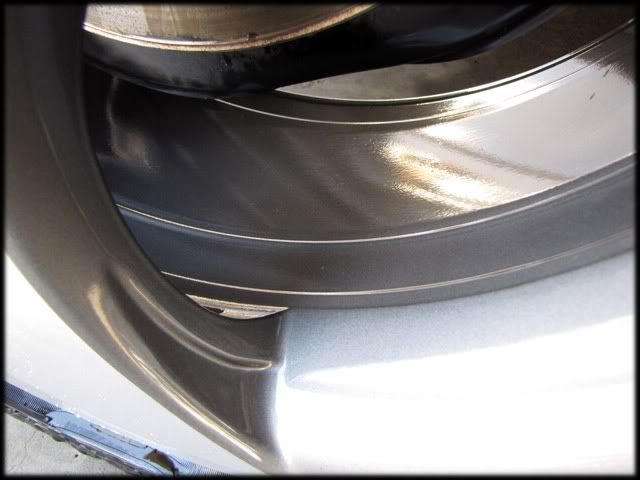
With the wheels clean I could now see a few small tar deposits which remained on the inner wheel barrels
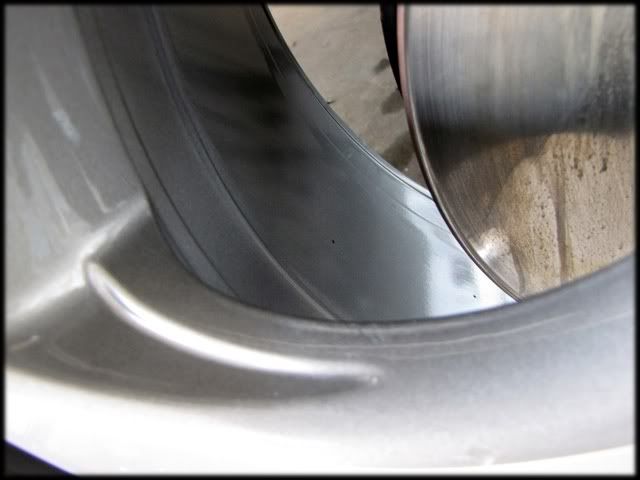
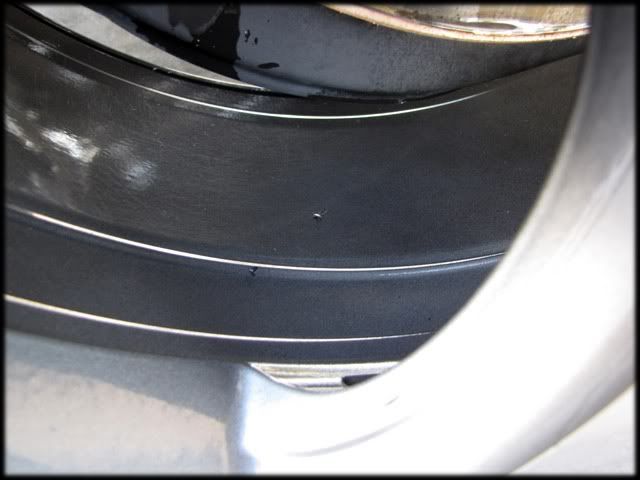
These were taken care of with Sonax liquid tar remover and a microfiber towel...
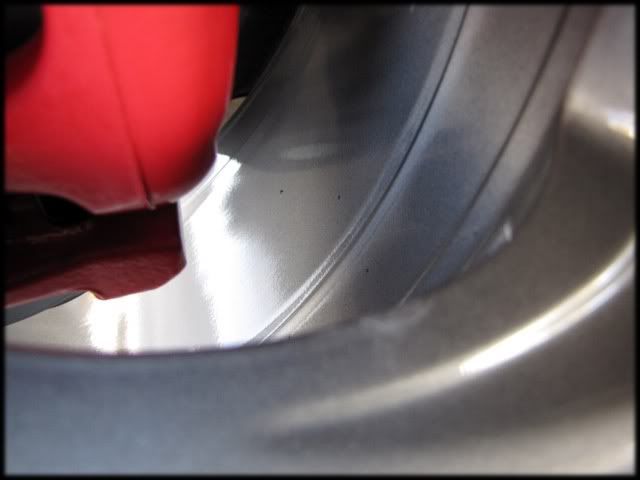
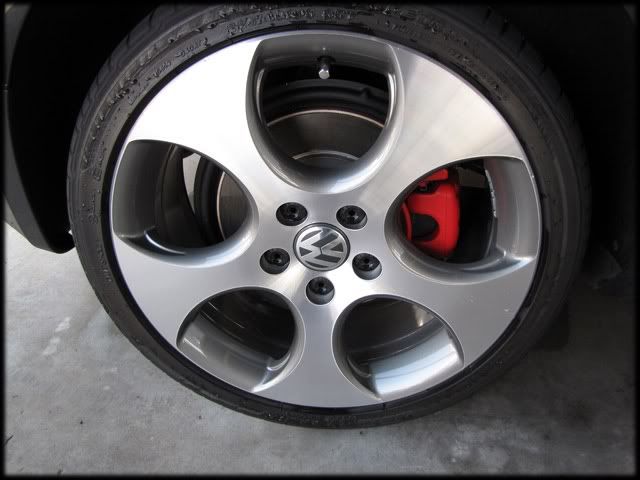
Some finished shots of the wheels
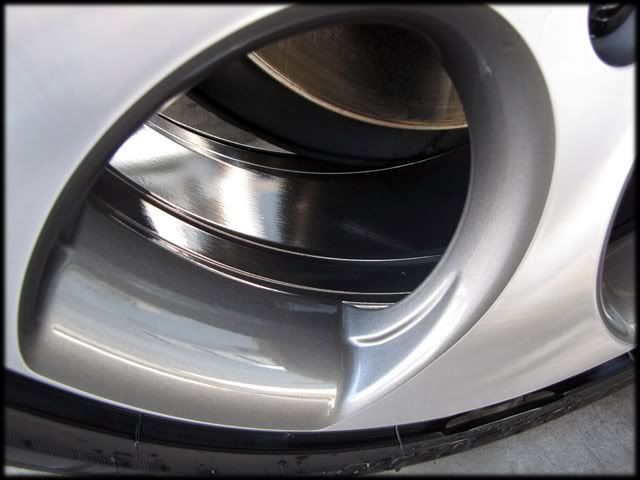
[IMG]http://i88.photobucket.com/albums/k165/CarnSA/Mobile%20Image
/2010/GTI%20-%20Sugen/IMG_0242.jpg[/IMG]
With the wheels and arches cleaned up I turned my attention to washing the car. For this I used a combo of APC and Citrus Wash through a new el-cheapo foamer I have been playing with...
Not the greatest foam but significantly better than off the shelf foam guns
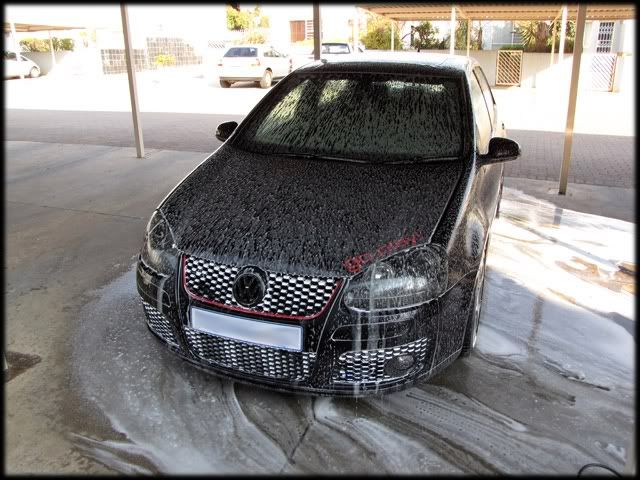
Dwell time was poor compared to the proper PA foamers

The car upon starting on Friday afternoon.
As usual wheels and arches were 1st on the list.
Wheels with some general dirt and grime
Brake calipers were a bit dirty as well
I jacked up the car to gain better access to the wheel arches
Arches were pretty dirty as expected
Sonax Extreme rim cleaner was applied liberaly and left to dwell
A detail brush was used to clean all the small areas and calipers...
Ez Wheel brush removing the majority of the dirt buildup from the wheels
Tyres were scrubbed with a stiff bristle brush and 5:1 APC
Arches cleaned with 5:1 APC and wheel back brushes
After rinsing the wheels were looking pretty neat and tidy
Calipers came up pretty well, albeit still suffering from slight discolouration
With the wheels clean I could now see a few small tar deposits which remained on the inner wheel barrels
These were taken care of with Sonax liquid tar remover and a microfiber towel...
Some finished shots of the wheels
[IMG]http://i88.photobucket.com/albums/k165/CarnSA/Mobile%20Image
/2010/GTI%20-%20Sugen/IMG_0242.jpg[/IMG]
With the wheels and arches cleaned up I turned my attention to washing the car. For this I used a combo of APC and Citrus Wash through a new el-cheapo foamer I have been playing with...
Not the greatest foam but significantly better than off the shelf foam guns
Dwell time was poor compared to the proper PA foamers
Oct 9, 2010 | 03:47 AM
#2
Thread Starter
| Teamspeed Junior Member
Joined: Nov 2009
Posts: 50
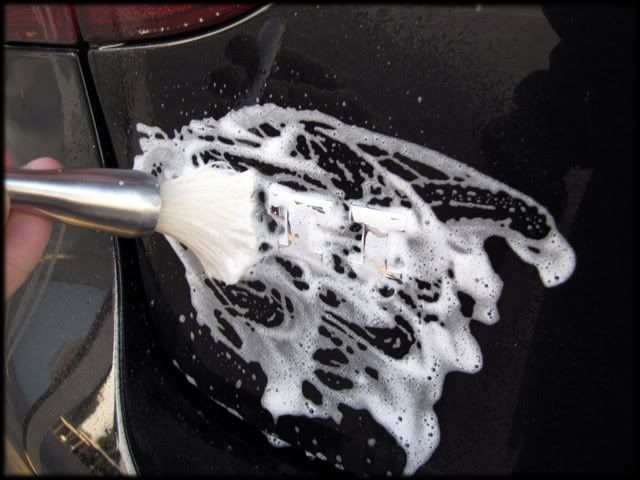
After rinsing all the loose grime from the paintwork it was time to sort out all the small details like trim...

Beadings
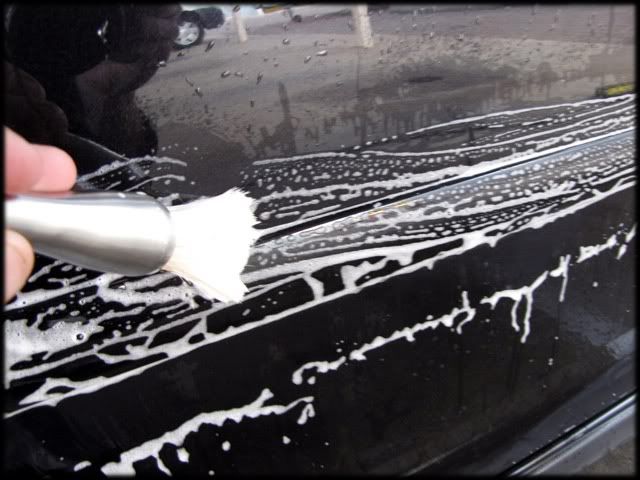
Rubber seals
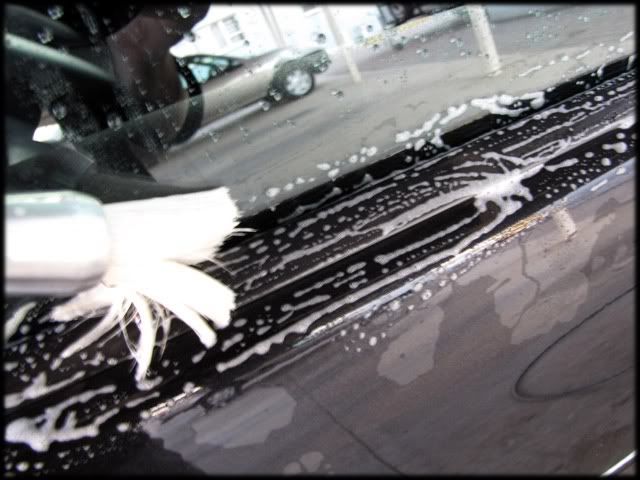
Often overlooked areas
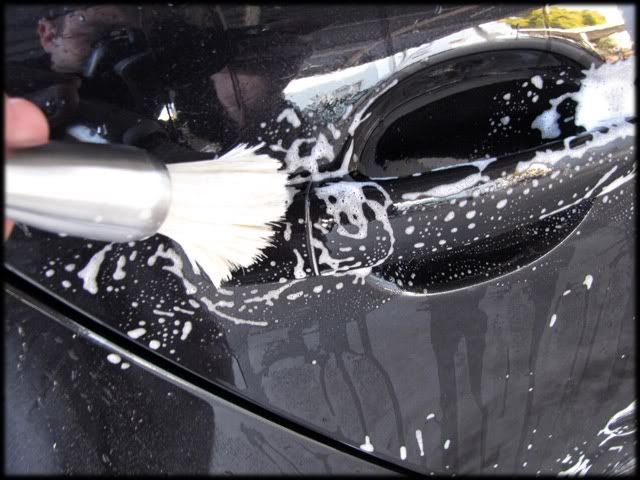
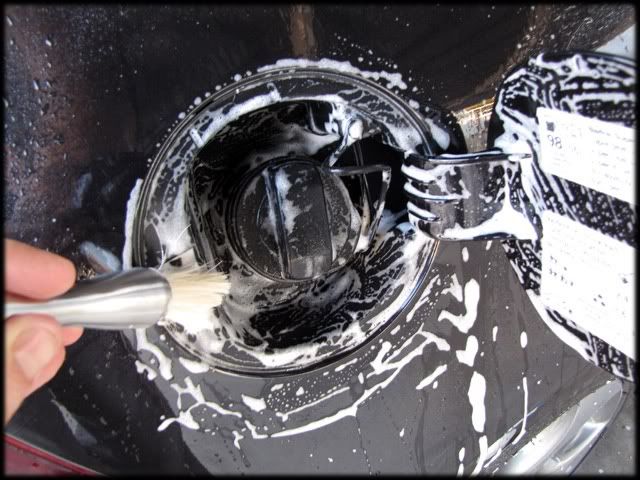
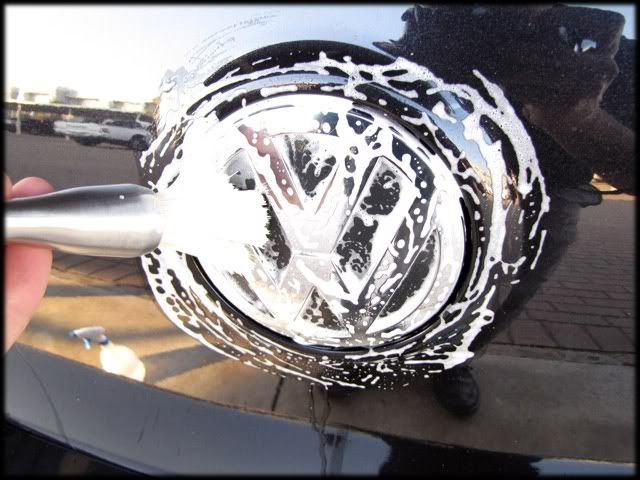
And emblems
After re-rinsing the car it was foamed again and washed before claying. Smartwax Smartclay did a good job of removing all surface contaminants
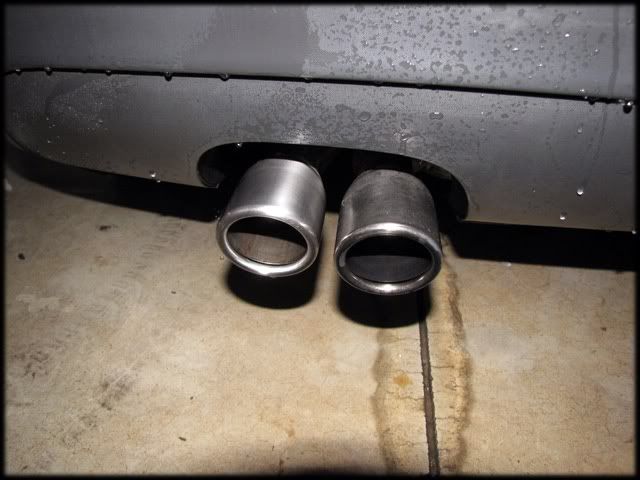
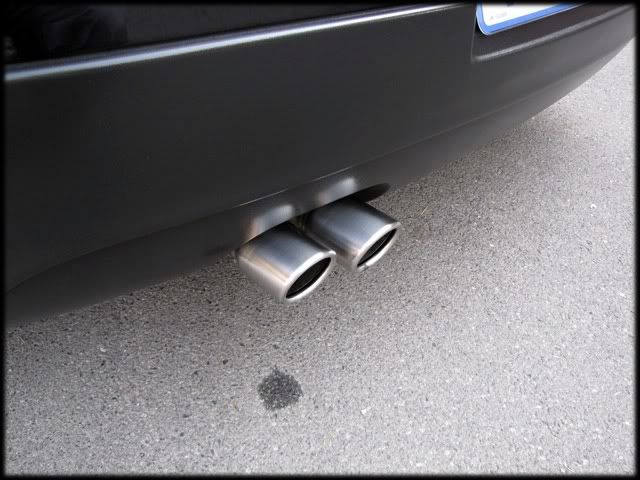
With the day drawing to a close I started on the tailpipes which needed some work.
50/50
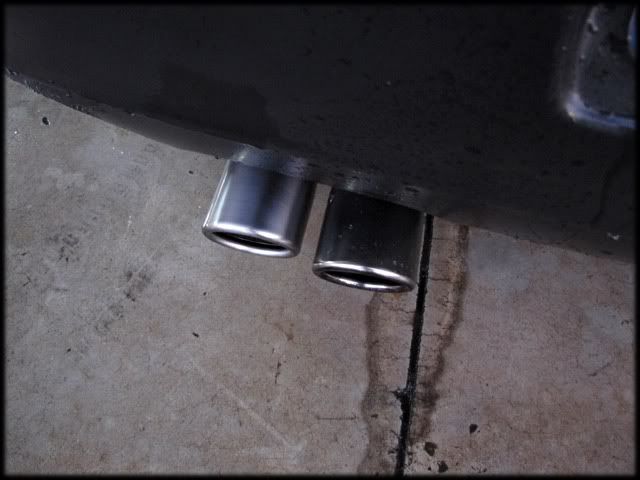
And with the flash. These would be further refined later.
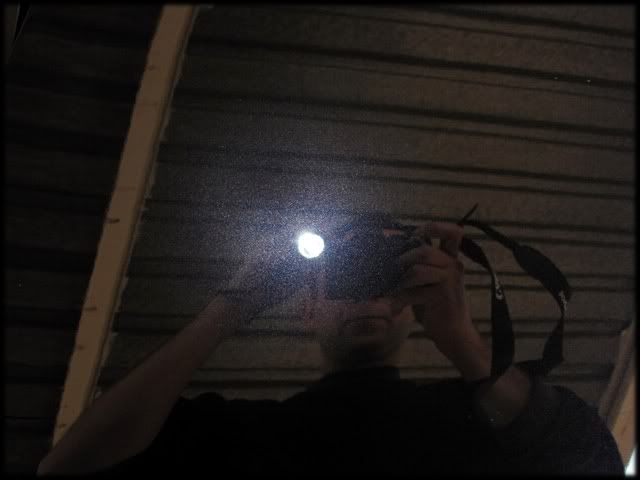
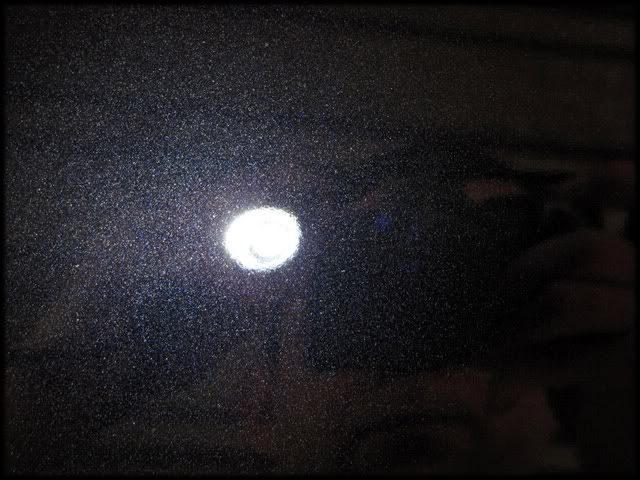
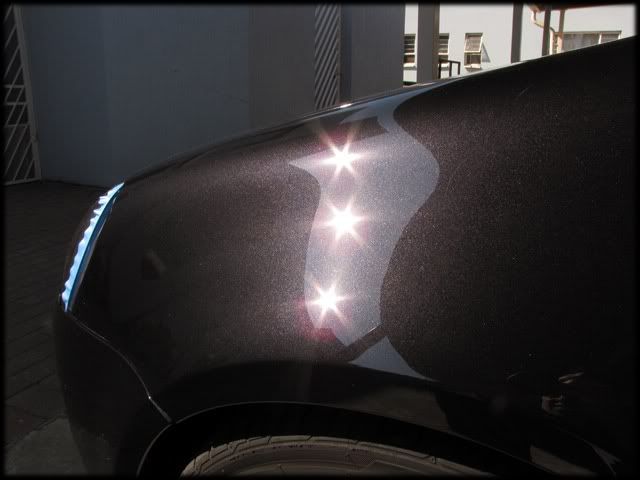
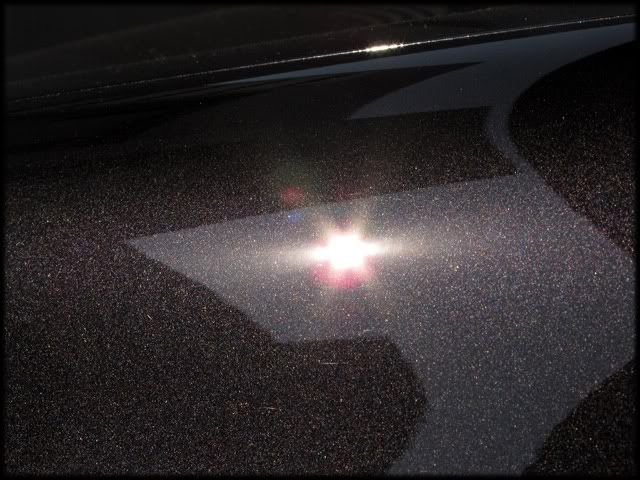
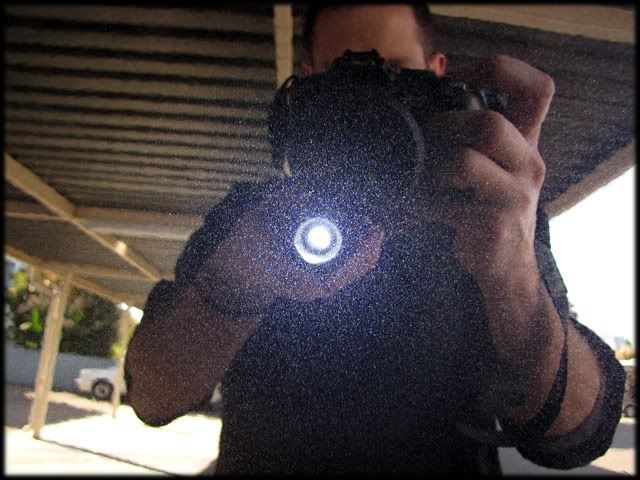
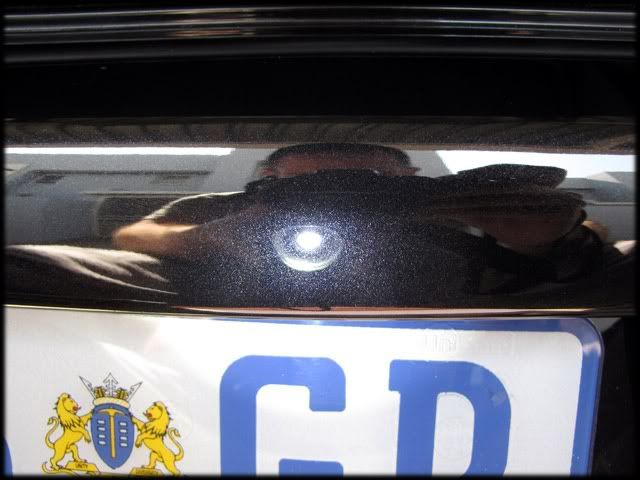
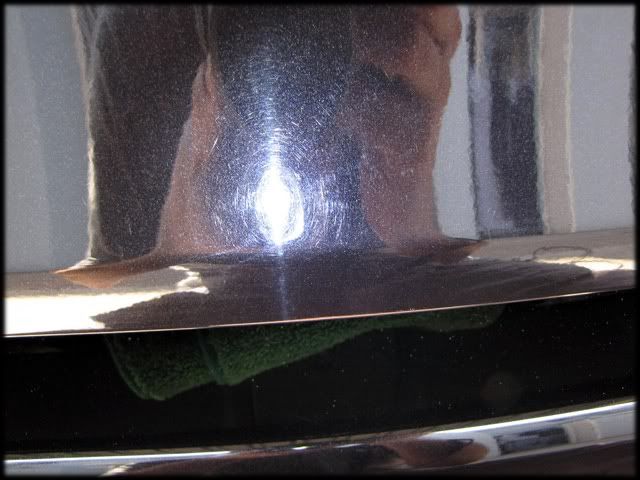
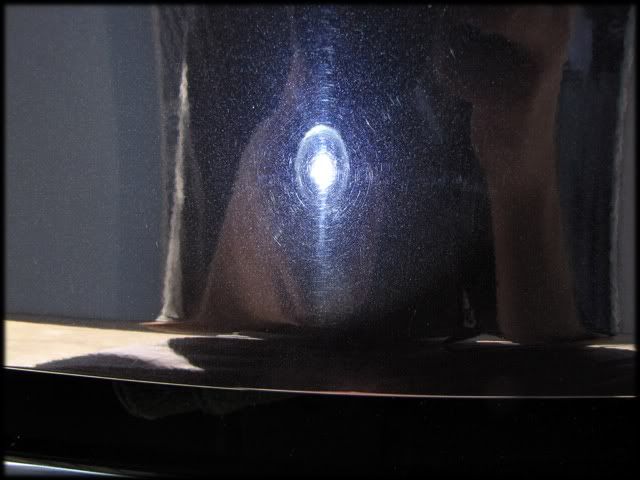
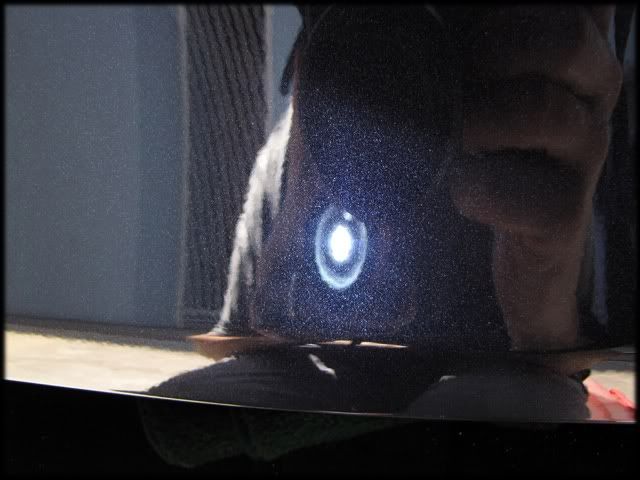
Saturday started out by inspecting the paintwork both in the sun, as well as with my P7 LED torch.
Defects in sunlight...
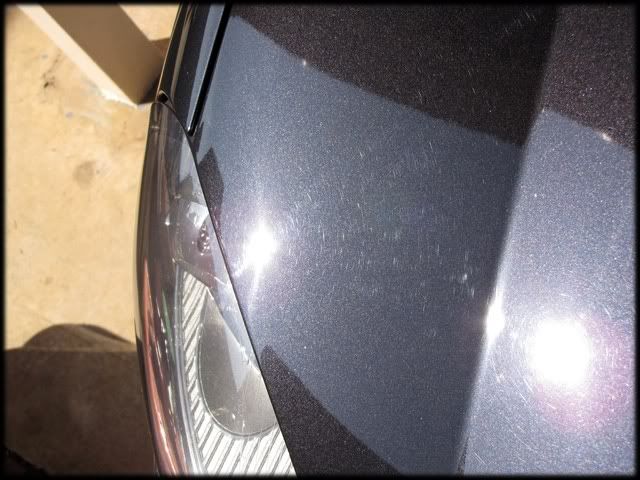
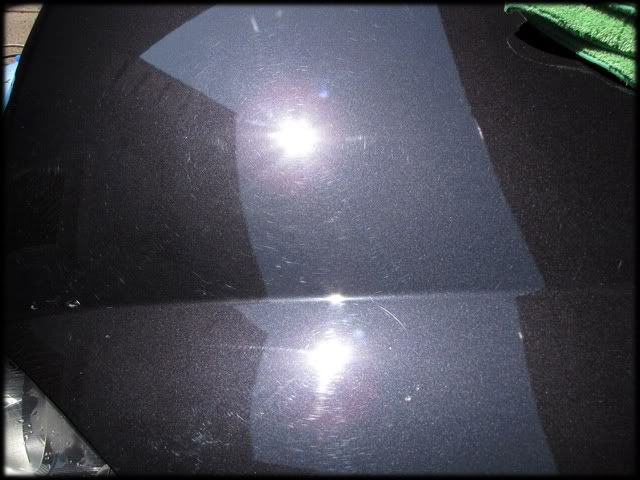
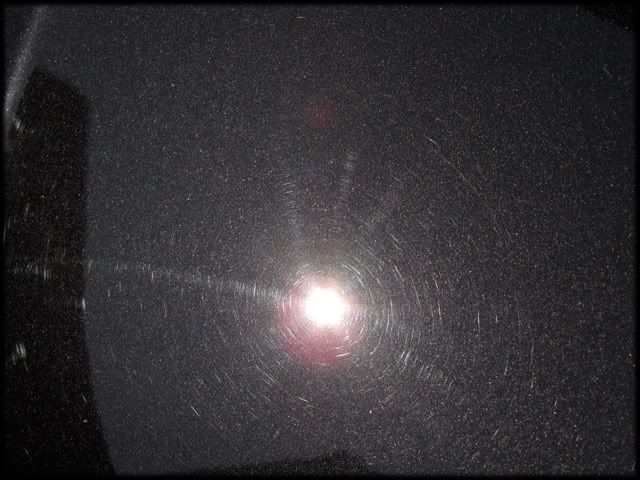
And under the LED
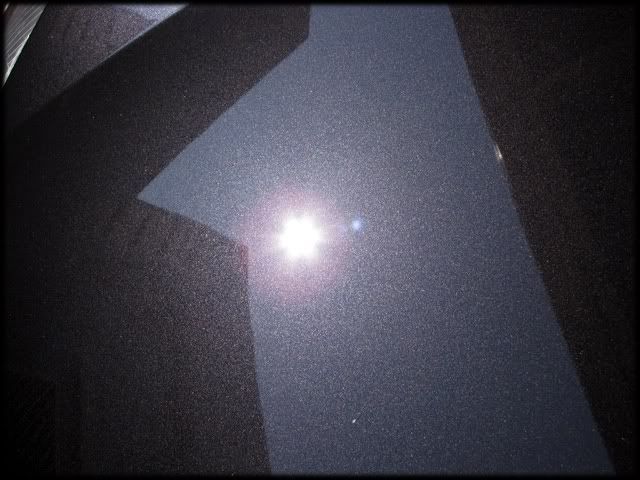
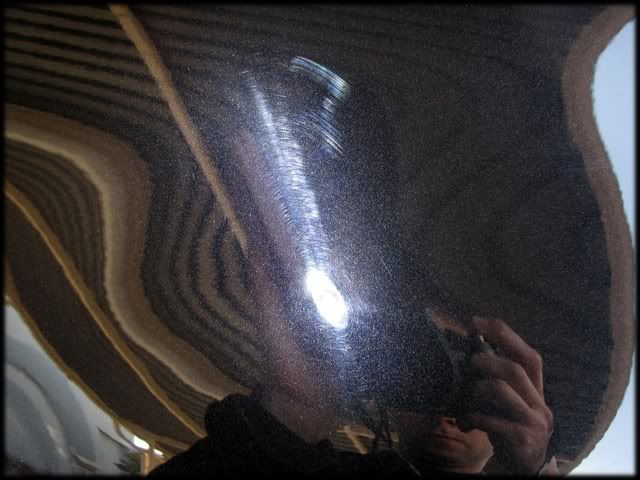
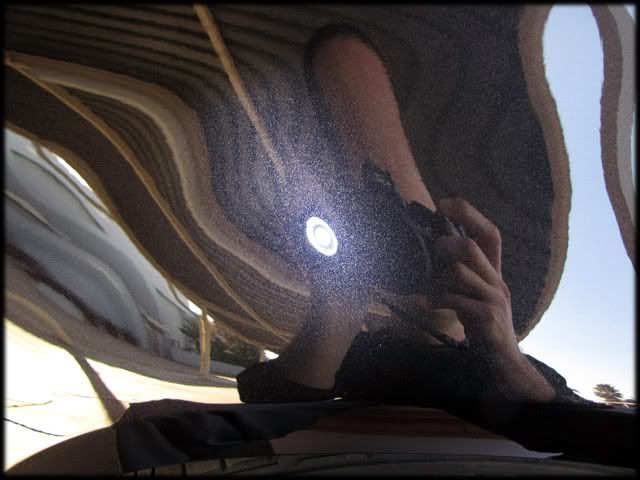
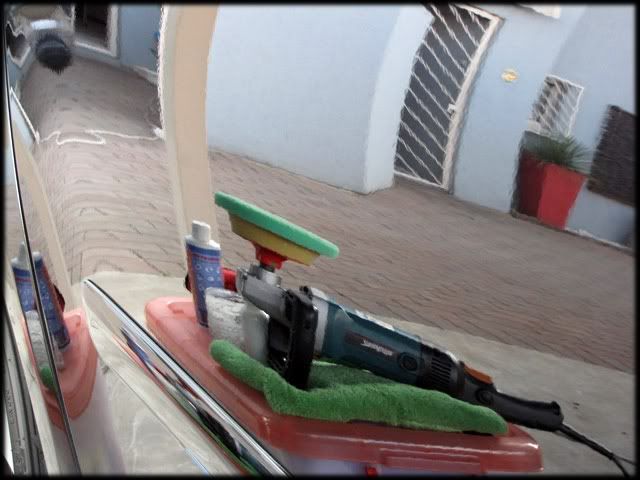
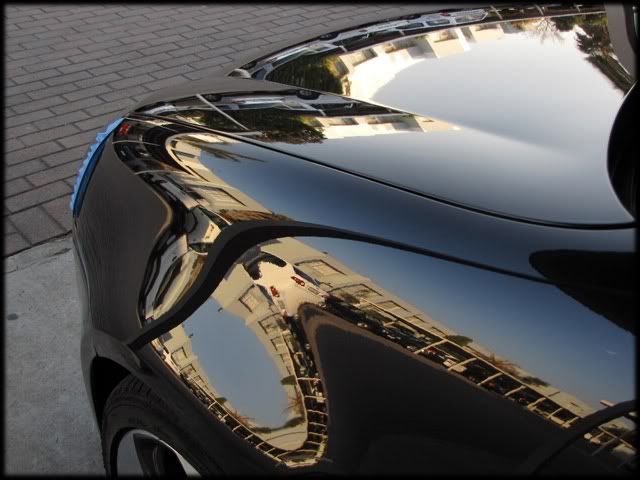
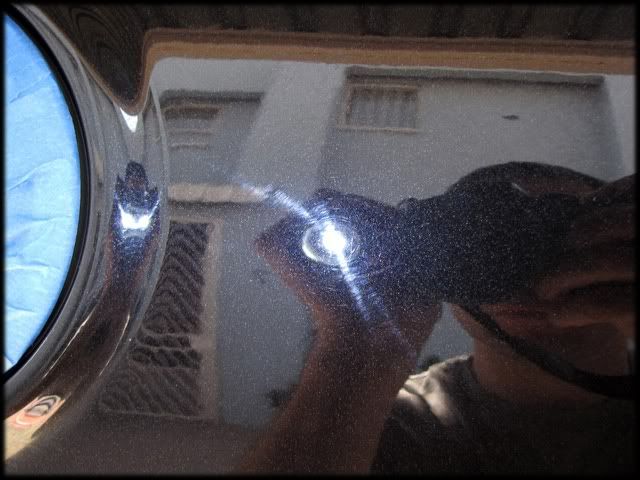
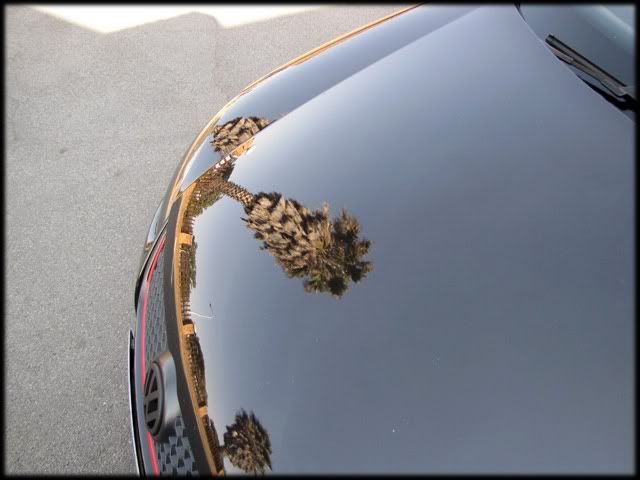
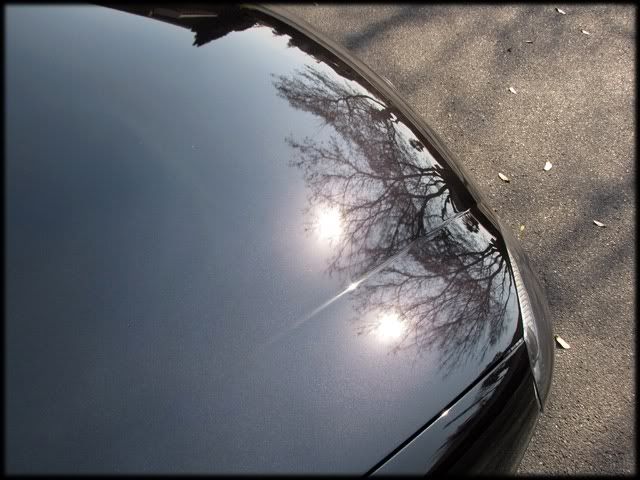
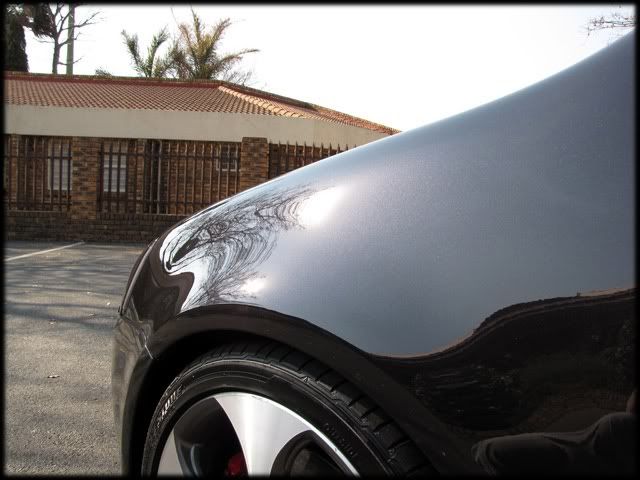
Not wanting to waste any time I got started playing with a few combo's on the bonnet. In the end I wound up using a combination of SIP and P203S on the majority of the paintwork.
The bonnet after correction in the sunlight
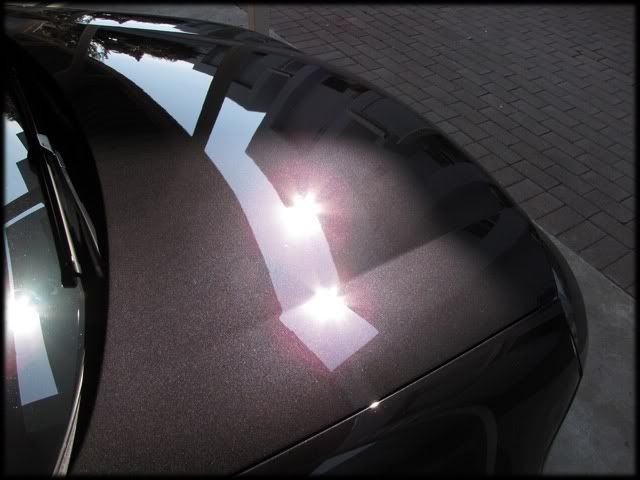
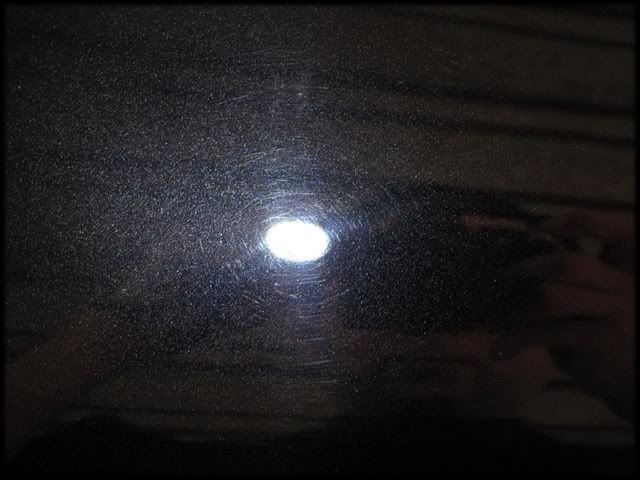
Under the LED again...
Close up
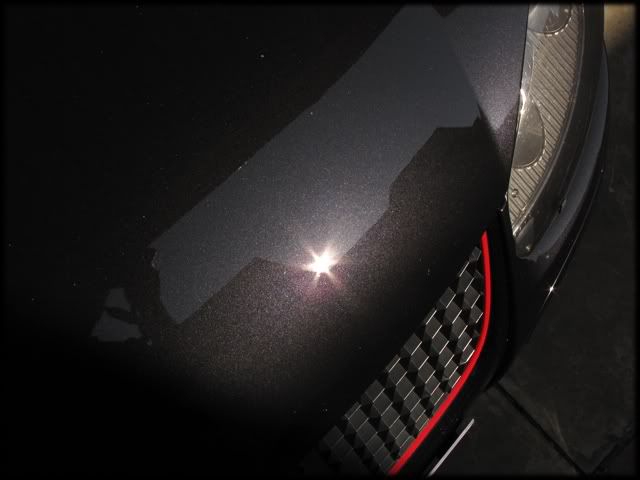
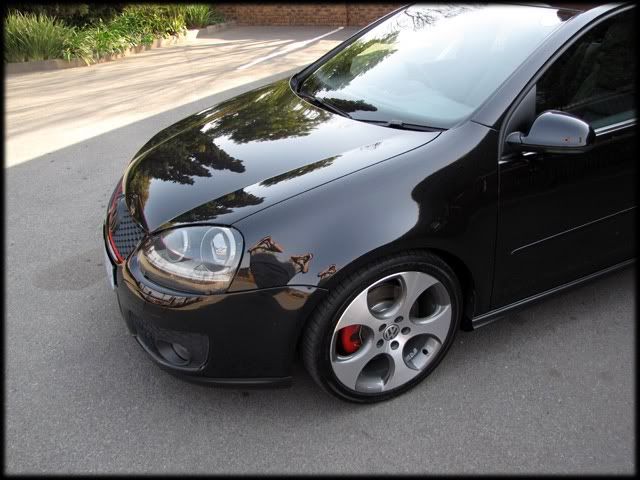
Fenders were next...Before
After
Sunlight
Close up
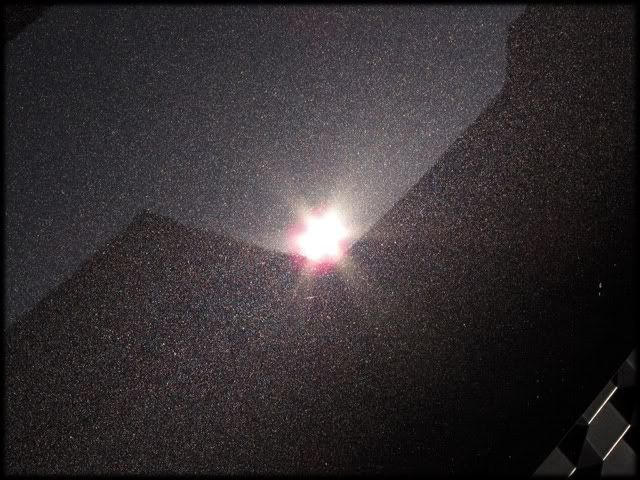
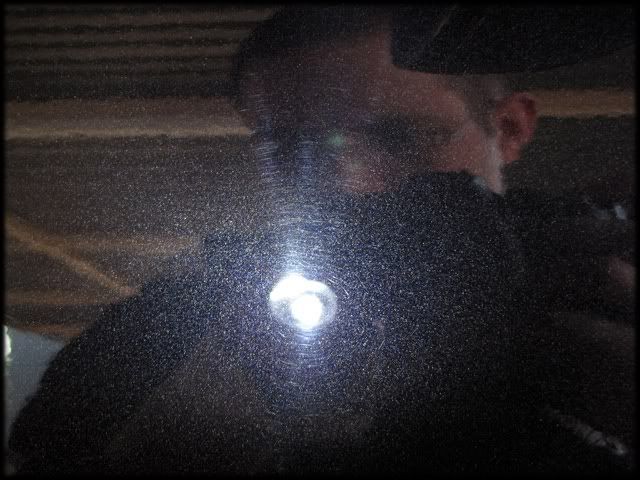
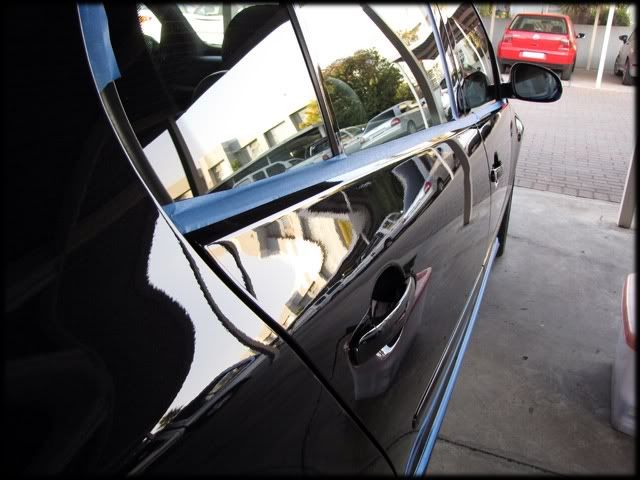
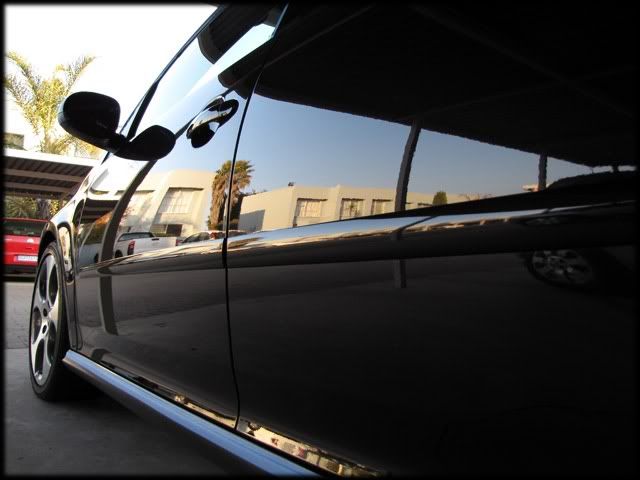
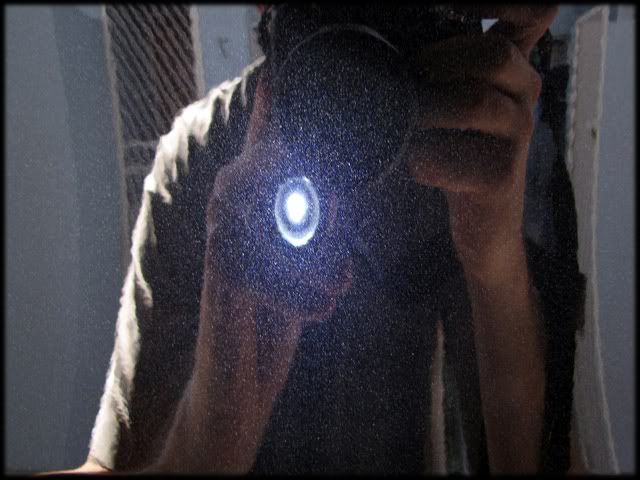
The sides were tackled next. Again before and after with the LED torch
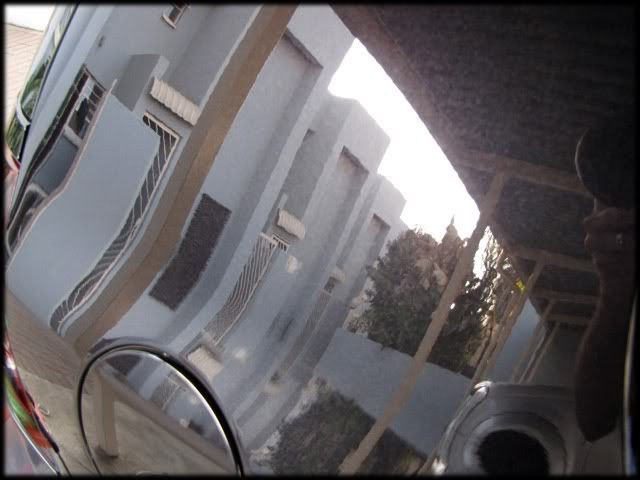
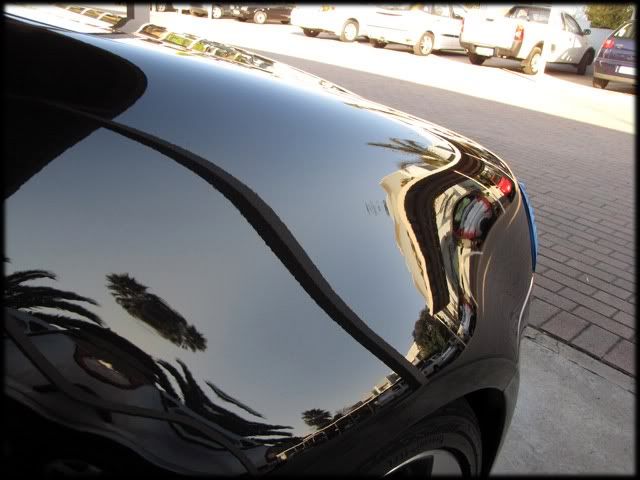
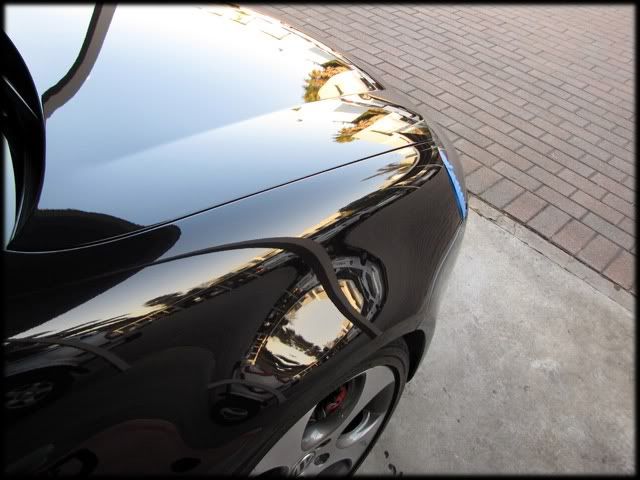
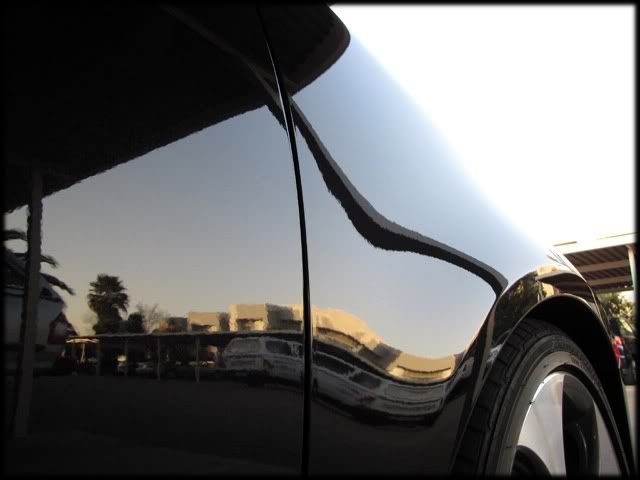
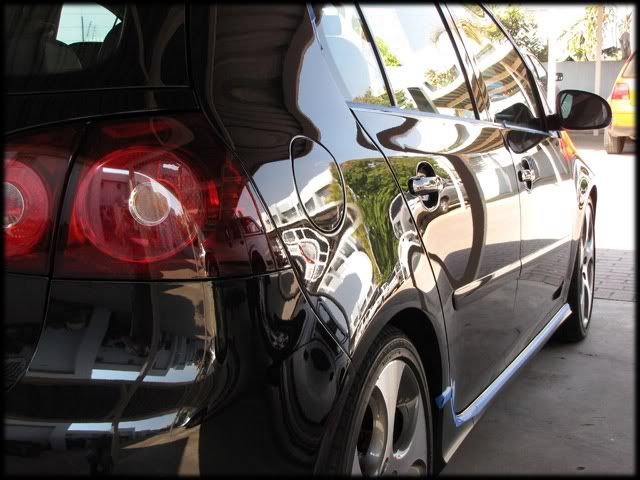
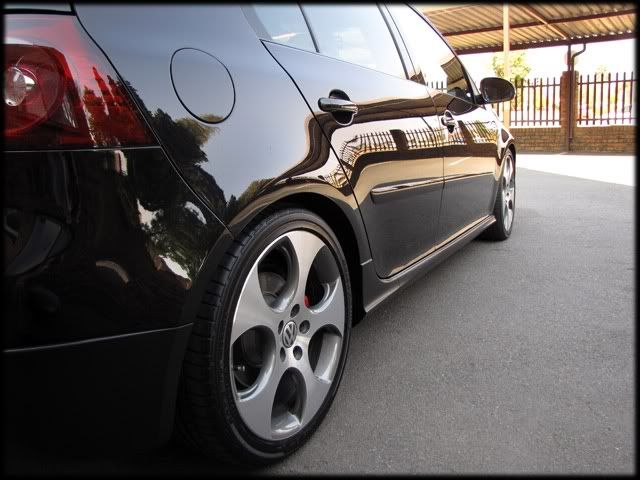
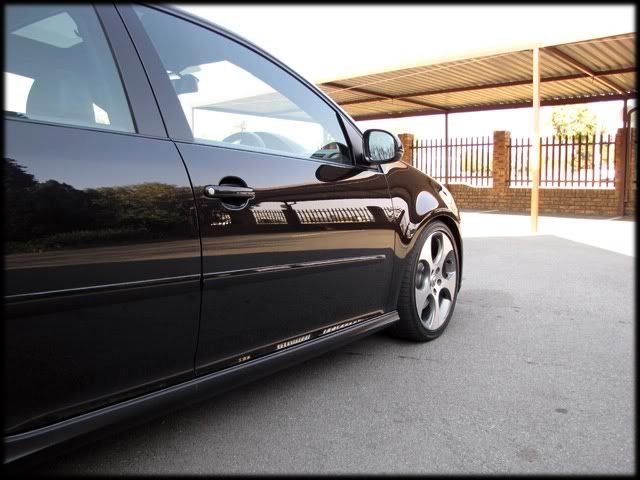
Reflection shots...
Rear hatch pillars were given the same treatment as I worked my way around the car
Dull finish before
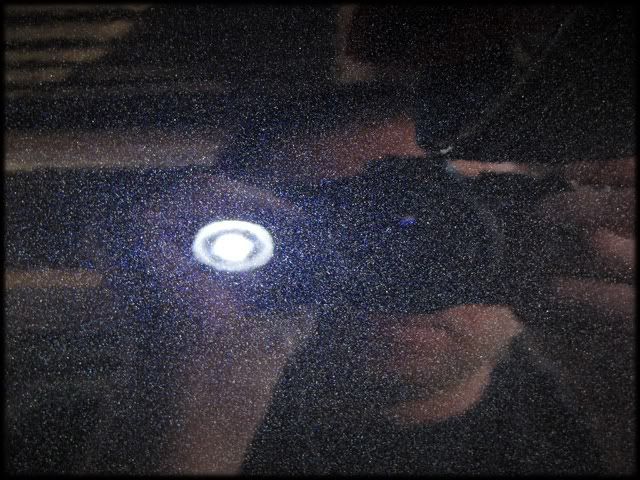
And nice and crisp afterwards
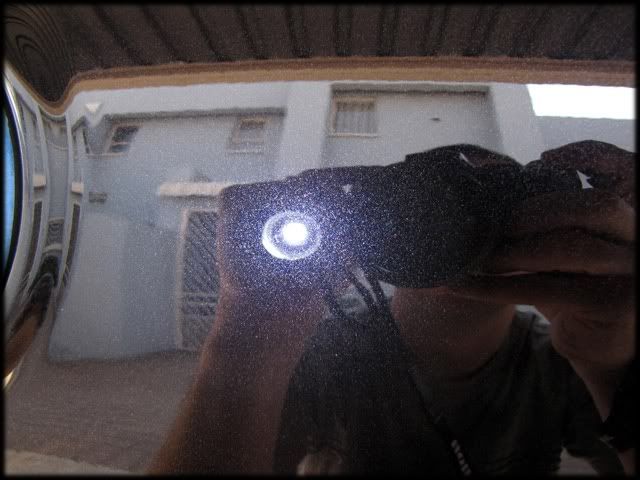
LED to check for remaining defects
And some more reflection shots
Beadings
Rubber seals
Often overlooked areas
And emblems
After re-rinsing the car it was foamed again and washed before claying. Smartwax Smartclay did a good job of removing all surface contaminants
With the day drawing to a close I started on the tailpipes which needed some work.
50/50
And with the flash. These would be further refined later.
Saturday started out by inspecting the paintwork both in the sun, as well as with my P7 LED torch.
Defects in sunlight...
And under the LED
Not wanting to waste any time I got started playing with a few combo's on the bonnet. In the end I wound up using a combination of SIP and P203S on the majority of the paintwork.
The bonnet after correction in the sunlight
Under the LED again...
Close up
Fenders were next...Before
After
Sunlight
Close up
The sides were tackled next. Again before and after with the LED torch
Reflection shots...
Rear hatch pillars were given the same treatment as I worked my way around the car
Dull finish before
And nice and crisp afterwards
LED to check for remaining defects
And some more reflection shots
Oct 9, 2010 | 03:48 AM
#3
Thread Starter
| Teamspeed Junior Member
Joined: Nov 2009
Posts: 50
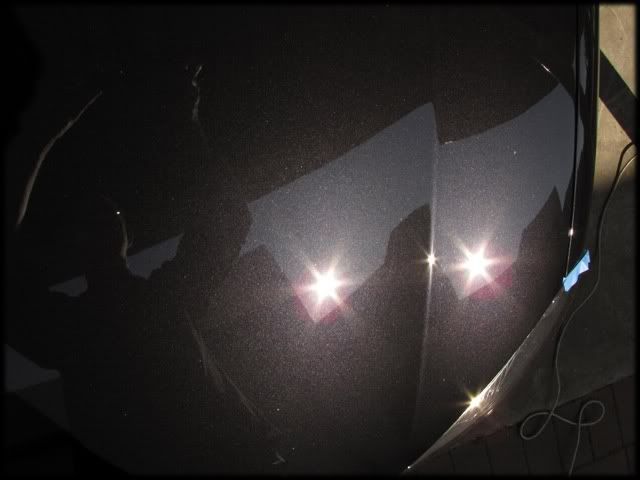
With Saturday drawing to a close I snapped some more reflection shots from around the completed end of the car...
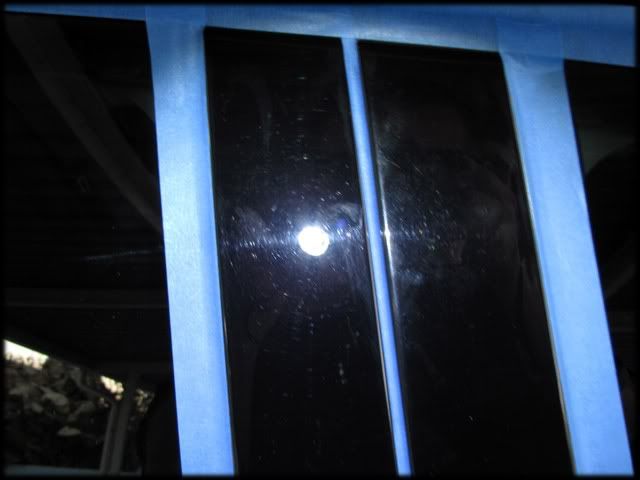
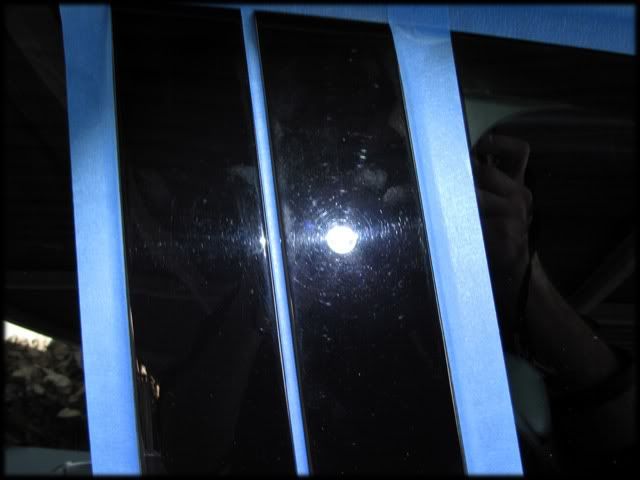
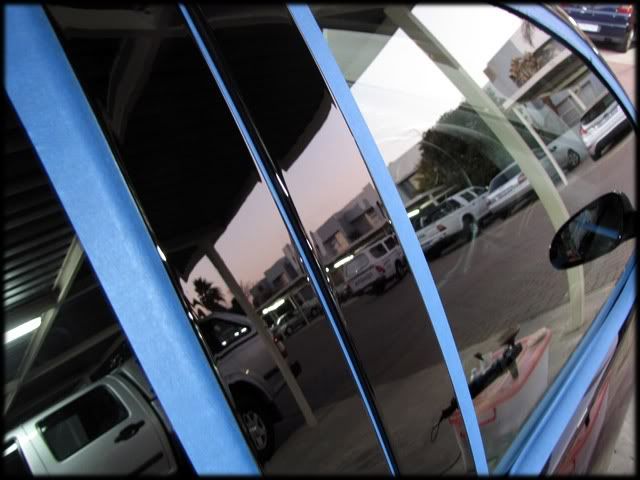
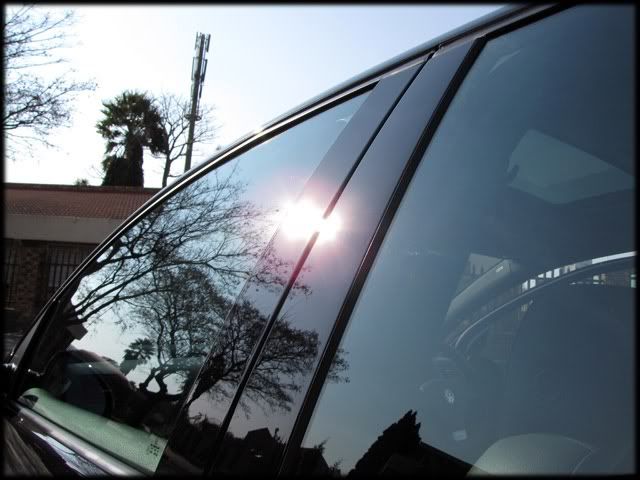
Before calling it a day I cleaned up the black plastic B-Pillars which needed some attention...
Hardly any visible reflections before
2 hits with SIP followed by 85RE resulted in this
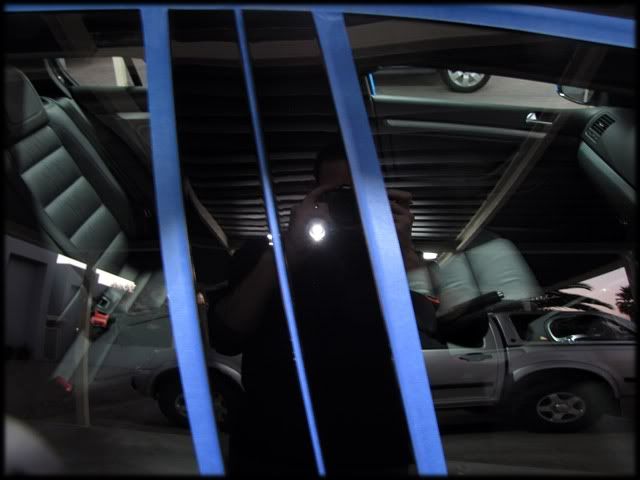
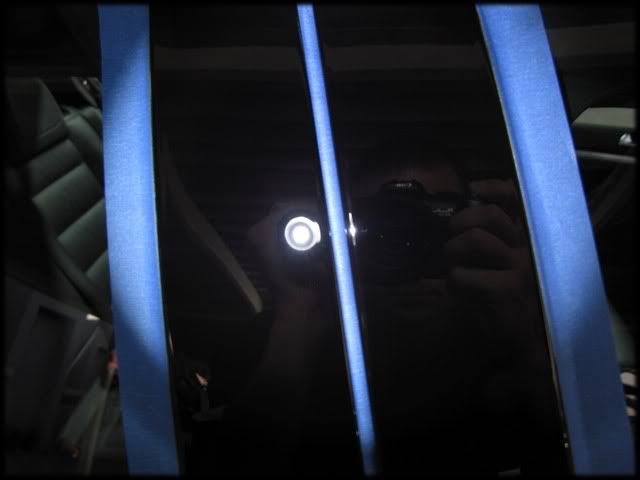
Close up
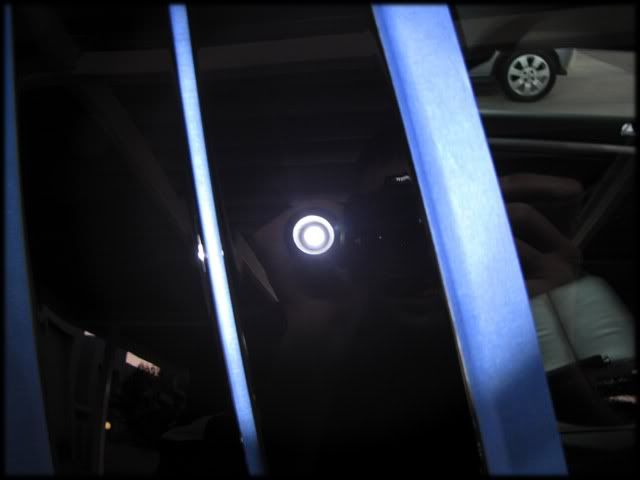
Reflection shot
Out of light and with only the rear hatch and bumper to correct I called it a day. Sunday morning I slept in a bit so as to avoid disturbing the neighbours before getting started on the final correction work.
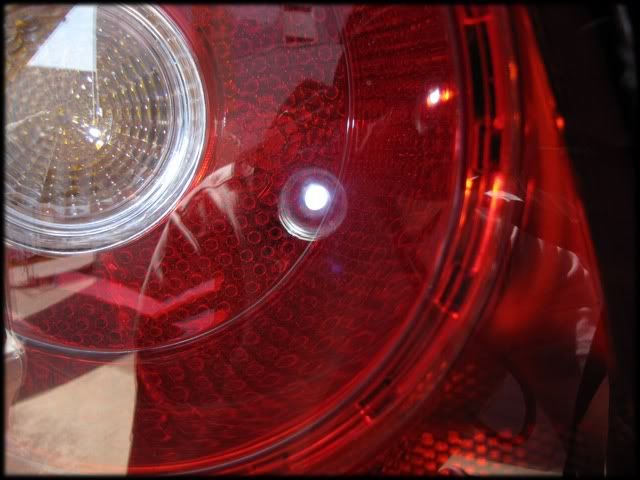
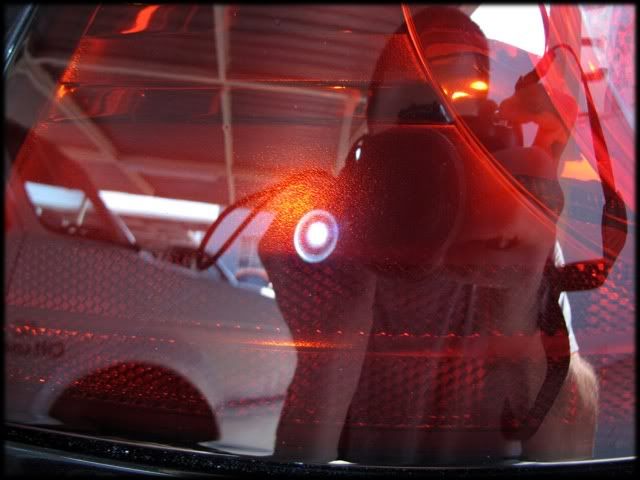
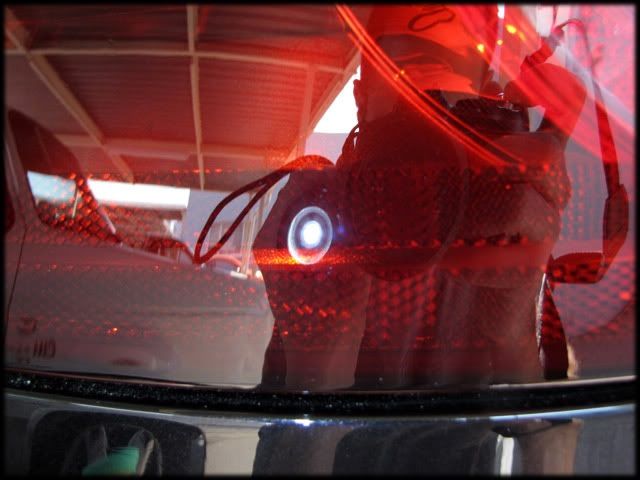
Tailights were cleaned up with SIP on an orange LC spot pad...
Befores

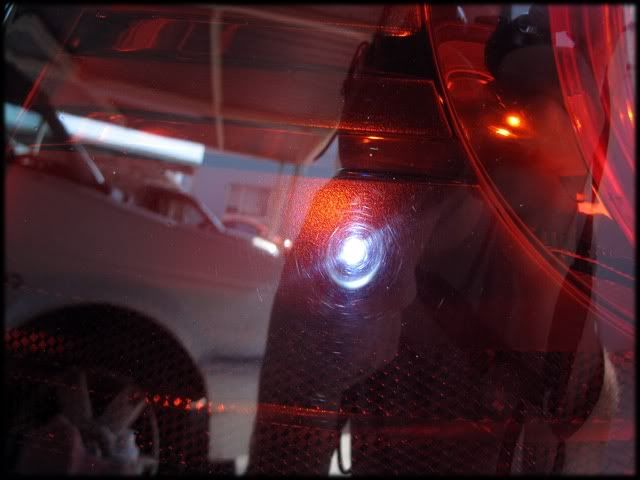
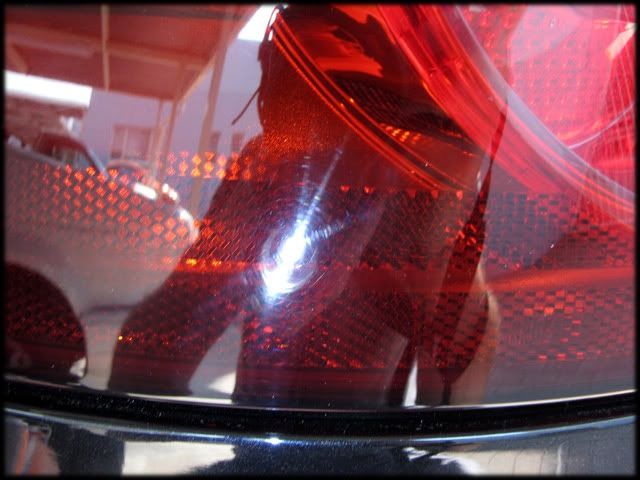
And afters
The rear bumper was next with the spot pads...
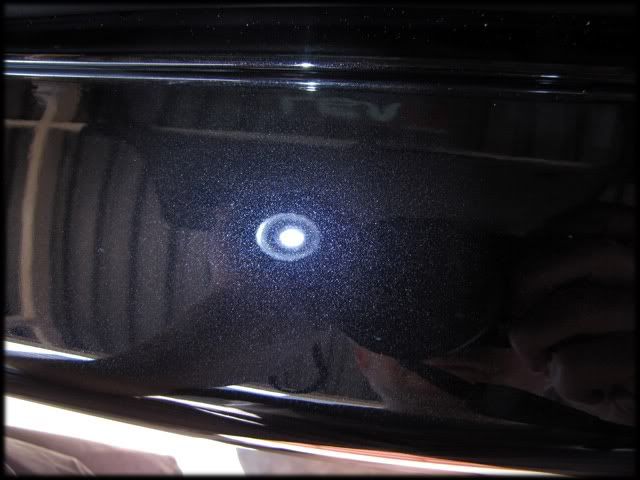
Last but not least was the rear hatch. Couple of before shots with the LED
And afters
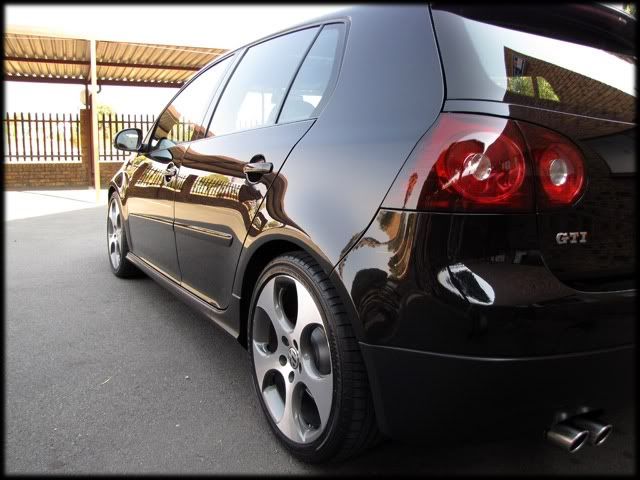
Rear end looking neat and tidy
And correction work completed
Before trying to finish off I gave the car a quick rinse and wash.
Wheelwax Extreme black was applied to the tires leaving me with this
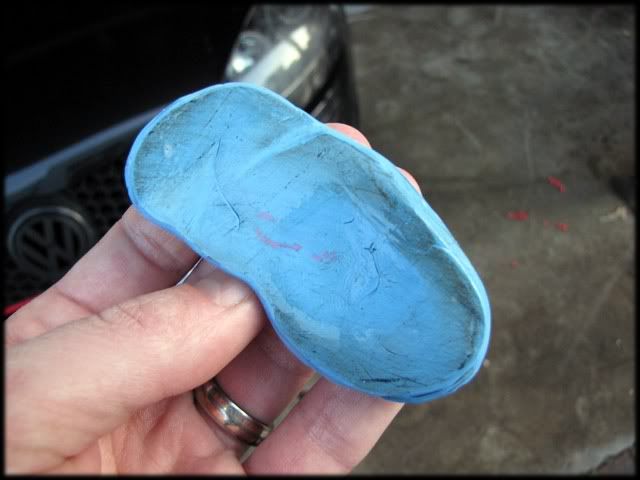
Tailpieces were given a quick rework with some Raceglaze Alutech metal polish
Before calling it a day I cleaned up the black plastic B-Pillars which needed some attention...
Hardly any visible reflections before
2 hits with SIP followed by 85RE resulted in this
Close up
Reflection shot
Out of light and with only the rear hatch and bumper to correct I called it a day. Sunday morning I slept in a bit so as to avoid disturbing the neighbours before getting started on the final correction work.
Tailights were cleaned up with SIP on an orange LC spot pad...
Befores
And afters
The rear bumper was next with the spot pads...
Last but not least was the rear hatch. Couple of before shots with the LED
And afters
Rear end looking neat and tidy
And correction work completed
Before trying to finish off I gave the car a quick rinse and wash.
Wheelwax Extreme black was applied to the tires leaving me with this
Tailpieces were given a quick rework with some Raceglaze Alutech metal polish
Oct 9, 2010 | 03:54 AM
#4
Thread Starter
| Teamspeed Junior Member
Joined: Nov 2009
Posts: 50
At this point in time the wind started to pick up and I was faced with having to apply the LSP whilst trying to dust the vehicle down...So FRUSTRATING!
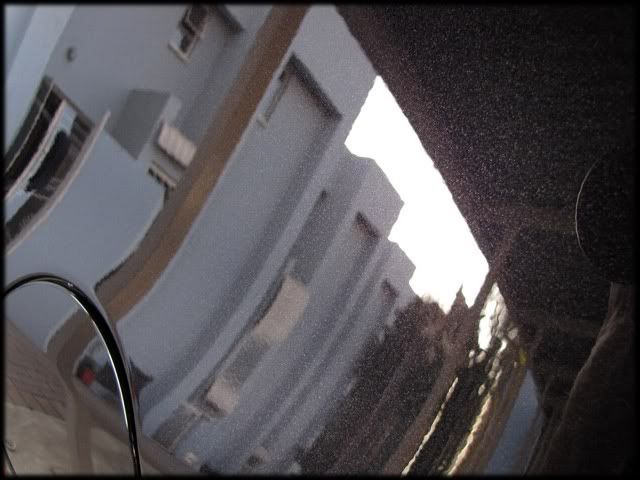
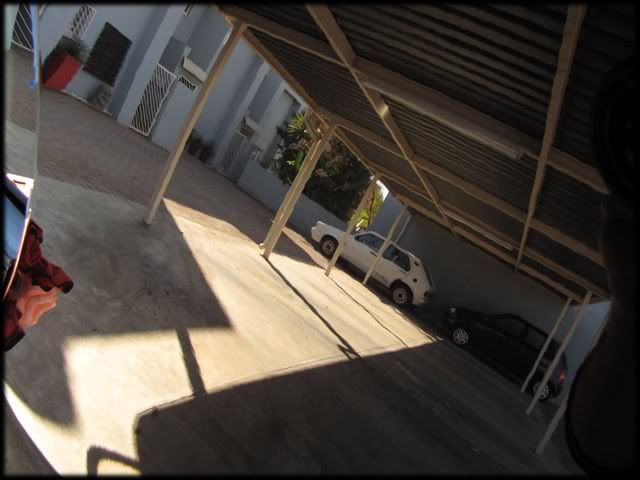
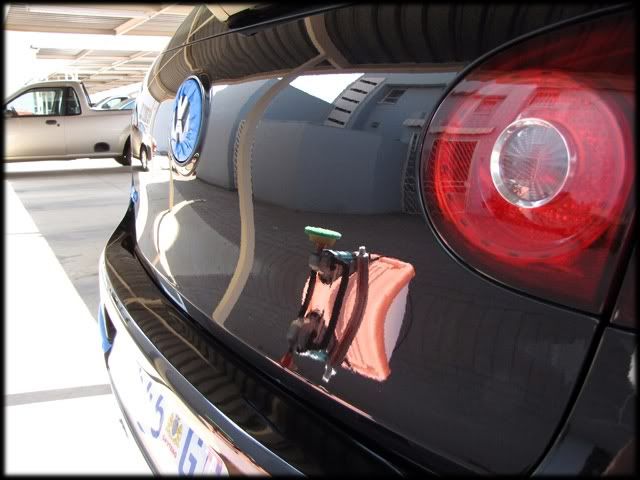
In the end I simply couldn't do everything I wanted to for fear of inflicting fresh damage from the dust that had settled on the car. With the work completed I took a few final shots around the corner in the shade...
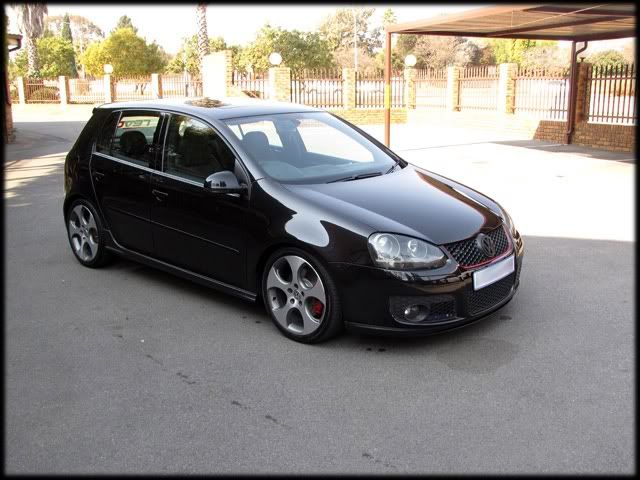
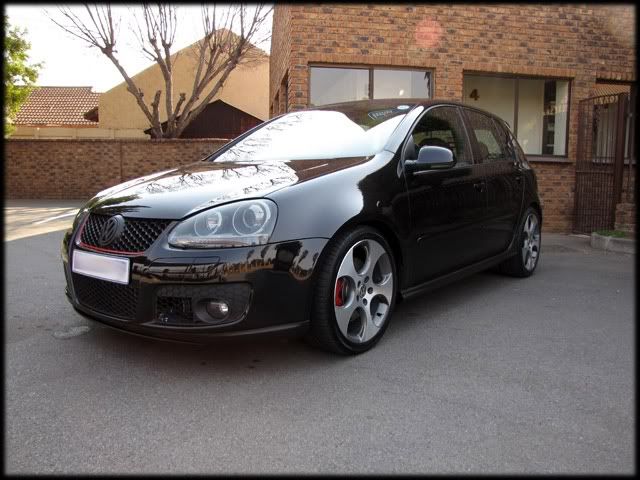
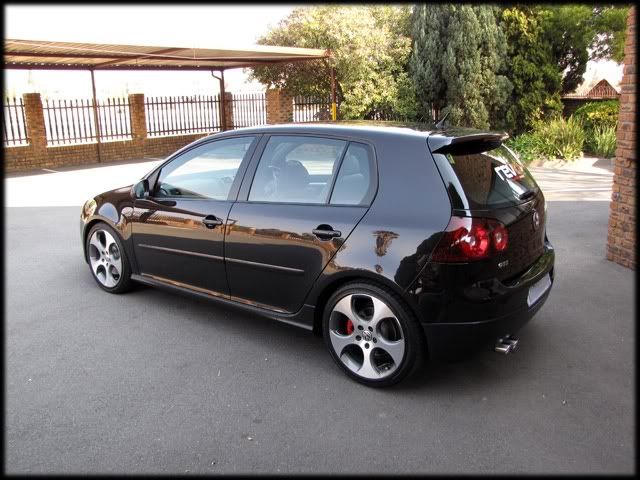
Some reflections
And a few final detail shots in the sunlight
Overall I was happy with the correction levels achieved and think the car came out well despite the final few trying hours with the wind and dust. I think the upgrade to an enclosed unit is long overdue!
Thanks for looking!
In the end I simply couldn't do everything I wanted to for fear of inflicting fresh damage from the dust that had settled on the car. With the work completed I took a few final shots around the corner in the shade...
Some reflections
And a few final detail shots in the sunlight
Overall I was happy with the correction levels achieved and think the car came out well despite the final few trying hours with the wind and dust. I think the upgrade to an enclosed unit is long overdue!
Thanks for looking!
Last edited by Carn; Oct 9, 2010 at 03:58 AM.

Thread
Thread Starter
Forum
Replies
Last Post
Brett@LamborghiniMiami
Aventador | Hurac�n | Murcielago | Gallardo
16
Dec 3, 2010 05:26 PM
DJ
The Watch Forum
3
Apr 15, 2008 11:34 AM
Bookmarks


Currently Active Users Viewing This Thread: 1 (0 members and 1 guests)