2001 Porsche 911C4S Gaurds Red
#1
 12-22-2009, 09:24 PM

Join Date: Oct 2009
Location: Lancaster PA
Posts: 70


2001 Porsche 911C4S Gaurds Red
Hello Everyone. I hope all is well. Today I present to you a 2001 Porsche 911 C4S. This Stunning car came in the all famous Guards Red. The cockpit featured the prominent Black color with the upgraded red seat belts. This car is pure sex on wheels. When contacted by the owner he told me that he just purchased the car that day from a private owner in Maryland. After a quick phone call I met him at his house and discussed a few options. We opted to entirely make this vehicle over. The vehicle came in for a complete rejuvenation. The car came to me 14 days ago.. It was a long journey to accomplish this task. What a great way to end the year. I�m at the point where this will be a my last normal detail for the year as I begin to prepare for Cavalina in January. I�m really excited for that event and I�m looking to meet some fellow detailers there. I must warn you this is a fairly long write up with lots of pictures. So grab your popcorn and sit back and relax. Enjoy.
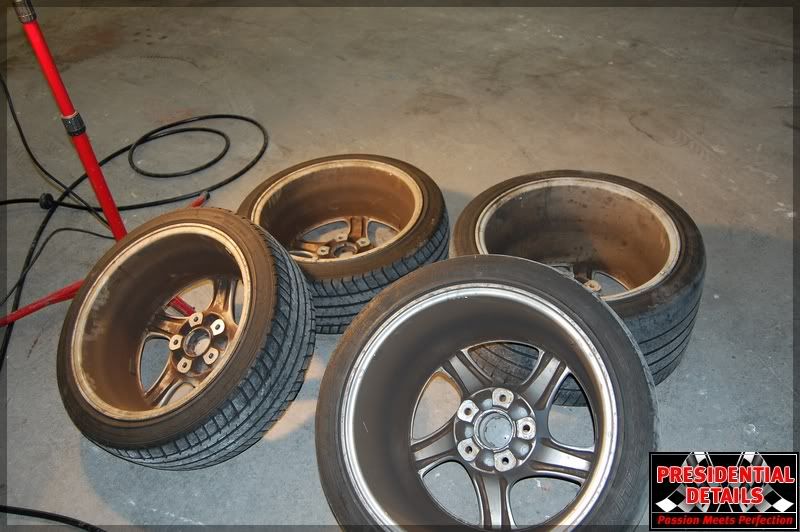
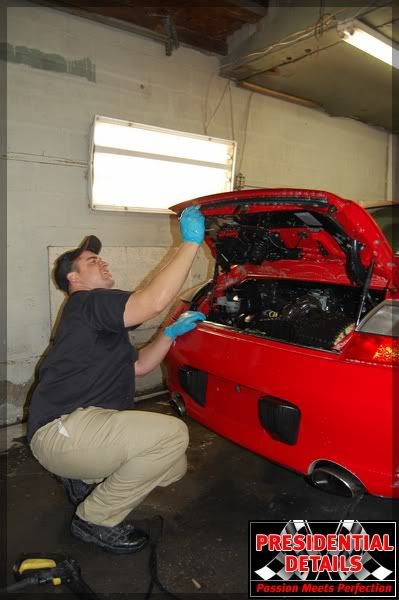
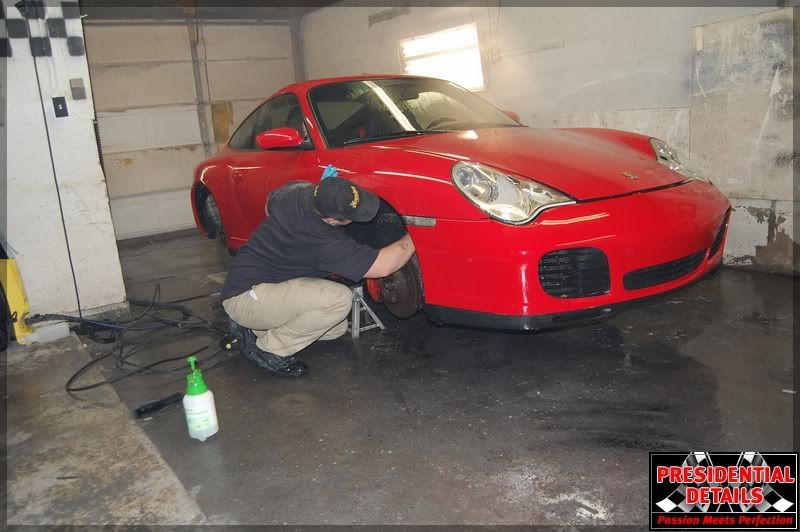
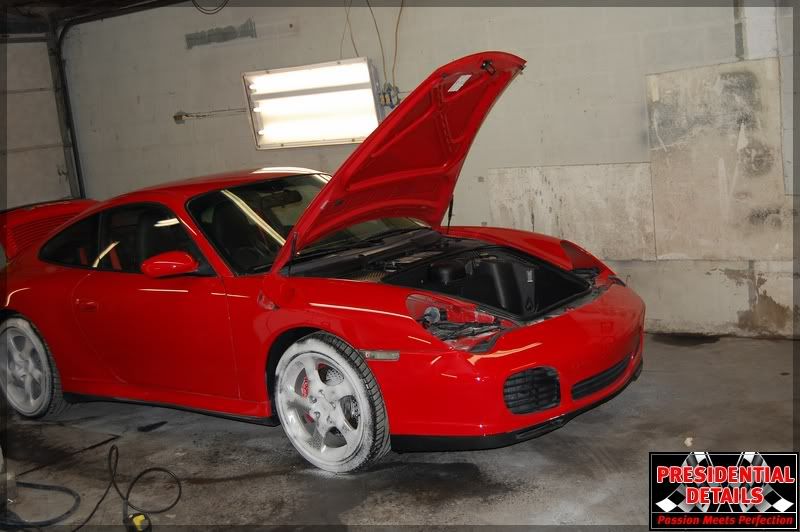
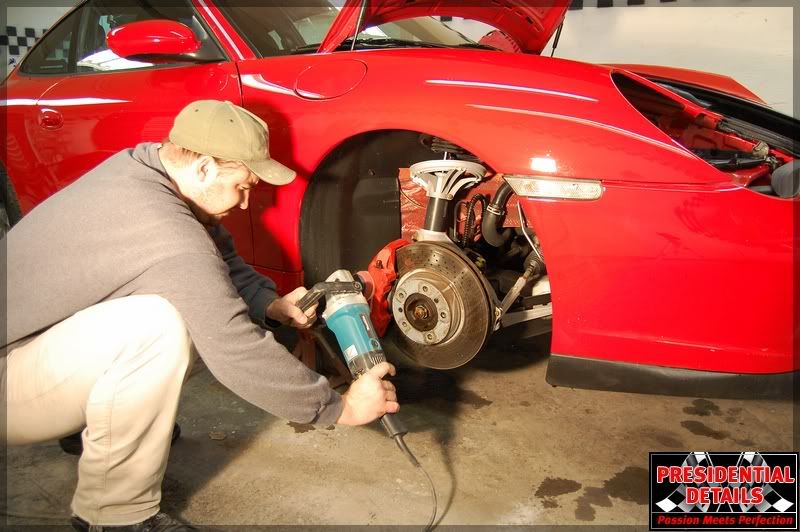
Once the car came in I wasted not time during the dismantle phase. I removed the all four wheels to prepare for the decontamination phase of the detail. I also removed the rear plate bracket as well. Here are a photos to document the process.
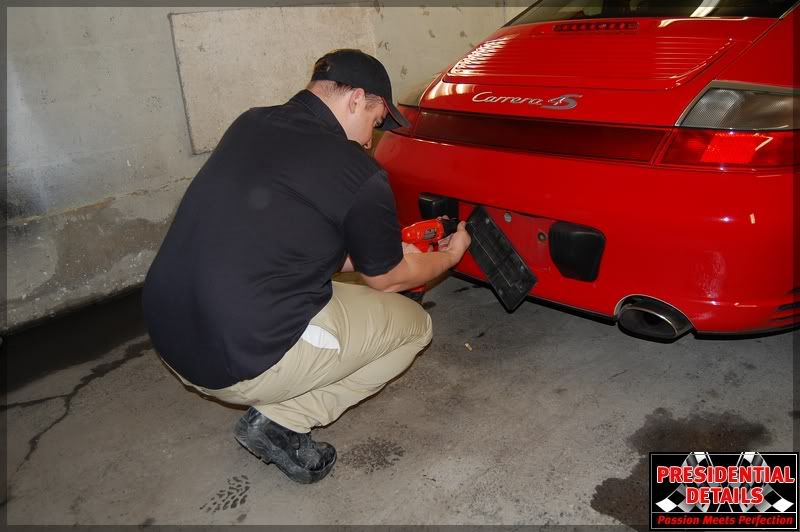
By removing such Items it makes for a very thorough prep job. I�m a firm believer that what we do in this business is all in the prep. Every move we make is setting us up for the next step. I spend a lot of time during the Decontamination phase.
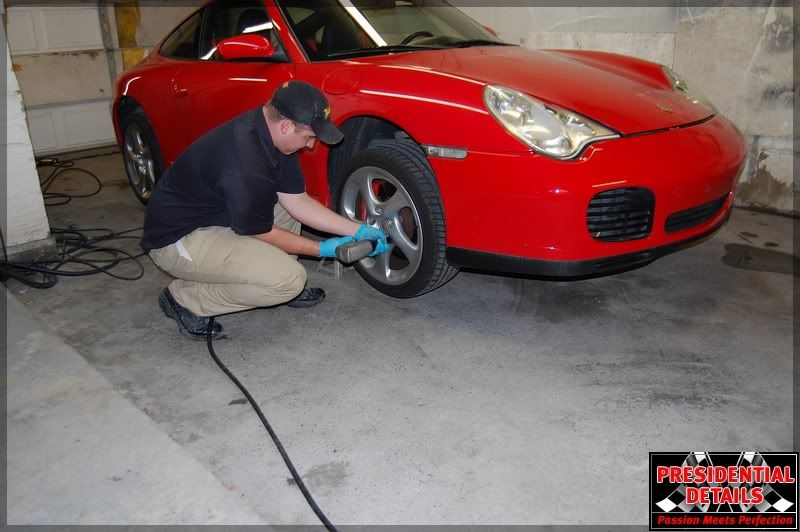
Once I got the wheels off , I quickly realized that I was in for it. This whole process took the later part of an evening to accomplish. I would say it took me a total of about five hours to meet my standards.
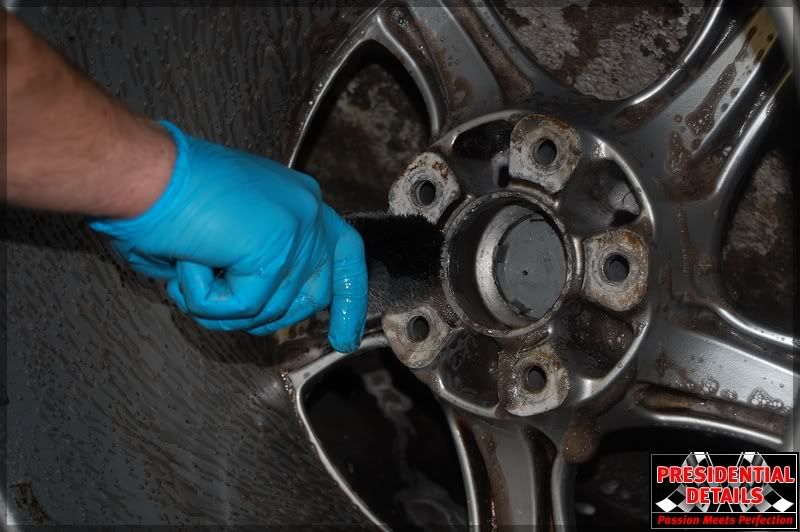
Here is a picture of how all the wheels appeared. They were extremely filthy.
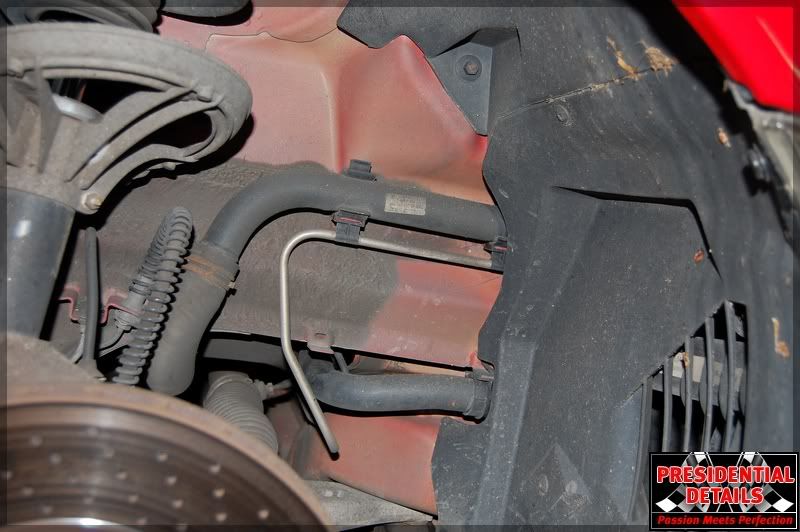
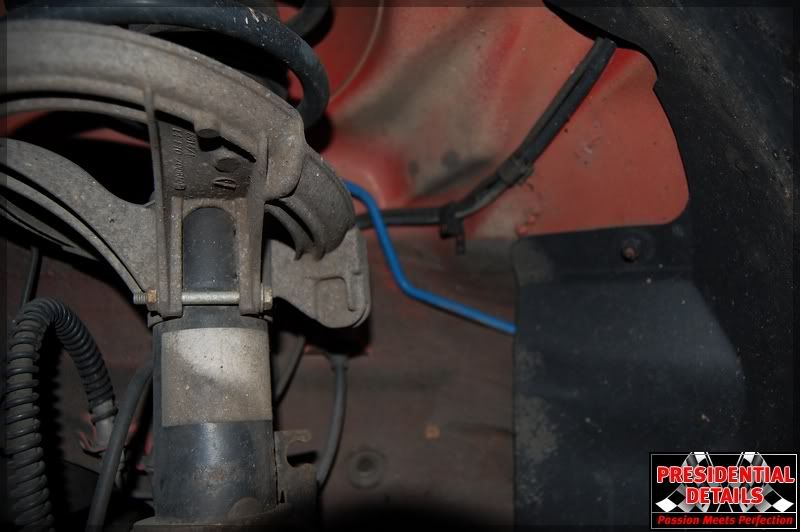
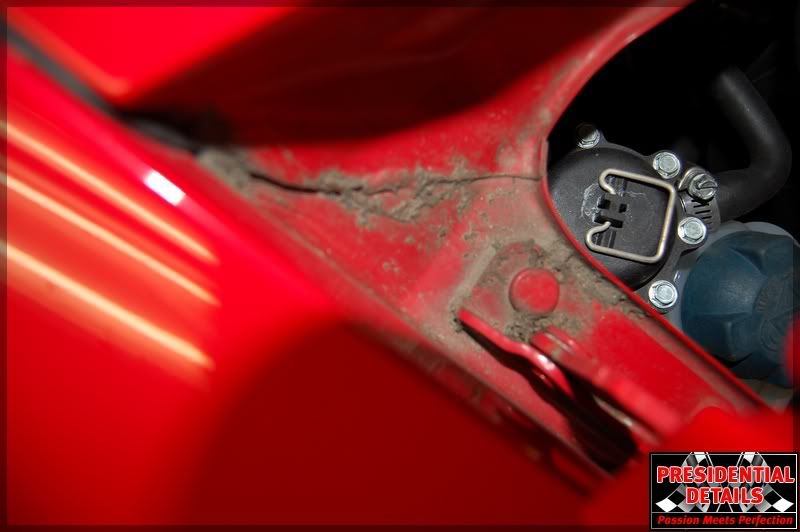
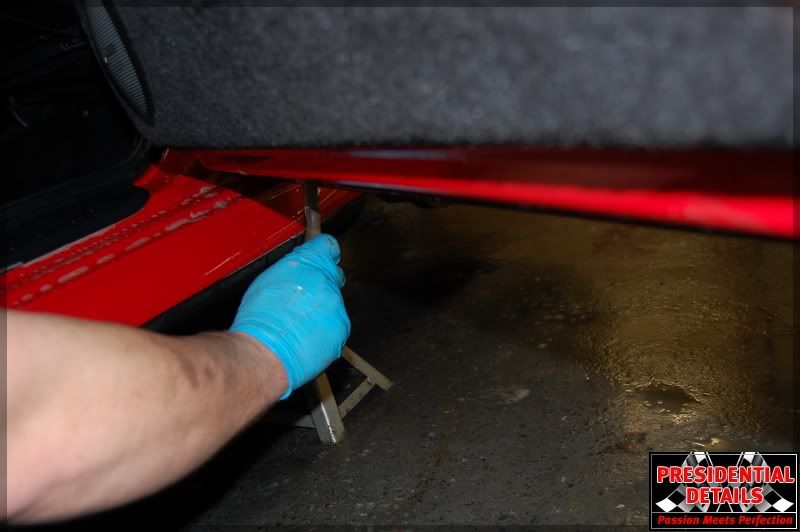
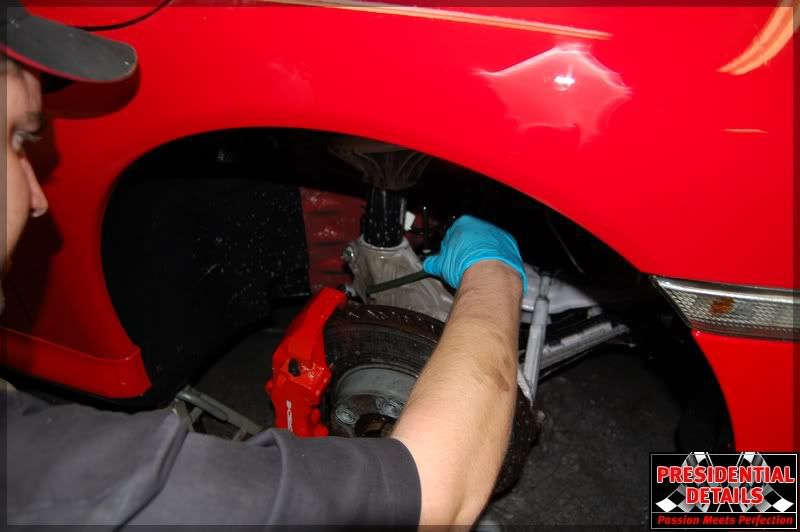
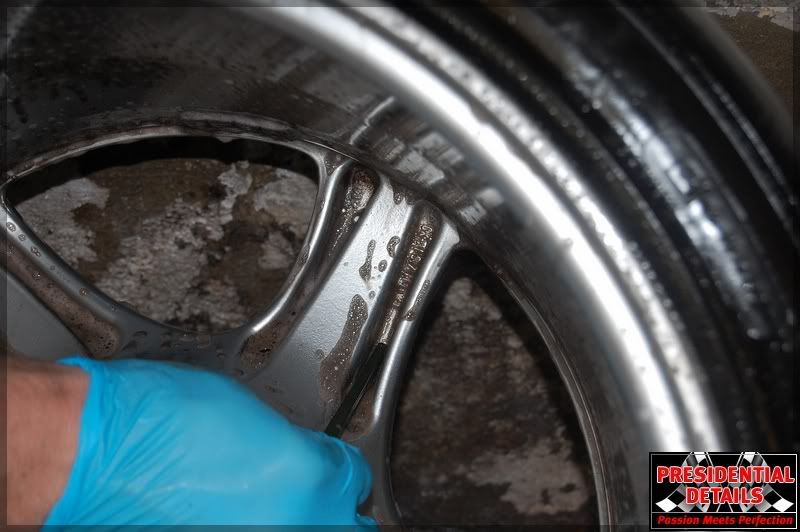
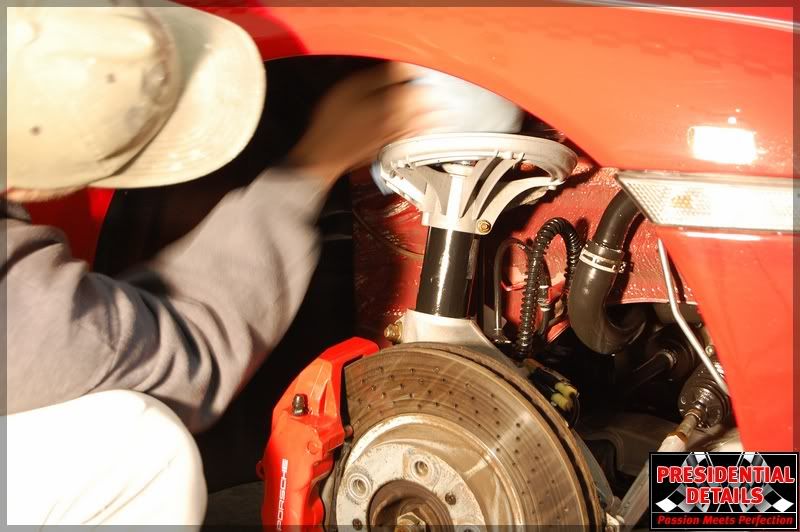
The biggest part of this phase of a detail is to pay attention to the things most people don�t see. In this case the arches were trashed. Here are examples of what I�m referring to.

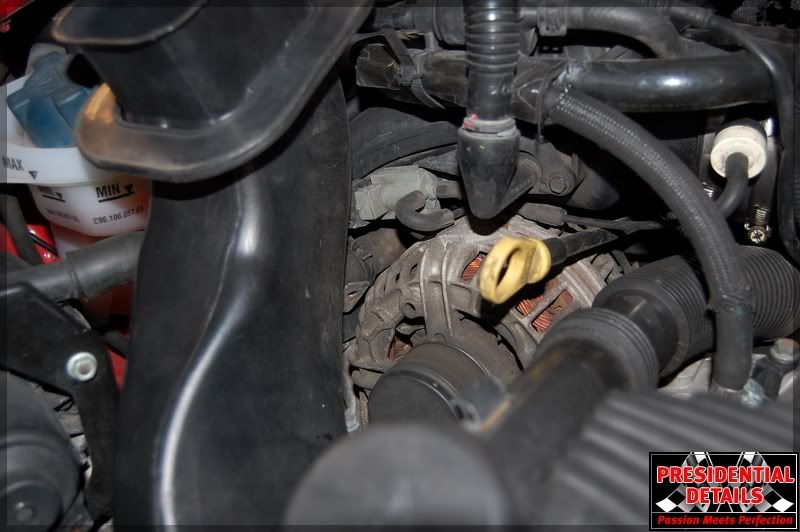
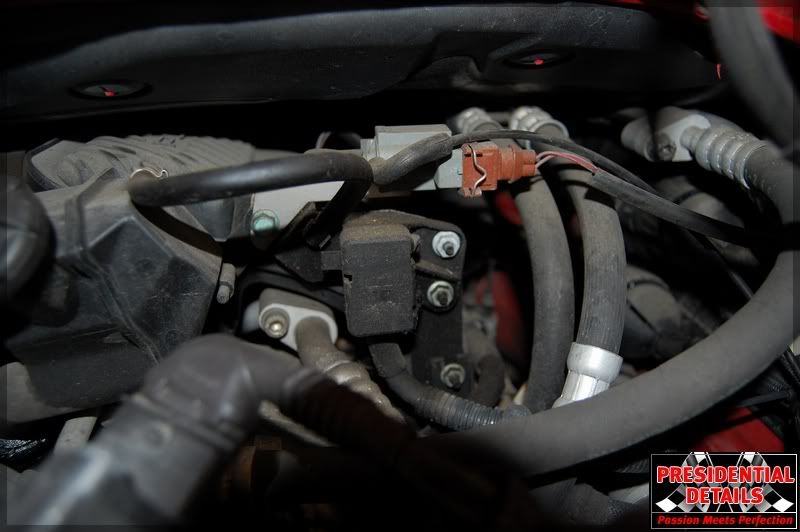
The motor and the front cargo area was the same way. Dirt and grease built up everywhere.

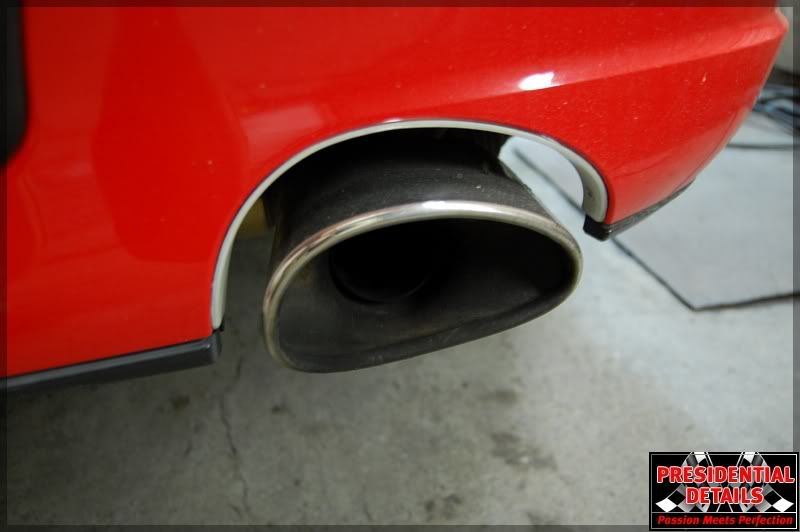
The exhaust tips were also on need of some major cleaning.
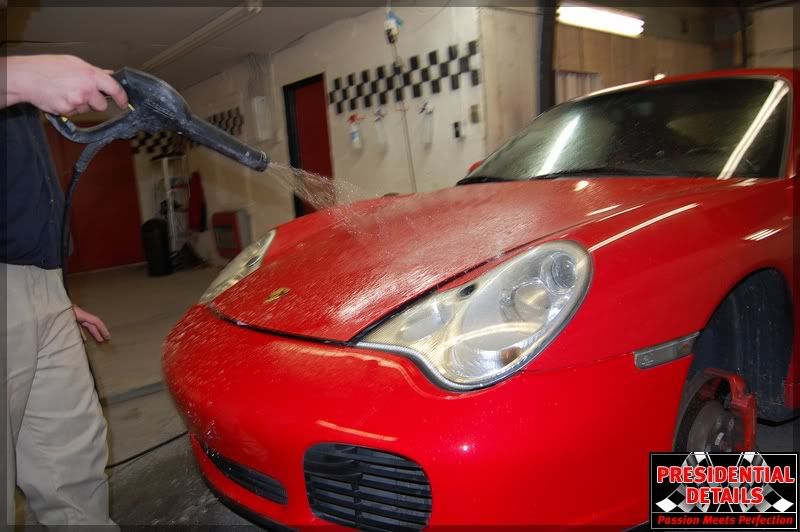
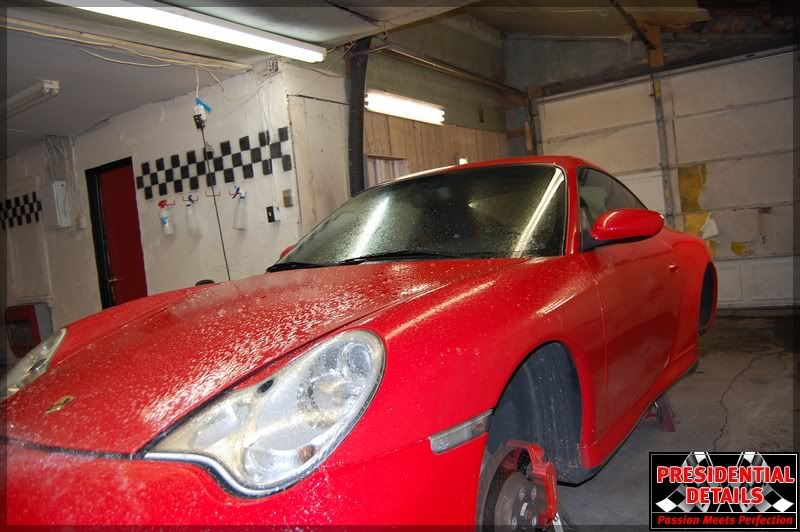
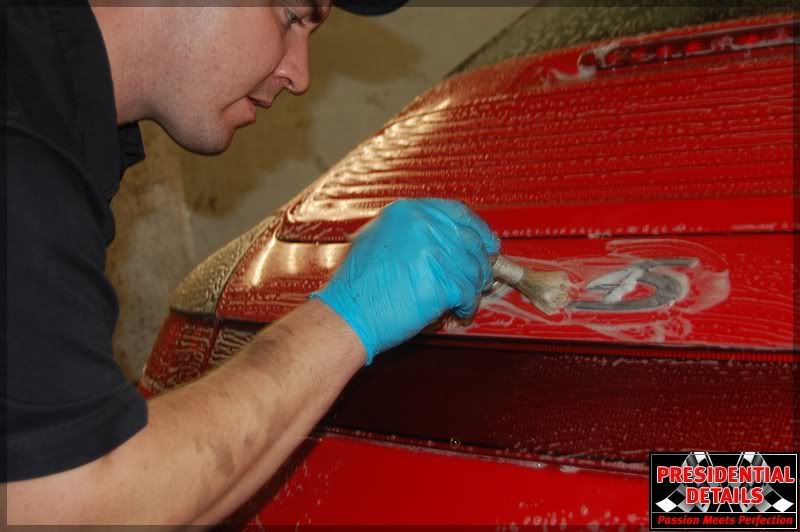
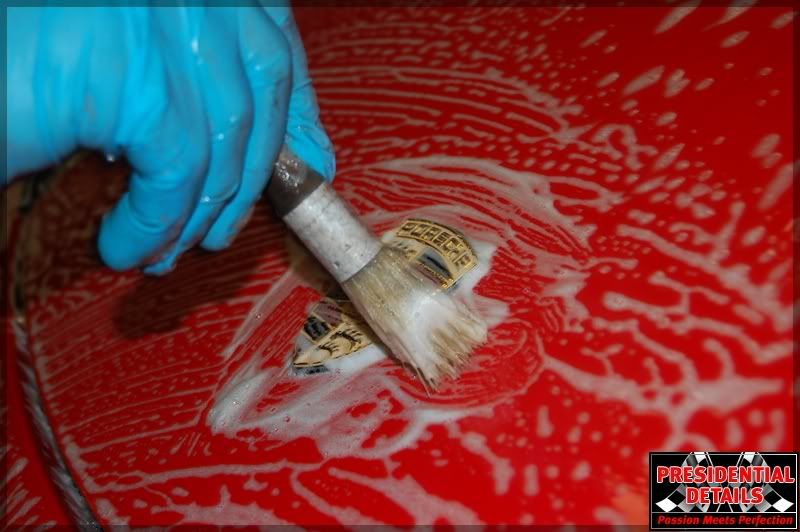
Once all areas are inspected I always start with a good soaping of Dawn to aid in wax removal and the first wash is purely to loosen any non embed dirt particles on the paint. Once the soap is on and soaking for a while Ill rinse it off with the pressure washer trying to get all loose debris off the paint.
Here you can see the soap being discharge onto the paint
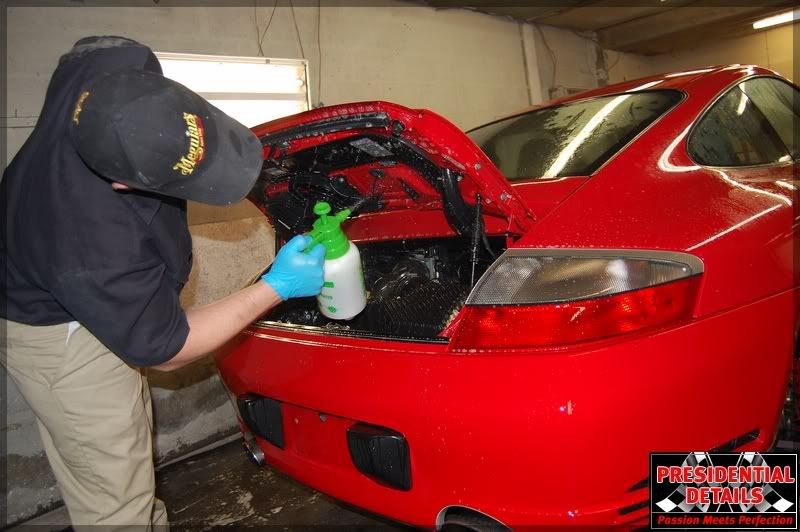
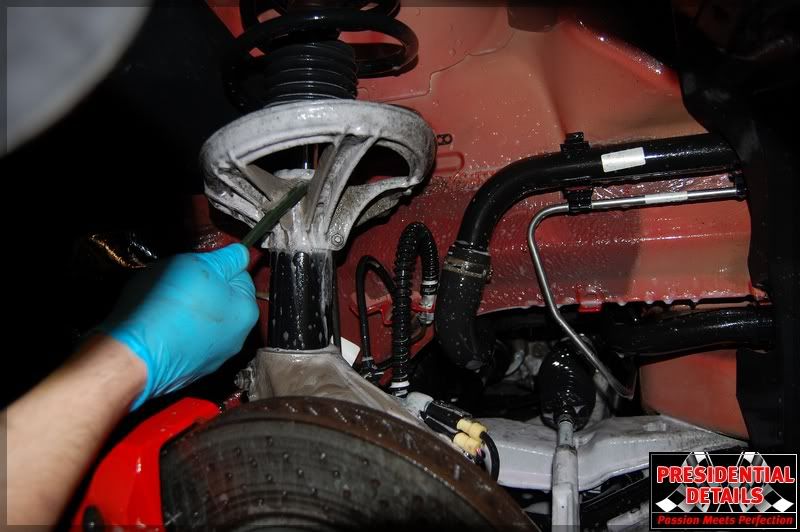
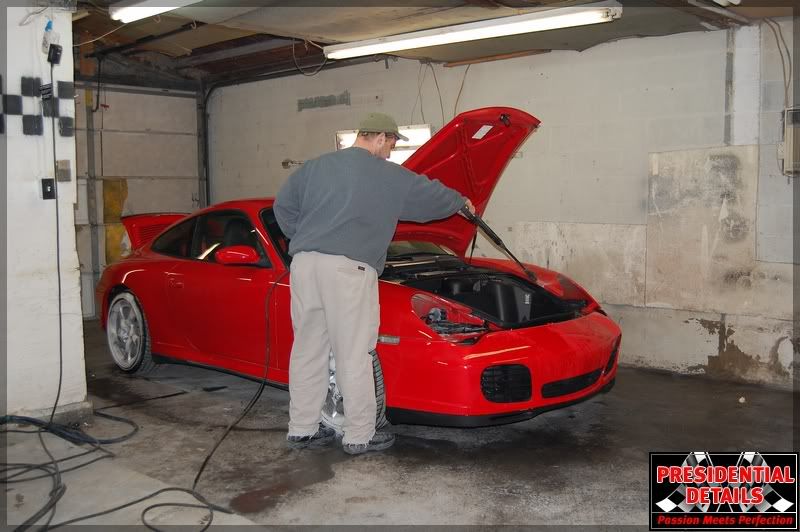
Once everything was washed down I proceeded to work from the inside out. This involved starting with the motor first. The motor was first rinsed with hot water to aid in breakdown of all the unwanted filth. I next sprayed Ardex New Wave diluted to a ratio of 50/50 and used various brushes to agitate all areas and components. This made the motor look clean. Its often said a clean motor runs better!!
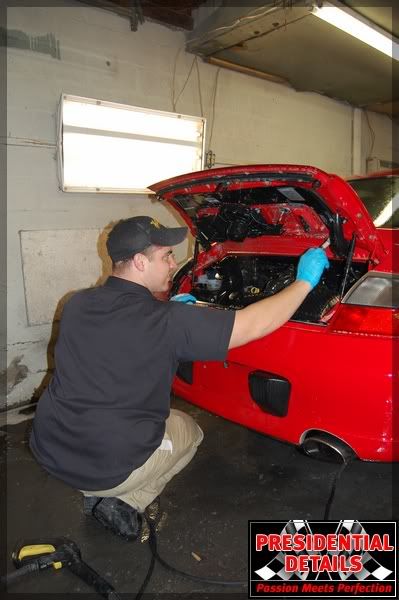
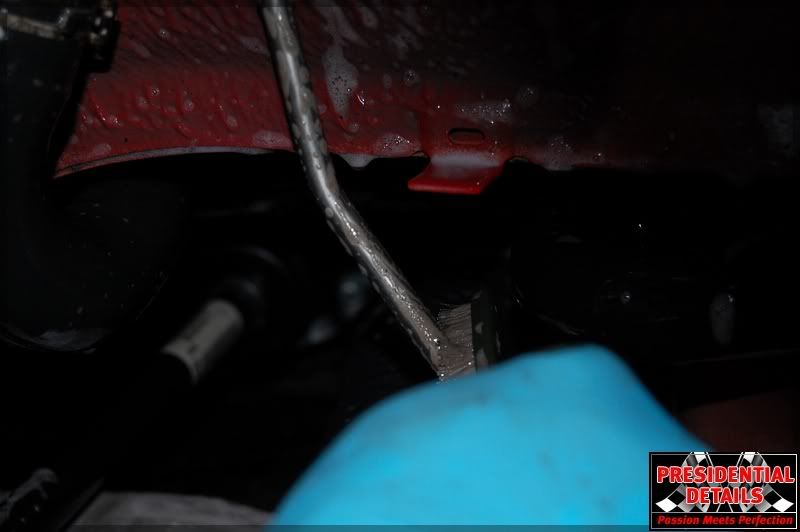
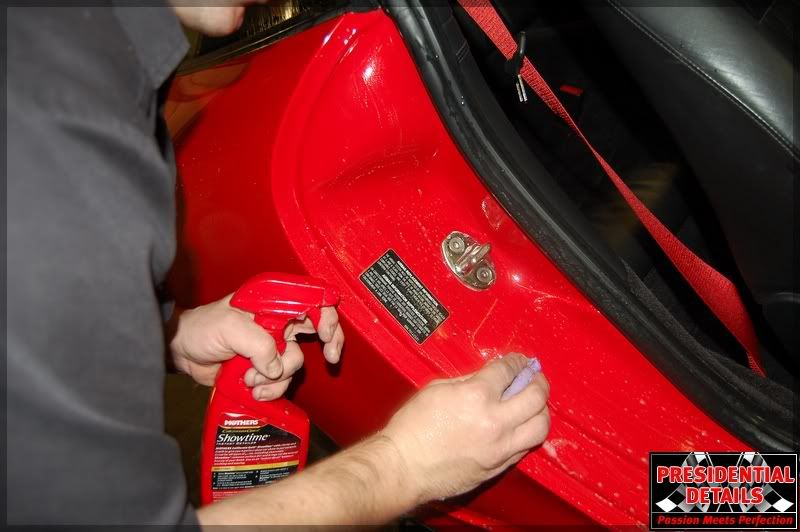
Once that was finished I moved to the door jambs using the same chemical ratio. Here you can see at this point I was agitating underneath the door itself. This is a huge area for buildup and it should never be overlooked.
The front cargo area was treated the same and cleaned up fairly nice.
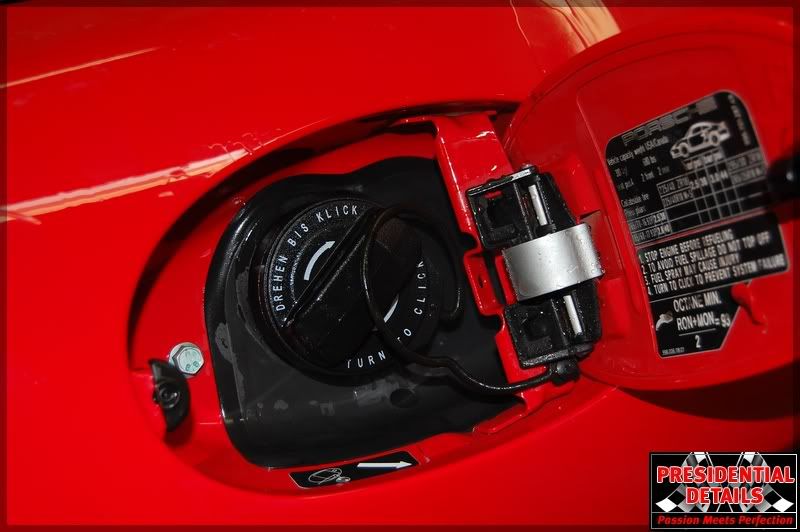
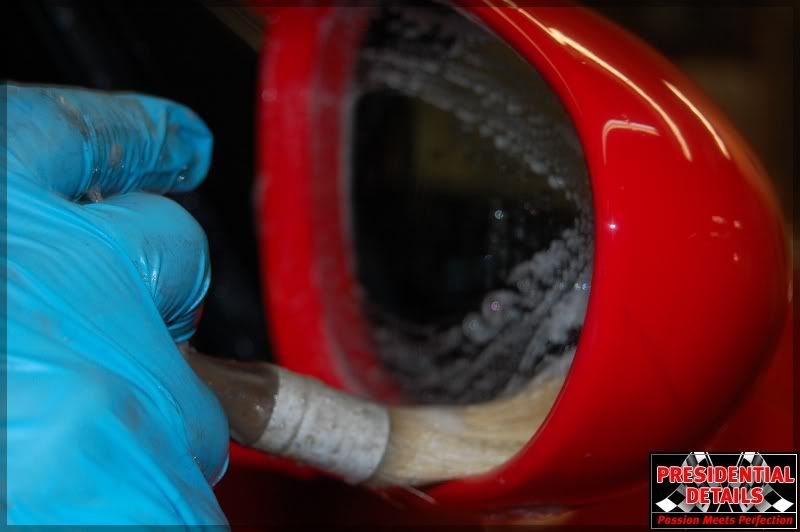
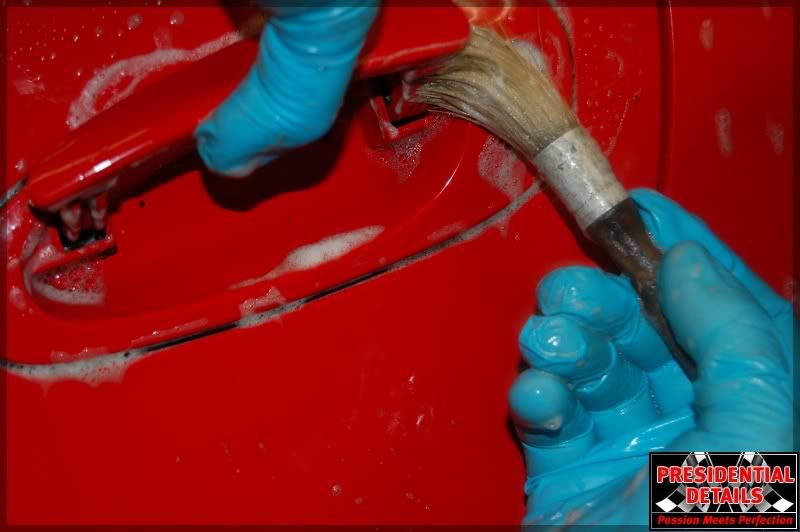
The gas flap area was again done to the same exact standards yet this took a toothbrush to get exactly everywhere with the agitation.
Once the car came in I wasted not time during the dismantle phase. I removed the all four wheels to prepare for the decontamination phase of the detail. I also removed the rear plate bracket as well. Here are a photos to document the process.
By removing such Items it makes for a very thorough prep job. I�m a firm believer that what we do in this business is all in the prep. Every move we make is setting us up for the next step. I spend a lot of time during the Decontamination phase.
Once I got the wheels off , I quickly realized that I was in for it. This whole process took the later part of an evening to accomplish. I would say it took me a total of about five hours to meet my standards.
Here is a picture of how all the wheels appeared. They were extremely filthy.
The biggest part of this phase of a detail is to pay attention to the things most people don�t see. In this case the arches were trashed. Here are examples of what I�m referring to.
The motor and the front cargo area was the same way. Dirt and grease built up everywhere.
The exhaust tips were also on need of some major cleaning.
Once all areas are inspected I always start with a good soaping of Dawn to aid in wax removal and the first wash is purely to loosen any non embed dirt particles on the paint. Once the soap is on and soaking for a while Ill rinse it off with the pressure washer trying to get all loose debris off the paint.
Here you can see the soap being discharge onto the paint
Once everything was washed down I proceeded to work from the inside out. This involved starting with the motor first. The motor was first rinsed with hot water to aid in breakdown of all the unwanted filth. I next sprayed Ardex New Wave diluted to a ratio of 50/50 and used various brushes to agitate all areas and components. This made the motor look clean. Its often said a clean motor runs better!!
Once that was finished I moved to the door jambs using the same chemical ratio. Here you can see at this point I was agitating underneath the door itself. This is a huge area for buildup and it should never be overlooked.
The front cargo area was treated the same and cleaned up fairly nice.
The gas flap area was again done to the same exact standards yet this took a toothbrush to get exactly everywhere with the agitation.
#2
12-22-2009, 09:25 PM
Join Date: Oct 2009
Location: Lancaster PA
Posts: 70
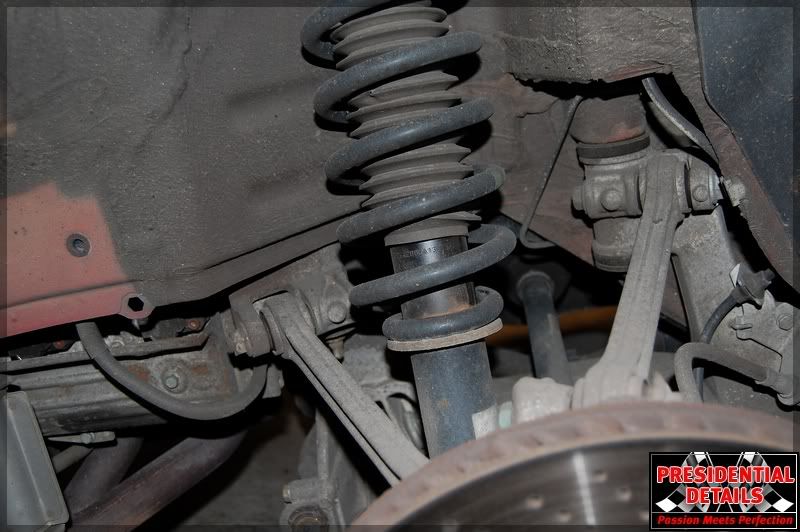
Now like I said previously, I like to go from inside out. Take notice all internal parts were decontaminated at this point . It was now time to turn my time over to the outside of the vehicle. So I stared with the wheel arches. They were in dire need of a good cleaning. Nothing like scrubbing the suspension with a good tooth brush. It really allows me to access all the small area�s I�m a firm believer that when cleaning a car to this extent that the small thing�s really add up.. A lot of patience is needed when your getting this meticulous.
Once all the arches were it. I began to rinse the car Down with Ardex New Wave a dilution ration of 1:4 and let soak. At this point all loose debris is off the car so its okay to go ahead and begin to agitate various area�s on the paint.. Take notice I�m trying to pay close attention to tight areas and places that usually have wax build up.
Getting these wheels took a little bit of work but it was well worth it. The wheels I spent about an hour on just trying to make the as nice as I could.

I was pretty proud of this job!!! Here is a nice 50/50 of a dirty wheel and a clean wheel.
Claying the car made it nice and smooth. Removing all embed contaminants is important prior to any machine polishing.

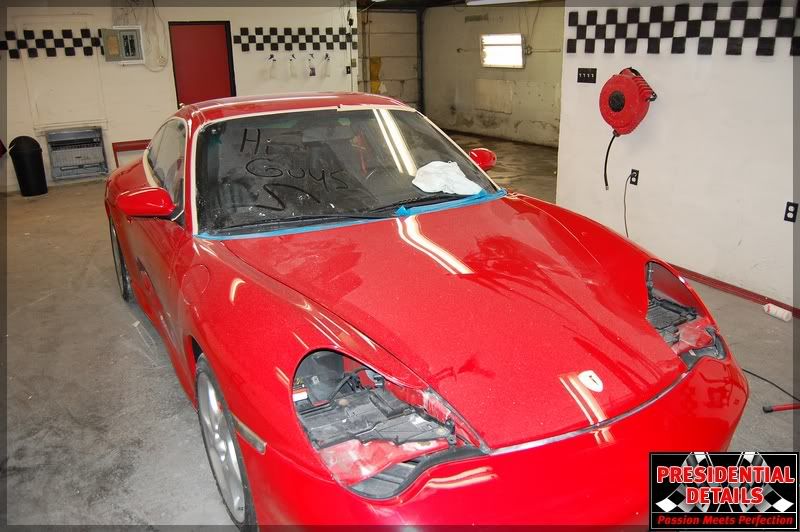
Here she sits completely decontaminated and ready to be polished!
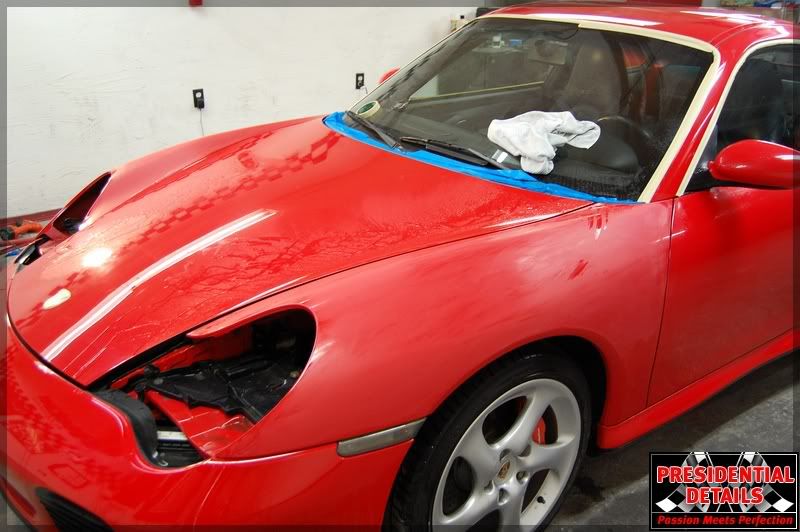
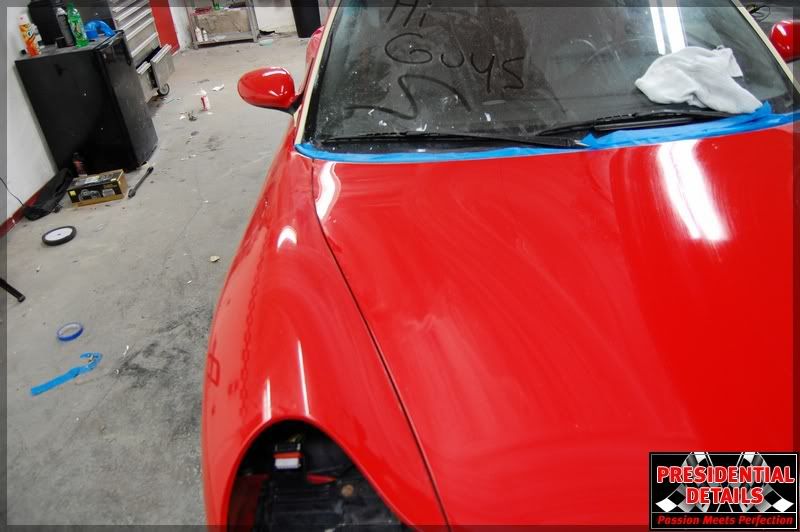
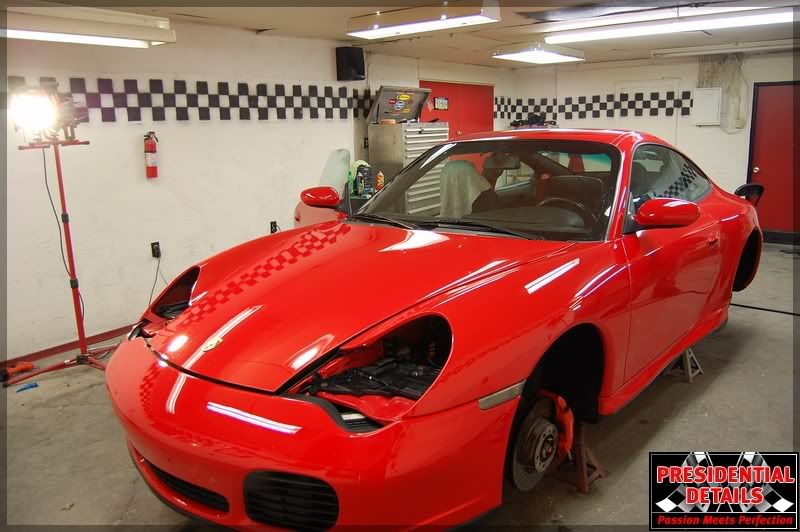
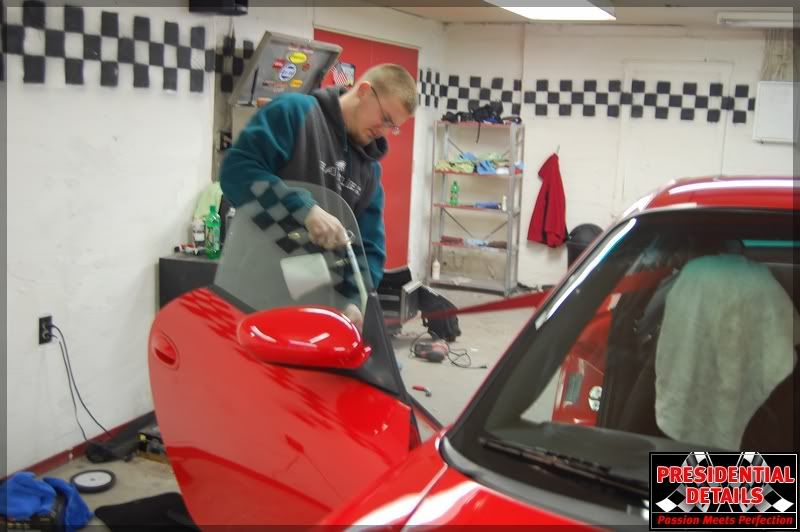
Once the car was pulled up to be prepared to be polished I noticed a few flaws in that paint that was a result of premature clear coat failure. The damage was done by tree sap. It sat so long it etched in the paint and a repaint was in order to be complete. So I contacted the owner and We eventually agreed to have the fenders painted. This would ensure a full correction was made to the exterior of the vehicle. Once the panels were painted I received the car back and pulled it up and began to inspect the paint for flaws. Here is what I was looking at.

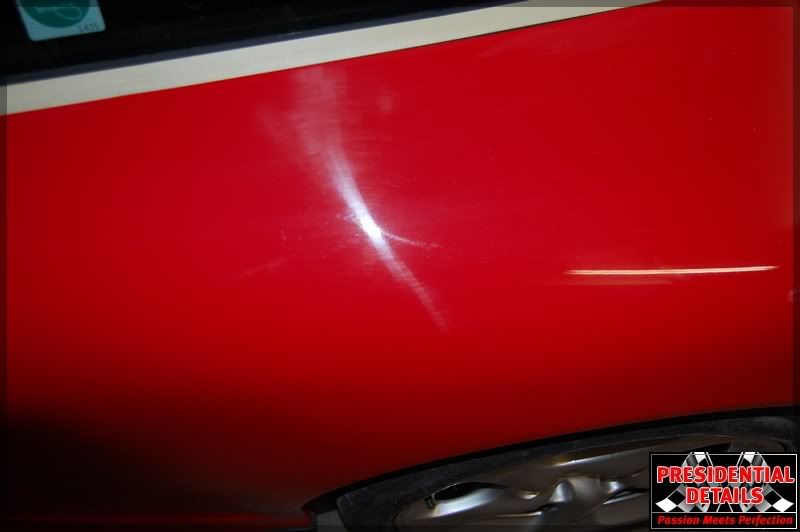
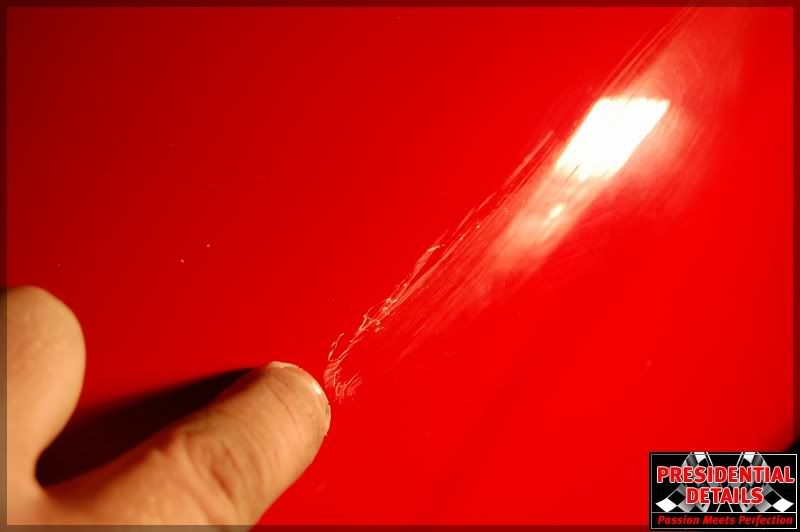
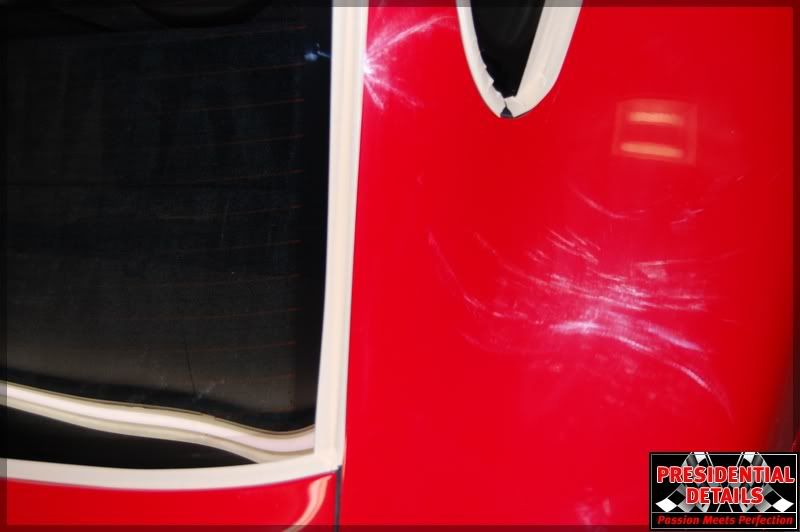
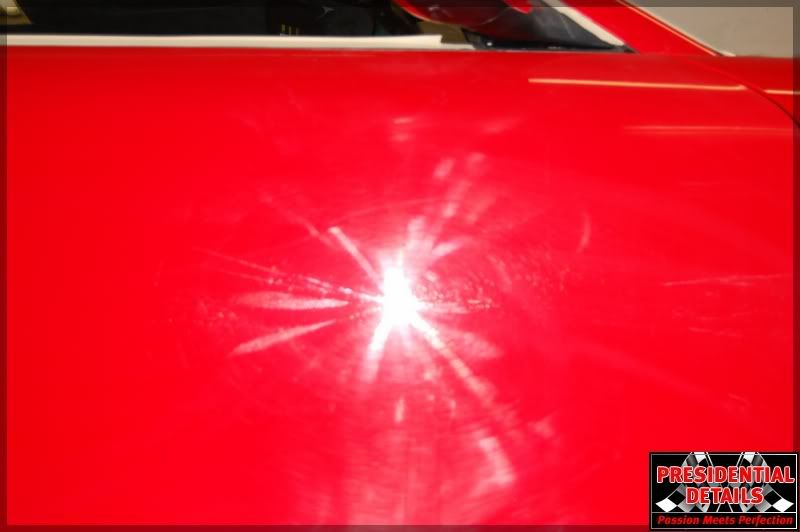
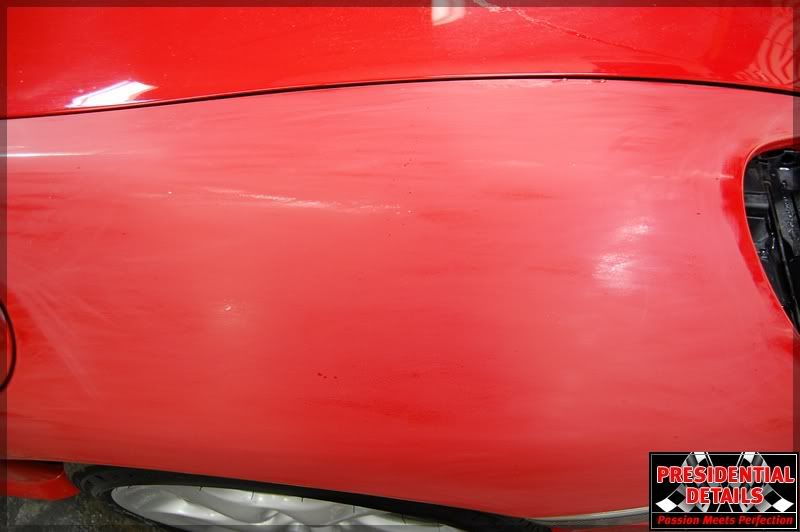
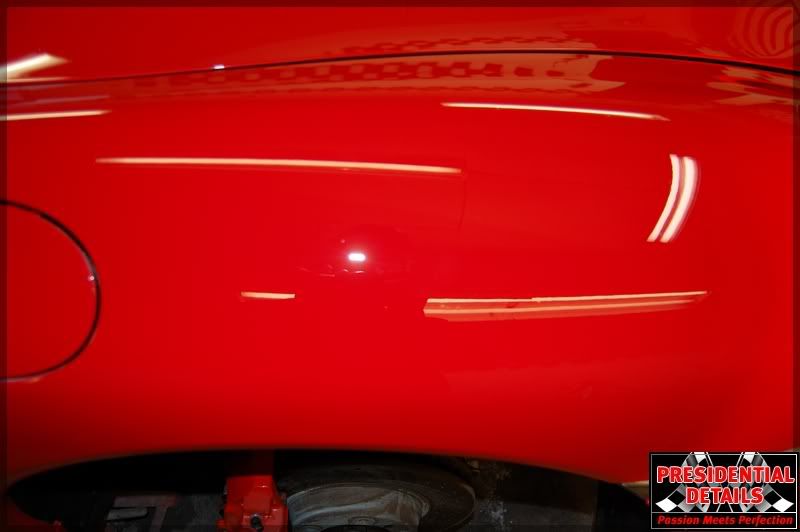
The hood had a lot of D/a marks that needed some serious attention. As you can see this car had just about a little bit of everything.
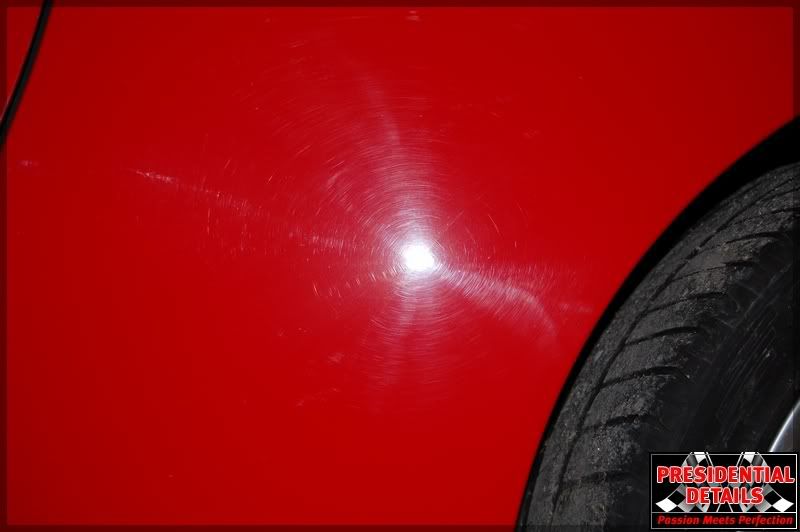
Here you can see what how bad the holograms really were on this car. Just crazy huh!
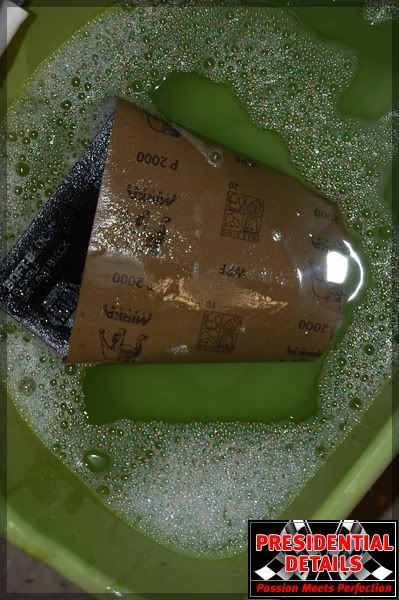
Now before any paint was ready to be corrected I had to sand the painted panels to get the orange peel to match. I sanded each fender by hand. I found that this smart with the curvature of the panel. I used mirka 2000 for the sanding.
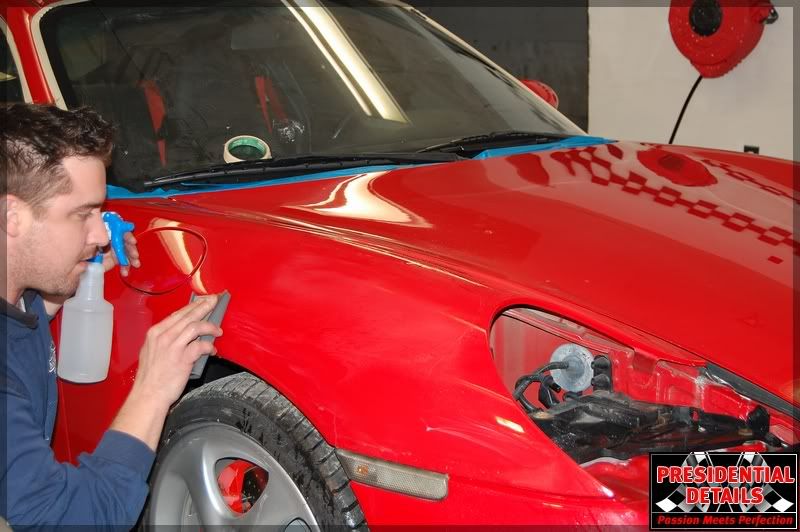
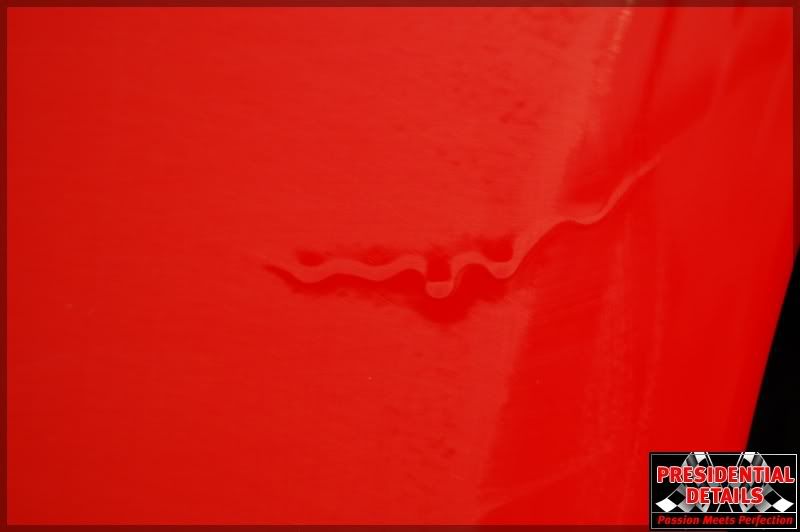
While sanding I notice a small run on the fender that needed attended. Now I do not recommend you just try this with out being taught!!!!! I started to tape a razor blade and cut off the extra clear coat with a blade then sanded the rest down to remove the run.
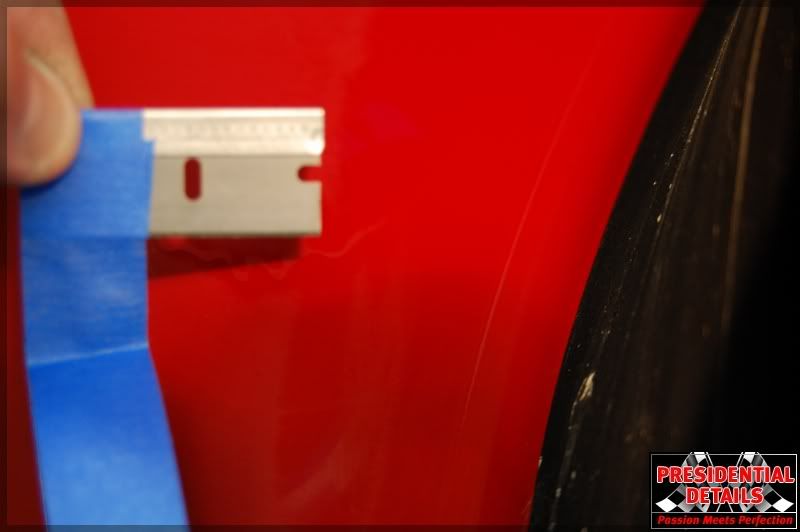
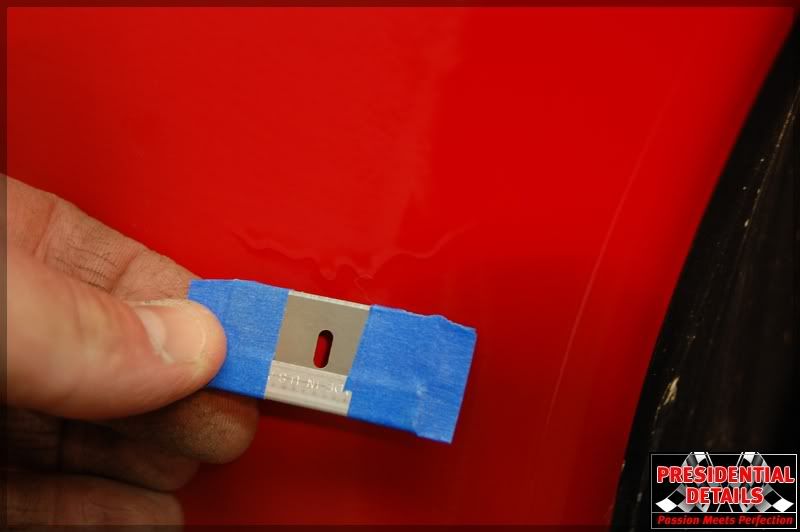

Once the high spots were down on the run I began to finish sanding the panel..

Once all the arches were it. I began to rinse the car Down with Ardex New Wave a dilution ration of 1:4 and let soak. At this point all loose debris is off the car so its okay to go ahead and begin to agitate various area�s on the paint.. Take notice I�m trying to pay close attention to tight areas and places that usually have wax build up.
Getting these wheels took a little bit of work but it was well worth it. The wheels I spent about an hour on just trying to make the as nice as I could.
I was pretty proud of this job!!! Here is a nice 50/50 of a dirty wheel and a clean wheel.
Claying the car made it nice and smooth. Removing all embed contaminants is important prior to any machine polishing.
Here she sits completely decontaminated and ready to be polished!
Once the car was pulled up to be prepared to be polished I noticed a few flaws in that paint that was a result of premature clear coat failure. The damage was done by tree sap. It sat so long it etched in the paint and a repaint was in order to be complete. So I contacted the owner and We eventually agreed to have the fenders painted. This would ensure a full correction was made to the exterior of the vehicle. Once the panels were painted I received the car back and pulled it up and began to inspect the paint for flaws. Here is what I was looking at.
The hood had a lot of D/a marks that needed some serious attention. As you can see this car had just about a little bit of everything.
Here you can see what how bad the holograms really were on this car. Just crazy huh!
Now before any paint was ready to be corrected I had to sand the painted panels to get the orange peel to match. I sanded each fender by hand. I found that this smart with the curvature of the panel. I used mirka 2000 for the sanding.
While sanding I notice a small run on the fender that needed attended. Now I do not recommend you just try this with out being taught!!!!! I started to tape a razor blade and cut off the extra clear coat with a blade then sanded the rest down to remove the run.
Once the high spots were down on the run I began to finish sanding the panel..
#3
12-22-2009, 09:26 PM
Join Date: Oct 2009
Location: Lancaster PA
Posts: 70
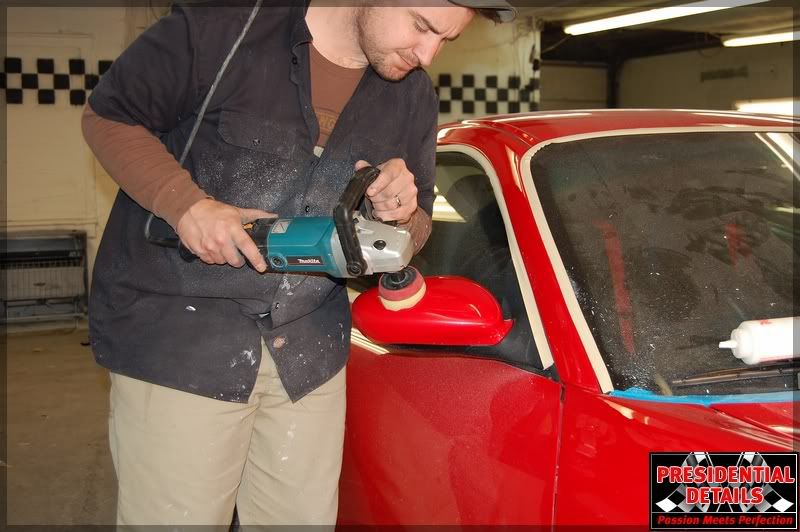
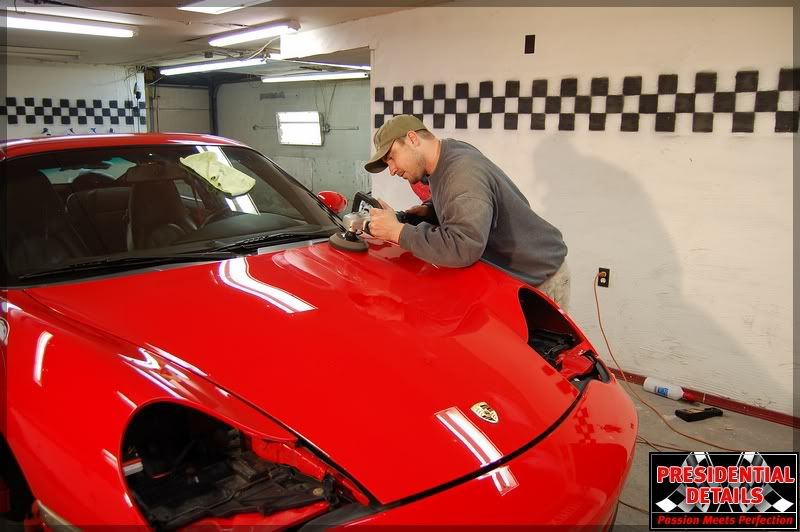
Once everything was sanded I wipe the entire vehicle down with Rubbing alcohol to remove any previous waxes or sealants on last time. My first compounding step I used a knock down technique with Ardex 100 and a Meg. Maroon wool pad. The trick to this is to run the Buffer at about 800 to 1000 rpms while applying heavy pressure and keeping the buffer movement nice and slow. This method isn�t practiced much anymore. Maybe I�m a little old school I guess. LoL. A very major part of this method is to have the pad not flat against the paint. You want about half the pad accessing the paint at all times. Take notice in this picture below.
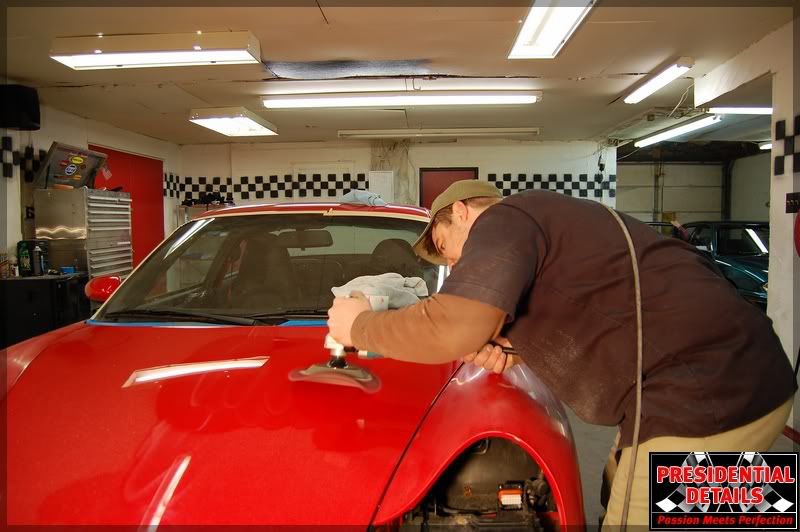
After this I follow the exact panel with M105 on a pc7424 to remove any wool marring and holograms left behind by the knockdown method.
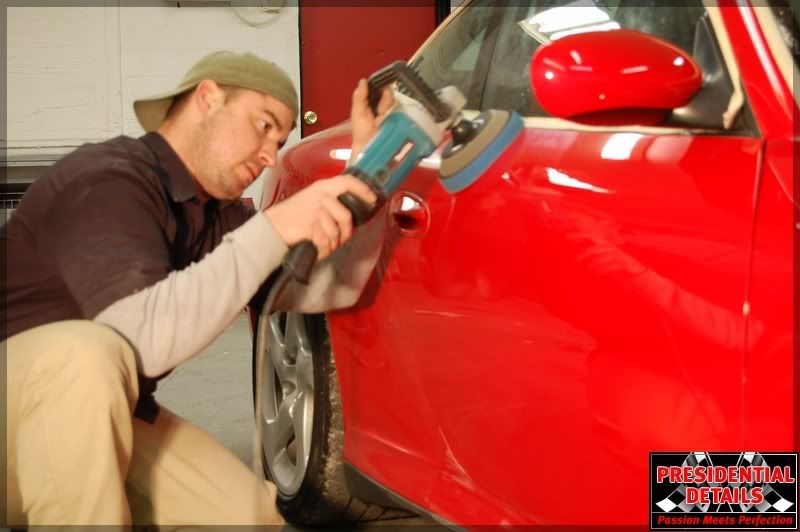
The panels that were sanded I wanted a little more cut from the pad so I turned to a Scheigal 2 inch pile wool pad on a Makita 9227. Then followed with M105 on a pc 7424.
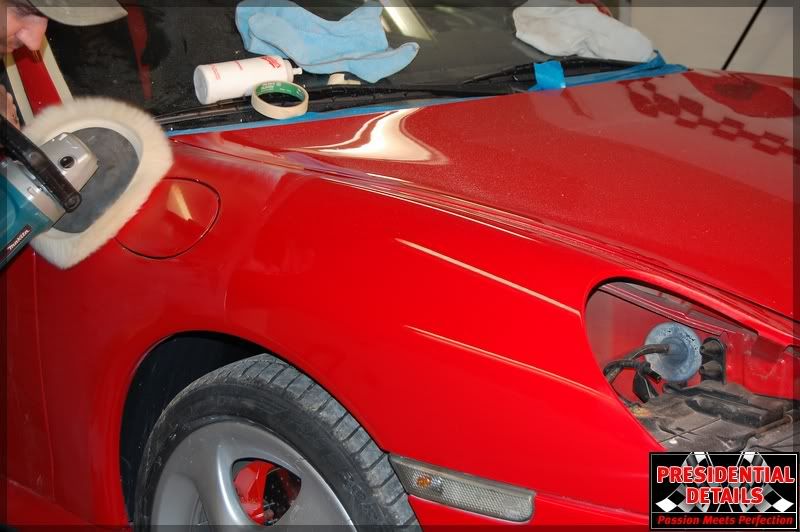
The smaller tighter area�s were worked with m10 white 3 inch wool pad followed by m105 3 inch Foam pad on Makita 9227.
At this point the car had a ton of dust and need a good alcohol wipe down to remove any oil left over from the Ardex 1000 and M105.
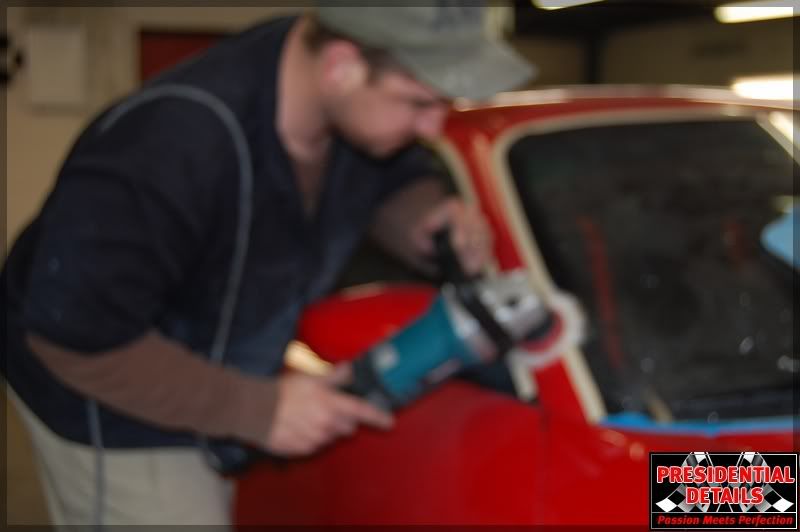
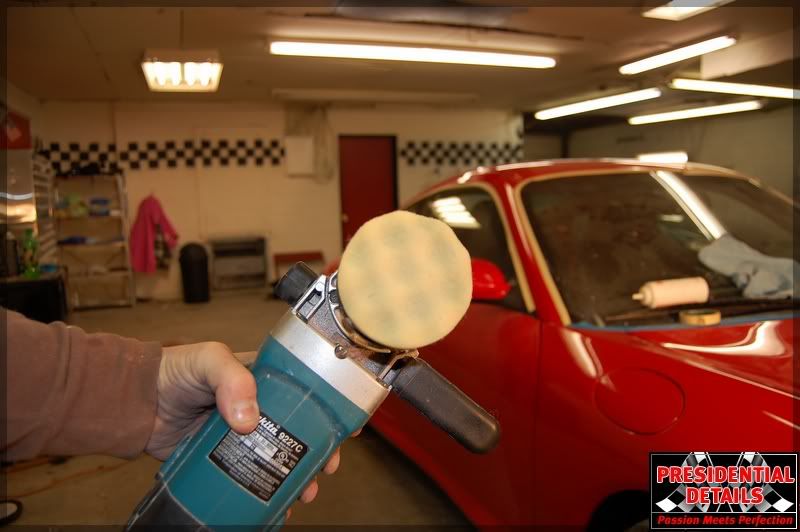
I preceded to follow this step with M205 on a Makita 9227 and blue CCS foam pad.

Once completed and another alcohol wipe down was performed I opted to take the car into the was bay and rinse the car down. This will aid in the removing all dust from cracks and crevices and really speeds up the detailing time. The tires were foamed with a citrus degreaser to breakdown any dust or dirt left over.
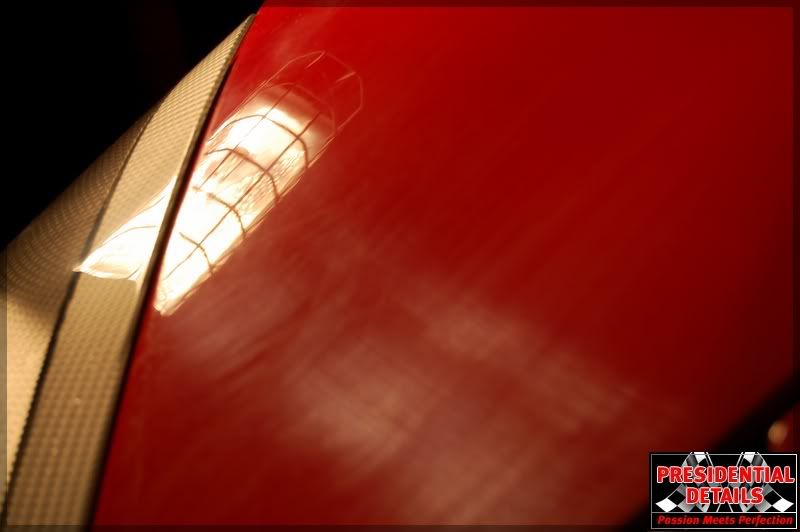
At this point I pulled the car out and inspected the paint finish in the sun. I wanted to inspect it in everyday light.
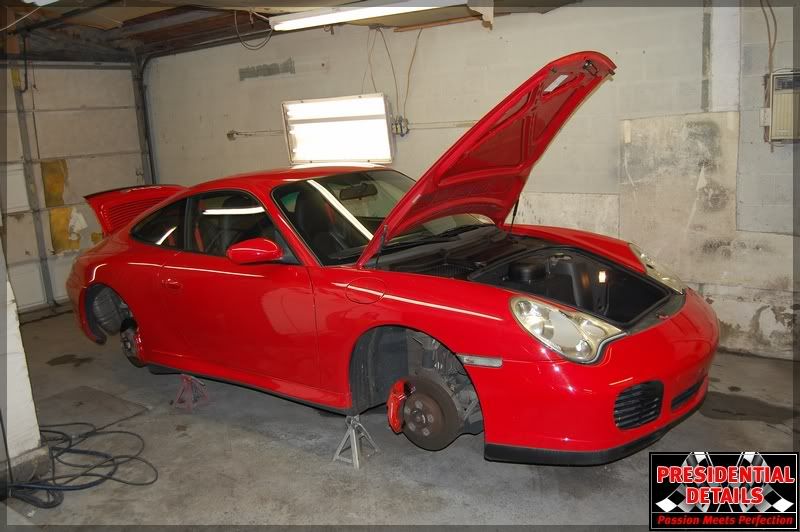
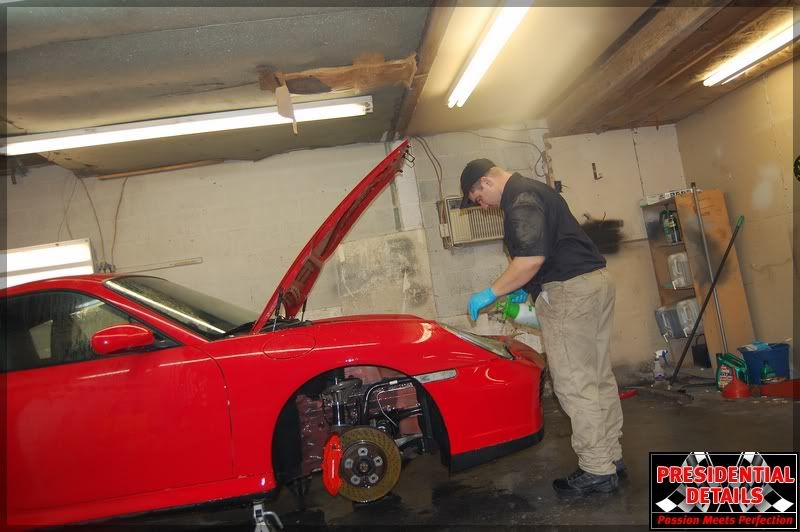
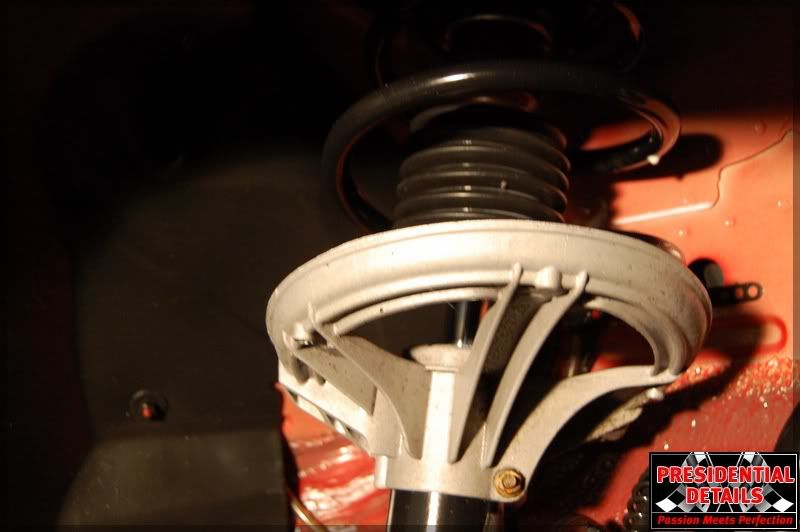
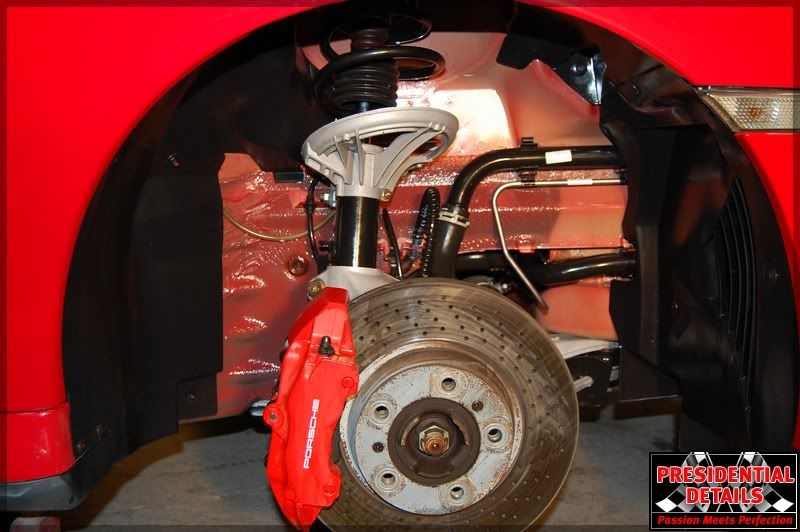
I was pleased with the correction part and pulled the car back in to start the burnishing.. Once pulled in I put the car up on jack stands and remove the wheels once again to detail the wheel arches out. I started with polishing out the Brake calipers with m205 then waxed them with 845 insulator wax.. Then the rest of the arches, suspension, brakes lines were cleaned accordingly.

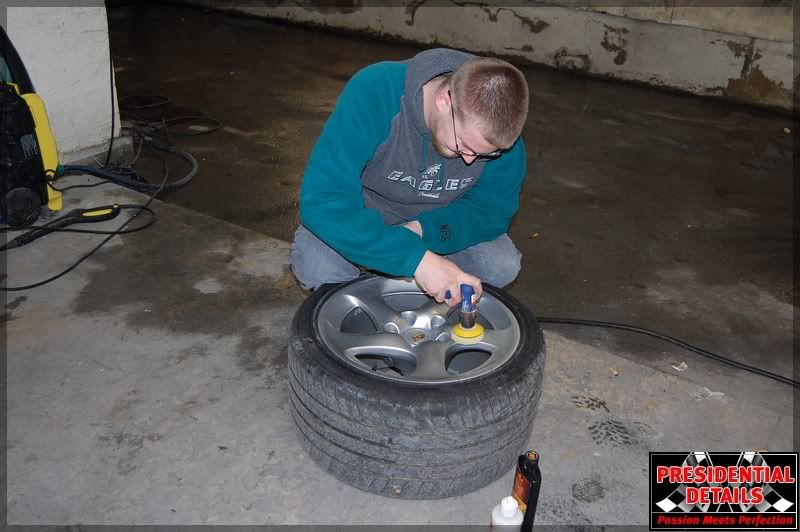
While I was Burnishing the paint with 85rd. Jon joined me and began to polish the wheels with pinnacle advance finishing polish and then sealed them with 845 insulator wax.
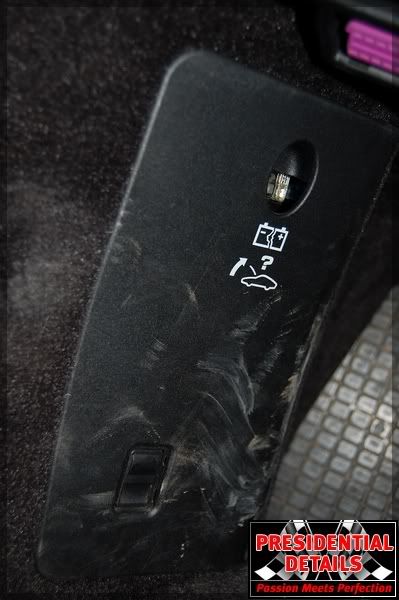
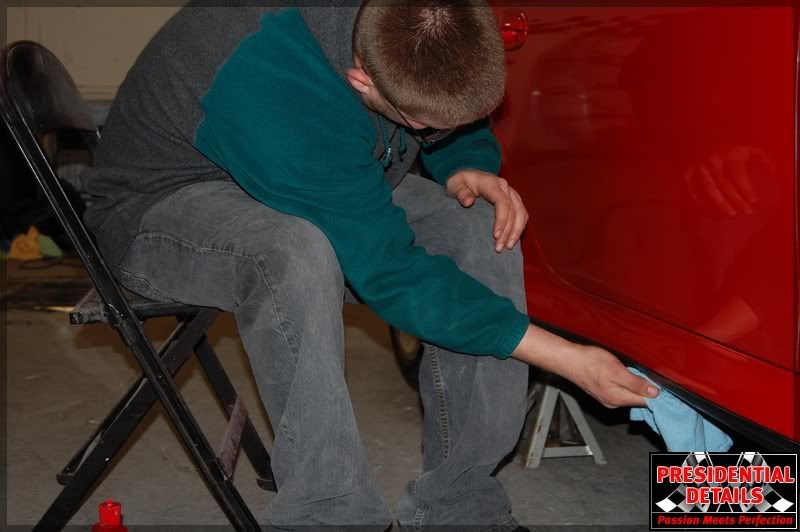
Once all the Burnishing was done it was time to pay attention to the interior. Jon Did all the interior himself using various tools from a steamer, tornado interior tool, brushes, and a good APC .Compressed air was also used..
After this I follow the exact panel with M105 on a pc7424 to remove any wool marring and holograms left behind by the knockdown method.
The panels that were sanded I wanted a little more cut from the pad so I turned to a Scheigal 2 inch pile wool pad on a Makita 9227. Then followed with M105 on a pc 7424.
The smaller tighter area�s were worked with m10 white 3 inch wool pad followed by m105 3 inch Foam pad on Makita 9227.
At this point the car had a ton of dust and need a good alcohol wipe down to remove any oil left over from the Ardex 1000 and M105.
I preceded to follow this step with M205 on a Makita 9227 and blue CCS foam pad.
Once completed and another alcohol wipe down was performed I opted to take the car into the was bay and rinse the car down. This will aid in the removing all dust from cracks and crevices and really speeds up the detailing time. The tires were foamed with a citrus degreaser to breakdown any dust or dirt left over.
At this point I pulled the car out and inspected the paint finish in the sun. I wanted to inspect it in everyday light.
I was pleased with the correction part and pulled the car back in to start the burnishing.. Once pulled in I put the car up on jack stands and remove the wheels once again to detail the wheel arches out. I started with polishing out the Brake calipers with m205 then waxed them with 845 insulator wax.. Then the rest of the arches, suspension, brakes lines were cleaned accordingly.
While I was Burnishing the paint with 85rd. Jon joined me and began to polish the wheels with pinnacle advance finishing polish and then sealed them with 845 insulator wax.
Once all the Burnishing was done it was time to pay attention to the interior. Jon Did all the interior himself using various tools from a steamer, tornado interior tool, brushes, and a good APC .Compressed air was also used..
#4
12-22-2009, 09:28 PM
Join Date: Oct 2009
Location: Lancaster PA
Posts: 70
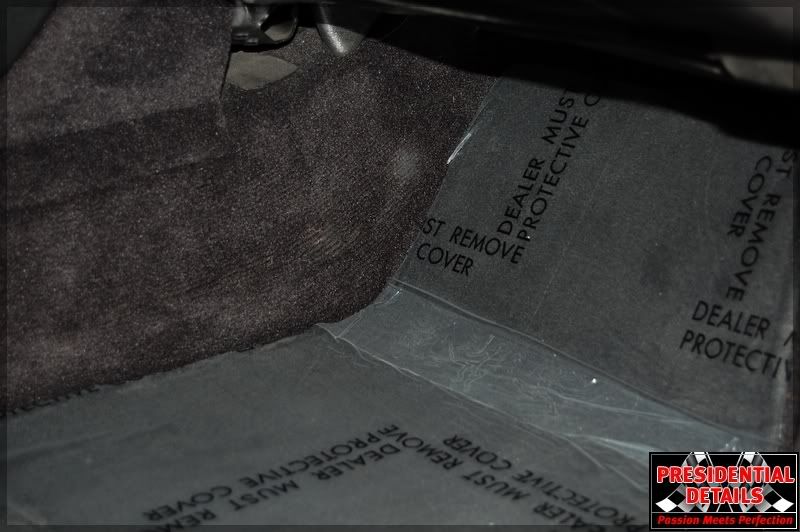
Here are a few before photos.

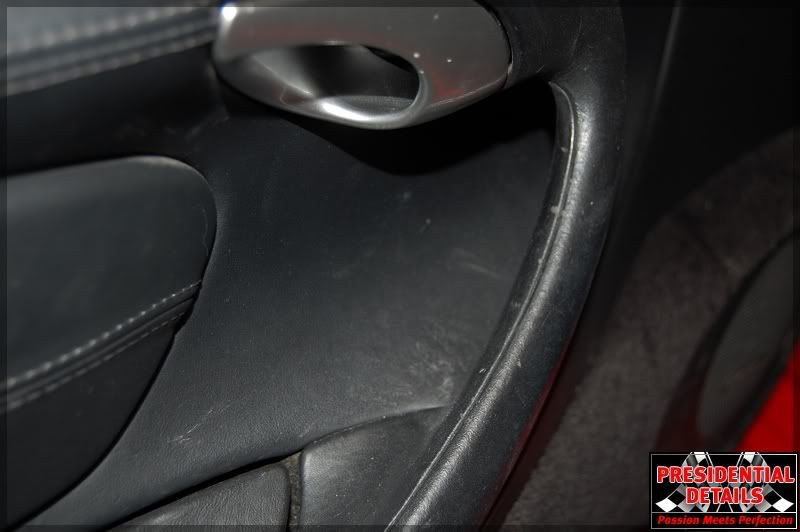
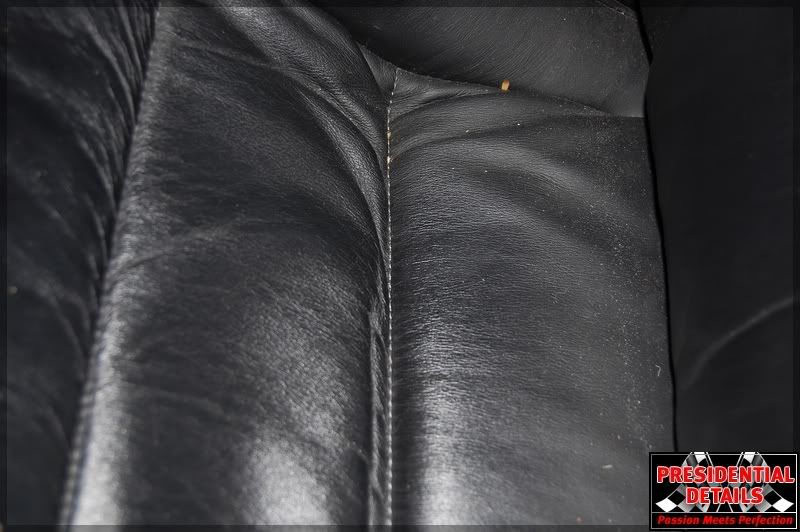

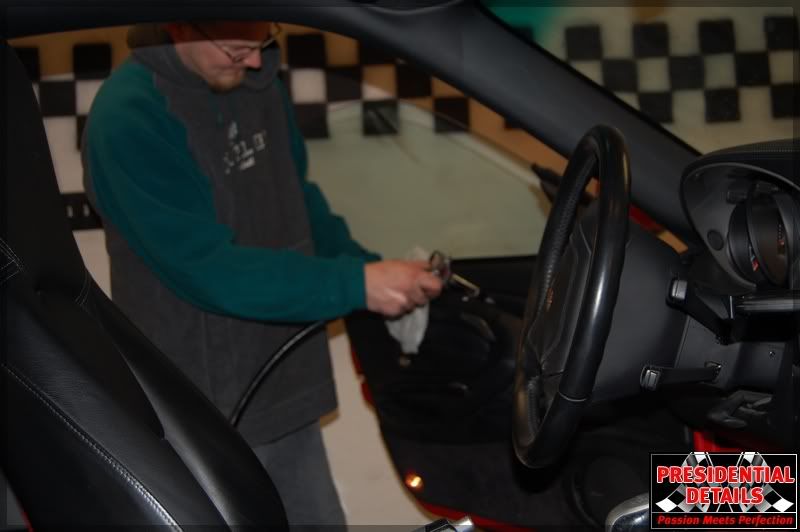
Here is a few action shots of Jon cleaning and sanitizing the interior. Take notice how Jon pulls the seatbelt all the way out to clean the entire belt.
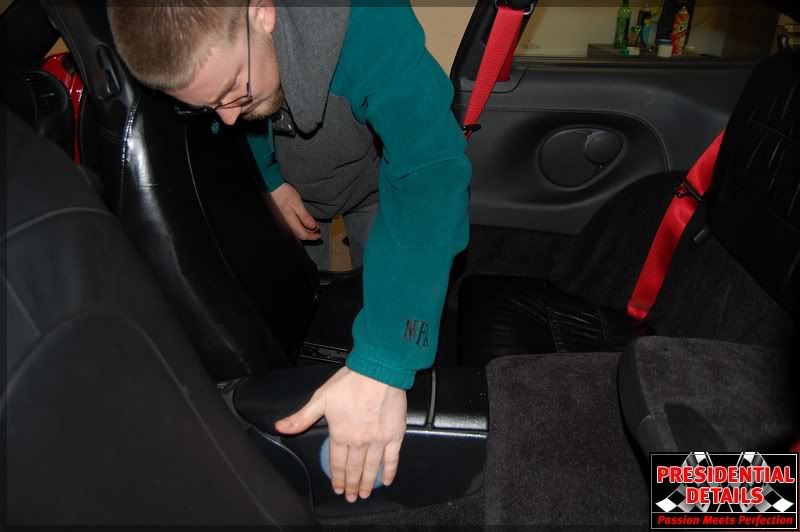
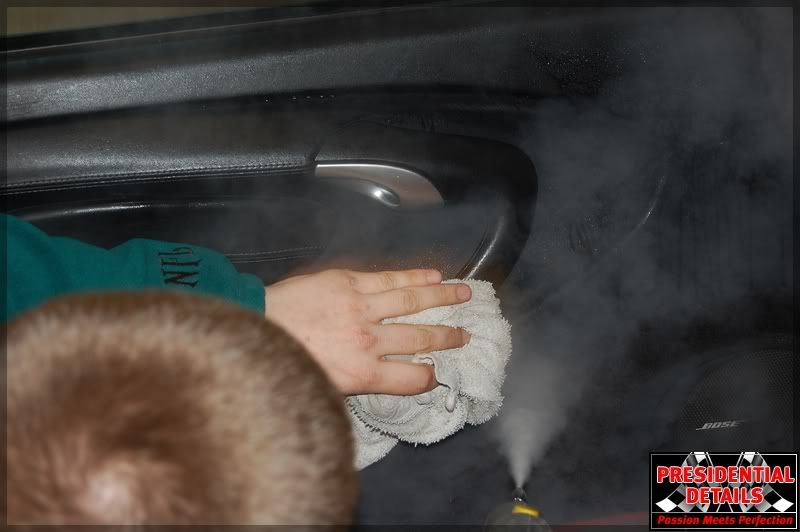
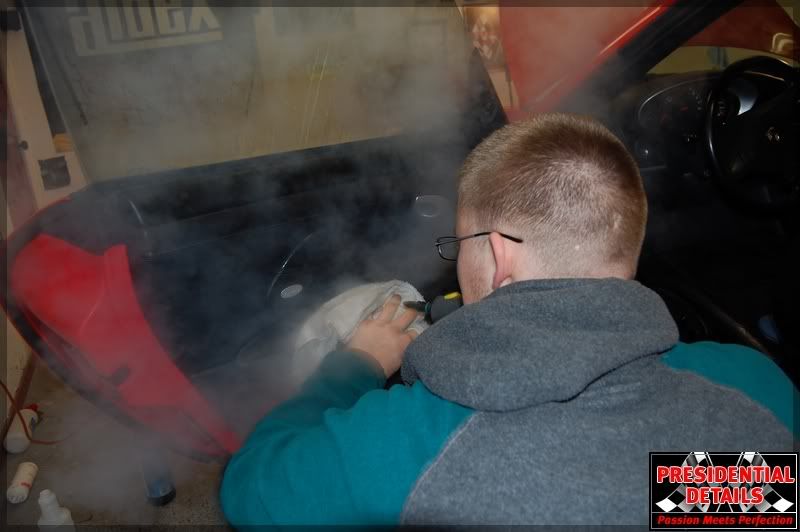
Paying attention to all the details!
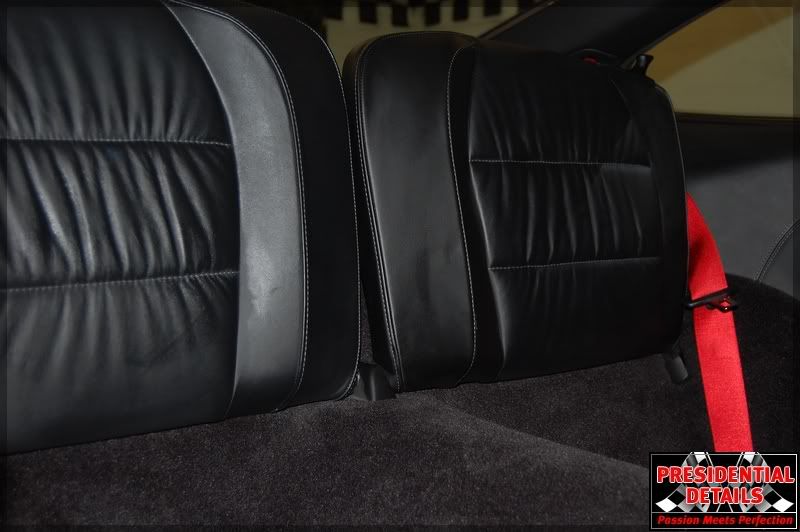
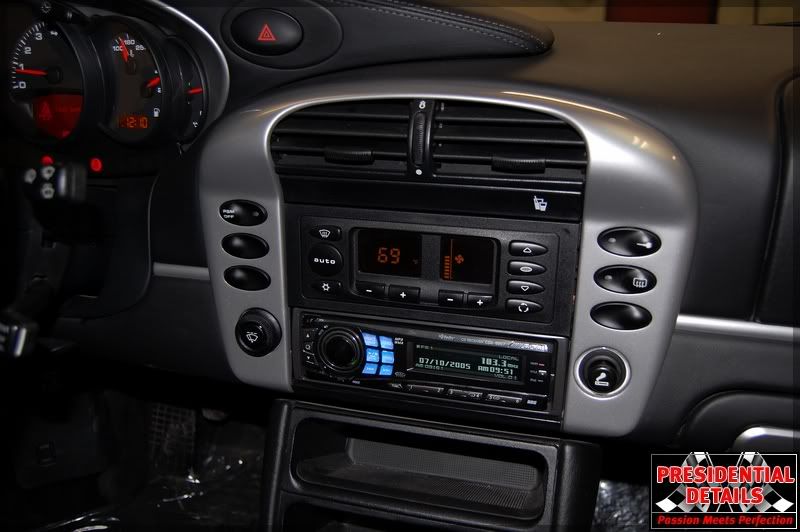
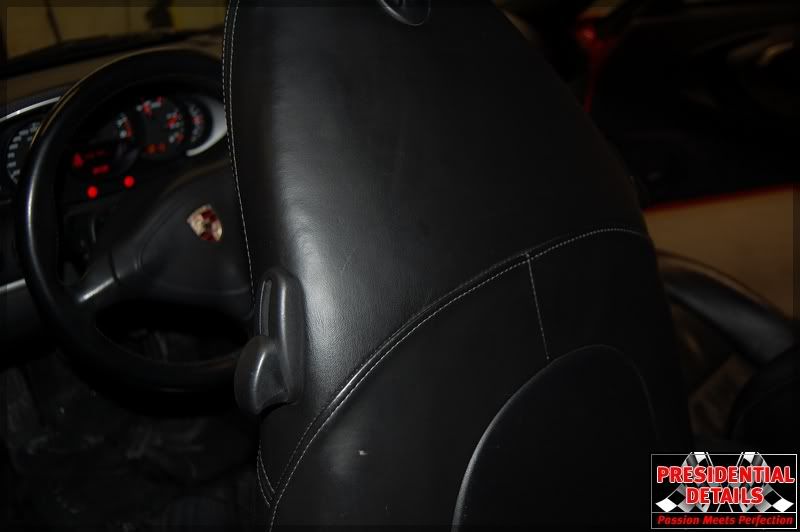
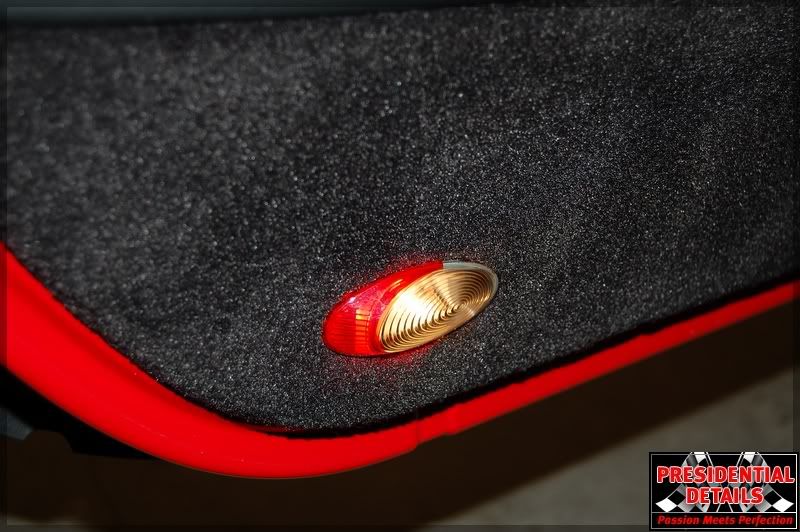
Some Final interior shots.

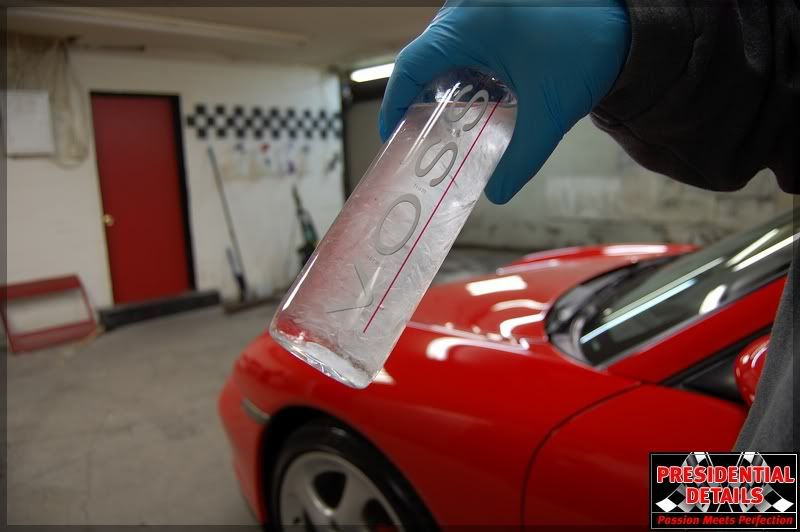
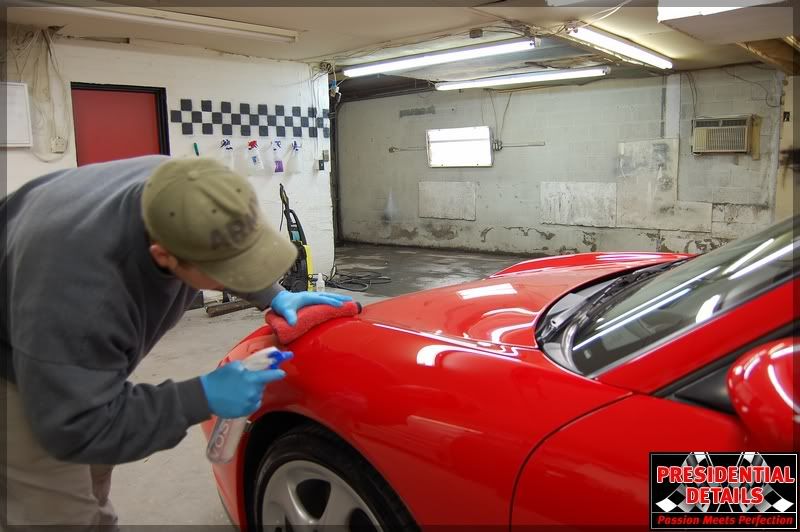
Here I began to the final wipe down using VOSS imported water form Normay. It was served cold.
Here is a few action shots of Jon cleaning and sanitizing the interior. Take notice how Jon pulls the seatbelt all the way out to clean the entire belt.
Paying attention to all the details!
Some Final interior shots.
Here I began to the final wipe down using VOSS imported water form Normay. It was served cold.
#5
12-22-2009, 09:29 PM
Join Date: Oct 2009
Location: Lancaster PA
Posts: 70
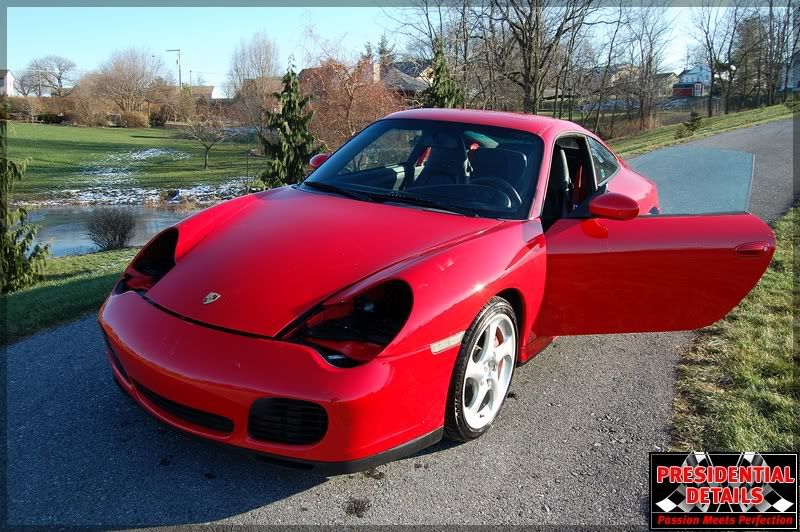
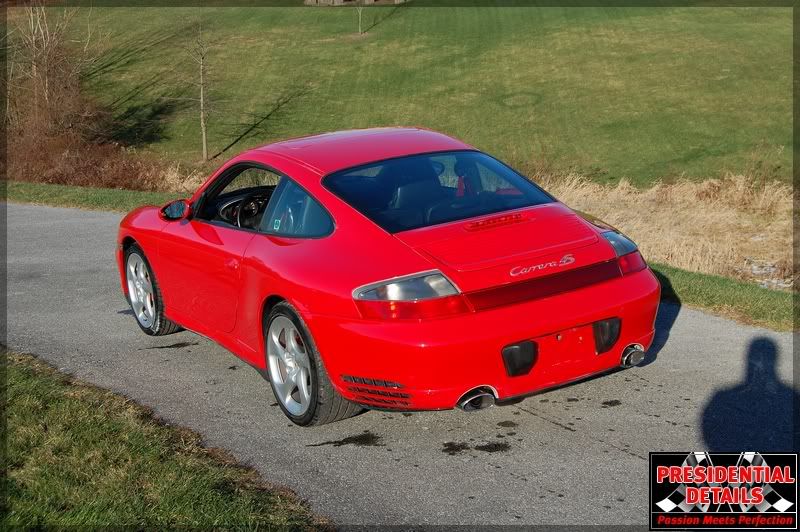
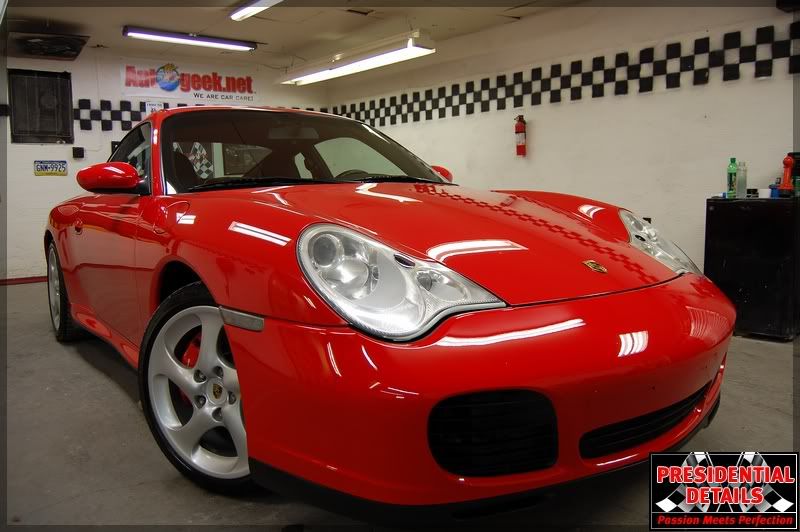
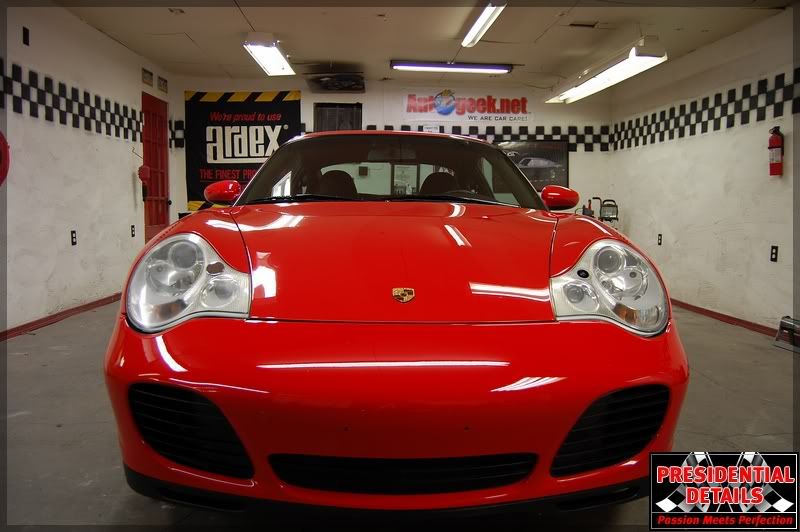
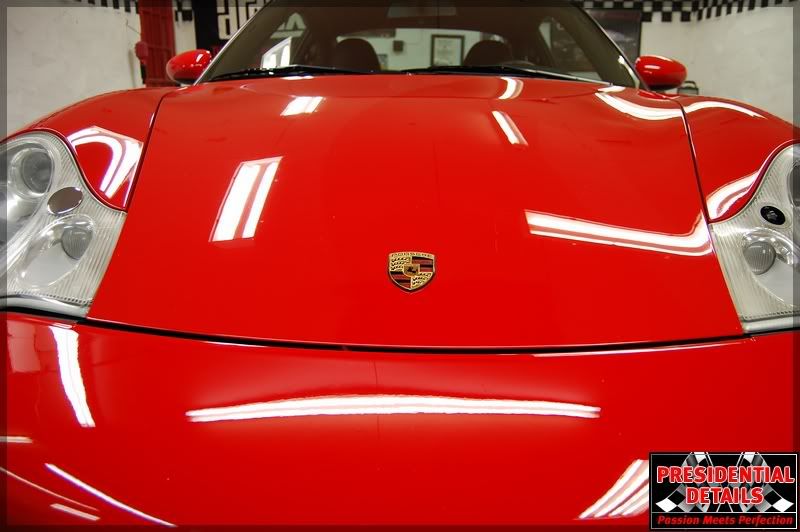
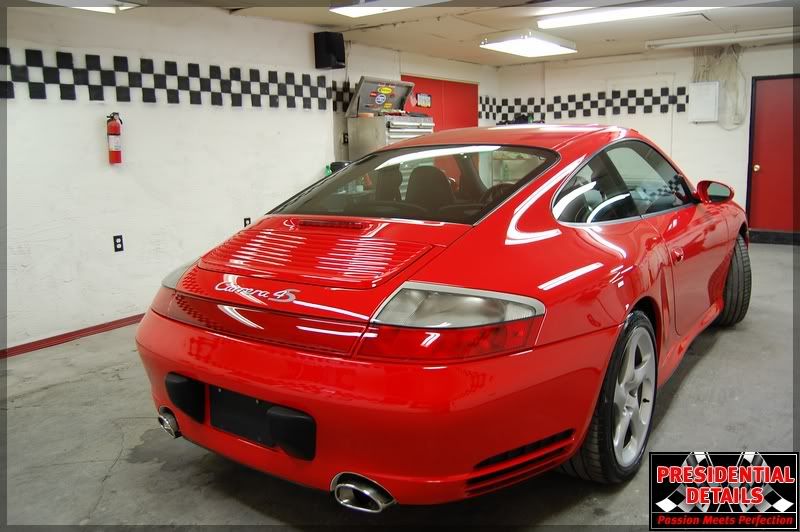
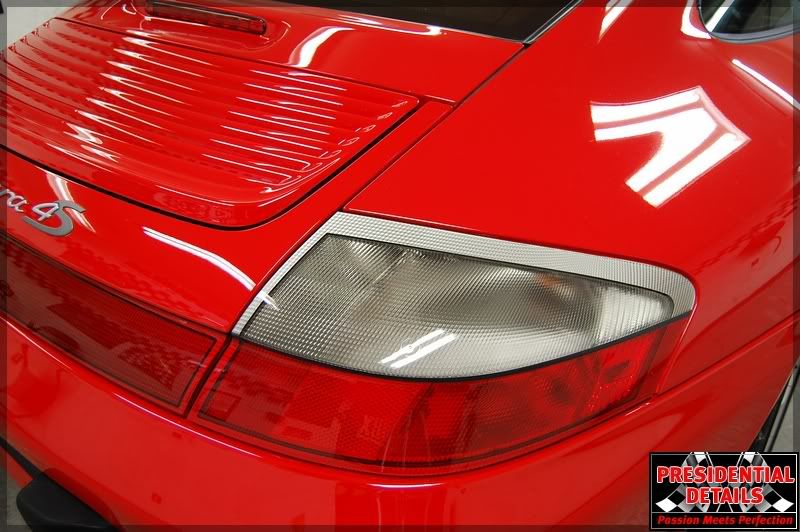
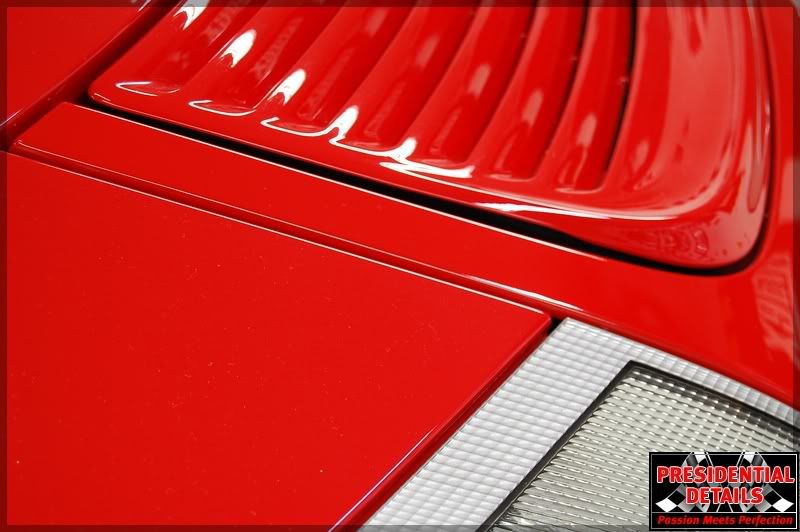
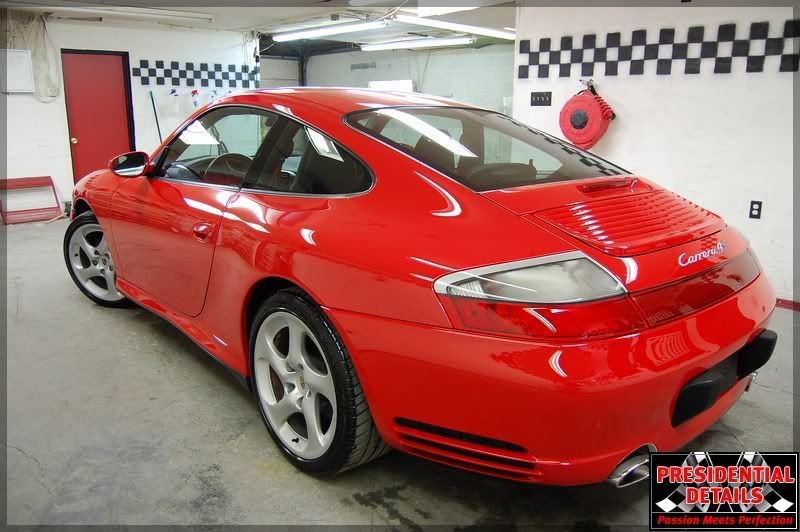
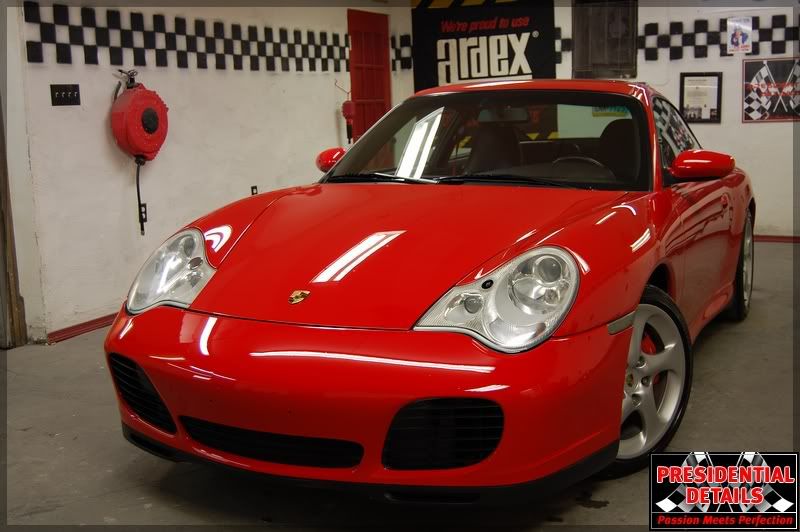
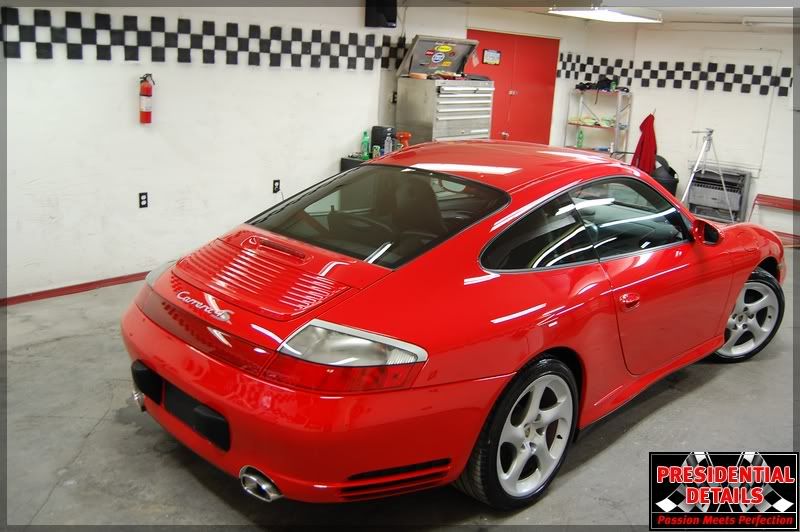
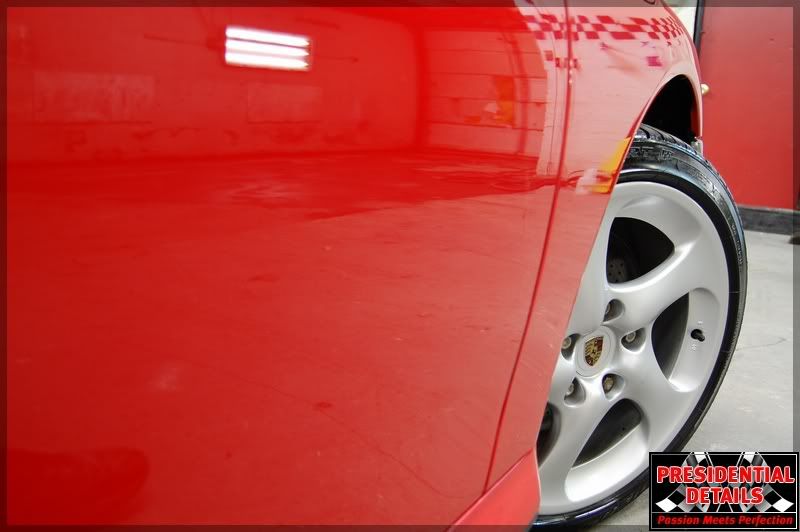
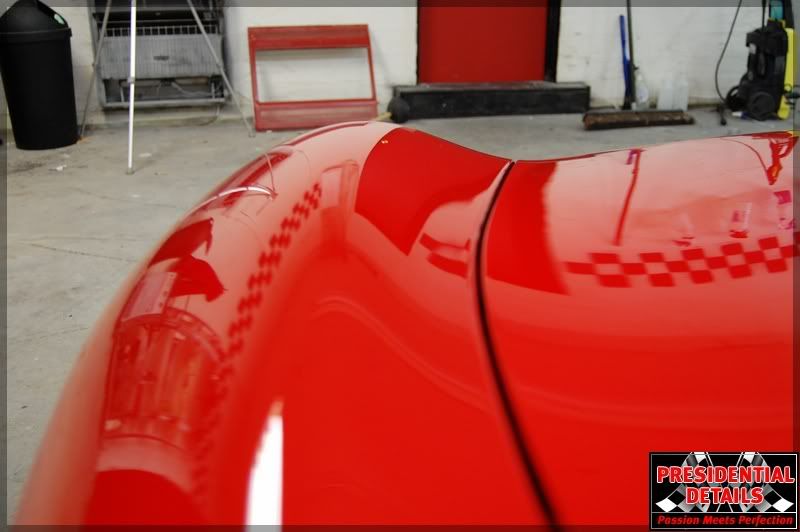
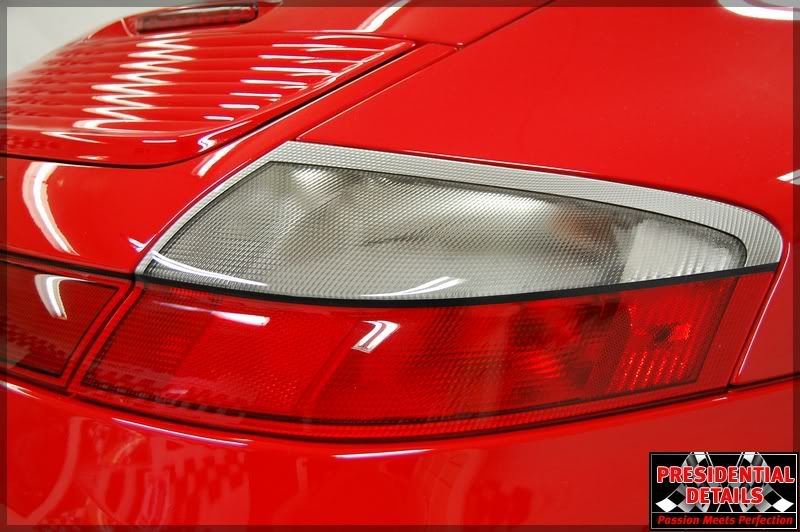
Now for the final pictures. LSP was 2 coats of Blackfire Sealent followed by Wolfgang Fuzion.


Here is a quick video I made of the car. Please be nice this is my first one!!!!
http://s484.photobucket.com/albums/r...t=DSCI2174.flv
Thanks for looking at the thread. I’m sorry I could not get any sun shops. The owner wanted the car tonight. There is rain in the forcast. Thanks for looking god bless usa!
#6
12-24-2009, 08:08 PM
Barry thanks for the post but the tags and company name in the thread titles is only for board sponsors, you are still allowed to post your work, just without all the means for contacting.
BTW, whose your friend
BTW, whose your friend