Photography 101


#24
 10-25-2011, 03:41 PM
Composition
Composition
Composition has both a technical side and an artsy side... now the latter is something you got or you just will never have (IMHO) BUT to compose a photograph that it technically balanced is something everyone should be able to learn.
My two favorite "rules" for photo balance are;
1.
eg
2.
eg

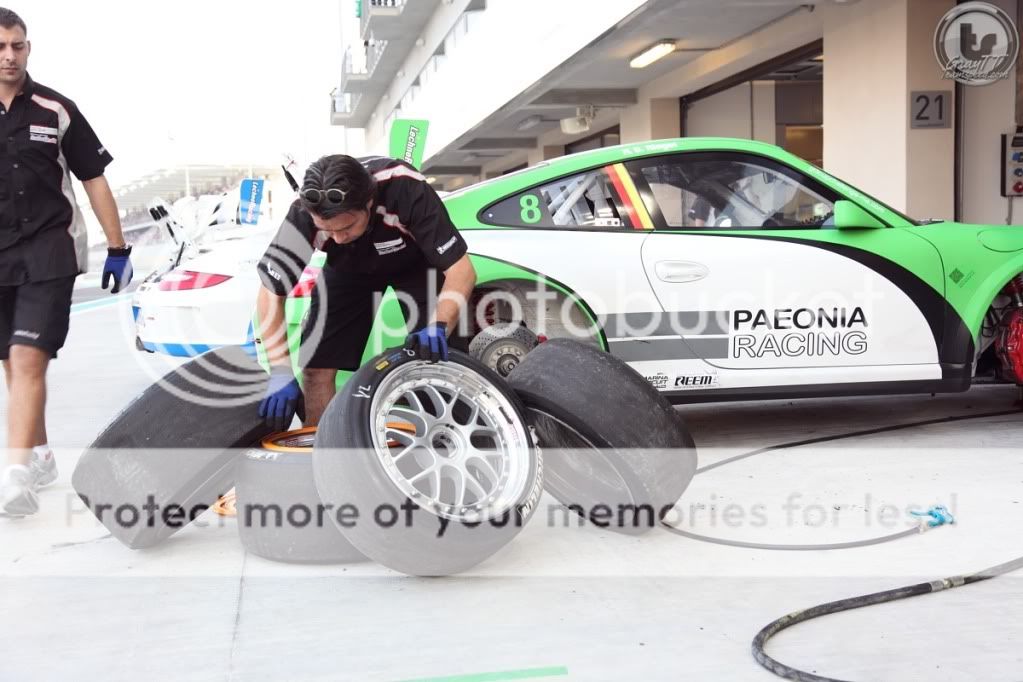

This can also be done in this way
Quotes from; Photography 101.org - Photographic Composition
Composition has both a technical side and an artsy side... now the latter is something you got or you just will never have (IMHO) BUT to compose a photograph that it technically balanced is something everyone should be able to learn.
My two favorite "rules" for photo balance are;
1.
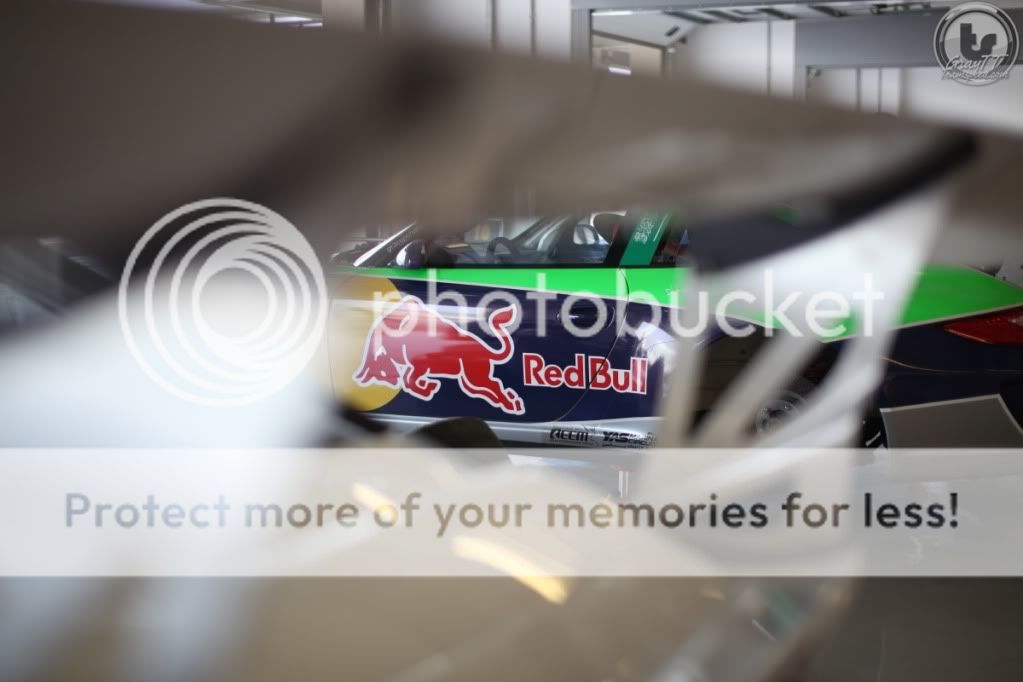
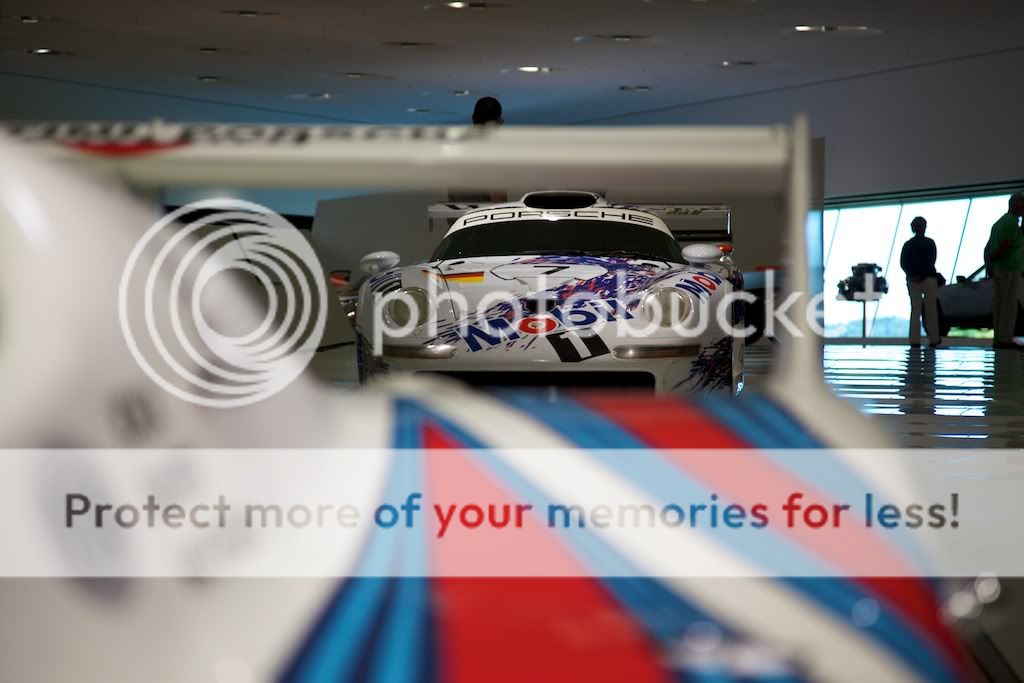
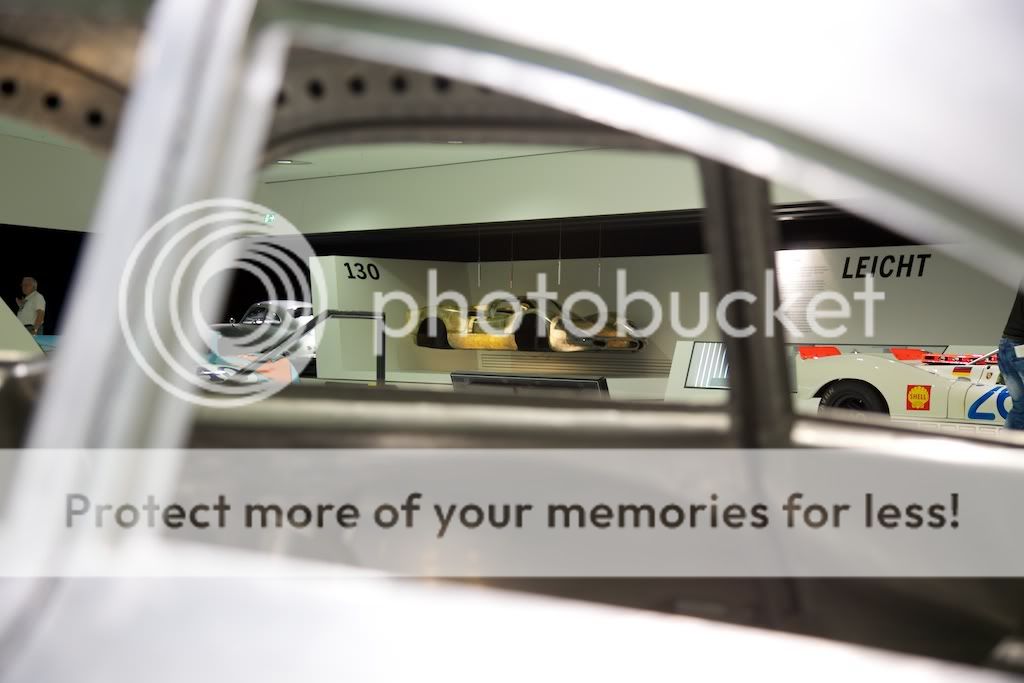
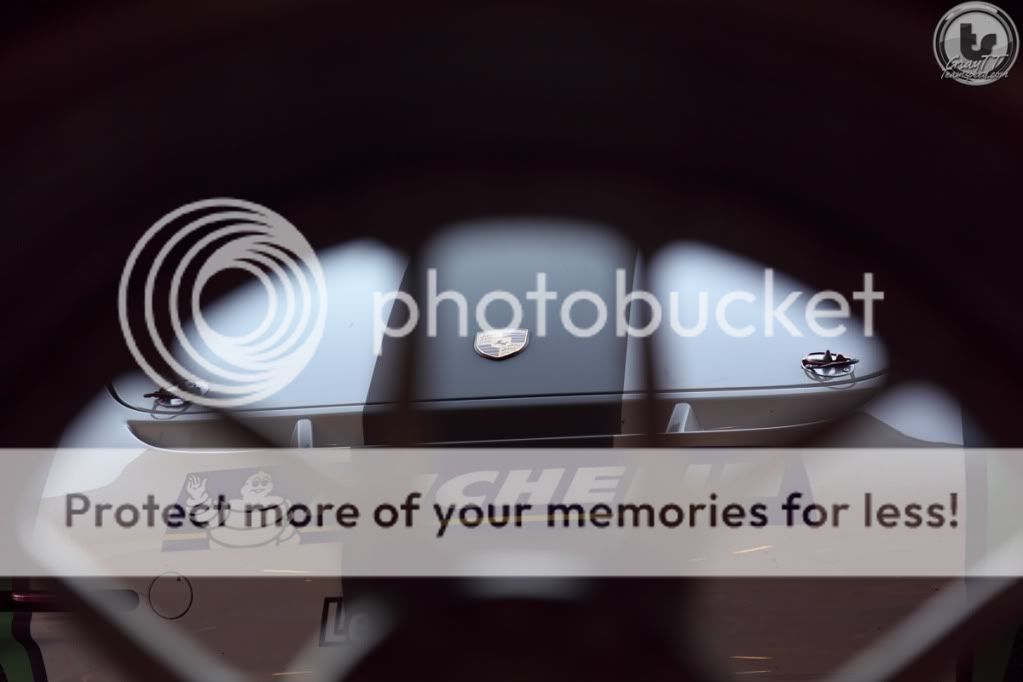
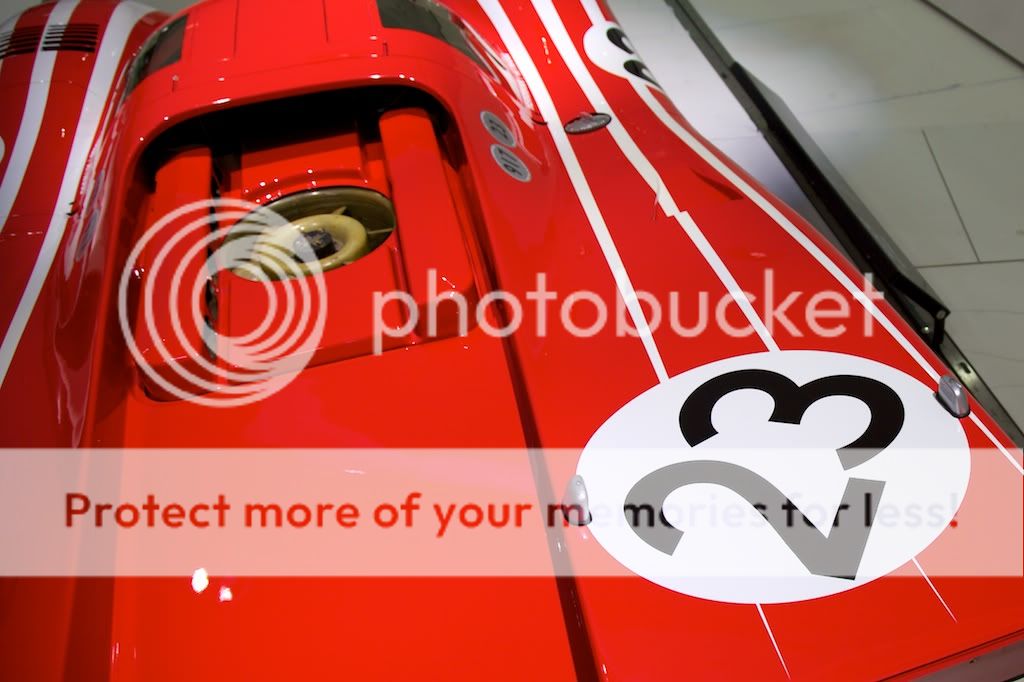
Framing
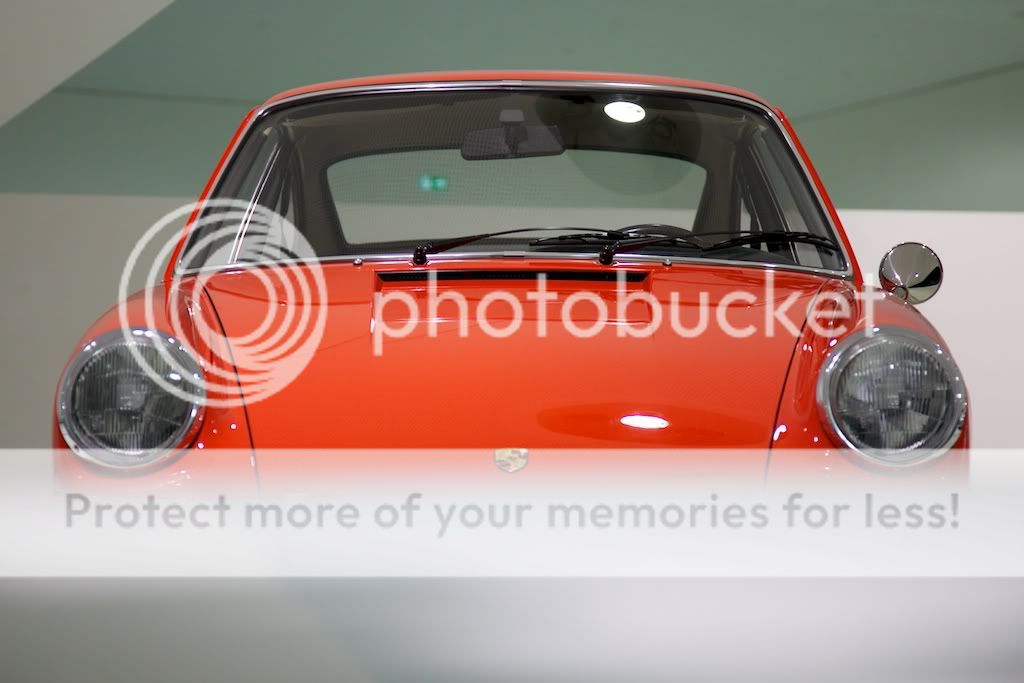
Frames can be basically any item that encloses or surrounds your subject. This could be branches of nearby trees or even a solid frame such as a cut-out in a wall. Take note of your surroundings, and keep an eye out for objects that would make for an image-enhancing 'frame'. Take shape, texture, and color into consideration, frames which contrast sharply with the subject of your picture can make for beautiful photographs. Use frames with care, as misuse can create cluttered or visually unappealing pictures.
Frames can be basically any item that encloses or surrounds your subject. This could be branches of nearby trees or even a solid frame such as a cut-out in a wall. Take note of your surroundings, and keep an eye out for objects that would make for an image-enhancing 'frame'. Take shape, texture, and color into consideration, frames which contrast sharply with the subject of your picture can make for beautiful photographs. Use frames with care, as misuse can create cluttered or visually unappealing pictures.
2.
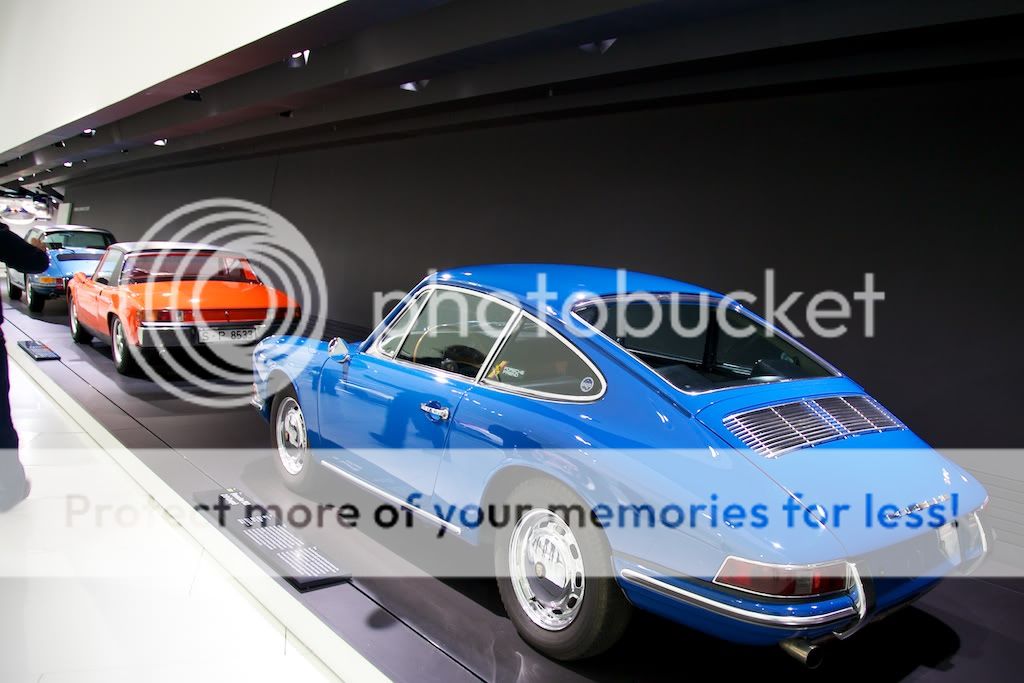
Rule of Thirds
The Rule of Thirds is a photographic composition technique that most if not all advanced photographers employ quite a bit. The basis of this rule is that a photograph is divided into 9 equal sized sections, with 2 lines vertically and 2 lines horizontally. The four intersections of these lines are a good guidepoint for where your subject should be centered. These points (and lines also) also work as guides for other aspects of the photograph, for example, a horizon may look better when lined up with one of the lines. Also, when photographing people, a good use of the rule of thirds in many circumstances would be to line a person's body up with a vertical line, and line their eyes up with a horizontal line. This is likely one of the most important compositional techniques, as many photographers feel that a centered subject is not as interesting (in most situations). It is, however, recommended that you treat this 'rule' as more of a guideline though, as there are many circumstances where a more appealing photograph can be produced without the use of this rule. The rule of thirds goes all the way back to 1845, where it originated as a rule for composing scenic artwork.
The Rule of Thirds is a photographic composition technique that most if not all advanced photographers employ quite a bit. The basis of this rule is that a photograph is divided into 9 equal sized sections, with 2 lines vertically and 2 lines horizontally. The four intersections of these lines are a good guidepoint for where your subject should be centered. These points (and lines also) also work as guides for other aspects of the photograph, for example, a horizon may look better when lined up with one of the lines. Also, when photographing people, a good use of the rule of thirds in many circumstances would be to line a person's body up with a vertical line, and line their eyes up with a horizontal line. This is likely one of the most important compositional techniques, as many photographers feel that a centered subject is not as interesting (in most situations). It is, however, recommended that you treat this 'rule' as more of a guideline though, as there are many circumstances where a more appealing photograph can be produced without the use of this rule. The rule of thirds goes all the way back to 1845, where it originated as a rule for composing scenic artwork.
This can also be done in this way
Quotes from; Photography 101.org - Photographic Composition
Last edited by GrayTT; 10-26-2011 at 08:59 AM.
#26
11-02-2011, 03:07 PM
Since I haven't contributed much of anything to this thread yet, I figured I'd help out and write up a post on how I created the following photo:

You'll have to wait a couple of hours but I'll post up a tutorial when I get home and have time to put something together so stay tuned!
You'll have to wait a couple of hours but I'll post up a tutorial when I get home and have time to put something together so stay tuned!
#27
11-02-2011, 05:49 PM
Gray, how do you blur the frame, and focus in on what you want in the background...large apeture?
#28
11-02-2011, 06:11 PM
Single Flash Lighting Techniques
OK, so this is probably more of a "Photography 201" topic but lets talk off camera flash and layering/stacking images for a sec...
As a budget-conscious photographer, I don't have a lot of money to spend on lighting equipment. I have two flashes (and never enough batteries) and some flood lights I could use in a pinch, but that's it. To compensate for my lack of gear, I've taught myself how to use my flash off camera and stack images to get the desired effect of having multiple flashes.
So, for the following technique, here's what you'll need:
If it's too dark to use available light or you just want to highlight specific areas of your subject, this is a great way to create pretty amazing images.
For example, the other day I was shooting a BMW 1M Coupe in a studio. The owner of the studio had decided to change out the lighting and hadn't finished setting up the new system when I had to shoot the car. Without very good lighting, I had to use my only flash with charged batteries.
So, I set up the car, positioned my camera where I wanted it on my tripod and set it to a timed release. I used the timer to avoid any possible vibrations from pressing the shutter button. I used the on-camera flash on my Nikon D700 to trigger my SB-700 flash that I set up in multiple positions around the room. Here's the first example:
Flash aimed at the front of the car:

Flash aimed at the front wheel:

Flash aimed at the rear wheel:

All of the shots I posted above stemmed from JPEGs taken straight out of the camera with no post-processing. After taking these three shots, I imported them into Photoshop CS5. I picked one image to be the base and proceeded to copy and paste the other two images on top of it as layers. I then played with the transparency of each layer to see where the car would be lit up and used the eraser tool to delete bits of each layer until the image looked like this:

The only tweaks made to the above photo aside from the layering was to use the Content-Aware Clone Tool to remove the lines from the flooring and turn-table, as well as the line where the floor hits the wall and some electrical sockets that bothered me. I also cleaned up some of the shadows on the wall from using the flash in different locations. Once everything was cleaned up, I used the Magnetic Lasso to select just the headlights and lowered some of the highlights. I also desaturated the background.
As a budget-conscious photographer, I don't have a lot of money to spend on lighting equipment. I have two flashes (and never enough batteries) and some flood lights I could use in a pinch, but that's it. To compensate for my lack of gear, I've taught myself how to use my flash off camera and stack images to get the desired effect of having multiple flashes.
So, for the following technique, here's what you'll need:
- a subject
- a camera
- at least one flash or source of light
- a tripod
If it's too dark to use available light or you just want to highlight specific areas of your subject, this is a great way to create pretty amazing images.
For example, the other day I was shooting a BMW 1M Coupe in a studio. The owner of the studio had decided to change out the lighting and hadn't finished setting up the new system when I had to shoot the car. Without very good lighting, I had to use my only flash with charged batteries.
So, I set up the car, positioned my camera where I wanted it on my tripod and set it to a timed release. I used the timer to avoid any possible vibrations from pressing the shutter button. I used the on-camera flash on my Nikon D700 to trigger my SB-700 flash that I set up in multiple positions around the room. Here's the first example:
Flash aimed at the front of the car:
Flash aimed at the front wheel:
Flash aimed at the rear wheel:
All of the shots I posted above stemmed from JPEGs taken straight out of the camera with no post-processing. After taking these three shots, I imported them into Photoshop CS5. I picked one image to be the base and proceeded to copy and paste the other two images on top of it as layers. I then played with the transparency of each layer to see where the car would be lit up and used the eraser tool to delete bits of each layer until the image looked like this:
The only tweaks made to the above photo aside from the layering was to use the Content-Aware Clone Tool to remove the lines from the flooring and turn-table, as well as the line where the floor hits the wall and some electrical sockets that bothered me. I also cleaned up some of the shadows on the wall from using the flash in different locations. Once everything was cleaned up, I used the Magnetic Lasso to select just the headlights and lowered some of the highlights. I also desaturated the background.
#29
11-02-2011, 06:14 PM
Correct. Select a large aperture and then focus on a subject in the background if you want to make the foreground blurry. To really do this right, it helps to have a really large aperture lens with a long focal length like an 85 f/1.4 or 70-200 f/2.8 @200mm.
#30
11-02-2011, 06:23 PM
Here's another example where I used 5 images and turned off all lights in the studio. I also used some of the old studio lights that had been taken down as something to make the image a little more exciting.
Flash illuminating the front left wheel:

Flash illuminating the backside of the car:

Flash illuminating the front right corner of the car:

Flash illuminating the back left wheel:

Flash illuminating the front of the car:

I then followed the same procedure as the other photo to get this:
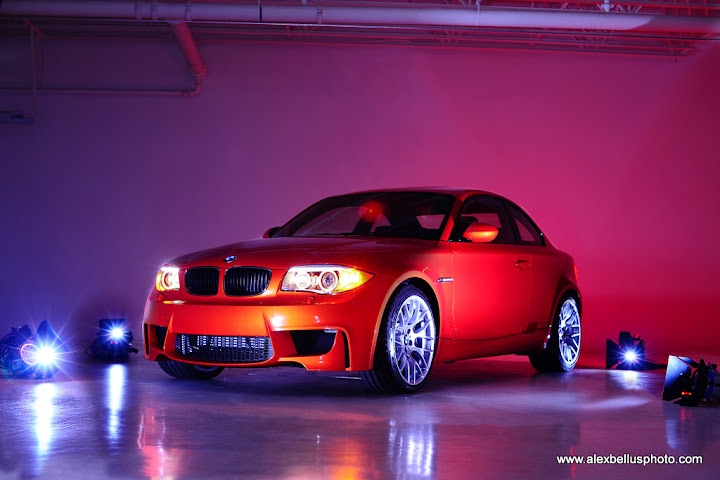
Having the flash in the shot itself proved to be a much harder challenge when it came to editing the photo. I had to make sure that the reflection of the flash on the floor in one location wasn't compromised by the reflection in another location.
Of course, if I'd used 5 flashes to make just one shot, I could've solved that problem and saved myself a lot of time editing but I'd rather not spend $2000 on more Speedlights and I didn't have a power source for strobes or other studio lights.
And that's it. I hope you all enjoyed my quick lighting tutorial on how to make the most of a single flash.
Please feel free to ask any questions you might have.
Flash illuminating the front left wheel:
Flash illuminating the backside of the car:
Flash illuminating the front right corner of the car:
Flash illuminating the back left wheel:
Flash illuminating the front of the car:
I then followed the same procedure as the other photo to get this:
Having the flash in the shot itself proved to be a much harder challenge when it came to editing the photo. I had to make sure that the reflection of the flash on the floor in one location wasn't compromised by the reflection in another location.
Of course, if I'd used 5 flashes to make just one shot, I could've solved that problem and saved myself a lot of time editing but I'd rather not spend $2000 on more Speedlights and I didn't have a power source for strobes or other studio lights.
And that's it. I hope you all enjoyed my quick lighting tutorial on how to make the most of a single flash.
Please feel free to ask any questions you might have.