Preview of incoming 45 plus hour correction
#1
 12-14-2009, 09:10 AM


Preview of incoming 45 plus hour correction
This is a 2002 Porsche Carrera Cabriolet(black of course) that was in VERY poor condition, my client picked up the car used and has Sharkwerks go thru and upgrade many parts of the car ie:Suspension, wheels, exhaust, software etc..... and after they were done the car was brought to my shop for some restorative correction.
Initial condition of the finish....

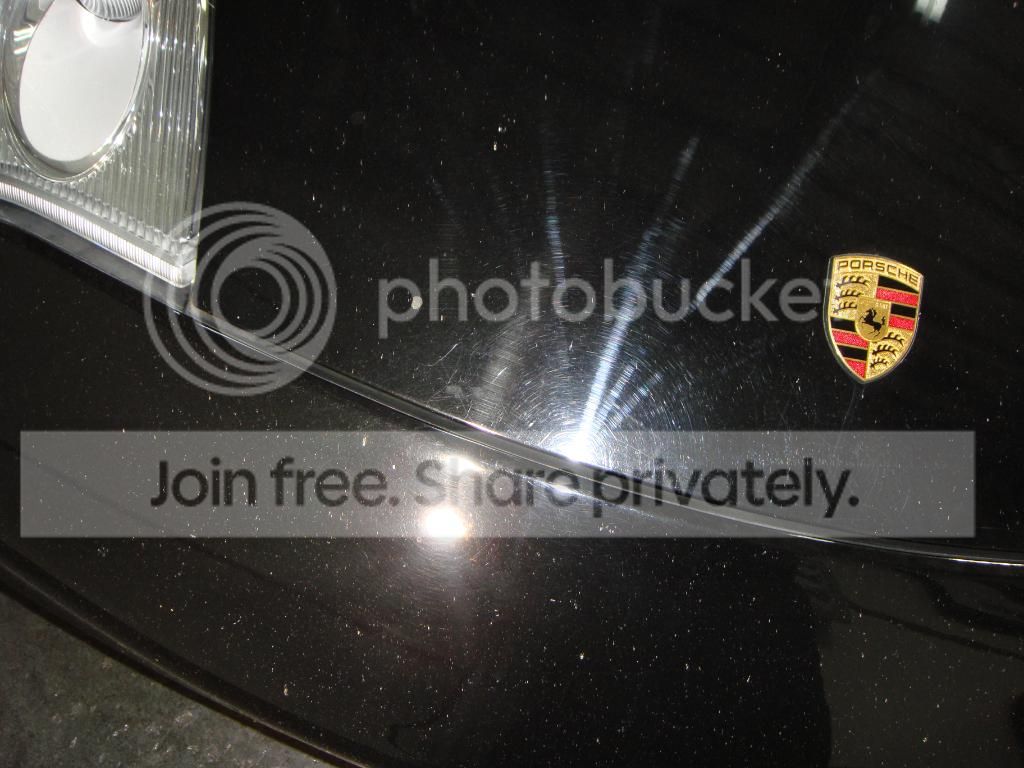


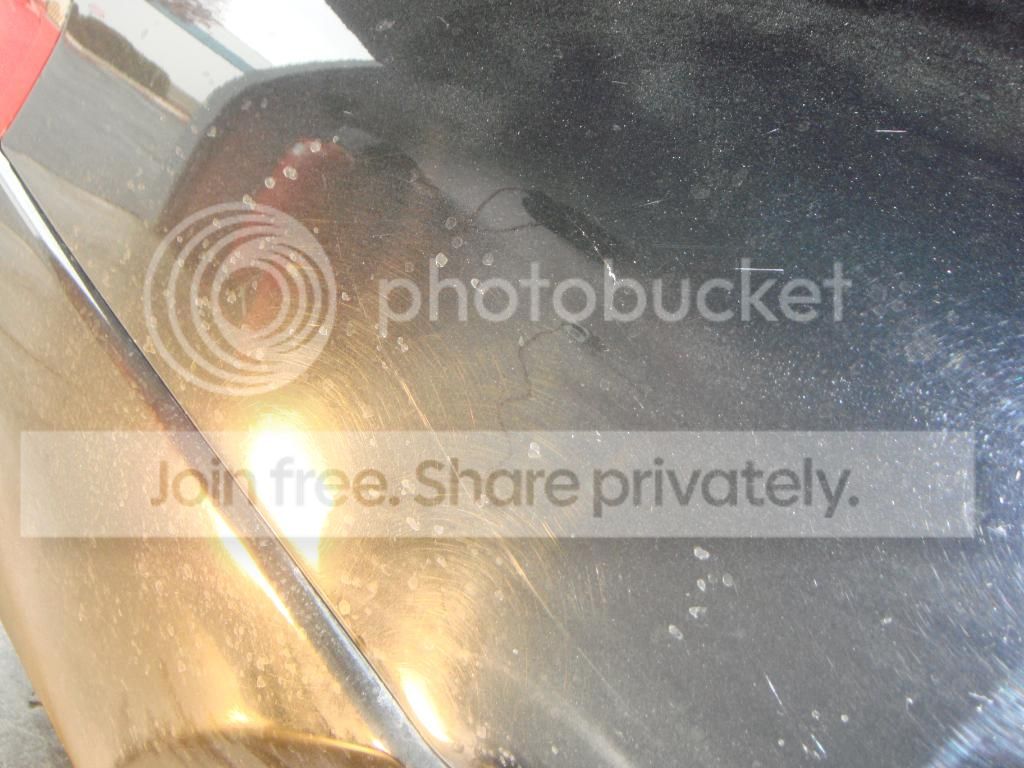
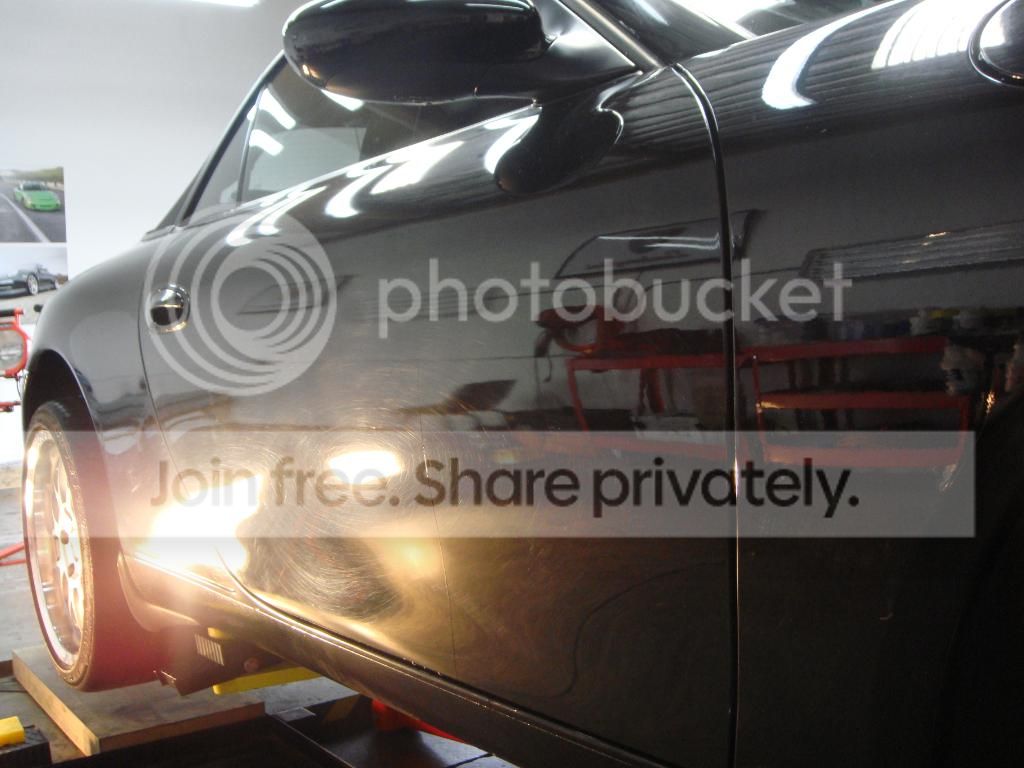
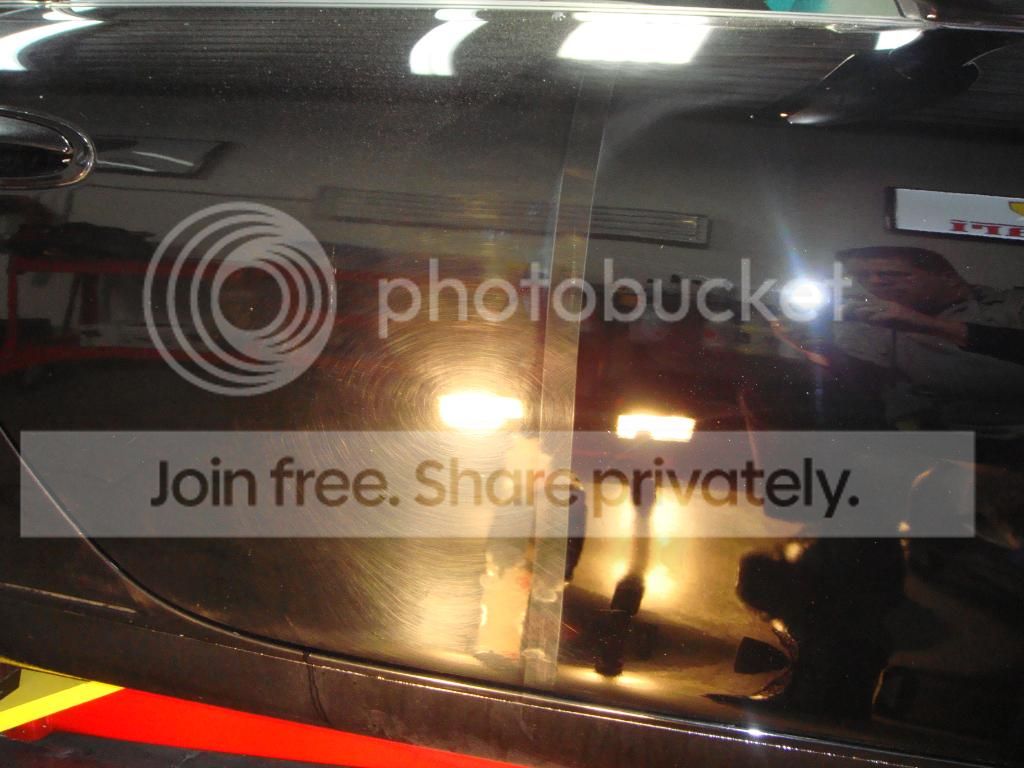
Passenger side door

50/50 pic of the same door after wool pad correction

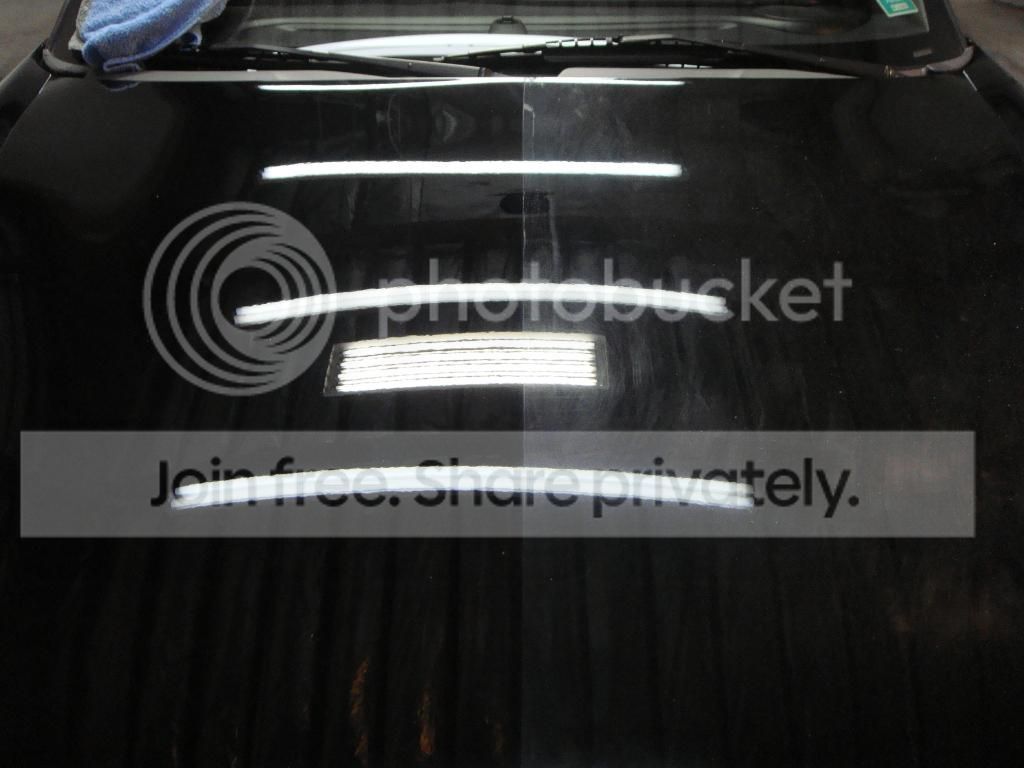
The hood

50/50 pic after compounding


Hope to be finished by Wednesday
Initial condition of the finish....
Passenger side door
50/50 pic of the same door after wool pad correction
The hood
50/50 pic after compounding
Hope to be finished by Wednesday


#8
12-19-2009, 12:57 PM
03 Porsche Carrera 45 hour plus correction & detail
As promised here is the write up on recently completed correction on a Porsche in DIRE need of restorative correction. As I have already put up some initial pics I will start with the actual detail.
Here is the start of the job, the top was very dirty so I scrubbed with a paint safe citrus cleaner

Every crevice was cleaned with a 3" boarshair brush

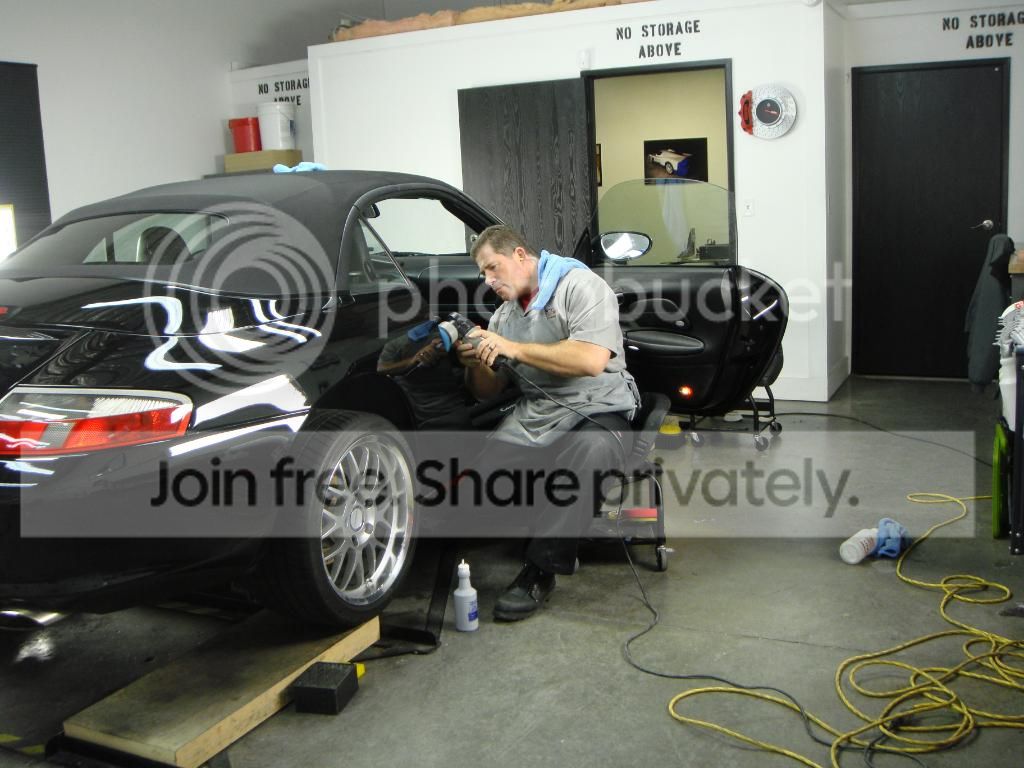
After the car was washed and clayed(3 hours total required)due to dealer applied sealant.....(not good) I brought the car into the shop and put it on the lift as this would be a wheels off correction. Note the hazy appearance of the passenger door caused by a re-spray so there was shrinkage to contend with
Door was taped off and a game plan of correction procedures was carried out, I would end up with two compounding stages and three polishing stages

Next is pics of the hood being corrected, this pic shows what a PAPER TOWEL can do to the finish!!

Hood taped off for 50/50 pics


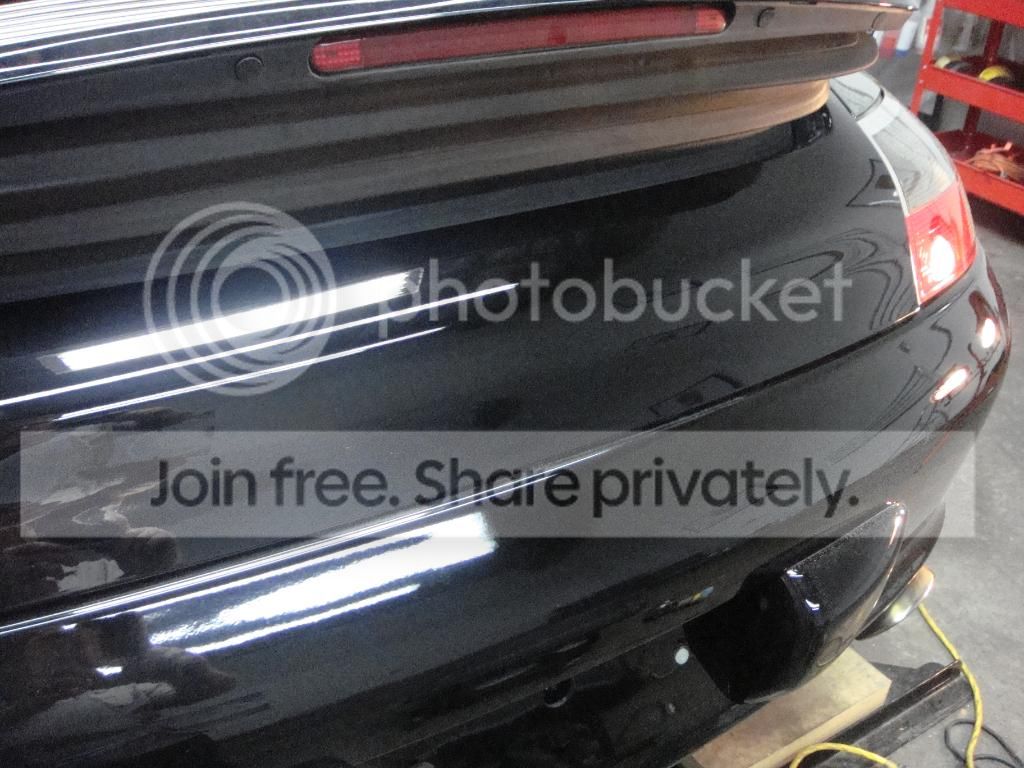
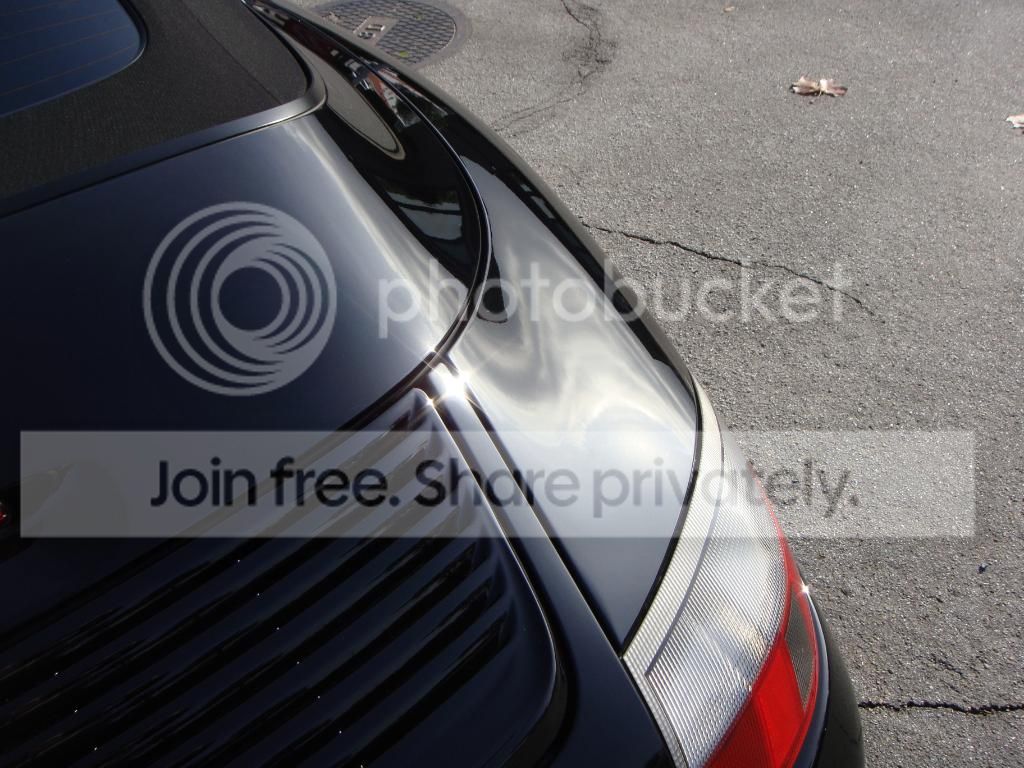
The rear decklid "Carrera" badge was removed and replaced due to the marring in that area, also the badge was oldness and crusty and would have ruined the tightness of the soon to be corrected paint
Here is a before of the rear left quarter panel


After compounding

Again before...

After

A cluster of deep RIDS that required sanding with 2500 and 4000 grit paper

After levelling and correction

Lower left rear quarter before

After compounding

Here is the start of the job, the top was very dirty so I scrubbed with a paint safe citrus cleaner
Every crevice was cleaned with a 3" boarshair brush
After the car was washed and clayed(3 hours total required)due to dealer applied sealant.....(not good) I brought the car into the shop and put it on the lift as this would be a wheels off correction. Note the hazy appearance of the passenger door caused by a re-spray so there was shrinkage to contend with
Door was taped off and a game plan of correction procedures was carried out, I would end up with two compounding stages and three polishing stages
Next is pics of the hood being corrected, this pic shows what a PAPER TOWEL can do to the finish!!
Hood taped off for 50/50 pics
The rear decklid "Carrera" badge was removed and replaced due to the marring in that area, also the badge was oldness and crusty and would have ruined the tightness of the soon to be corrected paint
Here is a before of the rear left quarter panel
After compounding
Again before...
After
A cluster of deep RIDS that required sanding with 2500 and 4000 grit paper
After levelling and correction
Lower left rear quarter before
After compounding
#9
12-19-2009, 01:23 PM
Carrera Cabrio corretion cont...
Drivers side door before

Making some headway

Door fully compounded

Front bumper not looking so good

Better after compounding

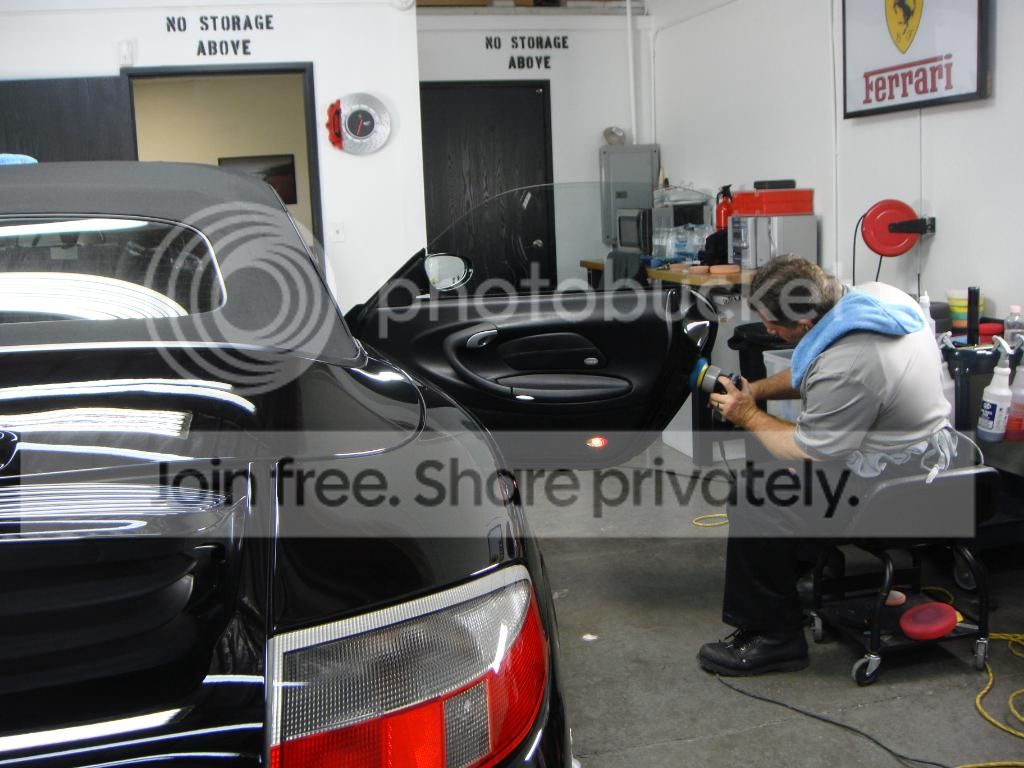
The passenger door was not looking as clear as I wanted, so I sanded the entire door and re-corrected and the finish finally matched the texture of the adjacent panels

Polishing tight area of the front quarter panel


Correcting the finish in the door jambs(not fun)
Broke out the steamer to remove embedded gunk in the keyhole

"A little steaming action"
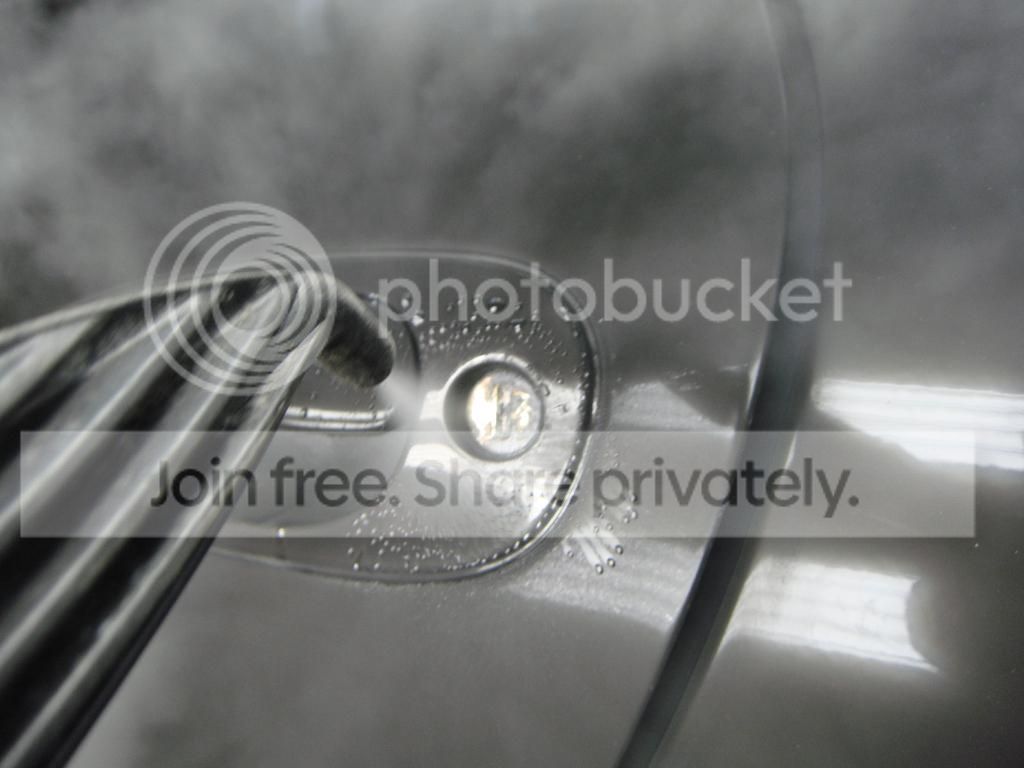
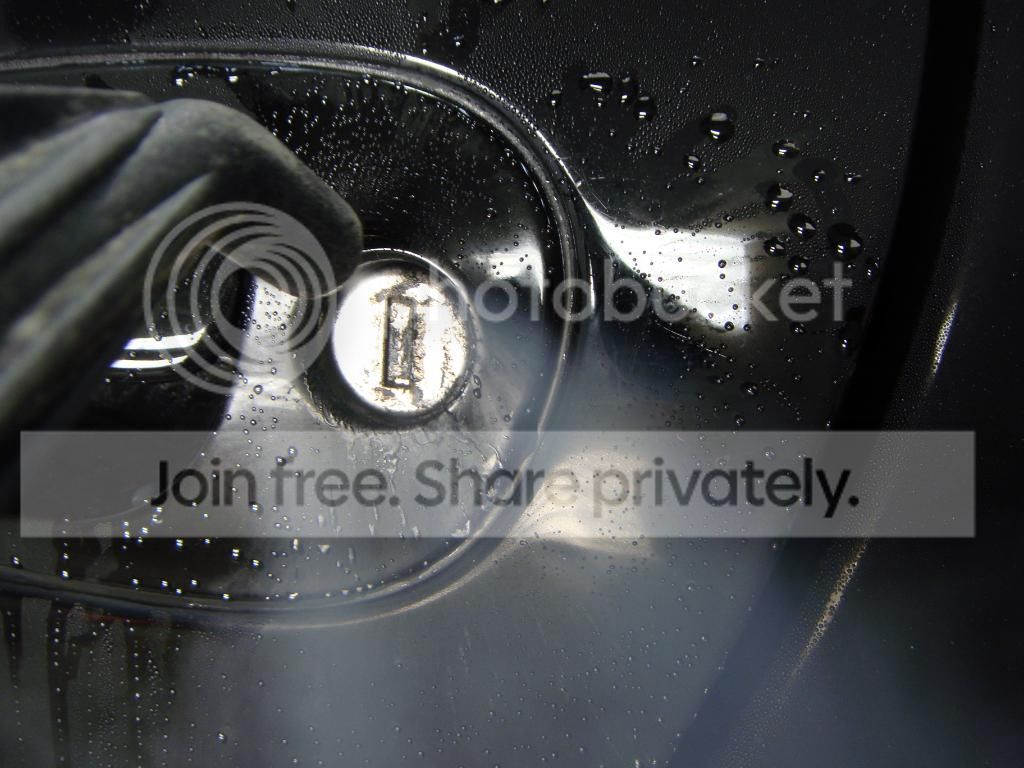
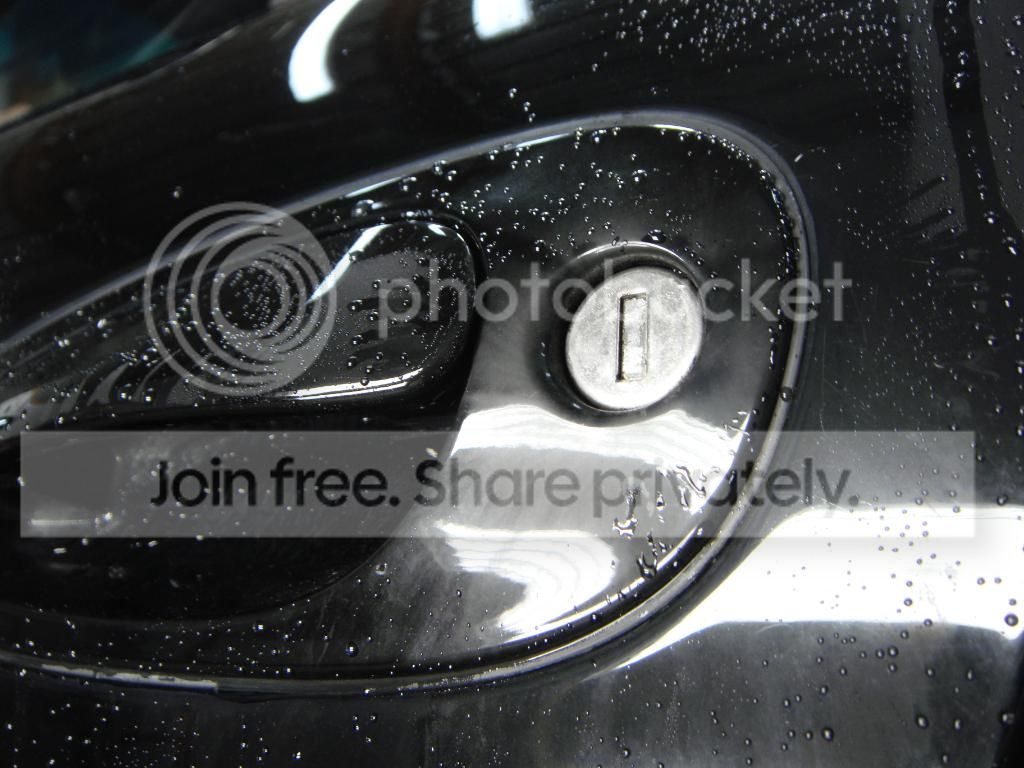
Keyhole corrected, it was dried off and shot with some graphite
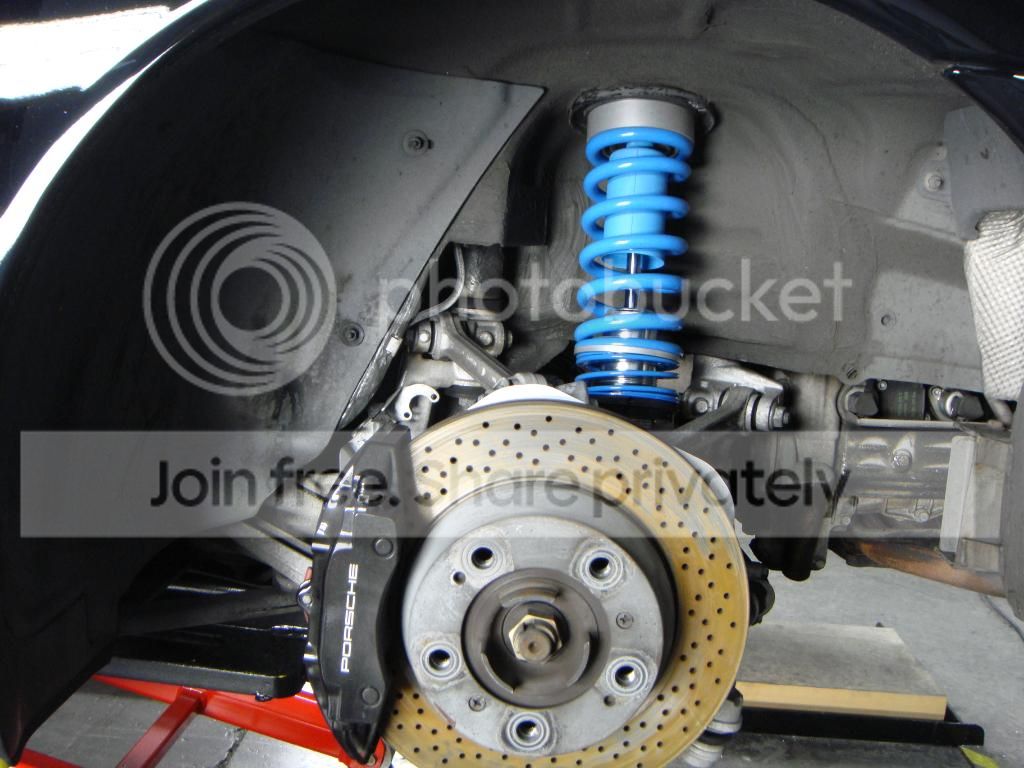
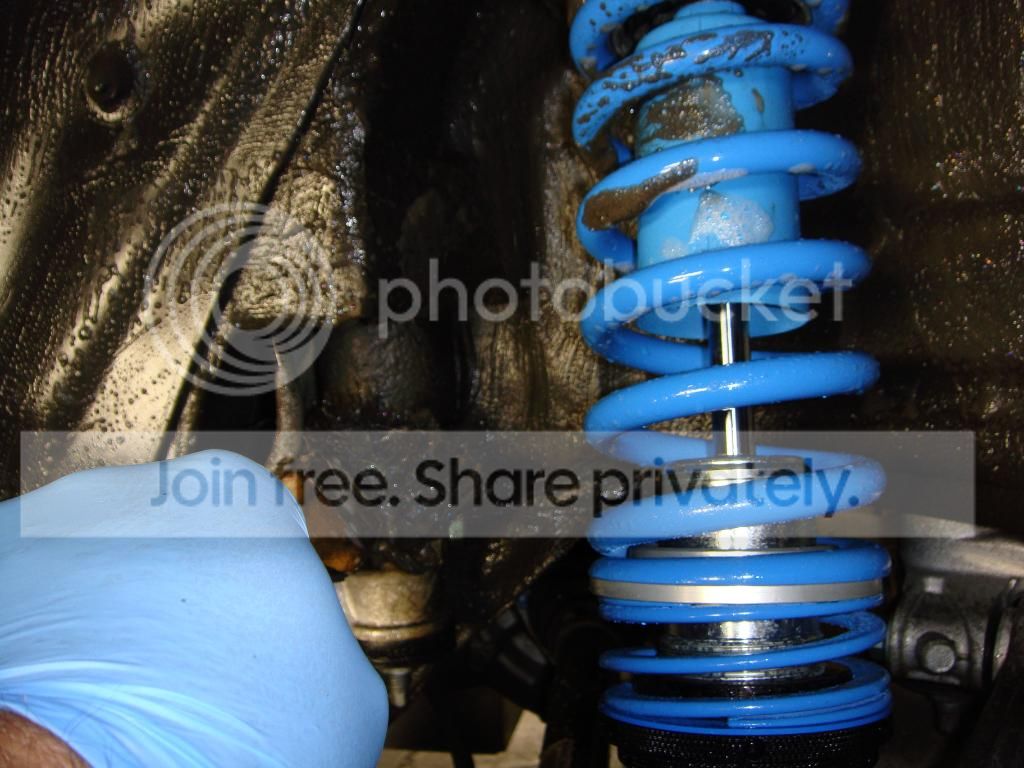
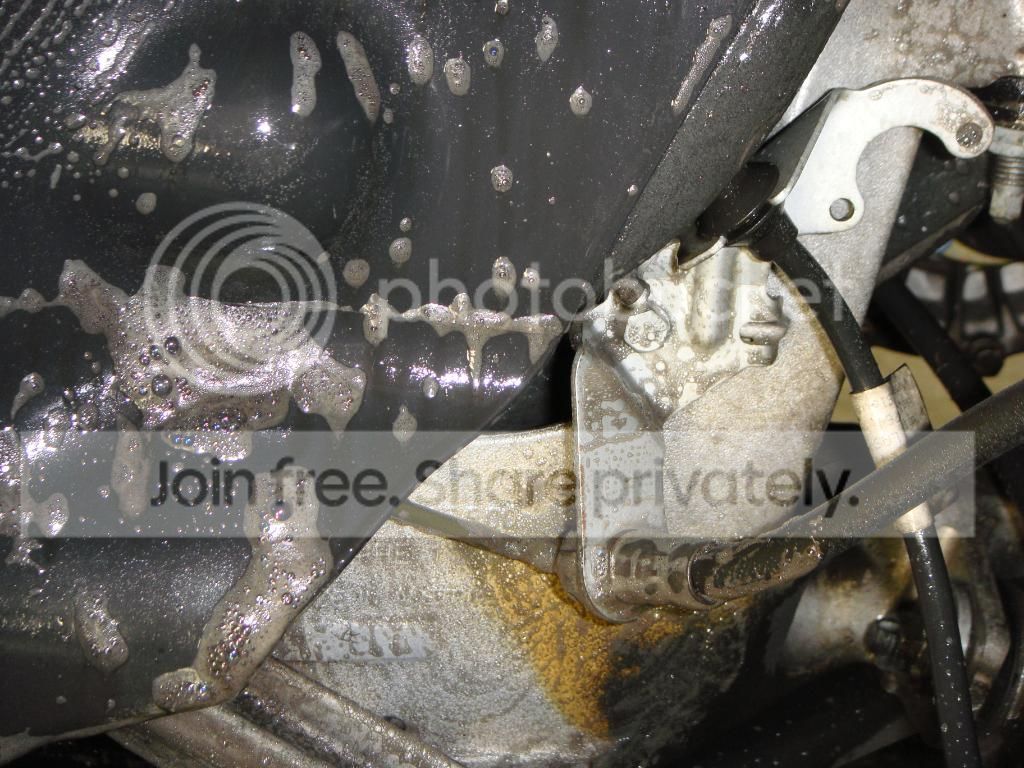
Next I moved to the wheel wells which were really dirty, here is the driver rear wheel well
Agitated with Premier's TTS clear film cleaner which also works great for these type of jobs
Wheel well cleaned before dressing application

Driver font wheel well before

After=supercleaness

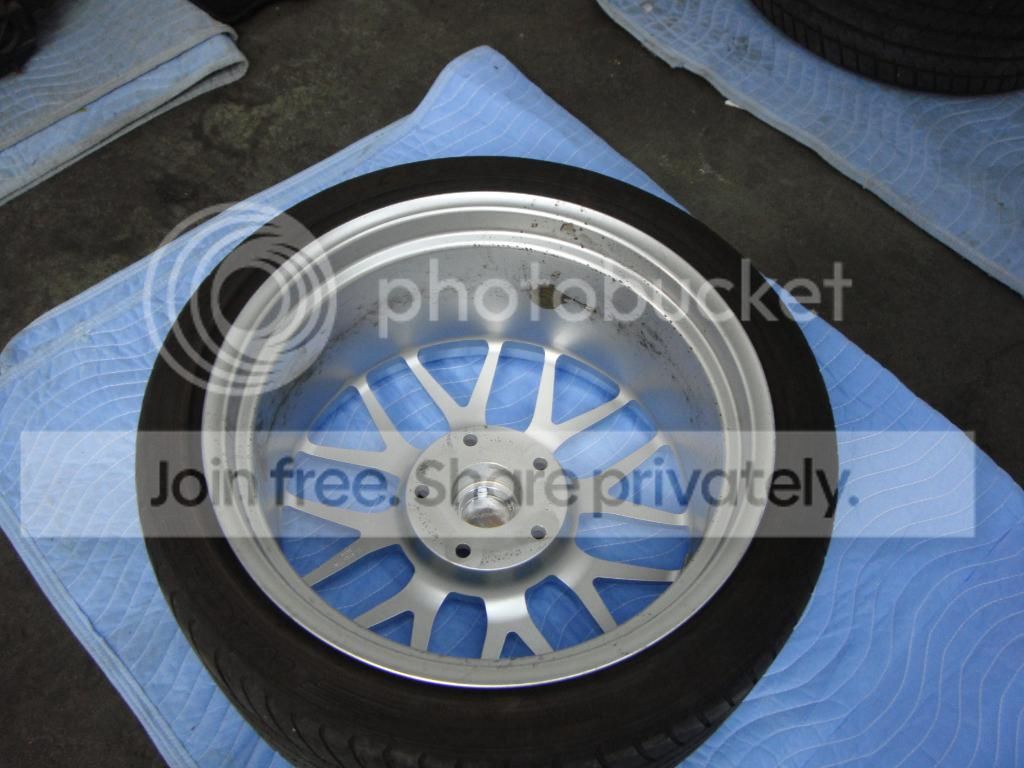
Of course the wheels were cleaned,but they were new Champion's so not much correction but I sealed the inner barrels with Jet Seal 109
Making some headway
Door fully compounded
Front bumper not looking so good
Better after compounding
The passenger door was not looking as clear as I wanted, so I sanded the entire door and re-corrected and the finish finally matched the texture of the adjacent panels
Polishing tight area of the front quarter panel
Correcting the finish in the door jambs(not fun)
Broke out the steamer to remove embedded gunk in the keyhole
"A little steaming action"
Keyhole corrected, it was dried off and shot with some graphite
Next I moved to the wheel wells which were really dirty, here is the driver rear wheel well
Agitated with Premier's TTS clear film cleaner which also works great for these type of jobs
Wheel well cleaned before dressing application
Driver font wheel well before
After=supercleaness
Of course the wheels were cleaned,but they were new Champion's so not much correction but I sealed the inner barrels with Jet Seal 109
#10
12-19-2009, 01:47 PM
Carrera Cabrio corretion cont...
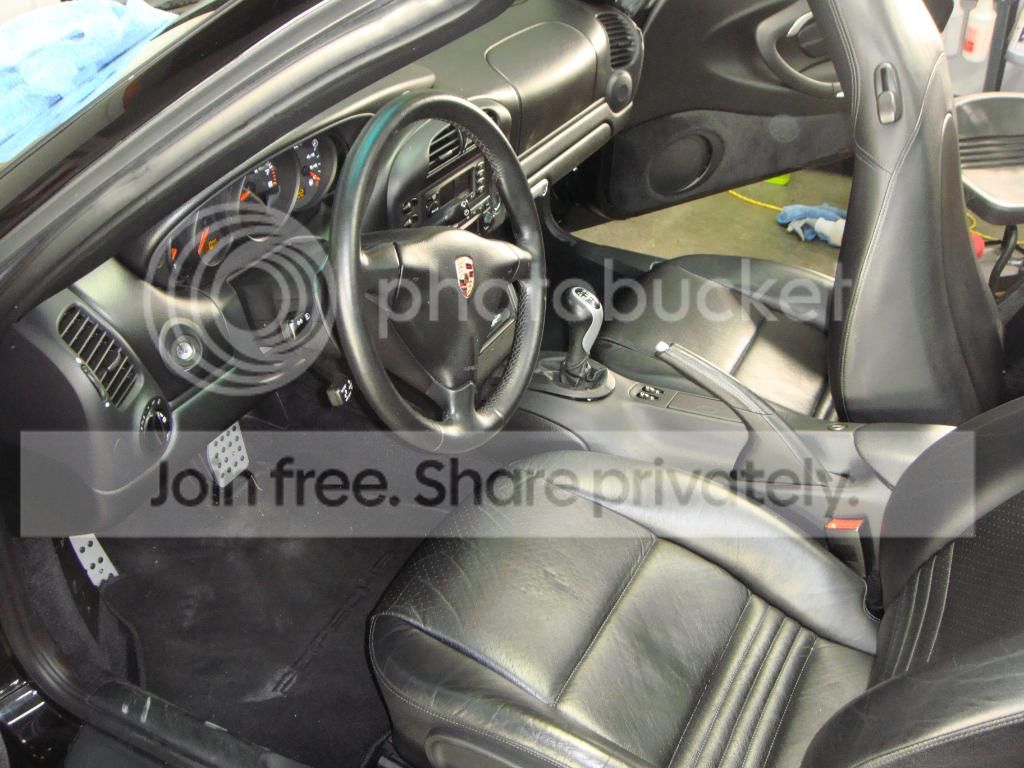
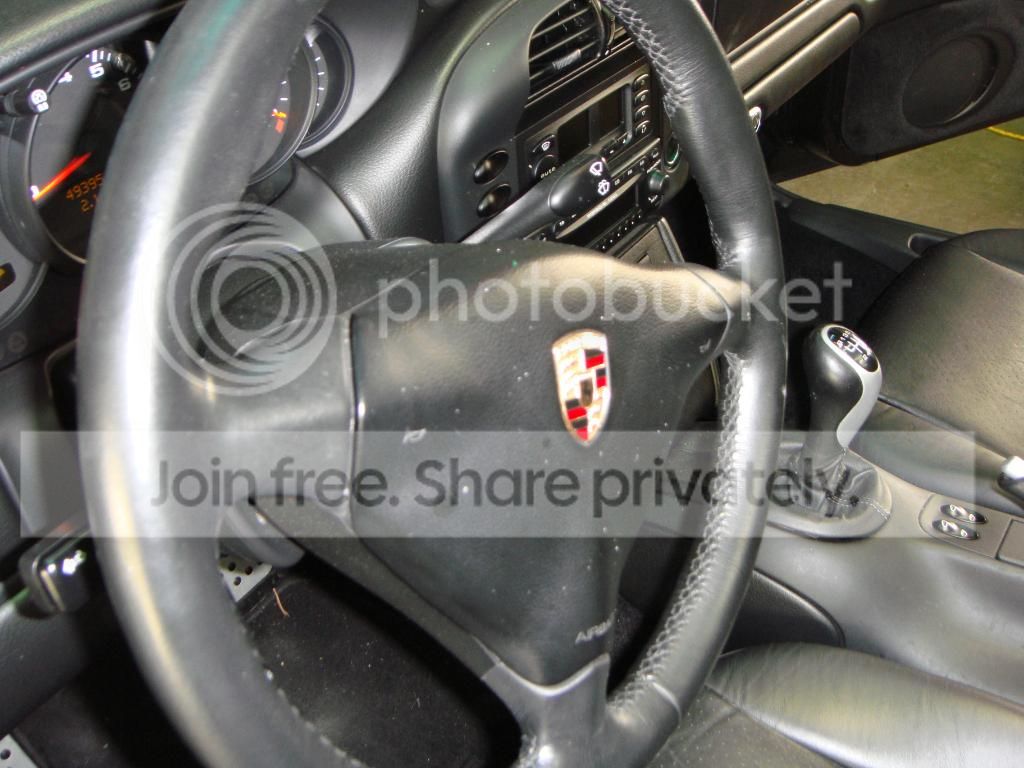
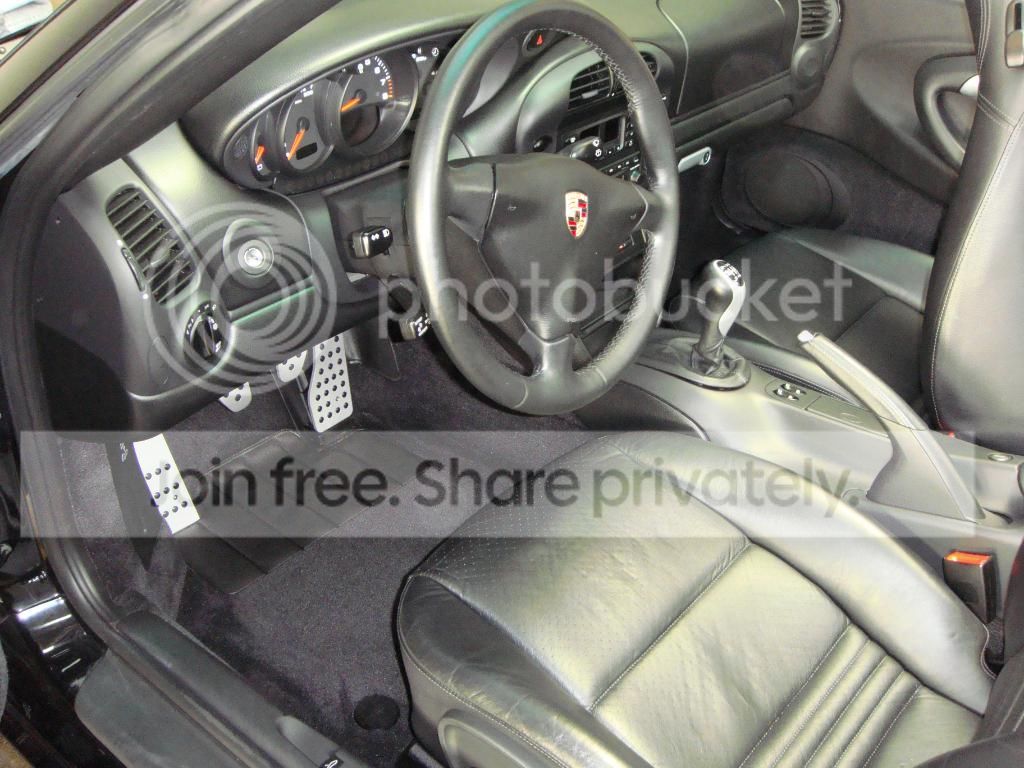
Interior before

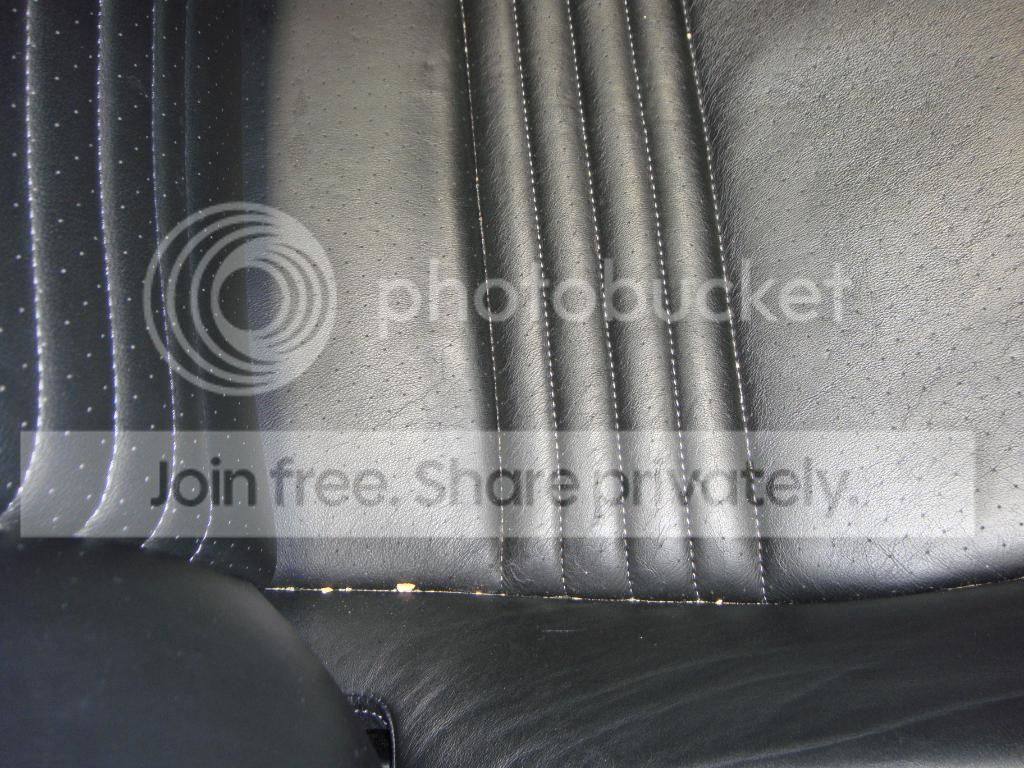
Dirt in the perforation holes

A low tech solution
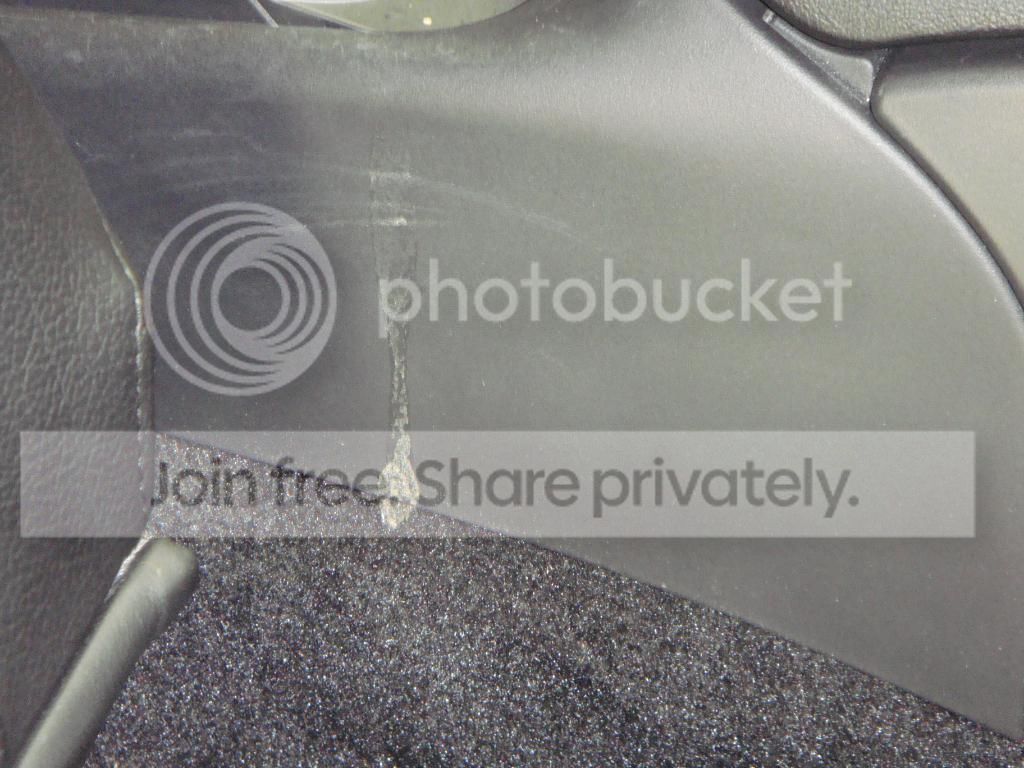
Storage compartment before
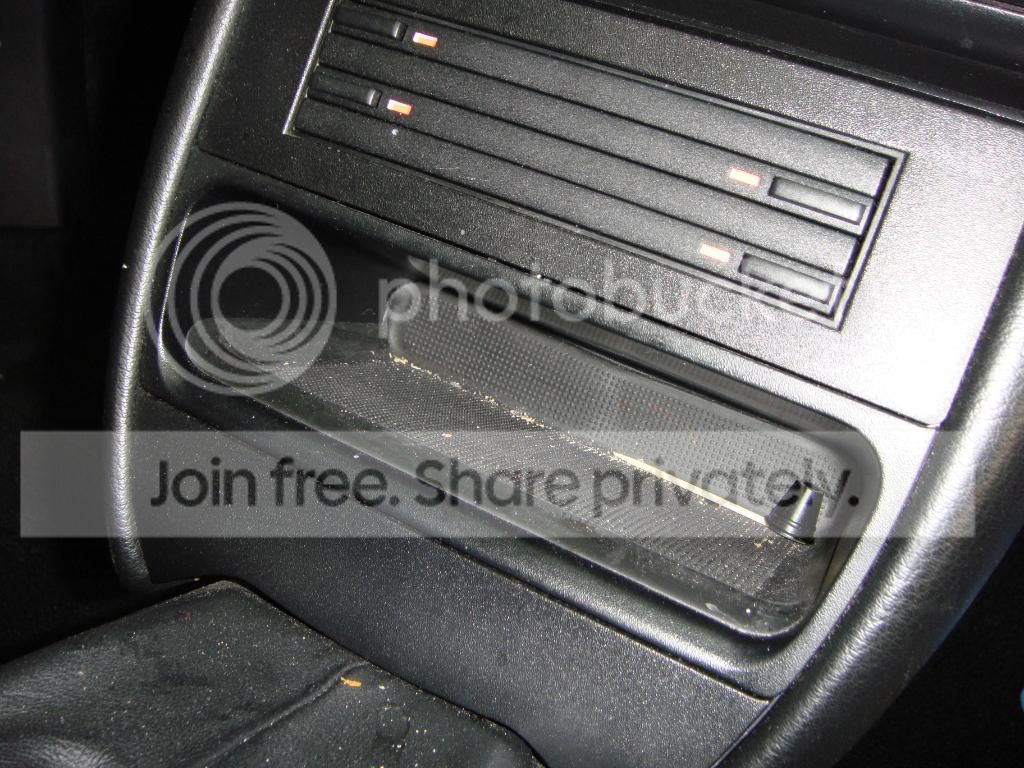
After clean up

Interior tightned up

Rear decklid corrected and ready for the new badge to be affixed


Lining up badge, this can be tricky as you get ONE shot at this

New badge affixed

Spreading on the one of four coats of Blackfire Wet Diamond

Here is the last coat of sealant left overnight to cure

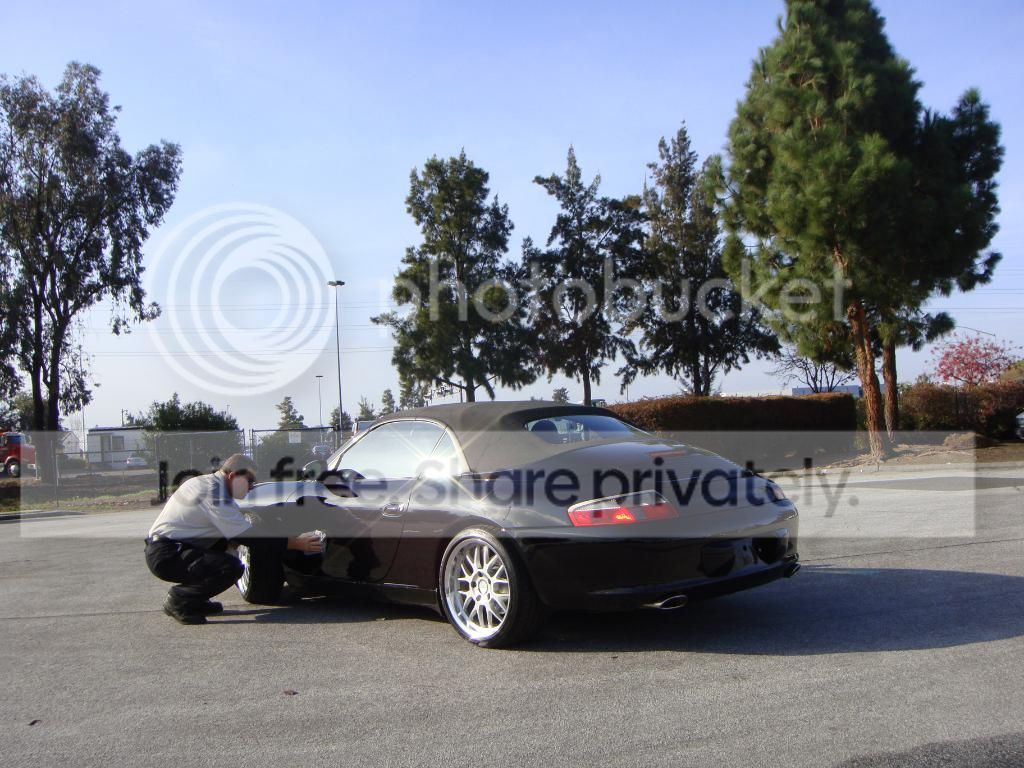
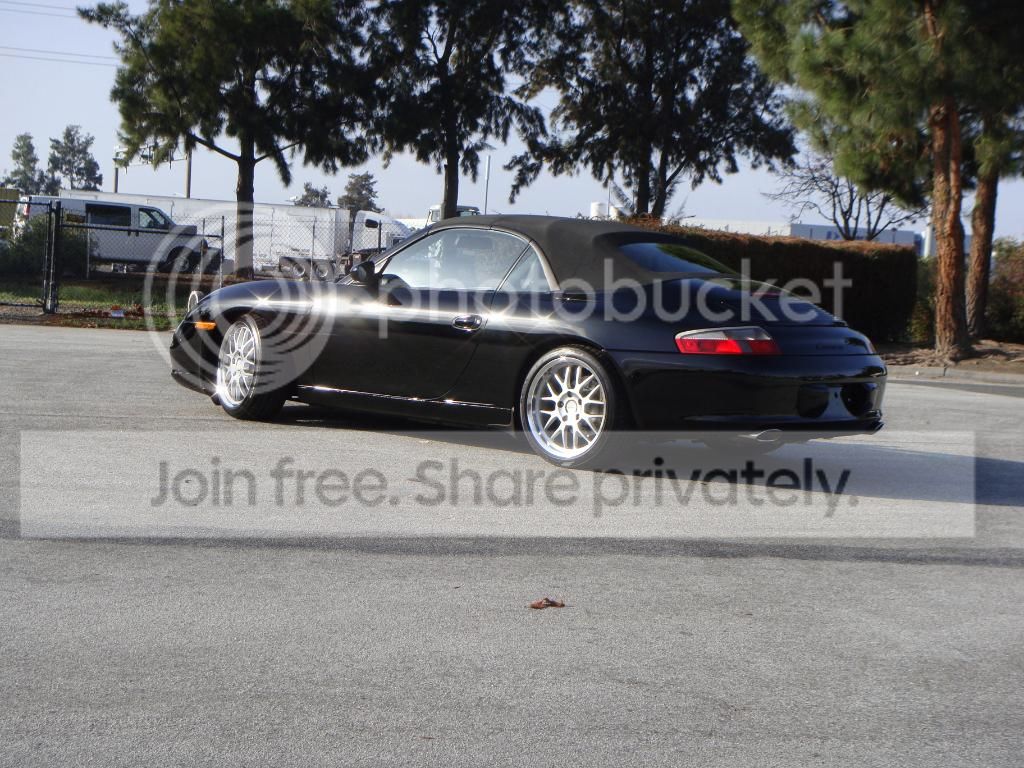
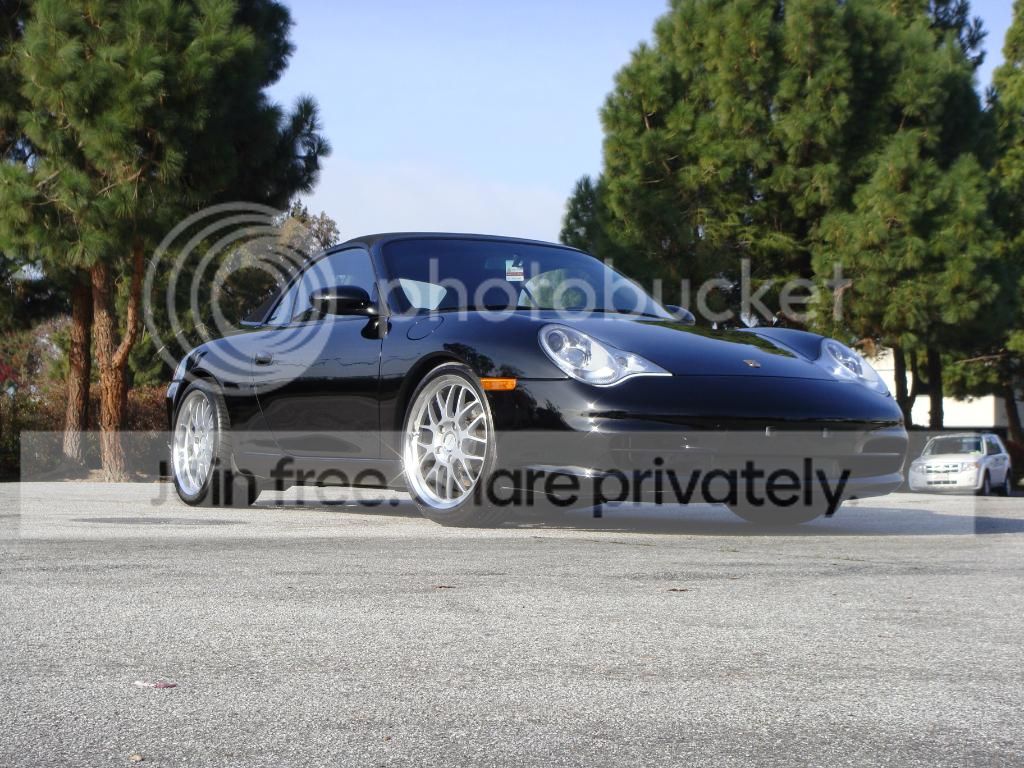
Time for the finished product to be seen in direct sunlight


Dirt in the perforation holes
A low tech solution
Storage compartment before
After clean up
Interior tightned up
Rear decklid corrected and ready for the new badge to be affixed
Lining up badge, this can be tricky as you get ONE shot at this
New badge affixed
Spreading on the one of four coats of Blackfire Wet Diamond
Here is the last coat of sealant left overnight to cure
Time for the finished product to be seen in direct sunlight